Quick answer
How do I sharpen a knife at home?
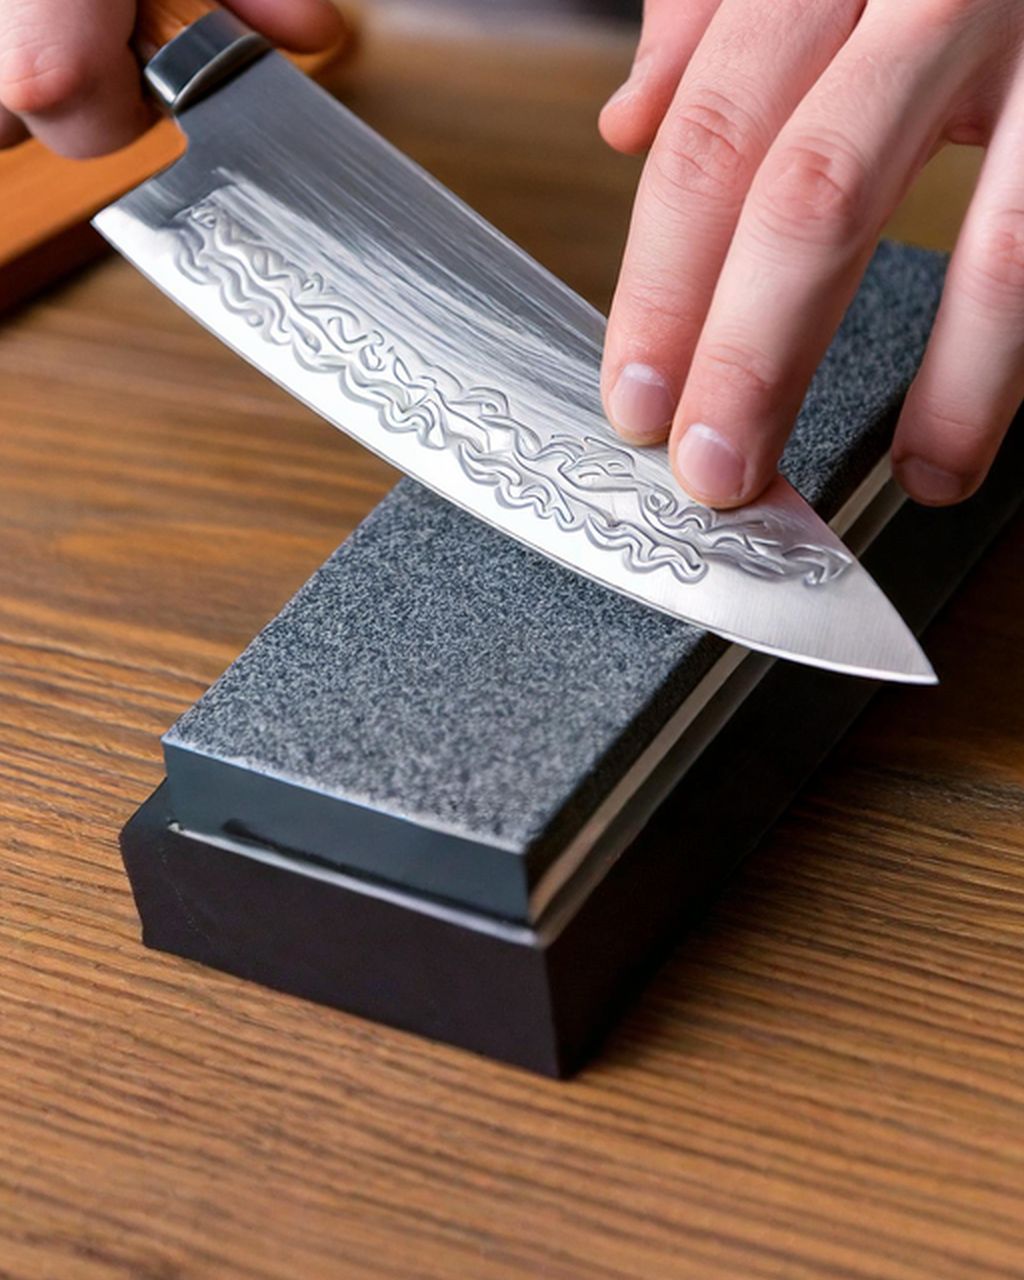
On a whetstone: hold the blade at 15–20° and make long strokes alternately on both sides, from a coarser grit to a finer one. When you feel a fine burr along the edge, take it off on the fine stone.
Which knife to buy and how to sharpen it, how to measure your oven's real temperature and what belongs in a basic kitchen kit. Plus kitchen unit dimensions and how to clean a fridge so it doesn't smell.
Quick answer
On a whetstone: hold the blade at 15–20° and make long strokes alternately on both sides, from a coarser grit to a finer one. When you feel a fine burr along the edge, take it off on the fine stone.
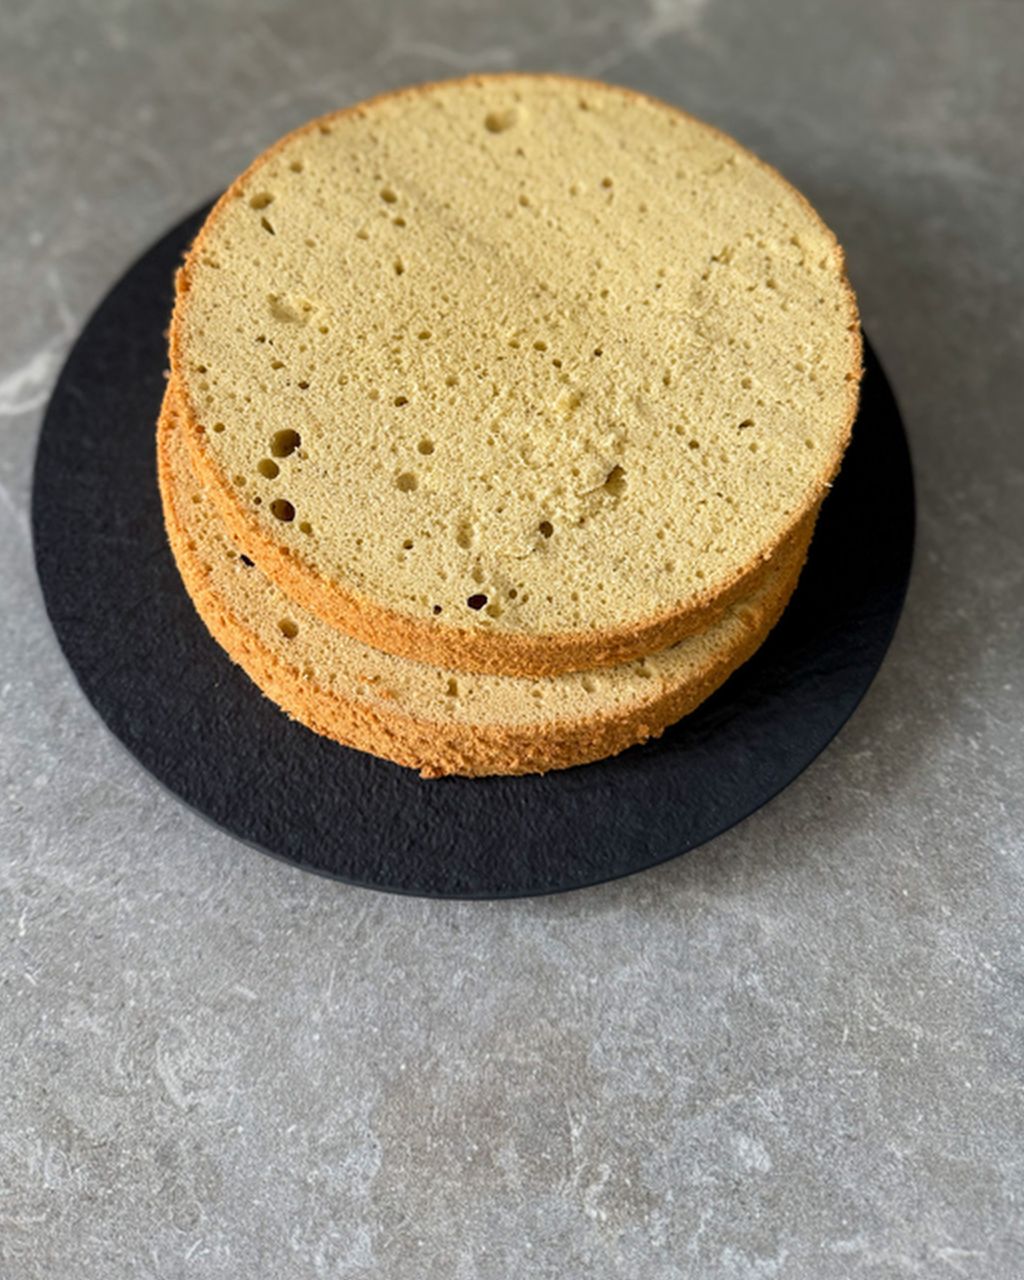
Light and airy génoise sponge cake

Smoky salmon with quick-wilted spinach

Lilac meringue kisses with lemon curd cream and fresh fruit
Chocolate chip cookies with fleur de sel

Pistachio cupcakes with lemon curd and mascarpone cream
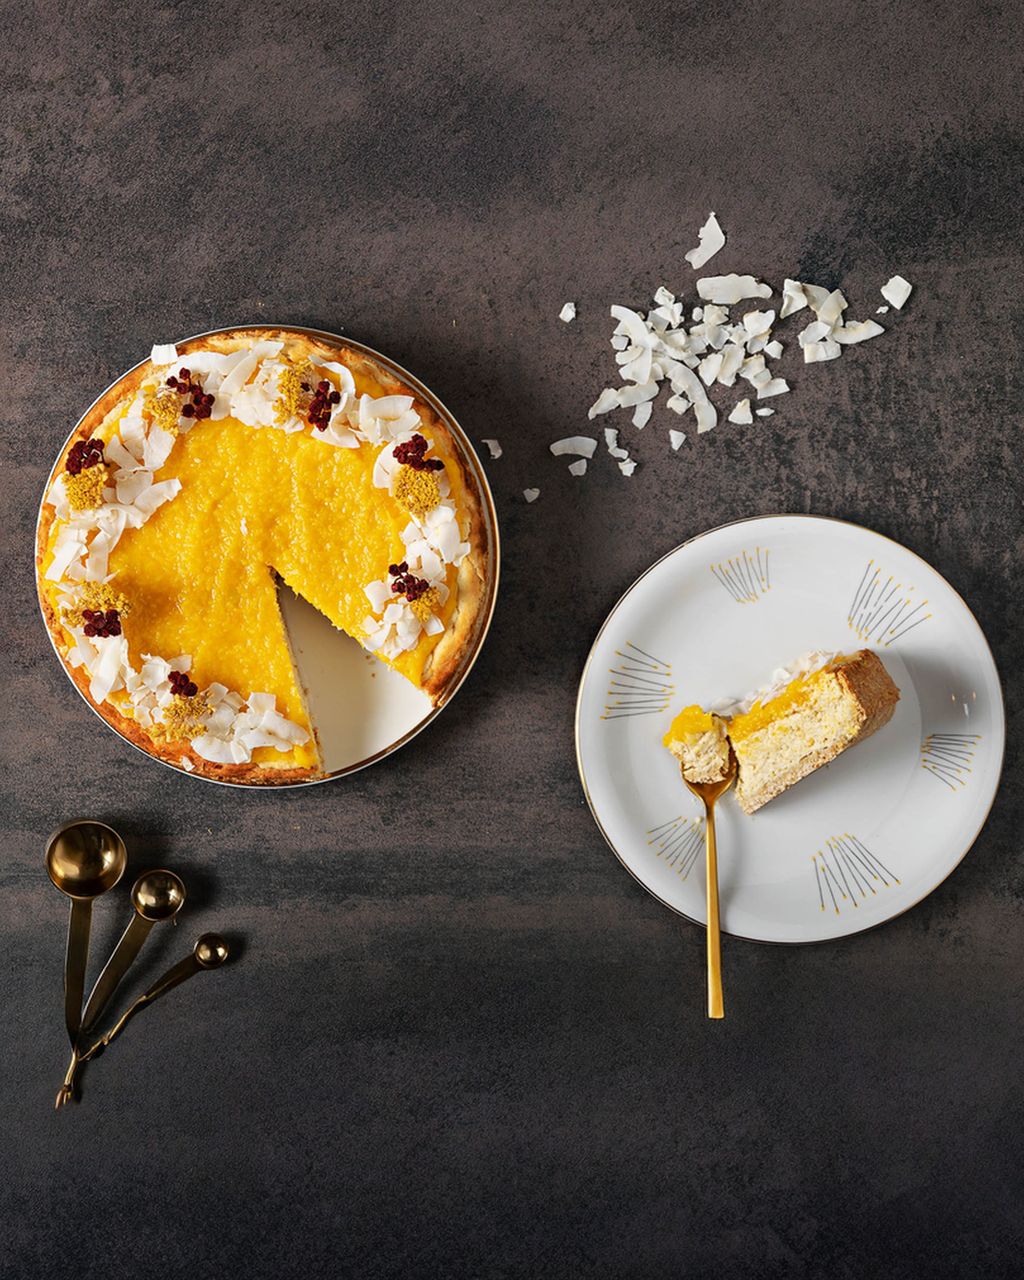
Mango cheesecake
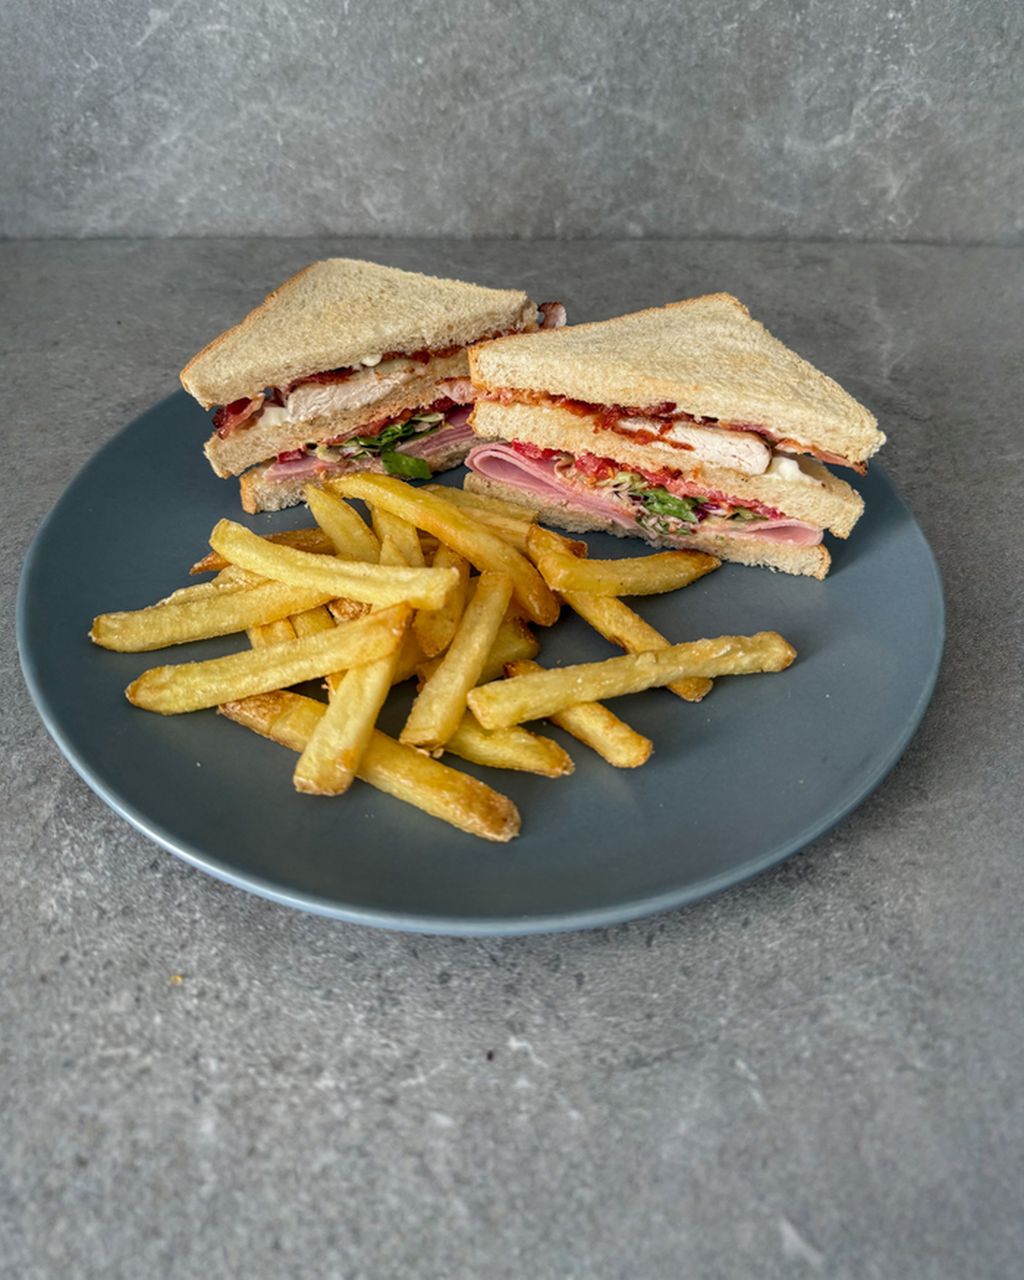
Club sandwich with chicken, cheese and fries
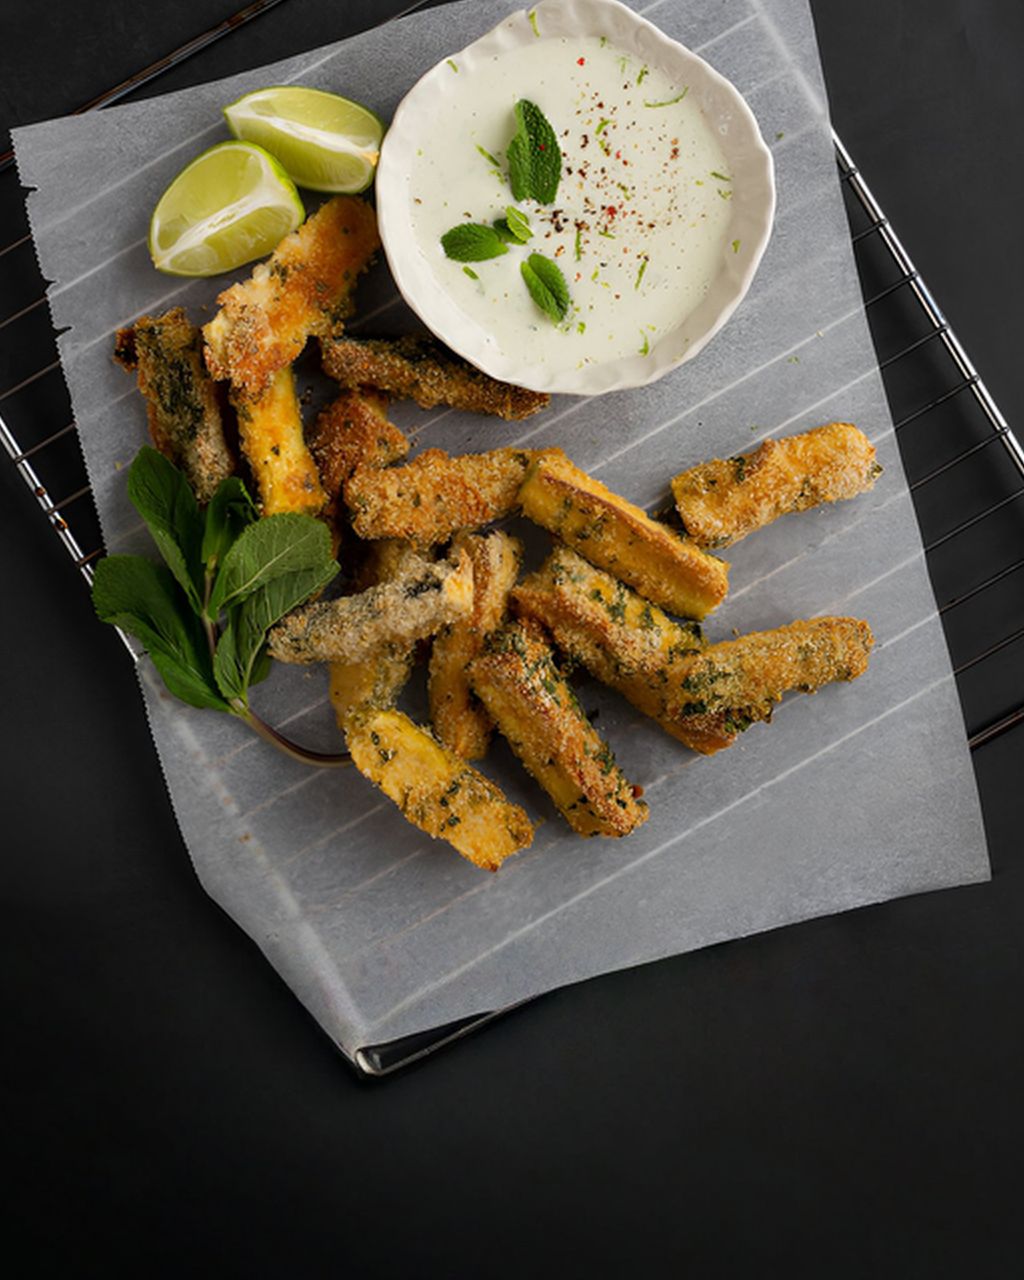
Crispy zucchini fries with parmesan crust
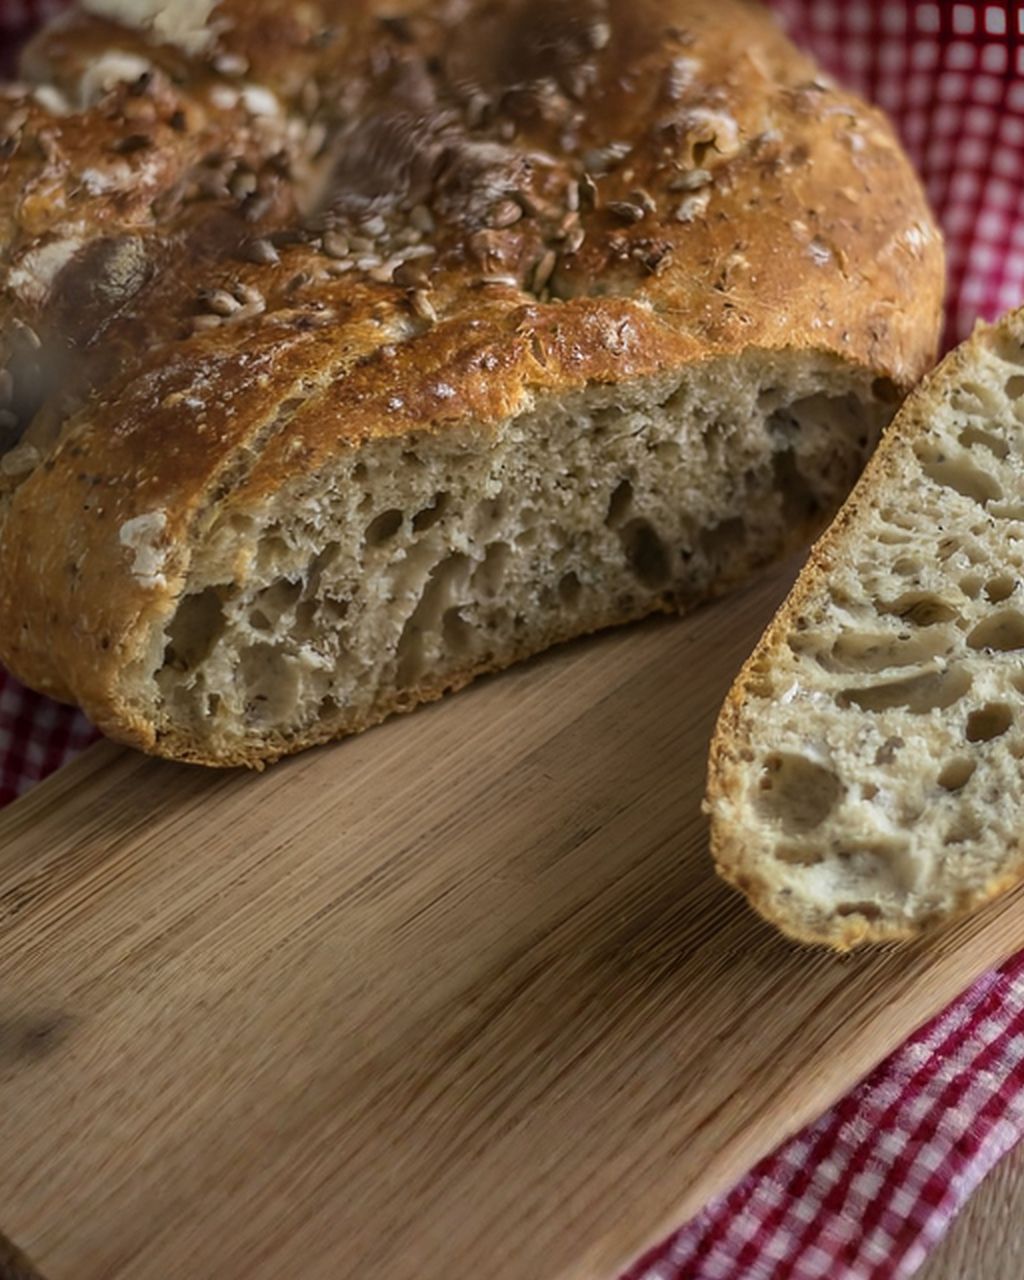
Homemade bread
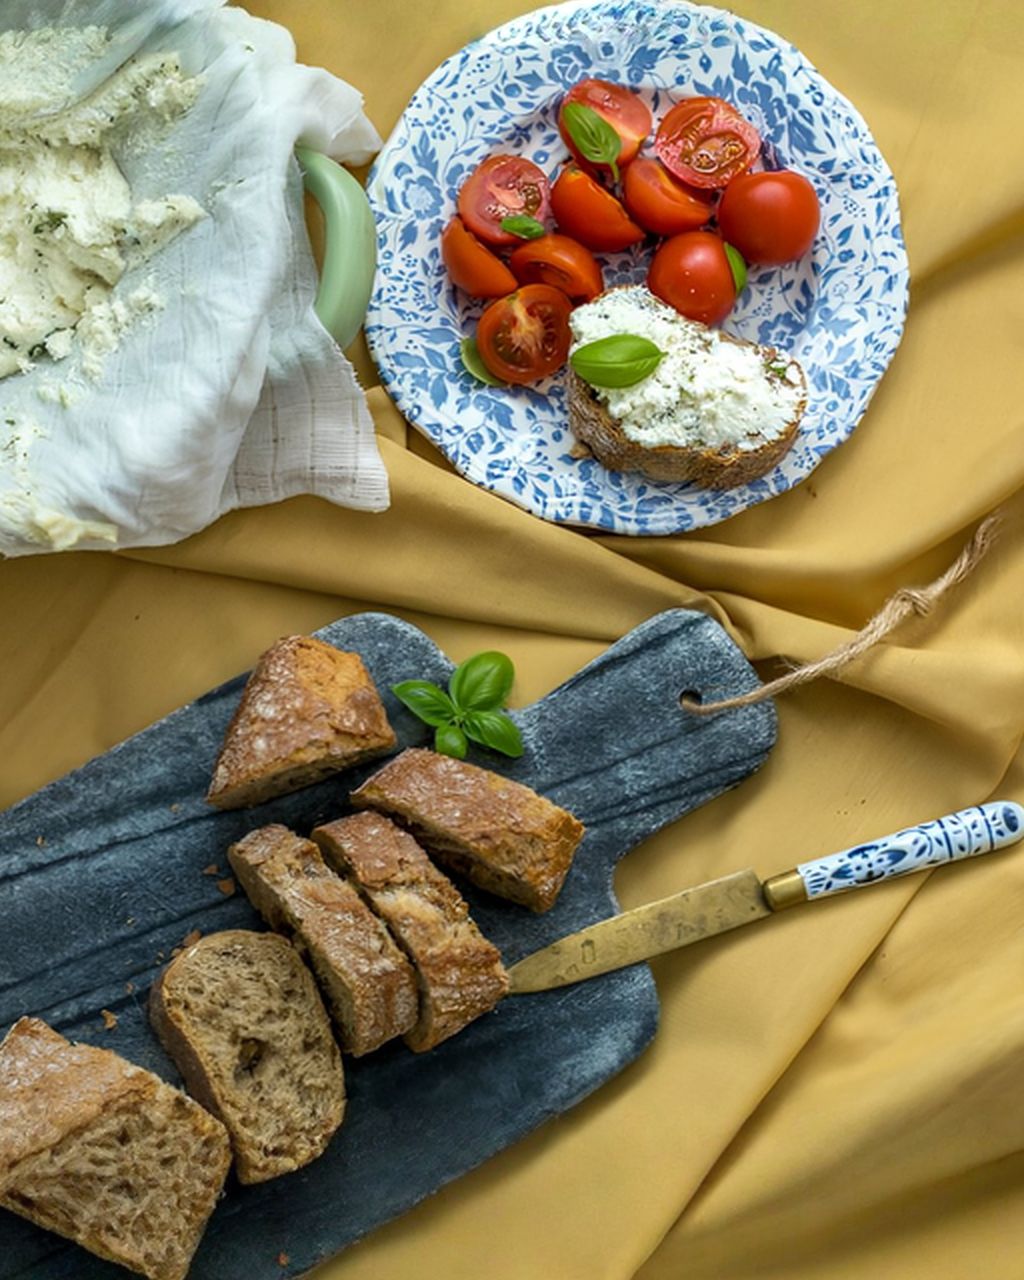
Homemade herb cheese from just two ingredients

Beef sirloin in cream sauce (svíčková)
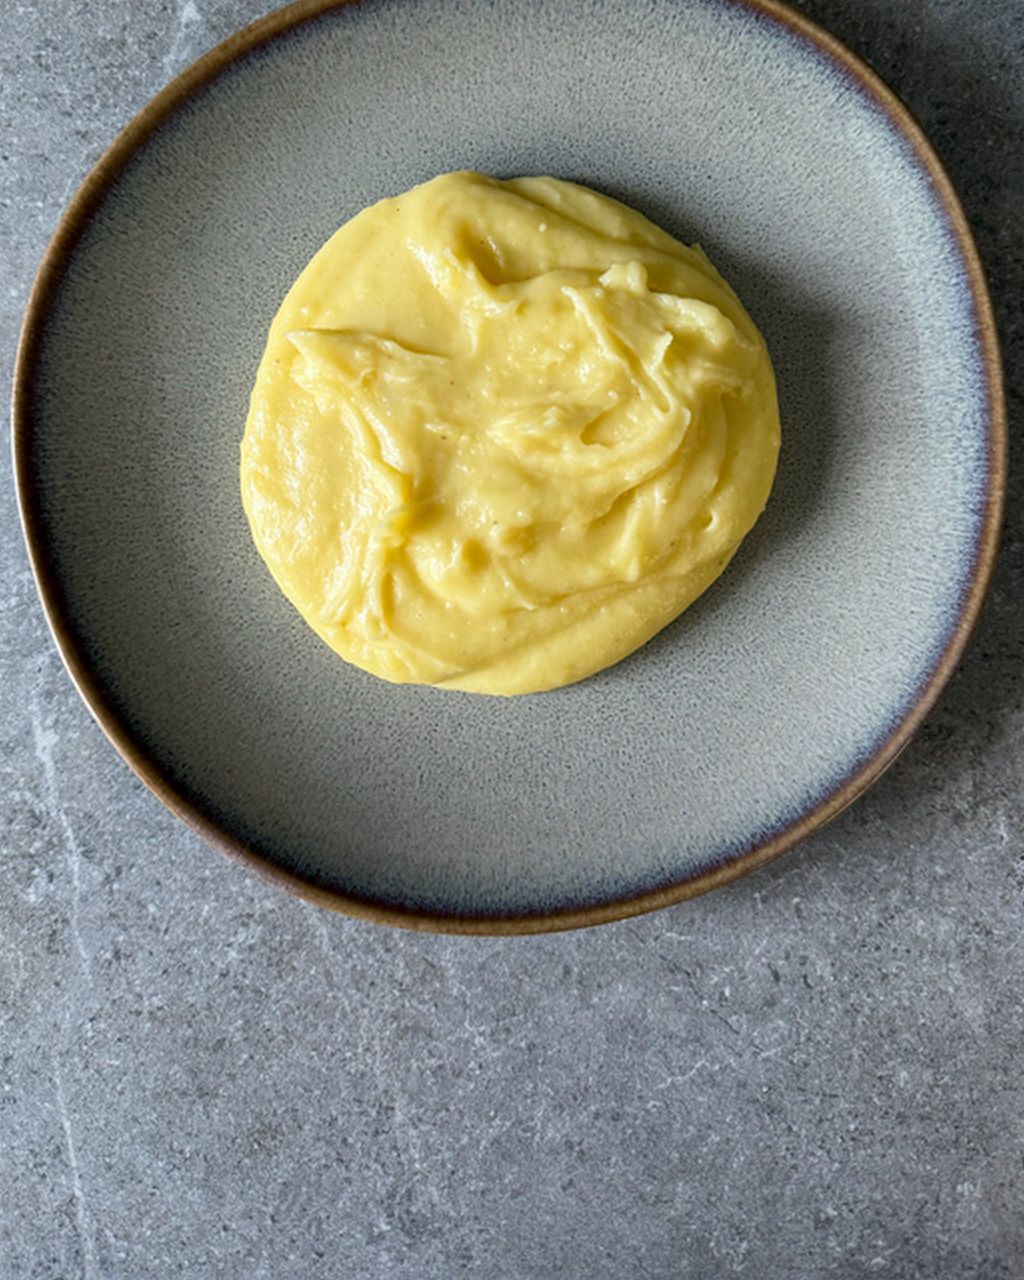
Silky smooth creamy mashed potatoes with nutmeg
A Dutch oven burns on the bottom when the heat is too high for cast iron, which stores heat and keeps getting hotter, or when a thick stew sits unstirred with too little liquid. Le Creuset advises low to medium heat for nearly all cooking. Bread burns on the bottom for a different reason: the base sits too close to the oven's bottom heat, which a baking sheet under the pot usually fixes.
Cast iron turns sticky after seasoning when too much oil went on, or when it was not heated long or hot enough to fully harden into seasoning. Lodge's fix is simple: put the pan back in the oven upside down at 230–260 °C (450–500 °F) for another hour, or until the stickiness is gone. Next time, wipe the oil off until the pan looks almost dry.
Cast iron rusts when water sits on bare or thinly seasoned iron: soaking it, putting it in the dishwasher, letting it air-dry or storing it somewhere damp. Lodge's fix is to scrub the rust off with steel wool, wash and dry the pan completely, and re-season it in the oven. A rusty pan is almost never ruined.
Food sticks to cast iron when the pan is the wrong temperature, there isn't enough fat, or the seasoning is still thin; Lodge says the most common mistake is a pan that is simply too hot. Preheat it gradually over medium or medium-low heat, add enough fat, and let food release on its own before you move it. Eggs need the gentlest heat and the most fat.
A Dutch oven usually cracks or chips from thermal shock, a sudden temperature change such as cold water in a hot pot, or from being heated empty on high, boiled dry or dropped. Le Creuset says to use low to medium heat and to let a hot pot cool before washing. If the enamel inside is chipped, Le Creuset says to stop using the pot.
To season cast iron in the oven, wash and dry the pan, rub on a very thin coat of oil, and bake it upside down at 230–260 °C (450–500 °F) for one hour, then let it cool in the oven, which is Lodge's method. The thin coat matters most: too much oil turns sticky. Seasoning smokes, so ventilate the kitchen and stay nearby.
To clean a stained enameled Dutch oven, fill it with water, add baking soda (Le Creuset suggests about 30 g per liter), boil it gently until the residue loosens, then wash it with a soft sponge or nylon brush. For stains that stay, use the maker's enamel cleaner. Never use metal scourers or harsh abrasive powders, which scratch the enamel.
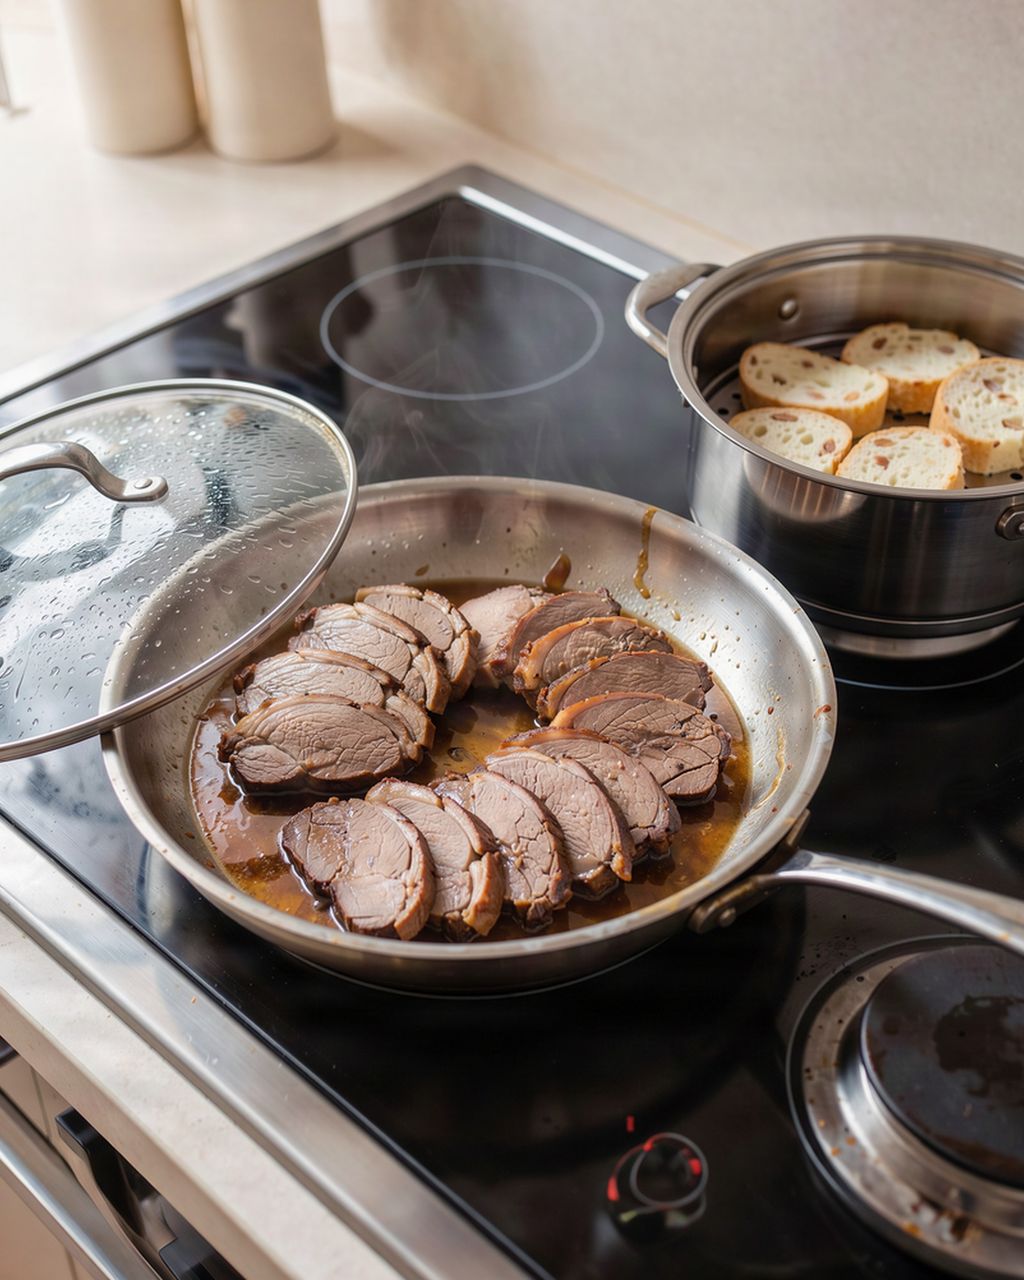
How do you reheat food without a microwave? Pick the method to suit what you're reheating. Anything saucy goes in a skillet or pot with a lid, dumplings and rice go in a steamer, and anything meant to be crisp (schnitzels, roast potatoes) goes in the oven or air fryer. Whichever you choose, one rule applies: the food must be steaming hot all the way through, not just on the surface. Below you'll find the method for each approach, then separate advice for meat, potatoes and sides.
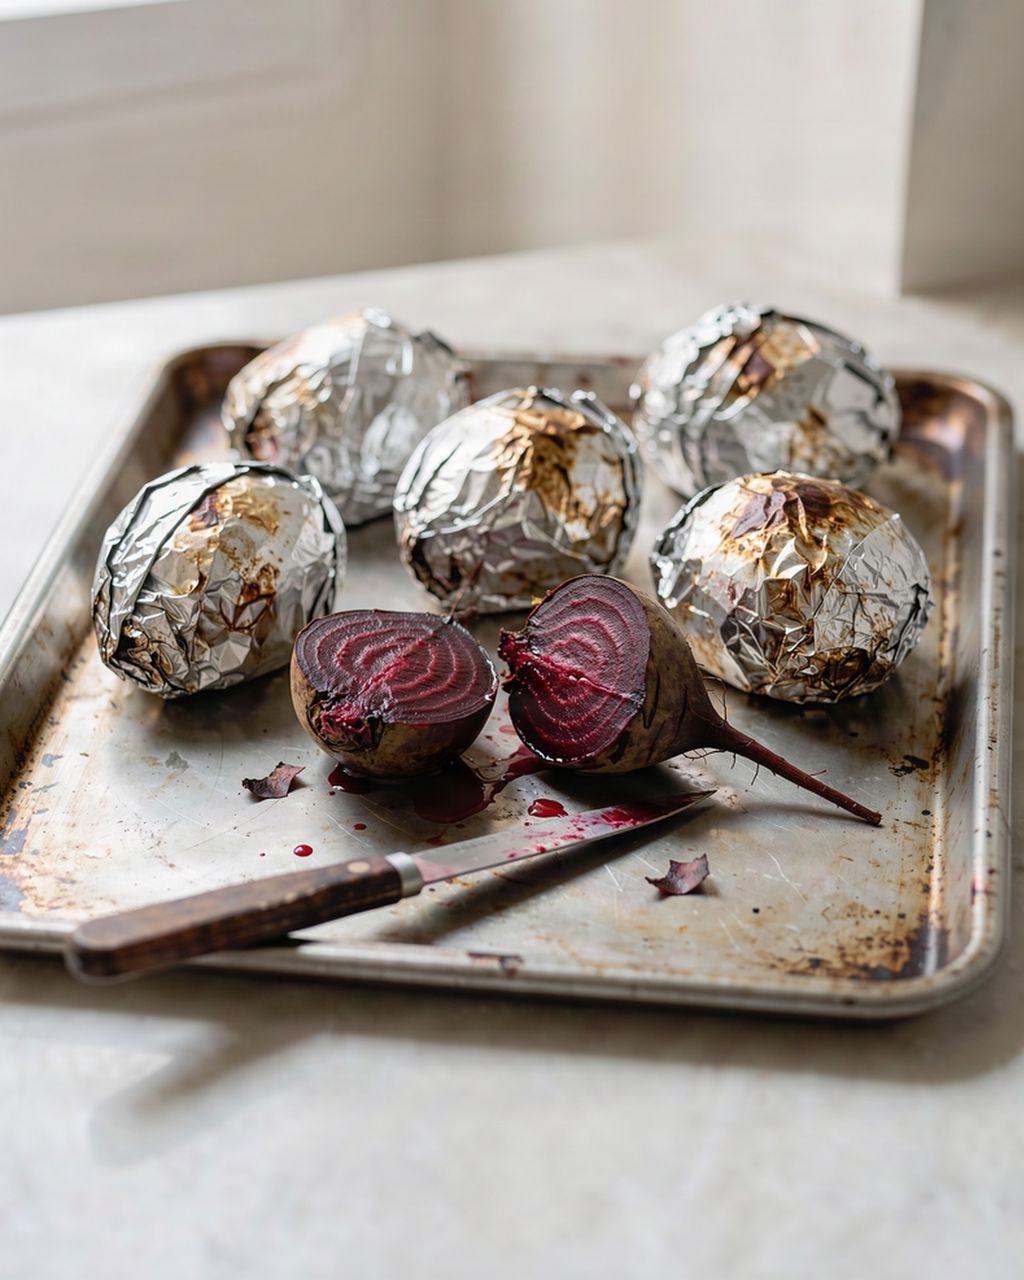
Boil whole, unpeeled beets in salted boiling water for 25–50 minutes depending on size, or wrap them in foil and roast at 200°C (400°F) for about an hour. Both methods come from the US university extension services NCHFP and Purdue Extension. Boiled beets are quicker and juicier, while roasted ones are sweeter and denser, because nothing leaches out into the water. In a hurry, you can also cook them cubed in the microwave. Below you'll find times by size, how to tell when beets are done, how to peel them without purple hands, and how to store them in the fridge and freezer.
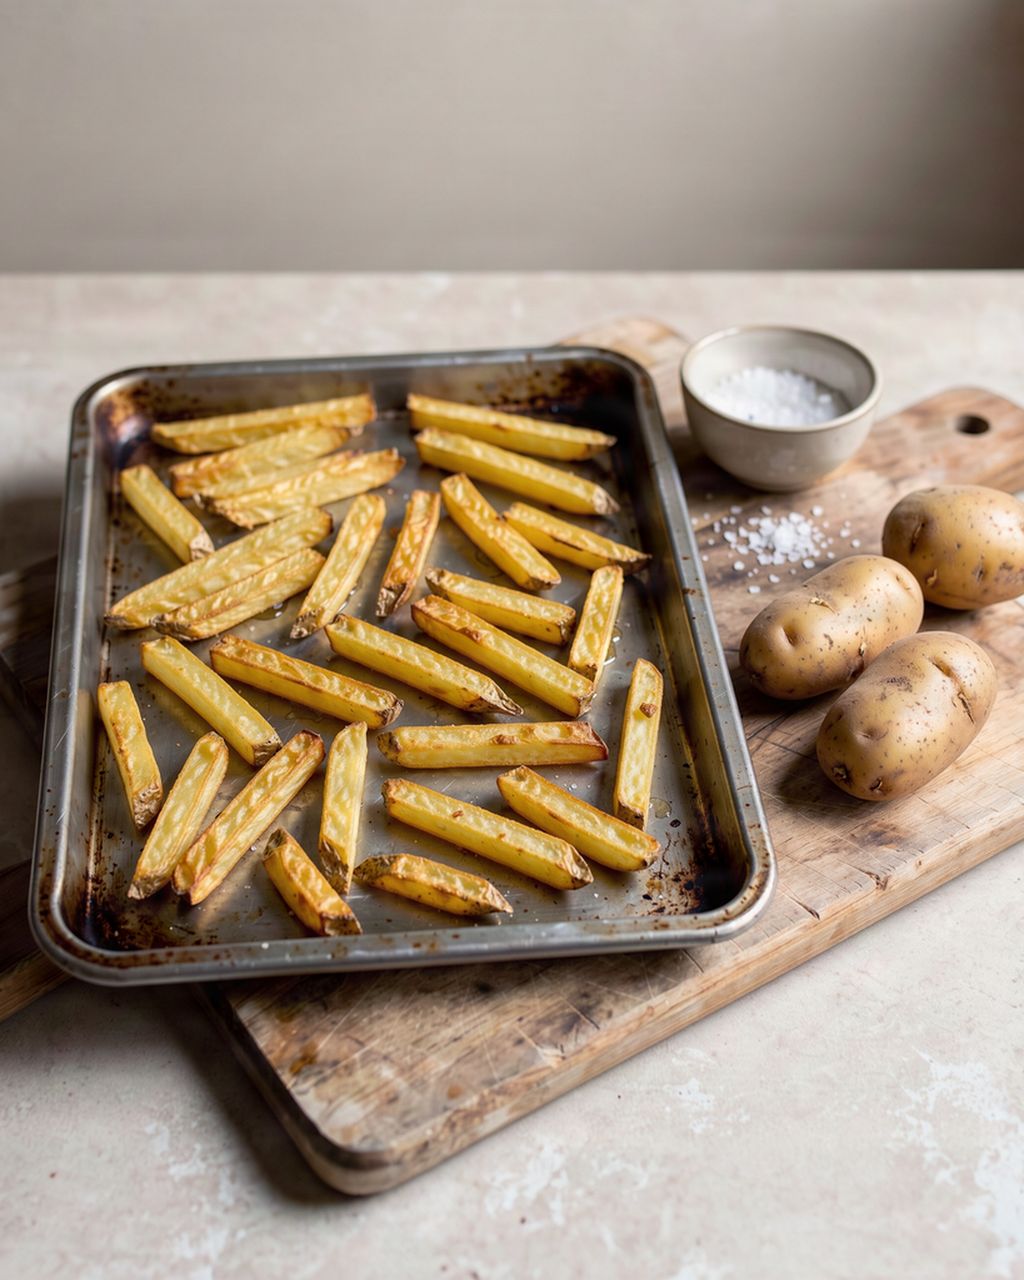
Bake homemade fries in the oven at 220°C (425°F) for about 35–40 minutes, flipping them halfway. In an air fryer, cook them at 180°C (350°F) for 18–25 minutes (Philips instructions). They only turn out crisp if you soak them first, dry them thoroughly, toss them lightly in oil and spread them in a single layer. Bake frozen fries according to the package. Below you'll find the full method: cutting, soaking, oil, single and double cooking, and why fries go soft.
An oven thermometer is the only reliable way to find out your oven's real temperature, and it can easily be 5–15 °C (about 10–30 °F) away from what the dial says. The oven doesn't measure the temperature where your cake is actually baking, it heats in cycles, switching on and off, and it drifts out of calibration as it ages. Here's how to measure the real temperature in 30 minutes, why ovens get it wrong, why it matters so much for Christmas cookies, and how to bake around the result so your recipes turn out the way they should.
Japanese knife or European knife? Japanese blades bet on hard steel, a thin edge and razor sharpness — they cut precisely and hold that edge for a long time. European blades bet on toughness, weight and versatility — they handle almost anything and forgive more mistakes. Neither one is objectively "better"; it all comes down to what you need from a knife and how much care you're willing to put in. In this guide we'll walk through steel, blade angle, handles, blade types and maintenance, so you can figure out which one belongs in your kitchen.
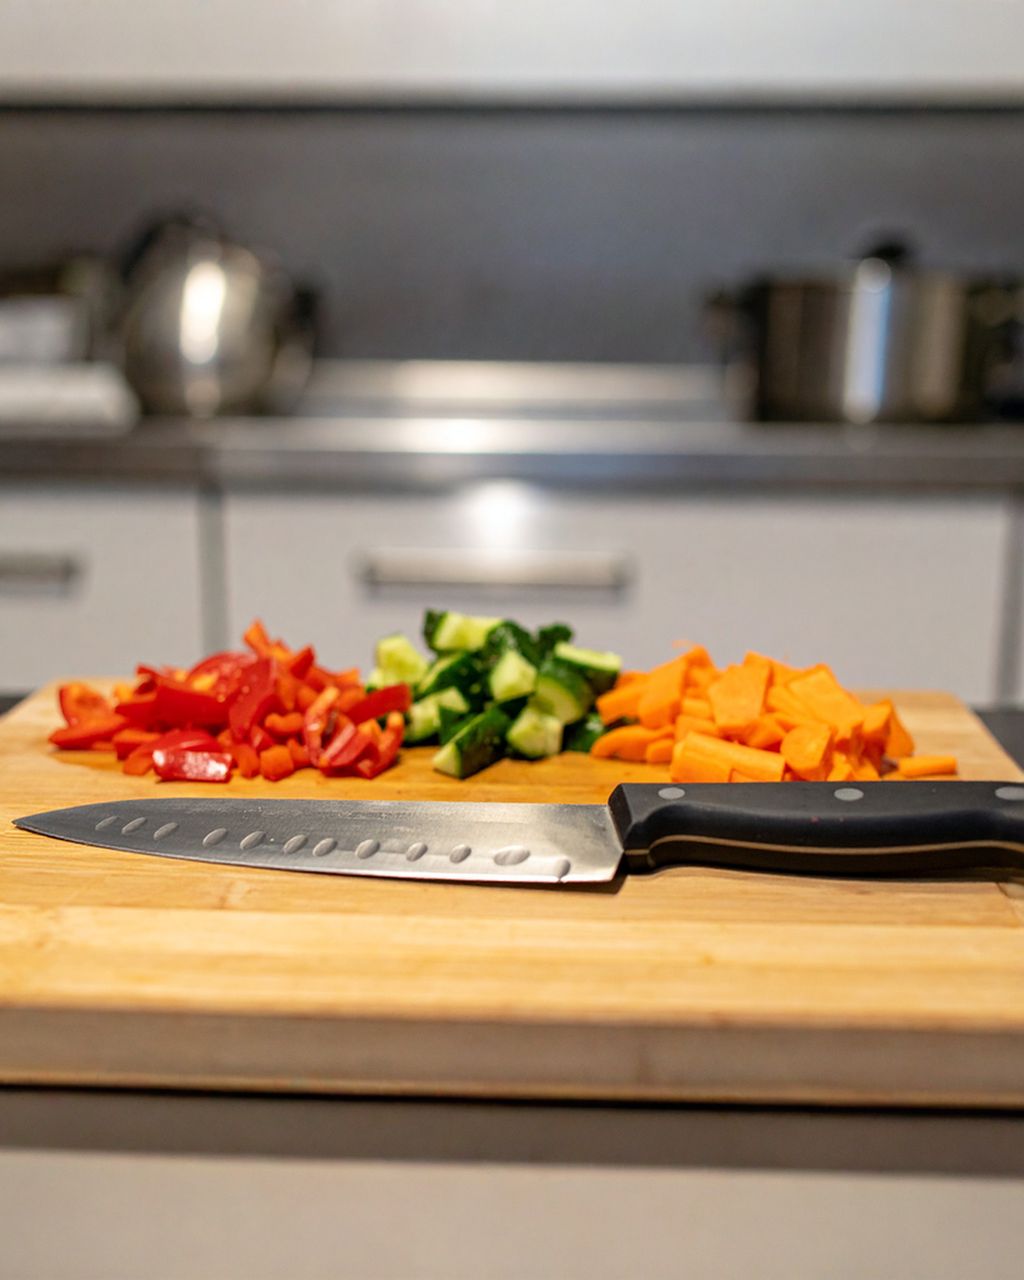
An all-purpose kitchen knife has a blade of roughly 12–20 cm and, on its own, covers most of your everyday kitchen work – chopping vegetables and herbs, slicing meat, breaking down smaller cuts. Instead of a whole block of specialised knives you'll only ever touch half of, all you need is one blade that feels right in your hand. In this article you'll find out how to choose one, how to cut with it properly, and how to look after it so it lasts for years.
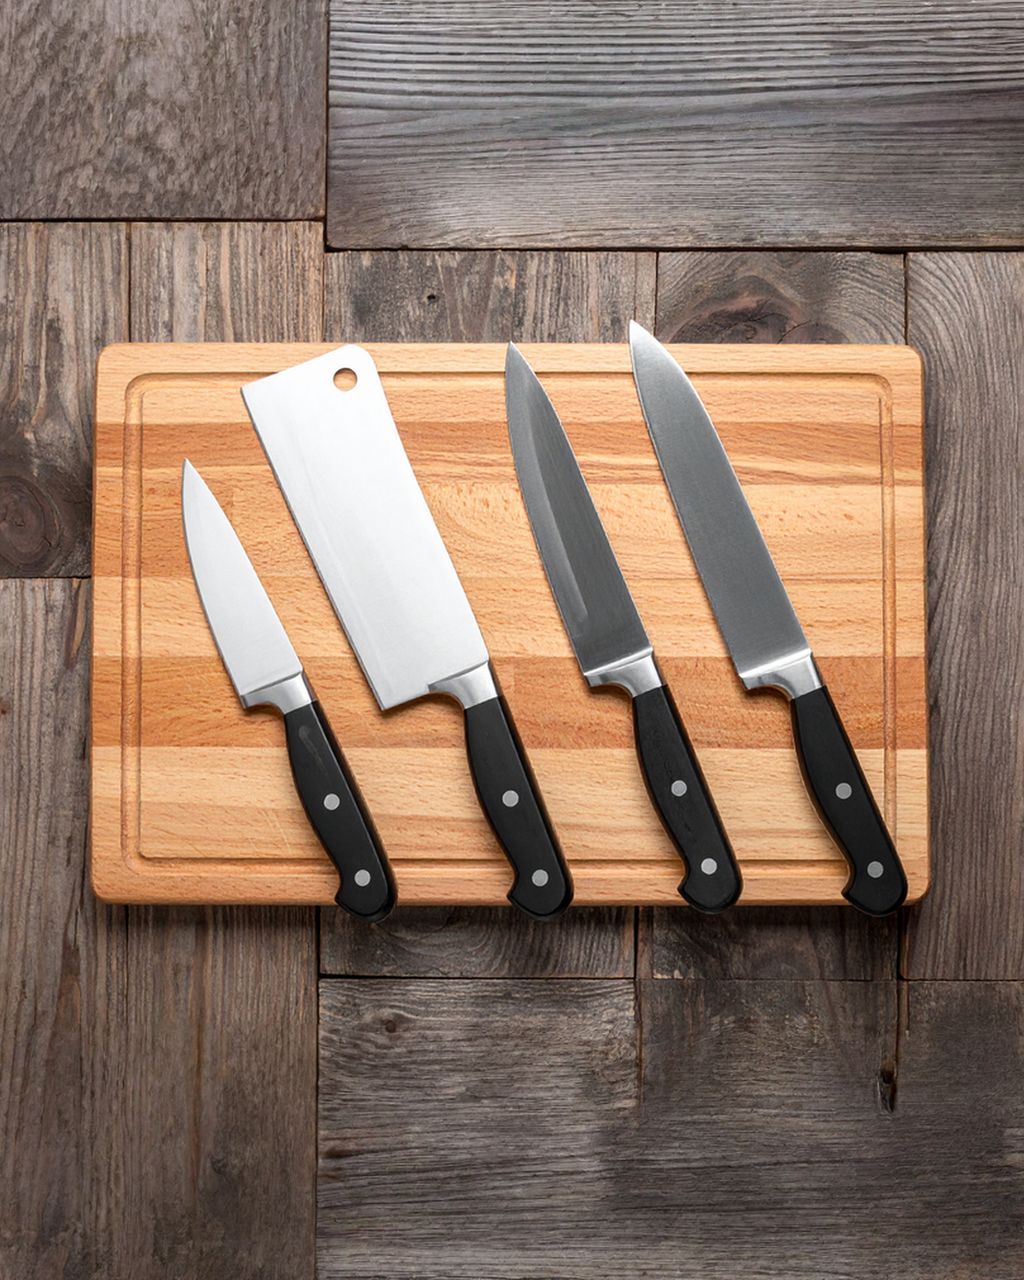
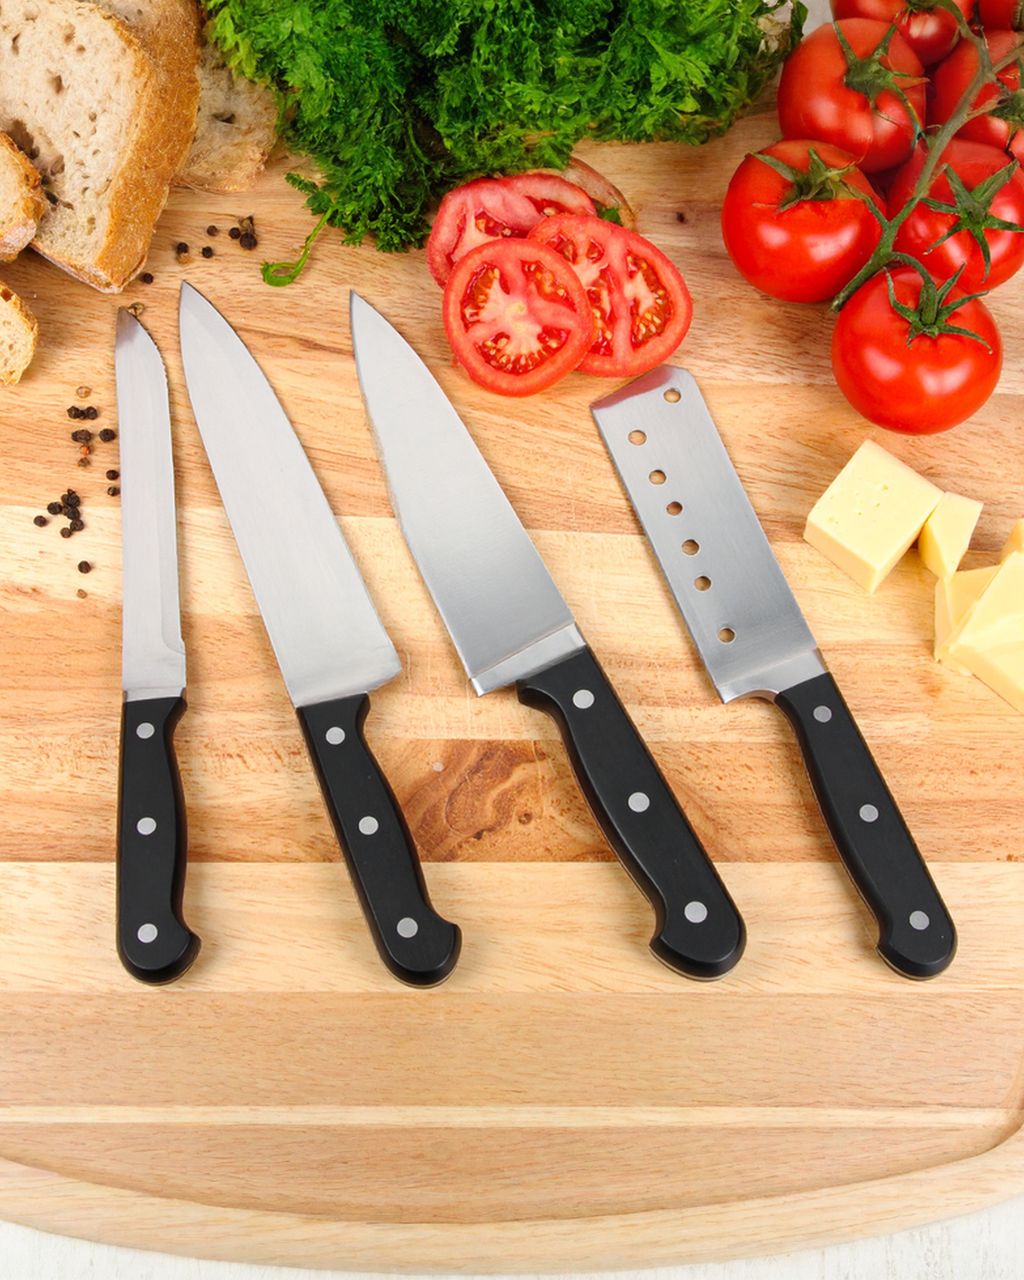
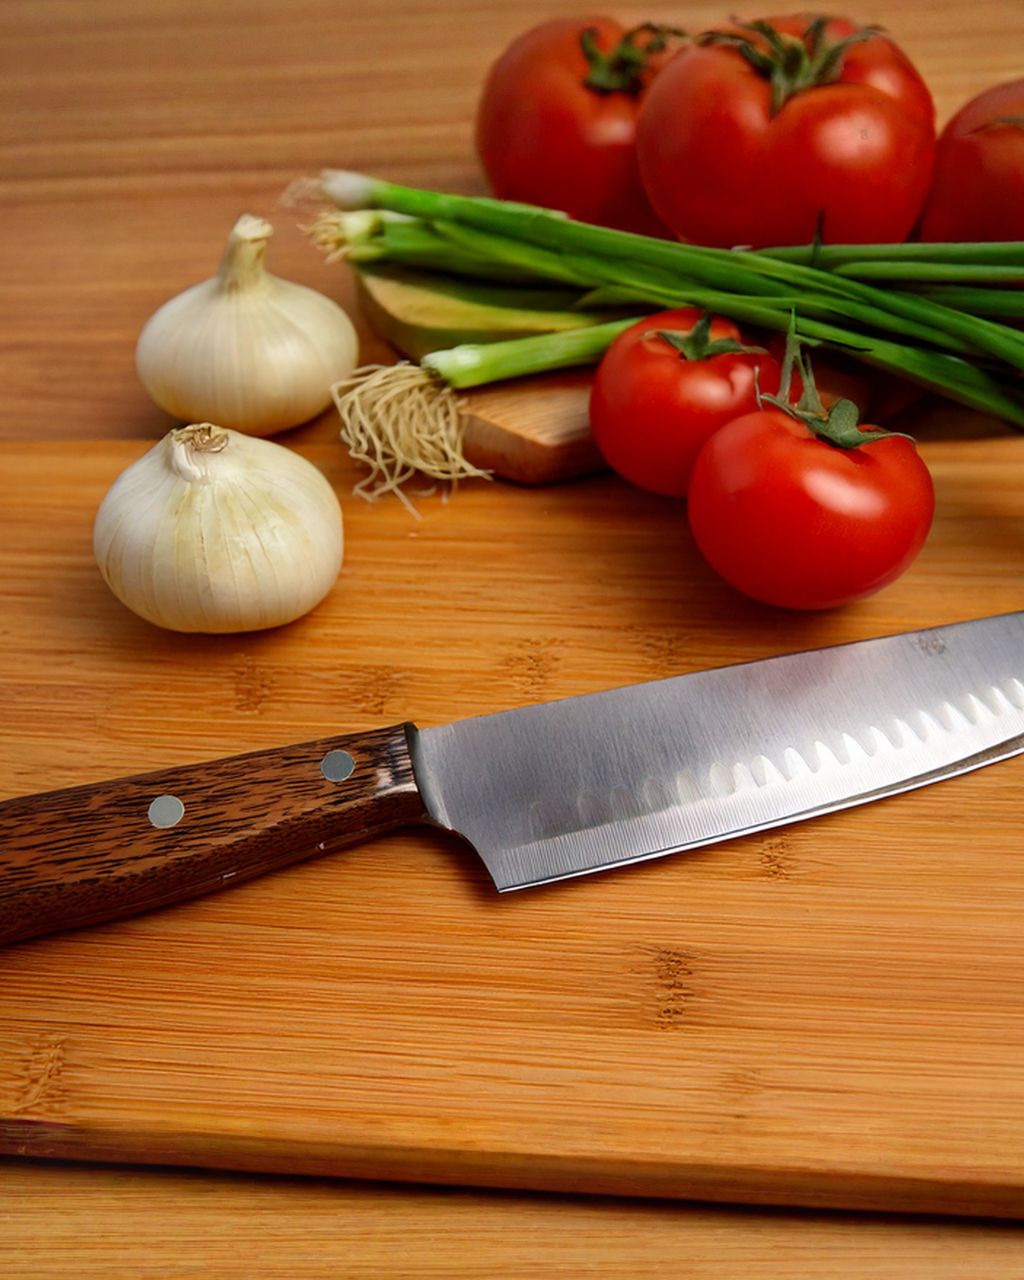
The right kitchen knife depends on the job: a sturdy blade for meat, a light santoku or chef's knife for vegetables, a serrated blade for bread, and a holed or wire knife for cheese. To get started, three knives are really all you need: a large chef's knife (or santoku), a small paring knife, and a serrated bread knife. In this article, we'll cover how blades differ, which steel and length to choose, and how to keep a knife sharp — because a sharp knife not only works better, it's also safer than a dull one.
A kitchen knife is the single most important tool in your kitchen — and to start, you really only need one good one. A quality chef's knife (or santoku) handles about 90% of the work: chopping vegetables, meat, and herbs alike. Pair it with a small paring knife for detail work and a bread knife, and you're set. In this guide, we'll help you choose a knife that feels right in your hand, pick the best steel, and keep it sharp for years — without overspending.
The easiest way to clean a cooker hood is to run the grease filter through the dishwasher every month or two, or soak it in hot water with washing-up liquid and baking soda, swap out the carbon filter after a few months instead of washing it, and wipe the outer surface according to its material. It sounds like a chore, but built-up grease saps the hood's suction power, keeps odours trapped in your kitchen, and is a fire hazard. Here's the full process, no fluff.
You can sharpen a knife at home in 10–15 minutes on a whetstone: hold the blade at a 15–20° angle, run long strokes alternating between both sides, working from a coarser grit down to a fine one, until you feel a slight burr along the edge, then finish it off on the fine stone. No workshop or professional service needed. A sharp knife doesn't just make cutting faster – it's also safer, since it won't slip off the skin of whatever you're cutting and force you to push harder. In this guide we'll walk through the whole process step by step: the right angle, choosing your tool and stone, stroke technique, common mistakes, and how to keep that edge as long as possible.
What are the standard kitchen cabinet dimensions? The countertop sits 85–95 cm (33½–37½ in) high, base cabinets are 60 cm (24 in) deep, wall cabinets are 30–35 cm (12–14 in) deep, and there's a 55–60 cm (22–24 in) gap between the countertop and the wall cabinets. But adjust the countertop height to yourself: it should sit roughly 10–15 cm (4–6 in) below your elbows. Below you'll find the specific measurements, the elbow rule for countertop height, tips for a small kitchen and how to measure your space properly.
Kitchen tools make the difference between cooking being a joy or a chore — and you don't need dozens of them, just a handful of well-chosen ones. The essentials boil down to three things: a sharp chef's knife, a solid cutting board, and a digital scale. Beyond those, smart helpers like a mandoline, spiralizer, or sous-vide setup come in handy, along with electrics like a blender, stand mixer, and steamer pot. In this guide, we'll walk through what's actually worth buying, what to look for when choosing, and what to avoid.
A good kitchen layout comes down to three things: choosing the right cabinet configuration for the shape of your room, arranging the sink, cooker and fridge into a smooth work triangle, and leaving enough room to move around. Everything else — storage, heights, materials — is just fine-tuning that basic skeleton. In this article, we'll walk through every step with concrete measurements, so you don't have to guess: how many centimetres to leave for a walkway, how high to hang your wall cabinets, or which layout shape actually fits your space. Whether you're planning a brand-new kitchen or reworking your current one, you'll know exactly where to cut out every unnecessary step.
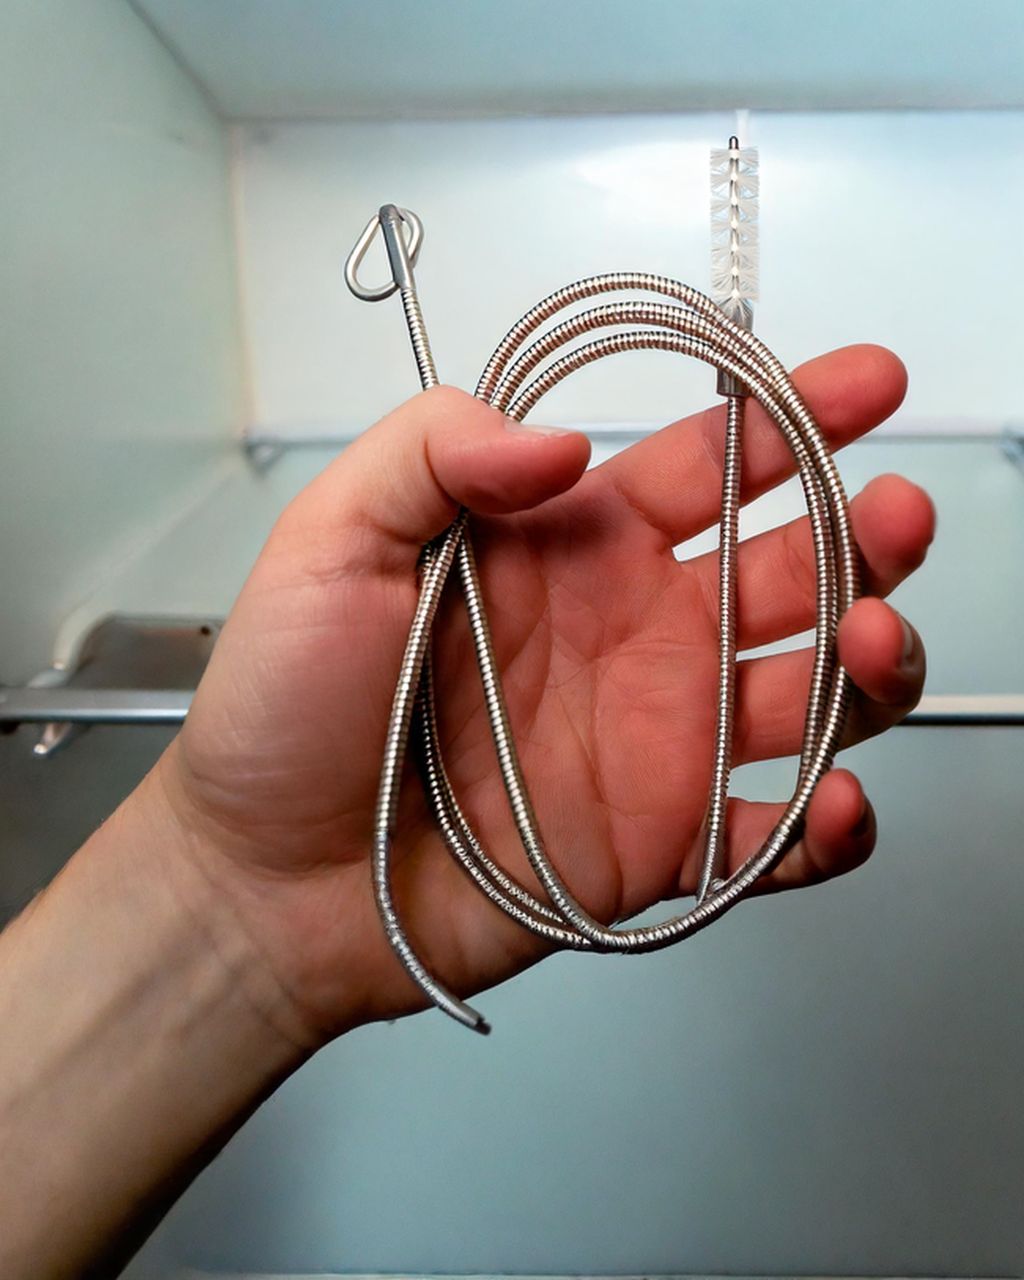
The fridge drain is that small hole in the back wall of the fridge compartment that carries away defrost water — and when it clogs up, you'll know right away: water pooling at the bottom, odd smells, and a higher electricity bill. The good news is that cleaning it takes just a few minutes with things you already have at home. In this guide, I'll explain what the drain does, how often to clean it, how to do it step by step, and how to stop it clogging again.
That funky smell behind your fridge almost never comes from the food on the shelves – it's usually the defrost tray above the compressor, a clogged drain channel, or dust on the condenser coils. The good news: you can track down the source in a few minutes and fix it with everyday kitchen staples, no pricey chemicals and usually no need for a repair technician. Let's walk through where the smell actually comes from, how to clean your fridge step by step, and how to stop the mustiness from coming back.