Kitchen Cabinet and Countertop Dimensions: Ideal Measurements for Every Kitchen
Kitchen Layout: How to Plan a Floor Plan for Comfortable, Efficient Cooking
Updated Jul 19, 2026
A good kitchen layout comes down to three things: choosing the right cabinet configuration for the shape of your room, arranging the sink, cooker and fridge into a smooth work triangle, and leaving enough room to move around. Everything else — storage, heights, materials — is just fine-tuning that basic skeleton. In this article, we'll walk through every step with concrete measurements, so you don't have to guess: how many centimetres to leave for a walkway, how high to hang your wall cabinets, or which layout shape actually fits your space. Whether you're planning a brand-new kitchen or reworking your current one, you'll know exactly where to cut out every unnecessary step.
There are six basic kitchen layout types: single-wall (linear), galley (parallel), L-shape, U-shape, G-shape and island. Which one suits you depends mainly on the shape and width of the room — not personal taste. Smaller, narrower spaces work best with a single-wall or galley run, mid-sized rooms suit an L-shape, and large, open rooms can handle a U, G or island layout. We'll go through them from smallest to largest.
A single-wall kitchen lines up all the appliances and worktop along one wall — ideal for studios, narrow rooms, and open-plan spaces where the kitchen needs to blend into the living area. It works best on a wall up to about 3.6 m; beyond that, you end up walking back and forth unnecessarily. A tried-and-tested left-to-right order is fridge – sink – cooker, with as much counter space as possible between the sink and cooker for chopping. The downside is limited worktop space, which you can partly offset with tall cabinets and shelving up top.
A galley kitchen places two runs facing each other and is the most efficient option for narrow, through rooms. The work triangle shrinks down to just a few turns: one side usually holds the cooker and sink, the other the fridge and storage cabinets. The key measurement is the gap between the two runs — leave at least 1.2 m so cabinet doors and the dishwasher can open comfortably on both sides and two people can pass each other. Anything under a metre feels cramped, and you'll be bumping into each other while cooking.
An L-shape kitchen runs along two adjoining walls into a corner and is the most versatile solution for mid-sized kitchens and open-plan living spaces alike. It naturally separates the cooking zone from the rest of the room and leaves a free corner for a dining table. Put the sink and cooker on each arm, and the fridge at the edge of one of them — this gives you a clean, short triangle with no crossed traffic. A sufficiently wide L-shape can also accommodate an island later on.
A U-shape kitchen wraps around three walls and offers more worktop and storage space than any other layout — great for larger, squarer rooms and households where several people cook at once. Each of the three zones (washing, cooking, cooling) can get its own wall. To avoid feeling cramped, you need at least 2.4 m of clear space between the opposite arms; in a room narrower than 3 m, consider an L-shape instead. Watch out for the two corners — fit them with rotating carousels so you don't lose that storage space.
A G-shape kitchen is a U-shape with a fourth, shorter arm added, most often used as a breakfast bar or peninsula for seating. It gives you even more storage and worktop space while visually separating the kitchen from the dining area, without needing to build a wall. The trade-off is space: a G-shape only makes sense in a large room — otherwise that fourth arm starts closing in on you and the walkways shrink below a workable width.
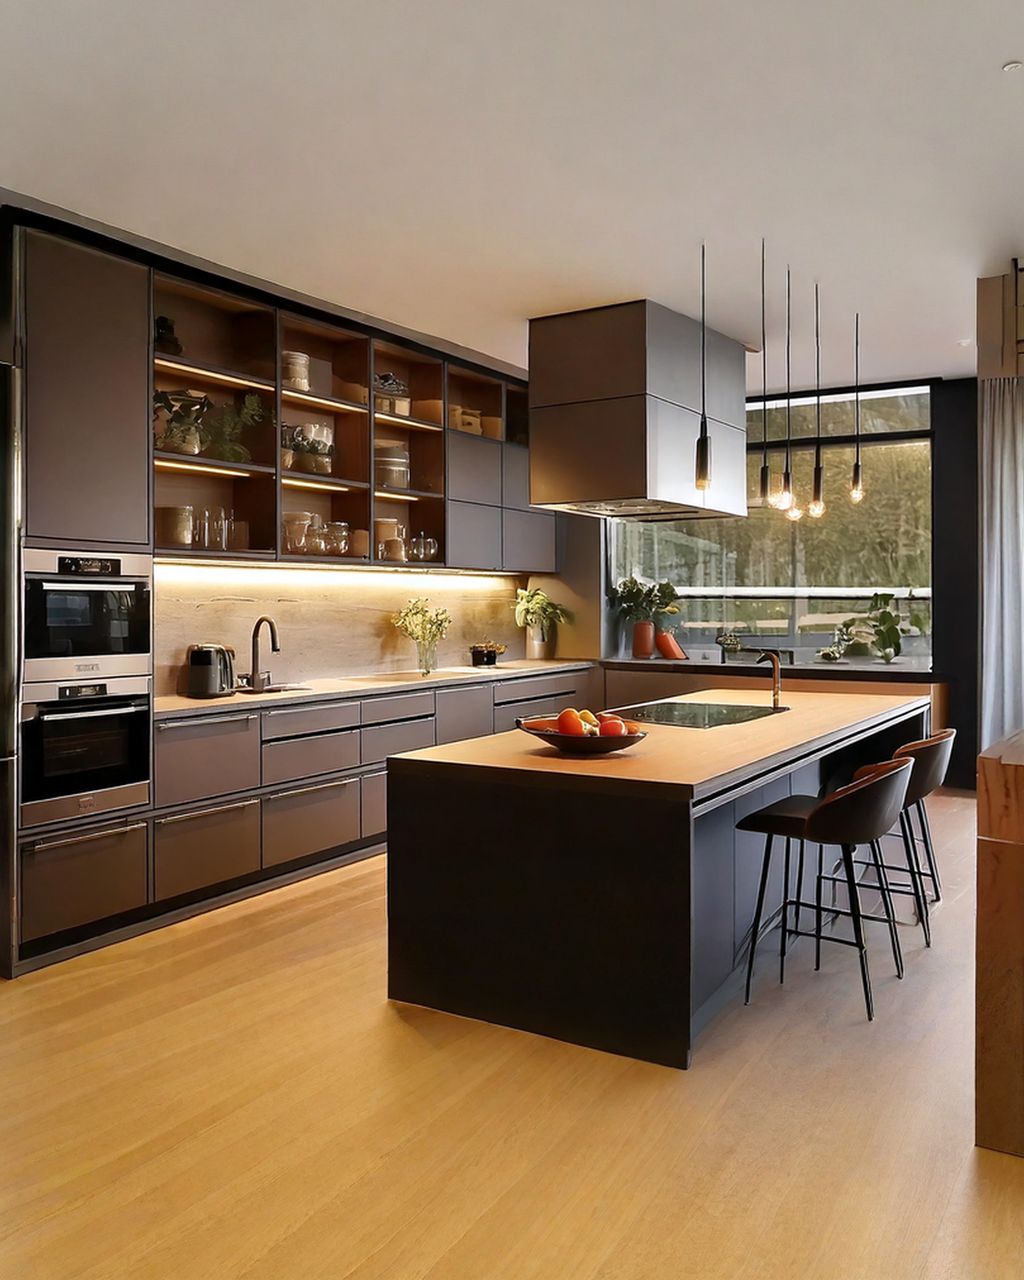
An island kitchen adds a freestanding island in the middle of the room to any of the previous layouts (most often an L or U) — as prep space, seating, or a home for the sink or hob. It's the most sociable layout: whoever's cooking faces everyone else. The catch is space. Leave at least 1 m, ideally 1.2 m, of clear walking room all the way around the island, or it turns from an asset into an obstacle. In practice, that means a room at least 3.5–4 m wide.
Recipe of the week, one tip that saves you time and one deal from the shop. Unsubscribe in one click.
The next issue goes out on Thursday, November 26.
The work triangle principle states that the kitchen's three busiest points — the sink, cooker and fridge — should form a triangle where each side measures 1.2 to 2.7 m, and the total of all three sides doesn't exceed roughly 8 m. Stay within these limits and you'll cover the fewest possible steps between washing, cooking and chilling, with no route forcing you around obstacles. It's a decades-old principle from organisations like the NKBA, and it's still the fastest way to check whether a kitchen will actually work in practice.
Following NKBA planning guidelines, aim for these figures when designing:
Length of each side: 1.2–2.7 m (too short and things feel cramped, too long and you're walking further than you need to).
Total of all three sides: ideally 4–8 m.
Room traffic: no main walkway should cut through the inside of the triangle.
Island: shouldn't intrude on any side of the triangle by more than 30 cm.
Always measure from the centre of each appliance's front, not the edge of the cabinetry.
Alongside the work triangle, designers increasingly plan kitchens around five zones, because this approach fits better with built-in ovens, large pantries, or islands where more than one person cooks. Split the kitchen into: storage (fridge, pantry), dishes and utensils (pots, plates, cutlery), prep (open counter for chopping), cooking (cooker, oven, extractor) and cleaning (sink, dishwasher, recycling bin). The trick is simple: store each item where you'll reach for it first — tea towels and washing-up liquid by the sink, spices and oils near the hob, boards and knives in the prep zone.
You don't have to pick one — they work together. The triangle gives you a quick check on the placement of the three main appliances, while zones help you logically lay out cabinets and drawers around them. In a small kitchen for one cook, the triangle alone is enough. In a large, open kitchen with an island and two people cooking side by side, thinking in zones makes more sense, since a single triangle can no longer cover everything going on in the space.
You don't get more storage with bigger cabinets — you get it by using what you already have more cleverly, especially upward and into the corners. Three solutions make the biggest difference: vertical space, pull-outs instead of fixed shelves, and corner mechanisms. Let's go through them one by one. If you're also working out how deep and tall your cabinets should be, take a look at our guide to ideal kitchen cabinet dimensions.
The cheapest way to add capacity is to go up. Open shelves above the worktop, a hanging rail for ladles and frequently used utensils, or a magnetic knife strip free up drawer space for everything else. Run your wall cabinets right up to the ceiling — the top shelf, harder to reach, is perfect for things you only pull out twice a year, like baking tins, preserving jars, or the good china.
A classic cabinet with a door and a fixed shelf wastes space: you can't reach the back, and you forget what's there anyway. Swap fixed shelves for full-extension drawers or wire baskets — you pull the whole contents out towards you and see everything from above. Tall pull-out "cargo" units work well in base cabinets for oils and bottles. A drawer holds more and organises better than a shelf, so use one for pots too.
Corner cabinets are usually where space goes to waste — but they don't have to be. A rotating carousel, a "magic corner" pull-out mechanism, or a Le Mans system brings the corner's contents out to you, so you're not fishing around in the depths. If you're renovating, plan your corner solution right from the start — retrofitting one into a finished kitchen is trickier and pricier.
An ergonomic kitchen follows your body, not a catalogue — the right heights and clearances save your back and speed up every movement. The basic rule for worktop height: the top edge should sit 10–15 cm below your elbow when standing. For most people that works out to 85–95 cm, with 90–92 cm as the common standard. If the people cooking in your household vary a lot in height, consider different heights for the sink and hob sections, or at least set the counter to suit whoever cooks most often.
The things you use most should sit between waist and eye level, so you're not bending or reaching. Position a built-in oven or microwave in a tall unit at roughly eye level — you want to pull out a hot tray at eye level, not from a crouch. It's worth raising the dishwasher 15–20 cm on a plinth so you don't have to stoop over it. The bottom edge of wall cabinets usually sits about 50 cm above the worktop, leaving room for appliances — and your head — underneath.
Narrow aisles are the most common reason a kitchen just doesn't "flow." Stick to these minimums:
General walkway (no cooking happening there): at least 90 cm.
Work aisle for one cook: 100–107 cm.
Work aisle where two people cross paths: at least 120 cm.
Measure with cabinet doors open and the dishwasher or oven pulled out — these are exactly what narrows an aisle in real life.
Good kitchen lighting has three layers: ambient (a ceiling fixture for overall brightness), task (an LED strip or spotlights under wall cabinets, right above the worktop) and mood (under-lighting for an island or shelf). The task layer matters most — standing with your back to the ceiling light casts a shadow right onto the counter, exactly where you're chopping. Go for a neutral white (around 4000 K), which shows food's true colours.
Pick your worktop material based on how much upkeep you're willing to put in — looks and price come second. In short: natural materials look vibrant and age gracefully but need care; synthetic ones are low-maintenance and tough but look more neutral. Decide accordingly.
Wood, stone and bamboo bring a warmth and character that synthetic surfaces struggle to match. Wood feels lovely underhand and lasts for years with proper care — but it needs regular oiling and doesn't cope well with prolonged moisture, so take care around the sink. Stone such as granite is very resistant to heat and scratches; marble is beautiful but softer and prone to staining from acids like lemon juice or wine. Stone worktops cost more upfront, and most need occasional resealing.
Laminate and composites give you the most looks for the least maintenance. Laminate (postformed worktop) is the most affordable option and just needs a wipe with a cloth, but it handles heat less well and a damaged edge can absorb water. Quartz composite (engineered stone) binds stone particles with resin — it's non-porous, resistant to stains and scratches, and needs no sealing at all, making it a low-maintenance choice at a higher price than laminate. Either way, always use a trivet under a hot pan.
Want the least hassle? Go for composite or a good-quality laminate. Prefer an authentic look and don't mind the occasional bit of upkeep? Choose wood or stone. A good compromise is to mix the two: a hard-wearing composite for the main worktop and wet zone, and a wooden island or bar for warmth and contrast. When you're stocking the rest of your kitchen, our guide to essential kitchen tools can help.
A single-wall (linear) or galley layout suits a small flat best. A single run along one wall is ideal for studios and open-plan living, while a galley layout works well in a narrow through-room — just leave at least 1.2 m between the two facing runs. An L-shape fits even a smaller corner, but save the U-shape for a room wider than 3 m, or it will feel cramped.
Yes, but only one of the triangle's three points (usually the sink or hob) can sit directly on the island. The key is that the island shouldn't cut into any side of the triangle by more than 30 cm and shouldn't block the main route between the cooker and the sink. Leave at least 1 m, ideally 1.2 m, of clear walking space all the way around the island.
Position the bottom edge of your wall cabinets about 50 cm above the countertop, so appliances — and your head — fit comfortably underneath. Hang the extractor hood 65–75 cm above the hob: lower for gas, higher for induction, though the manufacturer will give you the exact figure. Store the items you use most between waist and eye level, so you're not constantly bending down or reaching up.
Oil a wooden worktop several times right after installation, then roughly two to four times a year afterwards — or as soon as it stops repelling water. Natural stone (granite, marble) usually needs sealing about once a year; a simple water-drop test tells you when: if the drop soaks in quickly and darkens the surface, it's time to reseal. Quartz composite and laminate need no maintenance at all.
Yes — you can cut out unnecessary steps even without moving any appliances. Move the fridge closer to your prep zone, clear the main route between the cooker and sink of bins, chairs and rolling carts, and reorganise your cabinets by zone — spices near the hob, boards and knives in the prep zone, tea towels and washing-up liquid by the sink. Often it's rearranging what's already there, not rebuilding, that makes the biggest difference.
One recipe worth heating the oven for, one tip, and one deal from the shop. Nothing else.