Chocolate-dipped marokánky (hazelnut florentine cookies)
Cake Icing and Cookie Glazes: Types, Ratios and When to Use Each
Updated Oct 17, 2026
The best icing for a cake is the one that suits how you'll slice and store it. For a cake that goes in the fridge, ganache is the safest bet (dark chocolate and cream 1:1 for a drip, 2:1 for covering). Mousse cakes call for mirror glaze, bundt cakes and gingerbread for a quick lemon glaze, and a cake that has to slice without cracking for chocolate softened with butter or cream. Plain chocolate hardens in the fridge and breaks when you cut it. Icings for cookies and cakes boil down to six basic types: chocolate, ganache, royal icing, sugar glaze (lemon or punch), fondant and mirror glaze. They differ in whether they set hard, how they slice, how long they keep and how much work they take. Cookies that will sit in a tin for weeks need an icing that dries and isn't sticky. A cake that will be eaten within two or three days can handle creamy ganache or a glossy mirror glaze. For each one, you'll find ratios, temperatures and the most common mistakes, so you know which to reach for.
Choose a cake icing by asking three questions: will you slice it from the fridge, should it be glossy, or do you mainly want it done fast? For a cake you'll slice straight from the fridge, ganache is the most reliable; for a smooth, glossy mousse cake, use mirror glaze; for a quick cake, bundt cake or gingerbread, use a sugar glaze.
Here's how each icing behaves on a cake:
Ganache (chocolate + cream) – sets in the fridge to a firm but flexible surface, slices cleanly with a warmed knife and doesn't crack. With a cream filling it keeps 3–4 days in the fridge. The most versatile choice.
Plain melted chocolate – hardens in the fridge into a shell, cracks when you cut it and peels away from the filling. Don't pour it over a whole cake; use it only for thin decorations and panels.
Chocolate softened with butter or cream – an icing you can slice – sets glossy but stays soft enough not to shatter under the knife. This is the kind of icing on a Sachertorte or chocolate slices.
Mirror glaze – keeps its shine for 2–3 days in the fridge and slices well with a warmed knife. Pour it only over a frozen cake, then let the cake thaw slowly in the fridge.
Sugar (lemon) glaze – sets on the surface in 1–2 hours, but on a cream cake in the fridge it turns damp and sticky. It belongs on bundt cakes, gingerbread and dry cake layers.
Fondant icing – satin shine, slices well, but can sweat in the fridge. Best for věnečky and slices; only occasionally for a large cake.
Royal icing – on a cake, use it only for lettering, lace and figures. Don't cover the whole surface with it, as it shatters when cut.
A quick rule: the more cream, the better the icing slices and the shorter it keeps; the more sugar and plain chocolate, the harder it is and the longer it lasts.
The basic icings for cookies and cakes are chocolate, ganache, royal icing, sugar glaze, fondant and mirror glaze.
Dipping chocolate (tempered, or with a little added fat) – for dipping cookies, Easter lamb cakes, marokánky and thinly coating a cake.
Ganache – chocolate and cream. For cakes, drips and fillings. Not suitable for cookies going in a tin, because it contains cream.
Royal icing – egg white and powdered sugar. For decorating gingerbread cookies; dries rock hard.
Sugar glaze – powdered sugar and a liquid (lemon juice, rum, water). The fastest glaze for bundt cakes, cookies and slices.
Fondant icing – cooked, worked sugar. A smooth white shine for classic pastries such as věnečky (choux rings) or punch slices.
Mirror glaze – gelatin, glucose syrup and chocolate. For frozen cakes and mousse desserts.
A quick rule: cookies = icings that dry hard (chocolate, royal icing, sugar glaze); cakes = anything goes, just allow for a shorter shelf life with anything made with cream.
Chocolate icing sets crisp and glossy only if the chocolate is tempered, or if you help it along with a little fat. Chocolate that has simply been melted and allowed to set again tends to look dull and streaky and stays tacky on your fingers.
Tempering is a controlled process of heating, cooling and reheating so the cocoa butter crystallizes in the right form. Couverture makers give these approximate temperatures:
Dark: melt to 45–50 °C, cool to 27–28 °C, work at 31–32 °C.
Milk: melt to 40–45 °C, cool to 27–28 °C, work at 30–31 °C.
White: melt to 40–45 °C, cool to 26–27 °C, work at 28–29 °C.
The easiest method at home is seeding: melt two thirds of the chocolate, stir in the remaining third, chopped, and keep stirring until it drops to working temperature. To test it, dip the tip of a knife: tempered chocolate will set glossy within a few minutes at room temperature and snap off cleanly.
The shortcut with fat: add 10–20 g of coconut oil per 100 g of chocolate. The icing flows nicely, sets without tempering and holds its shine; it's just a little softer and melts sooner in warm conditions. For dipping cookies, this is the best balance of effort and result for most home kitchens.
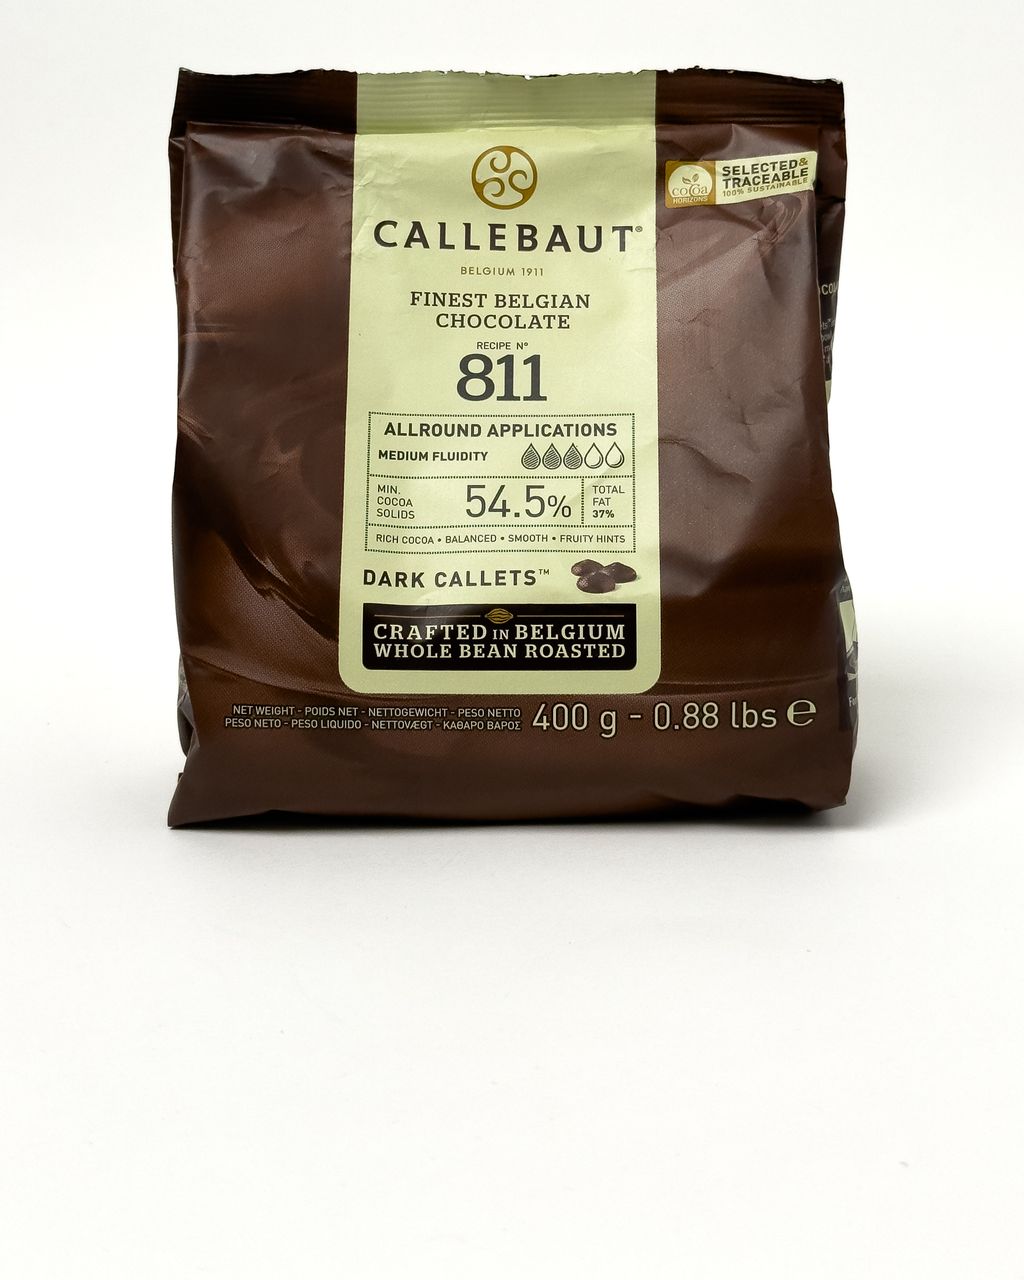
Chocolate icing for a cake needs more than it does for cookies. The hard shell that snaps nicely on a linzer cookie breaks on a fridge-cold cake when you cut it and slides off the filling. That's why cakes get chocolate softened with butter or cream. The article how to make a chocolate icing for a cake that slices covers how to mix the ratio so it cuts cleanly without cracking. For cake icings and dipping alike, use a couverture with good fluidity, such as Callebaut 811 dark chocolate with 54.5% cocoa.
Ready-made icing with vegetable fat is sold as “cake coating”, “cocoa coating” or simply “dark/white coating” – it isn't chocolate. Vegetable fat replaces the cocoa butter, so it needs no tempering and always sets, but it tastes flatter and more waxy. It's fine for decorating with kids; for cookies you care about, reach for real chocolate. Note that “čokoládová poleva” (chocolate glaze) on a Czech label, on the other hand, means real chocolate (couverture): under Czech Decree No. 490/2025 Coll. (and Directive 2000/36/EC), a “chocolate glaze” must contain at least 35% total dry cocoa solids, of which at least 31% cocoa butter and at least 2.5% fat-free cocoa solids. “Milk chocolate glaze” has its own limits (including at least 31% total fat).
You can read how to melt chocolate without lumps in How to melt chocolate without lumps, and why each type behaves differently in the overview of dark, milk and white chocolate. See chocolate icing in action on marokánky with chocolate glaze or on a nutty Easter lamb cake with chocolate glaze.
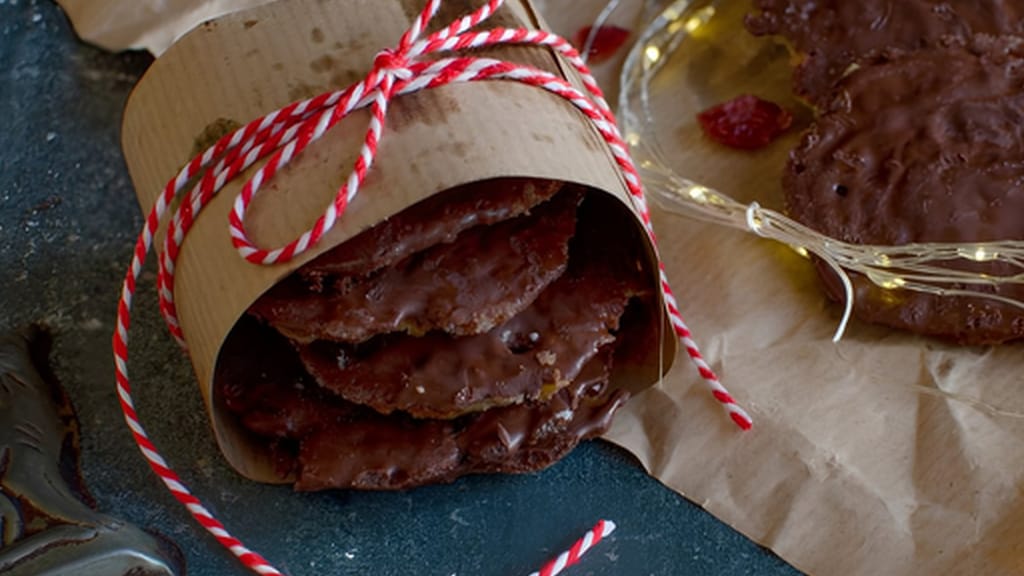
Chocolate-dipped marokánky (hazelnut florentine cookies)
Marokánky with chocolate glaze – cookies where tempered chocolate really shows
Ganache is an emulsion of chocolate and hot cream, and its thickness depends on the ratio – the more chocolate, the firmer it is. Approximate ratios (chocolate : 33% cream):
Dark chocolate icing and drip: 1:1.
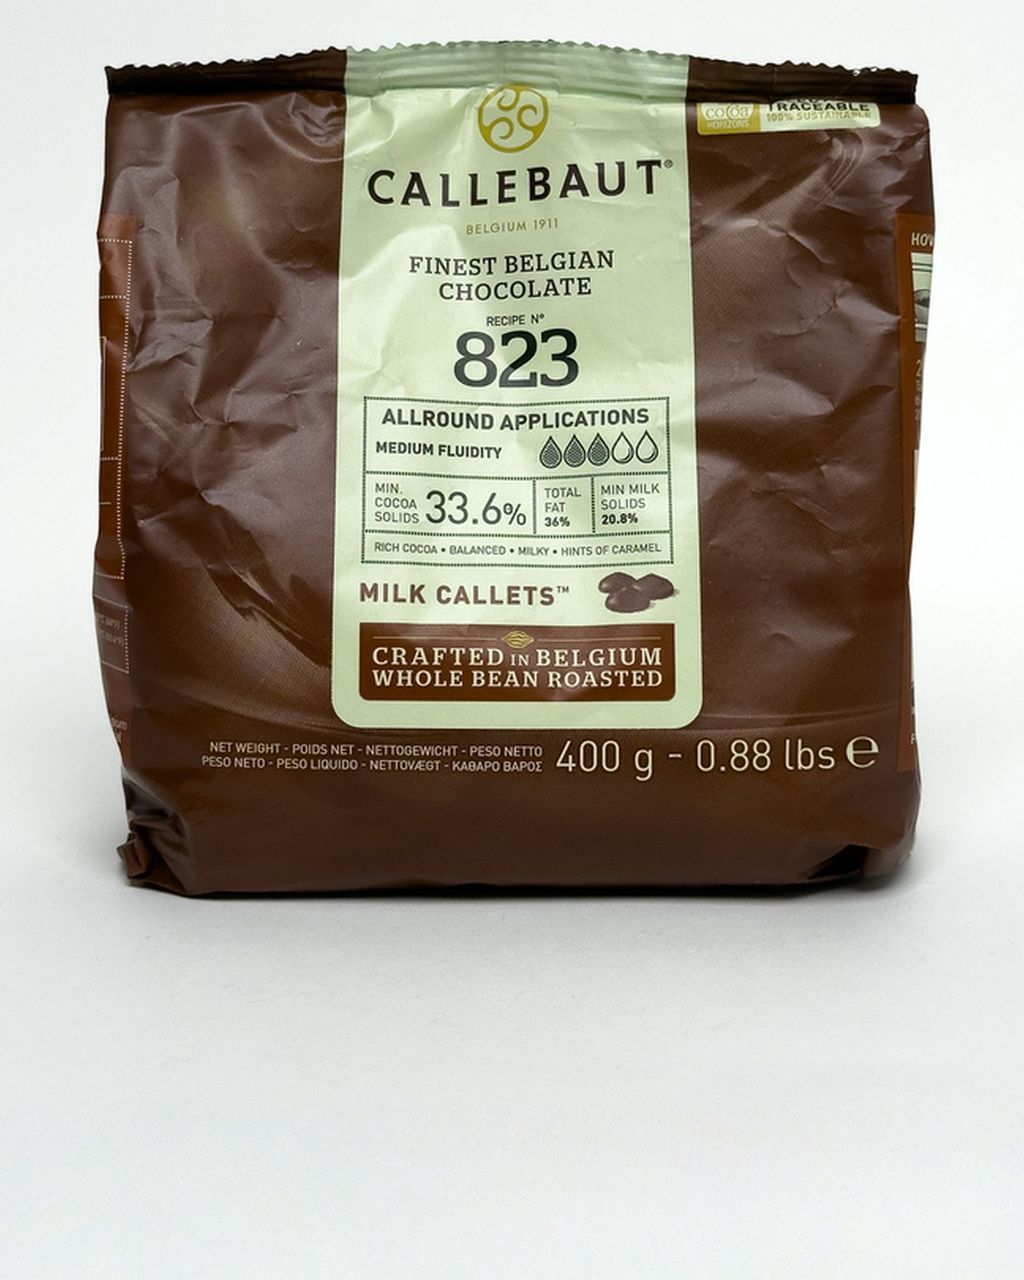
Milk chocolate icing: about 2:1 – milk chocolate contains less cocoa solids, so it needs more chocolate to set.
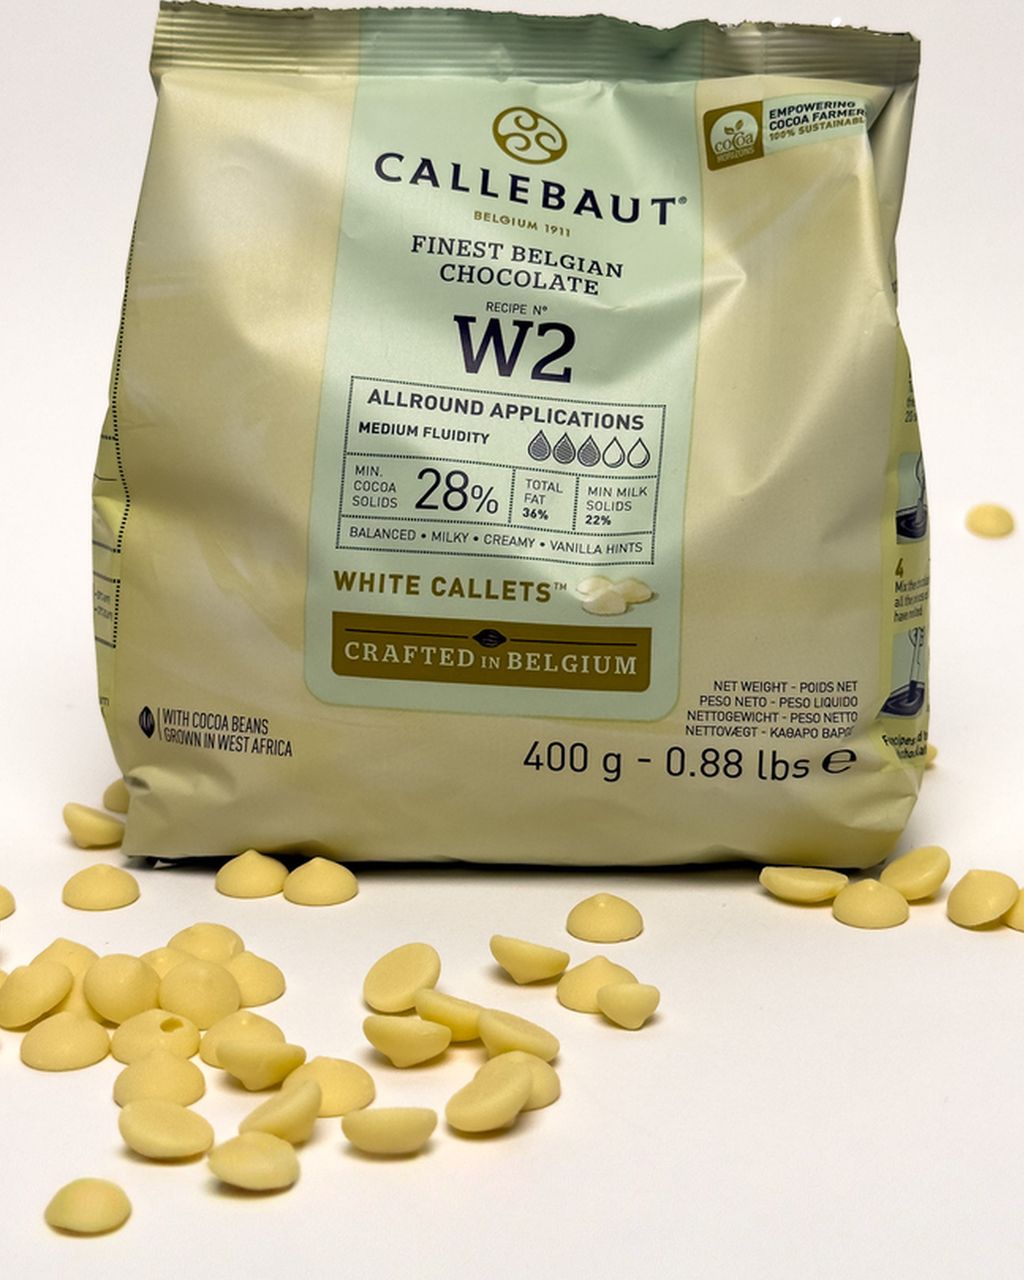
White chocolate icing: about 3:1.
Firm ganache for covering and leveling a cake: dark, 2:1.
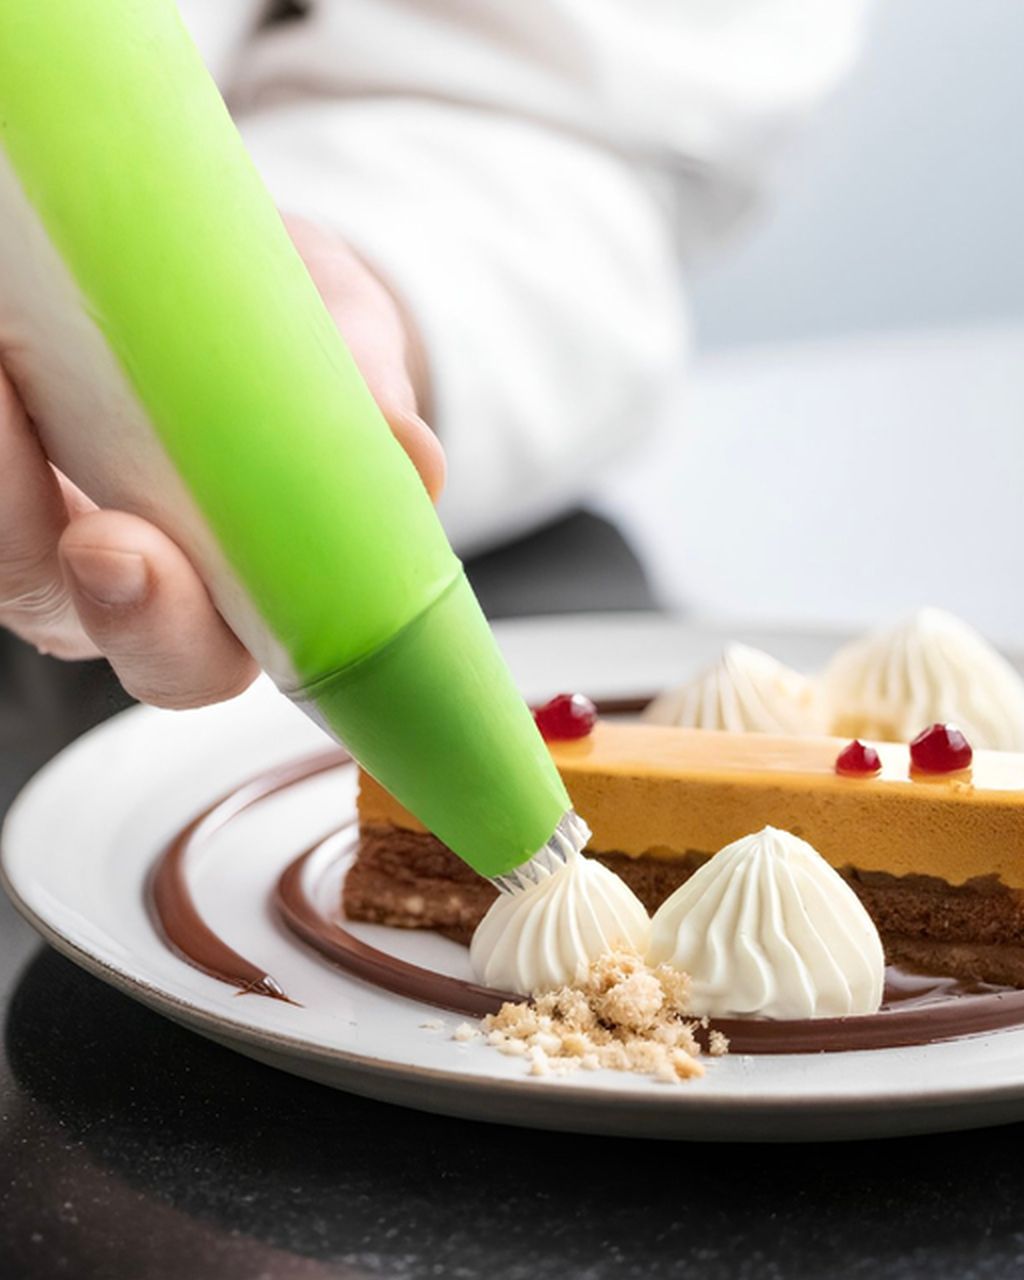
Heat the cream to just below boiling, pour it over the chopped chocolate, leave it for a minute, then stir from the center (or briefly use an immersion blender) until smooth and glossy. For a drip, let the ganache cool to 30–32 °C – warmer and it will run all the way down to the plate, cooler and it will stay in lumps at the edge. Always drip onto a chilled cake. Test one drip at the edge before you go all the way around the cake – it tells you whether the ganache is too warm.
In the fridge, a drip sets in 15–20 minutes; firm ganache for covering needs at least 1–2 hours before the cake can be moved. Ganache sits on a cake beautifully, but it doesn't belong on cookies for a tin – the cream limits shelf life to a few days in the fridge. You'll find more about ratios and uses in Chocolate ganache: ratios, preparation and uses, and the drip step by step in modern cake decorating. A simple chocolate cake makes a good base.
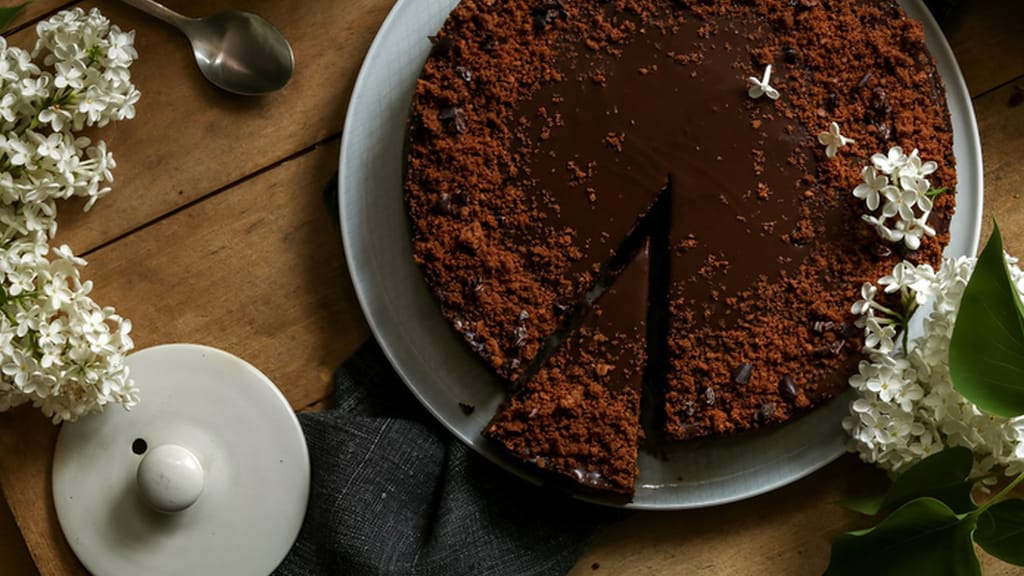
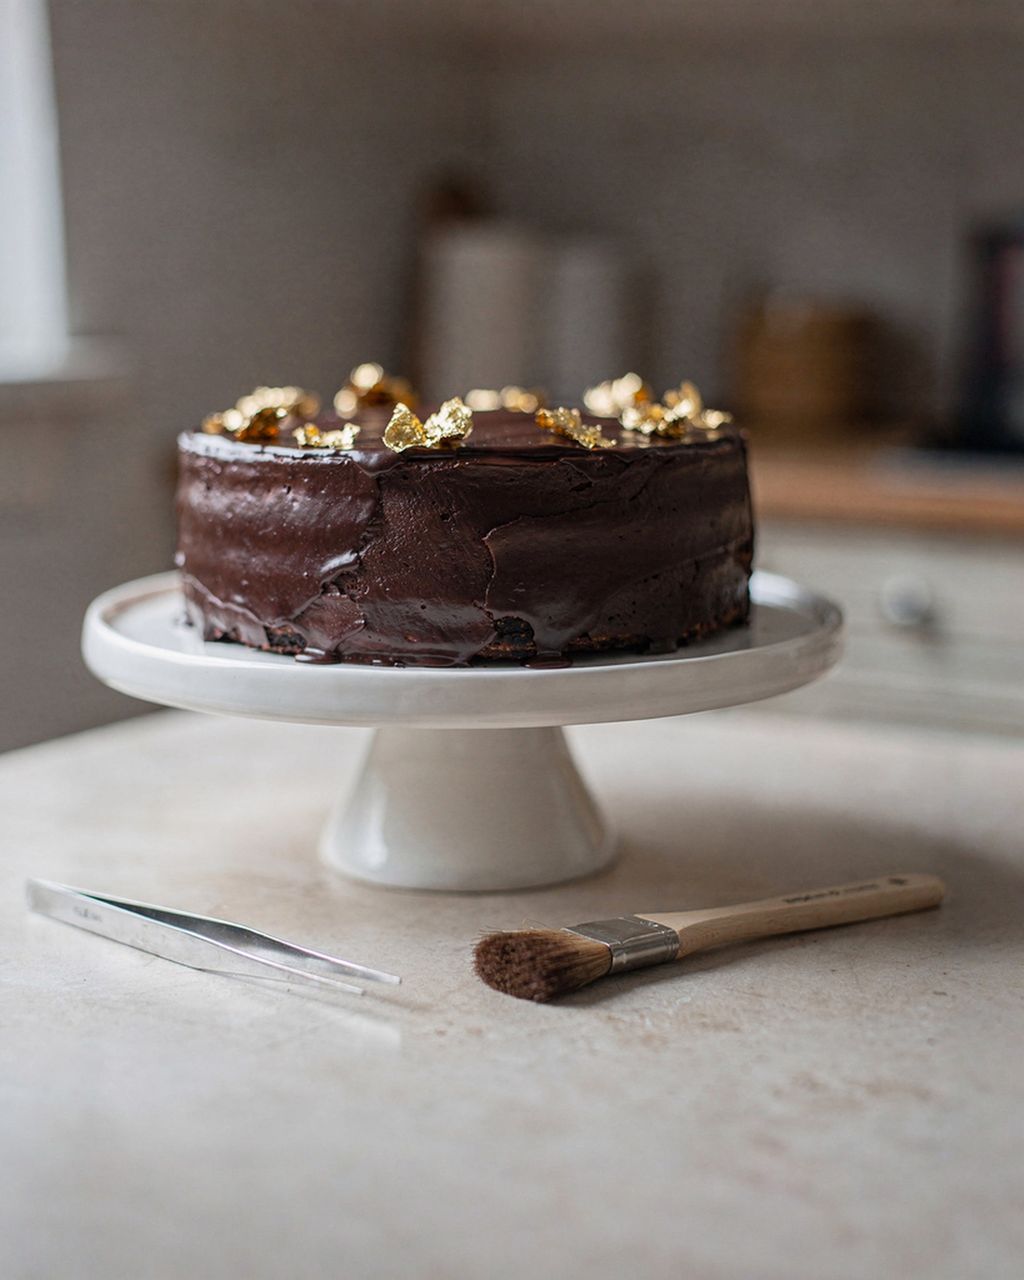
Simple chocolate cake
Simple chocolate cake – an ideal base for ganache icing and a drip
Royal icing is egg white whipped with powdered sugar, and it's the hardest icing, drying to a matte, firm surface – which is why it's used to decorate gingerbread cookies. The basic ratio is 1 egg white (about 30 g) to 200–250 g sifted powdered sugar plus a few drops of lemon juice.
Consistency is what matters:
For outlines and details – thick, forming a peak that doesn't bend over. Use more sugar.
For flooding surfaces – thinner; a line drawn through it with a spoon should smooth out in about 10 seconds. Add water drop by drop.
It dries on the surface in a few hours and sets completely overnight (6–24 hours, depending on thickness and the humidity in your kitchen). Color it with gel colors – liquid ones thin it out. How to color icing with gel colors explains how much color to add, why the icing darkens as it dries and how to stop colors from bleeding. A toothpick tip of ProGel gel color is enough; for deep shades such as black and red, add it gradually and let the color develop for a few hours.
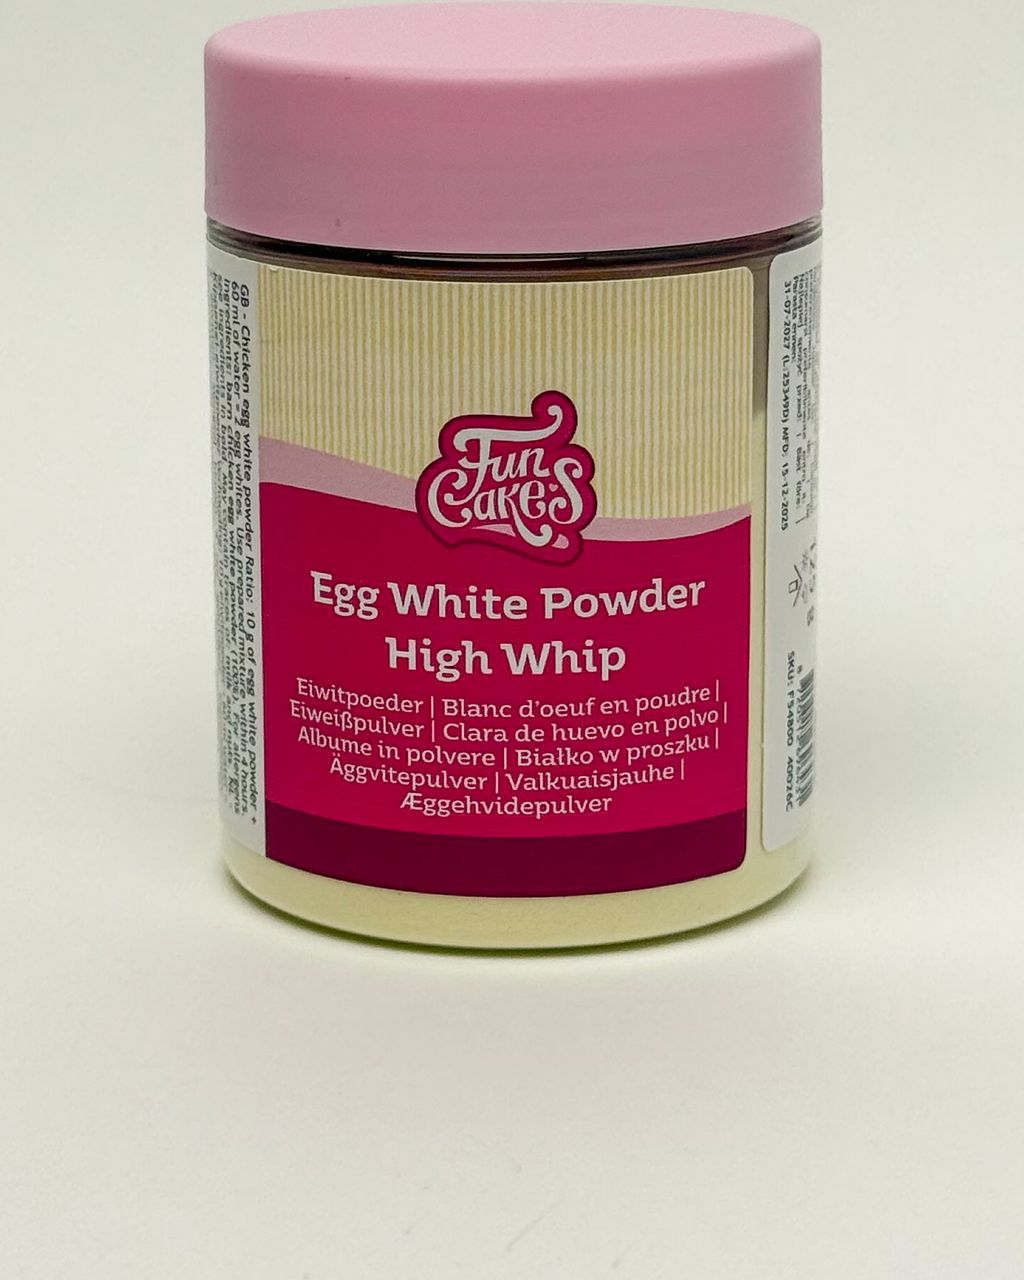
On a cake, royal icing is used for lettering, lace patterns and figures that you dry ahead of time. If you'd rather not deal with egg white, reach for a ready mix such as FunCakes royal icing – you just mix it with water and it holds the same sharp lines.
Try it first on royal icing for cookies; the details on ratios and coloring are in Royal icing: ratios, consistency and coloring, and decorating step by step in icing for gingerbread cookies. Gingerbread it suits includes soft gingerbread cookies or tender honey gingerbread that doesn't go hard.
On linzer cookies, use icing sparingly – they're delicate on their own and a heavy icing overpowers them. A thin line or a tip dipped in chocolate is enough, as on classic crumbly linzer cookies. Why only the yolk goes into linzer dough is explained in the article on linzer dough.
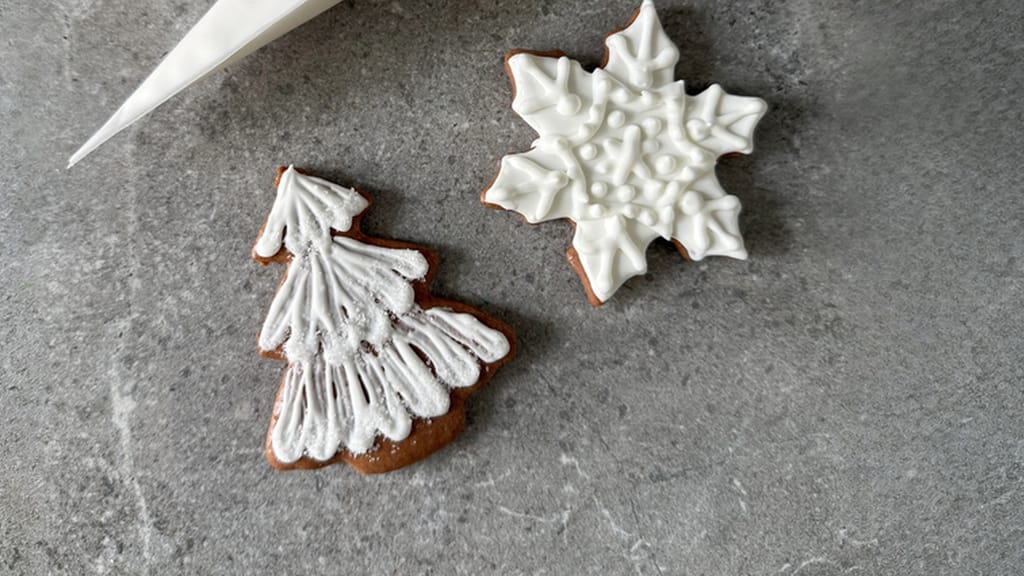
Royal icing for christmas cookies: the base for flawless decorating
Royal icing for cookies – a basic recipe for gingerbread glaze
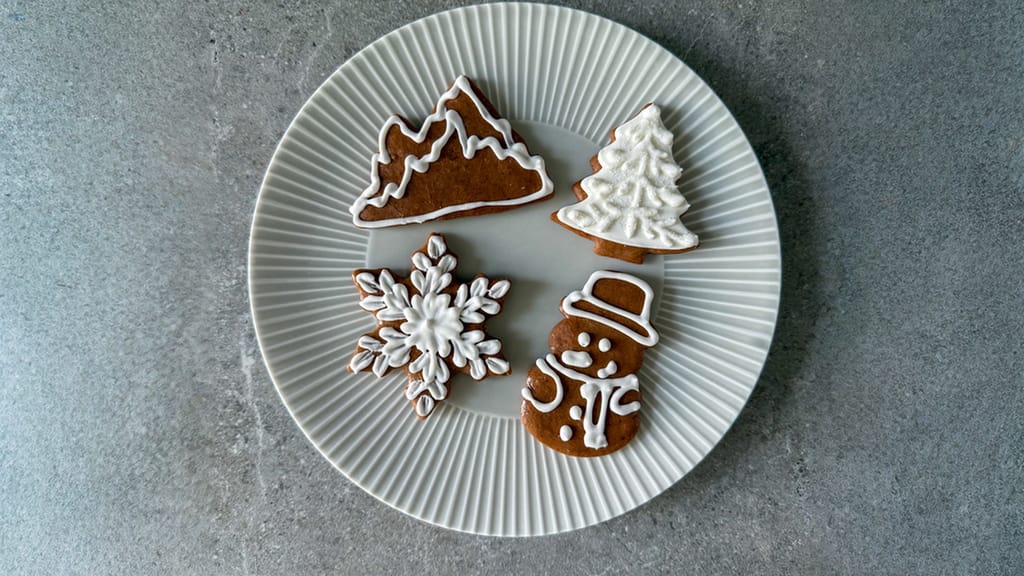
Soft honey gingerbread cookies that never go hard
Tender honey gingerbread that doesn't go hard – ideal for decorating with royal icing
Sugar glaze is just powdered sugar stirred with a liquid, and it's ready in two minutes. The ratio is 1–1.5 tablespoons of liquid (15–22 ml) per 100 g powdered sugar. Add it by the teaspoon – the difference between thick and watery is literally a few drops.
Lemon – lemon juice, and a little zest if you like. Fresh, slightly translucent, for bundt cakes, pies and cookies.
Punch – rum (or rum flavoring with water) and a drop of red coloring. The classic for punch slices.
Orange, coffee, fruit juice – same principle, different liquid.
On warm baked goods it soaks in thinly and stays translucent; on cooled ones it stays white and opaque. It sets in 1–2 hours but doesn't dry as hard as royal icing, so don't stack glazed cookies on top of each other. The article Lemon glaze: the perfect ratio, shine and variations covers shine, ratios and variations.
Sugar glaze isn't suited to a cake with cream – moisture from the filling dissolves it and it turns sticky in the fridge. It belongs on dry cake layers: bundt cake glaze shows how to pour it so it runs down in even streaks, and glaze for sheet-pan gingerbread explains when to choose lemon and when chocolate. You can finish Christmas sugar cookies or soft cinnamon rolls with glaze with a sugar glaze, too.
Fondant is a sugar syrup cooked to about 115 °C and worked into a white, smooth mass with tiny crystals – and it's those crystals that give it its typical satin shine. Making it at home is laborious, so most people buy ready-made fondant and just warm it.
The working temperature is the key: warm fondant in a water bath to 32–37 °C and don't go above 37 °C. If it overheats, the fine crystalline structure breaks down, and the icing turns dull and gray once dry. If it's too thick, thin it with a drop of water, syrup or liqueur. How to warm it so it shines and doesn't set rock hard is covered in fondant for věnečky.
Fondant icing belongs on classic pastries such as věnečky or punch slices. It's rarely used on cookies, because it's sweet and heavy.
Don't mix them up: when people talk about “fondant for a cake”, they usually mean rolled covering paste, not this poured icing. It's a completely different technique – what filling goes underneath and how to cover a cake without cracks is covered in fondant for cakes: filling, rolling and covering.
Mirror glaze is a glossy jelly-like glaze made from glucose syrup, sugar, gelatin, condensed milk and chocolate, poured over a frozen cake. On a warm or merely chilled cake, it runs off and won't cling.
Pour it at 32–35 °C (for dark chocolate versions, more like 35–37 °C) – warmer is too thin and translucent, cooler sets in lumps and waves. Before pouring, blend it with an immersion blender kept below the surface so it has no air bubbles, and strain it.
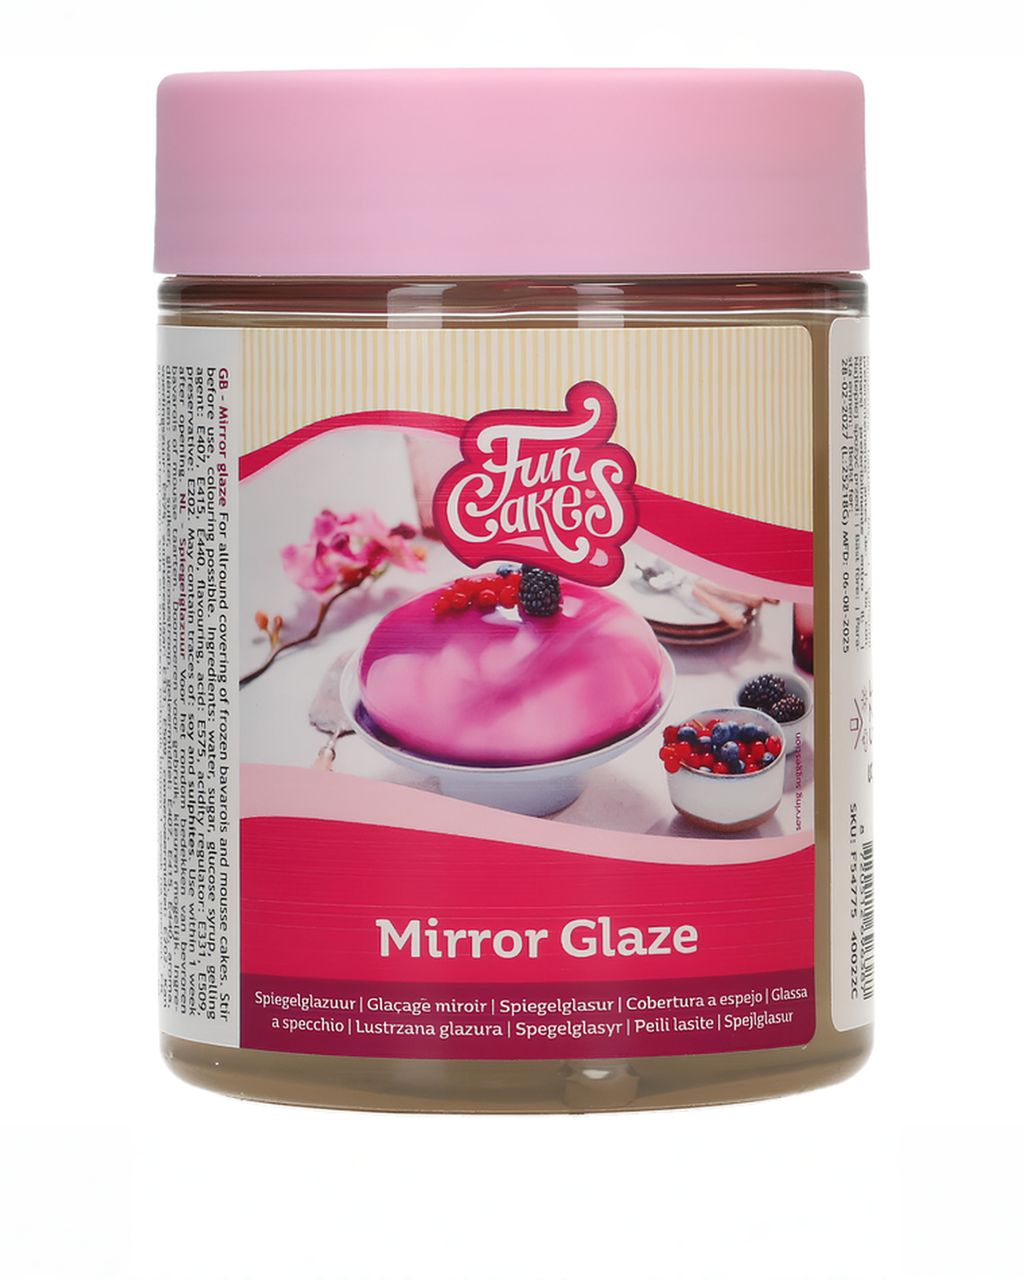
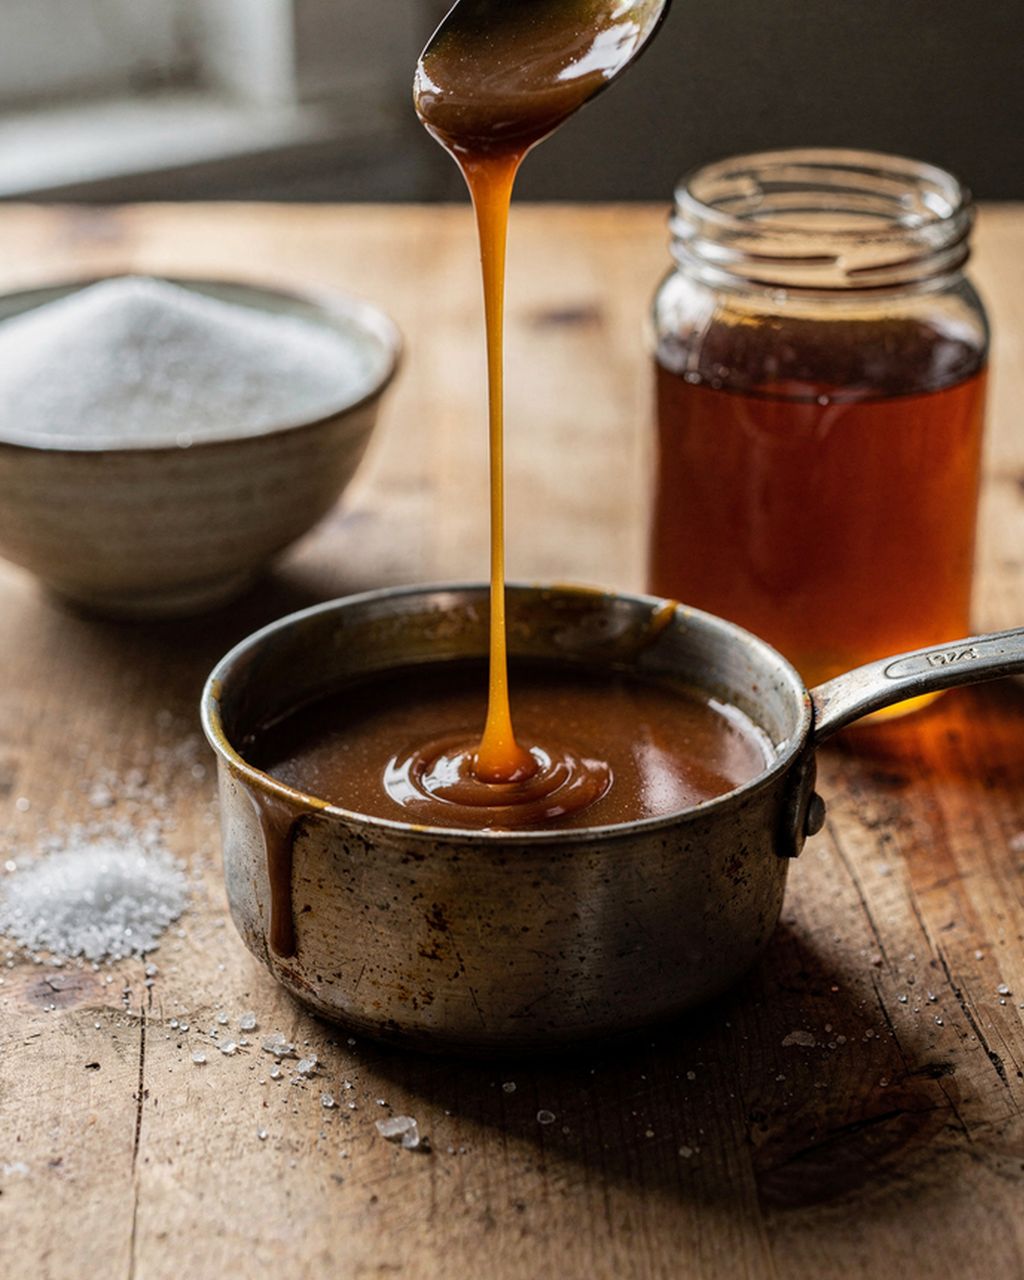
The glucose syrup is there for shine and flexibility – it stops the sugar from crystallizing, so the glaze stays smooth and doesn't crack. FunCakes glucose syrup is enough for a home batch; if you don't have it, what to substitute for glucose syrup in mirror glaze and confectionery will help. If you don't feel like cooking at all, there's a ready-made FunCakes mirror glaze that you just warm to working temperature and color. More ready-made icings and glazes are collected in the glazes category.
After pouring, put the cake straight into the fridge and let it thaw slowly for 3–4 hours. Don't put it back in the freezer – on the second thaw, the glaze gets condensation and loses its shine. It suits mousse cakes and entremets with a smooth surface; for a classic cream cake, it's unnecessary work. The step-by-step method is in Mirror glaze: how to get a perfect shine on cakes.
Icing on a cake always sets in the fridge – what matters is whether it stays flexible (ganache, chocolate softened with butter or cream, mirror glaze) or turns brittle (plain chocolate, royal icing). You can slice flexible icing straight from the fridge; let brittle icing soften for 15–30 minutes at room temperature.
How to slice an iced cake so the cut stays clean:
Warm the knife in hot water (at least 60 °C) and wipe it dry.
Cut with one smooth stroke straight down, don't saw – sawing tears the icing.
Dip and wipe the knife again between cuts. Leftover chocolate on the blade smears the next cut.
Score chocolate icing before it sets completely – with Sachertorte, the portions are marked into the glaze while it's still half set.
What the fridge does to icing:
Condensation – a cake taken from the fridge into a warm room sweats. Gray spots (sugar bloom) then appear on the chocolate, and mirror glaze turns dull. Let the cake warm up in a box or under a cover, not on an open table.
Fridge odors – the fat in chocolate and ganache absorbs smells. Cover the cake or put it in a box.
Cracking at the edge – when the cake layer settles in the fridge and the icing is hard, it cracks at the point of greatest tension. The fix is chocolate softened with butter or cream, not a thicker layer.
Heat – icings with coconut oil and butter soften from around 24–25 °C. For a summer garden party, a 2:1 dark chocolate ganache is the safer choice, as it holds its shape longer.
For cookies that will sit in a tin for weeks, use chocolate (tempered or with added fat), royal icing or sugar glaze – they all set firm and don't spoil. Save ganache, creams and whipped cream for cakes.
A few rules that will save your nerves:
Ice only fully cooled cookies. On warm ones, chocolate runs and glaze soaks in.
Let the icing dry overnight before you pack the cookies. Otherwise the pieces stick together and mark each other.
Layer them with parchment paper and store iced types separately from soft, moist ones.
Freezing? Freeze them uniced. When thawing, moisture condenses on the icing – chocolate gets a gray film and glaze may bleed. Ice them after thawing.
You'll find how long each type lasts in the overview of cookie shelf life by type, how to store them in How to store Christmas cookies so they stay crisp, and freezing is covered in How to freeze cookies and dough. When to bake each type – and therefore when to ice it – is shown in the cookie baking calendar.
Most icing failures come down to one of four causes: temperature, water, humidity in the air or the wrong ratio.
Chocolate turned gray or streaky after setting – it wasn't tempered (fat bloom), or moisture settled on it (sugar bloom). It's safe to eat, it just doesn't look good. Next time, temper it or add fat.
Chocolate seized into a lumpy mass – a drop of water or steam got into it. You can't rescue it as an icing; use it in a batter or filling.
Chocolate icing on a cake cracks when you slice it – it's plain chocolate without fat, or it's being cut straight from the fridge with a cold knife. Add butter or cream to the icing and slice with a warmed knife.
Royal icing won't dry – it's too thin, or the kitchen is humid. Add sugar and dry it in a cooler, ventilated room, never in the fridge.
Royal icing cracks – the layer is too thick or it dried too fast next to a heater.
Ganache split and looks greasy – it was too hot or stirred too much. Add a spoonful of warm cream and blend briefly with an immersion blender.
Mirror glaze is thin and translucent – it was poured too warm, or the cake wasn't frozen enough. Let it cool by a few degrees and pour it onto the cake straight from the freezer.
Sugar glaze soaked in and vanished – the baked good was warm or the glaze too thin.
If ready-made chocolate icing is too thick, how to thin chocolate so it flows better will help.
Color chocolate icing with oil-based or powdered colors made for chocolate, not gel or liquid ones. The water in ordinary food colorings makes chocolate seize into lumps. White chocolate takes color best; dark chocolate practically swallows it.
Without eggs, you can use chocolate or a sugar glaze made from powdered sugar and lemon juice or water. Both set well and store well. If you want a hard white icing for gingerbread cookies without egg white, aquafaba (chickpea water) works in the same amount as egg white, but it dries more slowly.
Use leftover royal icing made with raw egg white within 2–3 days at most. Until then, store it in the fridge in a closed container with plastic wrap pressed directly onto the surface so it doesn't dry out. Stir it again before using, as liquid can separate out. A version made with dried egg white keeps longer.
For a drip on a 20 cm cake, about 100 g of dark chocolate and 100 ml of cream is enough. To fully cover and level the cake, plan on roughly 300–400 g of finished firm ganache. It's better to make a little extra, since leftovers work well in cookies or as a filling.
Yes, you can make ganache or mirror glaze 1–3 days ahead and store it covered in the fridge. Before using, gently warm the ganache in a water bath or in the microwave in 10-second bursts to working temperature (30–32 °C for a drip). Reheat the mirror glaze, blend it with the blender head kept below the surface, and let it cool to 32–35 °C. Always make sugar glaze fresh, because it sets in the bowl within a few hours.
As a rough guide, 1 egg white with 250 g powdered sugar (about 280 g royal icing) is enough to outline and flood roughly 25–35 medium gingerbread cookies, or about twice that for fine lines alone. For dipping the tips of about 60 small cookies, plan on 150–200 g of chocolate with a little fat. Melt a bit more chocolate than you need, because a small amount cools quickly and is harder to dip into.
One recipe worth heating the oven for, one tip, and one deal from the shop. Nothing else.