Royal icing for cookies: the foundation for perfect decorating

Updated Jul 19, 2026
Royal icing for gingerbread is a classic glaze made from one egg white and roughly 150–200 g of sifted icing sugar, with its thickness adjusted using water and lemon juice depending on whether you're piping outlines or flooding whole shapes. You don't need fancy equipment or a pastry course — just the right ratio, the right consistency, and a few tricks that make the difference between crisp lines and a soggy mess. Below you'll find the basic recipe, the right consistency for outlining and filling, colouring, flavouring, techniques from the basics to airbrushing, and storage tips so your gingerbread stays picture-perfect right through to Christmas.
Basic gingerbread icing comes together from one egg white and roughly 150–200 g of sifted icing sugar, whipped into a glossy mixture that holds stiff peaks. Lemon juice stabilises it and brightens the colour, while water thins it out as needed. That's really all you need for classic white royal icing.
What you'll need:
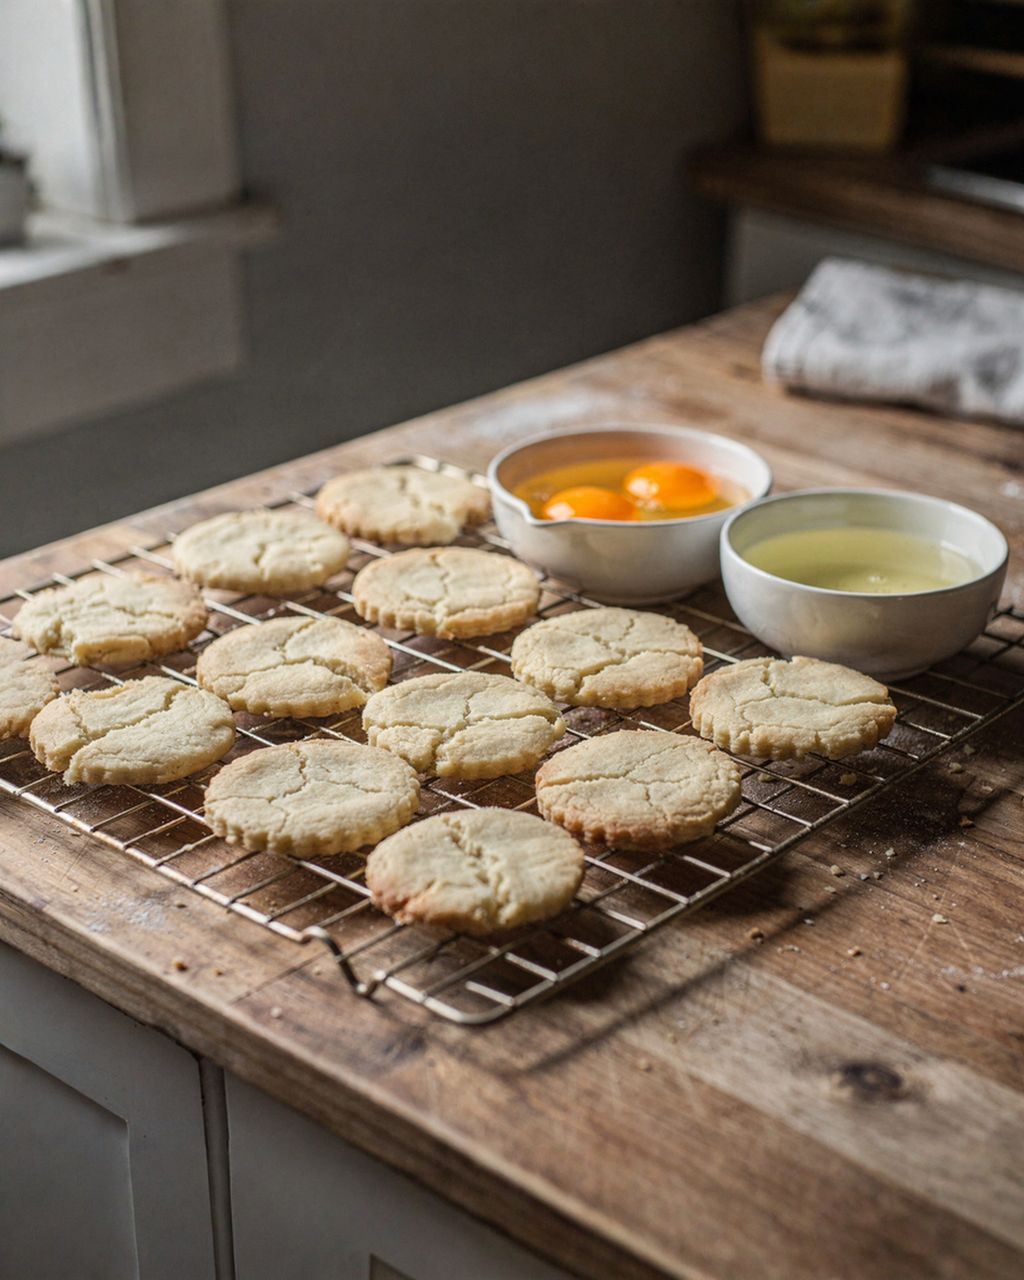
1 egg white (room temperature)
150–200 g icing sugar, sifted
a few drops of lemon juice (stabilises the icing and brightens it)
optional water- or alcohol-based flavouring (vanilla, almond)
optional gel food colouring
Method:
Sift the sugar. Lumps will clog your piping tip and create bumps in an otherwise smooth line. Sifting is the quickest step, and it has the biggest impact on the final result.
Whisk the egg white on low speed until lightly foamy (1–2 minutes). Egg whites separate more easily when cold, but whip better at room temperature — let it sit out for a bit before you start whisking.
Add the sugar gradually. Wait for each batch to be fully incorporated before adding the next, and scrape down whatever sticks to the bowl's sides with a spatula. Adding it bit by bit keeps the icing smooth.
Turn the speed up to medium and whisk for 3–4 minutes until glossy. It's ready when a lifted whisk leaves a peak that holds its shape without collapsing — this is the so-called stiff-peak consistency, the base for everything that follows.
Divide and colour. Fold in colouring with a spatula rather than a mixer — this avoids trapping air bubbles.
Use it right away. Transfer it into a piping bag or paper cone. Cover the rest with plastic wrap pressed directly onto the surface so it doesn't dry out; kept in a sealed container, Czech pastry chefs say it lasts around 3–5 days at room temperature.
Let it dry. Leave the icing on the gingerbread to harden for at least 4–6 hours, ideally overnight, before stacking or packing the cookies.
If you're still deciding what to decorate, try these soft honey gingerbread cookies that stay tender — a firm, crumb-free surface holds decorations best.
Royal icing for cookies: the foundation for perfect decorating
Royal Icing for Christmas Cookies — Exact Recipe and Ratios for Decorating Gingerbread
Gingerbread icing is used in two thicknesses: a stiffer one for outlines and fine details, and a thinner one for flooding larger areas. Start with one batch of stiff icing, then thin a portion of it for flooding, adding water half a teaspoon at a time.
Stiff icing for outlining has a toothpaste-like consistency — it holds its shape, doesn't spread, and is ideal for outlines, fine lines and small details. Quick test: draw a line on a plate, and if it holds a crisp shape without collapsing, the consistency is right.
Thinner flooding icing is made by adding water half a teaspoon at a time — go slowly, since it's easy to over-thin. Aim for the so-called ten-second consistency: when you drag a toothpick across the surface, the trail should merge back together and disappear in about ten seconds.
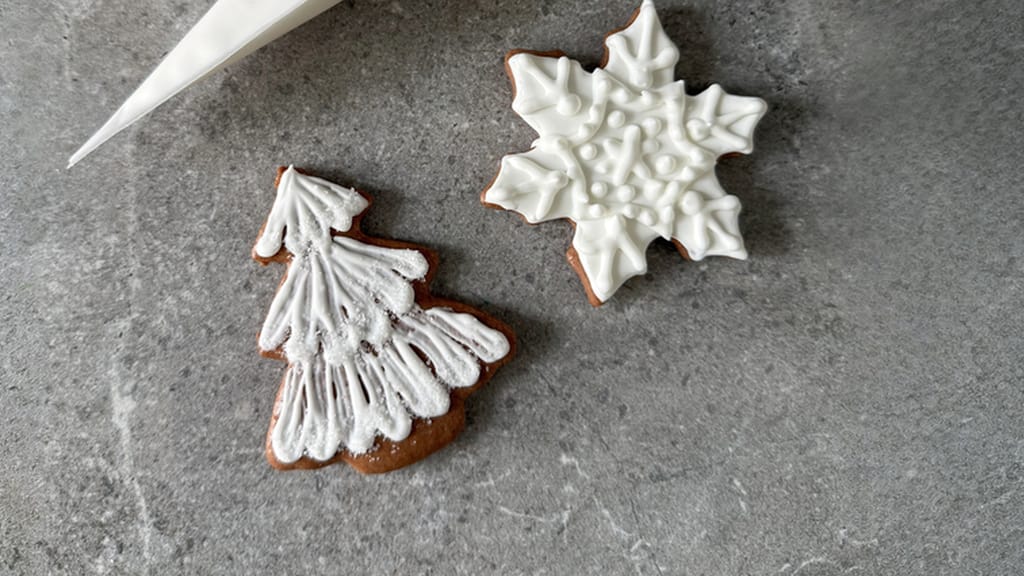
First pipe the outlines with stiff icing and let them dry a little so the flooding doesn't overflow.
Fill in the thinner icing inside the outlines, then spread it into the corners and edges with a toothpick or skewer.
Pop any air bubbles on the surface with a toothpick while the icing is still wet.
You apply icing with a piping bag or a paper cone, and the golden rule is: don't squeeze harder, pull steadier. Starting from the basics (outlining and flooding), you can work your way up to raised patterns, lace designs, brush painting, pearl dust and airbrushing.
Basic technique: twist the bag tightly shut, tilt it so you're pulling the icing along with the tip rather than pushing it out, and keep the pressure steady. Wobbly lines usually come from squeezing the bag too hard so the icing surges out — steady, even pressure and a controlled pulling motion matter more than force.
Advanced techniques for when you want to go further:
Raised (relief) patterns are built by layering icing in several stages, letting each layer dry before adding the next.
Lace effects need a very fine consistency and a thin tip.
Brush painting with powdered food colours works like edible watercolours — perfect for rosy cheeks or coloured shading.
Pearl dust and edible glitter add shine or a frosty, snow-dusted effect to gingerbread.
Airbrushing sprays colour in a fine mist of air and can create ombré fades, shading and stencilled patterns — the most precise method, but also the most expensive.

Soft gingerbread cookies
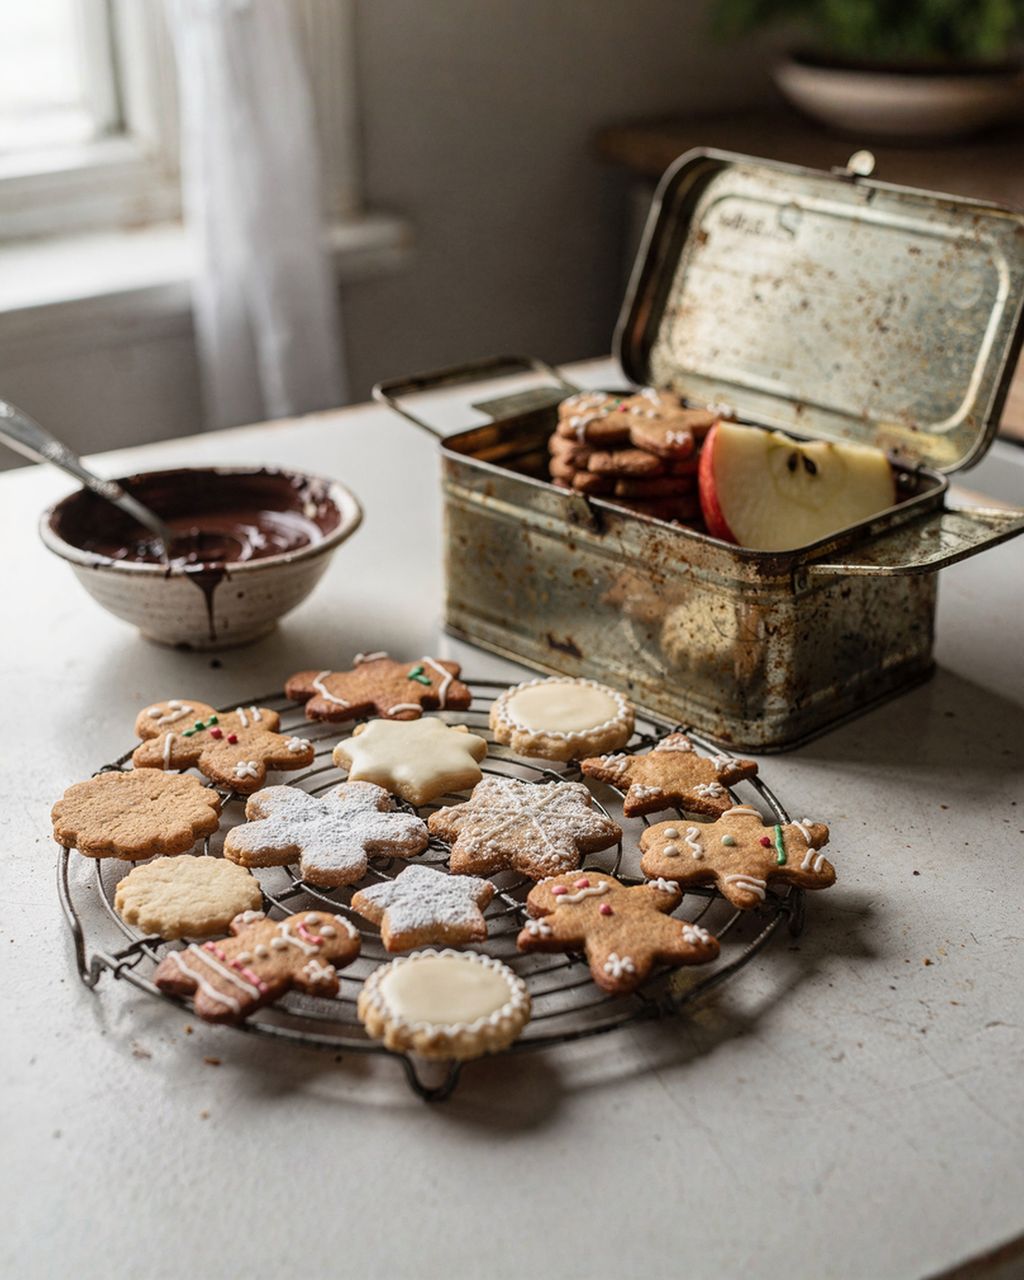
Soft gingerbread cookies — a tender base for icing decoration

You can colour royal icing two ways: with gel food colouring for rich shades without adding liquid, or with natural colourants like beetroot juice, turmeric and spirulina. Add colouring drop by drop or in small amounts of powder, stirring patiently with a spatula until the shade is evenly blended.
Gel colours are concentrated, so you get vivid colour without adding much liquid — the icing's consistency stays intact.
Natural colourants: beetroot juice gives pink to red, turmeric gives yellow, spirulina gives green, and cocoa gives brown. These can slightly affect the flavour, so start with a small amount; liquid colourants will thin the icing, so add extra sugar to bring the consistency back.
Water- or alcohol-based flavourings work well in royal icing — they don't disrupt its structure or drying time. Steer clear of oil-based flavourings, though: the fat weakens the structure, slows down drying, and leaves the icing prone to cracking and crumbling.
Good choices:
Lemon juice or extract — stabilises the icing and adds a fresh note.
Vanilla extract — a gently sweet all-rounder that pairs well with gingerbread.
Orange juice — festive aroma with a light tang.
Almond extract — a nutty note, but use it sparingly since it's quite intense.
Rum flavouring — caramel-like and festive, suits traditional gingerbread well.
Best to skip:
Oil-based flavourings — disrupt the consistency and drying.
Menthol and mint — flavour-wise, they clash with gingerbread.
Floral flavourings (rose, lavender) — tend to be too overpowering.
Strongly artificial flavourings — can affect both the taste and the colour of the icing.
When it comes to flavourings, go for pure extracts with a simple ingredient list (e.g. "vanilla extract" rather than just "flavouring"). Good-quality extract costs more, but you'll only need a few drops thanks to its strength.
You can make an egg-free version using aquafaba — the liquid from canned chickpeas; about 60–90 ml of aquafaba replaces one egg white and whips up the same way into stiff peaks with a matching amount of sugar. Vegan bakers report that aquafaba works reliably as an egg white substitute in royal icing.
Egg-free: whip the aquafaba, gradually add icing sugar (200–250 g works fine), and adjust the consistency the same way as with classic icing.
Natural colouring instead of artificial dyes: beetroot, turmeric, spirulina, cocoa — see the colouring section above.
Sugar-free: you can try powdered erythritol instead of icing sugar; studies suggest it has a lower glycemic index than regular sugar, but it behaves differently — it binds less well and the icing tends to be more brittle, so expect some trial and error.
You don't need to worry about a gluten-free version: classic egg white and sugar icing is naturally gluten-free. Just watch out for gluten in the gingerbread dough itself.
Store decorated gingerbread cookies in an airtight container somewhere cool and dry — not in the fridge, where moisture will soften both the dough and the icing. Layer sheets of baking or parchment paper between them so the decorations don't smudge or rub off.
Keep them in a dry, cool room away from direct sunlight and heat sources (the stove, a radiator). A pantry or a cool cupboard is ideal.
Only put fully cooled gingerbread with completely dry icing into the container — warm or damp cookies will create condensation inside and the icing will soften.
Gingerbread also naturally softens a bit over time, so feel free to bake and decorate it well ahead of time.
Gingerbread has been baked in Europe since the Middle Ages — the first gingerbread bakers' guilds are documented from the late 13th and 14th centuries (Ulm in 1296, Nuremberg in 1395). Icing decoration came later, once sugar became cheaper and more widely available.
Gingerbread grew out of old honey cakes known to the ancient Greeks, Egyptians and Romans. Historians say spices like ginger, cinnamon and cloves arrived through the growing trade with Asia — much of the spice trade into Europe between the 11th and 15th centuries was actually driven by Venetian merchants, not just the Crusaders, as the story is often simplified.
Over time, gingerbread became an art form in its own right: Germany developed the tradition of gingerbread houses inspired by the fairy tale of Hansel and Gretel, while England became known for gingerbread figures. Every country added its own twist — cardamom and cinnamon in Sweden, aniseed as a favourite in Czech gingerbread. Even today, gingerbread's flavour comes down to its spice mix, so it's worth blending your own homemade gingerbread spice.
Royal icing on gingerbread should dry for at least 4–6 hours — for thicker layers and flooded areas, overnight is best, before you stack or wrap the cookies. Drying goes faster in a dry, warm room; in humid conditions the icing dries more slowly and stays soft.
The most common culprit behind cracking and crumbling icing is fat — oil-based flavourings or a greasy surface disrupt the structure and slow down drying. Too much sugar (which makes the icing brittle) and drying too fast in the heat can also cause cracking; a more balanced sugar ratio and slower drying usually fix it.
Yes, you can make the icing in advance and keep it in an airtight container at room temperature for about 3–5 days. Press a piece of plastic wrap directly onto the surface so it doesn't form a skin, and give it a quick stir with a spatula before using.
Raw egg white carries a salmonella risk, so for icing meant for children, pregnant women or older adults, use pasteurised egg white, dried egg white powder, or aquafaba instead. This barely changes the taste or how the icing behaves.
A cone rolled from baking parchment works just as well as a piping bag, as does a regular zip-top bag with a corner snipped off. For fine lines, a paper cone is actually more precise than a bag fitted with a wide tip.
One recipe worth heating the oven for, one tip, and one deal from the shop. Nothing else.