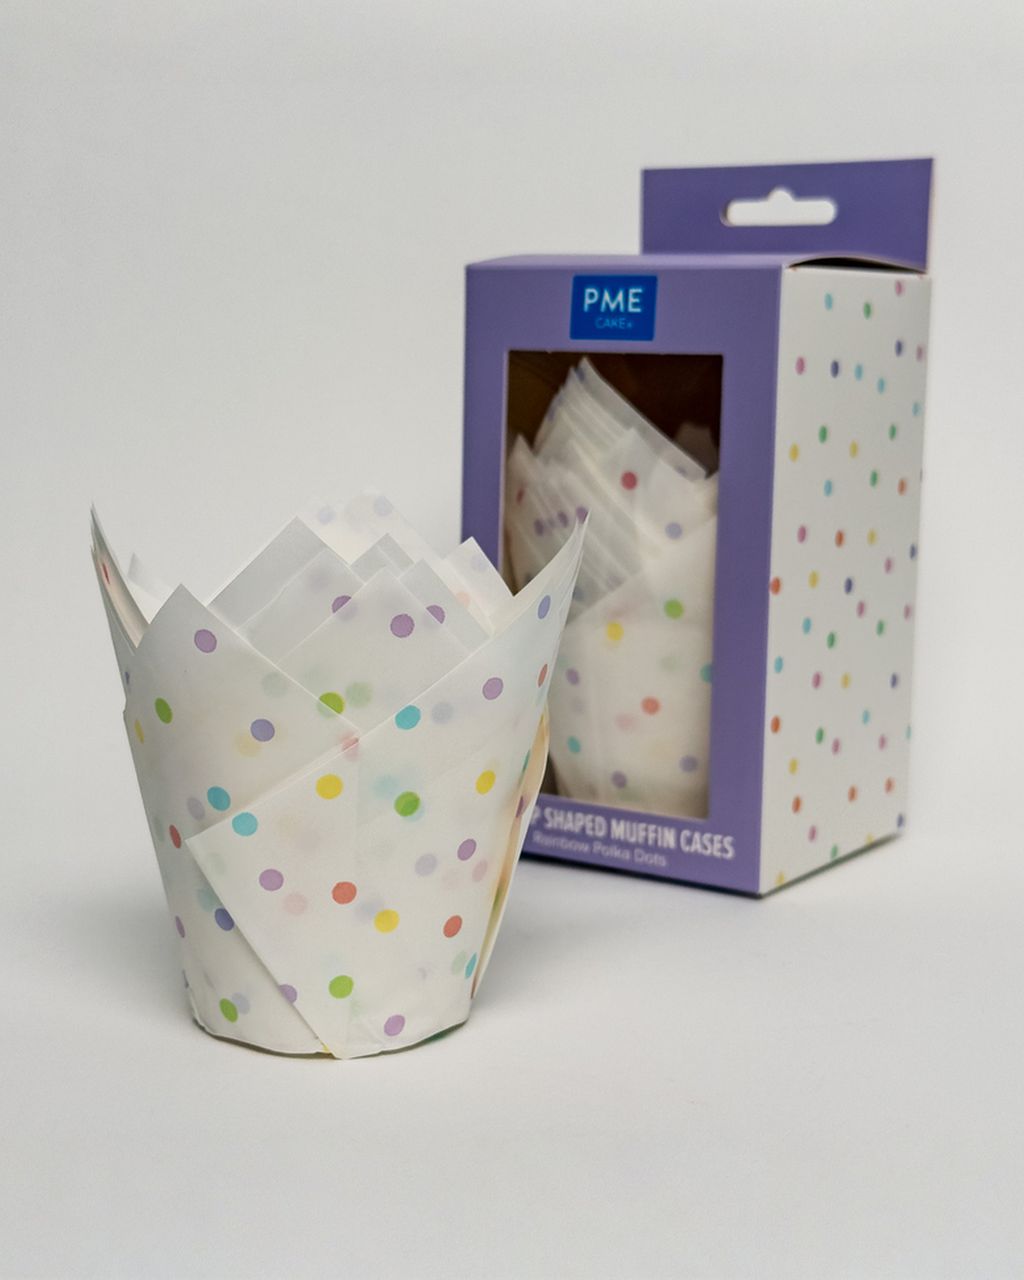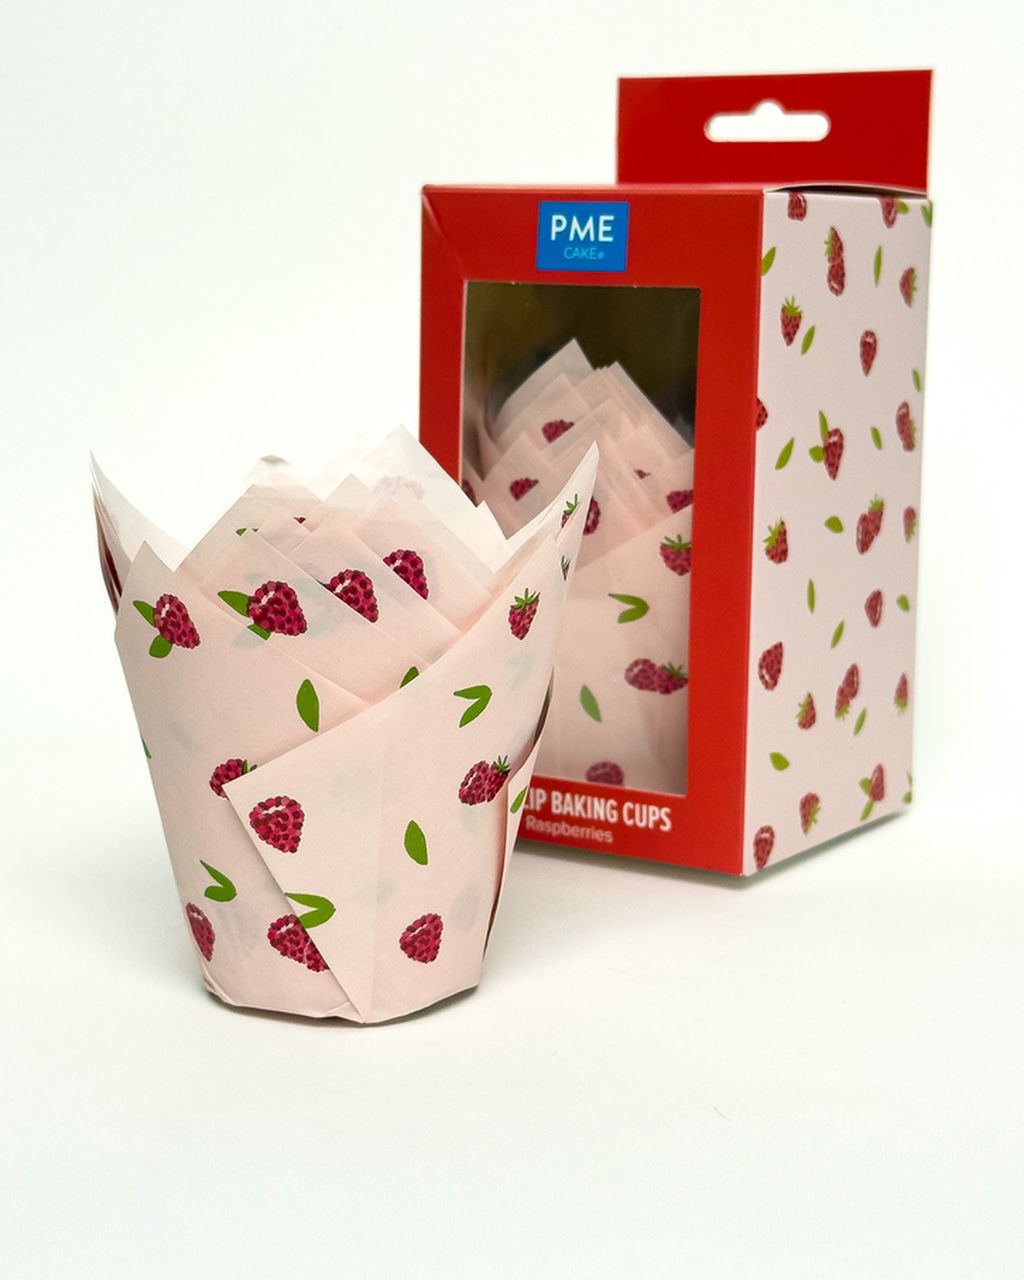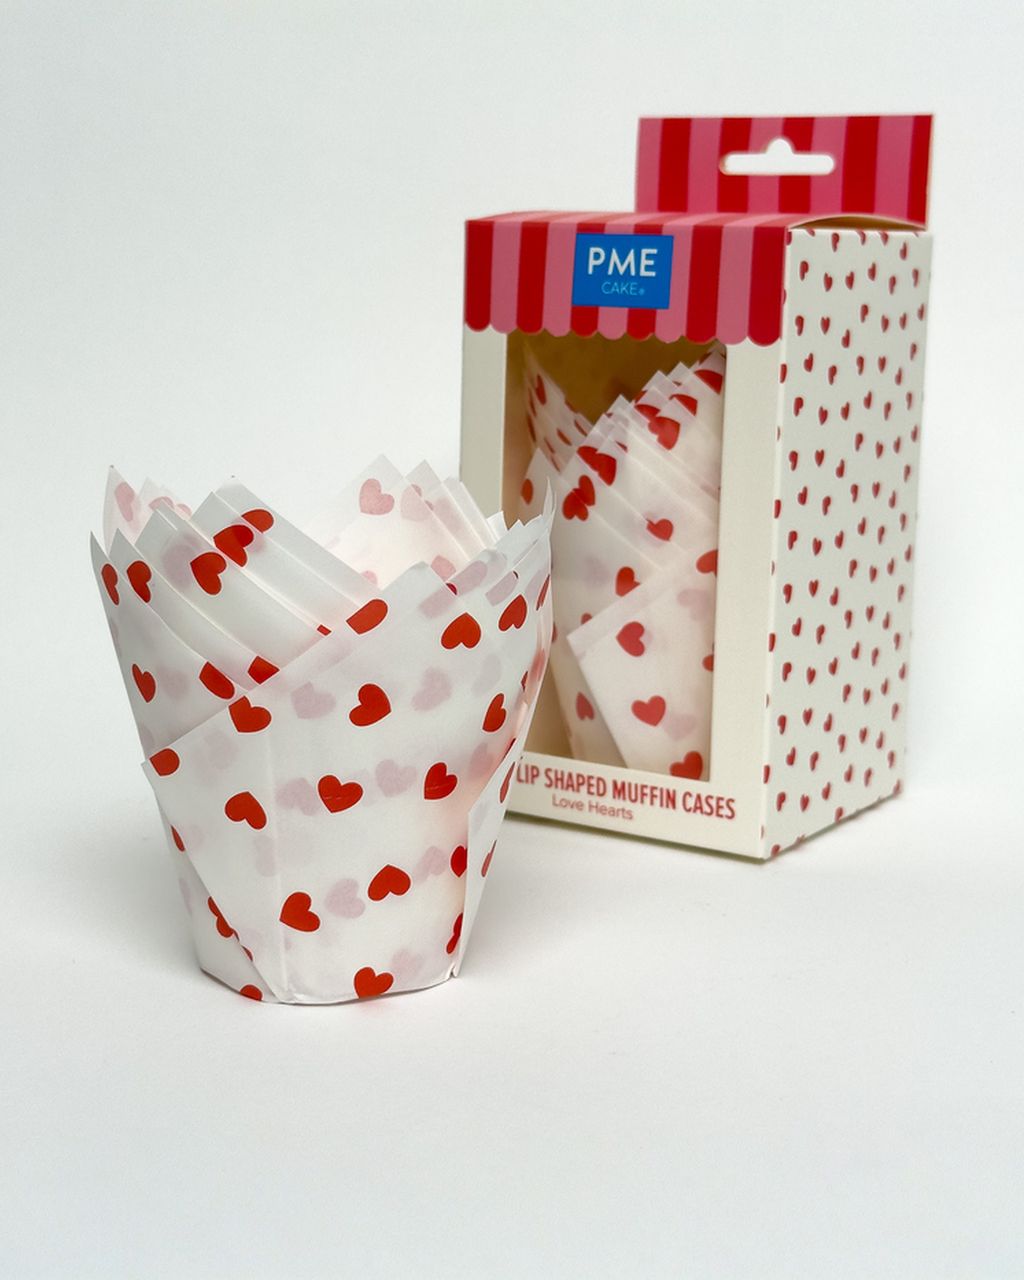
Tulip Muffin Cases – Hearts (24 pcs)
Tulip Muffin Liners: How to Fill Them So They Hold Their Shape
Updated Oct 17, 2026
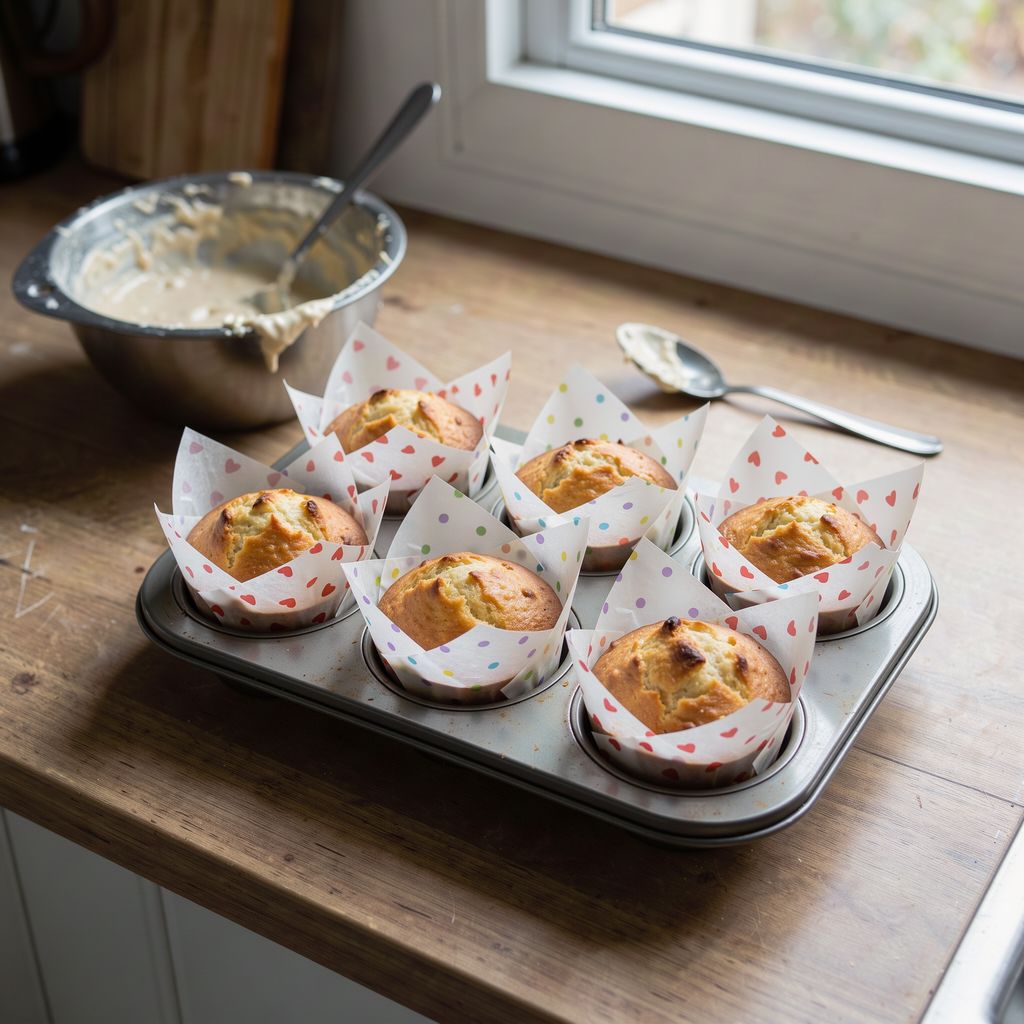
Fill tulip muffin liners with a thick batter to 2/3–3/4 of the depth of the muffin tin cup they sit in. Never fill past the rim of the tin, and certainly not to the top of the paper. Bake them in the middle of the oven. The tall points above the tin aren't there for batter, but for the dome: the muffin rises up into them and the paper supports it. Below you'll find how much batter that is in grams, how thick it should be, and what to do if you don't have a tin.
Fill a tulip liner with batter to 2/3–3/4 of the depth of the cup in the tin. In a standard 12-cup muffin tin, that's about 60–75 g of batter per muffin. The batter must never go above the rim of the tin, and the points sticking up above it should stay empty.
Standard tin (cup about 5 cm across the bottom, 7 cm across the top): 60–75 g, or roughly 3 heaped tablespoons.
Mini tin: 20–25 g, roughly one heaped tablespoon.
Taller tulips and jumbo tins: up to 110–130 g, but still only to 3/4 of the depth of the cup.
Why not more? The paper of a tulip liner is folded into pleats and is only firm where the tin holds it from the outside. If the batter climbs above the rim of the tin too early as it rises, it pushes on the free points, opens them out to the sides, and the muffin spreads like a mushroom cap. If you leave some room in the cup, the batter reaches the rim of the tin as it bakes, the dome rises upward and the points hug it – exactly the tall, bakery-style shape you buy tulip liners for.
To make all the muffins the same, weigh the first one on a scale and then portion with the same spoon or an ice cream scoop. Same portion = same baking time.
Batter for tulip liners should be thick and heavy – it drops from a spoon in clumps rather than running off in a stream. Thin batter soaks into the pleats of the paper and seeps between the folded points, so the muffin holds its shape less well and is harder to peel.
Here's how to tell:
Spoon test: scoop up some batter and turn the spoon over. The batter clings for a moment and then drops off in one piece. That's right.
Trail test: draw a groove through the batter in the bowl with a spoon. In a thick batter it stays visible for a few seconds. In a thin one it closes up straight away.
A classic muffin batter (flour, yogurt or buttermilk, oil, eggs, baking powder) meets this almost on its own – just mix it briefly, only until the flour disappears, and leave the lumps. Overmixed batter turns elastic and rubbery, while a thin sponge or cupcake batter flows too much. If you're putting a thinner cupcake batter in tulip liners, fill them only to 1/2–2/3 of the cup – thin batter rises more and would overflow the rim of the tin faster.
Fold in fruit and chocolate at the very end, and toss them in a spoonful of flour first – in a thick batter they stay evenly distributed and don't sink to the bottom, where they'd stick to the paper. This works well, for example, in redcurrant yogurt muffins or carrot muffins with orange – both have a firm, moist batter that holds up in a tulip liner.
Yes – always bake tulip liners standing in the cups of a metal muffin tin or in something that supports them just as firmly. The paper on its own has no reinforced base or walls, so on a baking sheet it opens out under the weight of the batter, the batter runs out to the sides, and instead of a tulip you end up with a flat disc.
What works, ranked from best:
Metal muffin tin – the cup holds the lower part firmly and conducts heat evenly. Slide the tulip in and press the base down lightly so it sits flat with no air pocket.
Oven-safe ramekins or sturdy aluminium cups with the same base diameter (about 5 cm) – set them on a baking sheet and place the tulip liner inside.
Silicone tin – it holds the shape but is soft: set it on a baking sheet before filling, otherwise you won't be able to carry it level with the batter in.
Packed tightly on a baking sheet – a last resort. The tulips prop each other up, but the ones on the edges spread out and bake unevenly. We only recommend it if you really have nothing else.
If you don't have a tin at all, reach for sturdy liners that stand on their own instead – you'll find the differences in the article Muffin and cupcake liners: paper, foil or tulip?.
Bake muffins in tulip liners at 180 °C fan (190 °C conventional) on the middle rack: 20–25 minutes for the standard size, usually, and 12–15 minutes for minis. They're done when a skewer inserted in the center comes out dry or with just a few crumbs.
What matters more with tulips than with regular liners:
Middle rack, not the top. The points stick up to 3–4 cm above the tin, and if they're close to the top heating element or grill, they brown and the edges can burn.
Don't open the oven for the first 15 minutes. A rush of cold air can bend the points inward into the soft batter, and the muffin then collapses.
Use a high starting temperature only with care. The "first 5 minutes at 210 °C" trick gives a taller dome, but tulip points darken at that heat. If you try it, bake one rack lower.
5 minutes in the tin after baking, then onto a wire rack. Leave them briefly in the tin so the muffin sets; no longer, or steam builds up underneath, the paper gets damp and soft, and the tulip starts to curl. Lift them out by the base or the muffin, never by the points.
You'll find detailed times for all sizes in the article How long to bake muffins, and if the dome doesn't rise at all, read through why muffins don't rise.
A tulip liner spreads because of overfilling, thin batter or a missing tin; it turns greasy from a rich batter and a long cooling time in the tin; it sticks when you peel it off warm or the batter is very low in fat; and the points darken when the rack is too high or the grill is on.
The points opened out to the sides: there was too much batter and it rose above the rim of the tin, or the tulip stood without a tin. Next time fill only to 2/3–3/4 of the cup.
The muffin "overflowed" across the pleats: the batter was too thin or had too much baking powder. Thicken it with a spoonful of flour, or fill only to 2/3 of the cup.
The paper is greasy and see-through: lots of oil or butter in the batter and a long cooling time in the tin. Lift the muffins out onto a wire rack sooner. If the paper doesn't get damp, the print on patterned liners also stays vivid.
The points are dark or burnt: the rack was too high, or the grill was on. Bake one rack lower.
The muffin sticks to the paper: it's usually still warm, or the batter is very low in fat. Read more in the article Why muffins stick to their liners.
The size of the base has more influence on the shape than the pattern: for a standard tin look for tulips with a base of about 5 cm, and for a mini tin about 3.5 cm. You'll find the height and base size on the packaging – compare it with the cup of your tin before you start filling.
We carry patterned PME tulips for the standard tin, in packs of 24: Tulip muffin liners – Hearts suit Valentine's Day and birthdays, Rainbow Dots a children's party, and Raspberries go with fruit muffins. You can see the whole range among the tulip muffin liners.
And honestly: plain brown or white tulips from a catering wholesaler work just the same technically and are cheaper in larger packs – we don't stock them. In a pinch you can make a tulip yourself: press a square of baking paper about 15 × 15 cm over a glass with a 5 cm base, slide it into the tin and fill it. It holds up similarly, though the points are less regular. For ordinary low muffins without a dome, plain paper cupcake liners are enough.
Better not. Batter made with baking powder loses some of its rising power overnight, and moisture softens the paper. It's better to prepare the dry and wet ingredients separately, combine them in the morning and fill the liners straight away. If you have to, keep the filled tin covered in the fridge for a few hours at most and bake for 2–3 minutes longer.
Tulip liners are made of oven-safe baking paper; the maximum temperature they can take is stated by the manufacturer on the packaging. The weak spot is the protruding points, which darken first, so bake in the middle of the oven and without the grill.
The safest way is a deep box where the muffins fit snugly side by side and the lid sits higher than the points. Putting the cooled muffins back into the muffin tin and covering it also works well. Only transport them once they're completely cool, as warm paper crushes easily.
Yes, baked and completely cooled muffins can be frozen in their tulip liners for 2–3 months. Wrap them individually in a bag so the points don't get squashed, and thaw them at room temperature while still wrapped so that moisture doesn't condense on the paper.
Pipe the frosting onto muffins in tulip liners only once they're completely cool, as it will melt and spread on warm ones. The tall points then frame the frosting nicely, but leave a few millimetres between the frosting and the paper so it doesn't rub against the points.
One recipe worth heating the oven for, one tip, and one deal from the shop. Nothing else.