The best honey gingerbread cookies
How to Color Icing with Gel Food Coloring: How Much to Use, Why It Darkens, and How to Stop Bleeding
Updated Oct 17, 2026
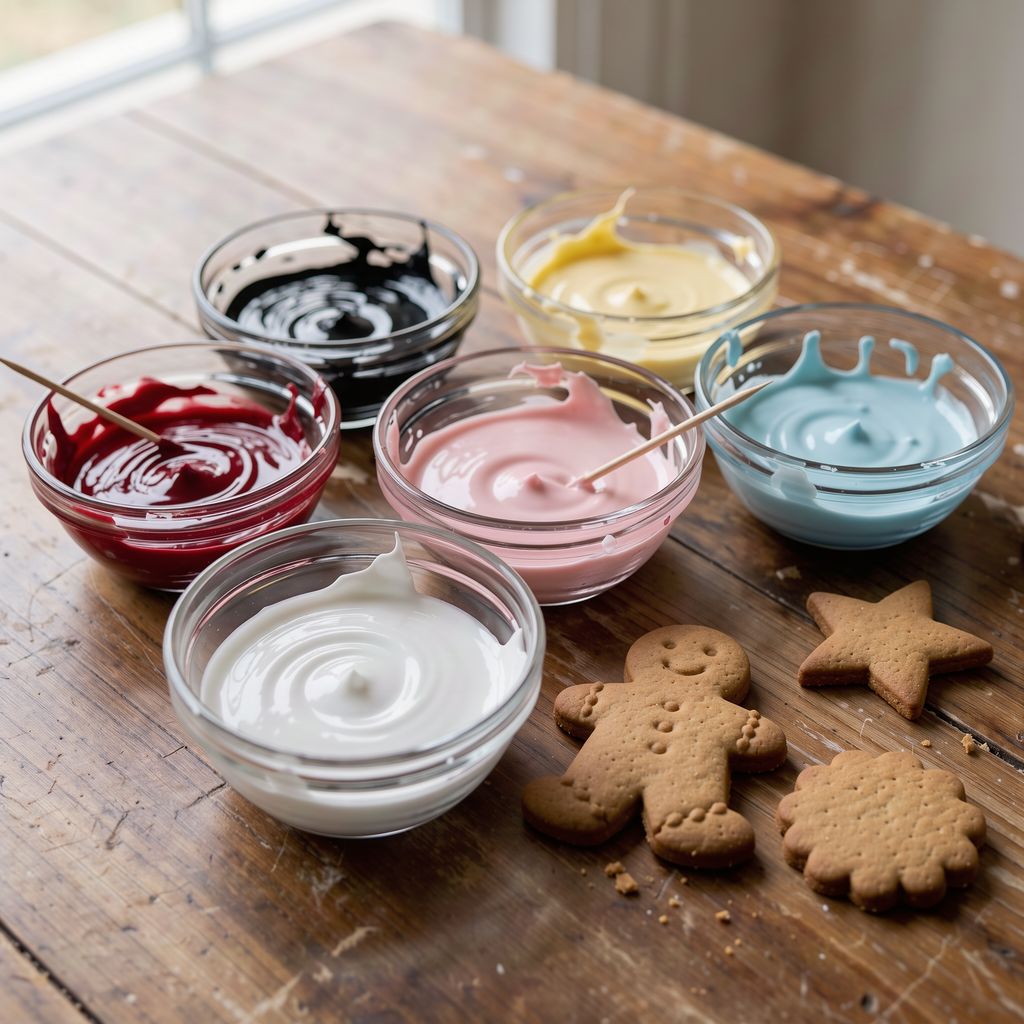
To color icing, use gel food coloring, add it a little at a time, and mix it into finished icing that's already at the right consistency. For a pastel, a toothpick tip of gel per 100 g of icing is enough; for a deep red or black, we've found you need roughly 1–2 g. Mix a shade lighter than you want, because the color keeps darkening for hours, and let each layer dry before adding a dark one next to it, or the colors will bleed. Below you'll find approximate amounts, why it all works this way, and what to do when red turns bitter and black stays gray.
Gel coloring is the right choice for icing because it delivers a lot of pigment and almost no water. Both powdered sugar glaze and royal icing depend on an exact ratio of water to sugar. Every extra drop thins the icing, lengthens the drying time and makes color bleeding more likely.
Here's how the different types of coloring compare:
Gel coloring – concentrated, applied with a toothpick, and it barely changes the consistency of the icing. The best choice for royal icing and powdered sugar glaze alike.
Liquid coloring from the supermarket – weak and watery. It's fine for a pastel tint, but for a deep shade you'd have to pour in so much that the icing turns runny.
Powdered coloring – very intense and water-free, good for dark shades. But you need to dissolve it first in a few drops of water or alcohol, or you'll end up with specks in the icing.
Natural colorings (beet, spirulina, turmeric) – they work for soft shades, but they affect the flavor and often turn brown or fade in light or as the icing dries.
You'll find the full range of gel, powdered and white colorings in the food colorings for icing and frosting category.
For 100 g of icing, a toothpick tip is enough for a pastel, a few dabs of a toothpick for a medium shade, and for a deep red or black we've found you need around 1–2 g. If you add much more, the icing usually turns bitter and dries less well.
These are approximate amounts for a concentrated gel coloring such as ProGel. They come from hands-on experience, not from the manufacturer, so add a little at a time and judge by eye:
Pastel (pink, light blue): a toothpick tip.
Medium shade: 2–5 dabs of a toothpick or 1–2 drops.
Deep color (green, blue, orange): up to about 1 g.
Dark red, black, navy blue: around 1–2 g, plus time (see below). For black, 1–2 g applies to a white base; on a cocoa base (see below) you need significantly less.
How to do it in practice:
Get the icing to the right consistency first, then color it. Gel barely changes consistency, but with dark shades you can notice it. If the icing thins out, add powdered sugar a little at a time (for 100 g, a teaspoon or two is usually enough) until the consistency comes back.
Always use a clean toothpick. A toothpick that's been in the icing carries sugar and water back into the tube, and the coloring can spoil.
Mix in the color with a spatula, pressing against the side of the bowl, rather than whisking. Whisking works air into the icing, and the bubbles then pop on the finished surface.
Judge the shade in daylight and in a thin layer on a small plate, not in the bowl. In a deeper layer, every color looks darker.
If you want to know how to mix specific shades in buttercream, take a look at the drop chart in our Buttercream Coloring article. The principle is the same, but buttercream is fatty and takes color differently from sugar icing.
Colored icing darkens for two reasons: the dye keeps developing in the icing for several hours, and as it dries the water evaporates, leaving more pigment per area. Once dry, the result is usually about a shade darker than what you see in the bowl.
What this means for you:
Mix a shade lighter than your target color. Add the coloring to the bowl little by little and wait a few minutes between additions.
Mix dark shades ahead of time. Let red and black rest for at least 2–3 hours, ideally overnight in a covered bowl. With black made from a cocoa base, what looks dark grayish-brown in the evening is often black by morning. We explain below, in the black icing section, why you shouldn't start from white.
Mix the whole batch at once. If you run out of color halfway through, it's hard to match the shade in a second batch.
Keep it covered. A crust forms on an open bowl, and the color in it is darker, so you end up with lumps of a different shade in your piping bag. Press plastic wrap directly onto the surface.
If you do overshoot the color, don't add more coloring to fix it. Stir in a little white icing and the shade will dilute. Then adjust the consistency again.
The way to get deep red icing without bitterness is to rely on time rather than on the strength of the color. Mix it to a dark pink or light red, let it develop overnight, and only then fine-tune it. Bitterness, and stickiness that refuses to dry, come from too much coloring, not from the shade itself.
A method that works:
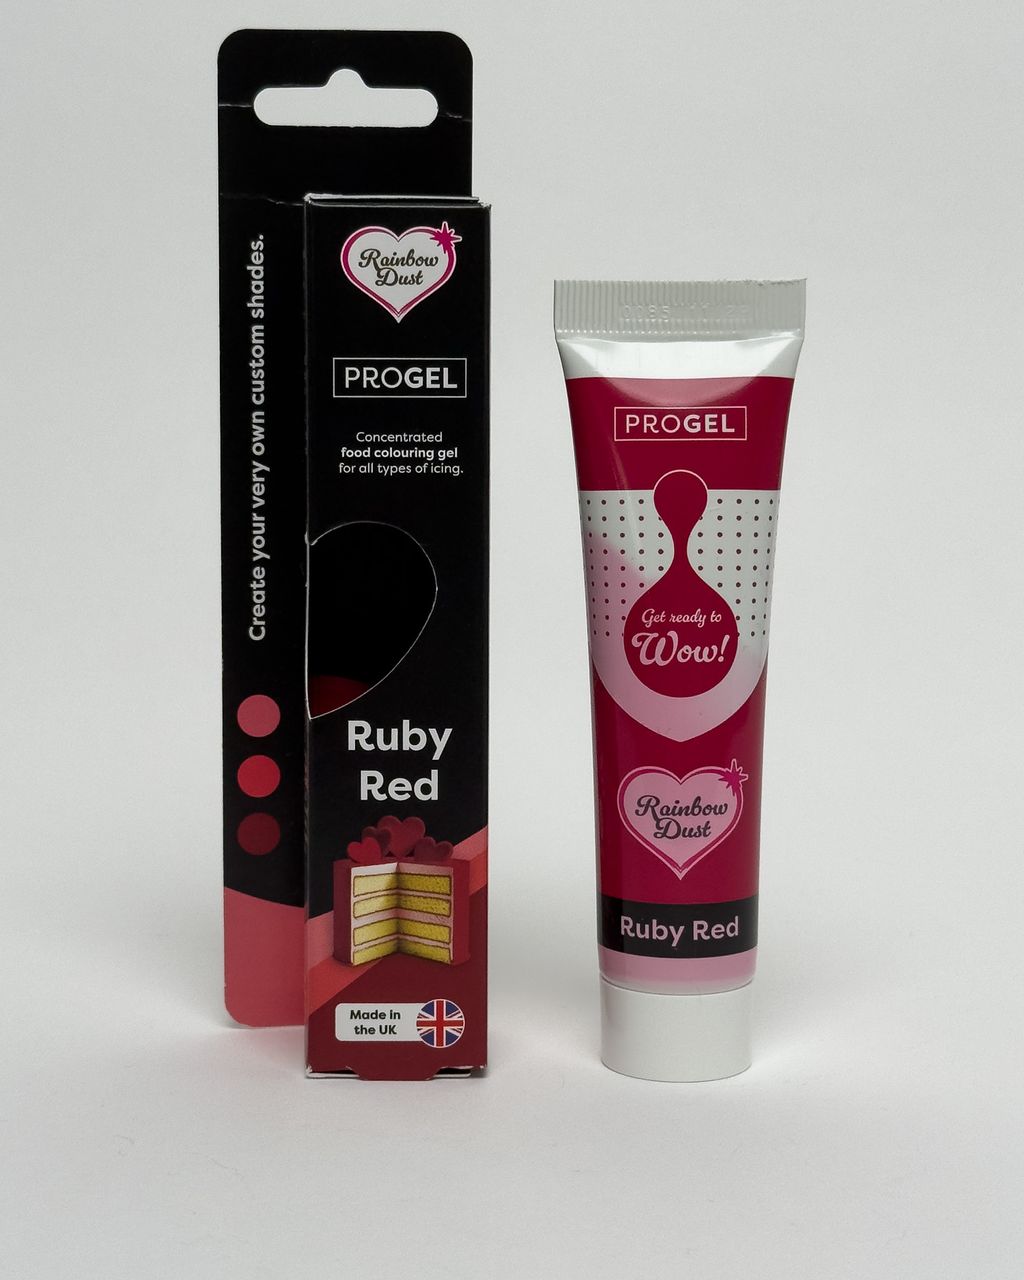
Use a coloring that is red to begin with, not pink. You'll never get a deep red from pink, only an ever-darker fuchsia. For Christmas gingerbread, the ProGel gel coloring in Ruby works well, giving a deep, slightly warm red.
Add about 1 g of coloring to 100 g of icing, stir and cover.
The next day, check the shade on a small plate. Only if it's still not deep enough, add a small extra amount.
Apply red in a thicker consistency than you'd use for a white surface. Less water means faster drying and less bleeding.
For a small amount of red (details, outlines), freshly mixed coloring will do. But for a red surface covering a whole cookie, always mix ahead of time.
The easiest way to get black icing is to start from a dark base rather than from white: add cocoa to the icing, then finish with black gel. From white icing, you need so much coloring to reach black that the icing turns bitter, stays gray, or doesn't dry by the next day.
Cocoa base: stir 1–2 teaspoons of sifted cocoa (very dark, ideally Dutch-process) into 100 g of icing. Cocoa dries the icing out, so add a few drops of water to bring the consistency back.
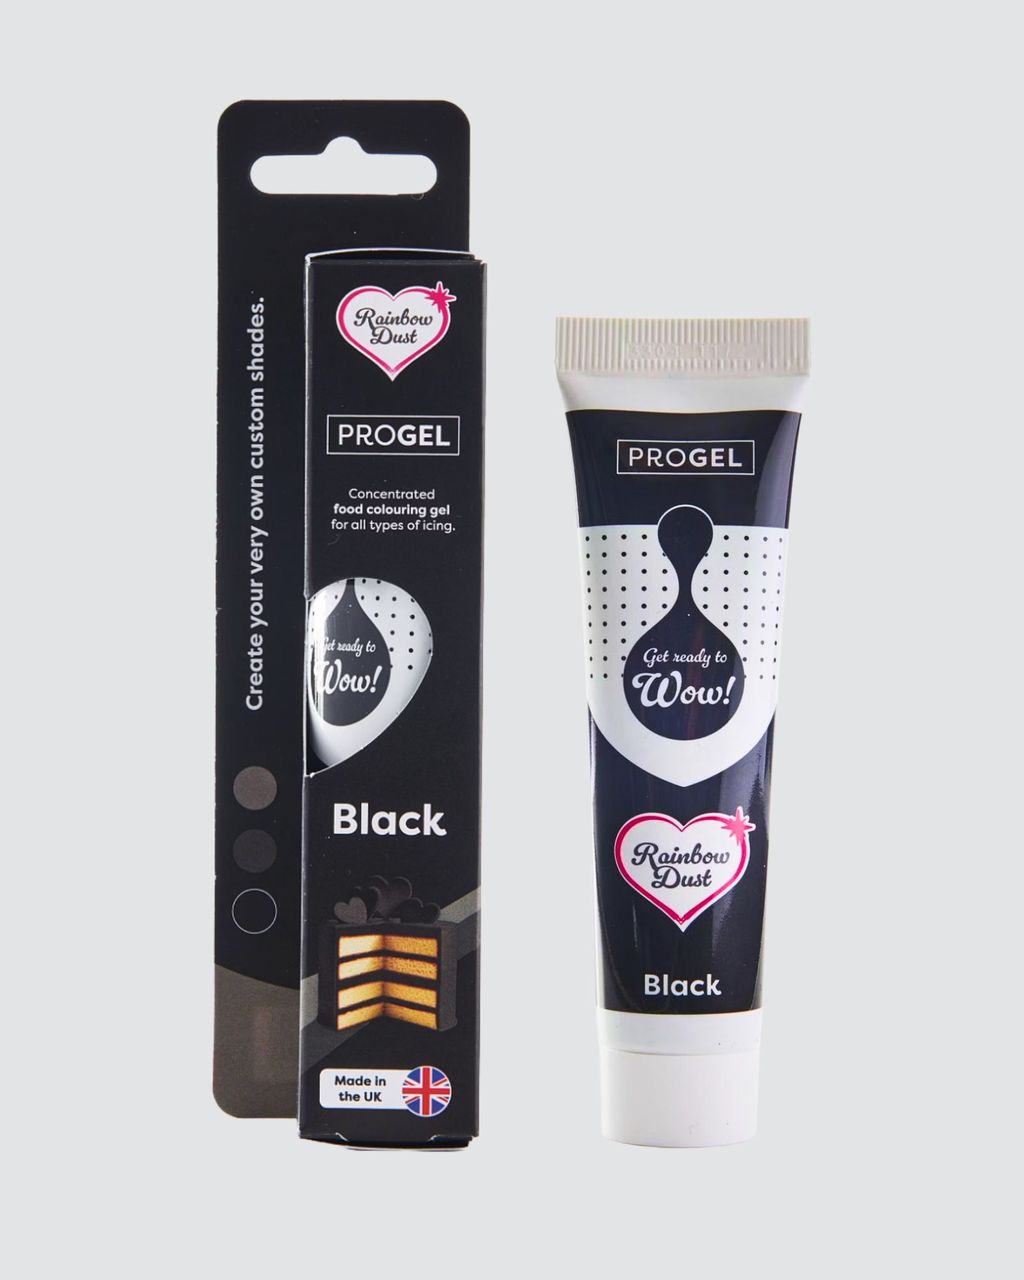
Black gel: for 100 g of brown icing, you then need only about 0.3–0.5 g of ProGel gel coloring in Black, significantly less than for white.
Resting: same as red, overnight in a covered bowl. Black from a brown base looks truly black in the morning, not purplish.
Cocoa suits the flavor of the icing, especially on gingerbread. If you need a completely neutral taste, go through white icing and expect a longer development time and a higher dose.
Colors bleed because water from wet icing travels into the neighboring layer and carries pigment with it, most of all with dark shades, which contain the most pigment. Bleeding is encouraged by humidity in the room, icing that's too thin, too much coloring and slow drying.
How to prevent it:
Let the base dry. Before you pipe a red or black detail next to or on top of a white surface, let that surface dry for at least 1–2 hours, ideally overnight. The wet-on-wet technique is fine only for designs where you want the colors to merge.
Dry quickly. Put the cookies in front of a fan or in a stream of air. During the first 30–60 minutes a crust forms on the surface and slows the movement of color. A surface that dries this fast also has a better sheen.
Don't thin the icing more than you need to. Flood icing for filling in surfaces should be thick enough that a line drawn through it with a knife smooths out in 10–15 seconds. Thinner icing dries slowly and bleeds. We describe how to get the flooding consistency right in the article Royal Icing Too Thin or Too Stiff.
Don't overdo the coloring. If you add much more than a deep shade needs, the icing gets soggy. Let it develop instead.
Dry in a dry place. Don't put decorated cookies in the fridge or in a humid kitchen above simmering pots. Condensation on the surface will dissolve the color, even after it has dried.
You make snow-white icing by adding white coloring to the icing, because powdered sugar icing isn't white on its own. It's translucent and slightly yellowish, especially when made with egg whites or lemon juice. A white base has two advantages: the cookie underneath doesn't show through as beige under a thin layer, and dark details stand out more against it.
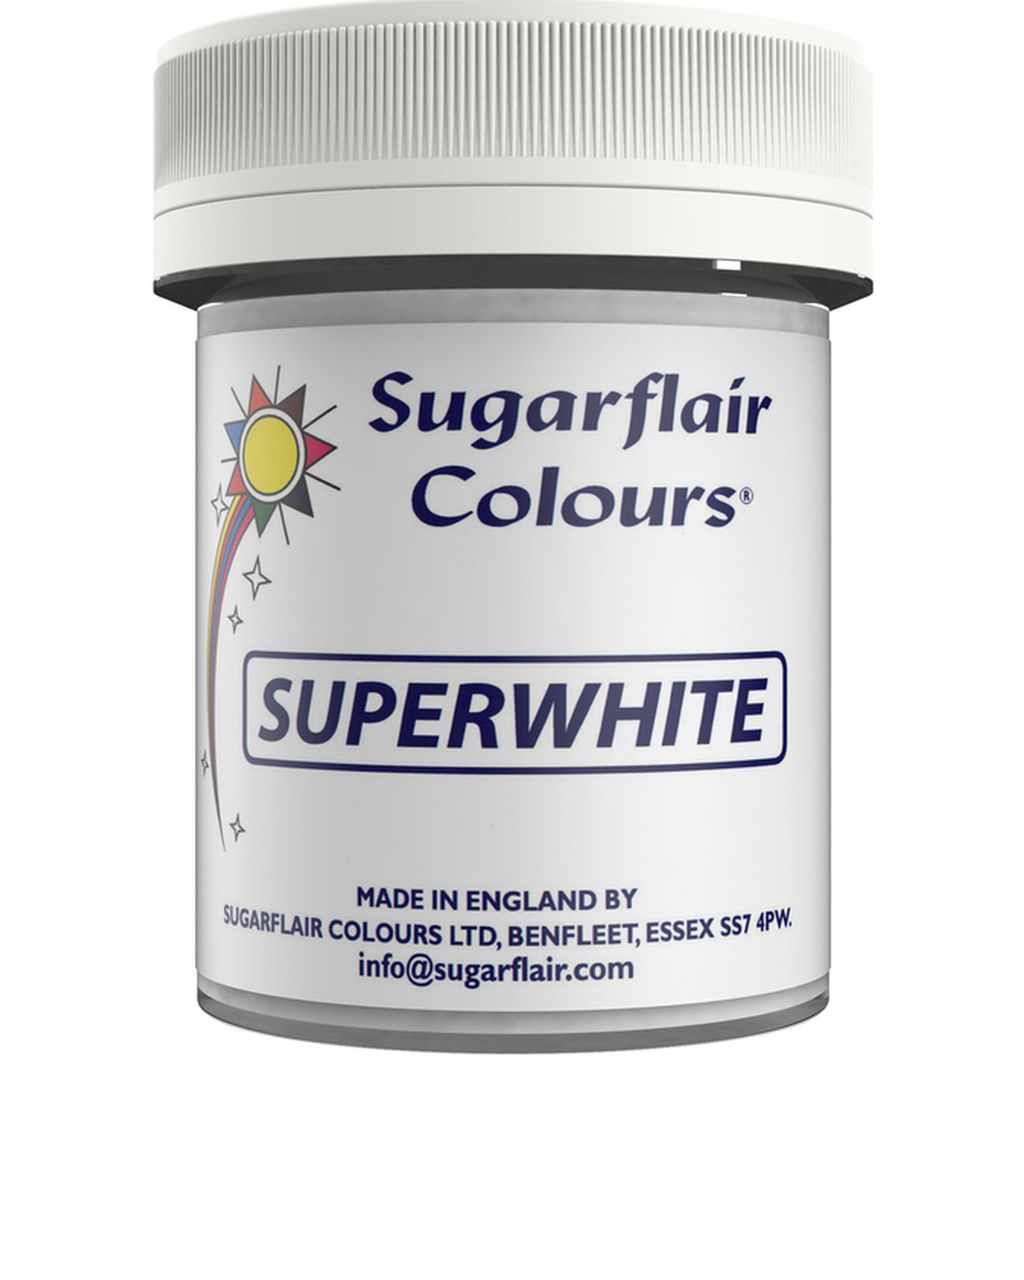
White icing color: Sugarflair Super White icing color is a powder. Dissolve it in a few drops of water, or sprinkle it into the icing gradually and mix thoroughly, or specks will remain. Add it a little at a time until the icing turns opaque and white. Start with about ¼ teaspoon per 100 g of icing.
White under pastels, too: pastel shades come out cleaner and less yellow on whitened icing. Yellow can turn blue into a greenish tint.
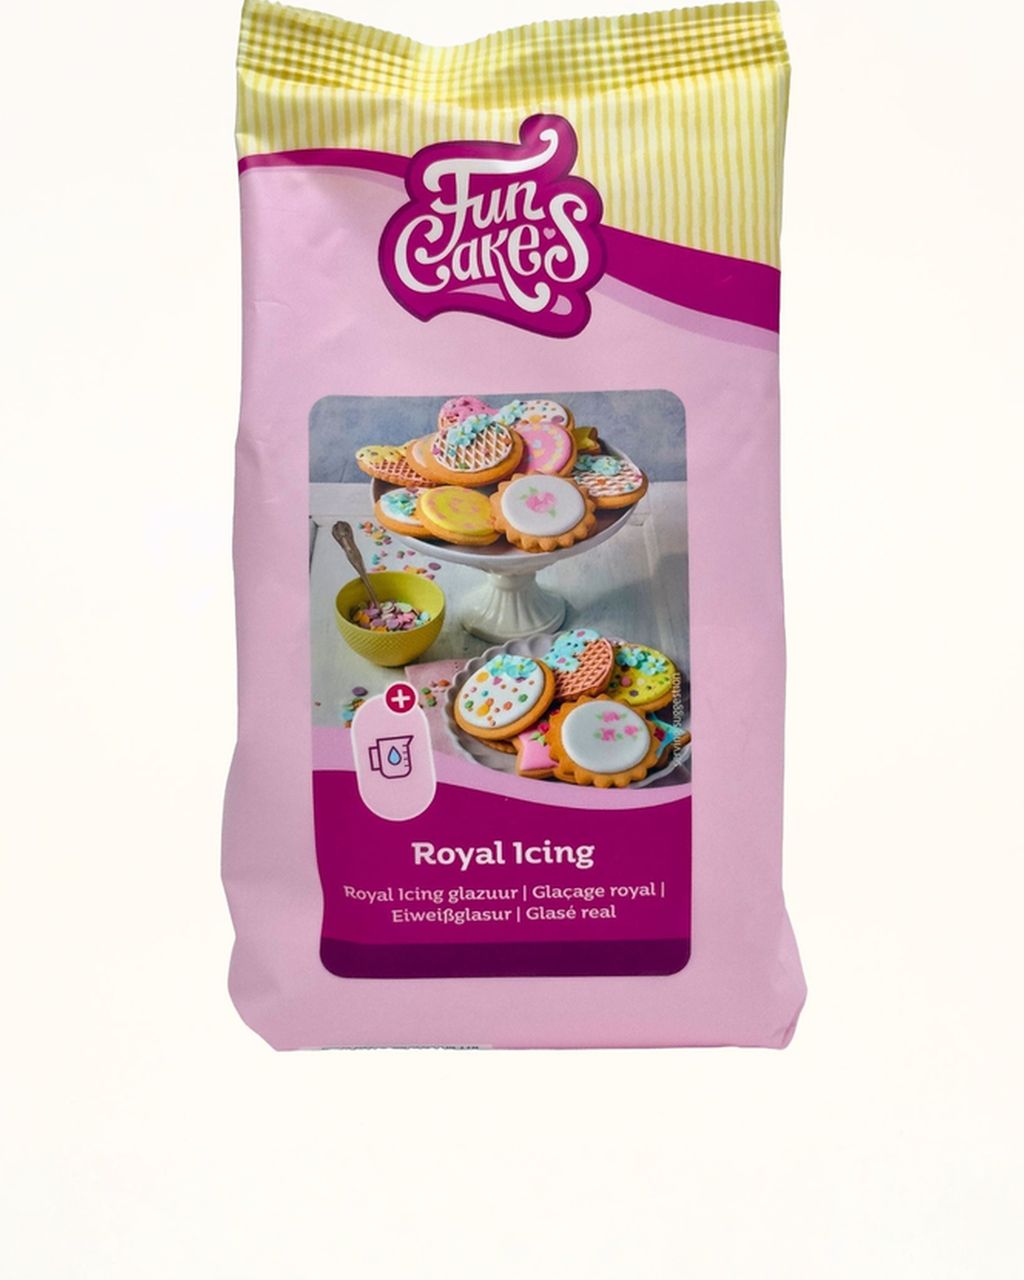
Ready-made icing: if you don't want to deal with egg whites or ratios, FunCakes royal icing is a mix to which you just add water. It's white from the start and holds sharp lines, which you'll appreciate for details on gingerbread.
White colorings in the EU cover a little less strongly than they used to, because titanium dioxide (E171) has not been allowed in food since 2022. So don't expect the whiteness of wall paint, but the brightening is clearly visible on a cookie.
For gingerbread cookies, plan the coloring over two days: mix and cover the dark shades the first evening, and decorate the next day. The whole process at a glance:
Bake the cookies and let them cool, for example using the recipe for the best honey gingerbread. Icing holds better on a cookie that has rested for a day.
The day before, mix the red and black and cover with plastic wrap pressed onto the surface.
On decorating day, mix the white and the pastels, which don't need as much time to develop.
Fill the bags. We describe how to do it without a mess in the article How to Fill a Piping Bag. If you run out of piping bags, an ordinary plastic freezer bag will do.
Light surfaces first, let them dry, then add the dark details.
Dry overnight at room temperature, then store in a box in a dry place.
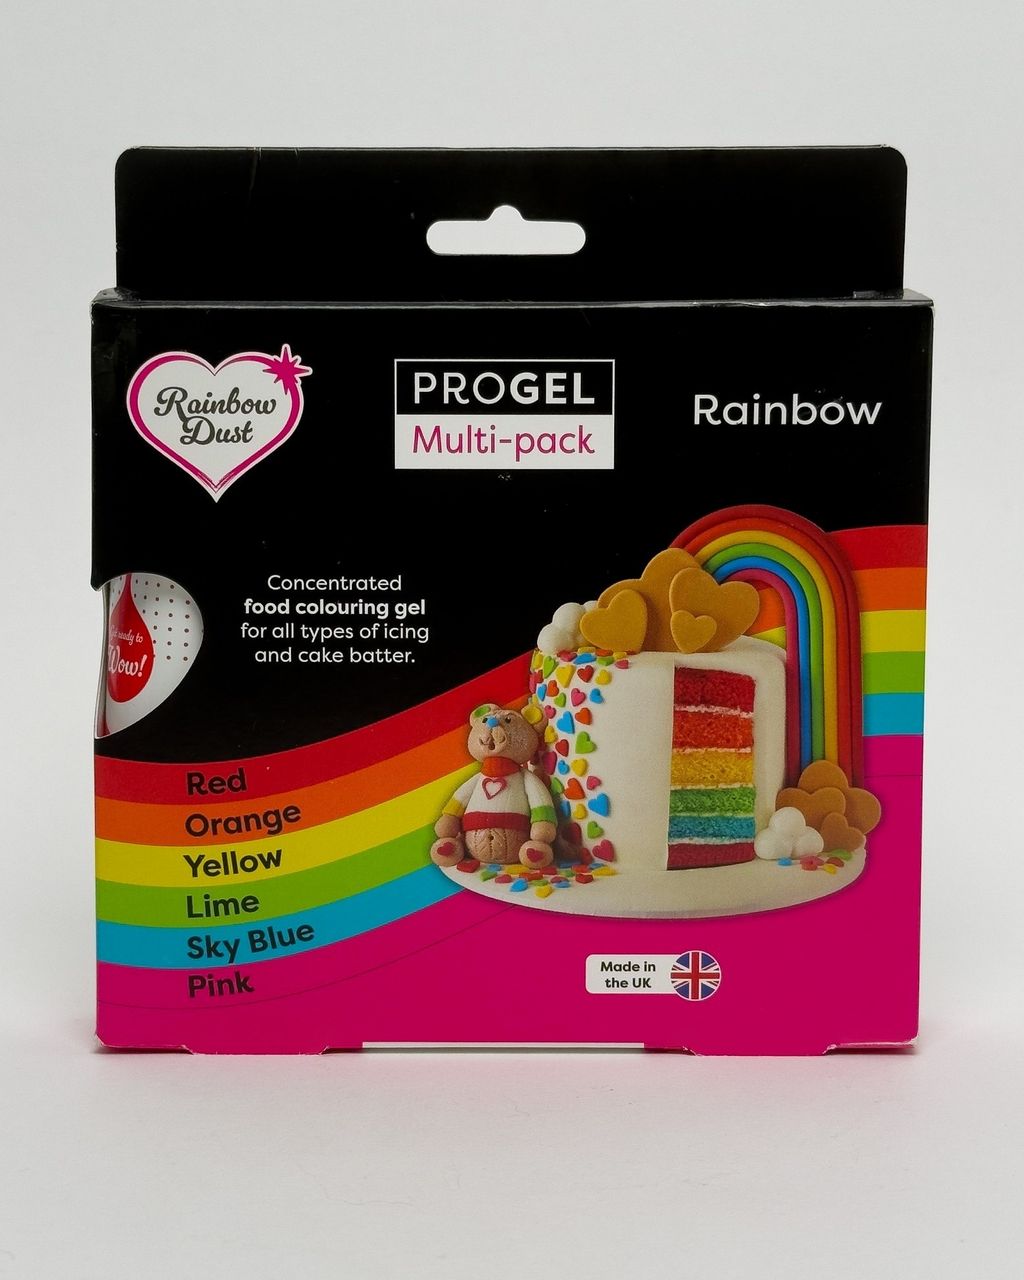
For pastel shades, the ProGel Rainbow set (6 pcs) is handy, because you can mix almost anything from its six basic colors. For the full details on ratios, consistency and developing royal icing, see the article Royal Icing: Ratios, Consistency and Coloring.
The best honey gingerbread cookies
Best Honey Gingerbread Cookies for Decorating with Colored Icing
Royal icing made with fresh egg whites belongs in the fridge, in a sealed container with plastic wrap pressed right onto the surface. Use it within 2–3 days, and don't leave it at room temperature for more than about 2 hours. Icing made with dried egg white (meringue powder) or from a ready-made mix can stay covered at room temperature for a few days. Always give it a quick stir with a spatula before using, because water can separate and the color can settle. Icing made with raw, unpasteurized egg whites isn't suitable for small children, pregnant women or older people. For them, use pasteurized egg whites or a ready-made mix (for example, one made with dried egg white).
Yes. You can color a simple glaze of powdered sugar and lemon juice with gel coloring, and the amounts are the same. Just keep in mind that the acidity and the yellowish tint of lemon shift the shades: blue turns toward green, and white will never be truly white without white food coloring.
Yes. Deep red and black icing can briefly stain your tongue and teeth because it contains a lot of pigment. It helps to use dark colors for details and outlines instead of covering the whole cookie, and to make black from a cocoa base with a smaller amount of coloring.
Yes. You can freeze colored royal icing in an airtight container or a tied-off piping bag, and it's usually recommended to use it within about 2–3 months. Thaw it slowly in the fridge, then stir it thoroughly with a spatula, because the water and color can separate, and adjust the consistency. Check the shade on a small plate after thawing, since dark colors may deepen a little more.
Spots and specks in icing most often come from color that wasn't mixed in fully, or from a crust that formed on an uncovered bowl and got into the piping bag. Scrape the sides of the bowl with a spatula as you mix in the color, and stir the icing, kept covered with plastic wrap, before filling the bag. You can also strain it through a sieve.
One recipe worth heating the oven for, one tip, and one deal from the shop. Nothing else.