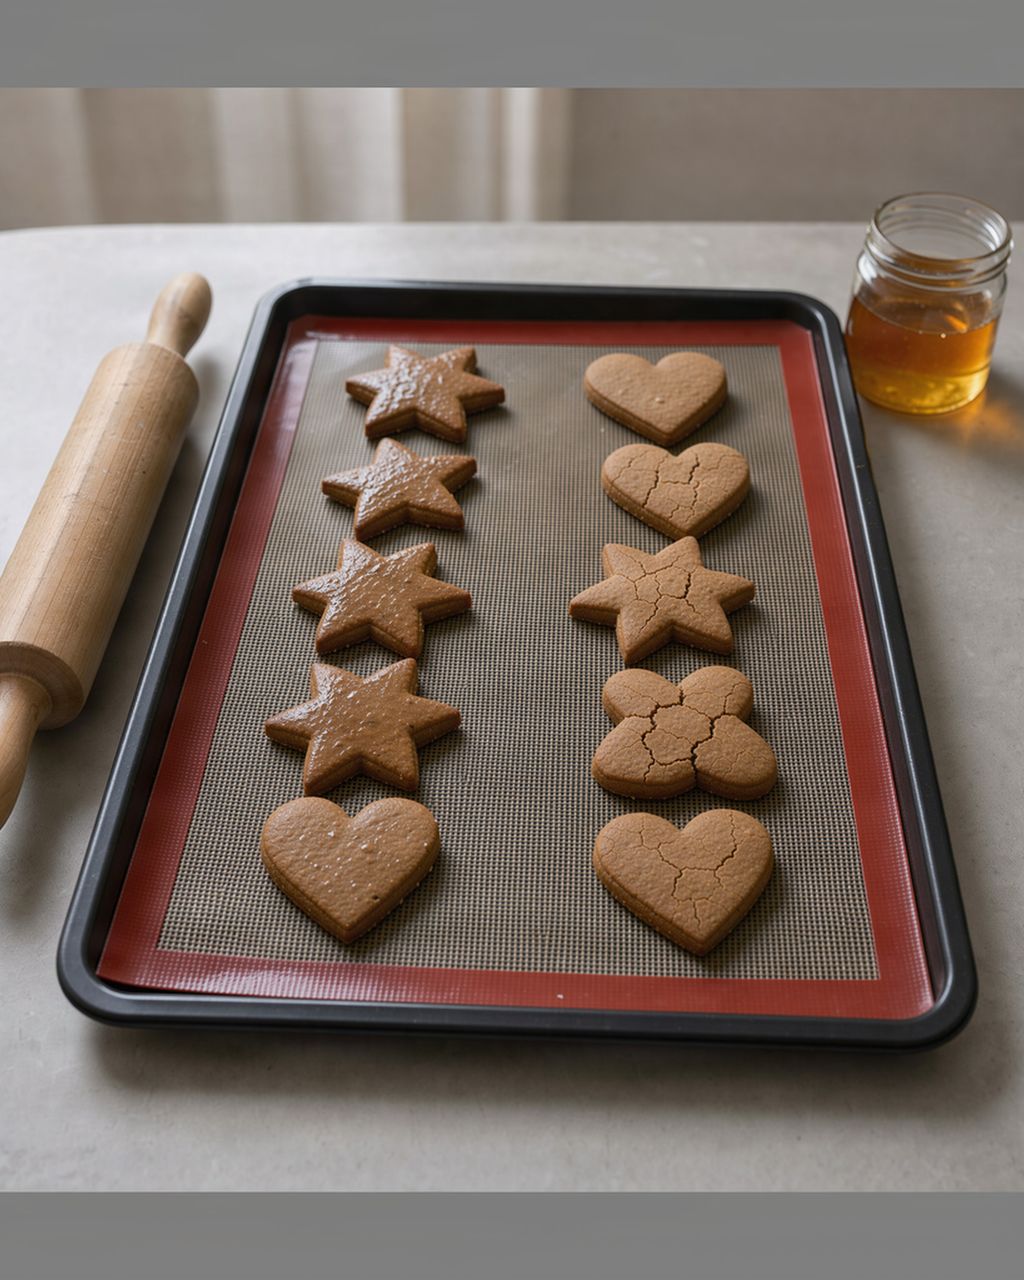
Soft gingerbread cookies
Royal Icing: Ratios, Consistency, Coloring and Drying
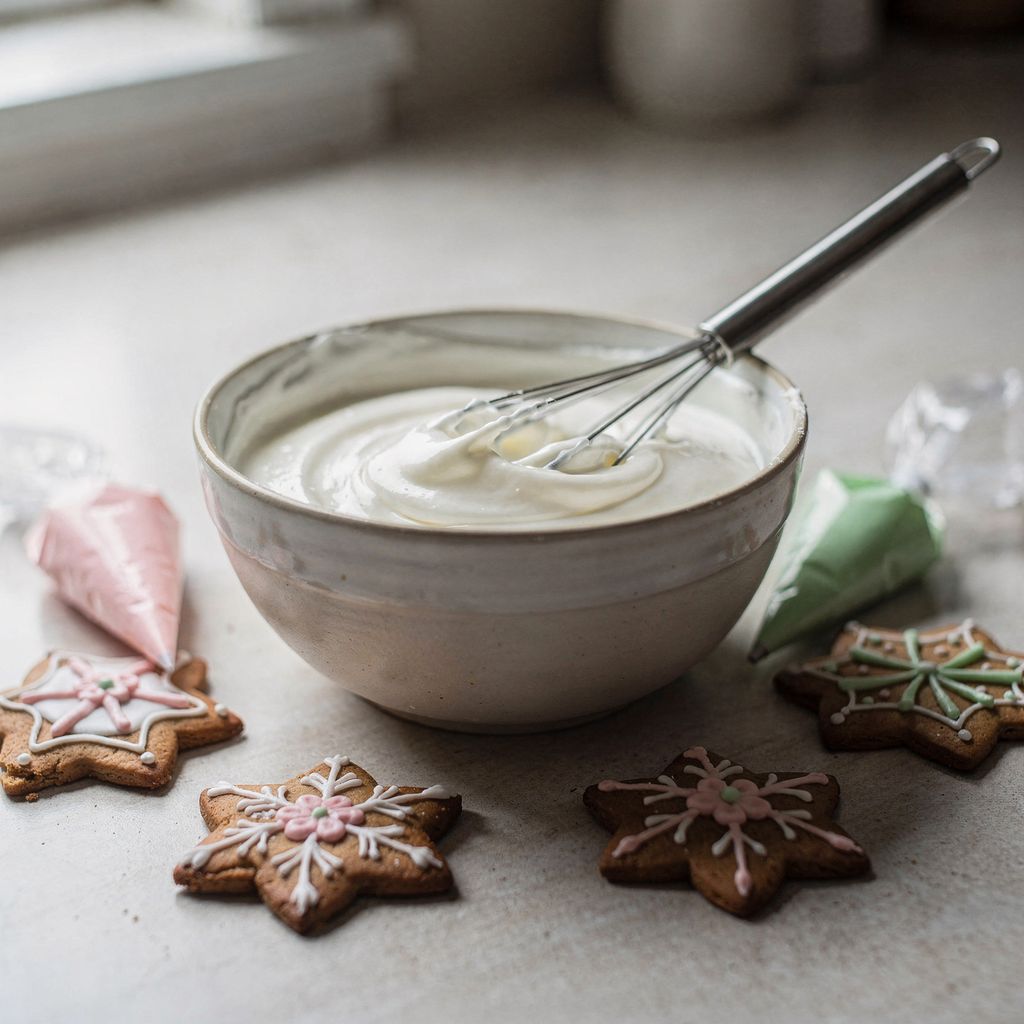
Updated Oct 25, 2026
Royal icing is just egg white and powdered sugar: one egg white to 200 g sifted powdered sugar plus ½ teaspoon lemon juice, roughly 1 : 6 by weight. From a ready-made mix it's even easier: according to the manufacturer FunCakes, 60 ml water to 500 g mix. Everything else you see on decorated gingerbread cookies – fine lines, smooth flooded surfaces, colorful dots – is just a different dilution of that one bowl. This article shows you how to thin it, color it and let it dry so it holds its shape, hardens properly and doesn't bleed into itself.
You need 180–220 g sifted powdered sugar per egg white – roughly 1 : 6 by weight. An egg white from a medium egg weighs around 30–36 g, so one egg white and 200 g sugar give you about 230 g icing. That covers roughly 25–30 gingerbread cookies, depending on their size and how thick you spread the icing.
Quick batch guide:
1 egg white (about 30–36 g) + 200 g powdered sugar + ½ teaspoon lemon juice → about 230 g icing
2 egg whites + 400 g sugar + 1 teaspoon juice → about 460 g icing
3 egg whites + 600 g sugar + 1½ teaspoons juice → about 690 g icing
Four things that make the ratio work:
Let the egg white sit on the counter for an hour. A cold white combines with sugar less well, and the icing stays needlessly runny even when you've added enough sugar.
Sift the powdered sugar twice. A single undissolved crystal will clog the tip in the middle of a line. Why granulated sugar doesn't belong here at all is covered in our article on powdered vs. granulated sugar in cookies.
½ teaspoon lemon juice per egg white (or a pinch of cream of tartar). The acid stabilizes the protein bonds, so the icing doesn't separate or weep water after a few hours.
Stir, don't whip. A mixer at full speed pumps air into the icing, and as it dries that air comes back as craters in the surface. Mix by hand or on the lowest speed for 4–5 minutes, until the icing is glossy and smooth.
Some bakers add a teaspoon of potato starch to the egg white. It makes the icing slightly more matte and firmer, so lines hold a sharper edge – but keep the icing pure for flooding large areas, since with starch the surface levels out less well on its own.
The sugar ratio and the whole method are the same for fresh egg white, dried pasteurized egg white and a ready-made mix – they differ only in the level of risk, convenience and small details of shine. Royal icing is never heated: the egg white in it stays raw and dries that way.
Fresh egg white gives the best shine and the smoothest line, but it's a raw egg, with everything that comes with that.
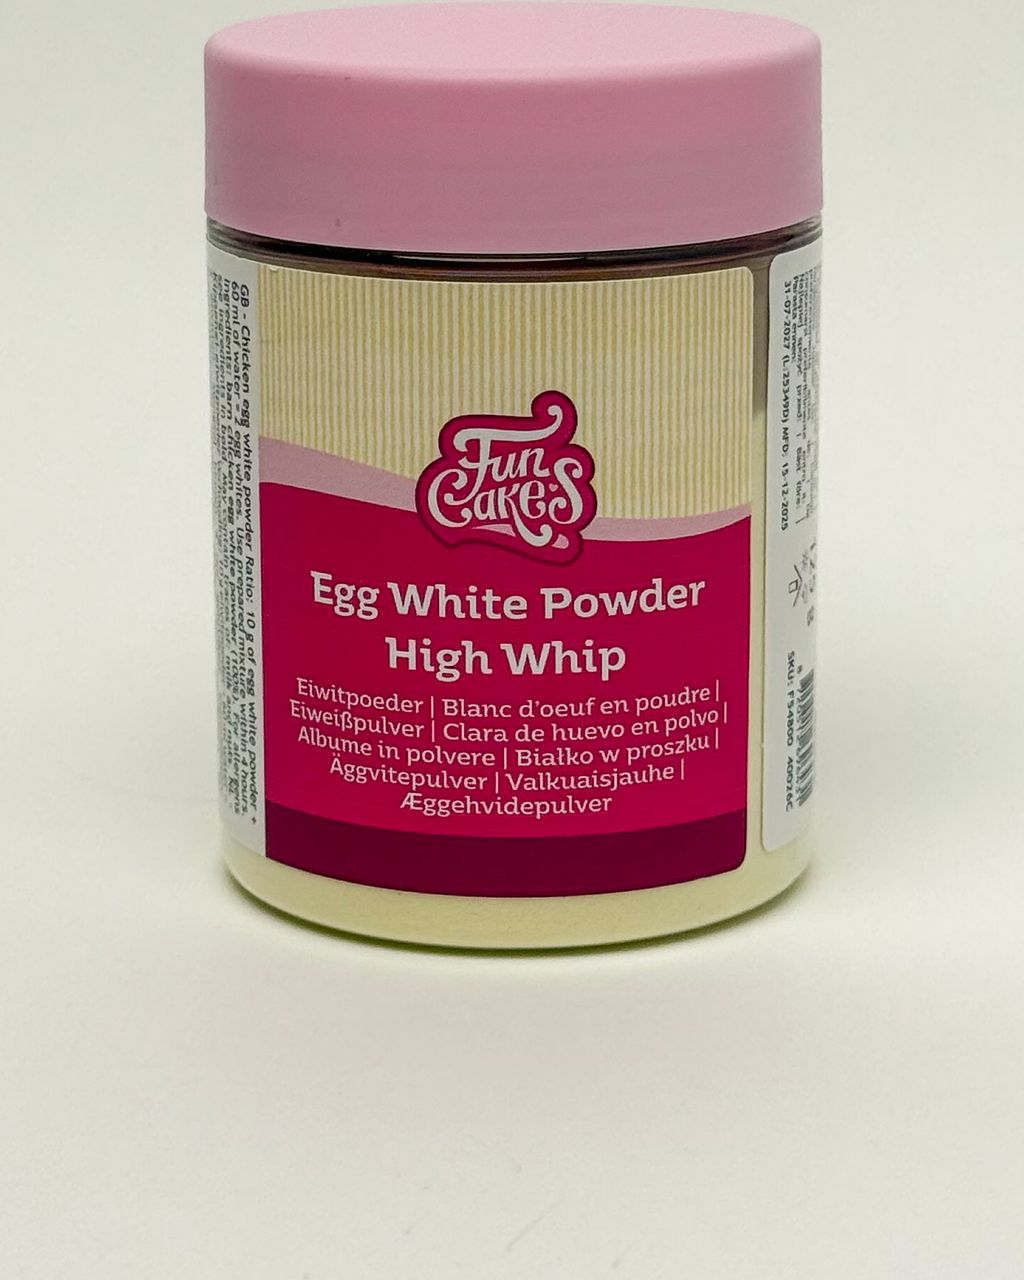
Dried (pasteurized) egg white is the simplest safeguard. Mix it with lukewarm water according to the package directions, let it stand for five minutes so it hydrates fully, then continue as usual. The sugar ratio doesn't change.
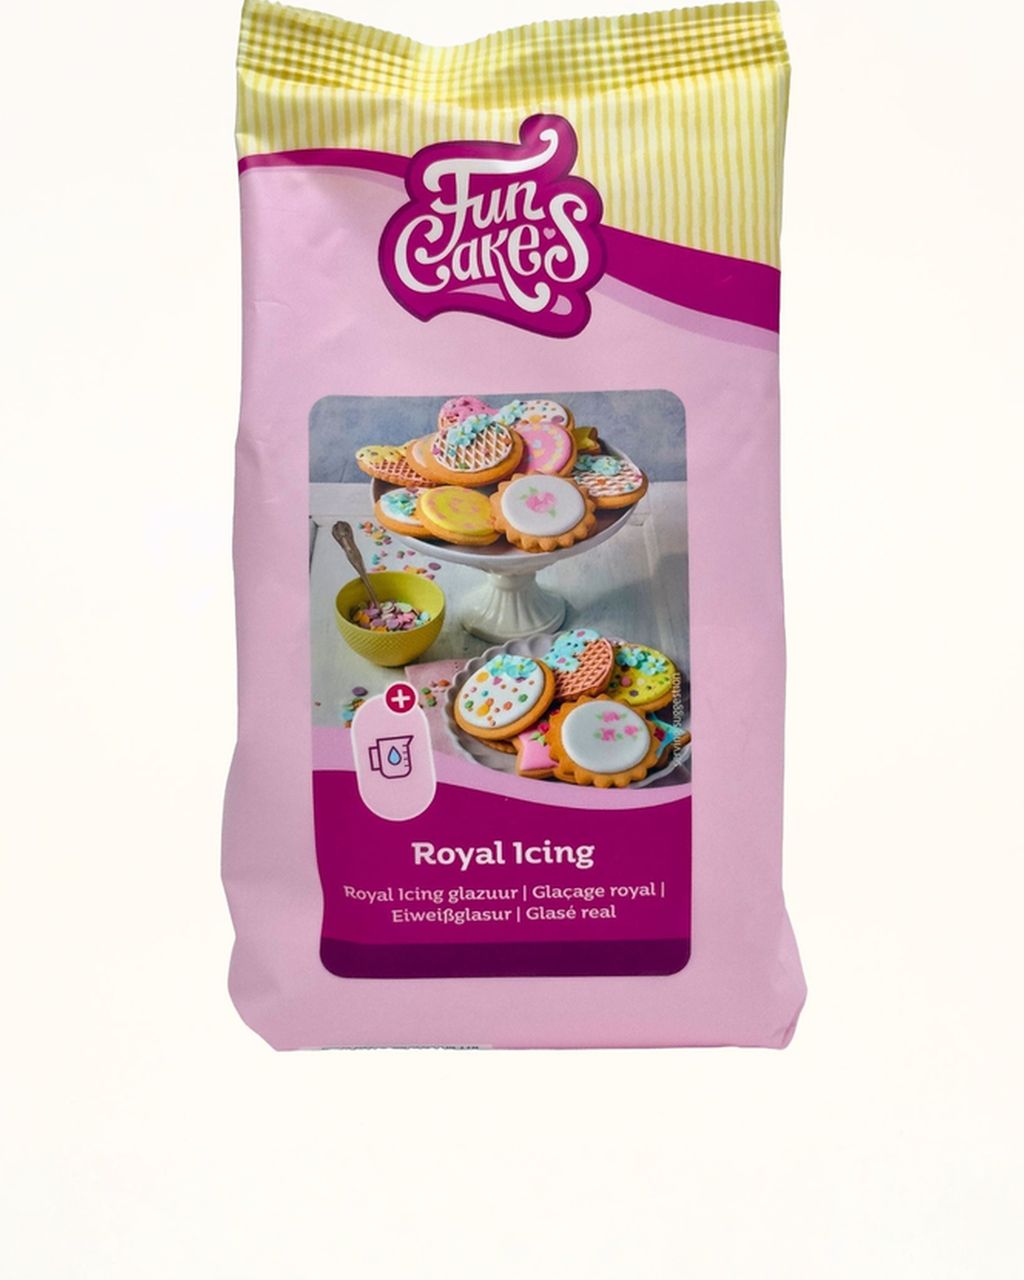
Ready-made royal icing mix saves you the weighing – you just add water. It's handy if you decorate once a year and don't want to fuss over whether the egg white is large or small. According to its ingredients list, the FunCakes mix contains sugar, dried glucose syrup, dried egg white and citric acid; the manufacturer states that the egg white is pasteurized.
And then there's the simple economics of Christmas baking: Linzer cookies take the yolks, the icing takes the whites. If you bake both, it comes out almost even. And if you still have whites left over, bake meringues or coconut macaroons – both use up egg whites completely and bake at a low temperature until dry.
You need three icing consistencies: stiff at 20–25 seconds for outlines, medium at 15 seconds for details, and thin at 10 seconds for flooding. You measure the seconds with a simple test – lift a spoonful of icing, let it run back into the bowl and count how many seconds it takes for the trail to disappear.
Stiff – 20–25 seconds. Outlines, lines, lettering, little flowers and anything that should stand up from the surface. It holds its shape, and the peak pulls a sharp thread behind it.
Medium – 15 seconds. Details, dots, smaller areas and small cookies where one consistency can handle both the outline and the flood.
Thin, for flooding – 10 seconds. Large areas. It levels itself into a mirror finish, but without an outline it will run over the edge.
Thin it with water half a teaspoon at a time (about 2.5 ml), stir, and only then test again. A spray bottle is even better – the difference between a ten-second and a twenty-second icing is just a few milliliters, so it's terribly easy to overshoot.
And the key rule in the opposite direction: thicken it with more of your own icing, not with sugar. Added powdered sugar does thicken it, but the icing turns gritty, loses its shine and crumbles as it dries. So keep a few tablespoons of stiff base in a bowl on the side and thicken with that. If the consistency gets completely out of hand, read royal icing that is too thin or too stiff – every cause is covered separately.
For FunCakes royal icing mix, use 60 ml water to 500 g sifted mix, which is 12 ml per 100 g – that's a stiff consistency. This is what the manufacturer's instructions on the FunCakes website say; for the smaller pack, the manufacturer gives 55 ml water to 450 g, which works out to the same ratio. For 1 kg of mix that means 120 ml.
For medium and thin consistencies the manufacturer gives only “1 teaspoon of water per portion” (medium) and “2 teaspoons per portion” (thin), with no weights. The conversion below is therefore approximate – ours, not the manufacturer's – so always fine-tune it with the seconds test:
Stiff (outlines, lettering): 12 ml water per 100 g mix · 60 ml per 500 g (per the manufacturer)
Medium (details, dots): roughly ½ teaspoon (2.5 ml) extra water per 100 g stiff icing · about 2½ teaspoons (12.5 ml) per 500 g
Thin (flooding): roughly 1 teaspoon (5 ml) extra water per 100 g stiff icing · about 5 teaspoons (25 ml) per 500 g
How to do it, per the manufacturer:
Sift the mix and pour in the water (and gel color too, if using).
Fit your stand mixer with the flat beater and mix on low speed for 7–10 minutes.
It's ready when it's bright white, has lost its shine and a lifted peak no longer bends back. Note that with the mix you're looking for the opposite of homemade egg-white icing, which should stay glossy.
Those 7–10 minutes are longer than for homemade egg-white icing – a mix with glucose syrup needs more time for the sugar to dissolve. The manufacturer warns that a hand mixer can seize up in the stiff mixture. Add the water for medium and thin consistencies to the finished stiff icing, a little at a time: a teaspoon is a rough measure, and the humidity in your kitchen can shift the result by a few seconds.
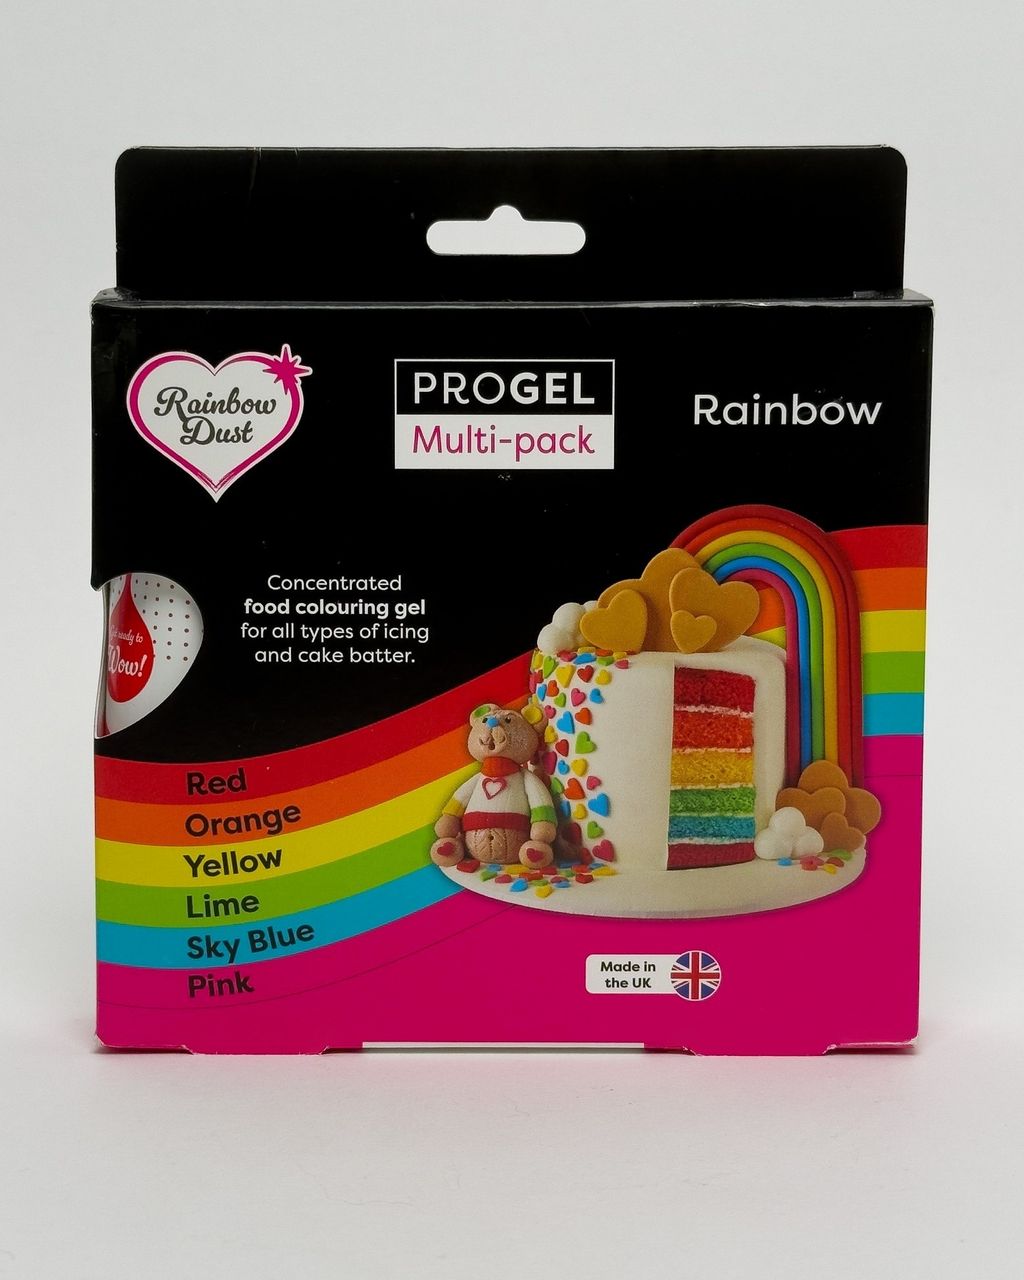
Color with gel food coloring for icing, not liquid coloring. Liquid coloring is largely water – by the time you reach a rich shade, you've thinned the icing by two consistencies and can't bring it back. Gel has the pigment in a carrier, so a drop on the tip of a toothpick is enough for the whole batch.
What else to know:
Color a shade lighter than you want, then let the icing rest for 30–60 minutes. During that time the pigment develops and the color darkens – especially red, blue and black. Anyone who adds more color right away almost always overshoots.
Build dark shades from a base. For black, start from chocolate brown (a teaspoon of cocoa); for rich red, start from pink. You'll save half the gel and half the problems with it – a large amount of pigment is the main reason colors bleed.
Make snow white with white icing color. Plain egg-white icing has a slightly yellowish or translucent tint; a drop of white coloring makes it opaque, so the gingerbread doesn't show through as much.
Place colors side by side only after drying. When two colors should sit next to each other as separate areas, let the first one set for 20–40 minutes before you pipe the second. Moisture moves through the icing as it dries, and pigment travels with it into the neighbor.
Wet on wet, by contrast, you do right away. Dots and marbling belong on a still-wet surface, within two minutes – there the blending is the point, not a mistake.
Gel is hygroscopic. The propylene glycol and glycerin in it pull moisture from the air, so heavily colored areas dry more slowly and can turn sticky in a humid kitchen. For deep black or dark red, a powdered color is therefore more practical.
If you'd rather paint color onto gingerbread than pipe it, you can also use a brush on a dry white surface – the technique is in our article on painted gingerbread cookies.
And a small tip that saves a lot of washing up: fill each color straight into a piping bag, and cover what's left in the bowl with plastic wrap pressed right onto the surface. Royal icing forms a crust in the air within minutes, and that crust then shows up in your line as a lump.
The order is always the same: outline with stiff icing → let it set 2–3 minutes → flood with thin icing → nudge it into the corners with a skewer and tap the cookie on the work surface → sprinkles within 5 minutes → fully dry in 6–8 hours, 12–24 hours before packing. In detail:
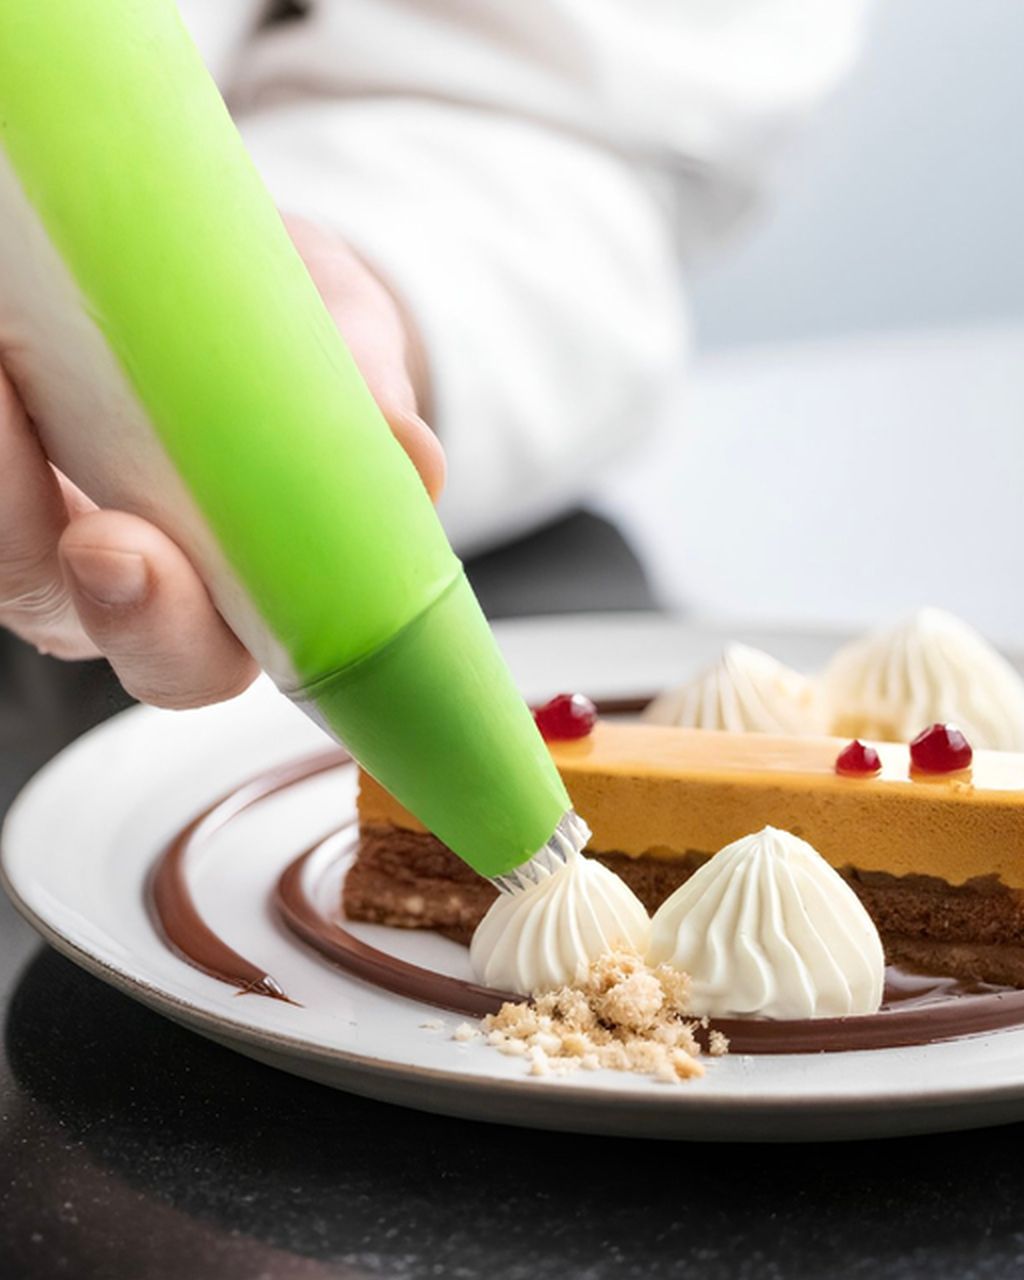
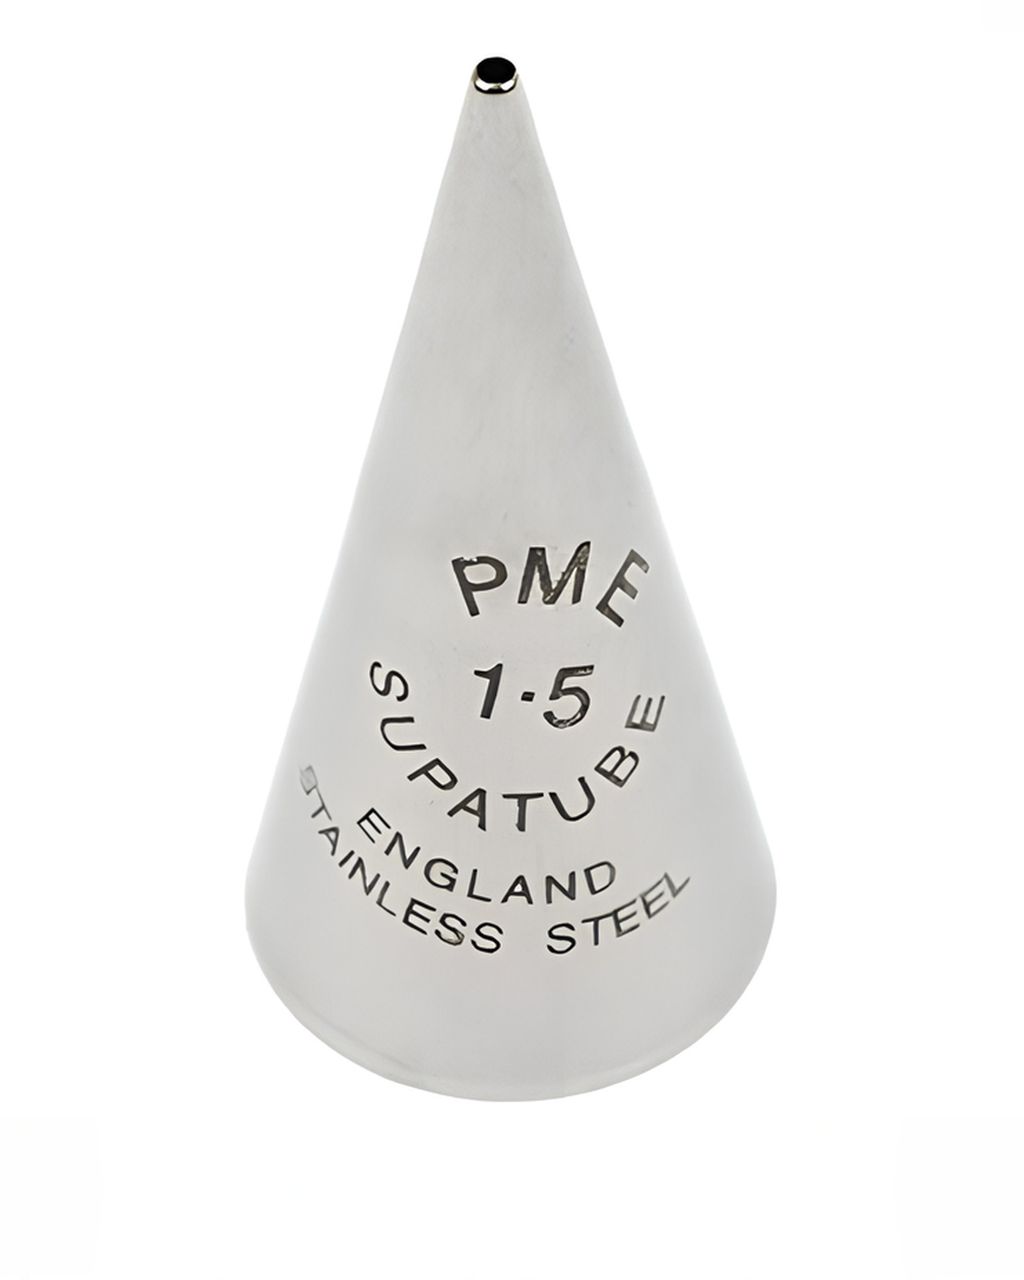
Outline with stiff icing. Snip a disposable bag to 2 mm, hold the tip just above the cookie and let the icing fall – don't drag it along the surface, and the thread will straighten itself into an even line. For lettering and fine lines, a No. 1–1.5 tip is more precise; which one suits what is compared in cookie decorating tools: piping bag, tip or tube.
Wait two to three minutes for the outline to set. Otherwise the flood will seep under it.
Flood with thin icing into the middle of the area and let it spread.
Use a skewer or toothpick to push the icing into the corners and pop any bubbles that have floated up.
Tap the cookie on the work surface. The surface levels into a mirror finish.
Add sprinkles and sugar pearls within five minutes, while the surface is wet. Later they won't stick.
A crust forms in 15–30 minutes, fully dry icing in 6–8 hours – then you can layer raised details. Before packing into a tin or bags, let the cookies dry for 12–24 hours.
In a kitchen with humidity above 50%, expect drying to take noticeably longer, and don't leave cookies next to boiling water – the icing will stay soft even by morning. Patterns, motifs and the whole process from baking to finished cookie are in our article on decorating gingerbread cookies step by step.
Royal icing forms a crust in 15–30 minutes, is dry to the touch in 1–2 hours and dries fully, all the way through, in 6–8 hours – or 12–24 hours for a thicker layer and in humid conditions. Times by step:
Outline before flooding: 2–3 minutes, just enough for the surface to set.
Wet on wet, sprinkles: within 2 minutes (dots, marbling), sprinkles within 5 minutes.
Neighboring area in a different color: 20–40 minutes before you pipe the second.
Flooded area before layering details: at least 1–2 hours for a flat detail; for raised lines, lettering or 3D decorations, better 6–8 hours or overnight, otherwise the bottom layer will dent.
Before packing cookies into bags or a tin: 12–24 hours. The icing must be hard inside too, or it will leave an imprint on the cellophane or the neighboring cookie and turn matte.
What slows drying down:
Air humidity above 50–60% – cooking, drying laundry, rainy days.
The fridge. Don't put cookies in the fridge to dry: the cold slows drying, and when you take them out, moisture condenses on them, so the icing turns damp and loses its shine.
A thick layer and rich color – more water and more hygroscopic gel.
A cold room below 18 °C (64 °F).
What helps: a dry room at room temperature and a fan on its lowest setting aimed around the cookies. Not a radiator or the oven – drying too fast causes cracks and blemishes.
A failed icing almost always comes down to one of five causes: air whipped into the icing, icing that's too thin, a layer that's too thin, high air humidity, and an overbaked, hard crust on the gingerbread. One by one:
Craters and pinholes in the surface. You've whipped air into the icing. Mix slowly and let the finished icing stand for 10 minutes so the bubbles rise; pop the rest with a toothpick.
Cracked or bulging surface. The icing was too thin and dried too fast. Add a few tablespoons of stiff base and dry at room temperature, not over a radiator.
White looks gray. Almost always the layer is thin and the gingerbread shows through. A thicker icing, a drop of white icing color or a second layer once the first has dried will help.
Icing is sticky after a night. High air humidity, often combined with heavily colored icing. Set a fan on its lowest speed near the cookies, or decorate on a day when nothing is boiling.
Icing slides off the surface. The cookies were baked too briefly at too high a temperature, so they have a hard, glossy crust. A lower temperature and a longer time give a surface the icing grips – you'll find exact numbers in the overview what temperature to bake cookies at.
Royal icing works best on firmer cut-out cookies with a flat, dry surface – gingerbread cookies, honey cut-outs and buttery cut-out rounds. It needs something underneath that holds its shape and doesn't crumble, because dried icing is hard and brittle at the same time.
On gingerbread cookies (called medovníky in Slovakia) it's a classic, and the softer the dough, the better – a soft gingerbread under hard icing is easy to bite. If your gingerbread goes hard before you even get to the icing, read why gingerbread cookies turn hard.
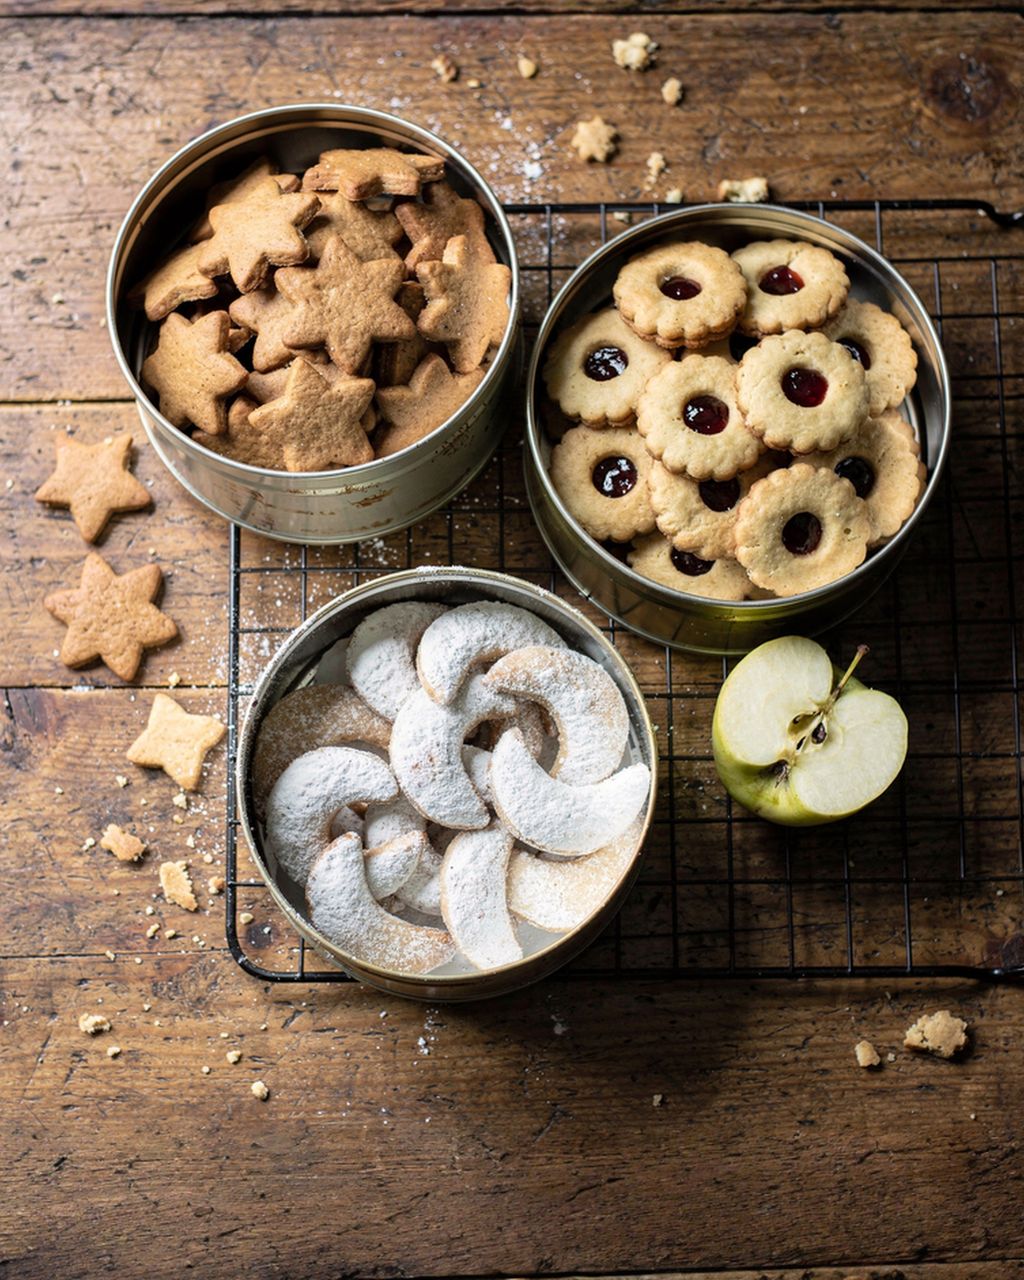
On Linzer cookies, royal icing is an unusual choice: classic Linzer cookies are sandwiched with jam and dusted with powdered sugar. But on cut-out Linzer rounds without a filling it works wonderfully – just keep in mind that the delicate buttery dough breaks easily, so handle it gently under the piping bag. How to keep it tender in the first place is covered in the articles on hard Linzer cookies and crumbly Linzer dough.
Soft gingerbread cookies
Soft gingerbread cookies – an ideal base for royal icing

Soft honey gingerbread cookies that never go hard
Soft honey gingerbread cookies that don't harden under the icing
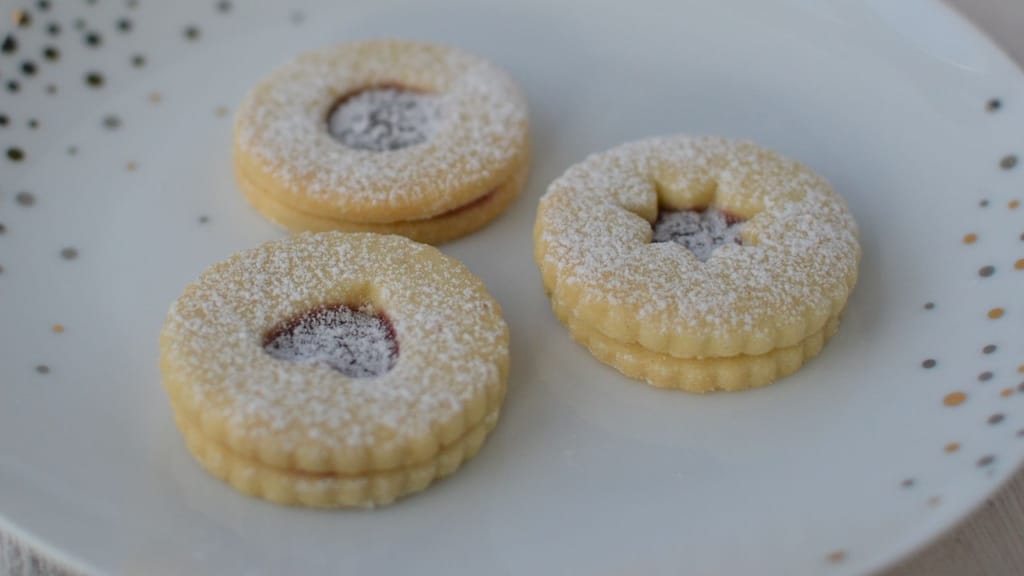
Classic christmas cookies: delicate linzer cookies
Classic tender Linzer cookies for cut-out baking
Store finished royal icing covered in the fridge and use it within 24 hours – that's what FunCakes states for its mix with pasteurized egg white. For homemade icing made with raw egg white, don't count on anything longer. Until you use it, keep it in an airtight container with plastic wrap pressed directly onto the surface, let it come to room temperature before decorating and just stir it by hand – re-whipped in a mixer, it picks up air and you're back to craters. The details, including dried decorations and decorated cookies, are covered in royal icing: how to store it and how long it keeps.
If a little water separates out in that time, don't worry: stir it, and if the icing is thinner than it should be after mixing, thicken it with a few spoonfuls of stiff base – not with sugar, for the same reason as when thinning.
Don't throw leftover icing away. Pipe dots, little stars or eyes onto parchment paper, let them harden for 24 hours, and you have a stock of decorations for cakes and cupcakes. Six more ideas are in what to do with leftover royal icing.
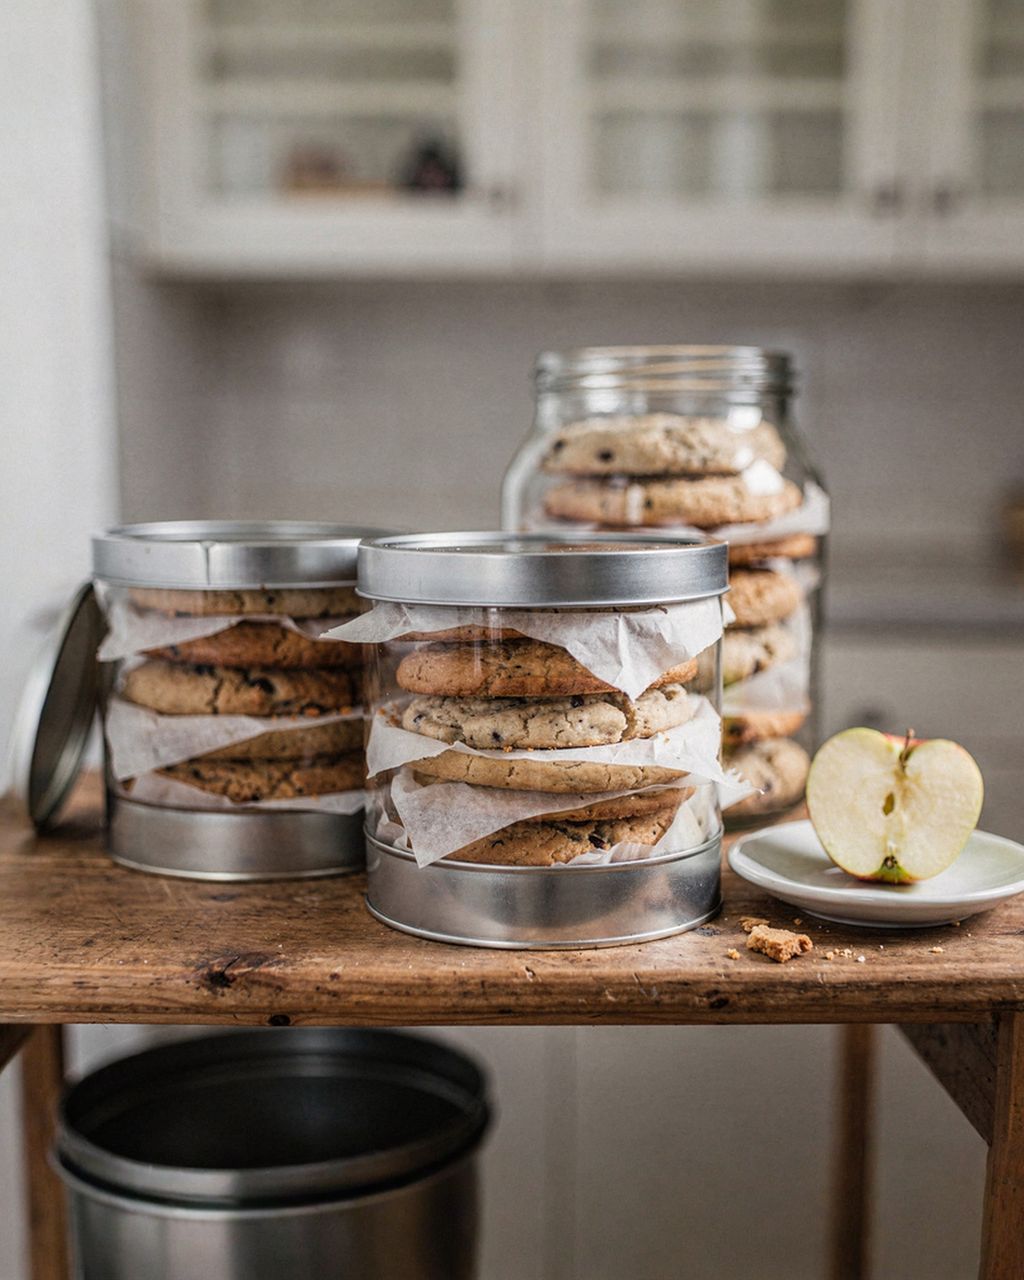
And one extra rule for decorated cookies: only stack them in a tin when they're completely dry, otherwise the icing will leave an imprint on the neighboring piece. For details, see our article on storing Christmas cookies; decorated gingerbread cookies can also be frozen, with instructions in the piece on freezing cookies and dough.
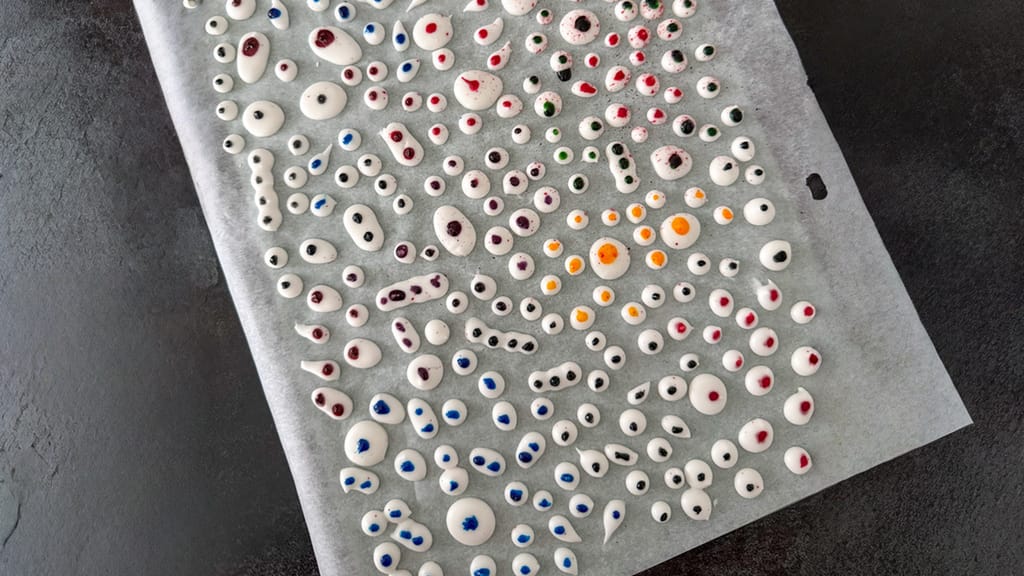
Homemade sugar eyes for decorating desserts
Homemade sugar eyes made from leftover royal icing
You can buy royal icing as a ready-made mix in baking supply shops and online stores with decorating ingredients – here in the category icings and royal icing mixes. Whether it's worth it depends on how often you decorate:
Ready-made mix – the most convenient, and made with pasteurized egg white. You just add water (60 ml to 500 g), weigh nothing, and the result is the same every time. It works out pricier than homemade icing, but for a few trays of gingerbread cookies once a year it's a reasonable choice.
Dried egg white – the happy medium. It's pasteurized, so the salmonella risk is significantly lower than with a raw egg, you decide the sugar ratio yourself, and a pack lasts several seasons. You can buy powdered sugar in any shop.
Fresh egg white – the cheapest and the glossiest, available everywhere. But it's a raw egg, so for children, seniors and people with weakened immunity, replace it with one of the options above.
All you need besides that are piping bags, perhaps a fine tip for lettering, and gel colors.
Yes, you can make royal icing without eggs using aquafaba: 30 ml (2 tablespoons) of chickpea liquid in place of one egg white. Add the sugar gradually and rely on the seconds test, because aquafaba has a different solids content from egg white, so the ratio of 1 egg white : 200 g sugar (about 1 : 6 by weight) doesn't automatically carry over. It usually takes longer to dry, so leave the cookies out overnight, and the finish is slightly less glossy.
For 50 medium gingerbread cookies with an outline and flood, plan on two egg whites and 400 g powdered sugar, which makes about 460 g icing – or 500 g ready-made mix with 60 ml water. For lines alone, with no flooding, half of that is enough. It's better to make a little extra: matching the same shade of color halfway through decorating almost never works.
You can color royal icing naturally with dried powders, but expect softer pastel shades – juices don't work. Freeze-dried raspberry or strawberry (pink), matcha (green), turmeric (yellow), beetroot powder (burgundy) and cocoa (brown) all work. Sift them in with the sugar and add a quarter teaspoon at a time. They're powders, so they thicken the icing slightly and you'll need to add a drop more water afterward.
The best replacement for lemon juice in royal icing is cream of tartar – a pinch up to ⅛ teaspoon per egg white. Don't add more, as larger amounts leave a metallic taste in the icing. A teaspoon of white vinegar or a pinch of citric acid dissolved in a little water also works. You can make icing with no acid at all, but it separates more often and starts to weep water after a few hours.
Decorated cookies keep as long as they would without the icing – FunCakes states that dried icing on baked goods is stored according to the shelf life of the baked goods themselves. Gingerbread cookies in a closed tin last as long as undecorated ones would, and just gradually soften. What the icing doesn't like is moisture: in a loosely closed box or in the fridge it goes damp, loses its shine and turns sticky. A dry pantry is better than the fridge.
No, royal icing contains egg white – whether fresh, dried or in ready-made mixes such as FunCakes – and eggs are one of the 14 allergens that must be declared under Annex II of EU Regulation 1169/2011. Pasteurization reduces the salmonella risk but doesn't remove the allergen. If you're baking for someone with an egg allergy, try an aquafaba icing and make sure there's no cross-contamination in the kitchen.
One recipe worth heating the oven for, one tip, and one deal from the shop. Nothing else.