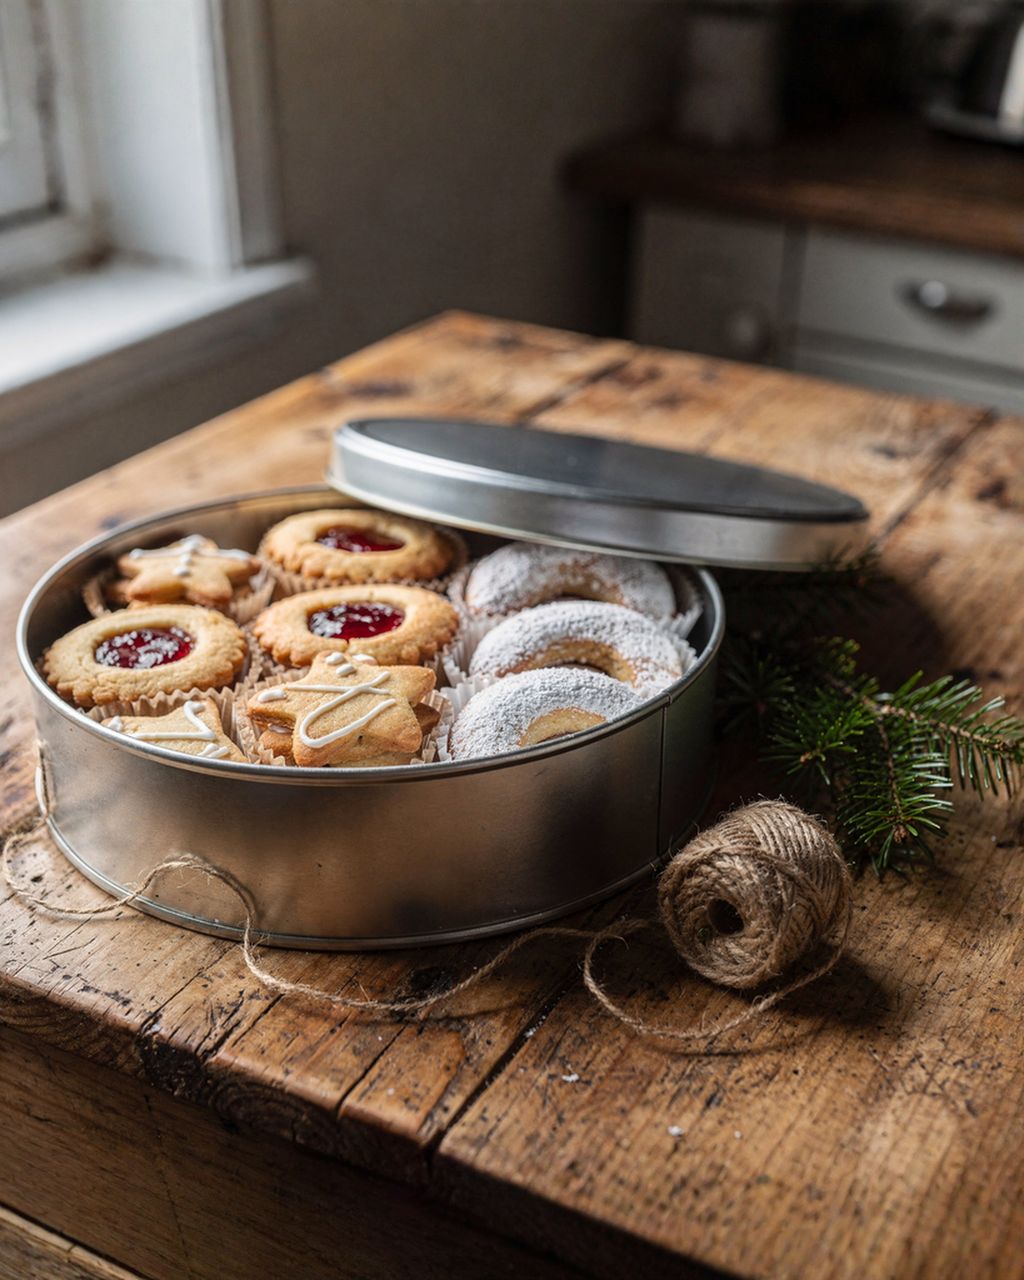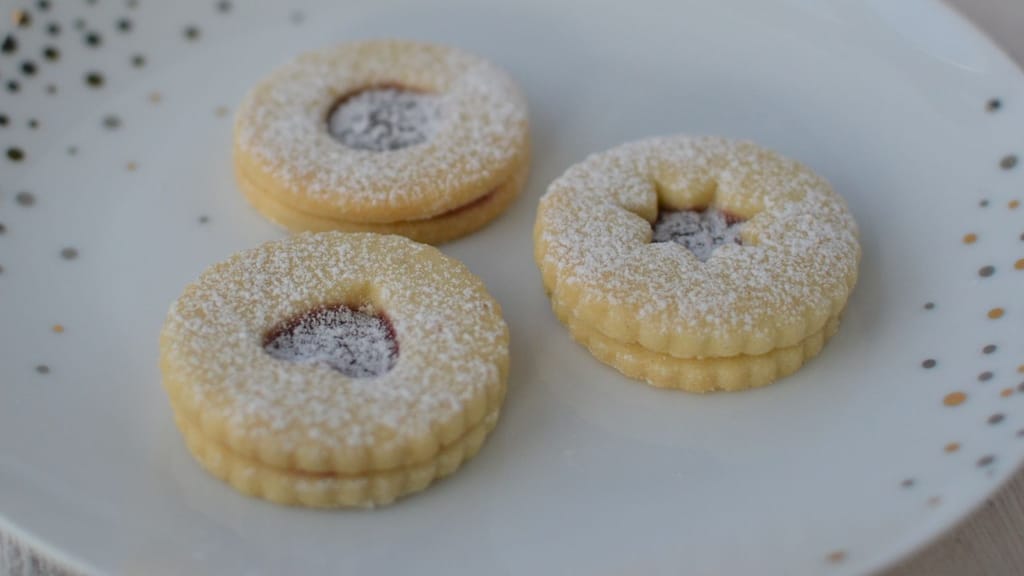
Classic christmas cookies: delicate linzer cookies
How to Decorate Gingerbread Cookies: Icing, Bags, Colours & Patterns

Updated Oct 4, 2026
To decorate gingerbread cookies, you need three things: royal icing at the right consistency, a piping bag with a hole about 1 mm wide, and gingerbread that's completely cooled. The rest is just technique – and you can pick it up in one afternoon. Here's the process from your first stroke to a fully dried cookie, including how to colour icing a rich red and which patterns you can nail even on your first try.
To decorate gingerbread cookies, all you need is: royal icing, disposable piping bags (or paper cones), scissors, maybe a thin round tip, gel colour, and a toothpick for fixing mistakes.
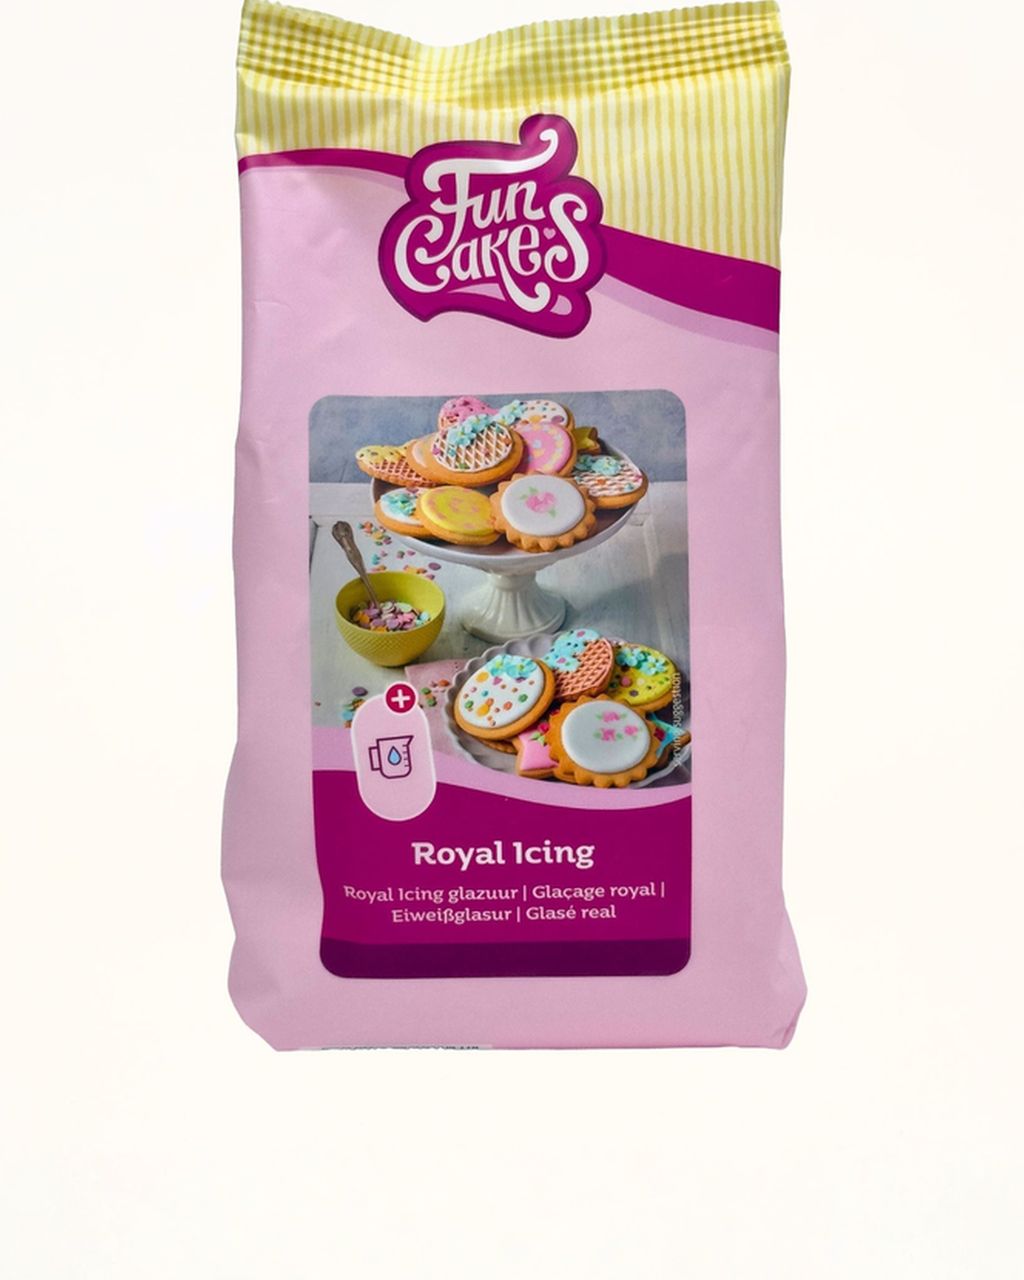
Icing – classic royal icing made from icing sugar and egg white. You'll find the recipe, ratios and mixing method in Royal Icing for Gingerbread: Recipe, Consistency and Decorating, or try this royal icing recipe for Christmas cookies. If you'd rather skip the measuring, a ready-made royal icing mix works too – just stir in water.
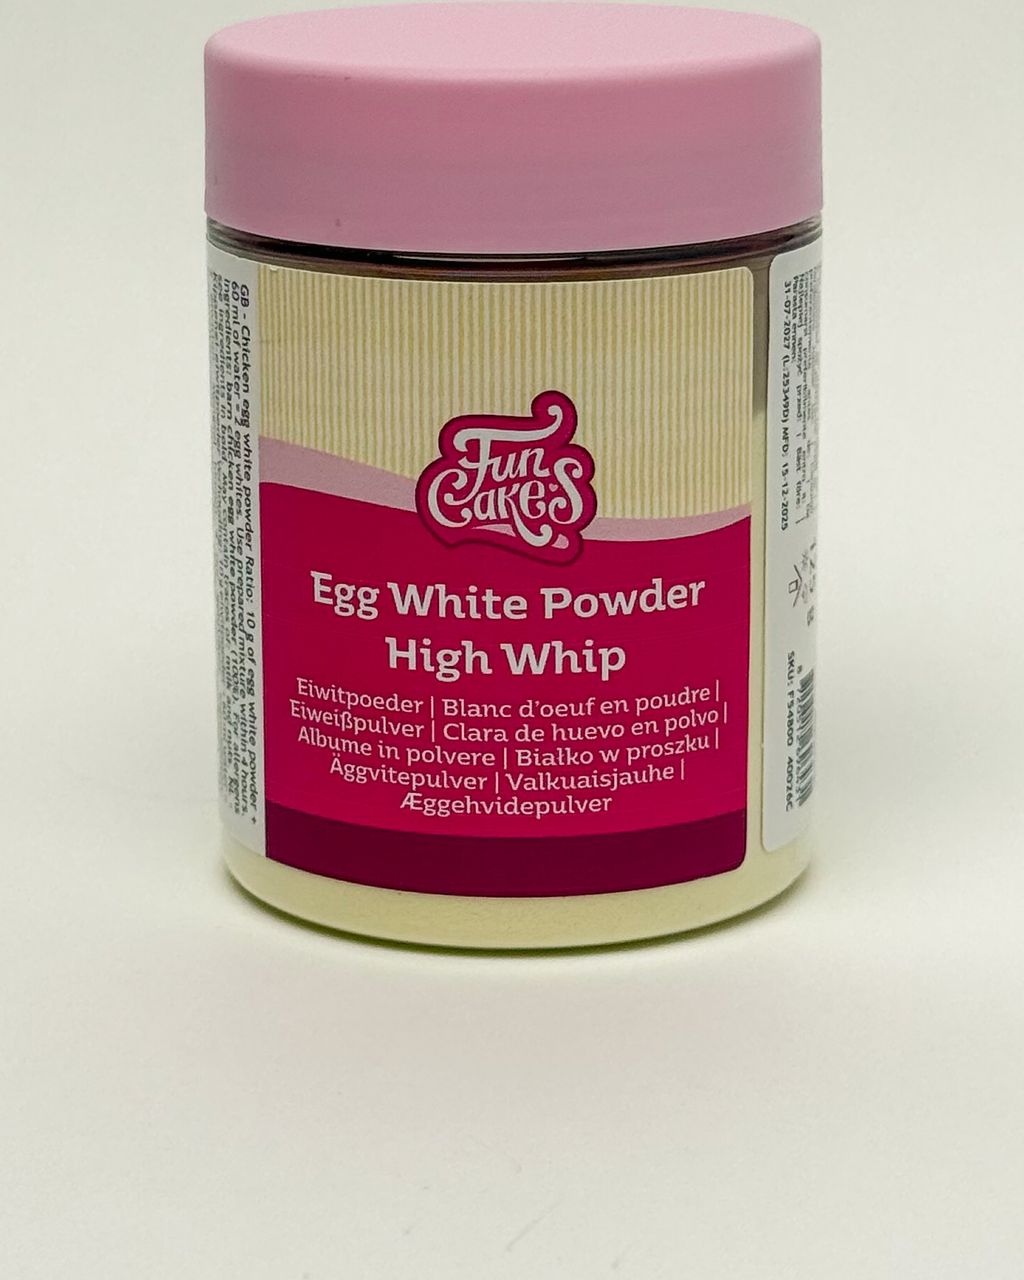
Dried egg white (meringue powder) – pasteurised, and it keeps the consistency reliable batch after batch, so there's no splitting eggs. It's the most dependable base if you're decorating a large batch.
Piping bags – thin disposable bags around 25–30 cm long. A smaller bag is easier to control, and the icing warms up less in your hand.
Gel colour – not liquid. Liquid colour thins the icing, gel just tints it.
Toothpick or needle – for spreading icing into corners and popping air bubbles.
You'll find everything you need for decorating in our decorating supplies category.
For decorating gingerbread, you need two consistencies: a stiffer, toothpaste-like icing for outlines and lines, and a thinner icing for flooding larger areas. Quick test for the thinner icing: cut through it with a knife in the bowl – the line should close back up on its own in 10–15 seconds. Keep the icing in the bowl covered at all times, otherwise it will form a skin, and bits of that skin will clog the tip of your bag. You'll find the recipe, ratios and how to adjust the consistency in Royal Icing for Gingerbread: Recipe, Consistency and Decorating Step by Step.
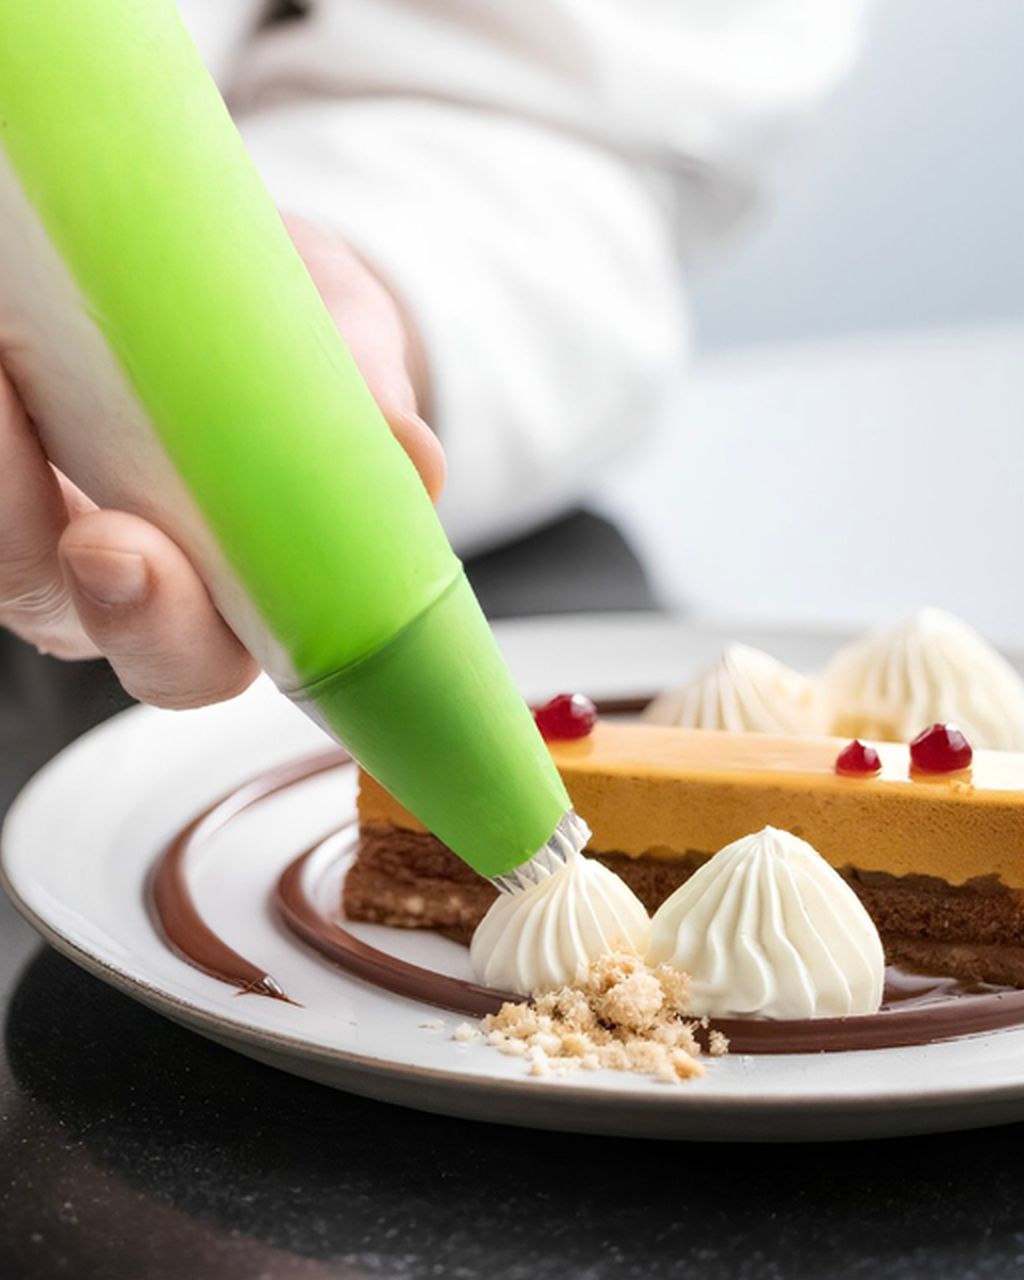
For classic fine lines, your best bet is a disposable piping bag with the tip snipped to about 1–1.5 mm. A piping tip is handy if you want perfectly even lines or you're decorating a large batch; ready-made squeeze bottles are more of a backup option.
Piping bag with snipped tip – cheap, quick, one colour per bag. Snip off just a tiny bit at first; you can always cut more, but you can't undo it.
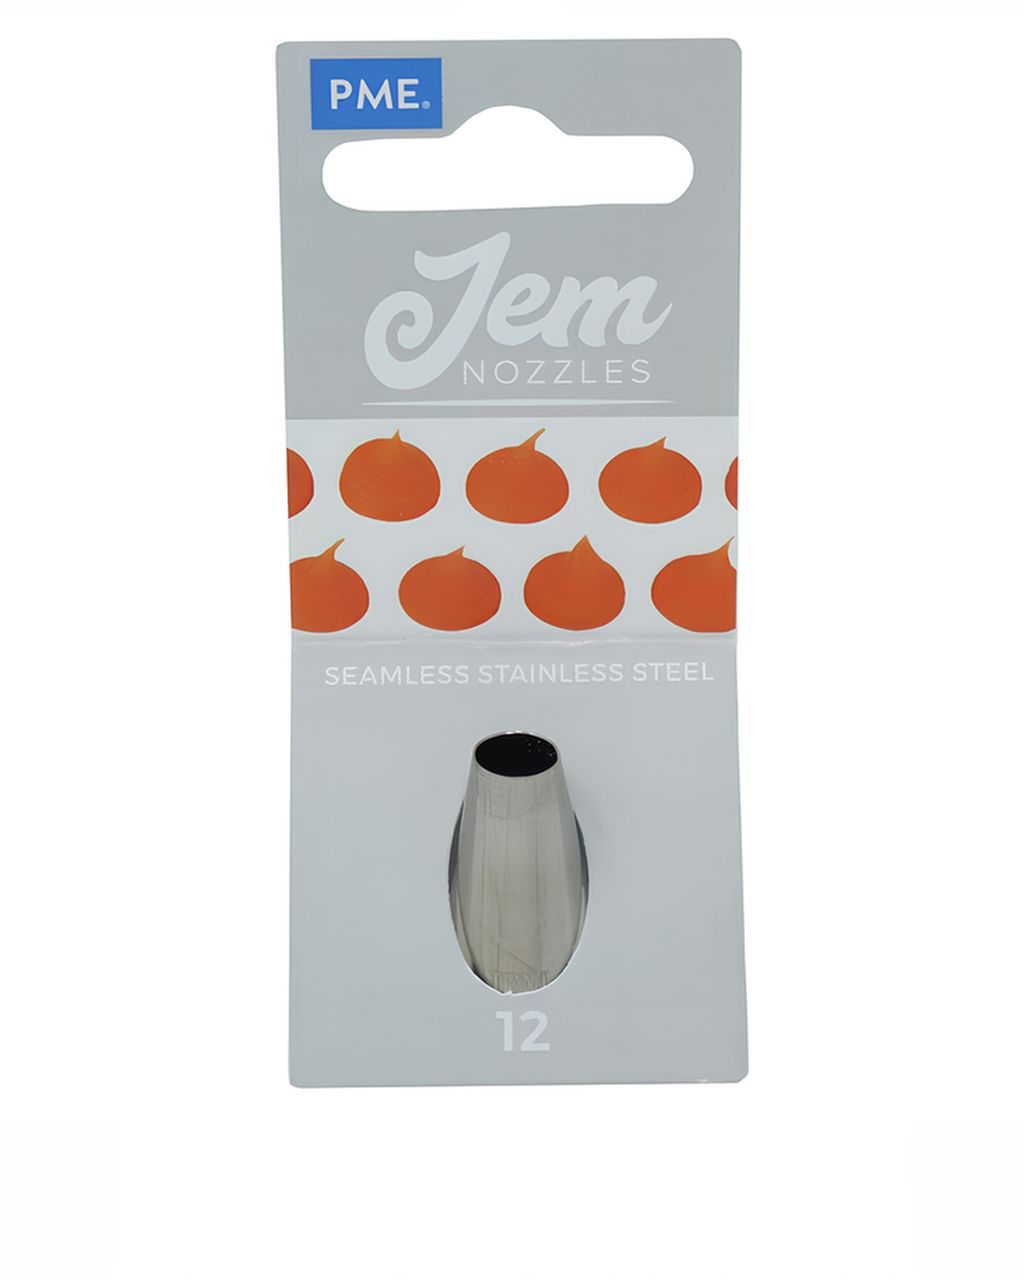
Piping bag with a thin round tip – the line stays the same width even once your hand gets tired. For gingerbread, look for a tip with an opening around 1–2 mm; wider round tips are better suited to large dots and pearl piping.
Parchment paper cone – an old trick from grandma's kitchen. Roll a triangle of parchment into a cone, fill it halfway, fold over the top and snip the tip. It works, but it softens up after a while.
Sturdy zip-top bag – will do in a pinch, but the seam often makes the line uneven. Snip the corner right next to the seam to avoid it.
Ready-made decorating tubes/bottles – convenient, but the icing inside tends to be softer, takes longer to dry, and doesn't hold crisp lines as well. Fine for kids' decorating, not for delicate lacework.
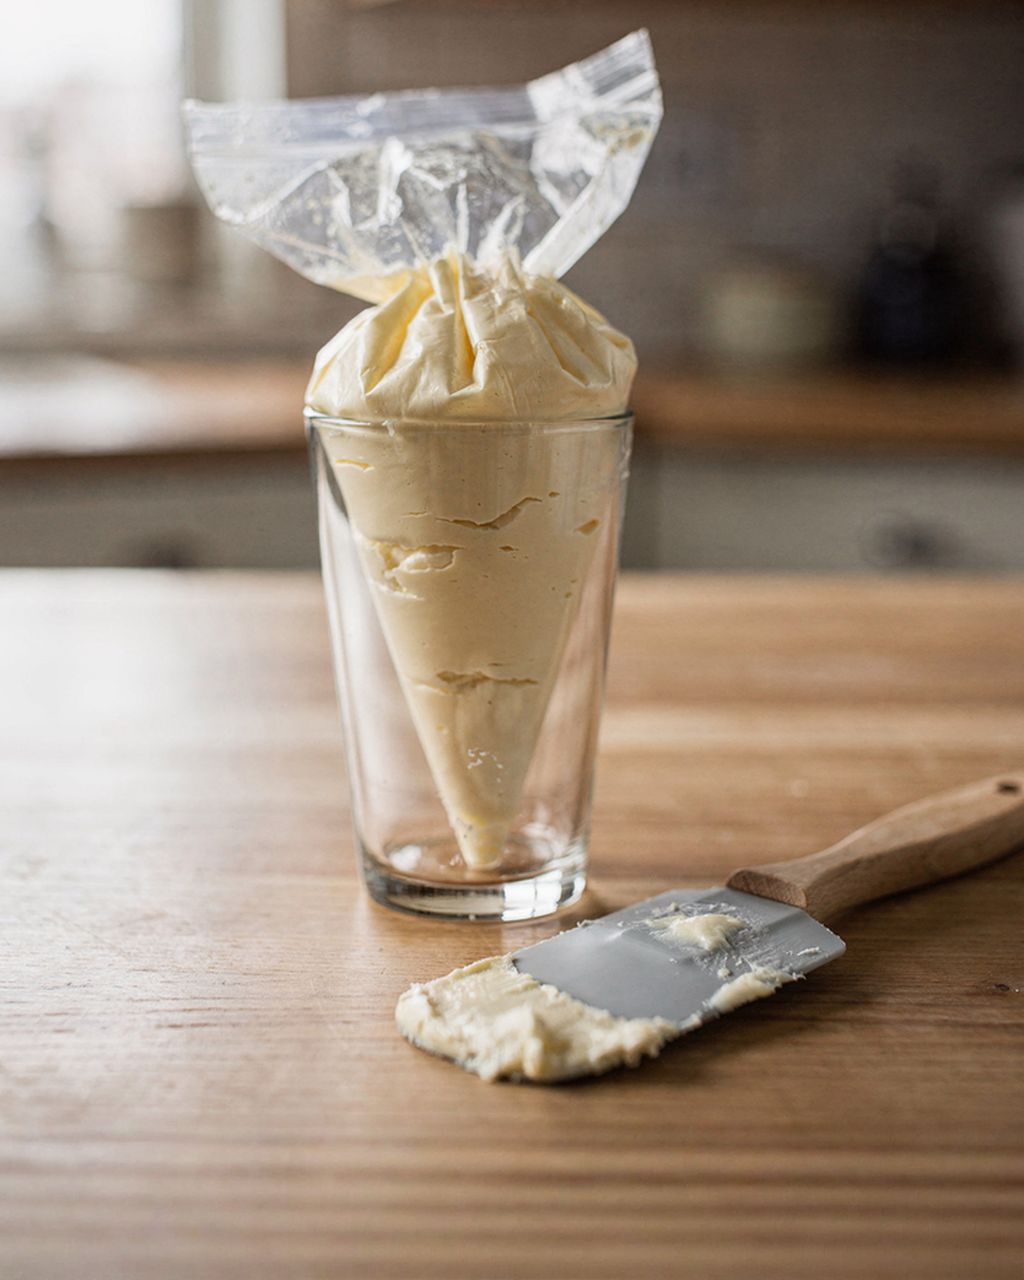
How to fill a piping bag: stand it in a tall glass, fold the edge over the rim, and pour the icing in only to the halfway mark. Twist the top closed or secure it with a rubber band – that way the pressure can only go one way: down, towards the tip.
Here's the process in short: let the cookies cool → test the line on a plate → hold the bag correctly → pipe the line in the air → flood the surface → let it dry → add the details. If you're only doing classic white lines, skip step 5 (flooding) and step 6 only needs 1–2 hours of drying instead of overnight.
Let the gingerbread cool completely. On a warm cookie, icing just runs and won't set. Ideally, decorate the day after baking, at the earliest a few hours after the cookies have fully cooled. For how to tell gingerbread is properly baked, see How to Tell Gingerbread Is Done.
Test the line on a plate. A few lines on a plate or sheet of parchment will show you if the consistency and tip size are right. This one-minute test saves a lot of ruined cookies.
Hold the bag correctly. Grip the twisted end between your thumb and index finger, pressing with your whole palm. Use your other hand just to guide the tip. Hold the bag at an angle, roughly 45°.
Pipe the line in the air, not along the cookie. This is the single most important trick. Touch the tip to the cookie, squeeze, and as soon as the icing catches, lift the tip about 1 cm above the surface. The line then hangs in the air and you're simply laying it down. At the end, touch the tip back down, stop squeezing, and only then pull away.
Flood the surface (if you like). First outline the edge with thicker icing, let it set on the surface for 10–15 minutes, then pour thinner flooding icing inside and spread it into the corners with a toothpick. Pop any air bubbles right away.
Let it dry. Fine lines are dry to the touch in 1–2 hours; a flooded surface needs 6–8 hours, ideally overnight. The surface can look finished sooner, but the icing underneath the crust is still soft.
Add the details. Dots, a second colour, or lettering should go on top of an already dry base – otherwise they'll sink in.
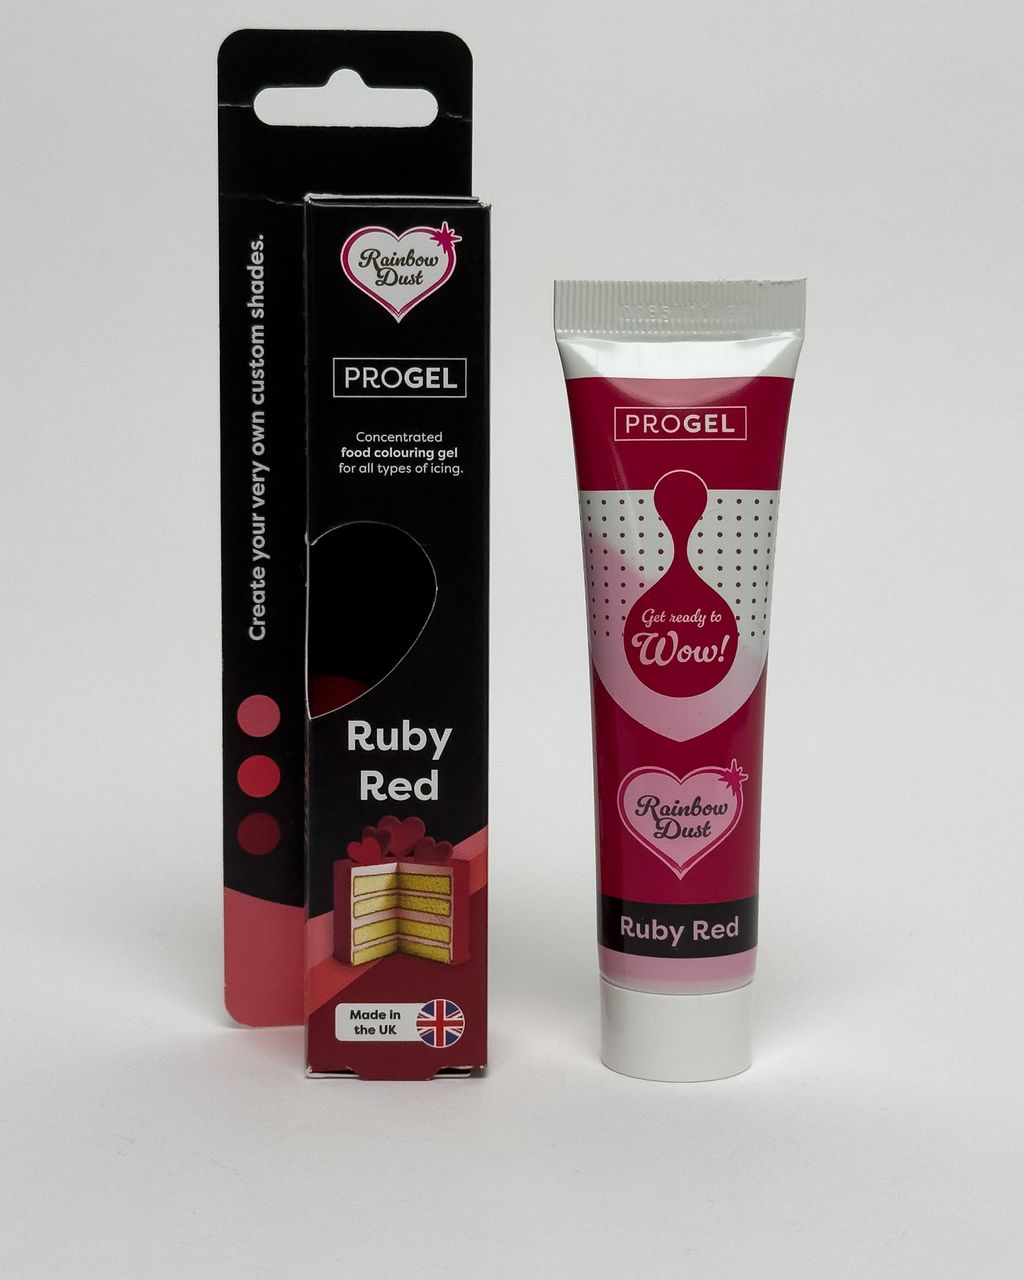
Get a rich red icing using gel colour – liquid colour would thin the icing out – and let it sit for a few hours, since red keeps deepening over time; a ruby shade works best for gingerbread red, as it won't slide into pink. For the piping bag itself, watch two things:
Check the consistency again. Even gel colour softens the icing a little – add a teaspoon of icing sugar after colouring if needed.
Decorate with dark colours only once the white base has dried. Red icing piped next to wet white will bleed into it and leave a pink edge.
For the step-by-step on colouring icing and getting the shade just right, see Royal Icing for Gingerbread: Recipe, Consistency and Decorating Step by Step.
Gingerbread traditionally sticks to a handful of colours: white, red, and sometimes green and gold. Fewer colours almost always looks better than a rainbow.
Six patterns that look good even from a beginner: a wavy line along the edge, dots, lace scallops, a simple snowflake, a heart with an inner line, and wet-on-wet.
Wavy line along the edge – a smooth little wave tracing the outline. It forgives an unsteady hand and makes a cookie look finished instantly.
Dots and pearls – hold the tip straight above the cookie, squeeze, release the pressure, and only then lift away. Smooth out the little point left on the dot with a damp brush.
Lace scallops – a row of small arches side by side, with a second row of dots underneath. A classic for hearts and bells.
Snowflake – three lines crossing at the centre to form a star, with a small "V" and a dot at the end of each arm.
Heart with an inner line – outline the edge about 3–4 mm in from the border and fill the middle with an ornament or a name.
Wet-on-wet – drop dots of another colour onto freshly flooded icing and immediately drag a toothpick through them. This creates little hearts or marbling that sinks into the surface and stays smooth.
If you want to write a name on a gingerbread cookie, use joined-up cursive – a continuous stroke comes out straighter than separate block letters.
Most decorating problems come down to the wrong icing consistency, a warm cookie, or a clogged tip – and all of them are fixable.
The line breaks apart – the icing is too stiff, or you're dragging it along the cookie instead of piping it in the air. Add a few drops of water and lift the tip.
The line spreads out – the icing is too thin, or the cookie is still warm. Thicken with sugar and wait.
The tip is clogged – there's a dried bit of icing stuck inside. Pinch the tip between your fingers, or poke it clear with a needle. Next time, keep the icing covered.
The flooded area is patchy or sunken – the flooding icing was too thin, or it dried in a humid room. Next time, make the flooding icing a touch thicker and let it dry somewhere dry, even with a fan on the lowest setting.
Colour has bled into the white – you piped a dark colour onto a still-wet base. Let the white dry at least to the touch first.
Icing stuck together in the storage box – the cookies went into the box before the icing had dried all the way through. Give them a full night.
Mistake on a cookie – while the icing is still wet, lift it off with a toothpick or damp brush. A dried mistake is best hidden under another ornament piped on top.
Decorate gingerbread once it's completely cooled – ideally the day after baking – and only pack it into a box after it's had a full night to dry. For when to start baking so you're ready in time for Christmas, check the calendar for when to bake Christmas cookies.
Decorated gingerbread needs different handling than plain cookies: icing doesn't like moisture, while the gingerbread itself needs some to soften up. So stick to one order of operations: bake, let rest for 1 day (2 at most), decorate, let dry overnight, and only then put it away in a box lined with sheets of parchment paper so the icing doesn't rub off – the cookies will then soften up once inside the box. For more detail, see How to Store Gingerbread So It Softens, How to Store Christmas Cookies and How to Freeze Cookies and Dough. If you've got leftover icing, check out how to store royal icing and how long it keeps.
And if you're baking several kinds of Christmas cookies at once, classic linzer cookies pair nicely with gingerbread – and you can find how long linzer cookies keep in a separate article.
Classic christmas cookies: delicate linzer cookies
Classic Christmas cookies: linzer biscuits to go with gingerbread
The best gingerbread for decorating is the kind with a flat surface that doesn't dome or puff up during baking and holds the sharp shape of the cutter. On a flat surface, the line sits straight and the flooding icing won't run off the edge.

Soft honey gingerbread cookies that never go hard
Soft honey gingerbread that stays tender – an ideal base for decorating

Soft gingerbread cookies
Soft gingerbread cookies for decorating with white icing
Yes, you can freeze decorated gingerbread as long as the icing is completely dry – which takes at least a full night. Wrap the cookies individually, or layer them with parchment paper in a well-sealed box, and thaw them still closed at room temperature so no moisture condenses on the icing and the colours don't bleed.
Glue gingerbread cookies together with thick royal icing – the same kind you use for piping lines. Pipe a slightly thicker bead, press the pieces together, and prop them up to dry for a couple of hours. To hang a cookie, poke a hole with a straw before baking, since the cookie would crack if you tried after baking, and thread the ribbon through only once the icing has dried.
Icing on gingerbread most often turns yellow or grey because fat from the cookie seeps into it, or because the icing was too thin to begin with. It helps to decorate only fully cooled cookies and to use a thicker icing on flooded areas, since it soaks in less.
Write a name on a gingerbread cookie using thick icing in joined-up cursive – a continuous stroke comes out straighter than separate block letters. Write only on a dried base, otherwise the letters will sink in, and keep the tip hovering about 1 cm above the surface rather than dragging it along the cookie.
Yes, kids can decorate gingerbread cookies if you give them a thicker icing in a smaller bag with a tip around 2 mm, and let them do dots, squiggles and sprinkles instead of fine patterns. A smaller bag is easier for small hands to hold, and thicker icing forgives an uneven stroke.
One recipe worth heating the oven for, one tip, and one deal from the shop. Nothing else.