Royal icing for christmas cookies: the base for flawless decorating
Gingerbread Cookie Icing: Recipe, Consistency, Drying Time & What to Do When It Cracks

Updated Oct 27, 2026
Gingerbread cookie icing is a royal icing made from egg white and powdered sugar, usually with a few drops of lemon juice. For 1 egg white (about 30–35 g / 1 oz), you need 200–250 g (7–9 oz) of sifted powdered (icing) sugar and ½ teaspoon of lemon juice. You adjust the thickness with drops of water, depending on whether you're piping outlines or flooding larger areas. Flooded areas then need 12–24 hours to harden completely before you can pack the cookies.
Royal icing for gingerbread cookies is made by whipping 1 egg white, 200–250 g (7–9 oz) of sifted powdered sugar and ½ teaspoon of lemon juice into a glossy mixture that holds stiff peaks. The lemon juice firms it up and brightens it, and water thins it as needed. That's all you need for classic white icing.
What you'll need:
1 egg white (about 30–35 g, at room temperature) — or pasteurized or dried egg white, see the food safety section below
200–250 g powdered (icing) sugar, sifted
½ teaspoon (2–3 ml) lemon juice
optional: water- or alcohol-based flavoring (vanilla, almond)
optional: gel food coloring
Method:
Sift the sugar. Lumps would clog your piping tip and leave the lines bumpy. Sifting is the quickest step, and it makes the biggest difference to the result.
Whisk the egg white on low speed until lightly foamy (1–2 minutes). Egg whites separate more easily when cold but whip better at room temperature, so let it warm up for a bit before whisking. The bowl and whisk must be clean and grease-free.
Add the sugar in batches. Wait until each batch is worked in, and scrape anything stuck to the sides of the bowl back into the mixture. Adding it gradually keeps the icing smooth. Add the lemon juice with the second batch of sugar.
Increase to medium speed and beat for 3–4 minutes until glossy. It's ready when the peak holds and doesn't droop as you lift the whisk — that's stiff icing (for peaks), the base for everything else. Without a mixer, beat the icing by hand with a wooden spoon for about 15–20 minutes, the way classic Czech recipes do.
Divide and color. Fold the coloring in with a spatula, not a mixer, to avoid air bubbles.
Thin as needed and use. Adjust the thickness with drops of water (see the consistency section below) and transfer the icing to a piping bag or paper cone. Cover the rest right away with plastic wrap pressed onto the surface and refrigerate it — you'll find how long it keeps in the storage section.
Let it dry at room temperature: 6–8 hours for thin lines and 12–24 hours for flooded areas before you stack or pack the cookies.
If you're still deciding what to put the icing on, try soft honey gingerbread that doesn't go hard — a firm surface that doesn't crumble holds icing best.
Royal icing for christmas cookies: the base for flawless decorating
Royal icing for holiday cookies — exact recipe and ratios for decorating gingerbread
The basic ratio is 1 egg white : 200–250 g powdered sugar : ½ teaspoon lemon juice. The lower end (200 g) gives a softer icing that's easier to thin, while the upper end (250 g) gives a stiffer icing for sharp outlines. Here are the ratios at a glance:
Small batch (one baking sheet): 1 egg white (30–35 g) + 200–250 g powdered sugar + ½ teaspoon (2–3 ml) lemon juice → roughly 230–285 g of icing.
Large batch (for a Christmas bake): 3 egg whites (90–105 g) + 600–750 g powdered sugar + 1½ teaspoons (7–8 ml) lemon juice → roughly 700–850 g of icing.
How much lemon and why: ½ teaspoon per egg white is enough. The acid stabilizes the egg-white foam, makes the icing whiter and helps it set faster on the cookie. More juice thins the icing — Czech recipes that use more lemon therefore use less sugar (for example, Apetit gives 2 egg whites, 280 g sugar and 2 tablespoons of lemon juice, which makes a thinner icing).
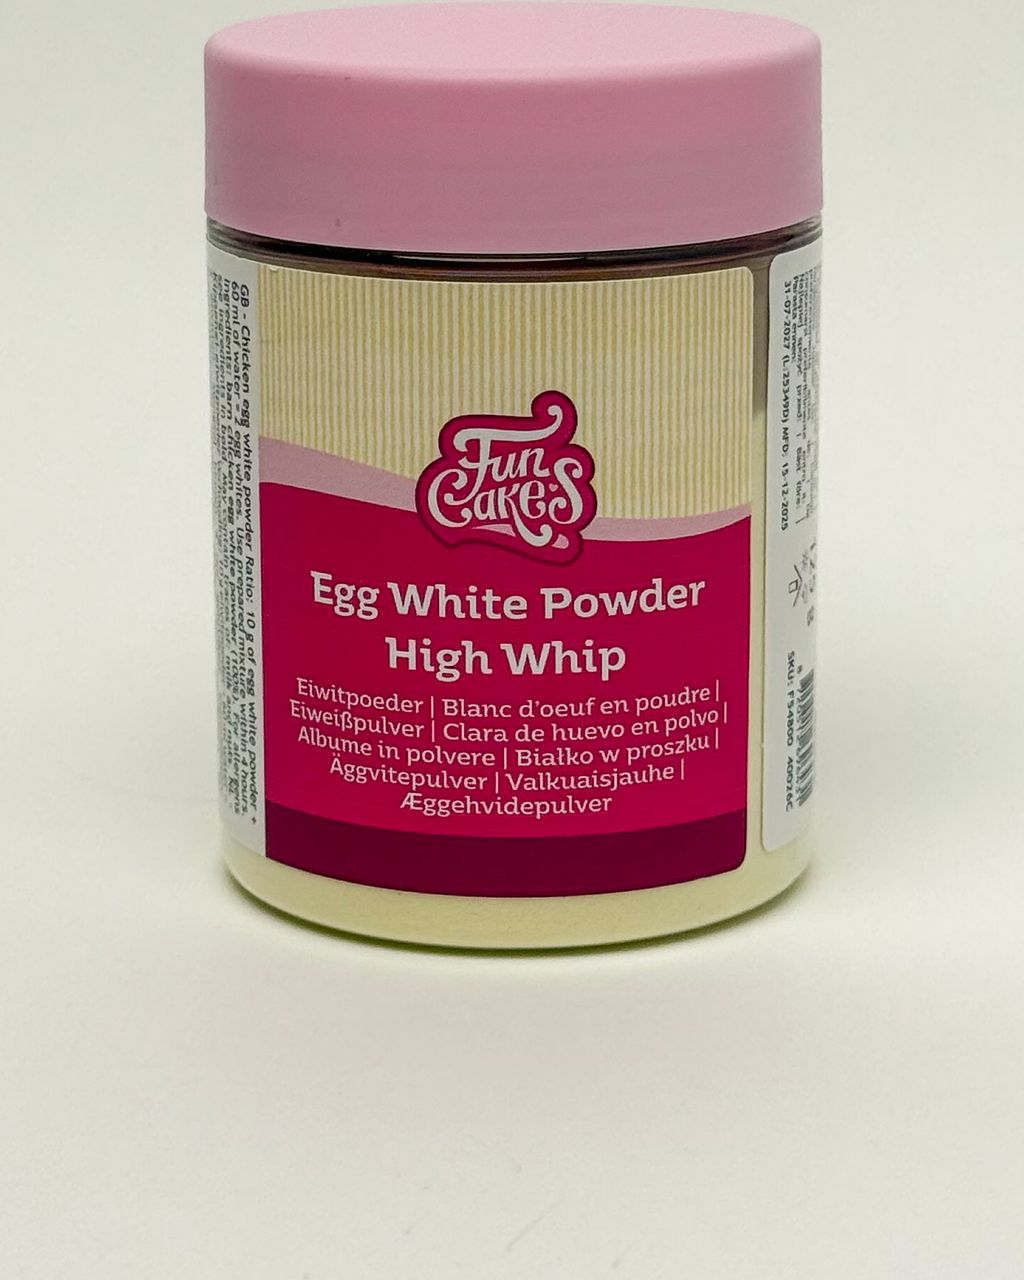
From dried egg white: according to the manufacturer of FunCakes dried egg white, 10 g of powder and 60 ml of water equal 2 fresh egg whites — so 5 g of powder + 30 ml of water per egg white. Use the reconstituted egg white within 4 hours, according to the manufacturer. Then carry on the same way: 200–250 g of sugar per "egg white."
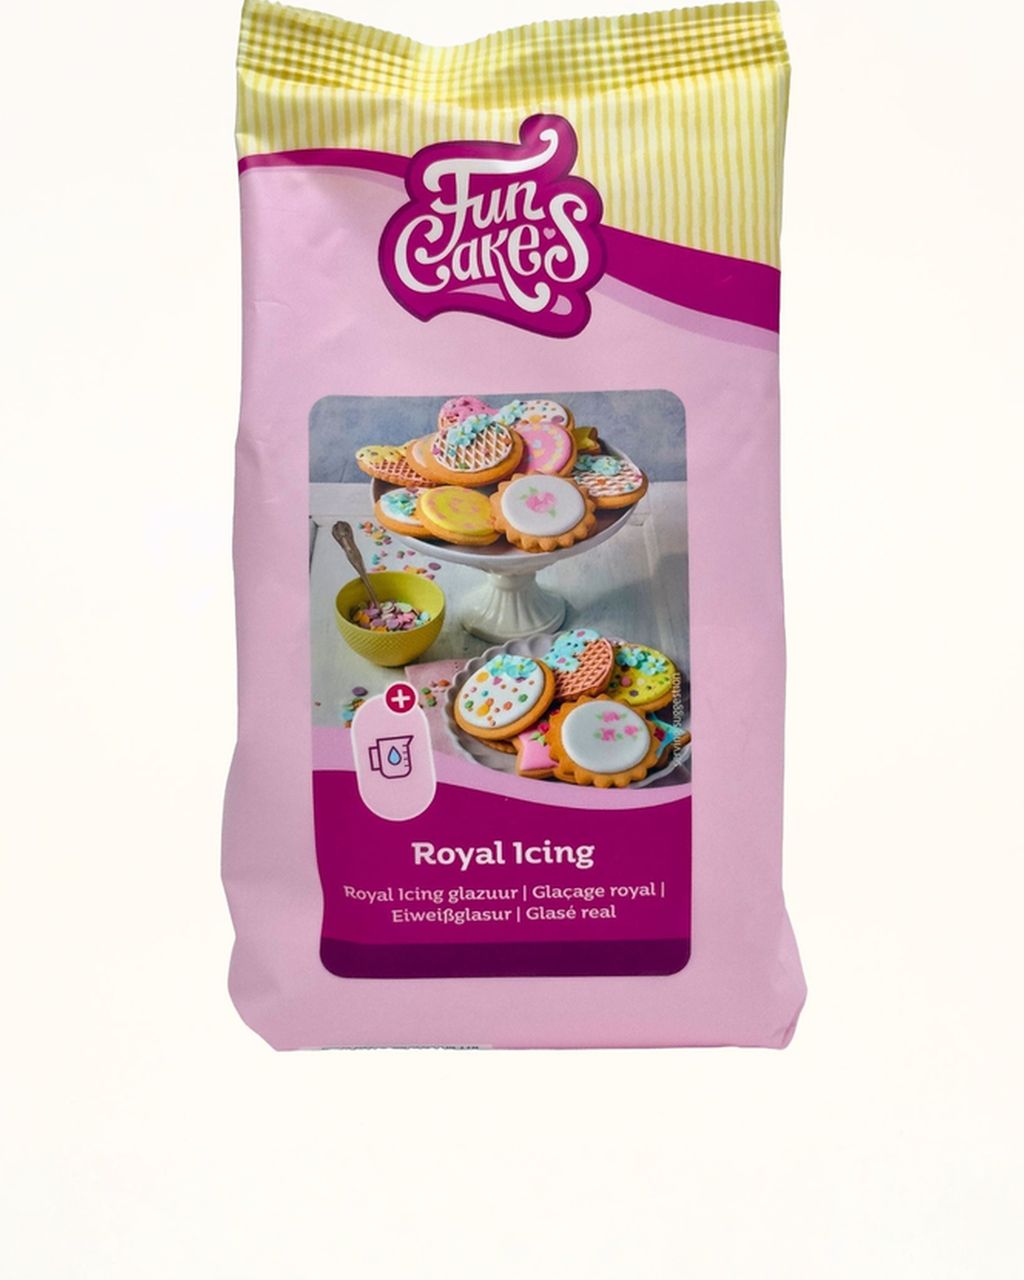
From a ready-made mix: according to the manufacturer, FunCakes Royal Icing is made by mixing 450 g of mix with 55 ml of water and beating for 7–10 minutes on low speed. Note that it contains dried egg white, so it is not egg-free — it just doesn't contain raw egg.
Fresh, pasteurized, dried or a ready-made mix? An honest comparison:
Fresh egg white — cheapest and works great, but it's raw egg (see food safety below).
Pasteurized liquid egg white in a carton from the supermarket's refrigerated section — a safer option, which we don't sell; read the label, as some whip less well.
Dried egg white — pasteurized, keeps a long time in the pantry and is dosed by the gram; the icing is stable.
Ready-made mix — the fastest and most predictable, but the most expensive; the sugar and egg white are already in it.
You'll find all the ready-made icings and mixes in the icing category. For more on ready-made mixes and coloring, see the article Royal icing: ratios, consistency, coloring and drying.
Gingerbread cookie icing is mixed to three thicknesses: outline (a trail closes up in 20–25 seconds), detail (about 15 seconds) and flood (about 10 seconds). You start with one batch of stiff icing (stiff-peak) and thin part of it with water, drop by drop.
The count-the-seconds test: run a knife or spoon through the surface of the icing in the bowl and count how long it takes for the line to close up.
Outline: 20–25 s.
Detail: around 15 s — add about ½ teaspoon (2.5 ml) of water per 100 g of icing.
Flood: around 10 s — add about 1 teaspoon (5 ml) of water per 100 g of icing.
Add water 5–10 drops at a time, stir with a spatula after each addition and repeat the test — it's easy to over-thin icing, and getting it back means adding more sugar. If you've completely lost control of the thickness, the article Royal icing is runny or too stiff can help.
Outline icing holds its shape, doesn't spread, and suits borders, fine lines and small details. A quick test: pipe a line onto a plate, and if it holds a sharp shape without collapsing, the thickness is right. If the line breaks up, the icing is too stiff — add 2–3 drops of water per 100 g.
Flood icing is made by adding water drop by drop, roughly 1 teaspoon (5 ml) per 100 g of stiff icing. You're aiming for a 10-second consistency: when you run a knife through the surface, the trail joins up again and disappears in about ten seconds. Thinner icing spills over the outline and takes longer to dry, while thicker icing leaves bumps on the surface.
Air bubbles form easily on a flooded surface, so after thinning, let the icing sit for 5–10 minutes under a tea towel and then stir it gently with a spatula. For how to flood an area step by step, see decorating gingerbread cookies step by step.
Icing on gingerbread cookies dries on the surface in 1–2 hours, but it only hardens completely after 6–8 hours for thin lines and 12–24 hours for flooded areas. Only then should you stack or pack the cookies.
Outline before flooding: 15–20 minutes.
Flooded area, dry to the touch: 1–2 hours (a crust forms on top, but it's still soft underneath).
Another layer on a flooded area: only once the surface has dried, so after 1–2 hours.
Thin lines and dots fully hard: 6–8 hours.
Flooded areas fully hard: 12–24 hours, ideally overnight.
Before layering in a tin and packing: 12–24 hours.
What slows down drying:
Humidity — in a kitchen where you're cooking or drying laundry, icing takes hours longer to dry.
The refrigerator — cold and condensation soften the icing; always dry at room temperature.
A thick layer — anything thicker than a few millimeters dries slowly and cracks more.
Too much water or lemon — thinner icing has more water that has to evaporate.
Fat — oil-based flavorings or a greasy bowl prevent the icing from setting.
You can speed up drying in a dry, warm (not hot) room, even with a fan pointed off to the side.
When icing cracks, runs, won't set or turns yellow, it's almost always one of three causes: the wrong ratio of water to sugar, humidity, or fat. Here are the most common problems, their causes and the fixes.
Icing most often cracks because the layer on the cookie is too thick, it dries too fast in the heat near a radiator, or it contains too much sugar. Apply a thinner layer, dry at room temperature, and ice only completely cooled cookies. The article Why icing on gingerbread cookies cracks and how to prevent it covers all the causes and prevention.
Icing that spills over the edge of the cookie is over-thinned — it has too much water or lemon juice, or it hasn't been beaten enough. Add sifted powdered sugar a spoonful at a time and beat briefly, until the seconds test shows 20–25 s for outline icing or 10 s for flood icing.
Icing that still hasn't set after several hours is usually too thin, drying in a humid room, or has picked up fat (an oil-based flavoring, a greasy bowl, egg yolk in the white). Move the cookies to a dry room, thicken the next batch with sugar, and wipe the bowl and whisk before beating. If fat has "killed" the icing, you can't rescue it — mix a fresh batch.
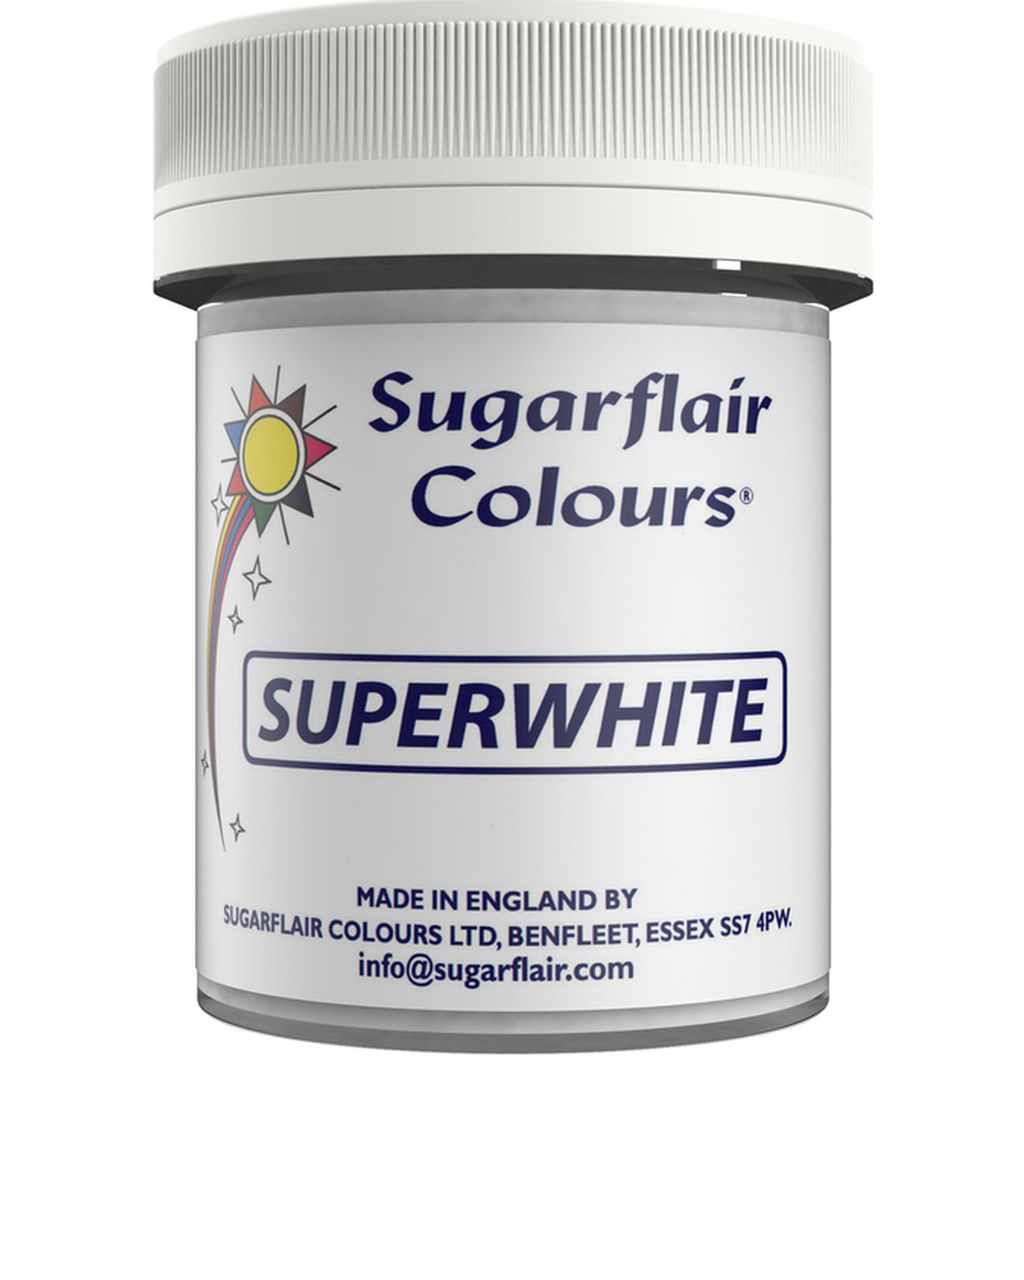
Royal icing naturally has a slightly yellowish tint from the egg white. It yellows noticeably and gets blotchy mainly where fat seeps into it from the cookie, or when it dries for a long time in humid conditions. Decorate only cooled cookies, dry them quickly in a dry place, and for a pure white result add Sugarflair Super White icing color to the icing — according to the manufacturer, its base is calcium carbonate (E170), which whitens the icing and makes pastel shades come out cleaner. A gray tint in white icing usually comes from dark color that bleeds into it while drying, so let a black or red area dry before you flood white next to it.
Icing made with fresh egg white is icing made with raw egg, and raw egg can carry salmonella. The US FDA states that children, older adults, pregnant women and people with weakened immune systems are at greater risk of serious illness, and for dishes made with raw eggs it recommends pasteurized eggs or pasteurized egg products.
For cookies that will be eaten by children, pregnant women or seniors, reach for:
pasteurized liquid egg white from the refrigerated section, or
dried egg white — according to the manufacturer, FunCakes dried egg white is pasteurized; for 1 egg white, mix 5 g of powder with 30 ml of water.
This makes practically no difference to the taste or the way the icing handles. For more on where salmonella in baking comes from and how to reduce the risk, see the article Raw eggs in cookies and creams – the risk of salmonella.
Leftover icing made with raw egg white belongs in the fridge, in a closed container with plastic wrap pressed onto the surface, and should be used within 3 days at most. The US USDA FSIS gives 2–4 days for raw egg whites in the refrigerator and a maximum of 2 hours outside the refrigerator for egg dishes — so on the countertop, the icing stays out only while you're decorating.
Icing made with fresh egg white: at room temperature max. 2 hours, in the fridge max. 3 days.
Ready-made mix (FunCakes Royal Icing): according to the manufacturer, keep the prepared icing in a closed container in the fridge and use it within 24 hours.
Dried egg white mixed with water: according to the manufacturer, use within 4 hours.
Icing in the fridge may separate slightly — let it come to room temperature before use and stir it with a spatula, or beat it briefly. Storage is covered in detail in the article Royal icing: how to store it and how long it keeps.
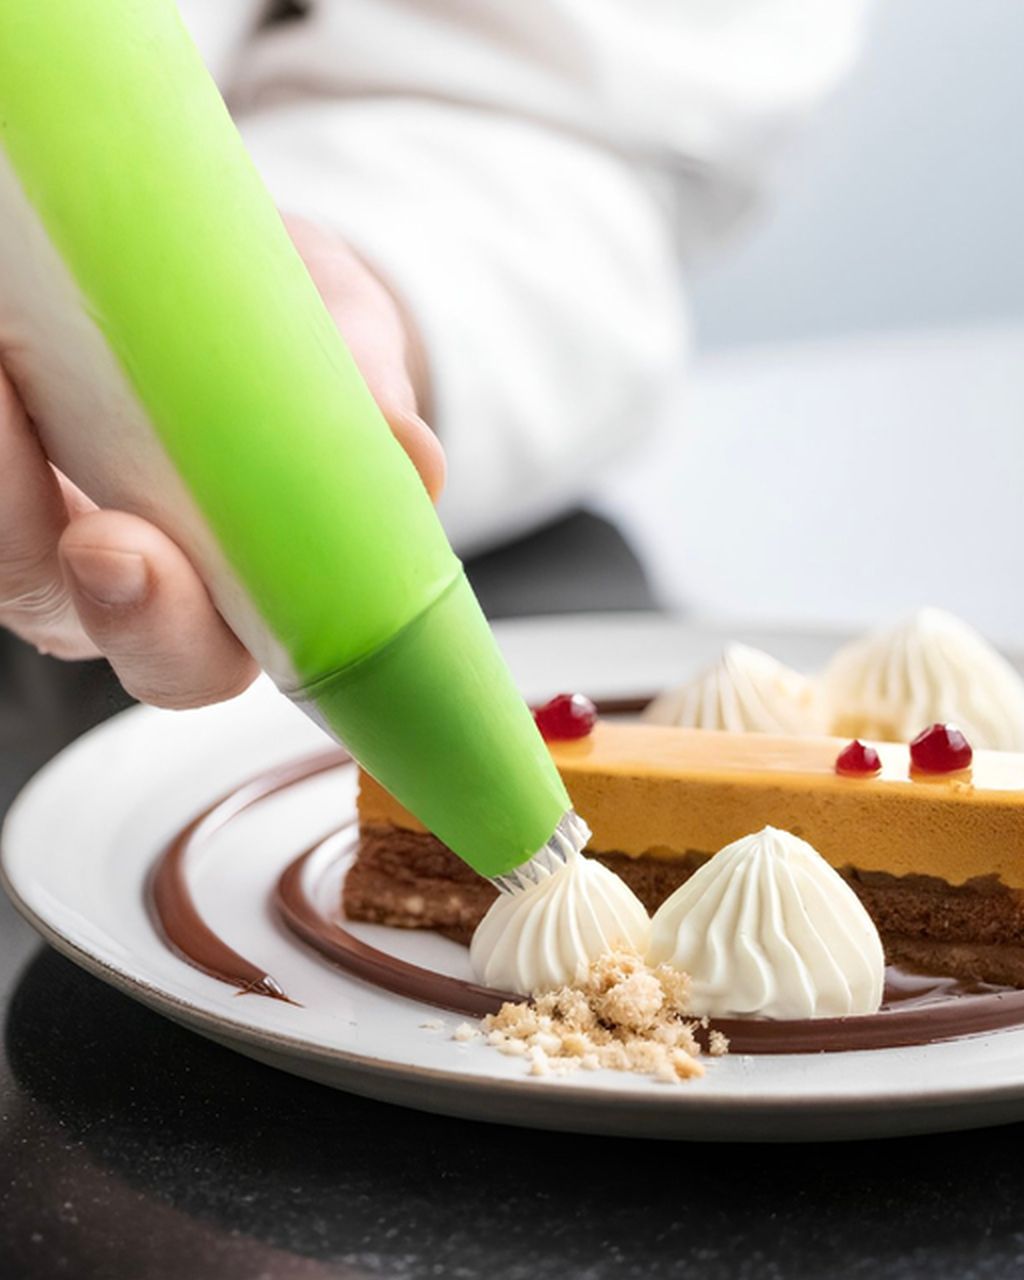
You apply gingerbread cookie icing with a piping bag or a paper cone, and the main rule is not to push but to pull. How to fill a bag without a mess is shown in How to fill a piping bag; for icing, smaller disposable piping bags, 30×17 cm are a good fit, and one is enough for a single color.
Outlining, flooding, patterns and advanced techniques from lace to painting, step by step, are in a separate guide, Decorating gingerbread cookies step by step. Here we stick to the icing itself.

Soft gingerbread cookies
Soft gingerbread cookies — a tender base for gingerbread cookie icing

You can color gingerbread cookie icing with gel food colorings or natural colorings and whiten it with a whitening powder (E170) — so you have three options: gel colors for rich shades without thinning, natural colorings such as beet juice, turmeric and spirulina, and whitening when you want pure white or light pastels. Add the coloring in drops or small pinches of powder and stir patiently with a spatula until the shade is evenly distributed.
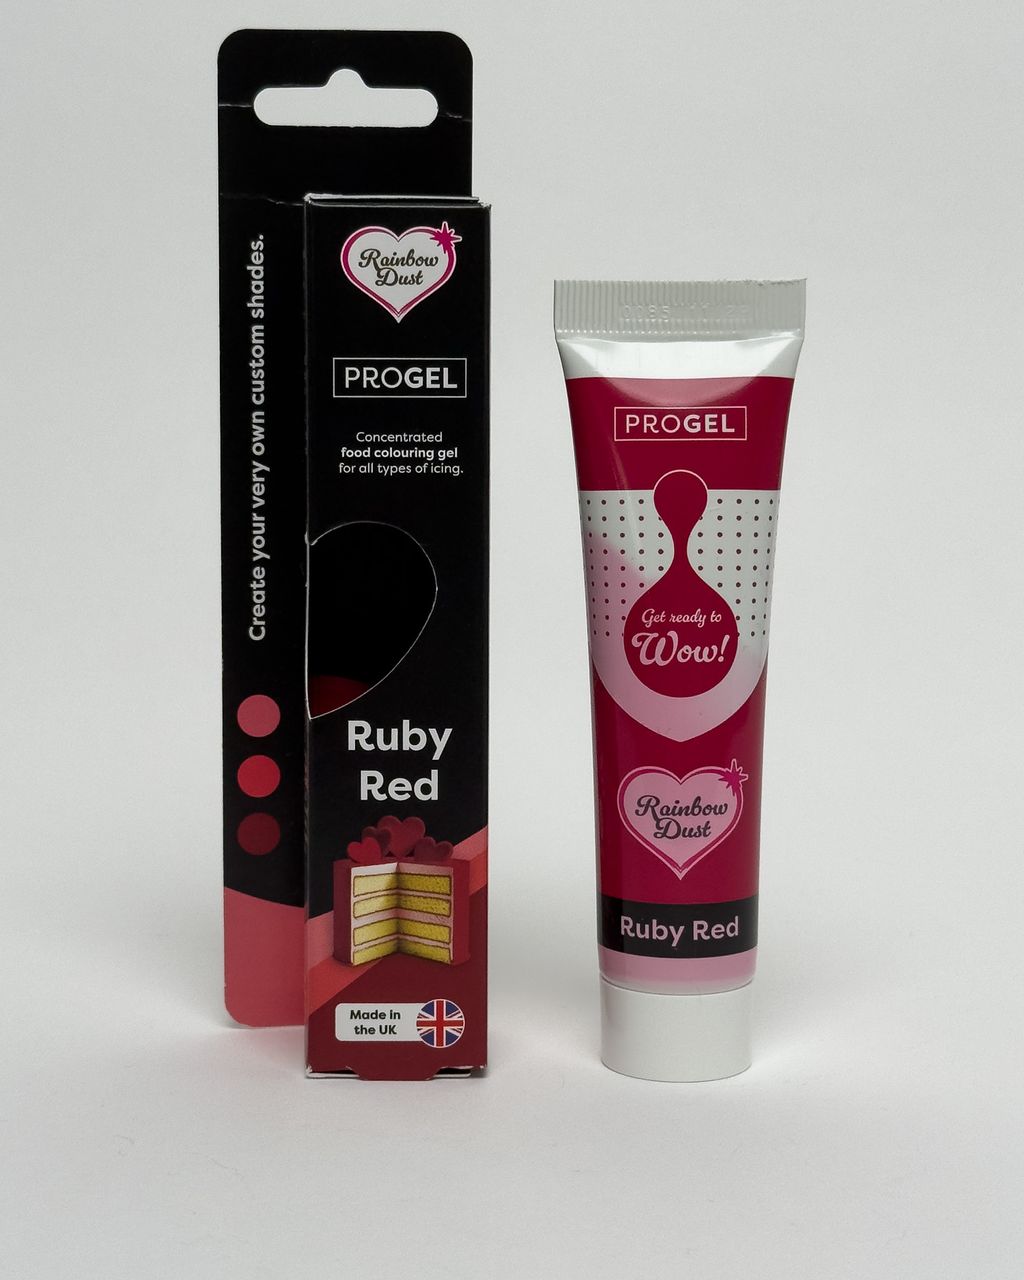
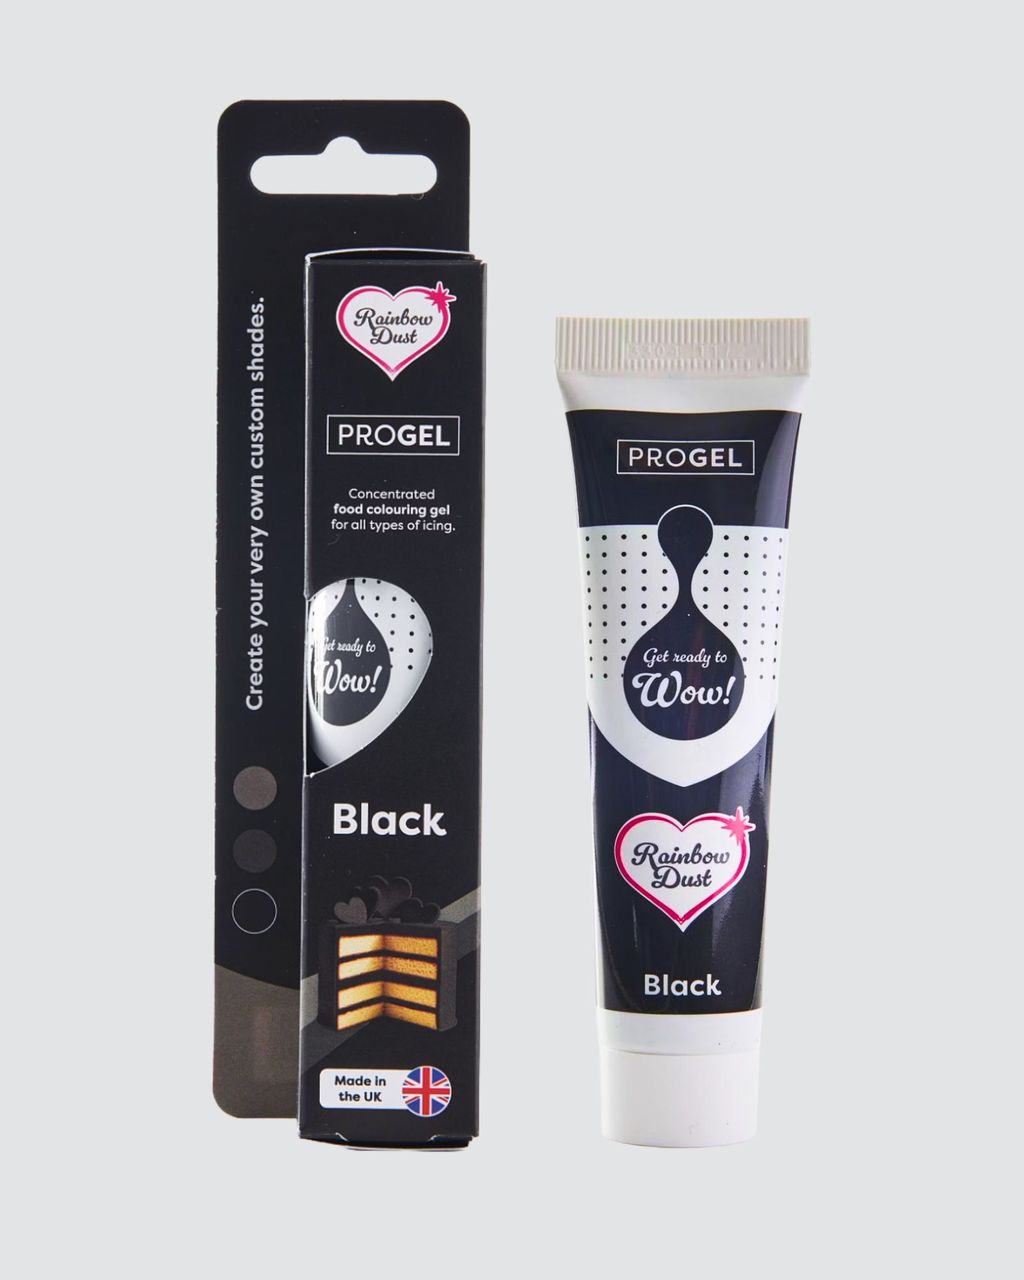
Gel colors are concentrated, so you get an intense color without a lot of liquid — the consistency of the icing stays the same. Deep red and black use the most color; thick gels such as ProGel Ruby and ProGel Black suit them. Let the colored icing rest for 15–30 minutes, as the shade will deepen.
Natural colorings: beet juice gives pink to red, turmeric yellow, spirulina green and cocoa brown. They can taste slightly, so start with a small amount; liquid colorings thin the icing, so correct the thickness by adding more sugar.
Whitening (Super White): if you want pure white icing or light pastels, stir in a pinch of whitening powder (E170).
Water- or alcohol-based flavorings belong in icing — they won't disrupt its structure or drying. Avoid oil-based flavorings: fat weakens the structure, slows drying, and the icing then cracks and crumbles.
Good choices:
Lemon juice or extract — firms up the icing and adds freshness.
Vanilla extract — a gently sweet all-rounder that pairs well with gingerbread.
Orange juice — a Christmassy aroma and light acidity; like lemon, it thins the icing, so count it as part of the water.
Almond extract — a nutty note, but use it sparingly, as it's intense.
Rum flavoring — caramelly and festive, it suits traditional gingerbread.
Better to leave out:
Oil-based flavorings — they disrupt consistency and drying.
Menthol and mint — they don't go with gingerbread.
Floral flavorings (rose, lavender) — they tend to be too dominant.
Strongly artificial flavorings — they can affect the taste and color of the icing.
For flavorings, reach for pure extracts with a simple ingredient list (for example "vanilla extract," not "flavored"). A good extract tends to cost more, but because it's so intense, a few drops are enough. Still, the main aroma of gingerbread comes from the dough, not the icing — so it's worth mixing your own homemade gingerbread spice and keeping the icing only lightly flavored.
Without eggs, you can make icing from aquafaba — the liquid from canned chickpeas; roughly 2 tablespoons (30 ml) replace one egg white, and it's beaten to stiff peaks the same way with 200–250 g of powdered sugar. You can try powdered erythritol instead of sugar, but it blends less well and the icing tends to be more brittle, so expect to experiment. The ready-made Royal Icing is not egg-free, as it contains dried egg white.
You don't need to worry about a gluten-free version: classic icing made from egg white and sugar contains no gluten. Watch for it instead in the gingerbread dough, and read the label on ready-made mixes — for its icing, FunCakes states that it may contain traces of cereals containing gluten.
Store decorated gingerbread cookies in an airtight tin in a cool, dry place — not in the fridge, where humidity softens both the dough and the icing. Put them in the tin only after 12–24 hours of drying, and put parchment paper between the layers so the decorations don't rub off or smudge.
Store in a dry, cool room away from direct sun and heat sources (stove, radiator). A pantry or a cool cupboard is ideal.
Put only fully cooled cookies with dry icing in the tin — warm or damp ones create condensation inside and the icing goes soft.
Gingerbread also naturally softens over time, so feel free to bake and decorate it ahead. How to make it soften while keeping the icing looking good is explained in How to store gingerbread so it softens.
Yes. Beat the egg white with the sifted sugar in a bowl using a wooden spoon for about 15–20 minutes, until the icing is smooth, glossy and holds a stiff peak. Add the sugar gradually, and stir in the lemon juice with the second batch of sugar.
Most often the tip is blocked by lumps of unsifted sugar or by bits of icing that dried on the side of the bowl. Always sift the sugar, keep the bowl covered with plastic wrap pressed right onto the surface, and clear a clogged tip with a toothpick.
Yes. A few drops of white vinegar work in place of lemon juice, because the same acid firms up the icing. Use it sparingly, about ¼ teaspoon per egg white, or you'll smell the vinegar.
Yes, but mainly for details and firm surfaces. Royal icing dries crisp, so it suits lettering, lace and decorations, or a cake covered in marzipan or fondant. On whipped cream or a moist filling it softens and runs, so don't use it there.
A cone rolled from parchment paper or a zip-top plastic bag with a corner snipped off works in place of a piping bag. For fine lines a paper cone is actually more precise. There's more in the article [What to use instead of a piping bag](/cs/articles/cim-nahradit-zdobici-sacek).
One recipe worth heating the oven for, one tip, and one deal from the shop. Nothing else.