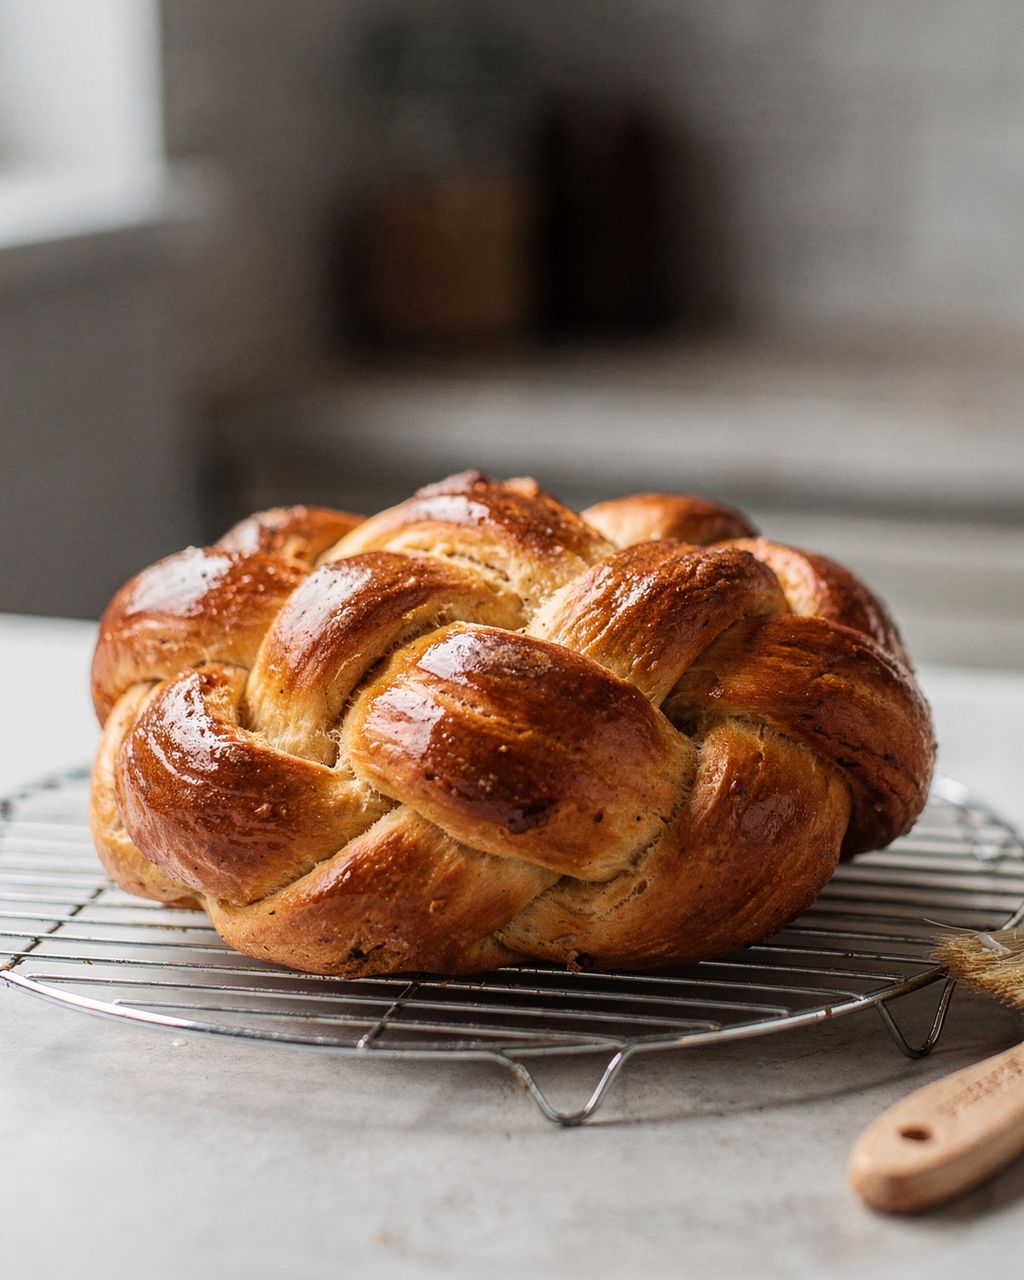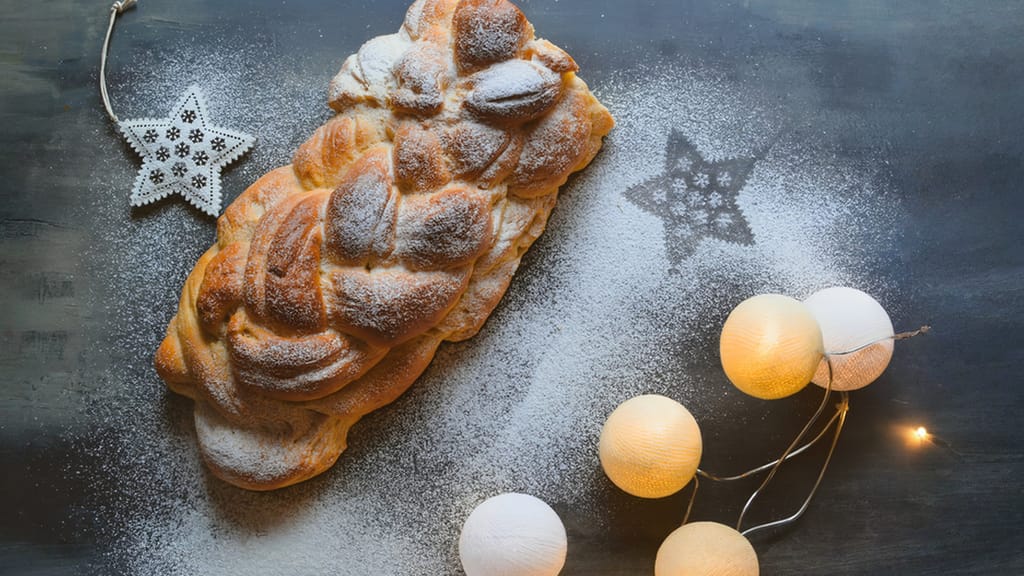
Mom's christmas braid
How to Braid Vánočka Step by Step: 4, 6 or 9 Strands
Updated Oct 25, 2026
Braiding a vánočka (Czech Christmas braided bread) comes down to three things: well-kneaded dough, strands of equal weight, and every crossover pulled just snug enough. From 1 kg of dough (about 500 g of flour) you can make 4 strands of 250 g each, 6 strands of 165–170 g each, or the traditional nine-strand vánočka in three tiers of 4 + 3 + 2 (4 × 125 g, 3 × 110 g, 2 × 85 g). Below, every move is described on its own and also written out in numbers. You'll also find the things that matter even more than the braid itself: how tightly to pull, how long to let it proof, and what temperature to bake at.
Weigh your strands; don't guess. From 1 kg of dough, each strand of a four-strand vánočka weighs 250 g, of a six-strand 165–170 g, and of a nine-strand 125, 110 or 85 g depending on the tier. With standard proportions (250 ml milk, 100–150 g butter, 2 eggs, 100 g sugar, yeast), 500 g of flour gives roughly 1–1.1 kg of dough. So always weigh the finished dough and divide it by its actual weight.
From 500 g of flour (about 1 kg of dough) you get:
3 strands: 3 × 330–335 g (1,000 ÷ 3 = 333 g), about 35 cm long.
4 strands: 4 × 250 g, about 35 cm long.
6 strands: 6 × 165–170 g (1,000 ÷ 6 = 166.7 g), about 35 cm long.
9 strands (4 + 3 + 2): bottom tier 4 × 125 g / 30 cm, middle tier 3 × 110 g / 28 cm, top tier 2 × 85 g / 26 cm (500 + 330 + 170 = 1,000 g).
From 1 kg of flour (about 2–2.2 kg of dough) you get:
4 strands: 4 × 500 g, about 45 cm long.
6 strands: 6 × 330–335 g (2,000 ÷ 6 = 333.3 g), about 45 cm long.
9 strands (4 + 3 + 2): bottom tier 4 × 250 g / 42 cm, middle tier 3 × 220 g / 40 cm, top tier 2 × 170 g / 37 cm (1,000 + 660 + 340 = 2,000 g).
If your dough weighs something different, keep the nine-strand proportions: each bottom strand gets 12.5% of the dough, each middle strand 11%, and each top strand 8.5% (4 × 12.5 + 3 × 11 + 2 × 8.5 = 100%). A 2 kg vánočka needs a big baking tray and a much longer bake. For most households, two loaves from 1 kg of flour, using the first list, are more practical.
You can only braid dough that is smooth, glossy, elastic, and not sticking to your hands, and that has already risen once to double its volume. Sticky or under-kneaded dough sags under your fingers, the strands tear, and the vánočka spreads into a flat disc in the oven. Most failed vánočkas are decided before you pick up the first strand.
Knead for 10–15 minutes. Vánočka dough needs much stronger gluten than dough for sweet buns or cakes. Use a lower speed in a stand mixer, or a few minutes longer by hand.
Add the butter at the end, once gluten starts to form in the dough. Fat added at the start coats the proteins in the flour, and gluten then develops much more slowly.
Keep the dough on the firm side rather than soft. Two extra spoonfuls of flour are a smaller problem than a strand that turns to mush in your hand.
First rise: 1–2 hours at 24–26 °C, until doubled in volume. Sweet enriched dough with butter and sugar rises more slowly than plain dough, so don't rush it.
Chill it before braiding. 20–30 minutes in the fridge firms up the butter in the dough, and the strands hold their shape even if you handle them for two minutes longer. This one step does the most for a beginner.
You'll find tested proportions and the dough method in the recipe for Mum's vánočka. Why vánočka turns out dry, and what to add to the dough to make it fluffy, is covered in the article on the softest vánočka. For the proportions and basic behavior of yeast dough, see yeast dough: basic ratios. You may know the same dough, just not shaped into a braid, from Easter mazanec, and there too the cracks come from the proofing, not the baking.
Mom's christmas braid
Mum's vánočka: a recipe for a dough that braids well into 4, 6 or 9 strands
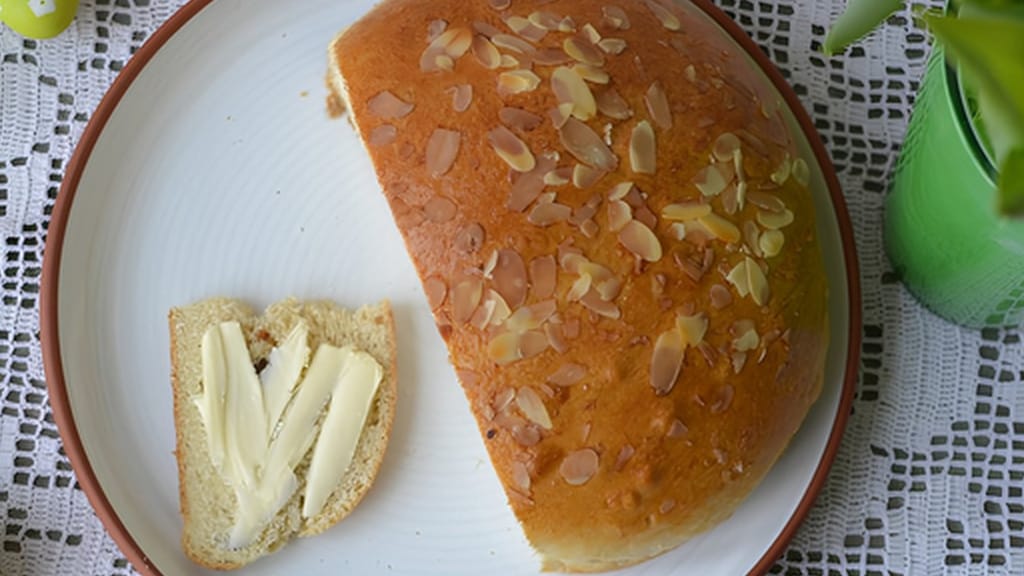
Easter classic: fragrant mazanec bread
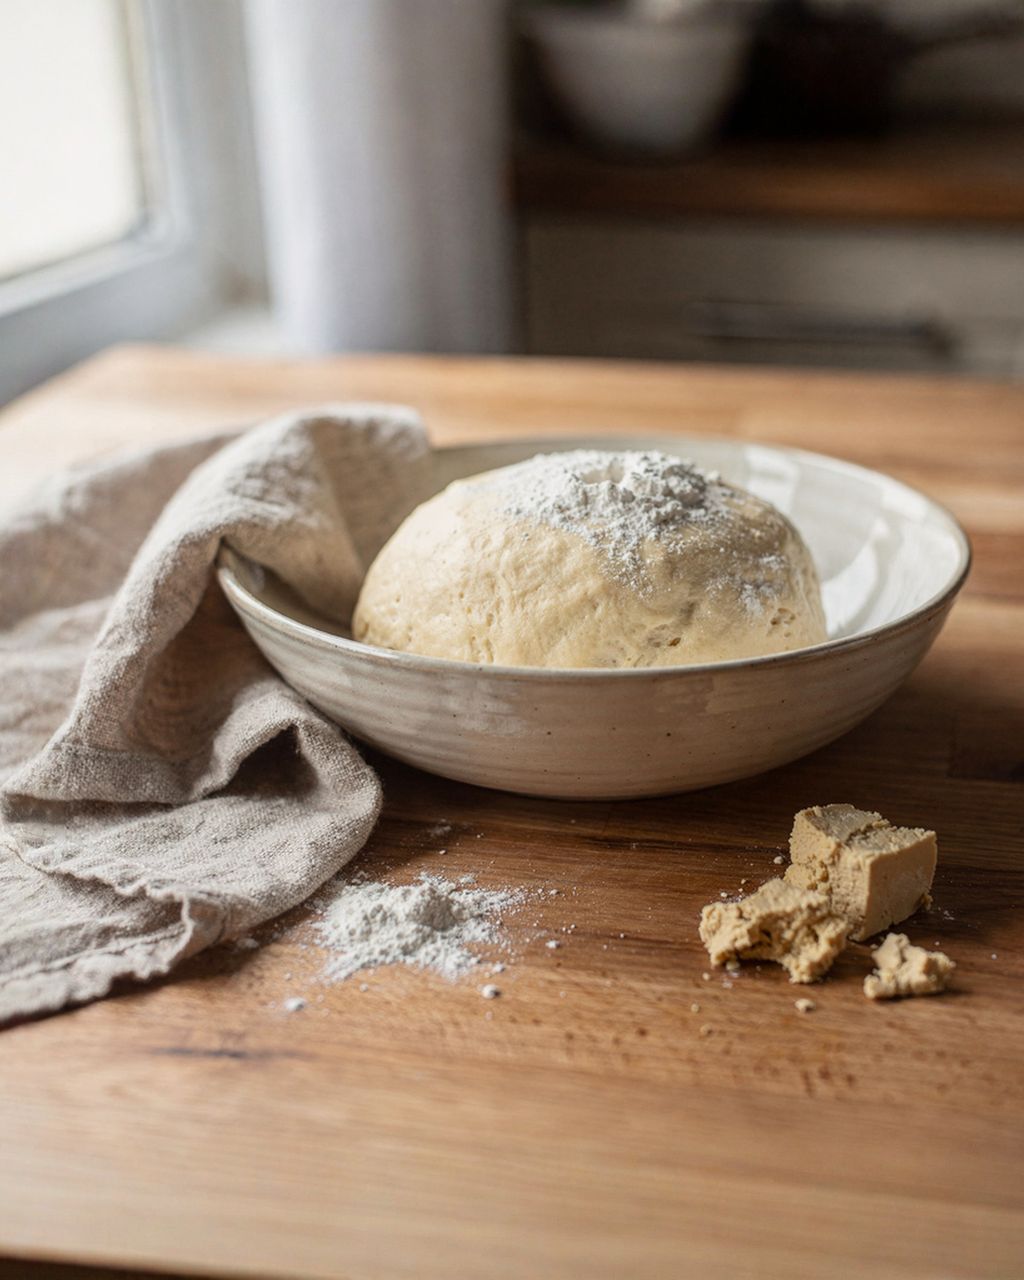
Fragrant mazanec: the same sweet yeast dough as for vánočka, just without the braid, and good practice for the dough itself
Weigh each piece of dough on a kitchen scale, let it rest for 10 minutes as a small round, and then roll it from the center outward into strands with tapered ends. For how much each strand should weigh, see the section “How Much Each Vánočka Strand Should Weigh.” A 10 g difference shows on the finished vánočka as a crooked braid. Judging by hand almost always produces one fat strand and one skinny one, and the skinny one will tear during baking.
In a nine-strand vánočka the tiers have different weights because each higher tier has to be lighter and shorter than the one beneath it, or the upper ones will slide off.
How to roll the strands:
Shape each piece into a small round and let it rest for 10 minutes. Tight dough shrinks back as you roll it; rested dough stretches out without resistance.
Roll from the center outward, leaving the middle slightly thicker and tapering the ends to a point. Tapered strands make a braid whose ends close up naturally.
Go easy on the flour. Vánočka holds itself together; floury strands slip against each other and the braid opens up.
Work on an unfloured surface or one only lightly dusted with flour, so the strand grips a little as you roll.
A three-strand braid is a single repeated move: you lay the outer strand over the middle one, alternating left and right. It's the foundation you can't do without, even for the nine-strand vánočka, where it forms the middle tier.
In numbers (positions 1–3 from the left, renumber after every move): 1 over 2, 3 over 2, and keep repeating.
Lay three strands side by side and press them firmly together at the top end.
Lay the left strand over the middle one. It's now the middle strand.
Lay the right strand over the new middle one.
Alternate left and right until you run out of strands. After each crossover, just settle the strand into place and press down lightly.
Pinch the ends together and tuck them under the braid.
As a stand-alone vánočka, the three-strand braid is the lowest and narrowest (3 × 330–335 g from 1 kg of dough), but it's ideal for practicing the movement and the tension. Once it's in your hands, you can manage everything else.
You braid four strands with one repeated move: the outer strand goes over, under, and over again until it reaches the other side. Then you take the new outer strand and repeat.
Lay four strands side by side and press them firmly together at one end. Squeeze them together and fold the joined end under.
Take the strand on the far left.
Pass it over the second strand.
Tuck it under the third strand.
Pass it over the fourth. It now lies on the far right.
Take the strand that's now on the far left and repeat the whole move (over – under – over).
Braid until you run out of strands. Pinch the end together and fold it under the vánočka.
In numbers (positions 1–4 from the left, renumber after every move): 1 over 2, under 3, over 4. The strand from position 1 ends up at position 4, the others each shift one place to the left, and the move is the same every time.
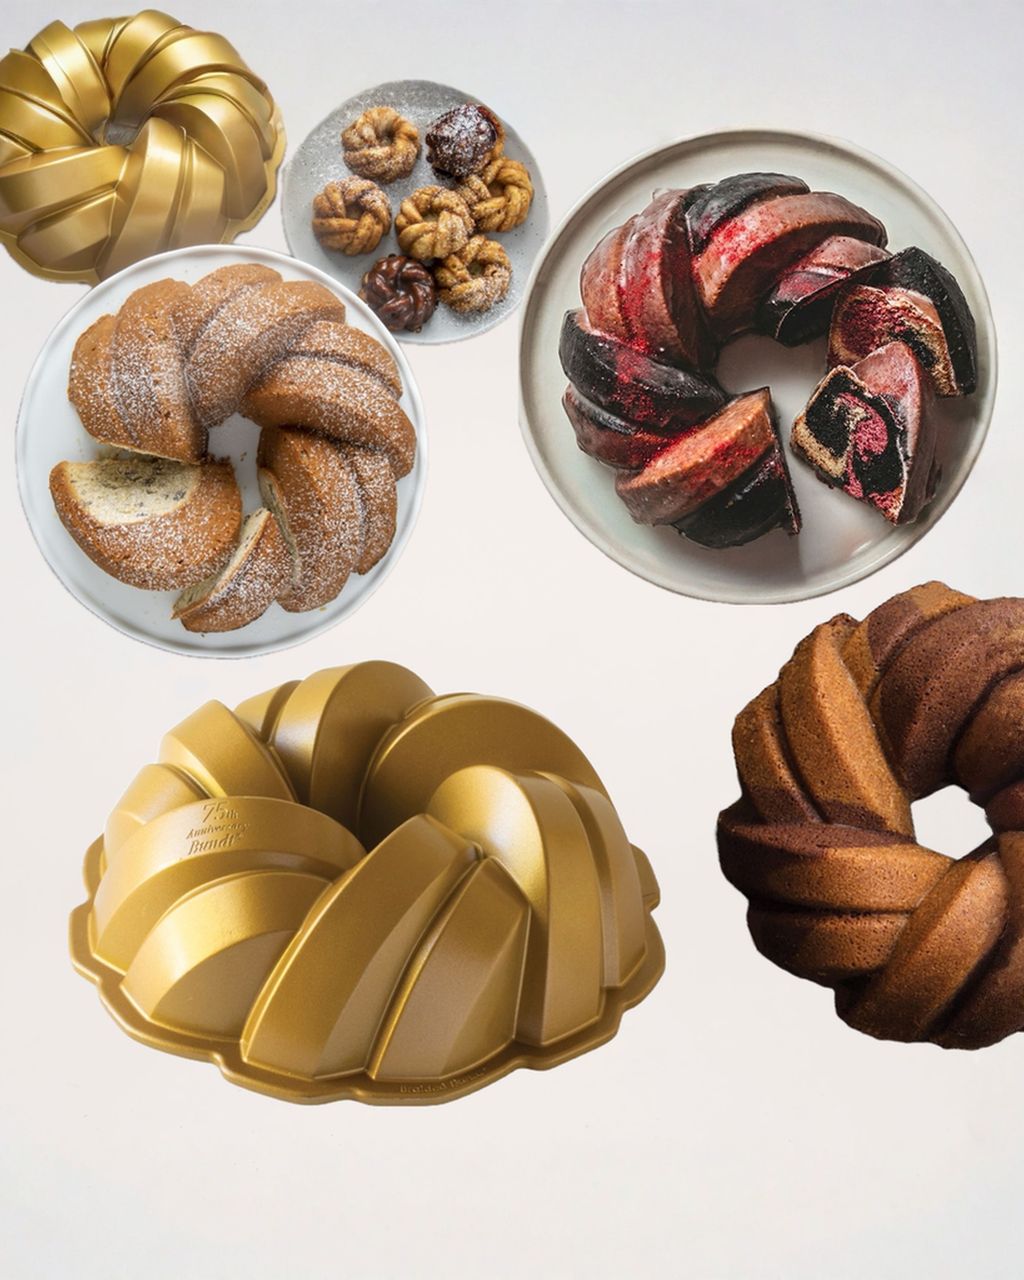
This is the version for a first attempt and for dough you don't fully trust: four strands mean less handling and less time for the dough to warm up in your hands. The result is lower and wider than a nine-strand vánočka, but it spreads out far less. And if you have neither time nor patience for braiding this year, bake a vánočka in a braided-loaf tin, where the tin makes the braid pattern for you.
You braid six strands with one repeated move: the outer right strand goes over two, under one, and over two, until it ends up on the far left. Then you take the new outer right strand and repeat. The braid holds its shape, comes out tall, and doesn't need stacked tiers.
Lay six strands side by side and join them at the top end.
Take the strand on the far right.
Take it over two neighboring strands.
Tuck it under the third.
Then pass it over the next two. It ends up on the far left.
Take the new outer strand on the right and repeat the move (over two – under one – over two).
Pinch the ends together, fold them under the vánočka, and tidy it into an even, symmetrical shape.
In numbers, with dough in your hands (positions 1–6 from the left, renumber after every move):
6 over 5 and 4.
6 under 3.
6 over 2 and 1. The strand now lies at position 1, and the others have shifted one place to the right.
Renumber 1–6 from the left and go again: 6 over 5 and 4, under 3, over 2 and 1.
Keep to the same side every time. If you start from the right, keep going from the right. Switching sides throws off the braid, and halfway through you'll find the pattern no longer works out.
This braid also works as the base for a two-tier version (6 + 2): a six-strand braid on the bottom and a twisted two-strand rope on top. The traditional three-tier vánočka goes one tier further, made of 4 + 3 + 2 strands, and that's in the next section.
A nine-strand vánočka isn't braided from nine strands at once. It's made as three separate tiers stacked on top of each other: a four-strand braid at the bottom, a three-strand braid above it, and a twisted two-strand rope on top. Each tier is shorter and thinner than the one beneath it, or the upper ones will slide off.
Bottom tier: braid four strands following the method above. Place it directly on the baking paper on your tray. Don't move the finished vánočka anywhere else, because it will lose its shape when you transfer it.
Middle tier: braid a classic three-strand braid following the method above (1 over 2, 3 over 2). Join the ends.
Press the bottom tier down lightly and make a shallow channel along the whole length of its center (the back of your hand is enough). Settle the middle tier into it so it doesn't sit on a rounded surface.
Top tier: twist the two strands over each other like a rope until you have an even twisted braid.
Lay the twisted rope on top. Tuck each of its ends separately under the vánočka. This is exactly where the structure either holds or comes apart.
Check that the whole vánočka is symmetrical and straight. You can't fix anything after proofing.
Secure it with skewers before proofing; how to do that is in the proofing section.
There's no single, documented explanation for why nine strands. Folk interpretations of what each tier symbolizes differ by region and by source. According to folk tradition, the crossing of the strands was meant to protect the family from evil influences.
The history is more interesting than the symbolism. The predecessor of vánočka is thought to be the calta, an old Czech pastry documented from the 14th century, usually oblong and unbraided. Around 1400, the Benedictine monk Jan of Holešov already describes Christmas bread made from white flour, in the shape of a wedge or a braid. The name vánočka became established in the sources later. At first, baking vánočka was the privilege of guild bakers, and it was not allowed at home. People began baking vánočka at home only from the 18th century. And because vánočka was taken as a sign of a good year ahead, a cracked or burnt one was a bad omen. Today it's just a braid that didn't work out, but the pressure to get it right has stayed.
The practical upshot: nine strands are no harder, just three braids longer. If you can manage four strands and three strands, you can manage nine.
Pull the strands so they sit snugly against each other with no gaps, but not under tension. That's the whole secret of the shape. Tightness is what a vánočka most often stands or falls on, and people go wrong in both directions.
An under-tightened vánočka spreads. Gaps between the strands open up during proofing and baking, the braid widens, and you end up with a flat loaf.
An over-tightened vánočka cracks. Stretched strands have no room to grow evenly, so they tear at the weakest point in the oven.
The calibration: after each crossover, just settle the strand into place and press down lightly. Never pull it taut or stretch the braid lengthwise.
Always tuck the ends under the vánočka; don't just pinch them. A pinched end opens in the oven, while a tucked one is held down by the weight of the loaf.
Braid from one end to the other, not from the middle. And braid quickly, because every minute in the warmth takes away some of the dough's firmness.
Let the braided vánočka proof for 45–60 minutes on the tray, secure it with skewers, and brush it with egg wash before it goes into the oven. Skipping this stage is the second most common reason a finished vánočka doesn't look like the one in the photo.
Proofing: 45–60 minutes in a warm spot without drafts, covered with a tea towel or cling film so the surface doesn't dry out. A dried-out crust blocks the rise and then cracks.
Skewers: push 4–6 skewers in from the top down through all the tiers before the vánočka finishes proofing. They hold the structure in place and keep the top tier from sliding off. Pull them out after baking while it's still warm, because in a cooled vánočka they tear out a chunk of crumb.
Barrier: instead of skewers (or alongside them), build a low foil wall around the vánočka, about 2 cm from the dough. It guides the rise upward instead of outward.
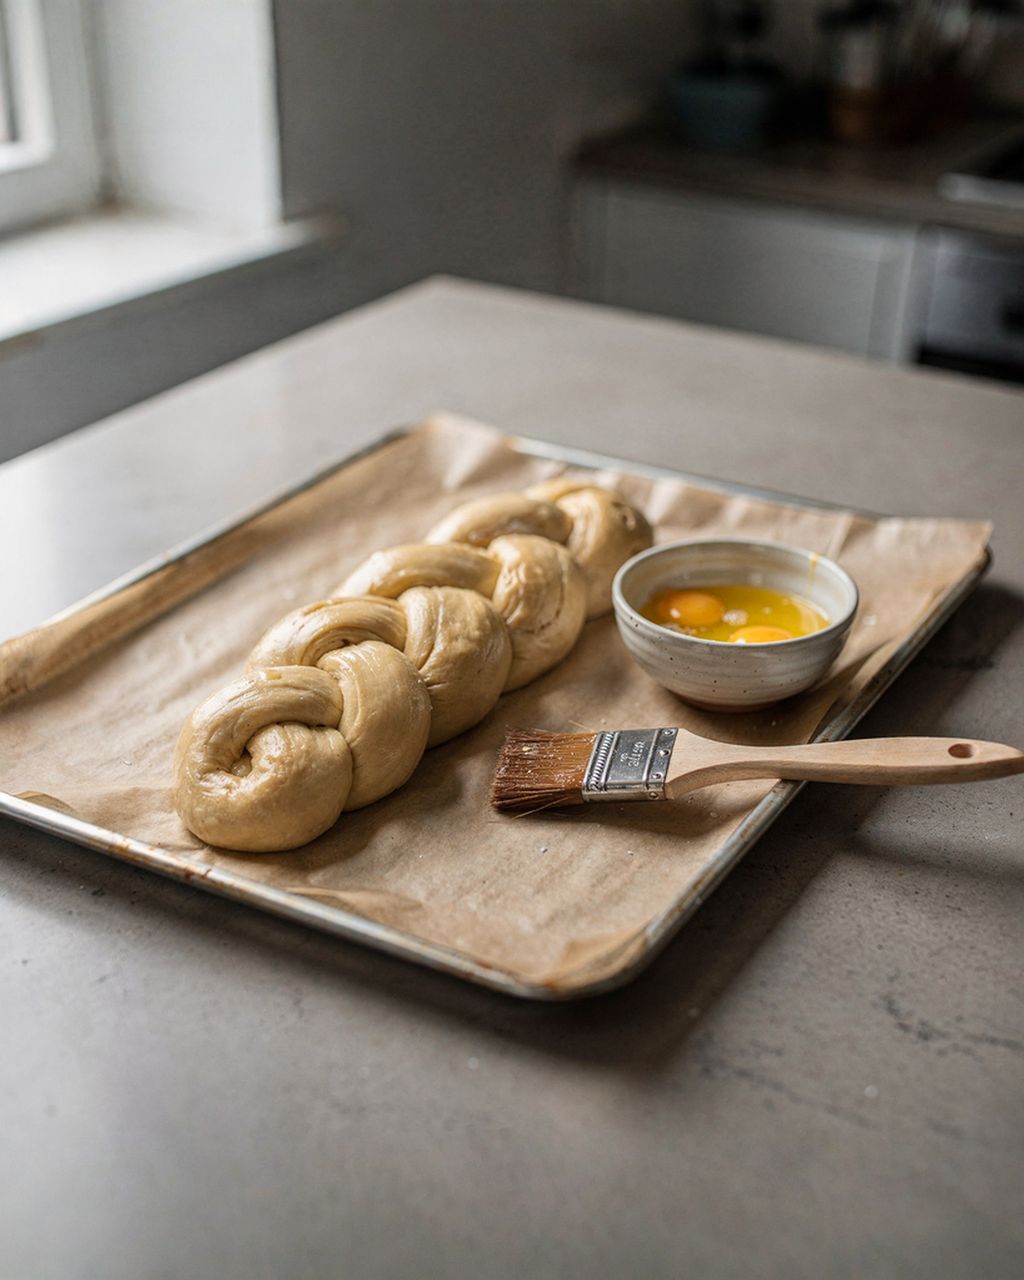
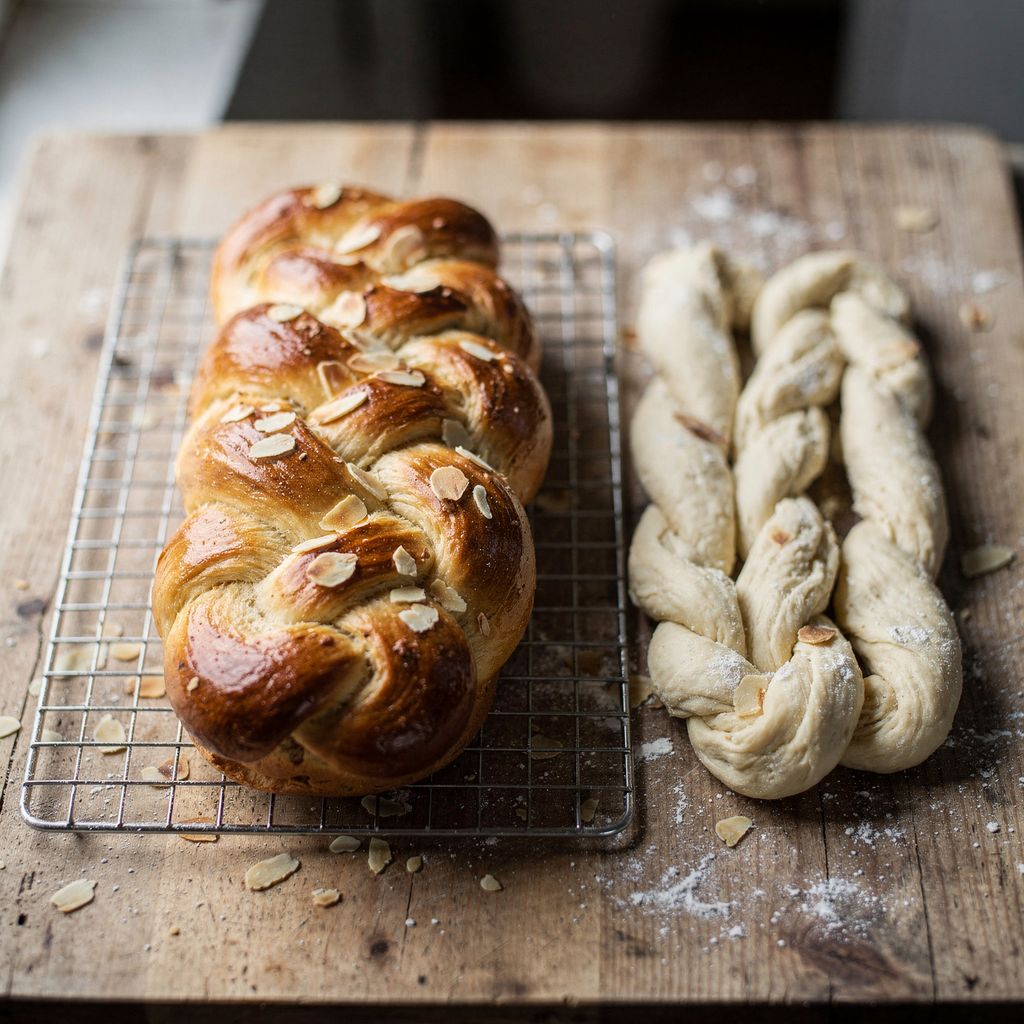
Egg wash: beat the egg with a spoonful of milk or water so it spreads thinly. Brush it on twice, once before proofing and once right before baking; the second coat gives the shine. Press almonds and raisins onto the surface after the first coat, because after the second they won't stick.
We've covered exactly what to put on the brush and why egg works in separate articles: why yeast dough is brushed with egg, what to brush on vánočka before baking, and a version for brushing vánočka without eggs.
Bake a vánočka weighing about 1 kg for 45–55 minutes: the first 10–15 minutes at 180 °C (356 °F), then lower it to 160 °C (320 °F); bake a 500 g vánočka for 30–35 minutes. The hot start lifts the dough, and the lower finish lets the center cook through without the braid turning black. For times for other sizes, see the article on how long and at what temperature to bake vánočka.
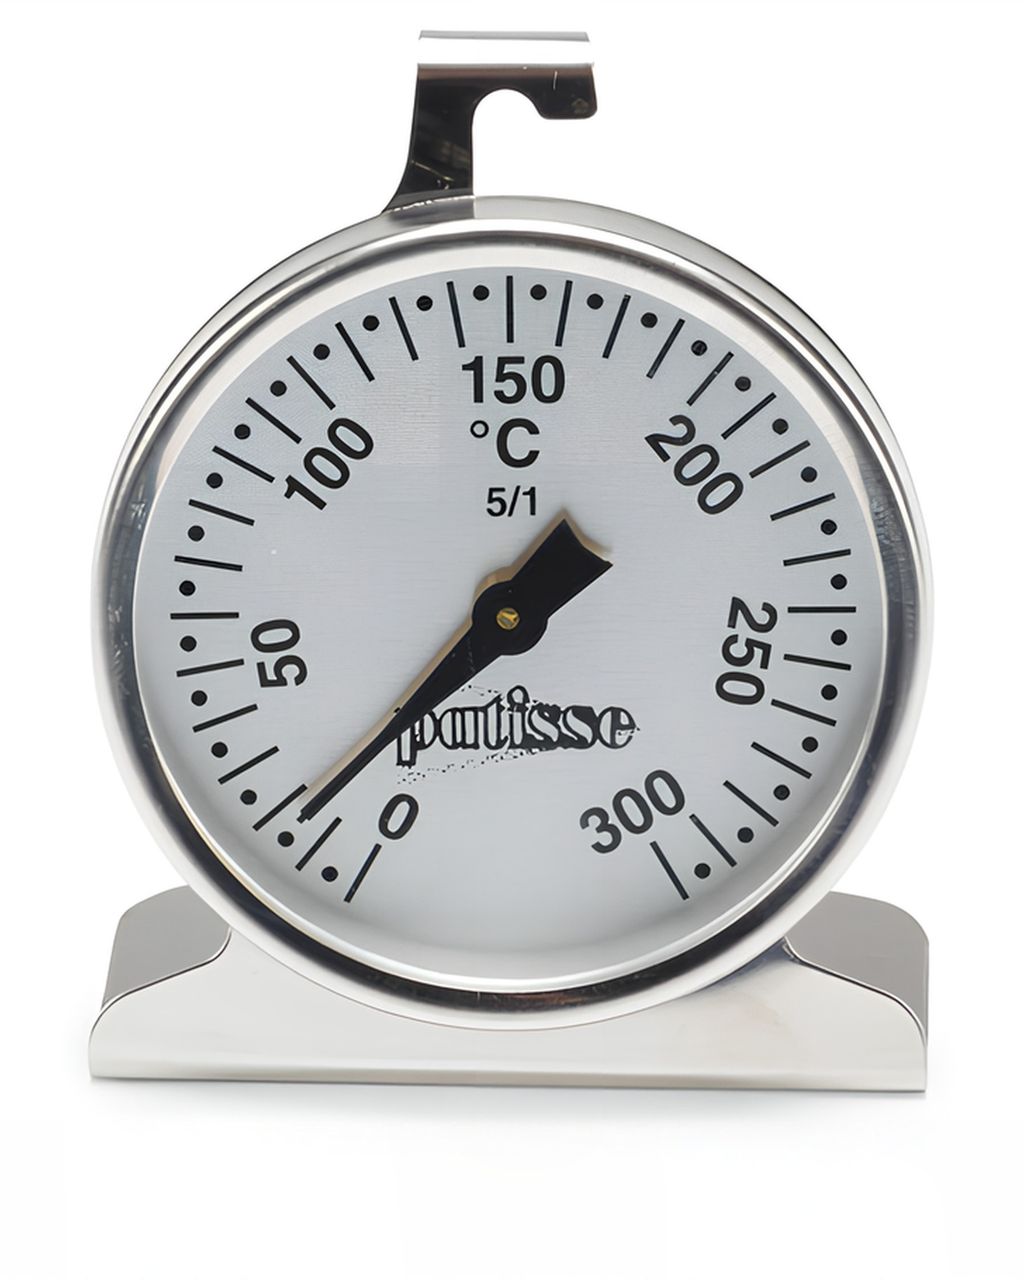
Check how hot your oven really is. The oven display and the actual temperature inside can differ. A separate oven thermometer shows you whether 160 °C is really 160 °C. An oven that runs hot colors the braid before the center is baked through. We have the thermometer and other tins and baking tools in our shop.
Measure doneness; don't guess. Sweet yeast bread is done at 88–92 °C inside. Baking practice gives a range of roughly 88–94 °C. A skewer pushed into the thickest part must come out clean.
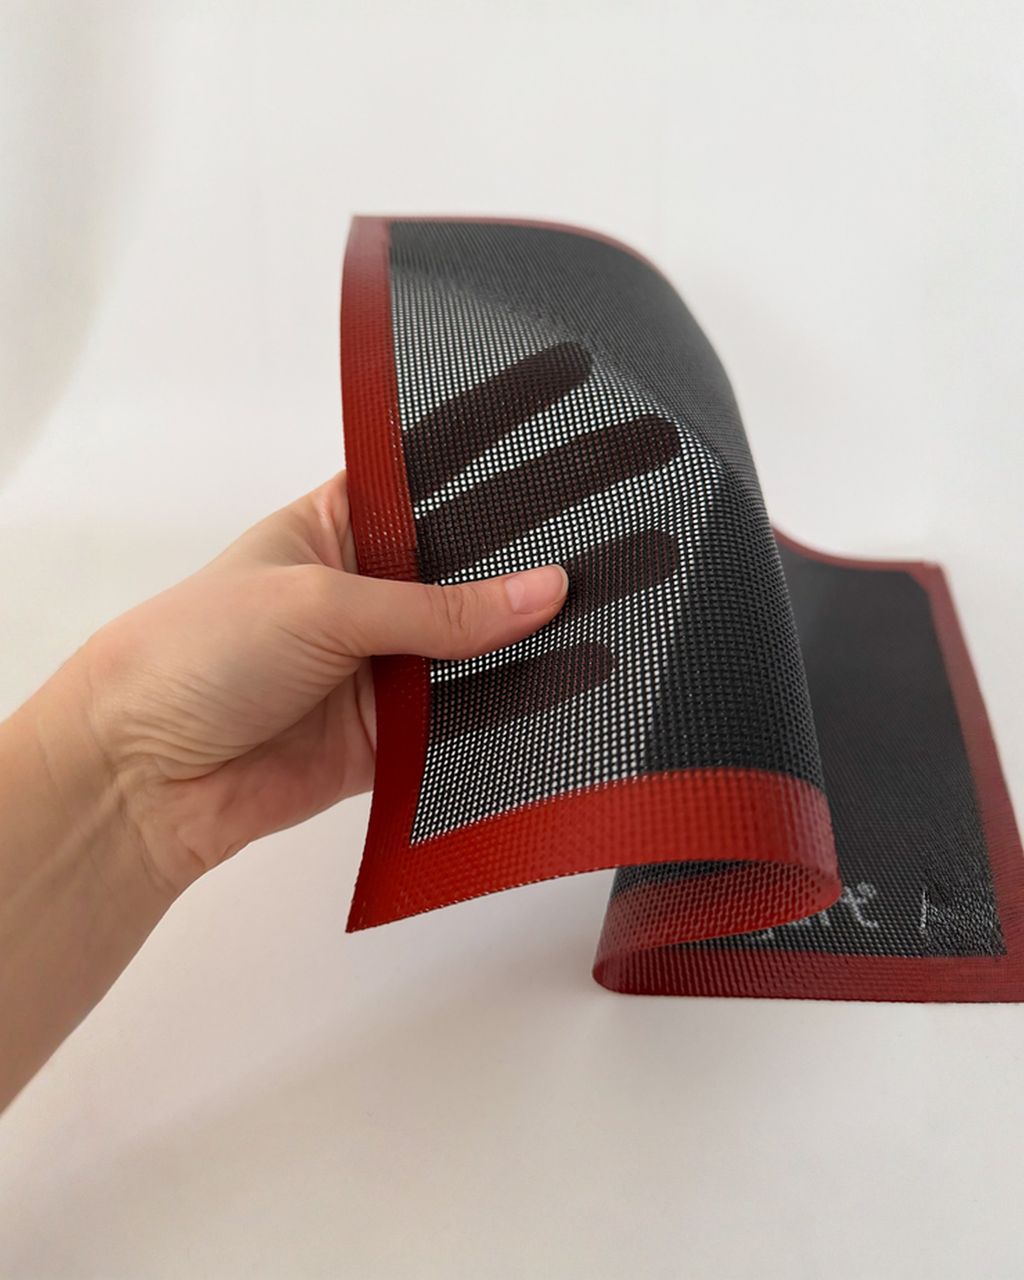
Bake on baking paper or a perforated silicone mat, not directly on the tray. The perforations let heat reach the bottom evenly, so the base bakes through without burning.
Don't open the oven for the first 20 minutes. A draft deflates dough that doesn't yet have a firm structure.
Browning too early? After 20 minutes, cover the vánočka loosely with foil. The sugar and eggs in sweet yeast dough brown before the center is done, which is why the temperature is lower.
Cool it on a wire rack, never on the tray or a board. Steam stays trapped under the vánočka and the bottom goes damp.
Don't slice it warm. The crumb finishes setting from residual heat, and when hot it squashes under the knife. Give it at least 2 hours.
Almost every flaw traces back to the dough, the tightness, the proofing, or the baking. What happened tells you what to change:
It spread sideways: loosely braided strands or dough that's too soft. Next time, pull it tighter, add flour, and secure it with a foil barrier. The article on vánočka that spread sideways goes through every cause step by step.
It cracked on the surface: under-proofed, or on the contrary pulled too tight. Proof longer and just settle the strands in place; don't pull them. You'll find five more reasons in the article on why vánočka cracks.
It collapsed in the middle: over-proofed, or you opened the oven too early.
The top tier slid to one side: the skewers are missing, or the upper tiers weren't shorter and thinner than the bottom one.
The crumb is dense: short kneading or a short first rise. The gluten didn't have time to form, and the bubbles have nothing to hold on to.
It's dry: overbaked, or baked at too high a temperature. Measure the internal temperature; don't guess by color.
The strands tear while braiding: the dough is warm and overstretched. Put it in the fridge for 20 minutes and start again.
Bake your vánočka on December 23 or 24. Unlike Christmas cookies, it doesn't improve with storage, and it's best on the first and second day. If you need to have it done earlier, bake it ahead and freeze it baked and cooled, not as raw braided dough: a frozen braid almost never finishes proofing back to its original shape after thawing. According to the USDA's FoodKeeper database, store-bought baked goods keep good quality in the freezer for 3–5 months; use a homemade vánočka within 2–3 months to be safe. Thaw it whole at room temperature, then warm it through for 10 minutes at 150 °C (302 °F). For how to keep it soft in the meantime, see the article on how long vánočka keeps.
That's where vánočka parts ways with the rest of Christmas baking, which you plan weeks ahead: a calendar of when to bake Christmas cookies, how to store cookies, and how to freeze cookies and dough cover the other half of the plan. If besides vánočka you're also worrying about gingerbread that turns hard or crumbly linzer cookies, each has its own fix.
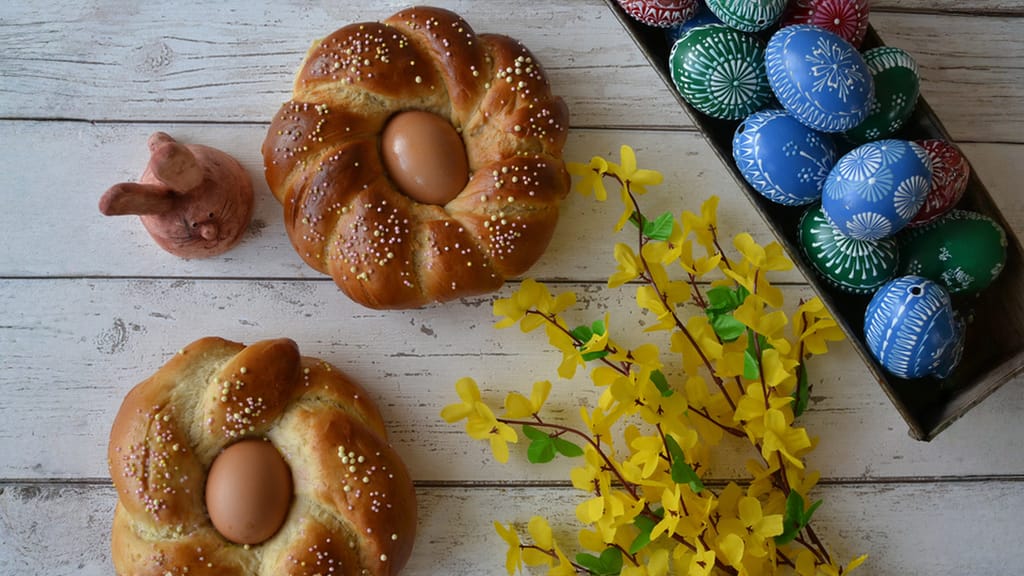
Easter wreath bread with colored eggs
Yeast-dough wreath with colored eggs: you can practice strand shaping outside the Christmas season too
For a narrow loaf tin, braid 3 or 4 strands and make the braid 2–3 cm shorter than the tin. Don't put the 4 + 3 + 2 tiers in a tin: the tin only supports the sides, so the upper tiers would stick out over the rim and slump during proofing, because you can't secure them with skewers inside a tin. The braided loaf should fill roughly half to two-thirds of the tin, since it needs the rest of the space to finish proofing and to rise in the oven. A vánočka in a tin bakes a little longer than one baked free-standing on a tray, because heat reaches it only from above and through the walls, so check doneness with a thermometer: it's done at 88–92 °C inside.
Yes. Put the braided vánočka on a baking tray, cover it with cling film, and let it finish proofing in the fridge for 8–12 hours. The cold slows proofing down rather than stopping it, so in the morning you take it out, leave it at room temperature for 30–45 minutes, brush it with egg, and bake. This method is often even more reliable than a quick proof in a warm spot: cold dough keeps a crisper braid shape and spreads less.
Plan on roughly 100–120 g of dough per person. A standard vánočka made from 1 kg of dough feeds 8–10 people and gives about 14–16 slices. For the ingredients and strand weights for a loaf like that, see the section “How Much Each Vánočka Strand Should Weigh.” For a smaller household, two 500 g loaves are better than one big one: they bake in just 30–35 minutes, you can freeze the second one as soon as it has cooled, and it won't dry out on the counter. The 88–92 °C internal temperature applies to both sizes; just start checking the smaller loaf earlier.
Soak them for 20–30 minutes in rum, tea, or warm water, then dry them thoroughly. Dry raisins pull moisture out of the dough and stay hard, while wet ones release water and make the dough around them damp. Work them in at the very end of kneading, briefly and on low speed, so you don't shred the gluten. It also helps to toss them in a spoonful of flour: they stop slipping and spread evenly instead of sinking to the bottom. When braiding, make sure no raisins end up on the surface of the strands, because they'll burn in the oven.
Wrap the cooled vánočka in a tea towel and put it in a paper or cloth bag. Never store it sliced, and never in cling film, which makes the crust damp and soft by morning. Cut only as much as you'll eat and set the cut side face down on the board, since most moisture escapes through the cut surface. A vánočka doesn't belong in the fridge: the starch in the crumb firms up faster in the cold than at room temperature, so it goes stale sooner. Freeze whatever you won't eat within two days; you'll find how in the section “When to Bake Vánočka So It's Fresh on Christmas Eve.”
Yes, but only before proofing. While the dough is still raw, roll it into a ball, let it rest for 15 minutes, and braid it again, perhaps with a simpler 3- or 4-strand braid. The dough can take only a little handling the second time, so don't try a third: tear off pieces and bake small vánočka rolls, which take 15–18 minutes and need no braid. If the vánočka spreads out only in the oven, the flavor is still fine. Cut it into slices and pan-fry them in butter the next day.
One recipe worth heating the oven for, one tip, and one deal from the shop. Nothing else.