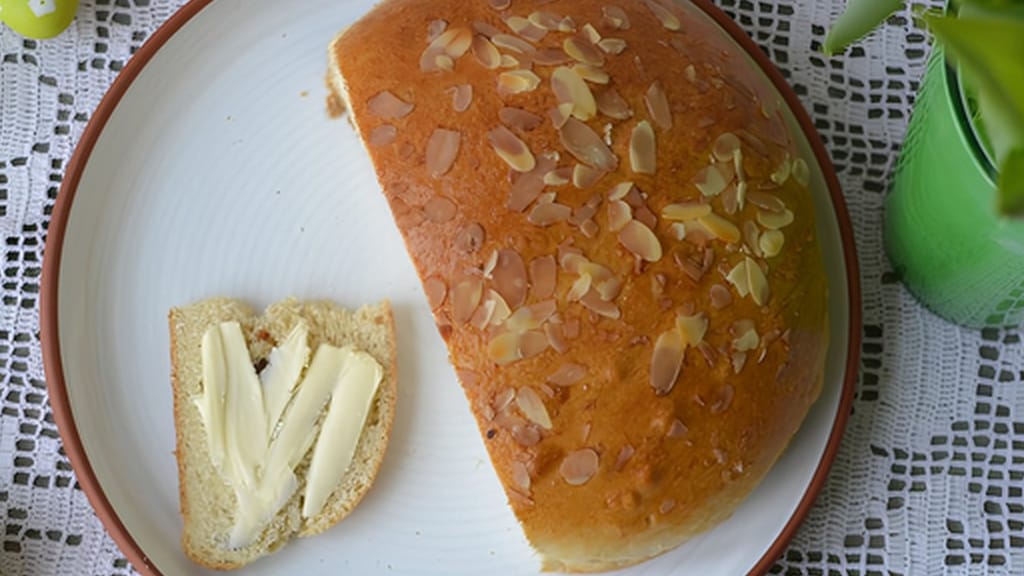
Easter classic: fragrant mazanec bread
Why Christmas Bread Cracks: 7 Causes and How to Fix Them
Updated Sep 17, 2026
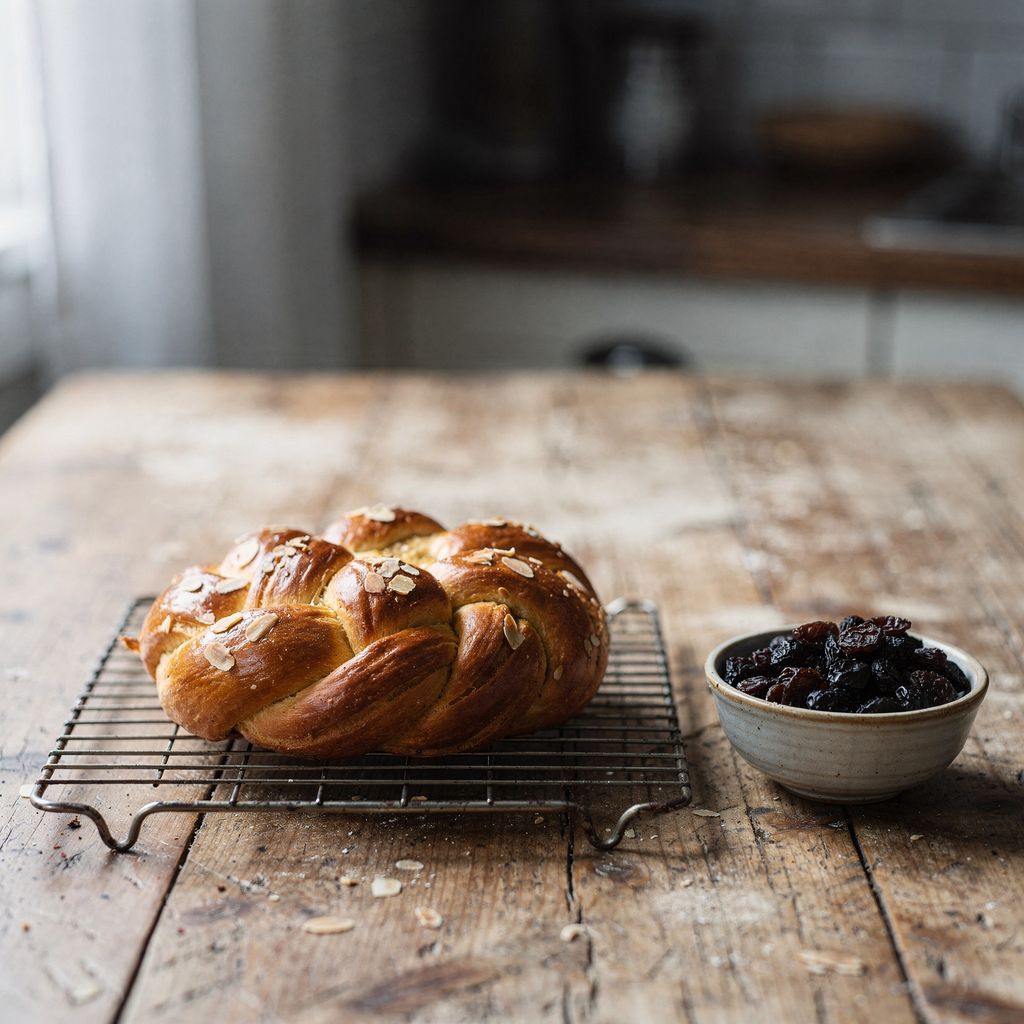
Christmas bread cracks because it's still expanding in the oven while the surface has already set — the pressure building up inside finds the weakest spot and splits it open. Almost always, it comes down to one of seven things: under-proofed dough, a dried-out surface, an oven that's too hot, under-developed dough, braided strands pulled too tight, raisins sticking out, or proofing rushed along with heat. The good news is twofold: you can tell the cause by where the crack appears, and a cracked loaf tastes exactly the same as a smooth one.
Cracking is a race between two speeds: how fast the dough is rising and how fast its surface is setting. Once you slide the loaf into the oven, the yeast keeps working furiously for a few more minutes, the water in the crumb turns to steam, and the loaf takes one last big breath — bakers call this oven spring. In those few minutes, the volume can grow by as much as a third.
If the surface is still moist and stretchy at that point, it expands right along with the dough. But if it's already set — either because it dried out during proofing, or because a hot oven baked it into a crust within the first five minutes — it has no way to give. The pressure from inside finds the thinnest spot and tears it open. That's why the cracking isn't random: it happens exactly where the surface was weakest.
This also explains the whole logic behind the fixes. You either slow down the rise in the oven (by letting the dough proof properly beforehand), or keep the surface pliable for longer (moisture during proofing, steam, and a lower starting temperature). All seven causes below are just variations on one of those two ideas.
A loaf cracks along the side when it's under-proofed, breaks into a fine web of cracks when the surface has dried out, and splits with one deep crack on top when the oven was too hot. In more detail, by crack location:
A long crack along the side, under the top strand — the classic sign of under-proofed dough. The lower layer pushed upward and the surface didn't have time to give.
A network of fine cracks across the whole surface — the dough dried out while proofing. The thin skin cracked like dried mud.
One sharp, deep crack on top — the oven was too hot. The crust set before the inside was done.
The strands have pulled apart and there's a hollow between them — the strands were braided too tight, or were uneven in thickness.
Little craters and holes around raisins and almonds — pieces were sticking out, burned, and tore the crust around them.
A crack at the end, where the strands meet — the ends weren't tucked properly under the loaf and sprang open in the oven.
Often several causes overlap at once. Start with the most common one — proofing.
Christmas bread cracks for seven reasons:
Under-proofed dough — the yeast finishes proofing in the oven instead of beforehand.
A dried-out surface — the dry skin formed during proofing won't stretch in the oven.
An oven that's too hot — the crust sets before the loaf has finished rising.
Under-developed dough — weak gluten tears instead of stretching.
Strands braided too tight — surface tension has nowhere to release in the oven.
Raisins and almonds sticking out — they burn, dry out, and tear the crust around them.
Proofing rushed with heat — the dough only warms through on the outside and looks risen when it isn't.
Each one is broken down below: how to spot it and exactly what to do about it.
Under-proofed dough is cause number one. Yeast that didn't get its due time in the bowl or on the tray takes it in the oven instead — and by then the surface has no chance.
Christmas bread proofs more slowly than plain bread, because sugar, salt and fat all hold the yeast back. Plan for 45–90 minutes of final proofing on the tray, not twenty. But time is only a rough guide — the dough itself decides.
Use the finger-poke test: with a floured finger, gently press the side of the loaf about a centimetre deep.
The dent springs back instantly → not ready yet, give it another 15–20 minutes.
The dent springs back slowly, about halfway → time to bake.
The dent stays and the surface sinks slightly → over-proofed, bake it right away.
Visually, the loaf should look puffed up like a pillow, noticeably taller and wider, and give a slight wobble when you move the tray.
When dough dries out while proofing, a thin dry skin forms on the surface that won't stretch in the oven and cracks instead. It's the second most common cause — and the sneakiest, because you can barely see it happening: a braided loaf sitting on the tray for three quarters of an hour in open air quietly grows that skin.
The dough must not dry out during proofing. In practice, that means:
Cover the loaf with a damp tea towel or plastic wrap — not a dry cloth, which actually draws moisture out.
Or let it proof in a switched-off oven with a bowl of hot water on the bottom.
Don't let it proof in a draught by a window or above a radiator — the surface dries out noticeably faster there.
Right before baking, the surface should look glossy and moist, not matte.
If you put the loaf into an oven blasting at 200°C, the surface sets within five minutes — while the inside still has twenty minutes of rising ahead of it, with nowhere left to go.
Bake the first 12–15 minutes at 180°C, then turn it down to 150–160°C to finish. 35–45 minutes total, depending on size.
Turn off the fan/convection setting. Moving air dries out the surface at exactly the moment it needs to stay pliable. Plain top-and-bottom heat is always better for Christmas bread.
Put a tray on the oven floor and pour in a cup of boiling water. Steam during the first ten minutes keeps the crust supple and lets the loaf finish rising.
Czech sources vary slightly on the exact numbers (you'll also see 190°C recommended, dropping later to 170°C), but the principle is the same everywhere: a short, hot start, then down.
A pliable surface comes from well-developed gluten. If you throw the dough together too quickly, the gluten network is short and tears when the dough expands instead of stretching.
Knead for at least 10 minutes in a stand mixer, or 15–20 minutes by hand. The dough should end up smooth, glossy, and no longer sticking to the sides of the bowl.
Reach for a higher-protein flour — plain white flour labelled as bread flour ("pekařská speciál") has stronger gluten than everyday plain flour. The type number refers to ash content, not protein, so a wholemeal-leaning plain flour won't strengthen the gluten.
Fold in the raisins and almonds right at the very end and only briefly. Add them earlier and they'll shred the gluten network you spent ten minutes building.
How to tell the gluten is ready: tear off a small piece of dough and slowly stretch it between your fingers. It should pull out into a thin, translucent membrane you can see light through, not tear right away. Flour, liquid and fat ratios are covered in detail in our article on yeasted dough and its basic ratios.
Christmas bread isn't a loaf of sandwich bread — it doesn't want a taut surface. If you roll the strands with force and pull them tight as you braid, you build tension into the surface that has nowhere to release in the oven.
Roll the strands without pressing down. If the dough resists and springs back, let it rest for two minutes and carry on — the gluten will relax on its own.
Braid loosely. The strands should just rest against each other, not squeeze together.
Firmly pinch the ends and tuck them under the loaf, or they'll spring open in the oven.
Make the strands an even thickness. A thinner strand bakes through sooner, sets, and starts pushing against its neighbours.
Anything poking out of the surface is a weak point. A raisin will burn in the oven, dry out, and tear the crust around it. A flaked almond will lift the surface and crack it open.
Soak the raisins for 20–30 minutes (in rum, tea, or just warm water), then pat them dry. A dry raisin also pulls moisture out of the dough around it.
While braiding, press any protruding pieces back into the dough, or just pick them out.
You can also tuck raisins between the layers of the braid rather than into the dough itself — then there's nothing exposed on top to burn.
Scatter flaked almonds only after you've brushed the loaf with egg and press them in gently.
Proofing in an oven heated to 40–50°C warms the dough only from the outside — inside, the yeast lags behind, and the loaf ends up finishing its proof in the oven instead, then cracks. Meanwhile it looks beautifully risen on the outside, which is exactly the trap anyone in a hurry falls into.
The ideal dough temperature after kneading is around 25–28°C, and it should proof at that same temperature.
If your kitchen is cold, use an oven warmed to no more than 30°C — the oven light left on is usually enough on its own.
Take your ingredients out of the fridge an hour ahead, warm the milk to around 35°C, and make sure the butter is soft, not melted. Cold butter in the dough means uneven proofing and uneven rise in the oven.
A slow rise also gives noticeably better flavour. Christmas bread just isn't something you can rush.
To keep Christmas bread from cracking, let it proof a second time for 45–90 minutes under a damp tea towel, then bake for 12–15 minutes at 180°C with steam, before finishing at 150–160°C until the internal temperature reaches 90–93°C. Here's the full method, step by step:
Mix and knead the dough for at least 10 minutes in a stand mixer. Stir in the soaked, dried raisins only at the end.
First proof in a covered bowl at 25–28°C, for 60–90 minutes, until the dough has doubled or tripled in size.
Braid it loosely and tuck the ends under the loaf.
Second proof, on the tray, for 45–90 minutes under a damp tea towel or plastic wrap. Check with the finger-poke test, not the clock.
Brush with beaten egg yolk mixed with a spoonful of milk, and do this twice — once before the second proof, and again just before baking. The double layer keeps the surface supple and gives the loaf a nice sheen.
Preheat the oven to 180°C with no fan/convection. Put a tray on the bottom and pour in a cup of boiling water.
After 12–15 minutes, turn the oven down to 150–160°C and remove the water tray.
Bake for a total of 35–45 minutes. Once the loaf has good colour, loosely tent it with foil so it doesn't burn before the inside is fully baked.
It's done when the internal temperature reaches 90–93°C at the centre. A probe thermometer is more reliable than a skewer for Christmas bread: with all that sugar, the surface browns long before the crumb is actually cooked through.
Let it cool on a wire rack, not on the baking tray. Otherwise steam gets trapped underneath and the bottom turns soggy.
You can rescue a cracked loaf with a dusting of icing sugar through a sieve, a thin lemon glaze, or flaked almonds scattered onto the hot, glazed surface — the crack has no effect on the taste. In order:
Dust it with icing sugar through a sieve. The quickest and most traditional fix — the sugar fills the crack and hides it.
Drizzle it with a thin lemon glaze (icing sugar with a few drops of lemon juice). It covers even deep cracks and adds a bit of flavour too.
Scatter flaked almonds or crushed nuts over the surface while it's still hot and glazed.
Slice across the crack, not along it. The slices will hold together better that way.
If it's completely split apart and you can't serve it as is, turn it into a bread pudding. Sweet enriched dough is the perfect base for it.
And if cracking keeps happening to you every single time, start with point 4 in the method above next time. Under-proofed dough is by far the most common reason Christmas bread cracks.
Bake your Christmas bread right at the end of your Christmas baking schedule, ideally the day before serving — unlike cookies, it depends on freshness and doesn't keep well ahead of time. Cookies, on the other hand, belong at the top of the list, since they only get better sitting in a tin.
If you're planning your whole Christmas baking schedule, our what-to-bake-when calendar is a handy guide. Storing Christmas cookies and freezing dough free up your time for exactly the things that can't be made ahead.
And if you want to practise your Christmas bread skills outside the season: mazanec is exactly the same enriched dough and cracks for exactly the same reasons. Our guide to a fluffy, crack-free mazanec applies word for word.
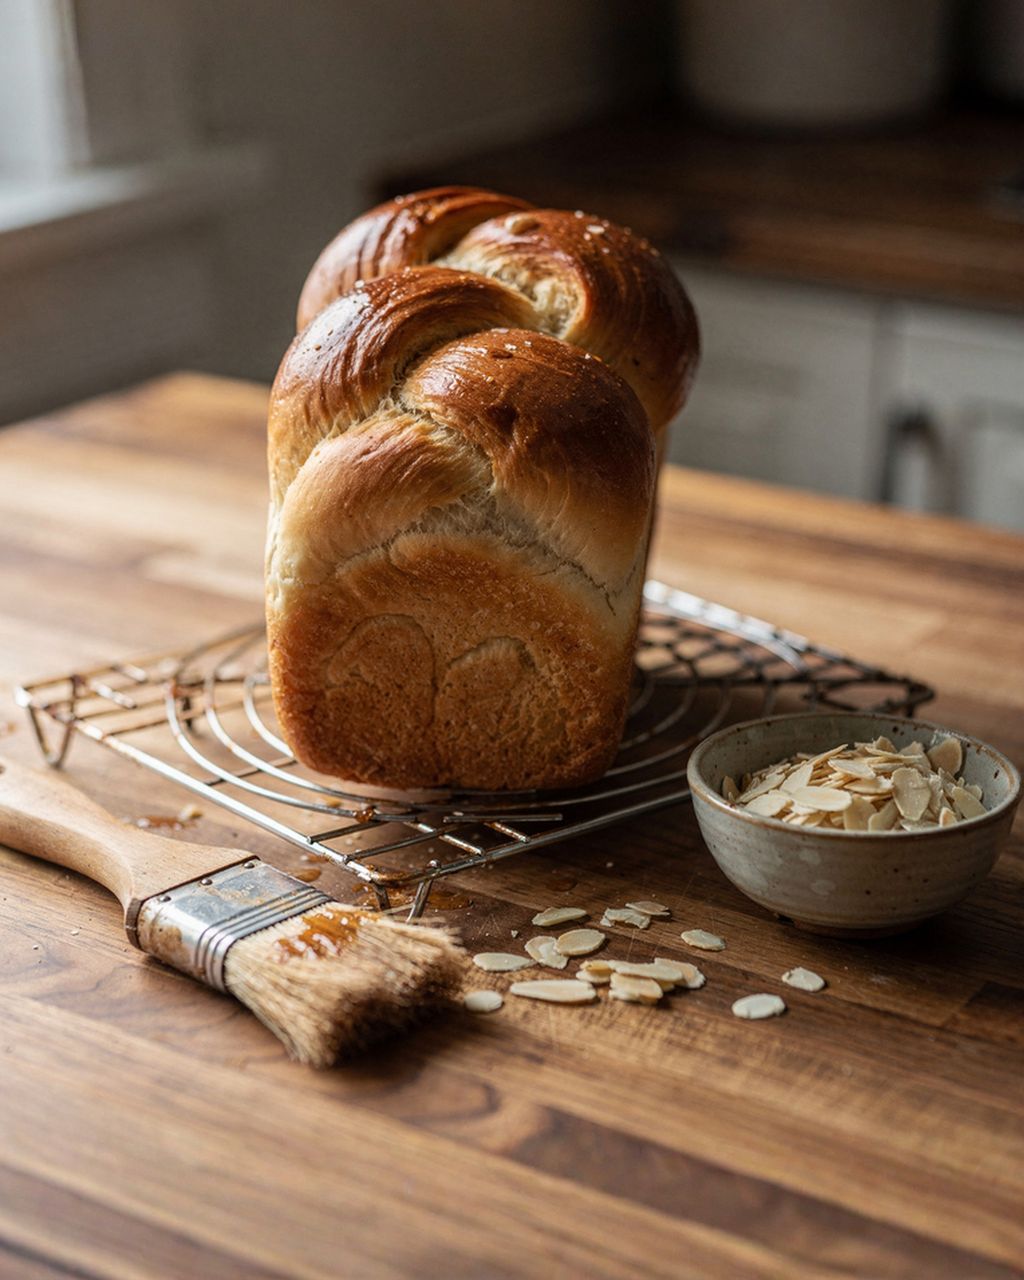
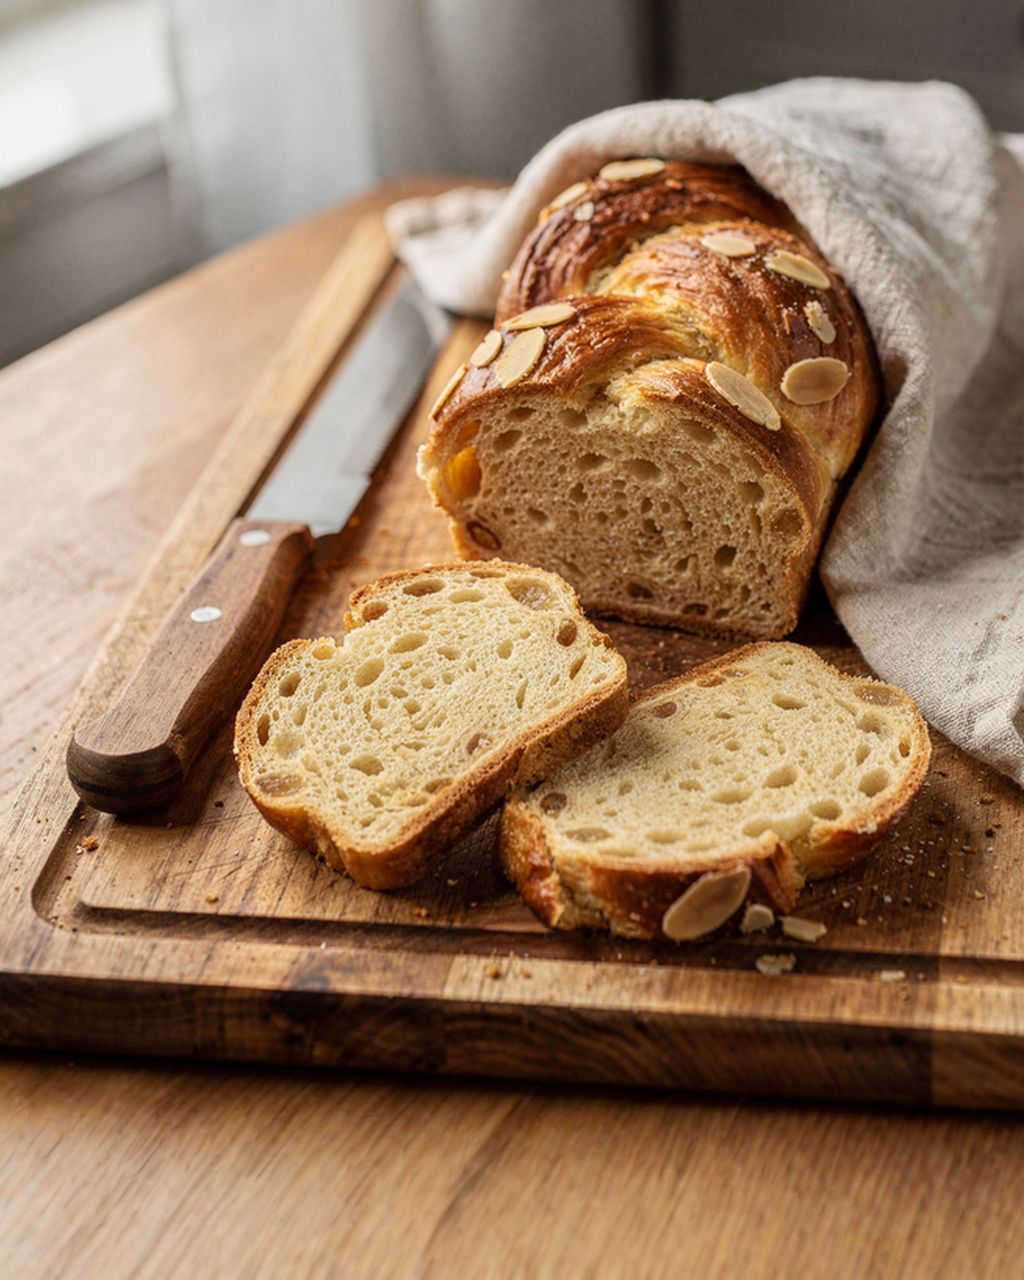
Easter classic: fragrant mazanec bread
Fragrant Easter mazanec: the same enriched dough as Christmas bread, and good practice outside the season
No — Christmas bread (vánočka) is traditionally never scored, unlike its Easter cousin mazanec, which gets a cross cut about 1 cm deep. In a braided loaf, the gaps between the strands do the job a score mark would: a loosely braided loaf has room to grow. Scoring would also ruin the braid pattern, which is the whole point of plaiting it in the first place. If it keeps cracking on you, fix the proofing and surface moisture — not the scoring.
A crack on just one side almost always means that side baked or proofed under different conditions than the rest of the loaf. Most often it's a hot spot in the oven — the side closer to the back wall or the grill element sets faster, and the surface there stops being able to give. Put the tray in the middle of the oven and after the first 15 minutes, once most of the rise is behind it, rotate the tray 180° — not before, or the loaf may collapse. The second common cause is uneven proofing: the side facing a window or a radiator dries out faster. And the third is uneven strand thickness — the thinner strand bakes through sooner and pushes against its neighbour.
Overnight proofing in the fridge doesn't cause cracking — if anything, it usually helps, since a slow, cold rise gives better flavour and texture. There's just one condition: the dough must be tightly covered so it doesn't dry out in the fridge's dry air. In the morning, let it come up to room temperature for 1–2 hours before you braid it and let it finish proofing. Cold dough that goes straight from the fridge into the oven almost always cracks.
Cracks that appear after the loaf comes out are caused by sudden cooling and escaping steam. The hot crumb contracts faster than the crust, and the crust splits. Let the loaf cool on a wire rack in a draught-free room, away from an open window or a cold countertop. It also helps to brush it with melted butter or sugar syrup right after baking — that keeps the surface softer.
Sourdough vánočka cracks for the same reasons, but it's even more sensitive to under-proofing. Wild yeast works more slowly than commercial yeast, and in a rich, sweet, buttery dough it slows down even further, so the final proof can take considerably longer than with yeast — sometimes several times as long. The clock is useless here — go purely by the finger-poke test and by how visibly the loaf has grown in size.
One recipe worth heating the oven for, one tip, and one deal from the shop. Nothing else.