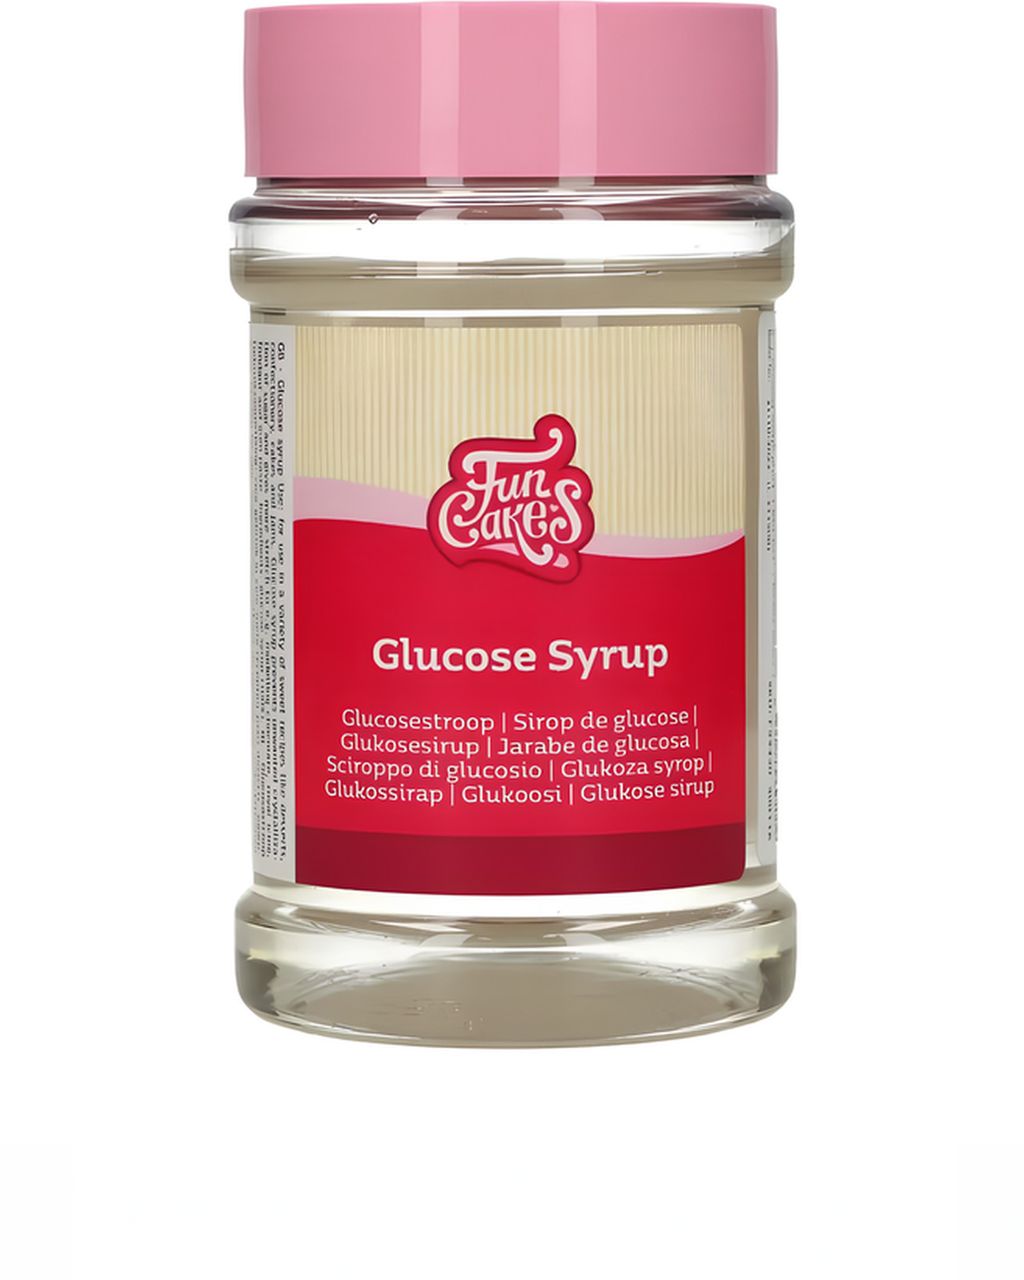
FunCakes Glucose Syrup (375 g)
Salted Caramel at Home: Sauce, Cake Filling and How to Use It
Updated Oct 8, 2026
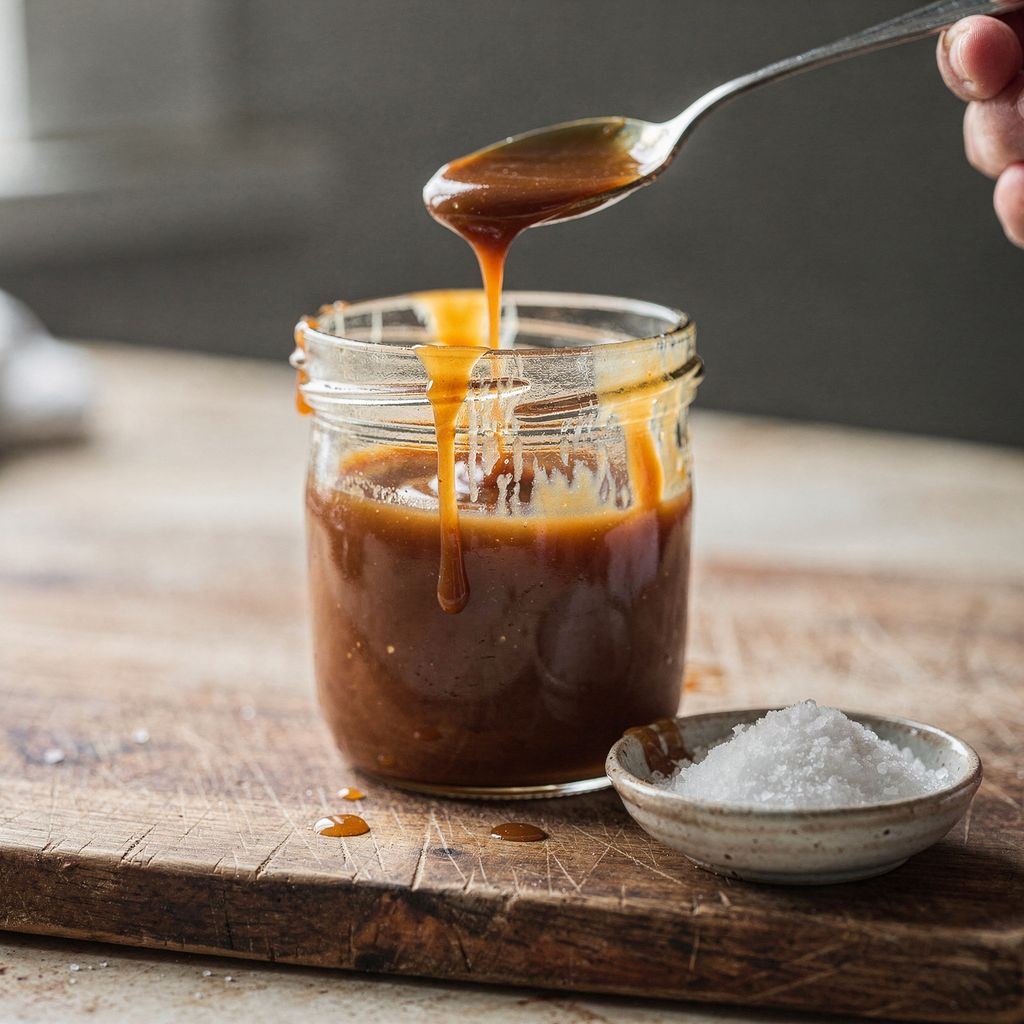
You can make salted caramel at home from sugar, cream, butter and salt in about 15 minutes, and turn that one base into three things: a sauce for ice cream and pancakes, a cake filling, and a glaze that drips down the sides. What matters is the ratio of cream to sugar (which sets the thickness), how much salt you add, and when you take the caramel off the heat. Here you'll find the ratios in grams, what glucose syrup actually does, how to turn the sauce into a filling, and how long caramel really keeps.
An all-purpose salted caramel sauce needs just four ingredients in a ratio of roughly 10 : 6 : 3 sugar : cream : butter, plus salt to taste. That makes about 350 g of sauce:
200 g granulated sugar
120 g whipping cream (30–33% fat), warmed (not boiling)
60 g butter (82% fat), cubed
4–6 g flaky salt (about 1 teaspoon)
The ratio is your lever for thickness: more cream (150–180 g) gives a runnier sauce for ice cream, while less cream (90–100 g) gives a thicker caramel for cake fillings and drips. You'll find the full tested step-by-step method in our 4-ingredient homemade caramel sauce recipe. Just add a bit more salt at the end for the salted version.
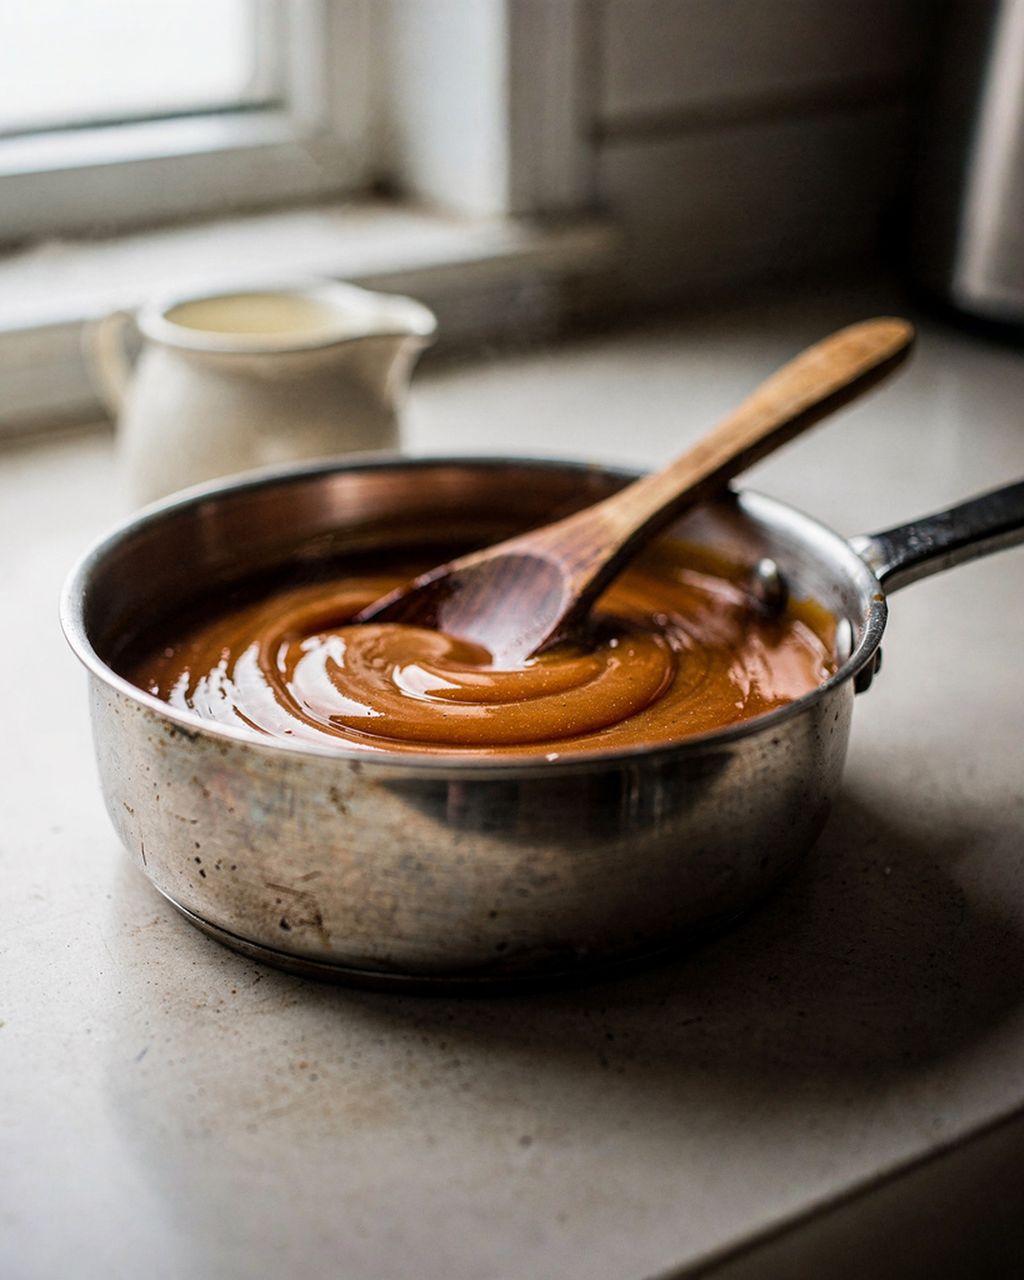
Melt the sugar to an amber colour, take it off the heat, stir in the warm cream, then the butter, and finally the salt. The whole process takes 10–15 minutes:
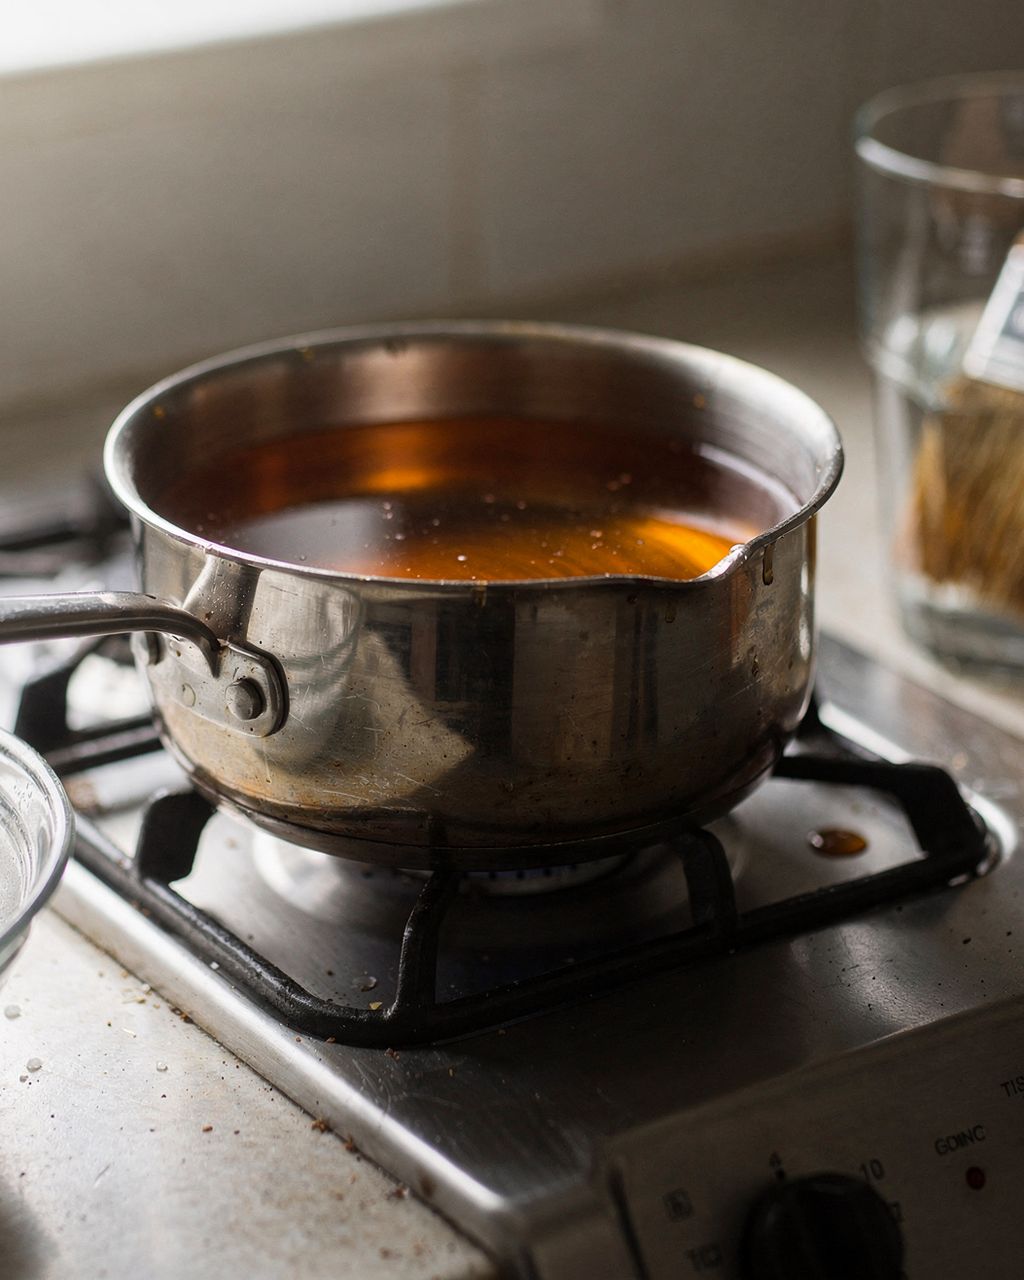
Sugar: melt it in a heavy-bottomed pot over medium heat, either dry or with 50 ml of water. Don't stir with a spoon — just swirl the pot gently.
Colour: take it off the heat once it's amber, like dark honey (around 170–180°C/340–355°F). Pale caramel tastes merely sweet, while dark brown turns bitter. We cover how to spot the right moment and why caramel turns bitter in how to make caramel from sugar without it turning bitter.
Cream: pour it in warm, in three additions, stirring constantly. The caramel will bubble up violently and spatter, so use a long whisk and a pot at least three times the volume of the sugar. Cold cream will cause part of the caramel to seize into a lump — don't worry, it'll melt back down over low heat in a minute or two.
Butter: stir it in piece by piece until the sauce is glossy and smooth.
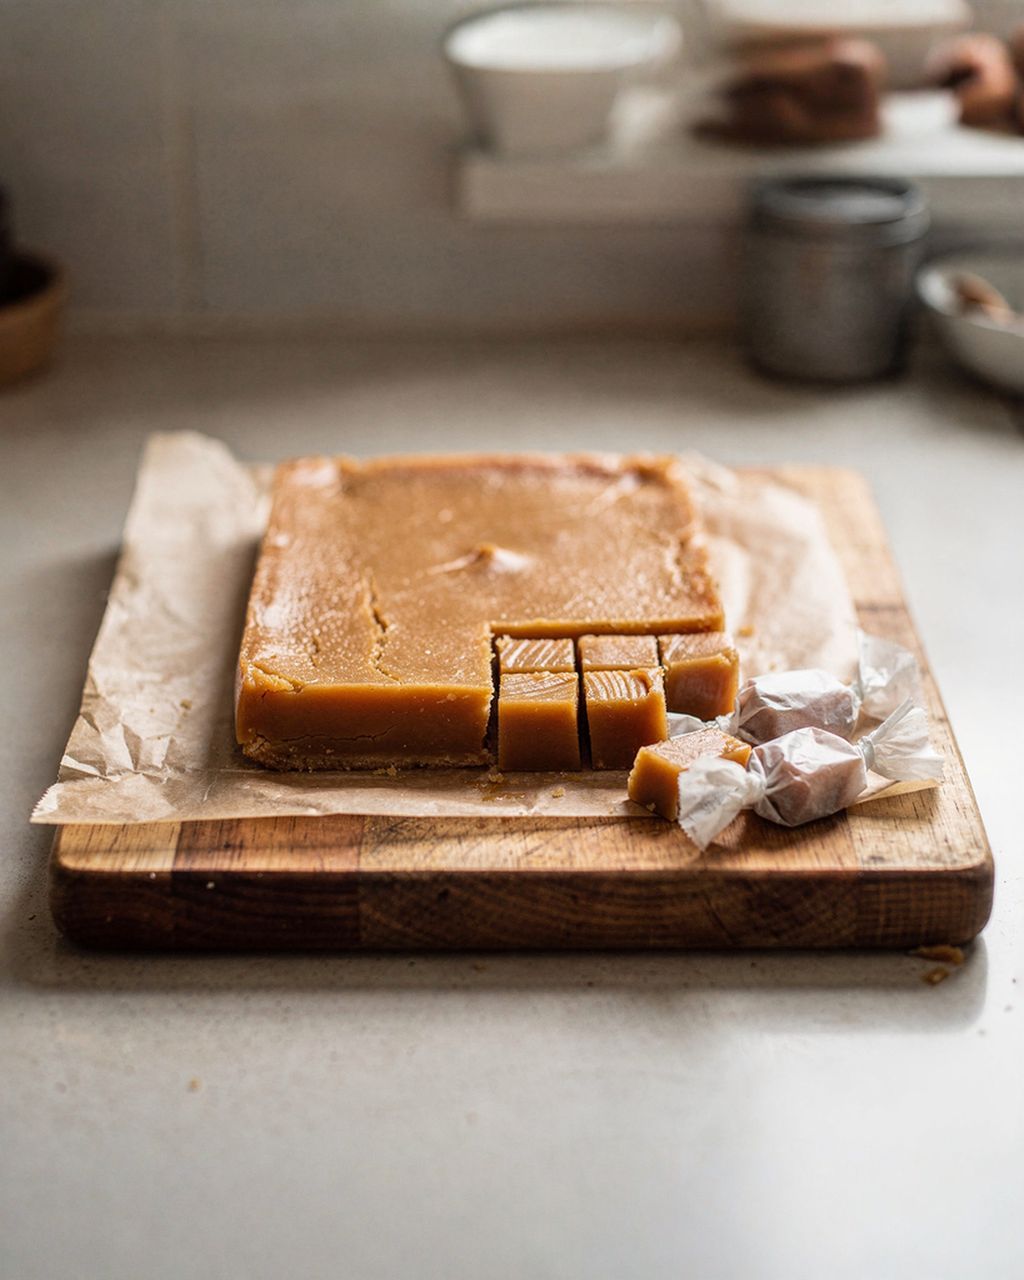
Thickness: for a thicker caramel, simmer it for another 1–2 minutes. With a thermometer, aim for around 105–108°C (221–226°F). Around 115–120°C (239–248°F) you're heading into soft caramel candy territory — that's covered in homemade caramels: how to cook and cut them.
Salt: add it only at the end, taste, and adjust.
The sauce looks thin while warm but thickens noticeably as it cools. Judge the thickness on a spoonful chilled on a plate in the freezer, not straight from the pot.
If your caramel turns grainy and pale, that's not a fault in the cream — it's sugar crystallising. You'll find the causes and the fix in why caramel crystallises and how to rescue grainy caramel.
Start with 2–3 g of salt per 100 g of sugar and adjust to taste. Salted caramel should taste distinctly salty, not just "slightly less sweet".
Flaky salt (fleur de sel, Maldon) is the best choice. It dissolves more slowly and sometimes gives a pleasant crunch in the finished caramel.
Fine table salt works too, but it's "stronger" by the teaspoon since more crystals fit in. Use about a third less.
Salted butter (around 1.5–2% salt) is a handy shortcut. In that case, add extra salt only after tasting.
If the caramel is going into a cream filling, lean towards more salt. The cream dilutes it, and what tastes just right in the sauce can taste flat once it's inside a cake.
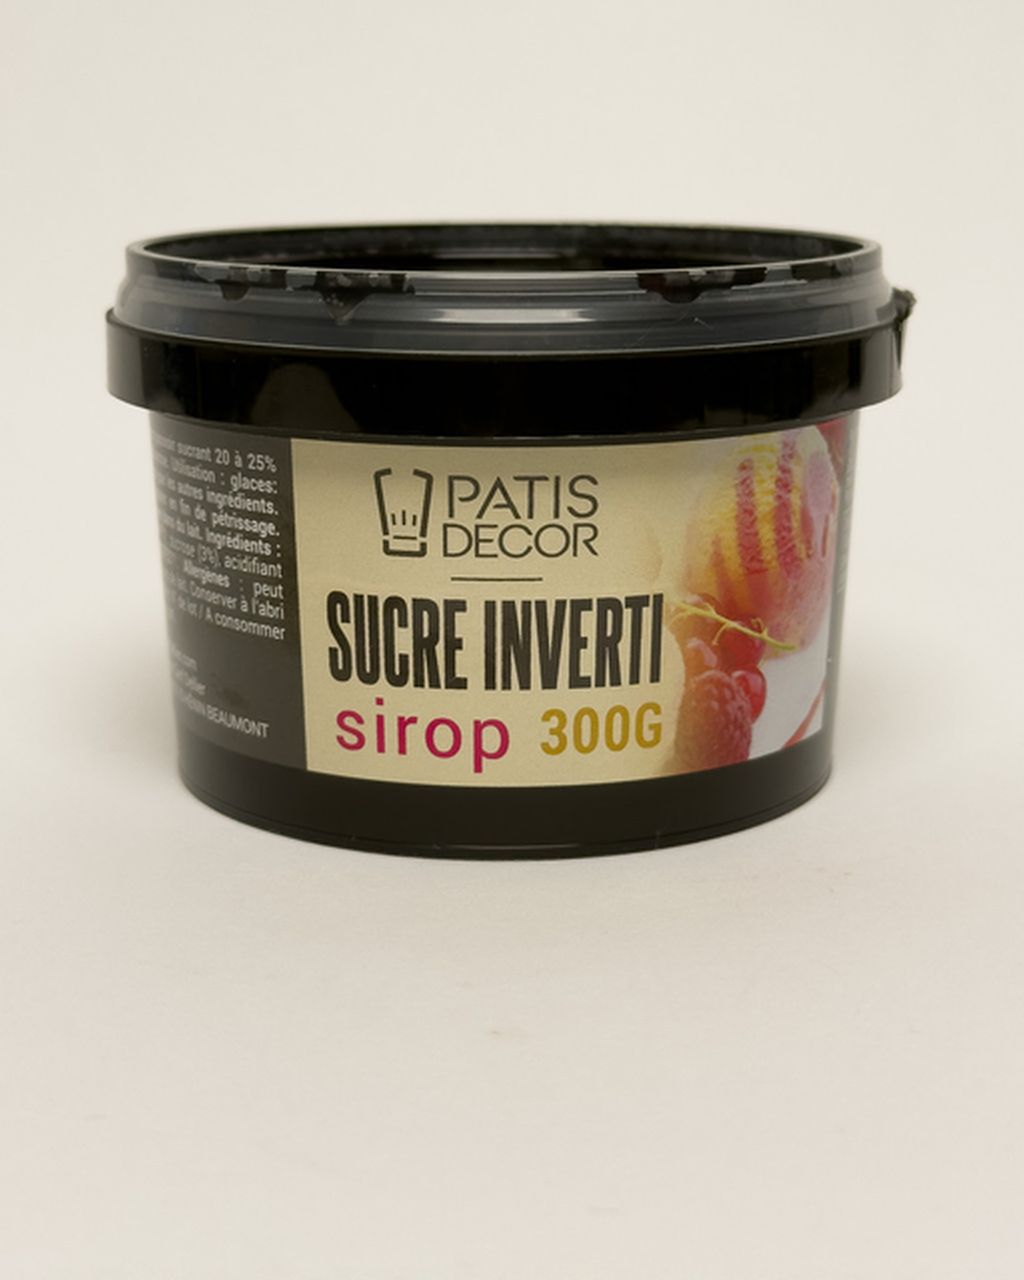
Glucose syrup stops the sugar from crystallising, so the caramel stays smooth even after a few days in the fridge and repeated reheating. You can replace it with invert sugar, corn syrup, honey, or, in a pinch, a few drops of lemon juice.
For 200 g of sugar, 30–40 g of glucose syrup is enough, added at the start along with the sugar. It's a safeguard, not a requirement: the sauce can be made without it, but it's then more sensitive to stirring and to crystals building up on the sides of the pot.
An honest comparison of the options:
Glucose syrup is the most reliable and has a neutral flavour. You'll find it alongside other sugars for caramel-making in our sugars and syrups for baking category.
Invert sugar works similarly and also helps keep things soft. Handy if you already have it for ice cream or baking.
Corn syrup, as used in American recipes, is essentially the same as glucose syrup. It's not commonly sold here, nor do we stock it — glucose syrup replaces it 1:1.
Honey also prevents crystallisation, but it brings its own flavour and makes the caramel darken faster.
A few drops of lemon juice can help in a pinch. The acid breaks down some of the sugar, but the effect is weaker and harder to control.
Caramel cream is made by folding cooled, thick caramel sauce into a finished cream, in a ratio of roughly 1 part caramel to 3 parts cream. More caramel than that will soften the cream too much and it won't hold its shape.
Two tried-and-tested bases:
Mascarpone with cream: 250 g mascarpone, 200 g cream (33%) and 120–150 g caramel. Whip until stiff, then fold in the caramel at the end. A light cream, good for filling and coating, that holds up well in the fridge.
Buttercream: fold 100 g of caramel, a spoonful at a time, into 300 g of whipped buttercream. The caramel needs to be the same temperature as the cream (around 20°C/68°F), otherwise the cream will curdle or go runny. For tips on avoiding a greasy texture, see how to whip buttercream so it isn't greasy.
You'll find a full tested method in our salted caramel cream recipe – great for more than just macarons.
To keep salted caramel as a distinct layer inside a cake, use a buttercream dam: pipe a ring of cream about 1 cm high around the edge of the cake layer, then pour the caramel inside, no more than 3–4 mm deep. Use a thicker version (less cream) and pour it in lukewarm, not hot. The full method is in buttercream dam: how to fill a cake without the filling leaking out.
For a caramel drip (running down the sides), chill the cake in the fridge first and let the caramel cool to around 30–35°C (86–95°F). Too warm and it'll run straight down to the plate; too cold and it'll sit in blobs at the top. Test with one drop on the back of the cake first.
Salted caramel works beautifully in chocolate tarts, cheesecakes, cookies, macarons, pancakes and ice cream. We have tested recipes for all of these desserts:
In tarts: chocolate tart with salted caramel and crisp salted caramel and chocolate tartlets. A thicker caramel works best here, as it holds its shape when sliced once chilled.
On cheesecake: salted caramel and peanut cheesecake. For more topping ideas, see what to decorate a cheesecake with.
In cookies: linzer cookies filled with salted caramel and salted caramel macarons. For sandwich-style cookies, keep the caramel thick, otherwise the halves will slide apart.
In cakes: caramel cake, both as a filling layer and for the drip.
For breakfast: pumpkin pancakes with salted caramel, using a thinner, gently warmed sauce.
In ice cream: salted caramel ice cream.
In pralines: caramel as a filling needs a different ratio and has a shorter shelf life. The ratios are covered in praline fillings: ganache, caramel and fruit pastes.
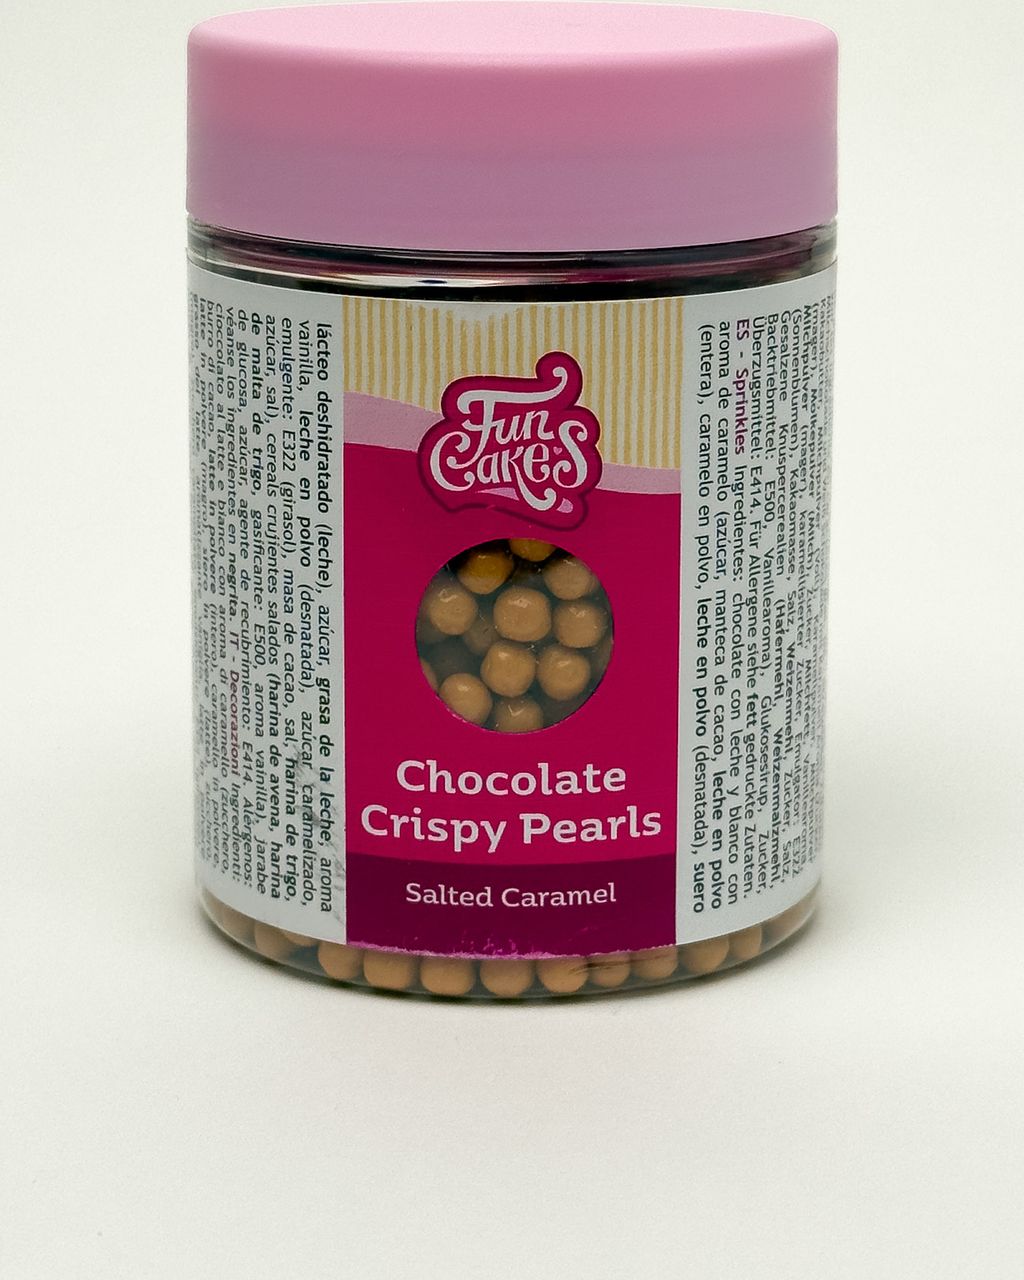
A crunchy finishing touch: caramel sauce is soft, so it lacks contrast. Crunchy pearls sprinkled over a drip or on top of cream add that, and you'll find them among our sugars and syrups for baking. Add them just before serving, as they'll soften within a few hours in moist cream. For how to prevent that, see crunchy pearls: how to use them on cakes and cookies without them going soft.
Homemade salted caramel wins on flavour and lets you control the thickness and saltiness yourself. Store-bought saves time, and dulce de leche is a completely different flavour altogether. A quick comparison:
Homemade salted caramel has a bold, slightly bitter edge, since you control the thickness, salt and colour yourself. On the downside, it takes 15 minutes at the stove and only keeps for a few days (see below).
Store-bought caramel sauce (available in shops, though we don't sell it) is convenient and, thanks to preservation, keeps longer. It tends to be sweeter, thinner, and contains thickeners, though, and doesn't work as well in creams since it won't set properly.
Dulce de leche is made by slow-cooking sweetened condensed milk. It tastes milky and sweet, without the slightly bitter note of true caramel. It's lovely in a cream filling, but it won't substitute for salted caramel.
Butterscotch is made from brown sugar and butter and has a more molasses-like, buttery flavour. If that appeals to you, try our simple homemade butterscotch sauce.
Homemade salted caramel made with cream belongs in the fridge, and according to USDA/FSIS guidance should be used within 3–4 days. This is the timeframe the agency gives for cooked dishes and leftovers stored in the fridge at 4°C (40°F) or below.
Room temperature: per USDA/FSIS, cooked food shouldn't sit at room temperature for more than 2 hours. Let the caramel cool, then transfer it to the fridge in a clean, sealed jar within 2 hours of cooking.
Fridge (below 4°C/40°F): 3–4 days according to USDA/FSIS leftover food guidelines. Recipe sites often claim two weeks or more, but no official source backs that up, so don't rely on it.
Freezer: per USDA/FSIS, cooked foods can be frozen for 3–4 months. Longer storage is safe but quality will decline. Thaw in the fridge.
Cream and cake with salted caramel: keep refrigerated. For pies with cream or custard fillings, FoodSafety.gov recommends 3–4 days in the fridge; treat a cake with the same care.
Glucose syrup, invert sugar and crunchy pearls as pantry ingredients should be stored according to the date and manufacturer's instructions on the packaging.
If the chilled caramel has firmed up, warm it for 15–20 seconds in the microwave or in a water bath, stirring partway through.
Full-fat coconut milk (the canned kind, not the drinking kind) is the best swap for cream in salted caramel, used in the same amount. The result is only lightly coconutty. If you use a plant-based spread (margarine) instead of butter, you get a vegan version — just pick a margarine without milk fat. Milk doesn't work well in place of cream: it's too low in fat, so the sauce turns out thin and curdles more easily.
Yes, salted caramel can be made with cane sugar, it's just harder to tell when to take it off the heat. Cane sugar is already brown from the start, so colour won't tell you how far along the caramelisation is. Go by smell instead (as soon as it smells sharp and slightly bitter, take it off) or use a thermometer. The flavour will lean more towards molasses, closer to butterscotch. For a cleaner salted caramel flavour, white granulated sugar is the safer choice.
Salted caramel turns hard when there isn't enough cream in it, or when it's simmered too long after the cream is added and too much water evaporates. The fix is easy: warm it gently over low heat with 1–2 tablespoons of cream, stirring until smooth. Next time, simmer it for a shorter time after adding the cream.
Salted caramel splits when the fat-and-water emulsion breaks down, most often from a sudden blast of heat or from simmering too long after the butter goes in. You can rescue it off the heat: add a tablespoon of hot cream or water and whisk vigorously, or blitz it briefly with a stick blender until the fat re-emulsifies. Next time, stir in the butter off the heat, in pieces, and don't simmer the caramel hard afterwards.
Yes, you can happily make salted caramel for a cake a day or two in advance and keep it in the fridge in a sealed jar. Before using it, let it come up to room temperature (for a cream filling) or warm it gently to 30–35°C/86–95°F (for a drip). Keep in mind that the USDA/FSIS 3–4 day fridge window starts from when it was cooked, not from when the cake was assembled.
One recipe worth heating the oven for, one tip, and one deal from the shop. Nothing else.