JEM Decorating Tip – Round #12 (Lettering, Dots, Pearls)
Piped Animal Cupcakes: Sheep, Bear and Kitten Step by Step
Updated Oct 15, 2026
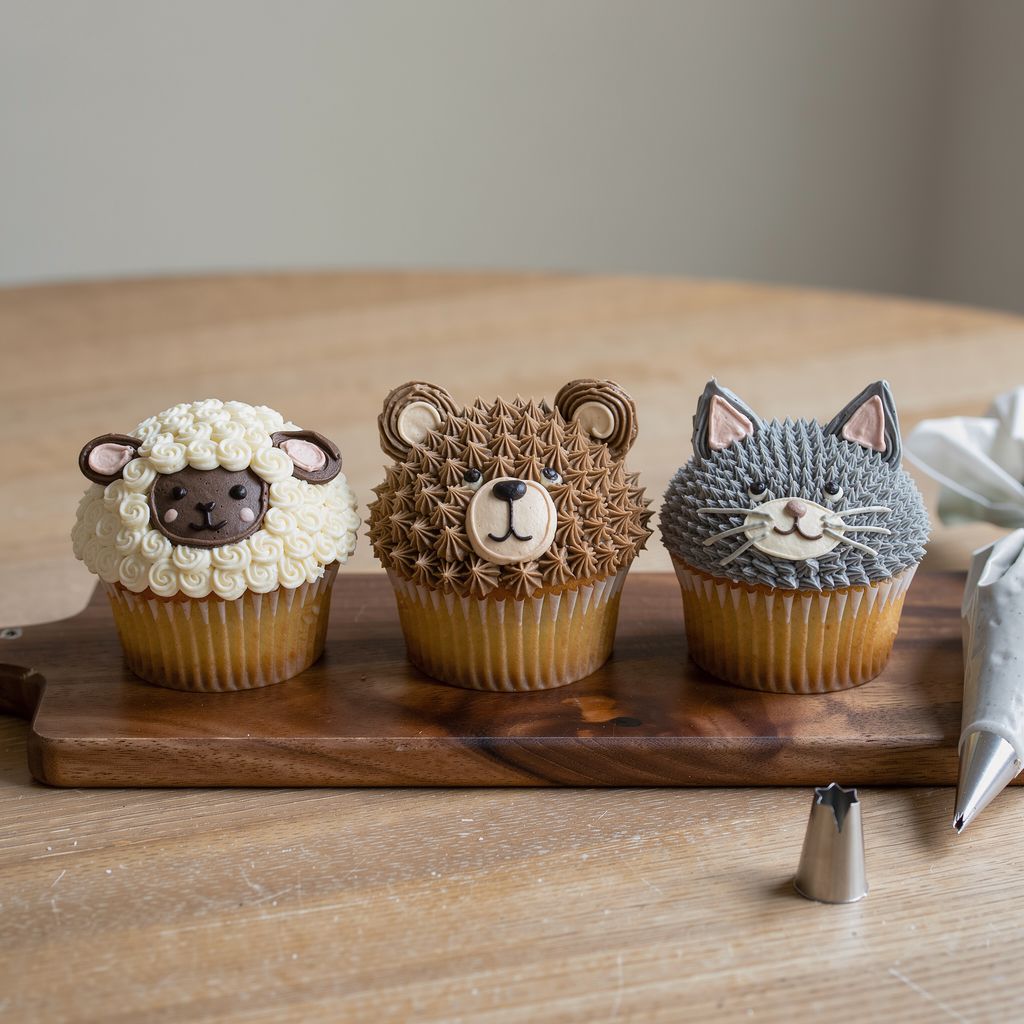
You can pipe animal cupcakes with just two main tips and one thin one for the details. Pipe the sheep from white dots with a round tip, the bear and kitten from tiny stars with an open star tip, then add eyes, noses and whiskers with a writing tip. What matters is the consistency of your frosting and the order of the steps, not artistic talent. Here's how to make all three animals, how much frosting and color to plan for, and what to do when your frosting starts to go soft.
For all three animals, you need just one firm frosting, three piping tips and two to three gel colors:
A frosting that holds its shape — buttercream or Swiss meringue buttercream, not whipped cream. Plan on 40–50 g of frosting per cupcake, so roughly 550–600 g for 12.
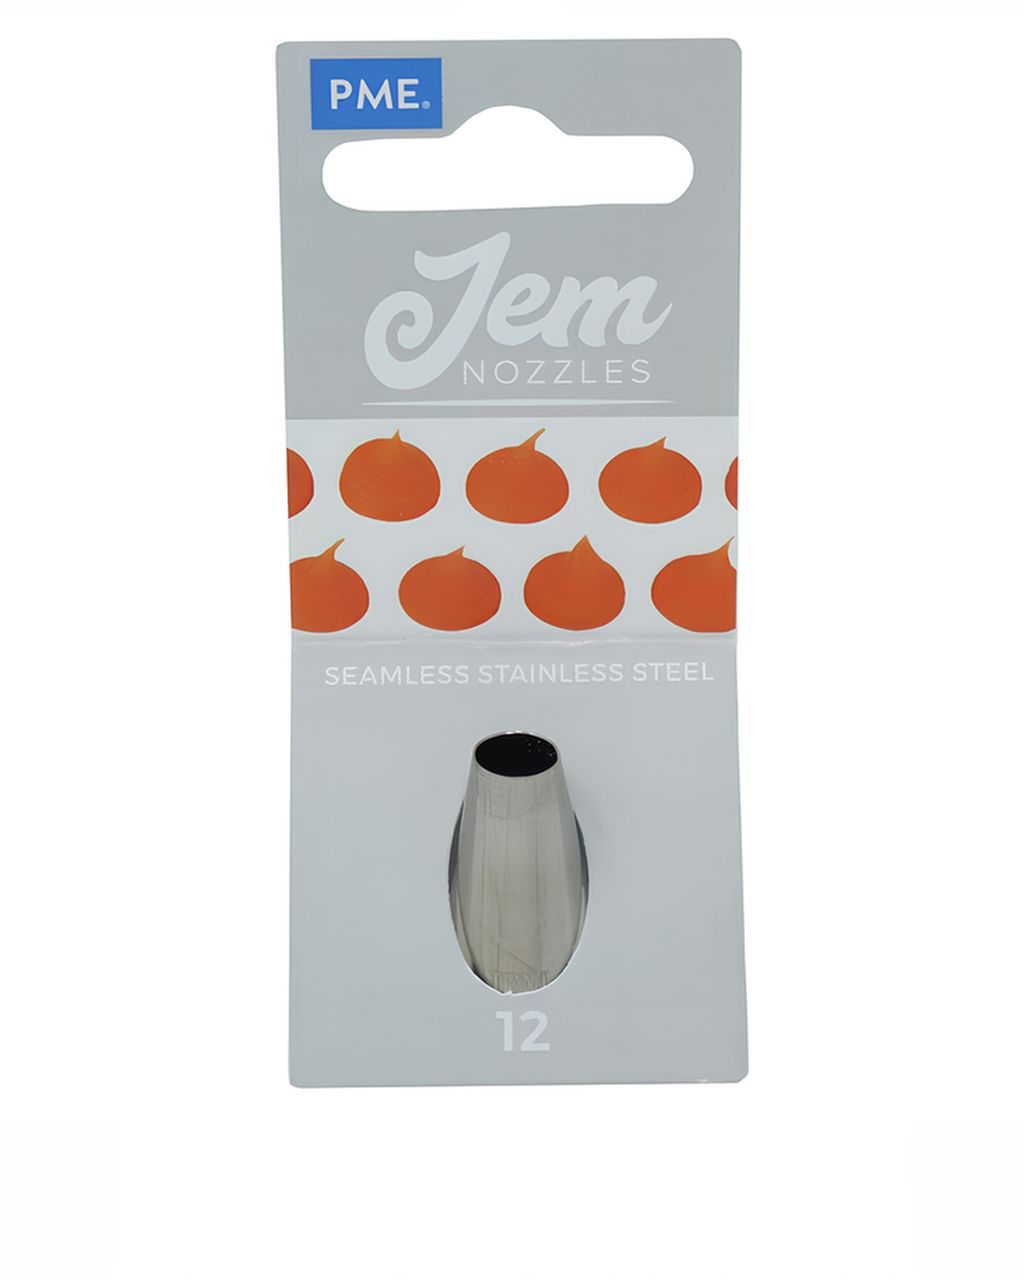
JEM #12 round tip — for the wool dots, ears and muzzle.
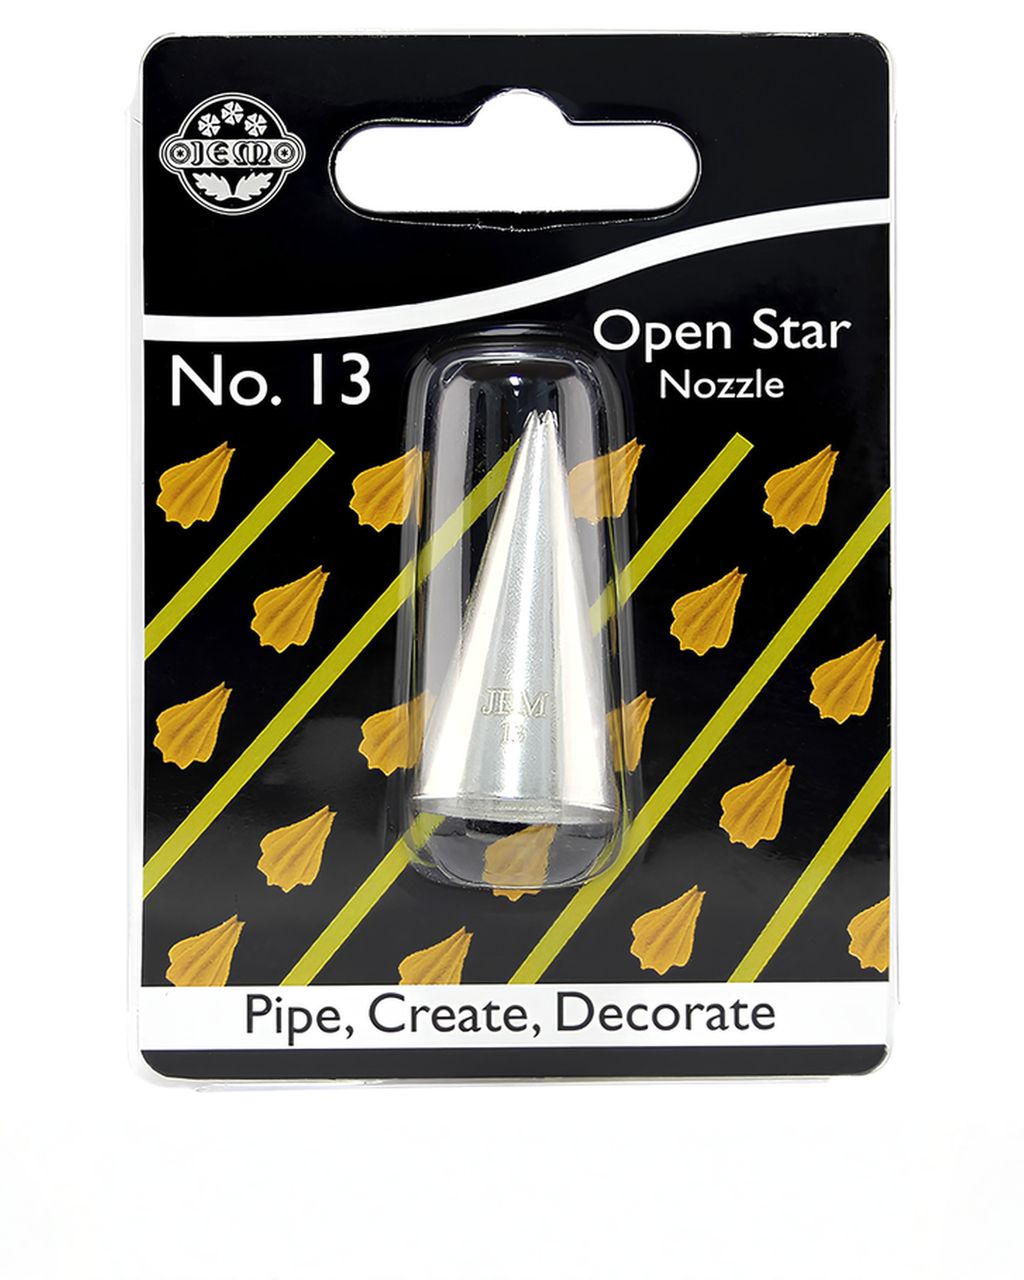
JEM #13 open star tip (small) — for the tiny stars that make the bear's and kitten's fur.
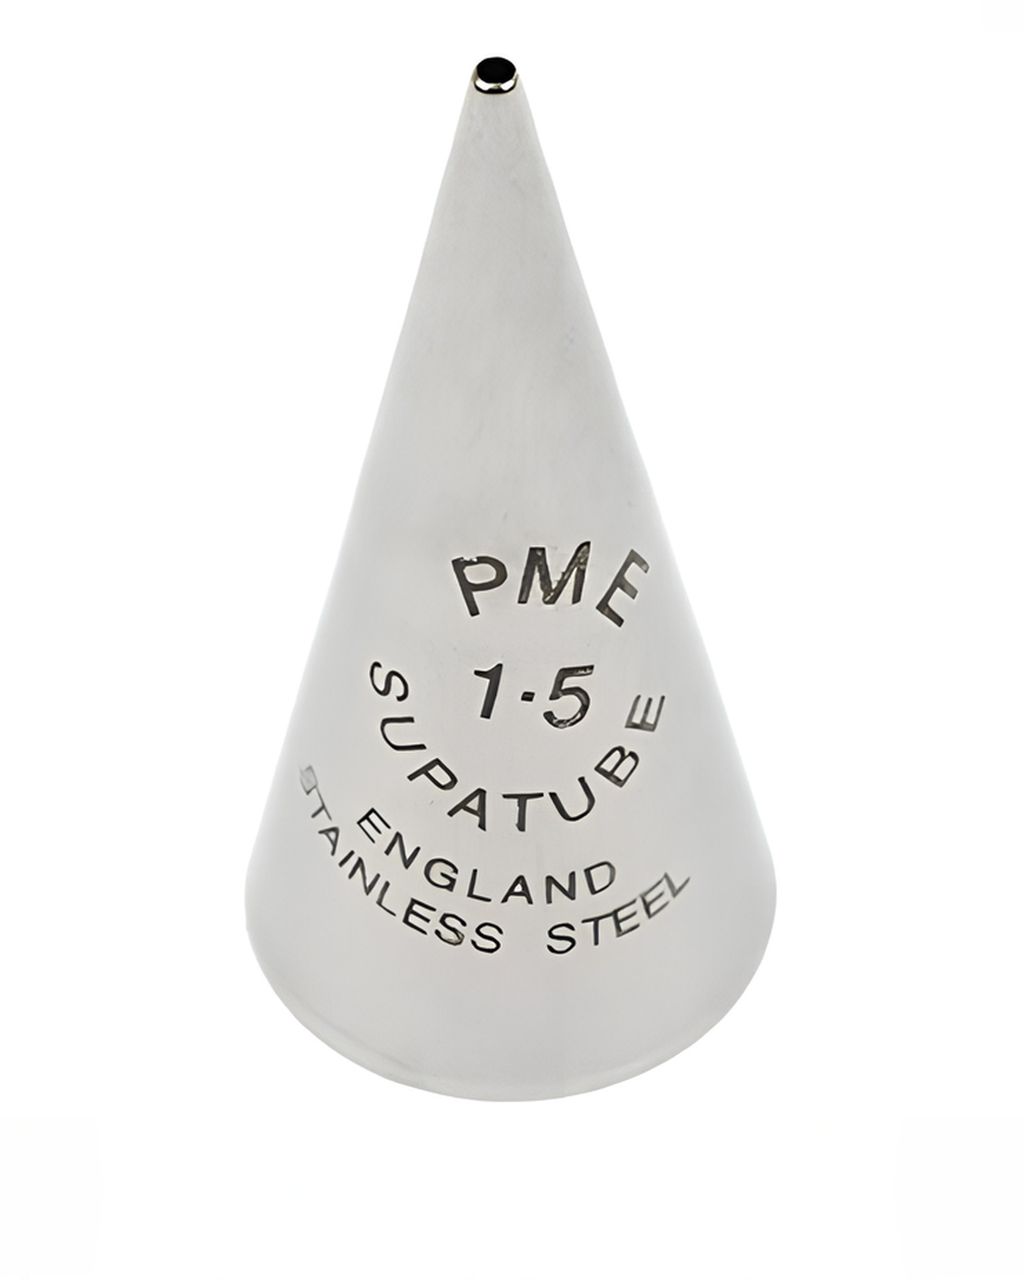
PME Supatube 1.5 writing tip — for eyes, nose, mouth and whiskers. It's seamless, so a thin line doesn't wobble or tear.
Gel colors — black for the details, plus brown (from cocoa), gray or orange depending on the animal.
Piping bags, one for each color, and cupcakes with flat tops.
Which frosting holds up best and how to make it is covered in our article on cupcake frosting that holds its shape. To learn how to bake cupcakes that don't dome over the liner, see the guide to flat-top cupcakes — an animal is much easier to build on a flat surface.
Frosting for animals should be stiffer than for a regular rosette: the peak from the tip has to stand up and not bend over. Soft frosting will melt the sheep's wool into a single blob, and the bear's stars will lose their ridges.
Test: pipe one star with the #13 tip onto a plate. If it still has sharp edges after a minute, the frosting is just right.
Too soft? Put the bowl in the fridge for 10–15 minutes and give it a quick stir. For buttercream, an extra spoonful of powdered sugar helps too.
Too stiff and tearing? Stir in a teaspoon of milk, or warm the side of the bowl briefly with your palms.
Kitchen temperature should ideally be under 22 °C (72 °F). Warm hands on the bag gradually soften the frosting, so keep only as much frosting in the bag as you can use within a few minutes, and leave the rest somewhere cool.
For details with the 1.5 tip, it helps to loosen the frosting a touch (a few drops of milk) so it slips through the tiny opening without pushing hard. Frosting that's too stiff will clog the thin tip and then shoot out in a blob.
Start black frosting from a chocolate base, not a white one, and let it rest for a few hours — the color darkens on its own. White frosting turns gray first, and you'd keep adding color until the frosting tasted bitter.
Brown (bear): mix 20–30 g of good-quality cocoa and 1–2 tablespoons of milk into 300 g of frosting so it doesn't thicken. You don't need any coloring.
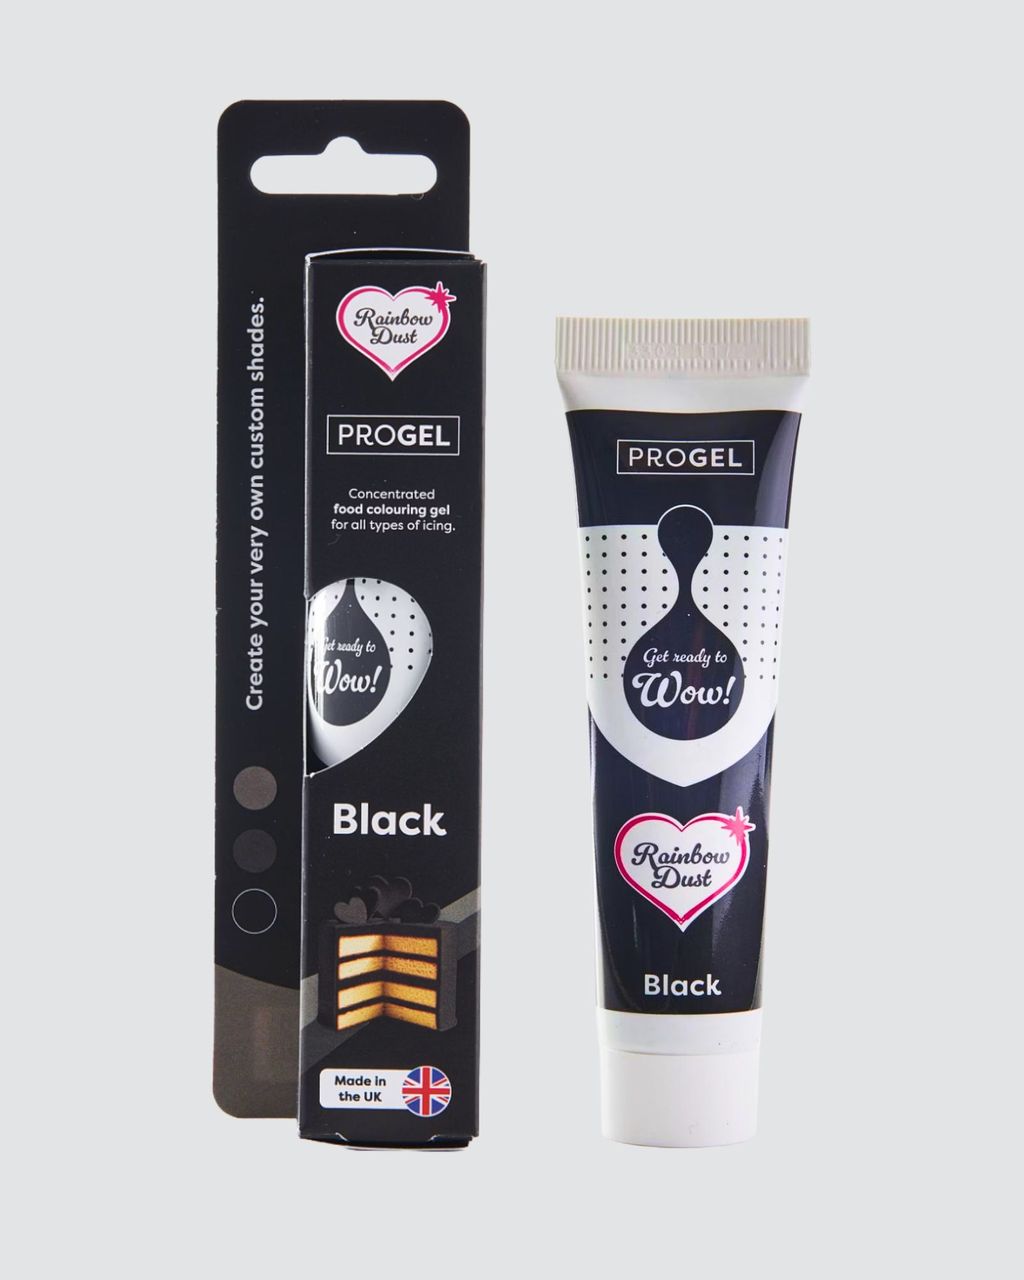
Black (eyes, nose, whiskers): you need only a little, 80–100 g of frosting for 12 cupcakes. Take cocoa frosting and add ProGel Black gel color a toothpick tip at a time. Rainbow Dust says that a concentrated gel color on a chocolate base gives a deep black with the least amount of coloring.
Resting: cover the bowl and leave it for 2–3 hours (overnight is fine) at room temperature. Dark gray deepens to black in the meantime as the color dissolves into the fat.
Gray (kitten): add just a toothpick tip of black to white frosting. Gray also darkens, so stop one shade lighter than you want.
Orange (kitten): yellow with a drop of strawberry, meaning ProGel Yellow and ProGel Strawberry.
We're preparing a detailed chart of how much color gives which shade in our article on how to mix frosting colors.
The sheep is the easiest animal: white dots piped with a round #12 tip all over the top, and a dark face in the middle. Even a child can do it.
Base: spread a thin layer of white frosting over the top of the cupcake so the dots have something to stick to and the cake doesn't show through between them.
Face: with black (or cocoa) frosting and the #12 tip, pipe an elongated teardrop from the center toward one edge: start pressing at the edge and ease off as you move toward the center. You get an oval roughly 3 × 2 cm.
Wool: around the face and over the rest of the top, pipe dense dots right next to each other with the #12 tip. Hold the tip upright just above the surface, squeeze, stop pressing, and only then lift. Make the dots above the forehead a bit taller to give the sheep bangs.
Ears: on each side of the face, pull a short teardrop out sideways with the #12 tip.
Eyes: with the 1.5 tip, pipe two white dots with a black dot in the middle, or just two white dots right on the dark face.
For curlier wool, pipe tiny spirals instead of dots (short loops, like writing an "e"). A common alternative is mini marshmallows stuck into the frosting: it's quick, but the wool turns rubbery and very sweet. Frosting tastes better.
The bear is made from brown stars piped with the open #13 star tip, covering the whole top, and a light muzzle piped with the round #12 tip. Cocoa frosting is brown by itself and tastes like chocolate.
Muzzle first: with light (white or beige) frosting and the #12 tip, pipe a flat mound about 2 cm across in the middle of the lower half. If you do it first, the fur settles around it beautifully.
Fur: with brown frosting and the #13 tip, cover the rest of the top with tiny stars. Hold the tip upright just above the surface, squeeze briefly and pull away quickly. Pipe the stars densely, with no gaps — the smaller and closer together, the more it looks like a fur coat.
Ears: at the top edge, pipe two large brown dots with the #12 tip. Press a smaller light dot or a drop of pink frosting into each.
Face: with the 1.5 tip and black frosting, make a nose on the muzzle (a small triangle or a fat dot), a vertical line beneath it and a "w"-shaped mouth. The eyes are two black dots above the muzzle.
The cake can be chocolate if you like — for example from the recipe for chocolate cupcakes with caramel frosting. Just use cocoa frosting for the fur instead of the caramel frosting.
An alternative we don't go for: a grass tip (such as #233) with lots of holes makes shaggy fur in one squeeze. It's quicker for large areas, but on a small cupcake the fur easily creeps over the ears and muzzle. The stars from the #13 tip are slower, but you have better control over where the fur ends.
You recognize the kitten by two things: pointed ears and whiskers — they turn a round face into a cat. Pipe the fur with #13 stars as for the bear, or leave the top smooth.
Fur: cover the top with #13 stars in gray or orange frosting. For a smooth kitten, just smooth the frosting into a mound with a knife.
Ears: at the top edge, pipe two stars with the #13 tip, but this time don't pull away right away: press and slowly pull up and slightly outward, then release the pressure and pull away. You get a point about 1.5 cm tall. If an ear bends, put the cupcake in the fridge for 10 minutes and try again with stiffer frosting.
Muzzle: with the #12 tip, pipe two small white dots side by side, close together.
Nose: above them, with the 1.5 tip and pink frosting, pipe a small triangle.
Whiskers: with black frosting and the 1.5 tip, pipe three little lines on each side of the muzzle. Start at the muzzle, touch the frosting and pull outward, holding the tip slightly above the surface so the line lies flat and doesn't wobble. At the end, stop pressing and pull away.
Eyes: two black dots, or closed eyes as two tiny arcs — they make the cat look contentedly asleep.
Whiskers are the trickiest part of this whole article. Before you start, practice them five times on parchment paper, even if you feel you don't need to.
Most often heat is to blame: the frosting softens in the bag from your hands or in a warm kitchen, and the details melt together. Other problems are rarer.
Dots and stars run together — the frosting is too soft. Put the bag in the fridge for 10 minutes and swap it for a cold one.
Stars are round instead of having ridged edges — there's old frosting stuck in the tip, or the frosting is too warm. Rinse the tip and chill the frosting.
The thin line tears — the frosting for details is too stiff or has sugar lumps in it. Loosen it with a few drops of milk and push it through a sieve.
Black bleeds into white — you piped the details onto a fresh, soft base. Decorate the body, put the cupcakes in the fridge for 15 minutes so the frosting firms up on the surface, and only then draw the faces.
Ears droop — the frosting is soft, or the ears are too big. A smaller ear holds better.
To keep your tips sharp and undamaged, we're preparing an article on how to clean and store piping tips.
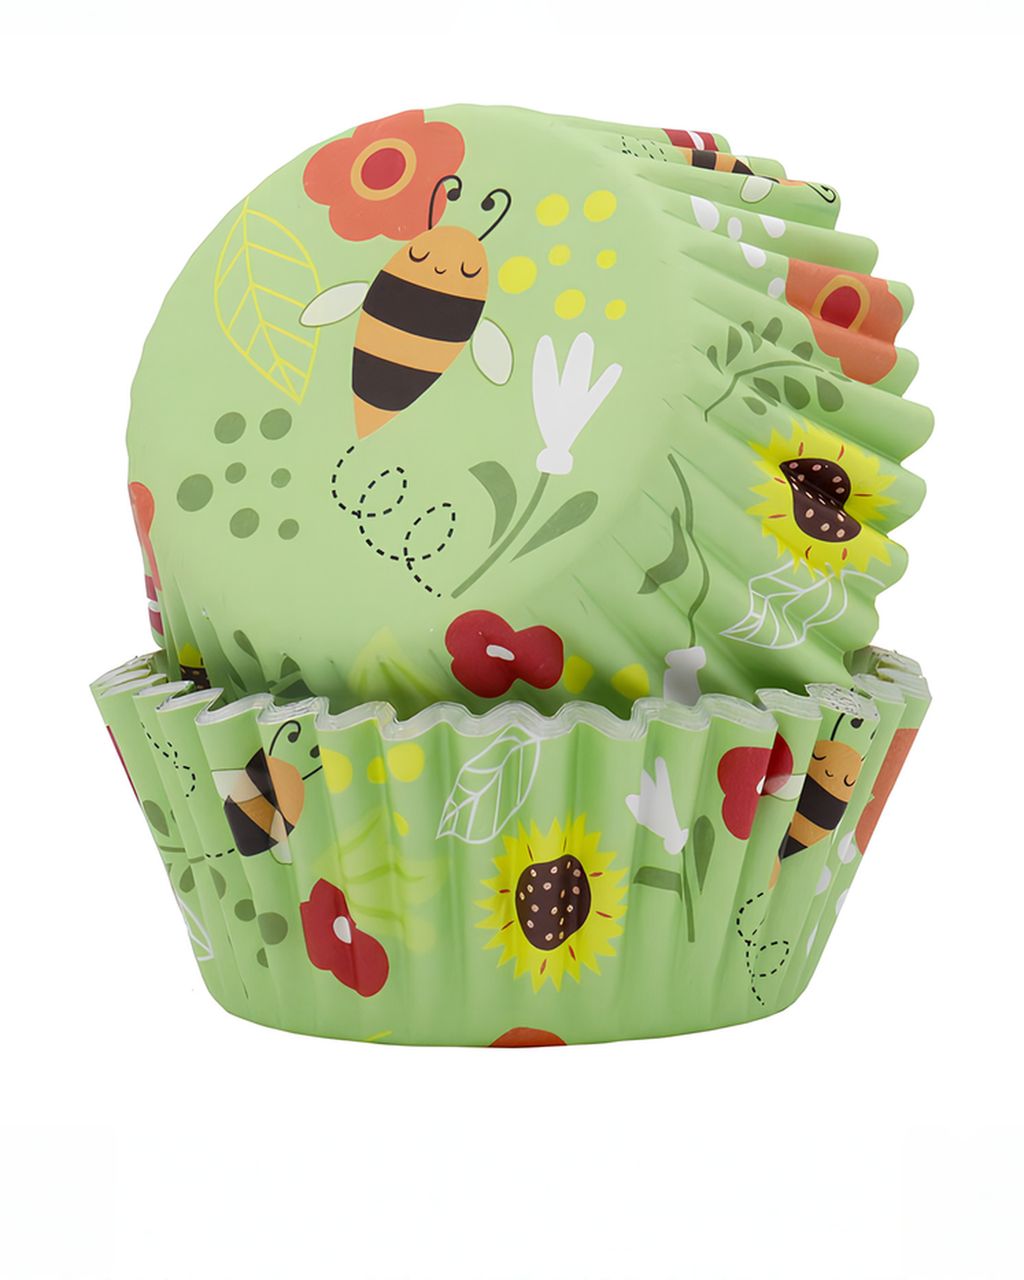
Foil-lined paper liners suit piped animals well: the foil layer keeps grease from the frosting and cake from soaking through, so the print stays clean after baking. Plain paper liners often turn translucent after baking and the design disappears.
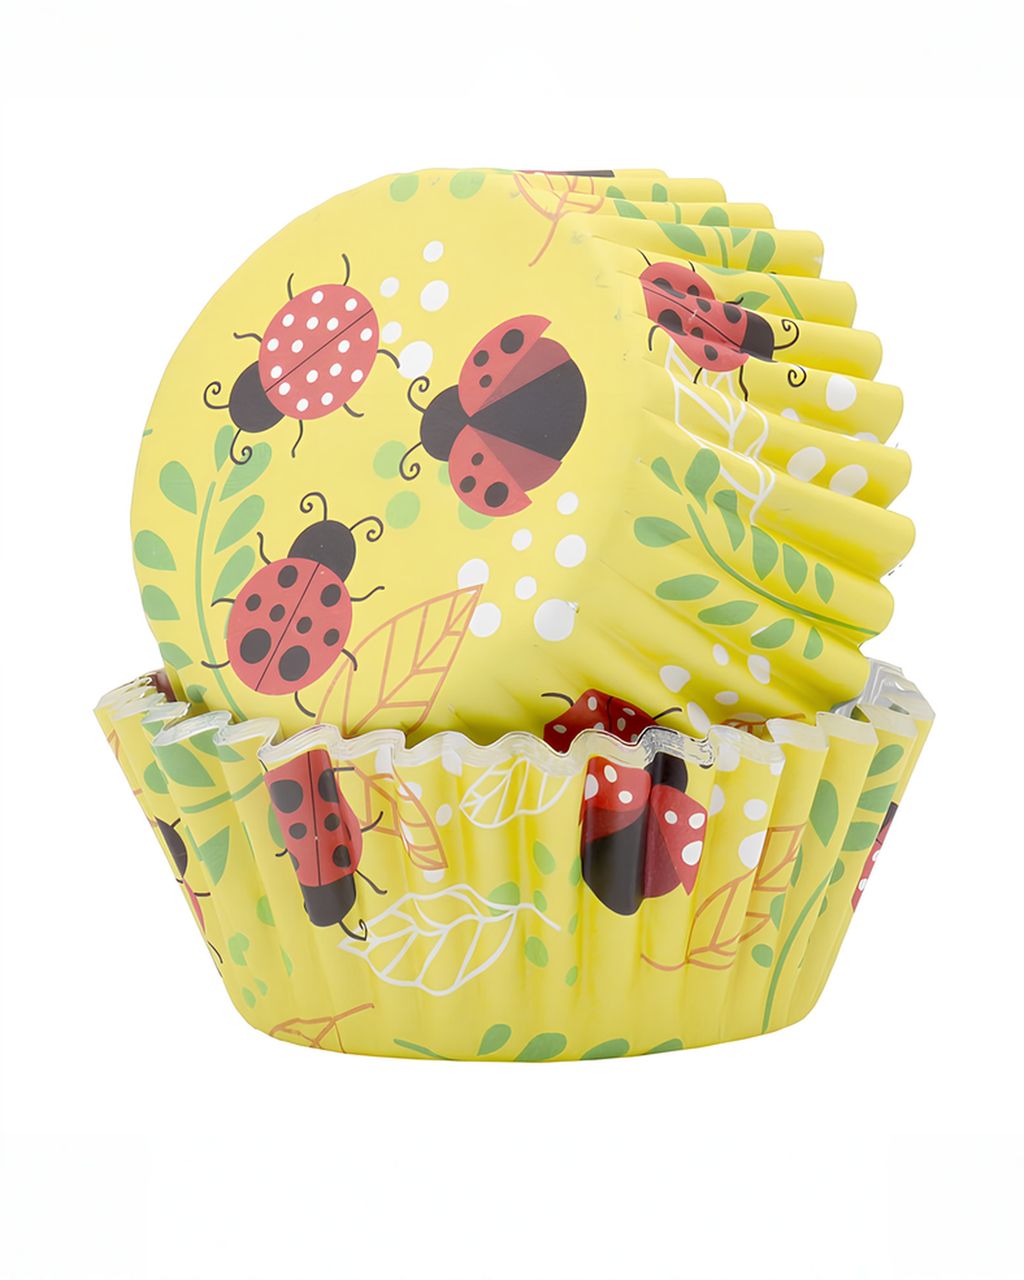
The PME foil-lined Ladybug and Bee liners go with the animals thematically — a sheep, bear and kitten in a meadow of ladybugs look like one set. If you're planning a more neutral tray, plain paper liners in pastel colors will do the job. You'll find the whole selection among cupcake liners; the article on muffin and cupcake liners explains how paper, foil and tulip liners differ.
Planning animals for a birthday? You'll find ready-made sets with themed liners and picks for dinosaurs, mermaids or safari in the article on cupcakes for a kids' party. And if you want to arrange them into a number or a letter, take a look at the pull-apart cupcake cake.
Count on 3–5 minutes per sheep and 5–8 minutes per bear or kitten, so about an hour for 12, once your frosting is made and colored. The first two will be slower, then you'll find your rhythm.
The day before: bake the cakes and mix the black frosting so it can darken overnight.
On decorating day: color the brown and gray frosting, fill the bags, decorate the bodies, chill for 15 minutes and add the faces.
Decorate in stages, not one cupcake at a time: first the wool on all the sheep, then all the faces. You don't have to keep swapping bags, and the frosting in them won't warm up as much.
How far ahead you can bake and decorate cupcakes is covered in the article make-ahead cupcakes: baking, decorating and storing.
Yes. Frosting colored with gel color alone can stay on the tongue and teeth for a little while, especially on kids. If you start with a cocoa frosting and add black only for the details (eyes, nose, whiskers), there's so little of it that you'll hardly notice.
Not easily, because whipped cream doesn't hold sharp edges and melts quickly in the warmth. Whipped cream stabilized with mascarpone or gelatin can work for the sheep, but for fur made of stars and thin whiskers, buttercream or Swiss meringue buttercream is a better choice.
You can make the sheep with a piping bag with the tip snipped off, since the dots don't need a shaped tip. But you can't get the fur of the bear and kitten without a star tip. A smooth face with details is possible with a snipped bag, but the lines will be thicker and less precise than with a 1.5 tip.
Transport them chilled in a box with an insert that holds each cupcake separately, and put the box on a flat car floor, not on a seat. Chilled frosting has a firm surface, so the ears and whiskers won't smudge on the way. Once you arrive, let them sit for about 20 minutes to take the chill off so they're not ice cold.
You can make brown frosting for animal cupcakes naturally with cocoa, but it's hard to get gray and a deep black from natural colorings. Activated charcoal or black cocoa color more weakly and affect the flavor. For small areas like eyes and whiskers, gel color is the most reliable, and you only need a pinch.
One recipe worth heating the oven for, one tip, and one deal from the shop. Nothing else.