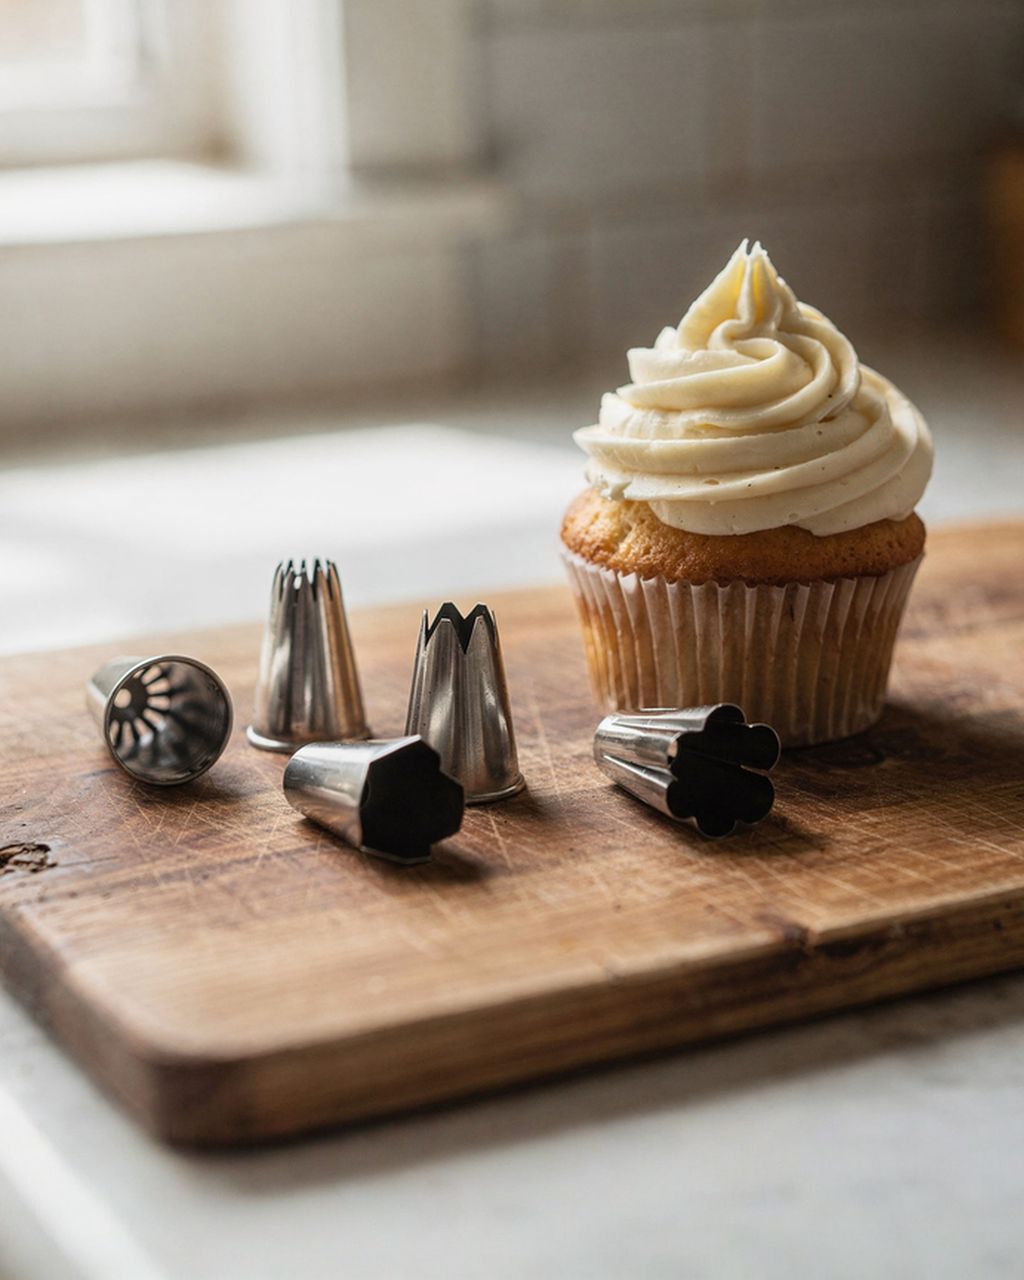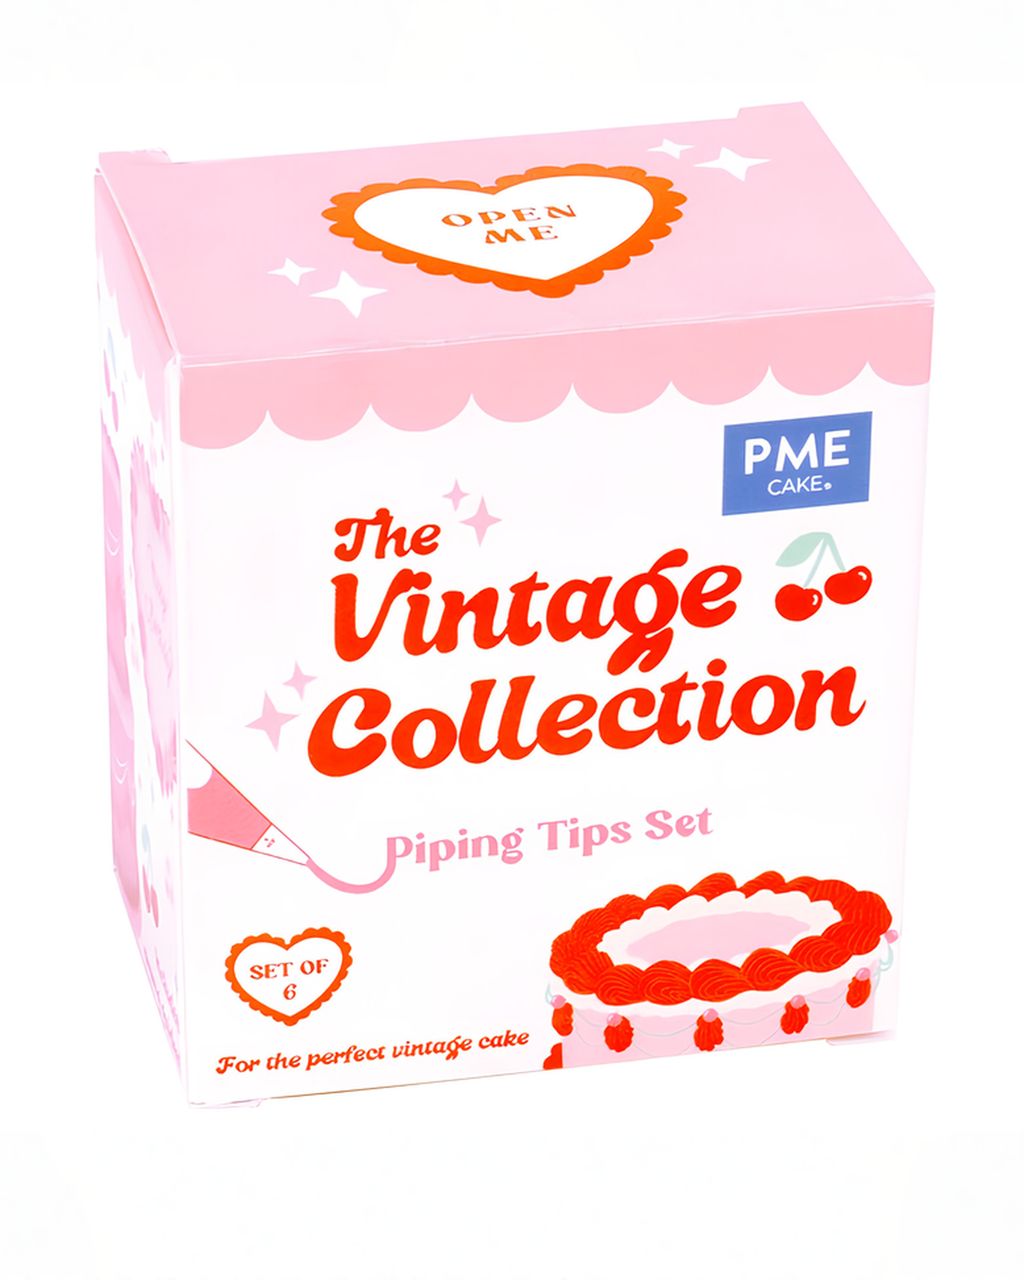
PME Vintage Piping Tips Set (6 pieces)
Vintage Cake Decorating Step by Step: Buttercream Swags, Pearls, and Bows
Updated Oct 15, 2026
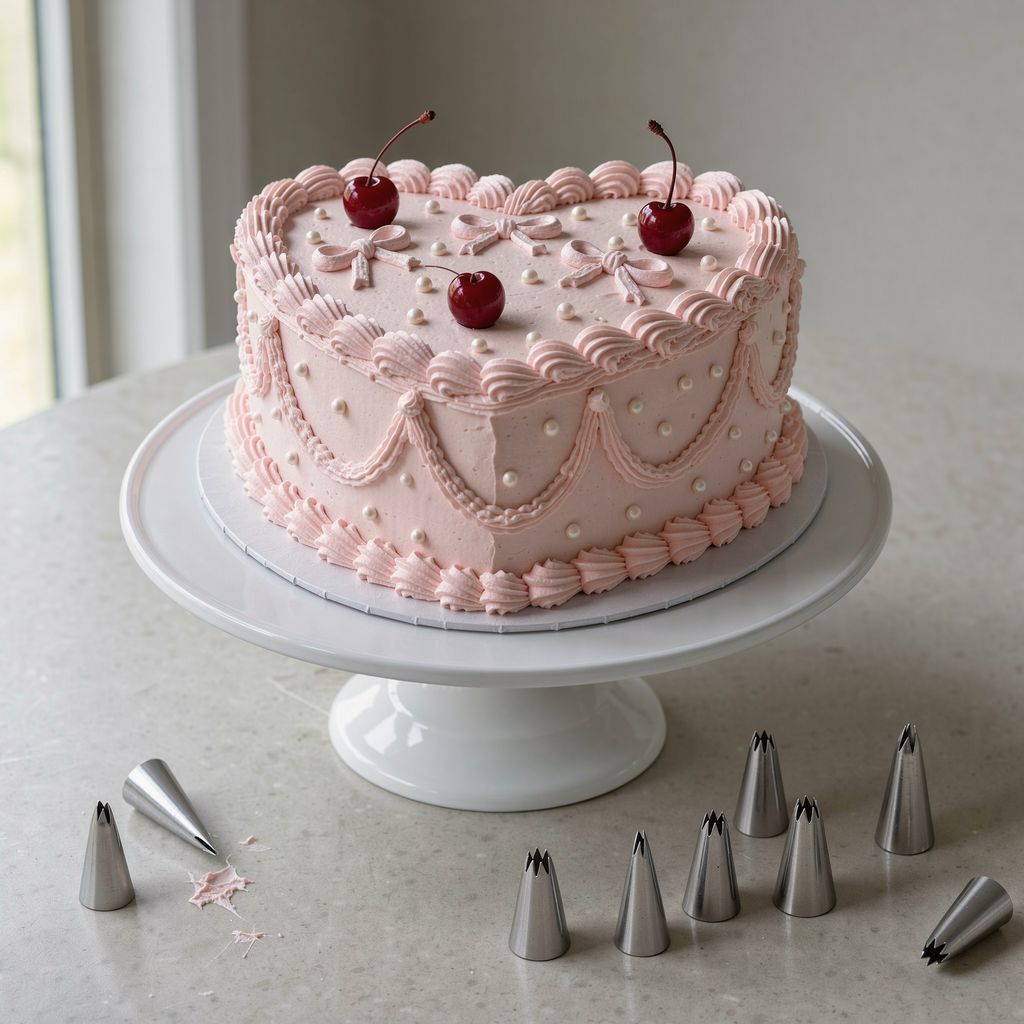
A vintage cake is covered in 1950s-style buttercream piping: swags around the sides, pearls and shells along the edges, bows, and often cocktail cherries on top. For a beautiful result, you only need a stable buttercream, three piping tips (open star #13 and #18, round #12), a chilled, frosted cake, and ten minutes of marking out the design with a toothpick. We'll walk you through it all, from the heart-shaped cake to the very last pearl.
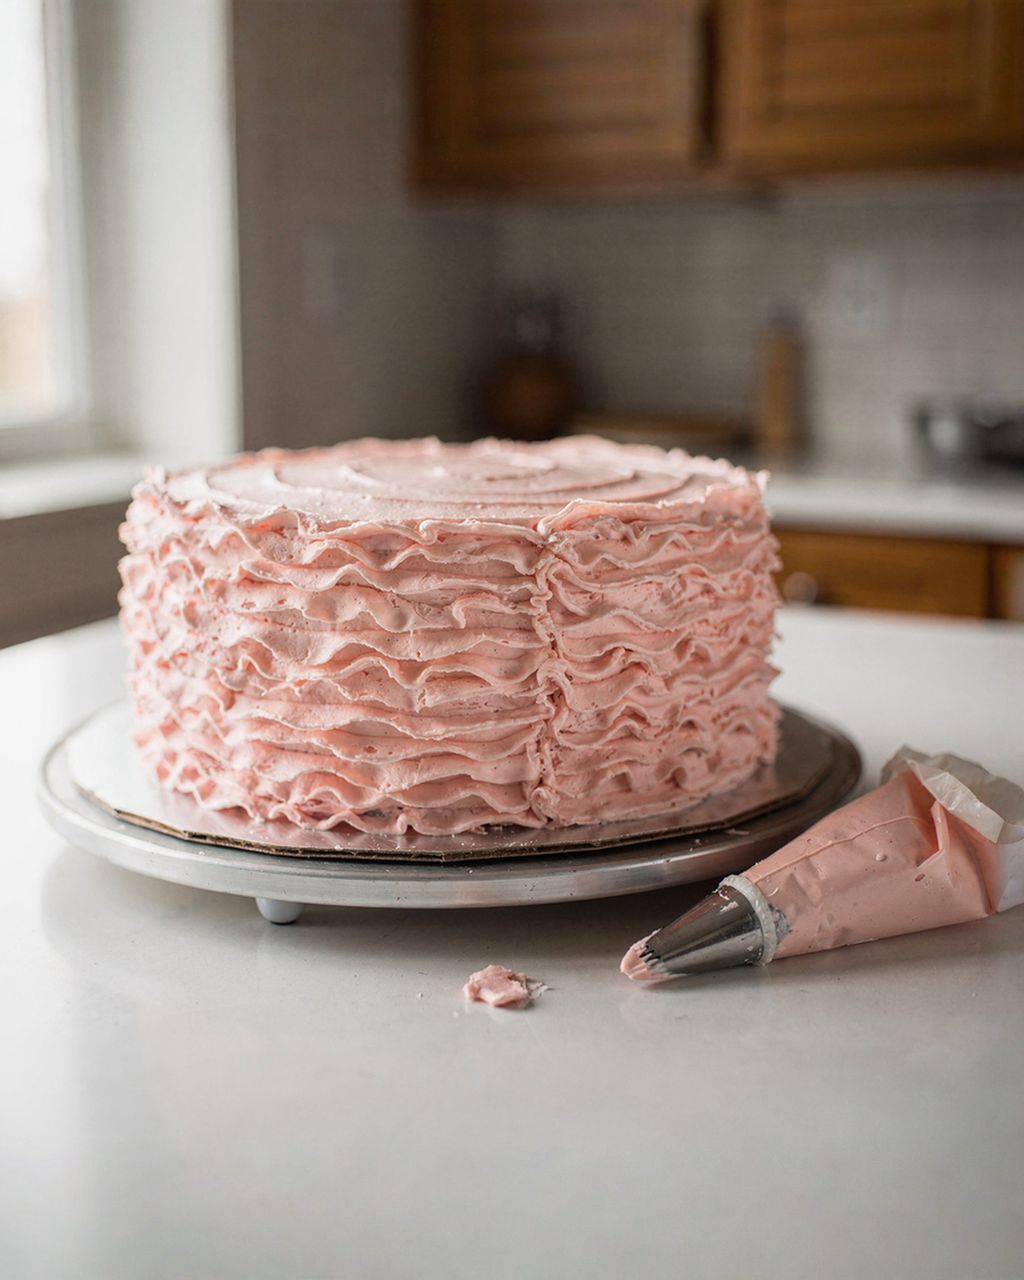
A vintage cake, also known as a Lambeth cake, is decorated with thick, layered buttercream piping – swags, shells, pearls, ruffles, and bows are built up over one another until the cake looks like lace.
It's named after the British-American cake decorator Joseph Lambeth, who described the technique in his 1934 book The Lambeth Method of Cake Decoration. It peaked in the 1950s, was later pushed aside by fondant, and has been making a comeback in recent years – mainly as small heart-shaped cakes in pastel colors.
One difference is worth knowing: the original Lambeth style was piped with royal icing, which sets rock hard and lets you build layer upon layer. Today's "vintage cake" is made with buttercream – it's more edible, tastes better, and is perfectly good for a home celebration. That's the version we show here.
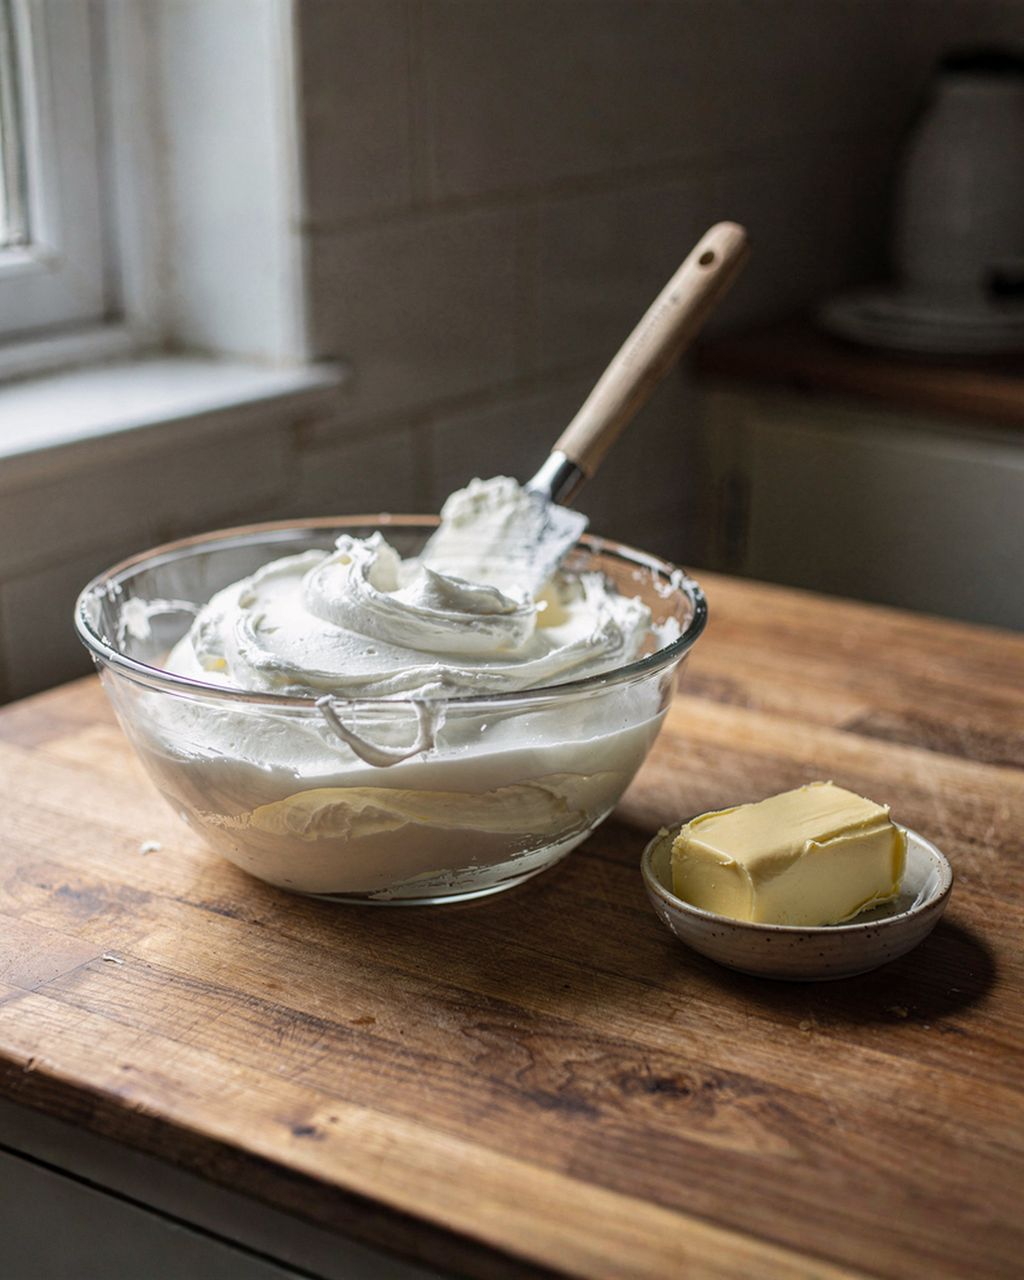
The best buttercream for holding its shape is Swiss meringue buttercream: egg whites and sugar heated to at least 71 °C (160 °F) while stirring constantly (check with a thermometer), whipped into a meringue, and smoothed out with butter. It's silky, not overly sweet, and the piping has crisp edges. 71 °C (160 °F) is the temperature that the FDA recommends raw egg whites reach to destroy salmonella – a thermometer isn't a luxury here.
Swiss meringue buttercream – egg white : sugar : butter in a ratio of roughly 1 : 2 : 3 (for example 150 g : 300 g : 450 g). The best compromise between flavor and stability. For a 20 cm (8 in) cake, plan on 1–1.2 kg of buttercream (about 600 g for the frosting, the rest for decorating).
American buttercream (butter + powdered sugar) – holds up very well and forms a light crust on the surface, but it's much sweeter. It's a good choice if the cake will sit for a long time in a warm room. Whether it turns out heavy and greasy depends on how you whip it – more in our article buttercream that isn't greasy.
Firm French buttercream – holds its shape, but it's dark and can only be tinted in brown tones.
Whipped cream and cream cheese frosting don't work for piping – the details slump within a few dozen minutes. They're fine for the filling inside the cake, though.
Temperature matters more than the recipe. Buttercream for piping should be 18–20 °C (64–68 °F): it holds a peak on a spoon but flows from the tip without effort. If your piping is running and losing its ridges, put the bag in the fridge for 10–15 minutes. If the buttercream looks torn and breaks apart, it's too cold – knead the bag in your hands.
You can build a heart from one round cake and one square cake of the same size – for example a 20 cm (8 in) round and a 20 cm (8 in) square.
Turn the square 45° so it stands on a corner like a diamond.
Cut the round cake in half.
Place the cut sides of the semicircles against the two upper sides of the diamond. That makes a heart.
Glue the joins together with a thin layer of buttercream and chill the cake for at least 30 minutes before frosting.
If you have a heart-shaped pan, it's of course easier and you won't have any joins. For a small "bento" heart, you can also just cut one out of a single sheet cake using a paper template.
The cake layers should be firm and even – a light sponge easily flattens under the weight of frosting and piping. A butter cake works well, as does a fluffy génoise sponge, which is sturdier than a classic sponge thanks to the butter. To learn how to split it into evenly thick layers, see our guide how to slice a cake into layers.
You can only decorate a chilled, smoothly frosted cake – on warm frosting the piping sinks, and the tips drag it off.
A thin first layer to trap the crumbs (a crumb coat). Then 20–30 minutes in the fridge.
A second layer 3–5 mm (about ⅛–¼ in) thick, leveled with a bench scraper and a scraper. Apply the buttercream generously, turn the cake slowly on a turntable, and hold the scraper perpendicular to the board – take off the excess, don't add more. Chill again for at least 30 minutes, or 15 minutes in the freezer.
A sharp top edge comes only after chilling: pull the protruding lip of buttercream from the edge toward the center with a spatula.
The color of the frosting is half of the effect on a vintage cake – most often pastel pink, mint, lavender, or creamy white.
For a whole vintage cake, three tips are enough: an open star #18 for shells and the main swags, a smaller open star #13 for delicate swags and second layers, and a round #12 for pearls, drops, and bows.
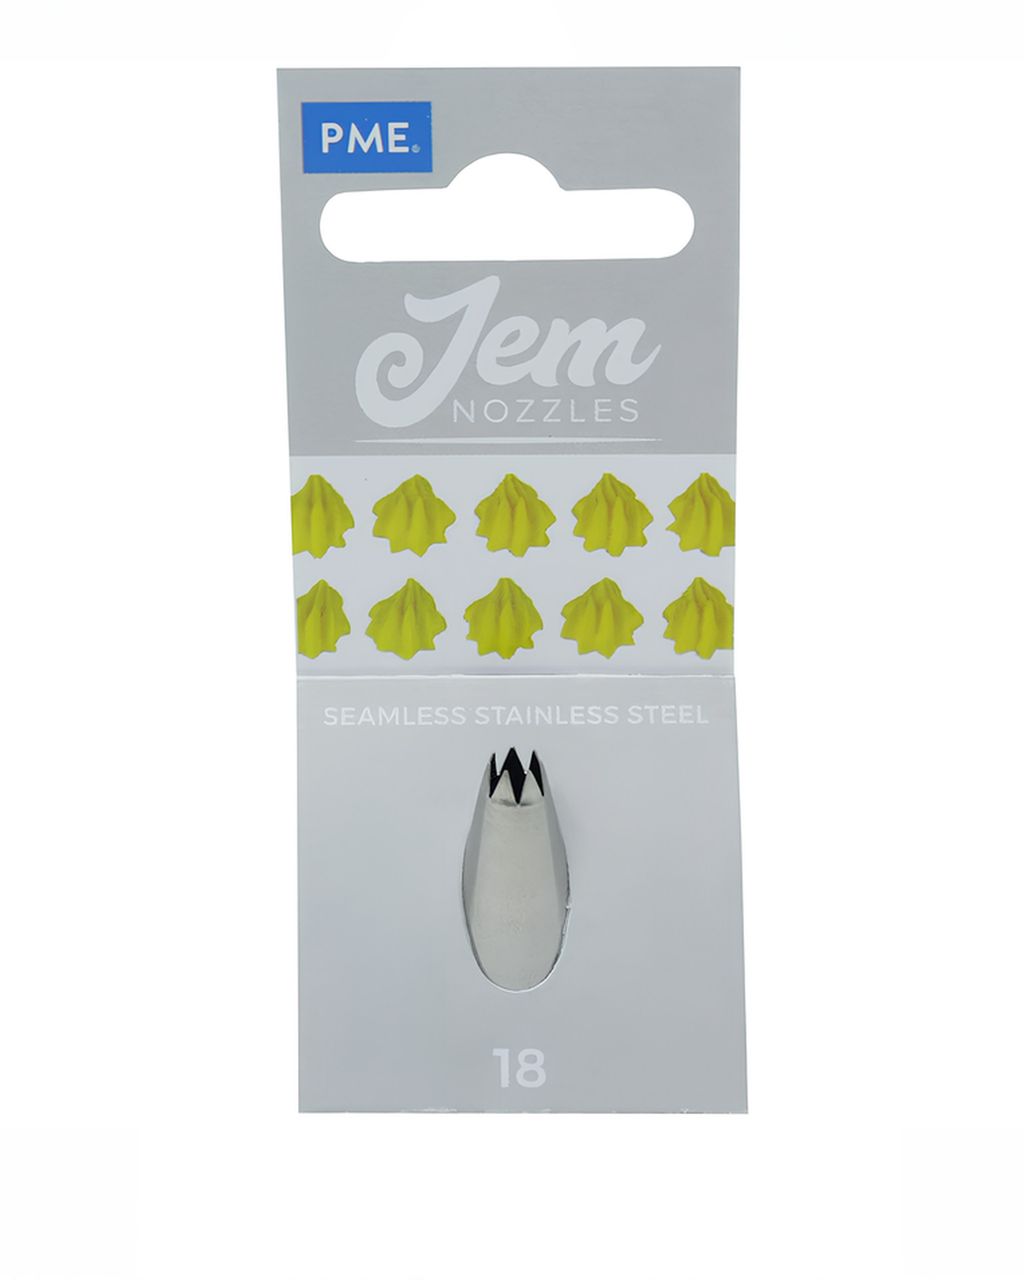
JEM open star #18 – a medium star with pronounced ridges. For the bottom shell border, thick swags, and rosettes.
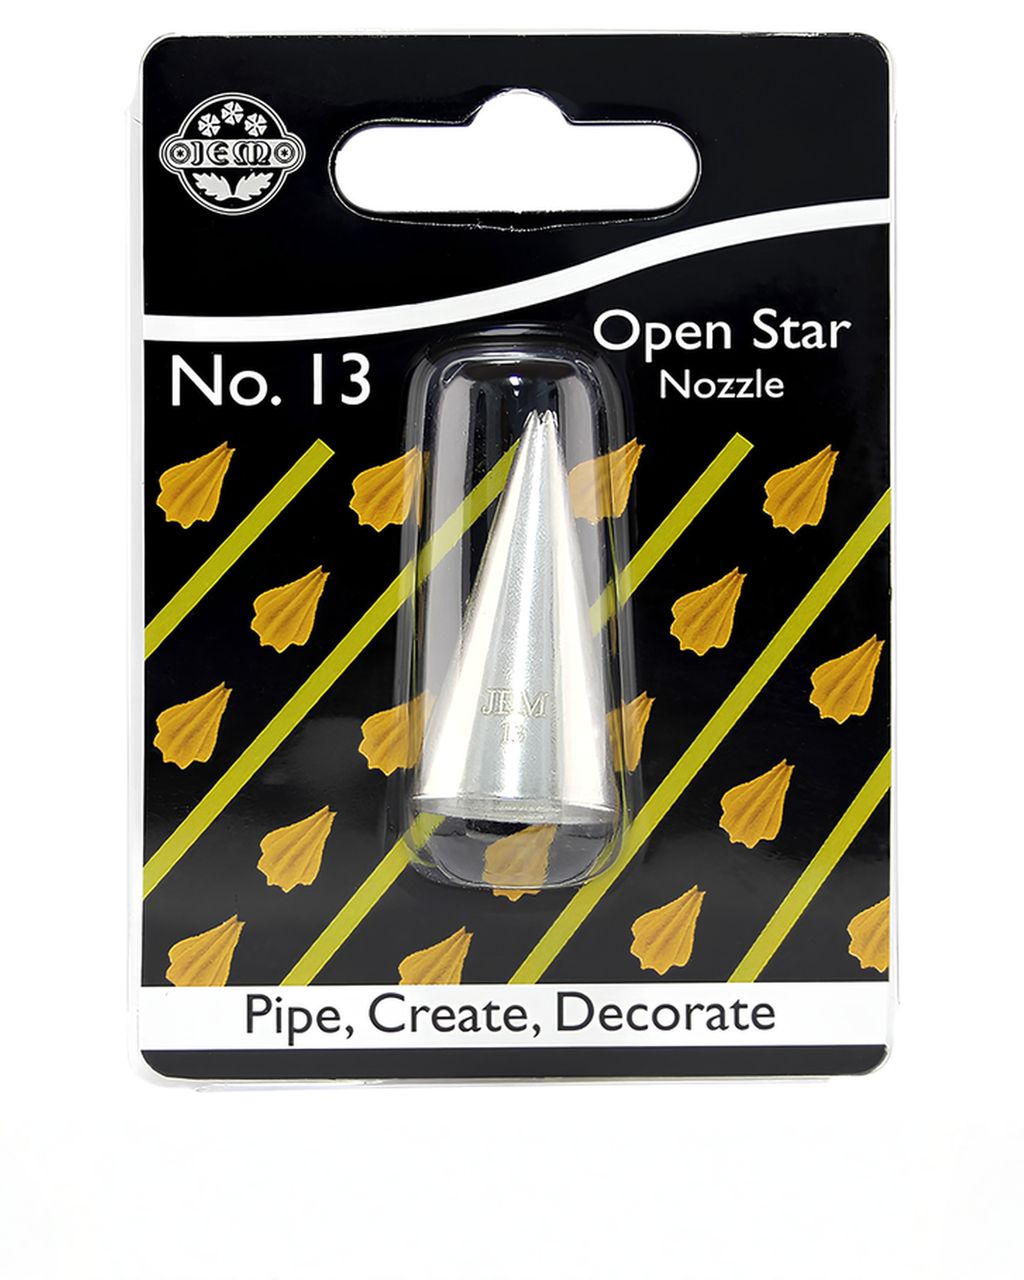
JEM open star #13 – the smaller sister of #18. For the top border, inner swags, and tiny stars to fill gaps.
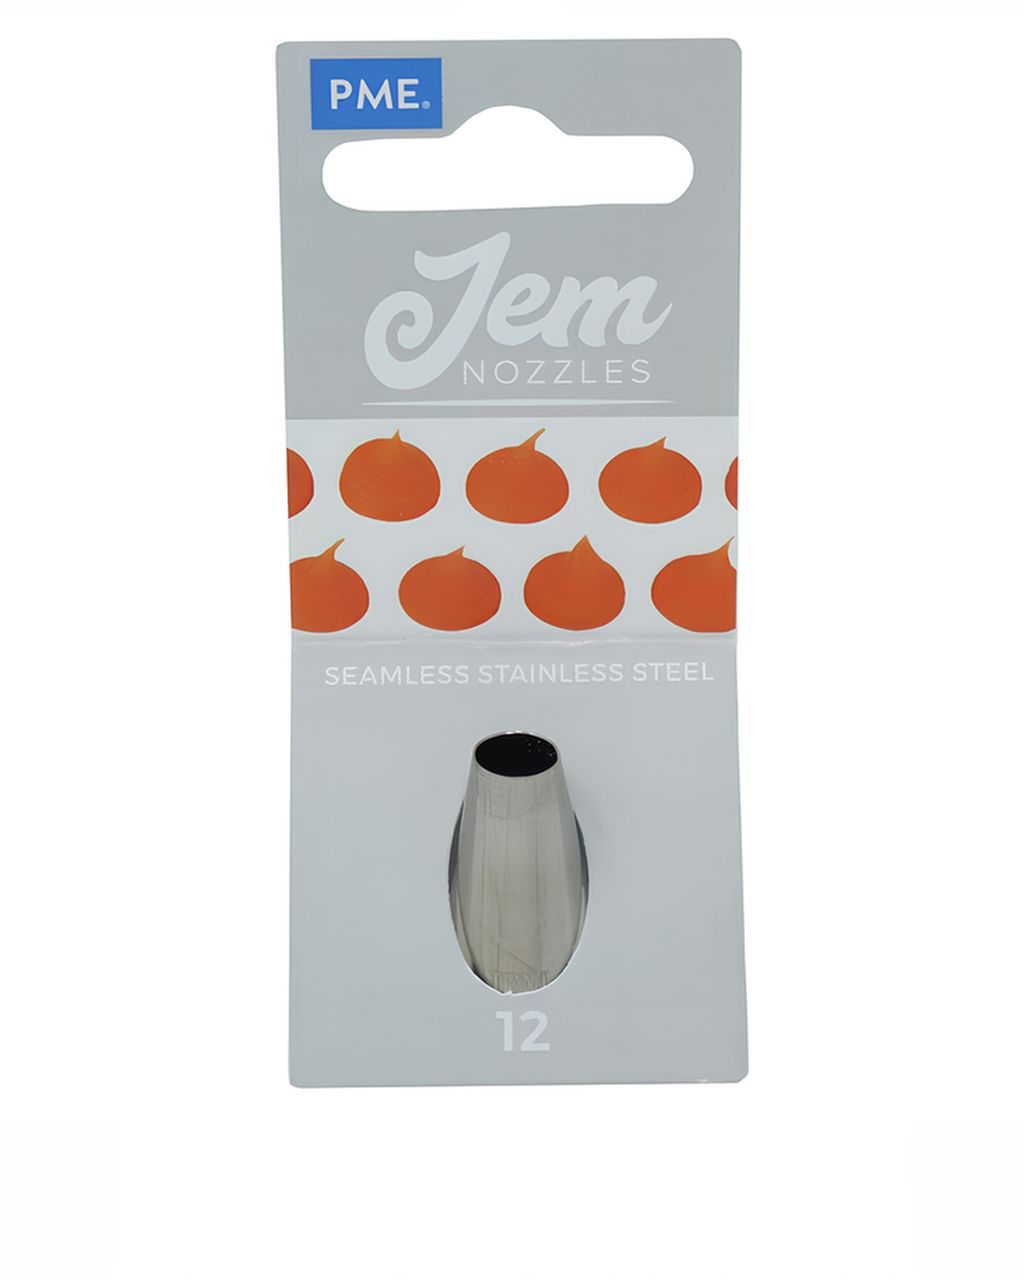
JEM round #12 – a smooth round opening. For pearls, bows, and dots.
Ruffle tip / petal tip (for example JEM #104) – optional, but nothing else makes the typical vintage ruffles along the edge. To learn how to pipe with it, see ruffle cake: buttercream ruffles with tip 104.
If you'd like to start with the whole range at once, reach for the PME Vintage set (6 pcs) – it's put together for exactly this style. Wilton or Ateco tips, which we don't carry here, work the same way; the numbering is similar but not always identical, so compare the size and shape of the opening rather than the number.
For which tip makes which kind of piping in general, see the overview cake decorating tips: which one for what.
For a vintage cake, disposable bags are more practical – you'll be switching between two or three colors and three tips, and having a separate bag for each combination is quicker than washing.
A length of 30–36 cm (12–14 in) is ideal. Smaller bags run out quickly; larger ones warm up in your hand and the buttercream softens.
Fill the bag no more than two-thirds full and twist the end. Heat from your palm is the main enemy of crisp piping.
Fabric and silicone bags are more eco-friendly and sturdier, but butter and color are hard to wash out of them. They're handy when you decorate often with a single color.
A coupler (adapter) lets you change tips on one bag without emptying it. Useful, but not essential.
You'll find piping bags and tips in various sizes together in the category piping bags and tips.
Tint pastel buttercream with concentrated gel color, added drop by drop – for 500 g of buttercream, the tip of a skewer is often enough. Liquid food coloring from the supermarket thins the buttercream and, in larger amounts, makes it curdle.
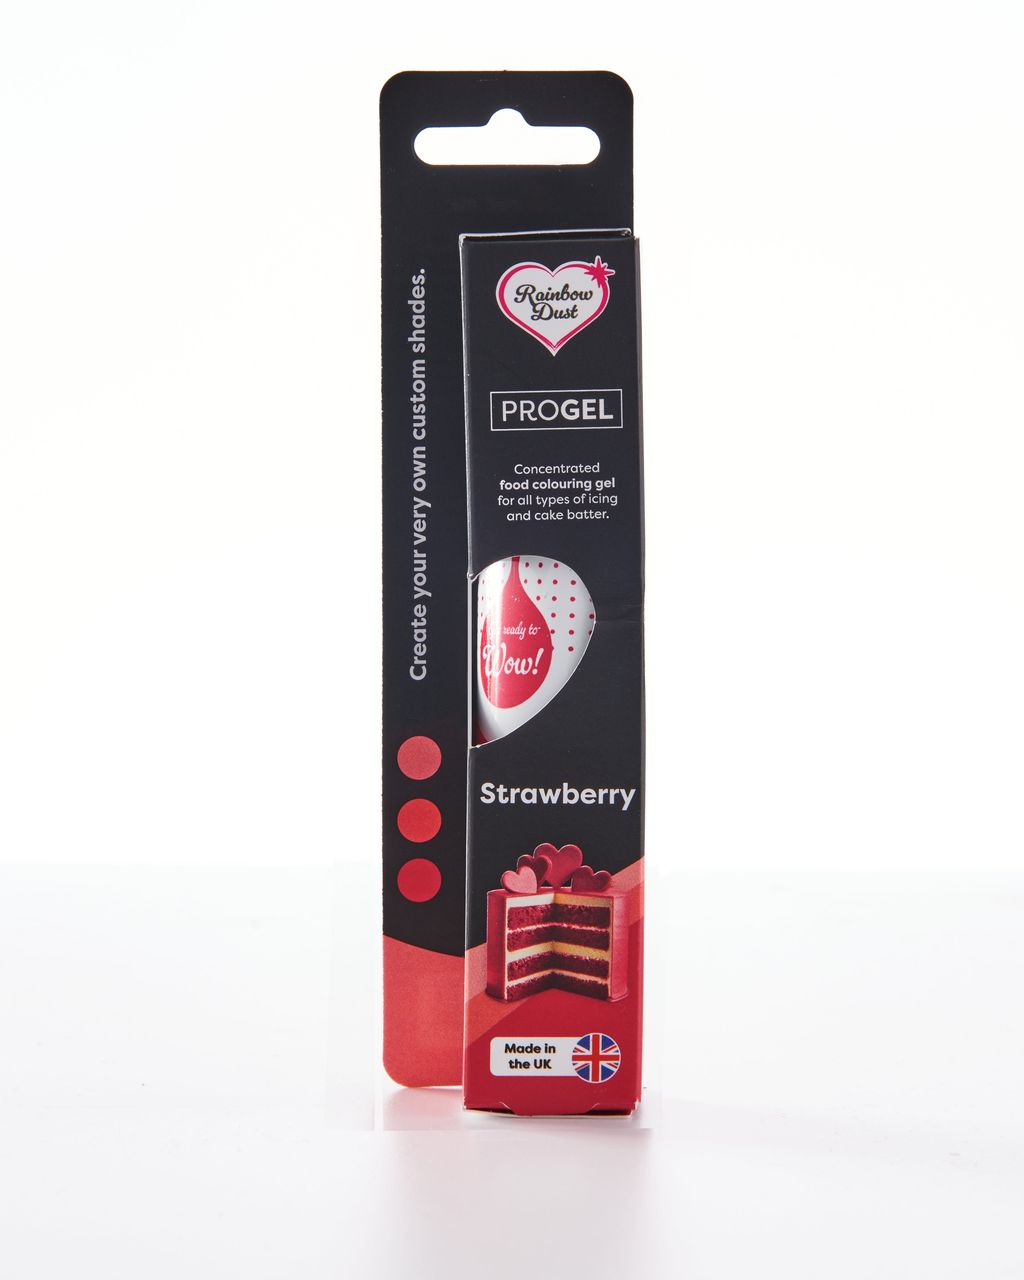
ProGel gel colors are concentrated – start with a really small amount and add more as needed.
Color in buttercream deepens within 1–2 hours. Mix it one shade lighter than you want.
Buttercream is naturally yellowish. You can get it to white with a microscopic amount of violet (it cancels out the yellow tone) or with white icing color – details in the article snow-white buttercream: how to whiten it.
A typical vintage combination: a pastel coating + piping two shades darker in the same color + white pearls. You can make two-tone swags from a single bag using the guide two-tone buttercream in a piping bag.
Symmetrical swags come from marking them out with a toothpick, not from a steady hand. The whole trick is dividing the circumference into equal parts.
A 20 cm (8 in) round cake has a circumference of about 63 cm. Eight swags come out at roughly 8 cm each, ten at 6.3 cm.
For a heart, plan from two fixed points: the point at the bottom and the dip at the top. Divide each half separately from there – the heart stays symmetrical even if the swags aren't identical to the millimeter.
Measure the circumference with a strip of paper, fold it into the number of parts you need, and transfer the marks to the top edge of the cake.
Draw the arcs with a toothpick. A swag depth of around 2–3 cm (about 1 in) looks balanced on a 10 cm (4 in) side.
You decorate a vintage cake in five steps: shells along the bottom edge, swags around the sides, pearls and drops, bows, and finally the top edge with cherries.
Pipe shells with tip #18 at a 45° angle: squeeze firmly, let the buttercream form a plump head, ease off the pressure, and pull the tip back 1–1.5 cm (about ½ in) into a point.
Start the next shell over the tail of the previous one so you get a continuous chain.
The rhythm of "squeeze – release – pull" matters more than strength. After ten shells on a plate, your hand will get the feel for it.
The bottom border also hides the join between the cake and the board, so pipe the shells first.
Pipe a swag along the marked arc in tiny circles or a wavy line – the tip moves like a spring and the arc fills with dense, lacy piping.
Pipe the first layer with tip #18 along the full length of the arc.
Chill the cake for 10 minutes so the first layer firms up.
Pipe the second layer with tip #13 in the middle of the arc – shorter and narrower. This is the famous layering of piping over piping (overpiping) that makes a vintage cake vintage.
Under the swag, you can hang a thin "string" with a smaller round tip (for example #2): touch the cake at the start of the arc, pull the tip away and let the buttercream hang freely, then touch down again at the end.
Hanging strings need a somewhat softer buttercream; if it breaks, warm the bag in your palm.
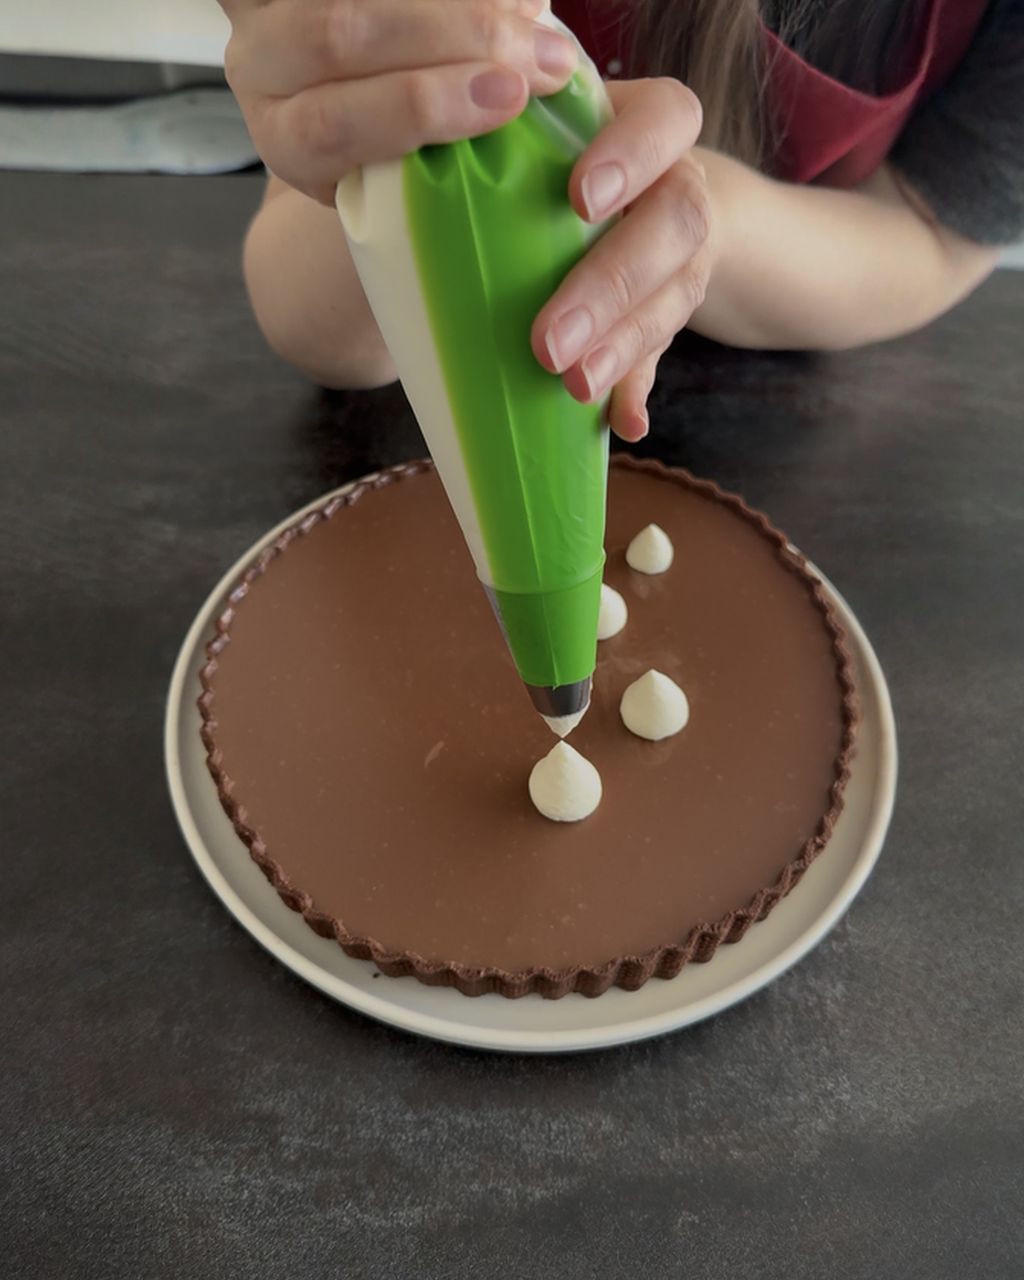
Pipe a pearl with round tip #12 held perpendicular to the surface: squeeze, let the ball grow to about 8–10 mm (⅓–⅖ in), release the pressure and pull the tip off to the side, not upward – that way no tail forms. For smaller pearls, use a smaller round tip (for example JEM #2–#3).
Place pearls at the joins of the swags, along the top edge, and around the bows.
If you're left with a peak, pat it down with a dampened finger or a brush.
If you pull the pearl at an angle, you get a drop – pretty in clusters of three under the join of the swags.
Pipe a bow in one motion as a sideways figure eight, then add two ribbons going down.
Pull the left loop out from the center, return to the center, and make the same loop to the right.
From the center, pull two short ends diagonally downward.
Pipe a pearl in the middle as the knot.
Round #12 gives a smooth, satin-like bow, star #13 a ridged one. Place bows at the joins of the swags or in the dip of the heart – one big bow at the front looks better than ten small ones all around.
Finish the top edge with smaller shells piped with tip #13 or a ruffle, and top the cake with cherries or tiny stars.
Pat cocktail cherries with stems dry with a paper towel, otherwise they'll release juice and stain the buttercream.
Lettering on a vintage cake belongs in the middle of the top, piped with a thin round tip – or not at all. To learn how to write legibly, see the guide writing on a cake with buttercream or chocolate.
Put the finished cake in the fridge for 30 minutes so the decoration firms up.
Yes, a buttercream vintage cake can be decorated a day ahead and kept in the fridge. Cover it with a large box or bowl so it doesn't pick up fridge smells, and take it out 30–60 minutes before serving – buttercream tastes best and is softest at room temperature.
Transport a vintage cake well chilled, in a box taller than the cake, set on a level car floor rather than a seat. Put a non-slip mat under the cake board, and keep the cake somewhere cool once you arrive – on a warm day, buttercream piping starts to soften after just an hour in the sun.
Leftover buttercream keeps in the fridge for about a week and in the freezer for 2–3 months. Before using it again, let it soften at room temperature and re-whip it briefly until smooth – right after coming out of the fridge it may look curdled, but whipping brings it back together.
You can pipe simple pearls and strings from a piping bag with the tip snipped off, but shells, swags, and ridged bows aren't possible without a star tip. For a vintage look, two star tips and one round tip are the minimum.
On a chilled cake, scrape the mistake off with a small knife or spoon, smooth the spot with a scraper dipped in hot water, and pipe it again. Don't try this on a warm cake – you'll pull off the frosting underneath as well.
One recipe worth heating the oven for, one tip, and one deal from the shop. Nothing else.