How to Make Caramel from Sugar Without It Turning Bitter: Temperature, Method and Mistakes
Homemade Caramels: How to Make and Cut Them
Updated Oct 8, 2026
You make homemade caramels from cream, sugar, glucose syrup and butter, cooked together to 118–122°C (244–252°F), left to set in a tin, then cut into cubes. Whether they turn out soft and chewy or firm comes down to one single number: the final temperature of the mixture — every extra degree makes a difference. Here's what temperature to cook to, why glucose syrup belongs in the mix, how to cut the caramels so they don't stick, and what to do when something goes wrong.
Homemade caramels come together in five steps: dissolve sugar with glucose syrup, pour in hot cream, cook while stirring to 118–122°C (244–252°F), stir in butter and salt, then pour the mixture into a tin to set.
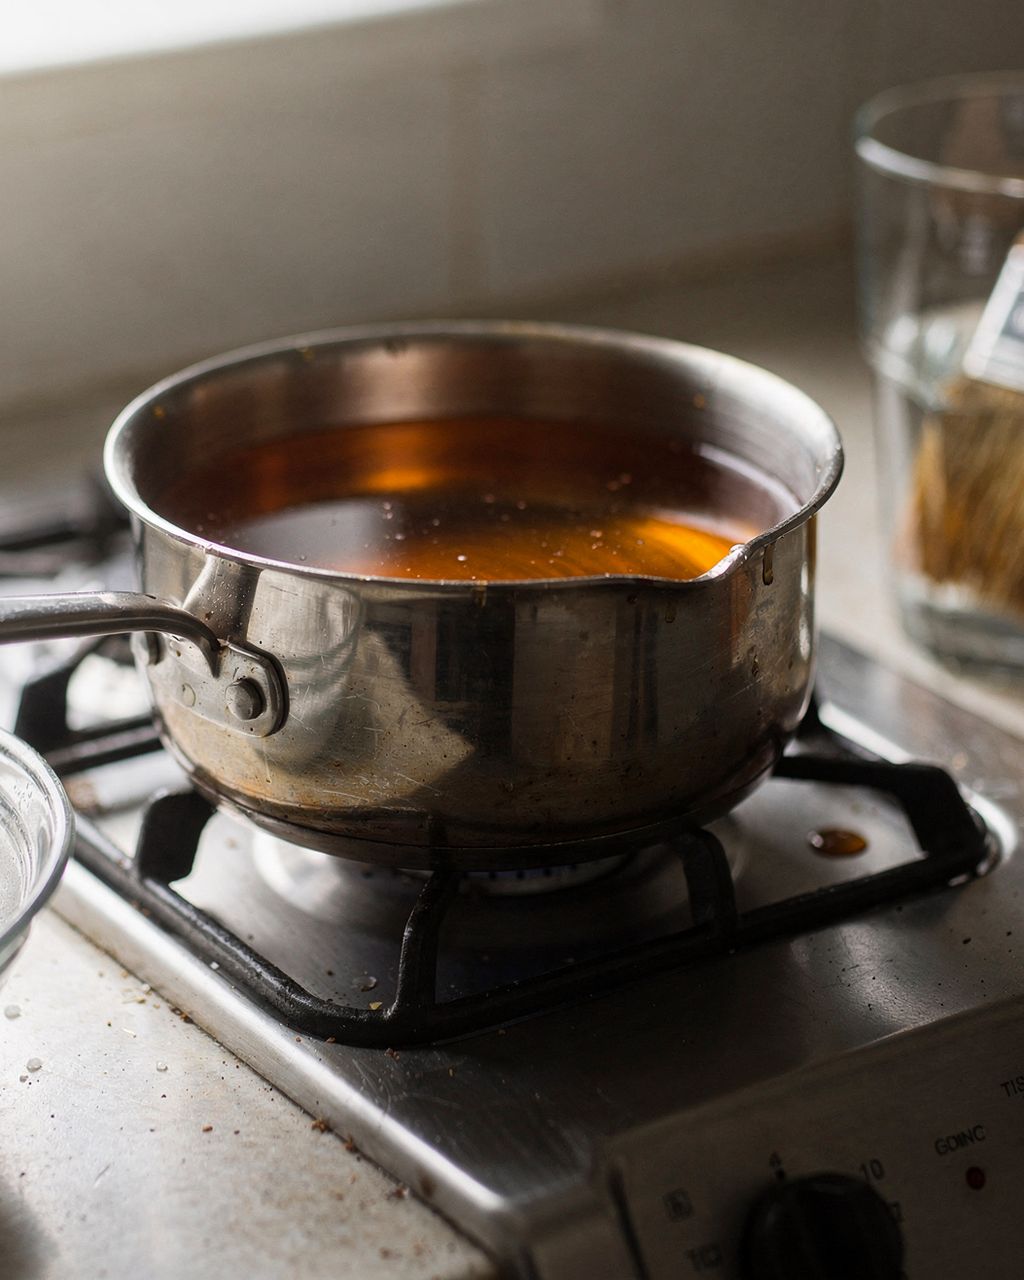
Sugar and syrup: use a heavy, thick-bottomed pot at least three times bigger than the volume of your ingredients — the mixture foams up and rises high as it boils. Heat the sugar with the glucose syrup and a little water, stirring until the sugar fully dissolves, then bring to a boil.
Cream: pour it in warmed, not cold from the fridge. Cold cream hitting hot sugar spits violently and can make the mixture seize.
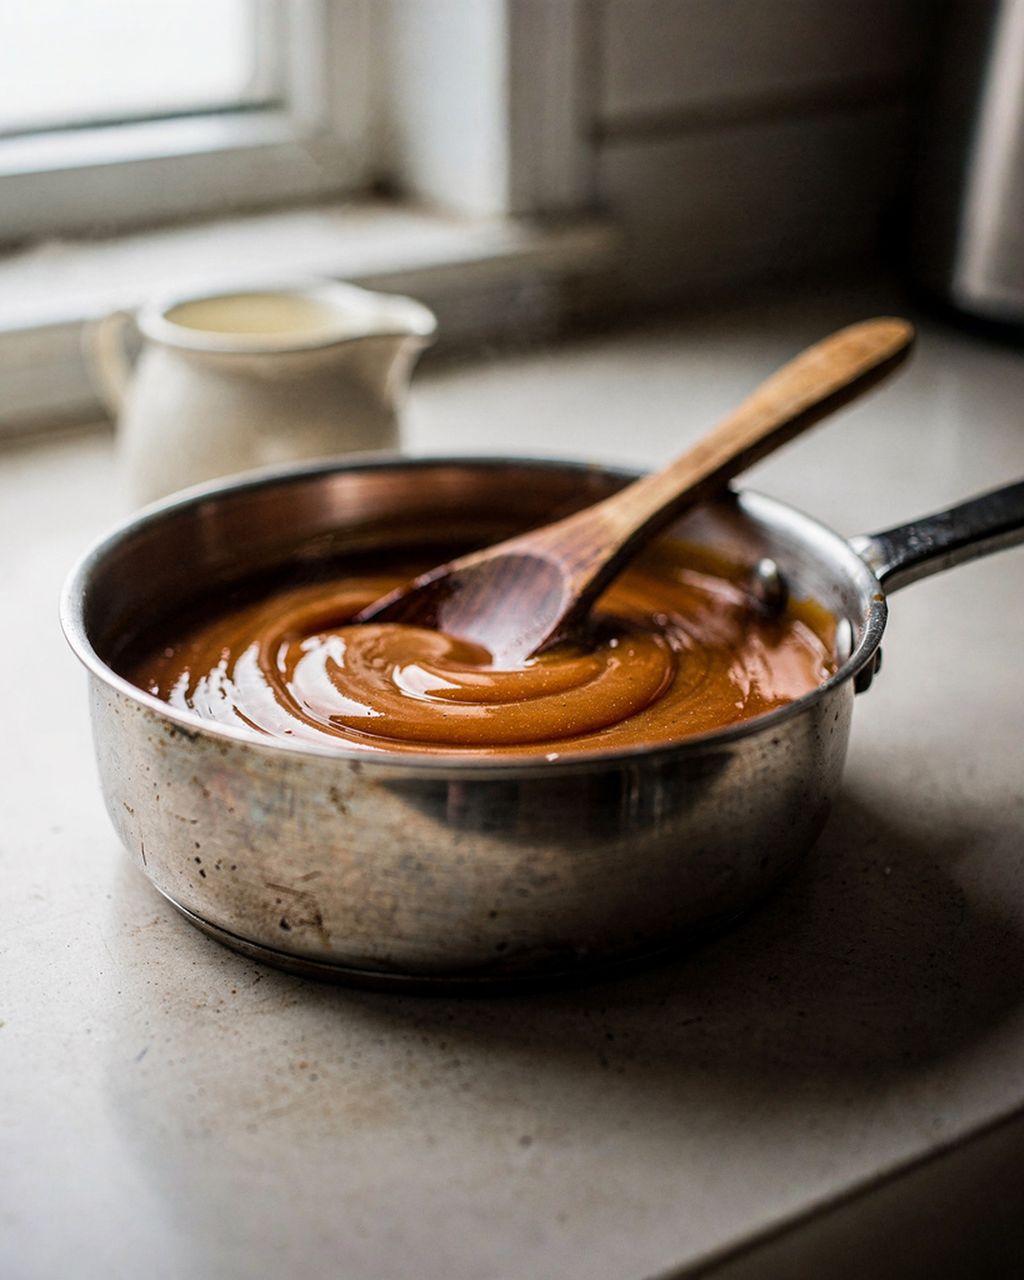
Boiling: cook over medium heat, slowly dragging a heatproof spatula across the bottom of the pot — otherwise the milk proteins will scorch there. The colour darkens on its own as it cooks, since the milk and sugar react together (the Maillard reaction), so there's no need to caramelise sugar separately beforehand.
Butter and salt: once the thermometer hits your target temperature, take the pot off the heat and stir in the butter, salt, and vanilla if using.
Into the tin: pour the mixture into the tin right away.
A rough ratio for cream caramels: about 2 parts sugar, 1 part glucose syrup and 2 parts whipping cream (30–33% fat), plus a knob of butter. For one batch that means:
200 g sugar
100 g glucose syrup
200 g whipping cream (30–33% fat)
30 g butter
2–3 tablespoons water and a pinch of salt
Once cooked down, this yields roughly 400 g of caramel. If you want to dig into caramelising sugar on its own, check out how to make caramel from sugar without it turning bitter.
Cook soft, chewy caramels to 118–120°C (244–248°F) (the border between soft-ball and firm-ball stage), and firmer ones to 121–122°C (250–252°F), where firm-ball stage begins. You'll notice the difference of just two degrees in your mouth.
115–117°C (239–243°F): very soft, almost runny — more of a filling than a sweet.
118–120°C (244–248°F): classic soft caramels that stretch between your teeth.
121–122°C (250–252°F): firmer and chewy. Holds its shape well and wraps more easily.
125–130°C (257–266°F): hard caramels, more for sucking on than chewing.
Above 145°C (293°F): hard, brittle toffee.
Check your thermometer first. Dip it in boiling water: at low altitude it should read around 100°C (212°F); here in Prague, closer to 99°C (210°F). Shift your target temperature by whatever difference you find. You'll need a candy or digital probe thermometer that reads up to at least 150°C (300°F) — an oven thermometer won't cut it here.
The last few degrees climb fast, since by then almost all the water that can evaporate already has. From around 112°C (234°F), stay at the pot and keep measuring continuously.
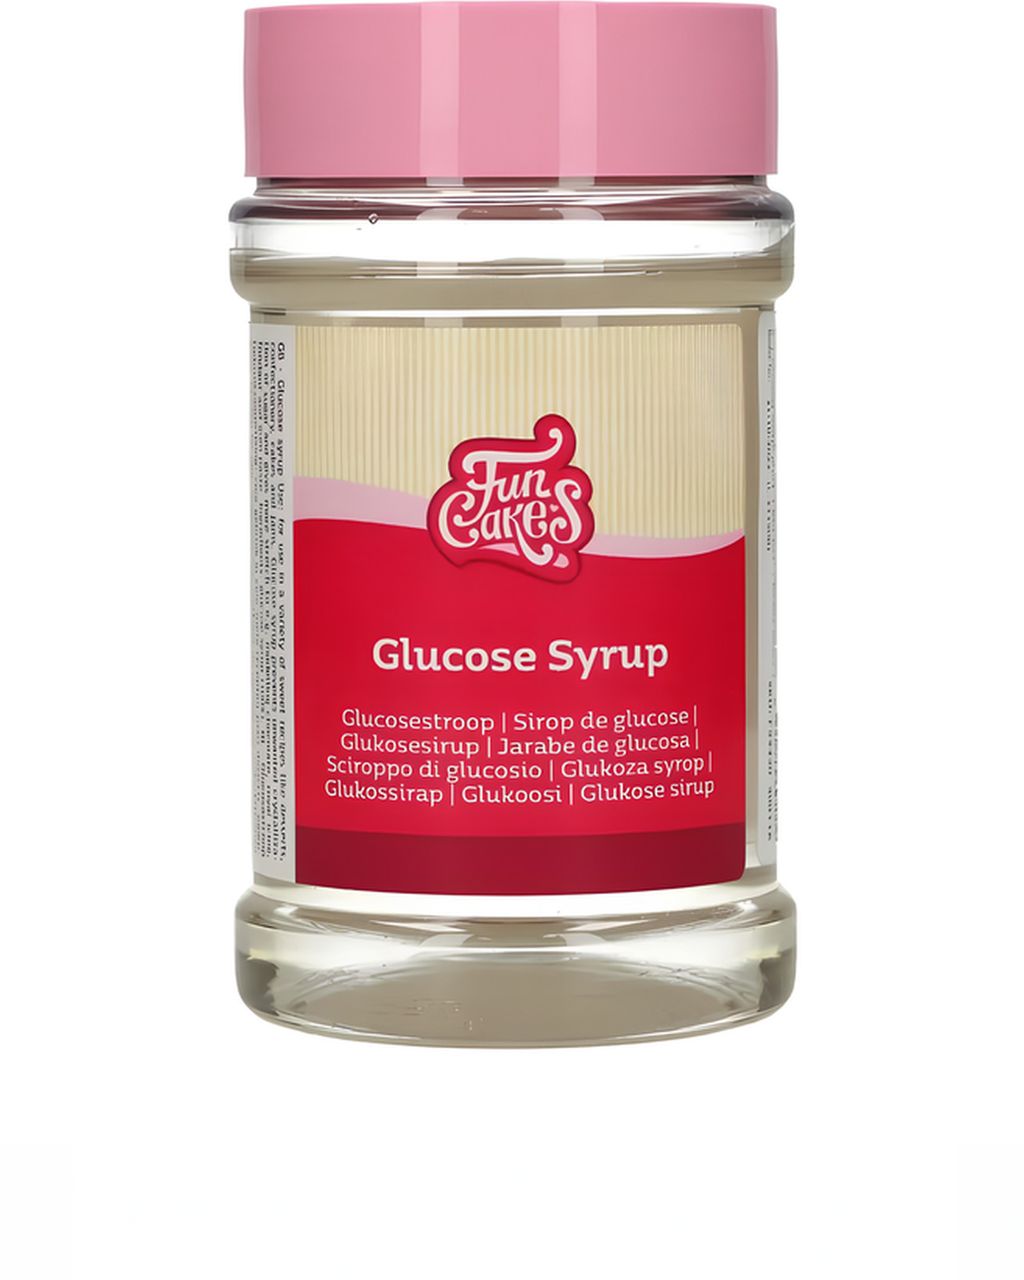
Glucose syrup stops the sugar from crystallising, so the caramels stay smooth rather than grainy and keep their chewiness for days. Left alone, sucrose crystals like to clump back together into grains. The syrup mixes other sugars (glucose, maltose) in among the sucrose molecules, so they can't arrange themselves into crystals.
Glucose syrup is the standard choice for caramels. It tastes neutral, won't overpower the cream and butter, and won't colour the mixture. Don't confuse it with powdered dextrose (grape sugar) — glucose syrup is thick and sticky, like honey.
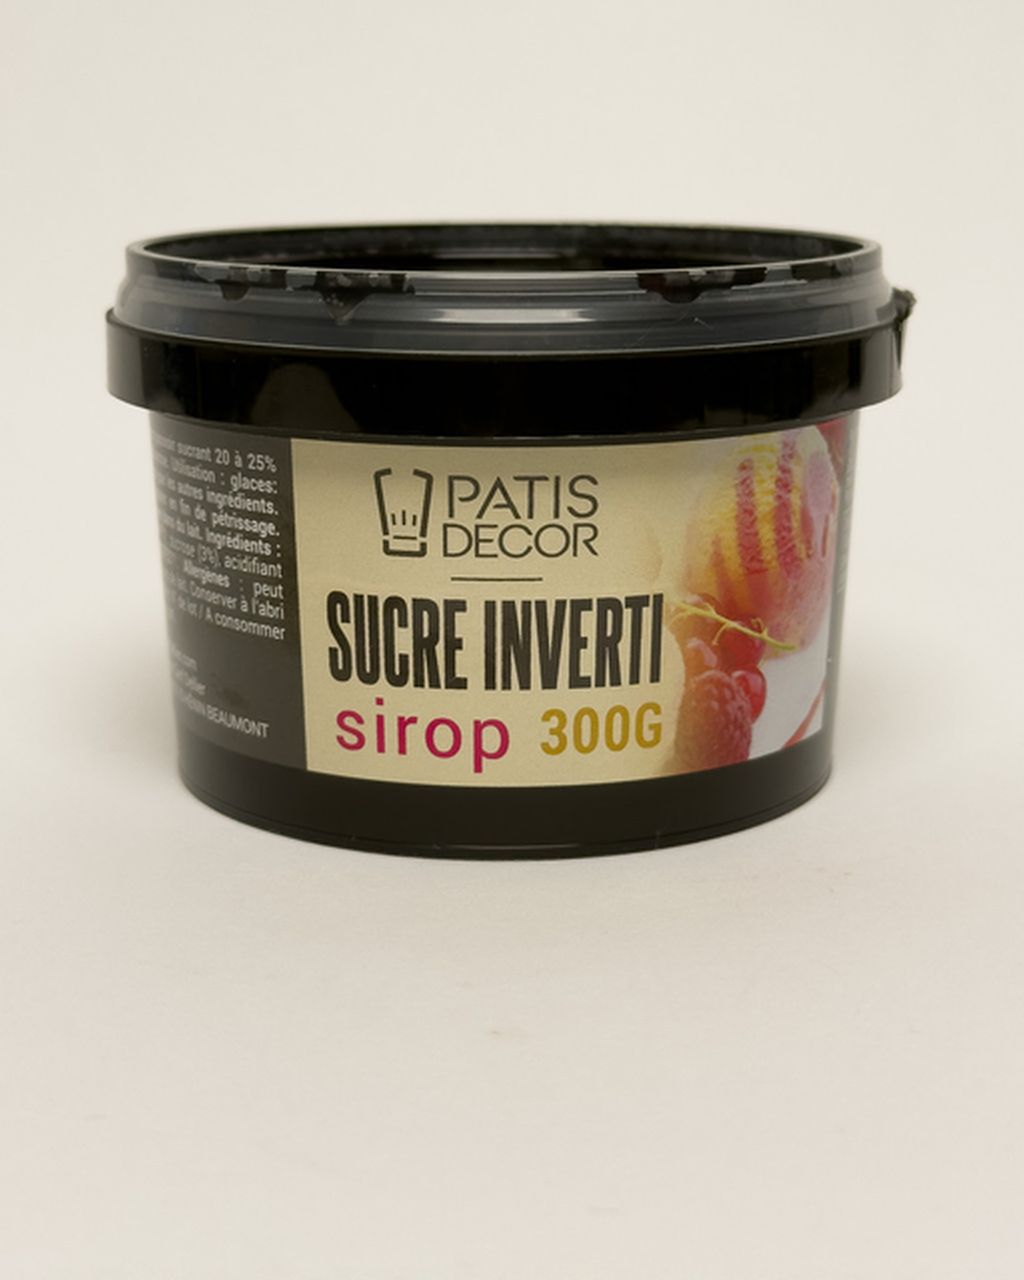
Invert sugar is sucrose that's been split into glucose and fructose. It binds water even more strongly, so caramels stay soft longer. But fructose browns faster and draws moisture from the air more readily, so use it to replace only part of the glucose syrup — say, a third — not all of it. Using only invert sugar makes caramels darker and stickier.
Honey and golden syrup prevent crystallisation in a similar way, since they're largely invert sugars too, but they bring their own flavour. Honey also browns quickly, so the mixture can turn bitter at the bottom before it reaches temperature.
Corn syrup from American recipes is simply glucose syrup under another name — swap it in 1:1.
You'll find glucose syrup, invert sugar and other confectionery syrups together in the sugars and syrups category. If your caramel keeps crystallising anyway, this article breaks down why: why caramel crystallises and how to rescue grainy caramel.
No thermometer? Use the cold-water test: drop a teaspoon of the mixture into a glass of ice water, then after a few seconds lift it out with your fingers. How it behaves tells you the stage.
Dissolves/spreads in the water: not there yet — keep cooking.
Soft ball that flattens between your fingers: around 112–116°C (234–241°F) — too soft for caramels.
Ball on the edge of soft and firm, holds its shape but gives when pressed: 118–120°C (244–248°F) — this is what you want.
Firm ball, barely gives when pressed: from 121°C (250°F) up — caramels will be firmer, even hard.
Repeat the test every minute, using a clean spoon for each drop. It's reliable as a rough guide, not accurate to the exact degree, so a thermometer is worth it if you make caramels often.
Caramels cut cleanly once the mixture has cooled at room temperature for at least 3–4 hours (overnight is best), cut with a large knife lightly coated in oil, pressing straight down rather than sawing back and forth.
Tin: for a batch made with 200 g sugar (as above), use a square tin about 15 × 15 cm, lined with baking paper lightly brushed with oil or butter. Let the paper overhang the edges so you can lift the block out by it. This gives a layer about 1.2 cm thick; in a 20 × 20 cm tin it would only be about 0.7 cm, so use a double batch for that size.
Pouring: pour the mixture in one go and don't scrape the bottom of the pot — scorched or crystallised bits tend to collect there and on the sides.
Setting: let it cool at room temperature. The fridge will just make it damp with condensation unnecessarily.
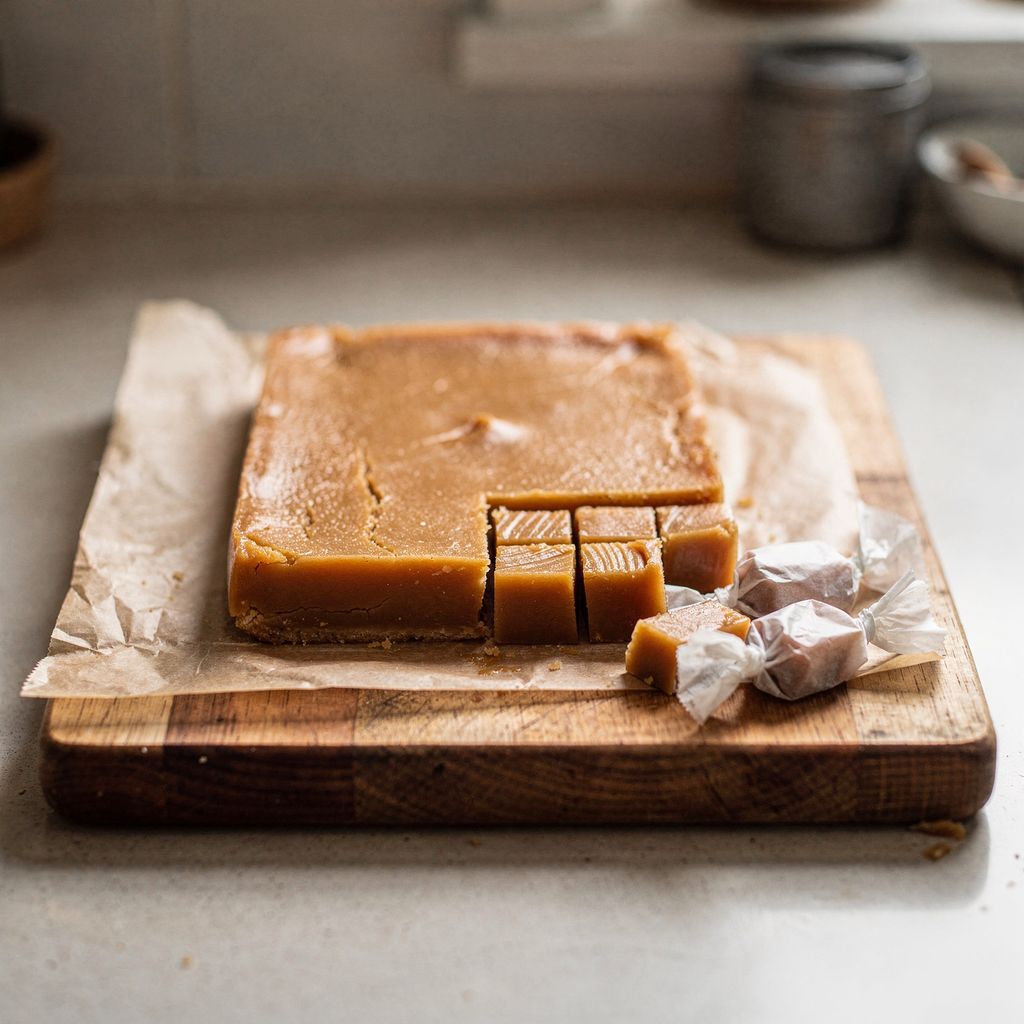
Cutting: lift the block out onto a board using the paper. Oil the knife and cut strips first, then cubes, typically 2 × 2 cm or 1.5 × 3 cm. If the mixture stretches as you cut, chill it for 15–20 minutes and cut right after taking it out; if it cracks, it's too cold — let it warm up a little first.
Between cuts, wipe the knife and re-oil it lightly.
Don't stack cut caramels on top of each other — even once set, they slowly flow and would fuse into one block within an hour.
Wrap each homemade caramel individually in baking paper; stored in a dry, airtight container they'll keep for about 2 weeks, or roughly a month in the fridge. Wrap them right after cutting, in squares of baking paper (about 10 × 10 cm) or in twisted cellophane. Left unwrapped, caramels will spread and stick together.
Room temperature, dry airtight container: about 2 weeks.
Fridge: about a month. Let them warm up before eating — they're firm when cold.
Moisture is their enemy. Sugar draws water from the air, which makes the surface sticky. This is especially true for caramels made with invert sugar or honey.
Wrapped caramels make a lovely gift — more of them fit into a lidded jar, and thanks to the wrapping they won't stick together even in a warm room.
Grainy caramels come down to sugar crystals, hard ones were cooked to too high a temperature, and runny ones to too low a one. You can diagnose most mistakes by texture.
Grainy, sandy: the sugar crystallised. Usually caused by undissolved sugar on the sides of the pot, vigorous stirring early on, or missing glucose syrup. Next time, wipe the pot's sides with a wet brush and don't skip the syrup.
Hard, teeth-breaking: the mixture overshot the temperature. Check your thermometer in boiling water and pull the pot off 2°C (about 4°F) earlier next time.
Spreading, won't hold shape: the mixture didn't reach temperature. If it hasn't set yet, you can return it to the pot, add a few tablespoons of water, melt it down and cook it properly.
Bitter, dark flavour: the bottom scorched. Stir along the bottom and keep the heat at medium — a heavier pot helps too.
Greasy layer on top: the fat separated from the mixture, usually after adding cold cream. Take the pot off the heat, add 1–2 tablespoons of hot water or cream, and stir vigorously until it comes back together.
Flavour basic cream caramels with salt, chocolate or nuts, stirred in only after taking the pot off the heat so nothing turns bitter; add coffee and spices to the cream before you pour it in.
Salted: ½ teaspoon fine salt in the mixture, plus a few flakes of sea salt on top of the set caramel before cutting.
Chocolate: stir in 50–80 g chopped dark chocolate along with the butter. The mixture will set a touch firmer.
Coffee: dissolve 1–2 teaspoons instant coffee in the warm cream before adding it.
Spiced: add cinnamon, cardamom or vanilla seeds to the cream and let it infuse for 10 minutes.
With nuts: stir in toasted chopped hazelnuts or pecans at the end, about 80 g per batch.
A softer mixture cooked to 116–117°C (241–243°F) works better as a filling than for cutting. If you've got extra caramel for pouring, try this homemade caramel sauce made with 4 ingredients.
Yes, you can make homemade caramels from sweetened condensed milk: cook it with butter, sugar and a little glucose syrup to 118–122°C (244–252°F). The caramels turn out sweeter and milkier, but the mixture scorches on the bottom more easily, so stir even more carefully and cook over a lower heat.
To make vegan caramels, replace the cream with thick coconut milk that has a high coconut extract content (ideally around 60% or more — check the label), and replace the butter with a dairy-free spread (check the label) or coconut fat. The temperature stays the same, 118–122°C (244–252°F). The caramels will have a slight coconut flavour and be a touch less firm, so aim for the upper end of the range.
To make a bigger batch of homemade caramels, multiply all the ingredients by the same number and cook the mixture to the same 118–122°C (244–252°F). A double batch fits a 20 × 20 cm tin. The pot needs to be at least three times bigger than the volume of your ingredients, and cooking will take longer, so go by the thermometer, not the clock.
Homemade caramels usually take 20–40 minutes to cook once the cream goes in, depending on the quantity, the size of the pot and how strong your stove is. But the time is only a rough guide — they're done once the thermometer reads 118–122°C (244–252°F), not after a set number of minutes.
Yes, wrapped caramels keep in the freezer in a sealed container for roughly 2–3 months. Thaw them in the closed container at room temperature. If you opened the container right away, moisture would condense on the cold caramels and the surface would turn sticky.
One recipe worth heating the oven for, one tip, and one deal from the shop. Nothing else.