Light and airy génoise sponge cake
Updated Sep 18, 2026
Cake decorating for beginners comes down to seven techniques: a smooth scraped side, rustic waves with a spatula, piped stars and rosettes, the naked cake, a chocolate drip, fresh fruit and herbs, and grated chocolate or sprinkles. The road there runs through seven steps — chill your cake layers, level off the domed tops, pipe a dam of frosting around the filling, spread a thin crumb coat, chill the cake again, apply the final layer, and smooth the sides with a scraper. You don't need a set of twenty piping tips or an airbrush. You need frosting at around 20–22°C (68–72°F), one offset spatula, and the patience to let the cake chill between layers. This guide walks you from a bare sponge to a finished cake — and points out exactly where beginners tend to go wrong.
For your first decorated cake, you only need four things — a long knife for levelling the layers, an offset spatula for spreading frosting, a cake scraper for smoothing the sides, and a piping bag — plus a fifth item that will make life much easier: a turntable. Everything else is a nice-to-have, not a requirement.
A long, smooth-bladed knife — levels off the domed tops of your layers. A serrated bread knife works too, just use a sawing motion rather than pushing down.
An offset spatula — spreads frosting without your fingers digging into it. The single most-used tool in the whole process.
A cake scraper — a flat plastic or metal edge you use to smooth the sides. There's no getting a smooth side without one; an offset spatula alone will always leave waves.
A piping bag — disposable ones are more practical when you're starting out, since you don't have to wash them out between colours.
A turntable (that bonus fifth item) — the biggest difference between a slog and a smooth process. Before buying one, try a workaround: a shallow plate turned upside down on top of a wide glass. It spins surprisingly well.
Piping tips are optional. You can manage a smooth side, wavy texture, drip, and fruit decoration without any of them, and a corner snipped off a piping bag makes a surprisingly decent line.
Frosting for decorating is best kept around 20–22°C (68–72°F), and definitely under 25°C (77°F). At this temperature it holds its shape while still spreading smoothly, and the wrong frosting temperature is the single most common reason a beginner's cake doesn't turn out.
When the frosting is too warm (kitchen above 25°C/77°F, butter left out since morning), it slides down the sides, squeezes out between the layers, and the cake starts to lean. Fix: pop the whole bowl in the fridge for 10–15 minutes, then briefly re-whip it. Never whip frosting straight from the fridge without stirring first — it'll turn grainy.
When the frosting is too cold, it tears the surface of the layer and looks curdled, as if it's fallen apart. In reality, the butter has just seized up. Wrap the bowl in a towel soaked in hot water and keep whipping until the emulsion comes back together. This trick can rescue frosting that looks completely ruined — curdled buttercream is almost always a temperature problem, not a spoiled ingredient.
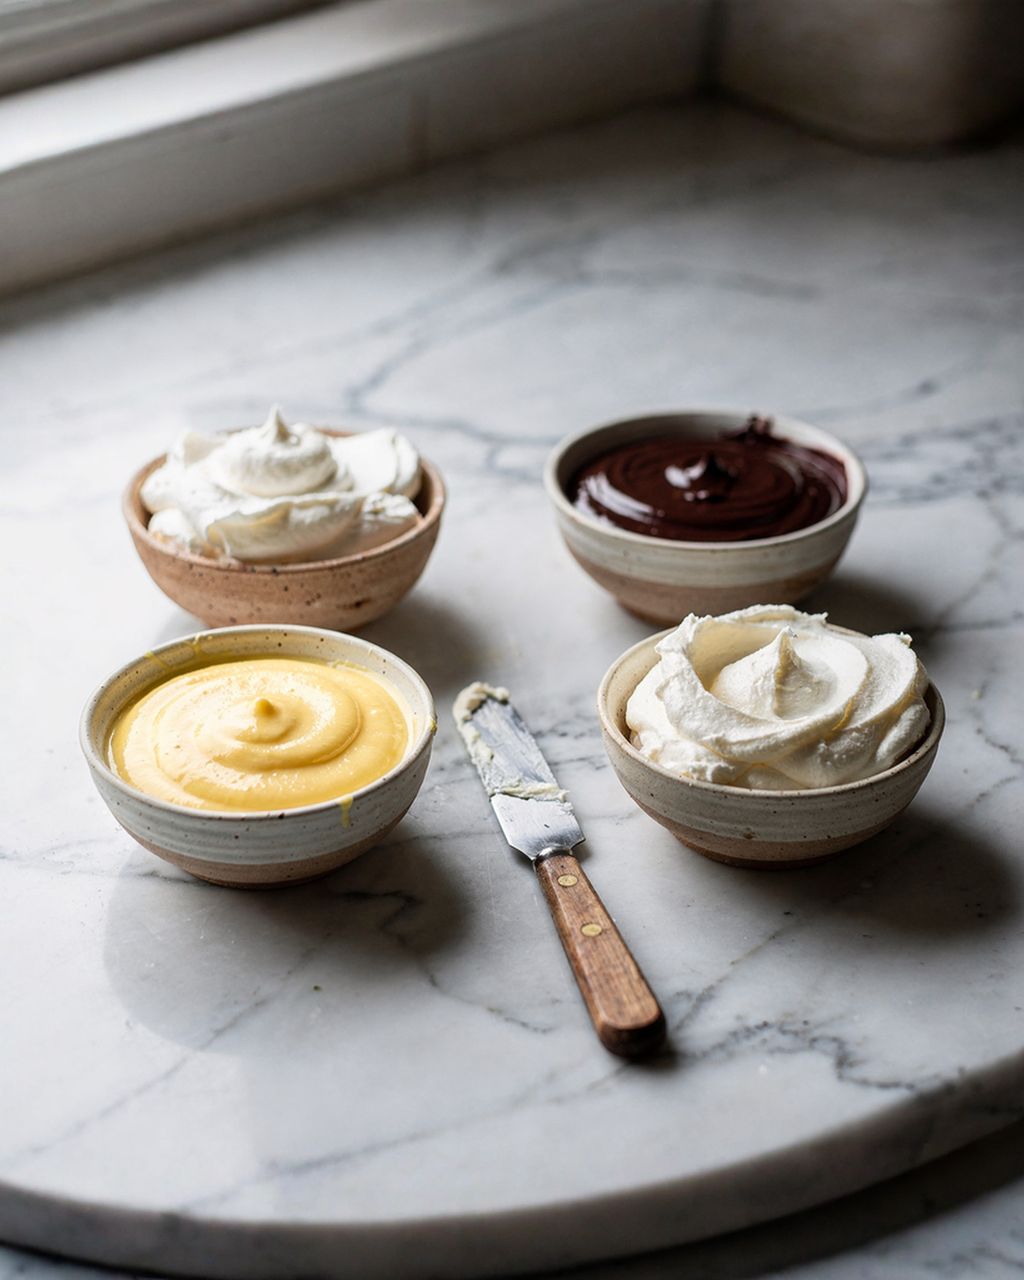
For beginners, buttercream is the safest bet, ganache is what belongs on a drip, and you won't get a smooth side with whipped cream or cream cheese frosting.
Buttercream — the only frosting a beginner can reliably use for a smooth side and crisp piped stars. Holds up at room temperature.
Ganache — the firmest coating and the only right choice for a drip. Sets into a hard shell once it cools.
Whipped cream and cream cheese frostings — taste the best, but aren't suited to a smooth side: they're soft, hold their shape only briefly without stabilising, and cakes made with them need to stay in the fridge.
For fruit-topped cakes made with whipped cream and mascarpone, it's better to go for a rustic look or a naked cake rather than chase a mirror-smooth side.
The process has seven steps, and the order isn't arbitrary — each one fixes a problem that the next step would otherwise make worse:
Chill the cake layers — you can't decorate a warm or even lukewarm layer; it crumbles and the frosting melts on it.
Level the tops flat with a long knife.
Build a dam of frosting around the edge, then add the filling inside.
Spread a crumb coat — a thin layer of frosting over the whole cake.
Chill for 30 minutes, until the surface stops feeling sticky.
Apply the final layer of frosting, generously if you like.
Smooth the sides with a scraper and even off the top edge.
Three of these steps decide whether the cake looks homemade or amateurish: the frosting dam (step 3), the crumb coat (step 4), and smoothing the sides with a scraper (step 7). That's why they get a bit more detail below.
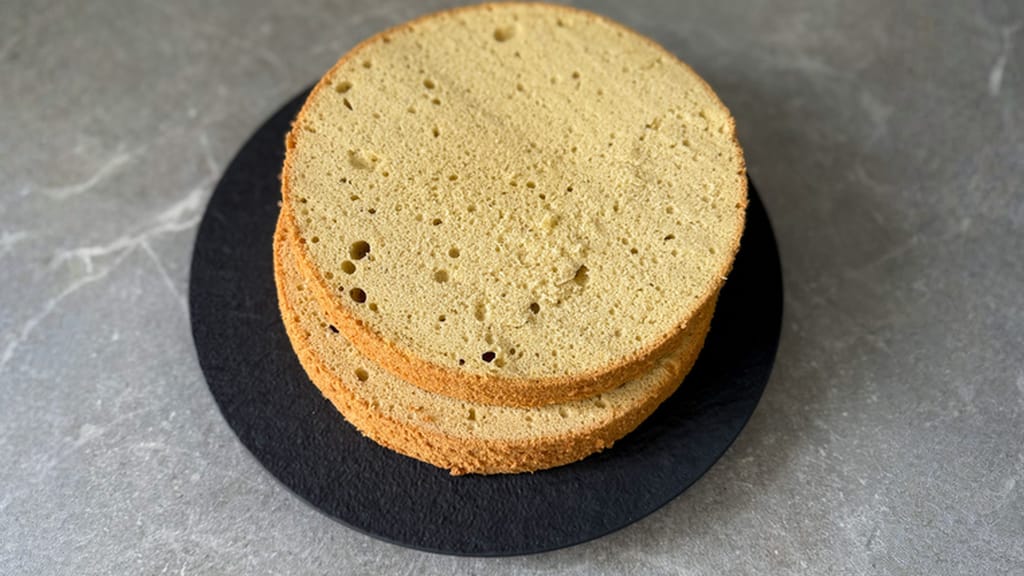
Light and airy génoise sponge cake
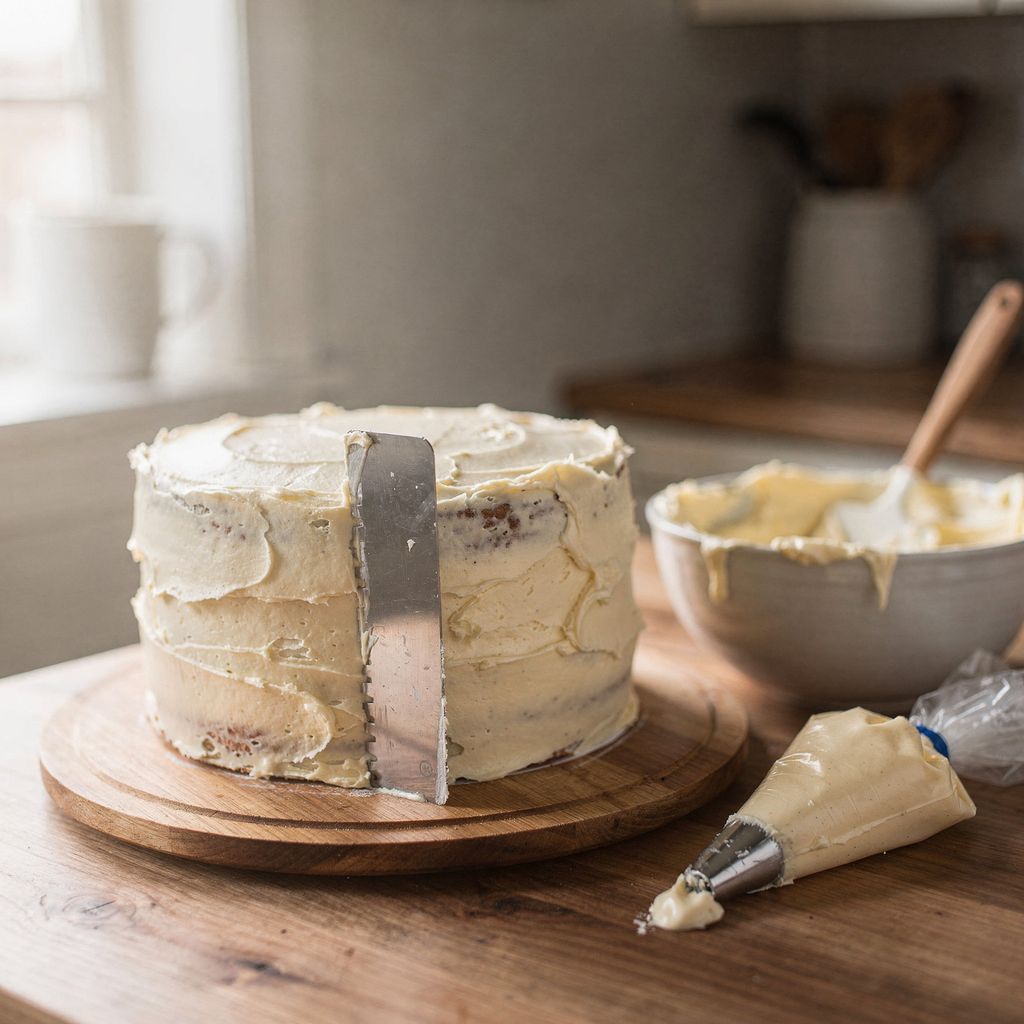
A light, fluffy Génoise sponge — the sturdy base that makes learning to decorate a cake easiest
A dam is a ring of stiffer frosting piped around the edge of the layer that holds a runnier filling in place. Without it, lemon curd, fruit purée, or jam gets pushed outward under the weight of the layer above and breaks through the coating — that's the bulge that shows up on the side of the cake an hour after you've finished decorating.
Pipe the ring about a centimetre from the edge and slightly taller than the layer of filling will be. Pour the filling inside and level it off with a spatula flush with the dam. Only then set the next layer on top — and set it down gently, don't press.
The crumb coat is a deliberately thin layer of frosting that glues crumbs to the cake so they don't end up mixed into the final layer. It should be thin enough that the sponge shows through — the texture is a bit like peanut butter, somewhat softer than the frosting you'll use for the final coat.
Besides trapping crumbs, it does one more thing beginners don't expect: once chilled, it clearly reveals where the cake is uneven, where the side bulges, and where the filling is pushing outward. All of these problems are easy to fix now — and almost impossible to fix later.
Next comes chilling: at least 30 minutes in the fridge, until the surface stops feeling sticky. In a warm kitchen above 22°C (72°F), allow more like 45–60 minutes. This is the step beginners skip most often, and it's exactly the one that holds the cake together as one solid piece instead of a wobbly stack.
Hold the scraper upright against the surface and spin the turntable, not the scraper. That's the whole trick: your hand stays still in one spot, resting lightly against the side of the cake, while the cake turns underneath it. As soon as you start moving your hand, you'll create waves.
Before you get there, apply more frosting for the final layer than you think you need — extra is your working material, and you can always take some off, but adding to a side you've already started smoothing almost never works.
After each full turn, wipe the excess off the scraper and keep going. You'll end up with an overhang of frosting at the top — smooth that off last with an offset spatula, working from the edge toward the centre, always inward.
Seven techniques you can pull off with no experience and no special equipment: a smooth scraped side, rustic waves with a spatula, piped stars and rosettes, the naked cake, a chocolate drip, fresh fruit and herbs, and grated chocolate or sprinkles. Each one is explained below.
A smooth side with a scraper — the cleanest result and the foundation for everything else. Needs buttercream or ganache; won't work with whipped cream.
Rustic waves — use the back of a spoon or the tip of an offset spatula to create swirls and waves in the frosting. Surprisingly the most forgiving technique of them all: unevenness isn't a flaw, it's part of the look. Start here.
Piped stars and rosettes — a star tip, bag held upright to the cake, squeeze, release pressure, lift away. A row of stars piped side by side covers the whole surface, and no one will know what's underneath isn't perfectly smooth.
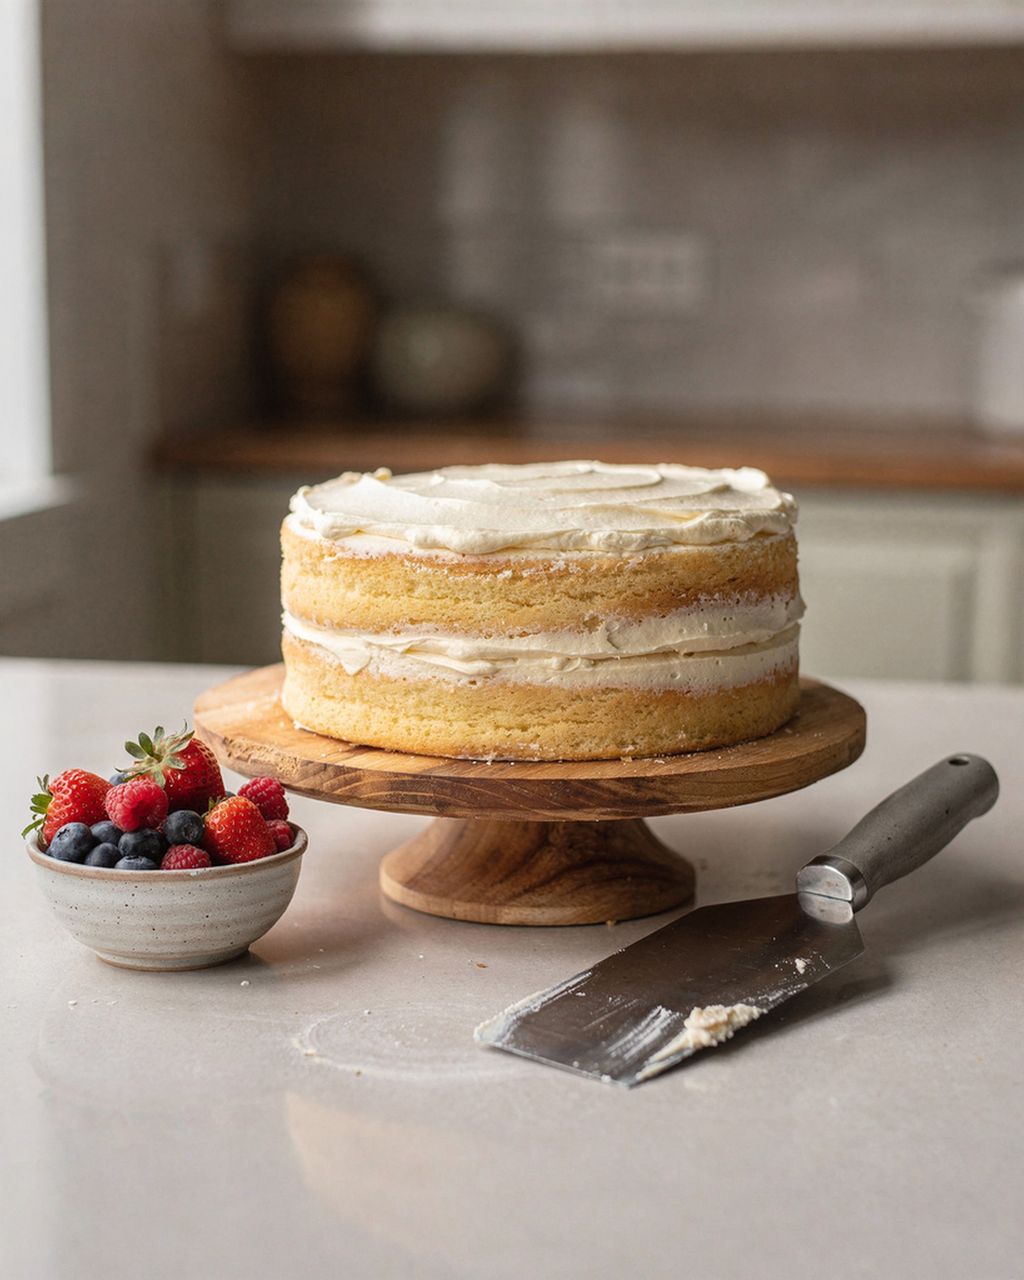
The naked cake — the sides get just a light scrape, leaving the sponge visible. If you're short on frosting or confidence, this is the fallback that actually looks intentional.
Chocolate drip — chocolate dripping down over the edge. Looks the most complicated of the lot, but it's really mostly about temperature (see below).
Fresh fruit and herbs— raspberries, blueberries, strawberries, figs, a sprig of mint. Arrange them in an asymmetric cluster on one side of the top rather than a neat, centred circle — it looks far more polished.
Grated chocolate, sprinkles, crumbs, nuts — press any loose, textured topping into the bottom third of the side with the flat of your hand. It hides absolutely everything that didn't go to plan.
The fastest route to a cake you won't be embarrassed by: rustic waves (technique 2) plus an asymmetric fruit cluster (technique 6). Two techniques, zero special tools.
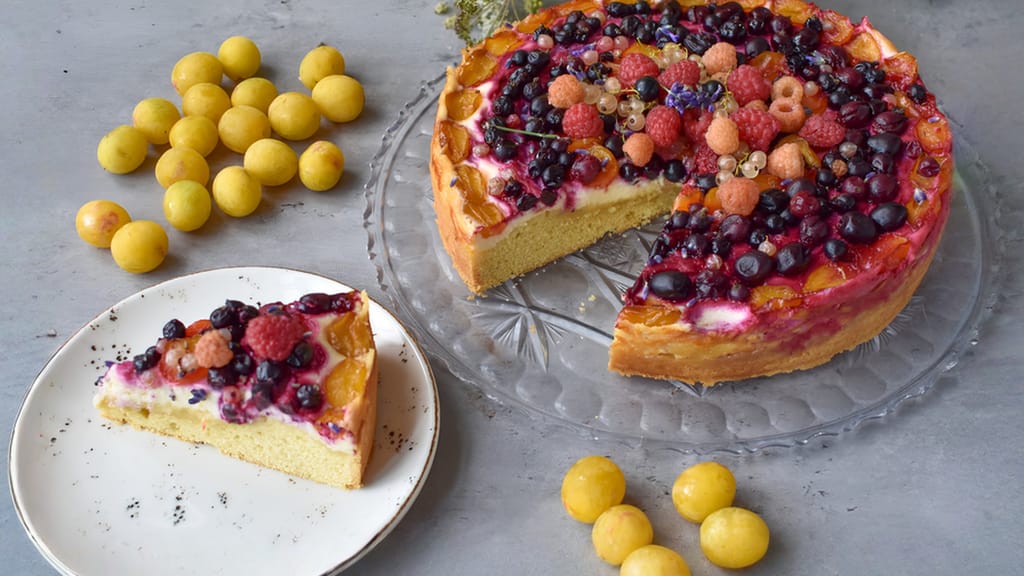
Summer mascarpone and curd cheese cake with loads of fresh fruit
A summer cake with mascarpone, cream cheese frosting, and a heap of fresh fruit — a naked cake where the fruit is the whole decoration
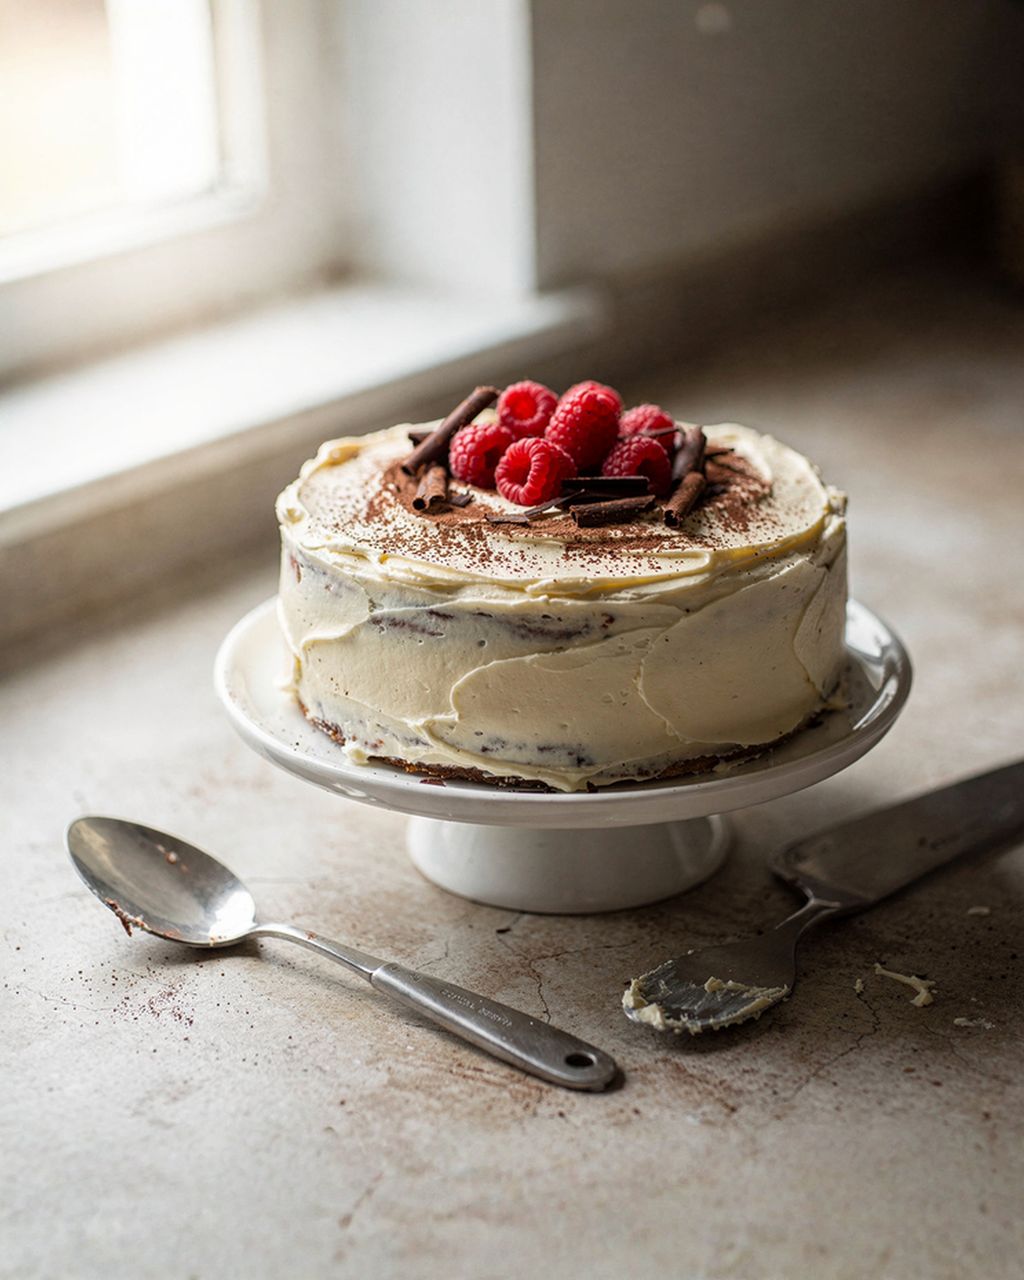
For a drip, use ganache at a 1:1 ratio — equal parts chocolate and whipping cream by weight. With dark chocolate, add an extra two tablespoons of cream on top: it has more cocoa solids, sets harder, and at a straight 1:1 ratio it tends to crack.
A ratio of 2:1 (twice as much chocolate as cream) is for coating and filling, not for a drip — it sets into a firm, spreadable paste.
Temperature decides everything else. Ganache for a drip should sit around 29–32°C (85–90°F); above 32°C it runs too far down the side, and any colder and it drips in clumps. The cake, on the other hand, needs to be straight from the fridge and properly chilled — a cold side stops the drip halfway down, exactly where you want it.
Before you commit to the cake, test the consistency on an upturned cold glass: drip a little over the edge and watch how far it runs. Runs too far? Let the ganache cool a bit longer. Doesn't run at all? Give it five seconds in the microwave and test again. This one test is what separates a clean drip from one that ends up pooling all over the plate.
A chocolate drip works beautifully on a simple chocolate cake, and if working with chocolate gets you hooked, our guide to homemade chocolate truffles is the natural next step into tempering.
Almost every decorating fail comes down to one of five causes — and all of them are fixable:
A bulge has appeared on the side. The filling got pushed outward under the weight of the layer above. Prevention is a frosting dam; the fix is to scrape off the frosting at that spot, chill the cake for 20 minutes, and recoat.
There are crumbs in the frosting. You skipped the crumb coat, or didn't chill it. This one can't be fixed retroactively — just apply a fresh layer over the chilled surface.
The frosting is sliding and the cake is leaning. It's too warm. Put the whole cake and the frosting bowl in the fridge, wait 20 minutes, and continue. Don't try to "power through" it by working faster.
The drip ran all the way down onto the board. The ganache was too warm, or the cake was too warm. Let the ganache cool, and always take the cake straight from the fridge before adding a drip.
There are air bubbles in the frosting. These come from whipping at high speed in a stand mixer. Re-whip the frosting for a couple of minutes on the lowest speed using the paddle attachment — the bubbles will work their way out and the frosting will turn silky.
And one mistake that trumps all the others: decorating in a hurry. Every chilling step you skip comes back to bite you a step later.
Practise on cupcakes and a plain plate. A cupcake has a small surface, uses barely any frosting, and you can learn a star tip on it in ten minutes flat — and if it doesn't turn out, you just eat it.
Pipe twenty stars side by side on a plate and watch for just one thing: whether they're all the same size. Even pressure on the bag is the whole skill of piping. Scrape the frosting back into the bowl afterwards and reuse it.
More of this skill carries over from cookie decorating than you'd expect — working with icing consistency and fine lines is exactly the same discipline used for gingerbread cookies. If you've tried it before, gingerbread icing will have already given your hand exactly the feel it needs now.
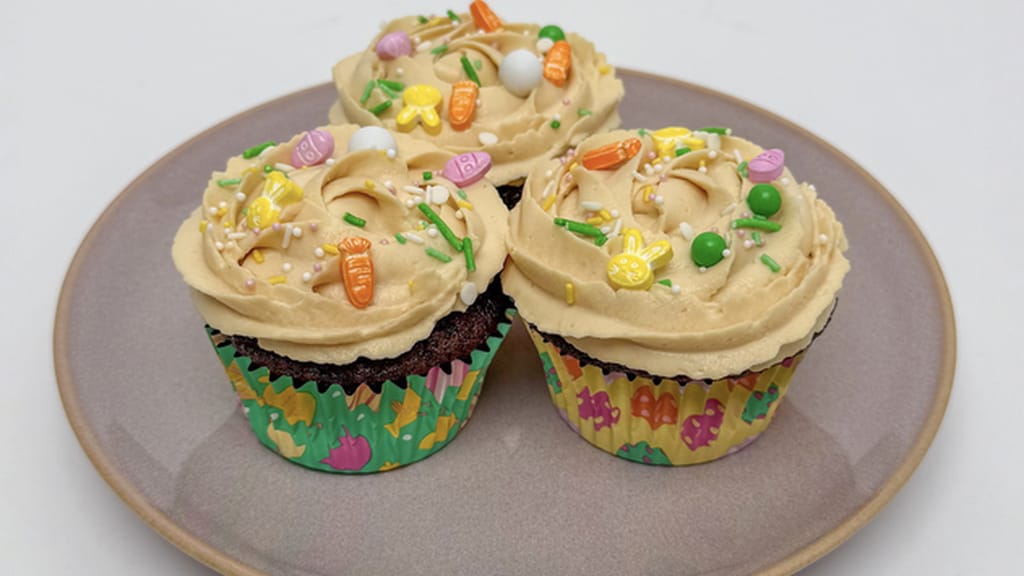
Chocolate cupcakes with salted caramel cream
Chocolate cupcakes with caramel frosting — ideal practice for a piping bag and star tip
A cake with buttercream or ganache can be decorated up to a day ahead and kept in the fridge — the flavour actually improves. A cake with whipped cream or cream cheese frosting should be decorated on the day you're serving it, ideally just a few hours before. Add fresh fruit right at the very end: it releases juice and will bleed colour into the frosting overnight. Take a chilled cake out of the fridge 30–60 minutes before slicing so the frosting isn't rock hard.
For a cake made of three 18cm (7-inch) layers, plan on roughly 1,000–1,300g of frosting — about 200–250g for each of the two filling layers, 200g for the crumb coat, and the rest for the final coat and decorations. Make more rather than less: whipping up a fresh batch mid-decorating means it'll come out at a different temperature and shade, and it will show on the cake. Any leftover frosting can be frozen and used later on cupcakes.
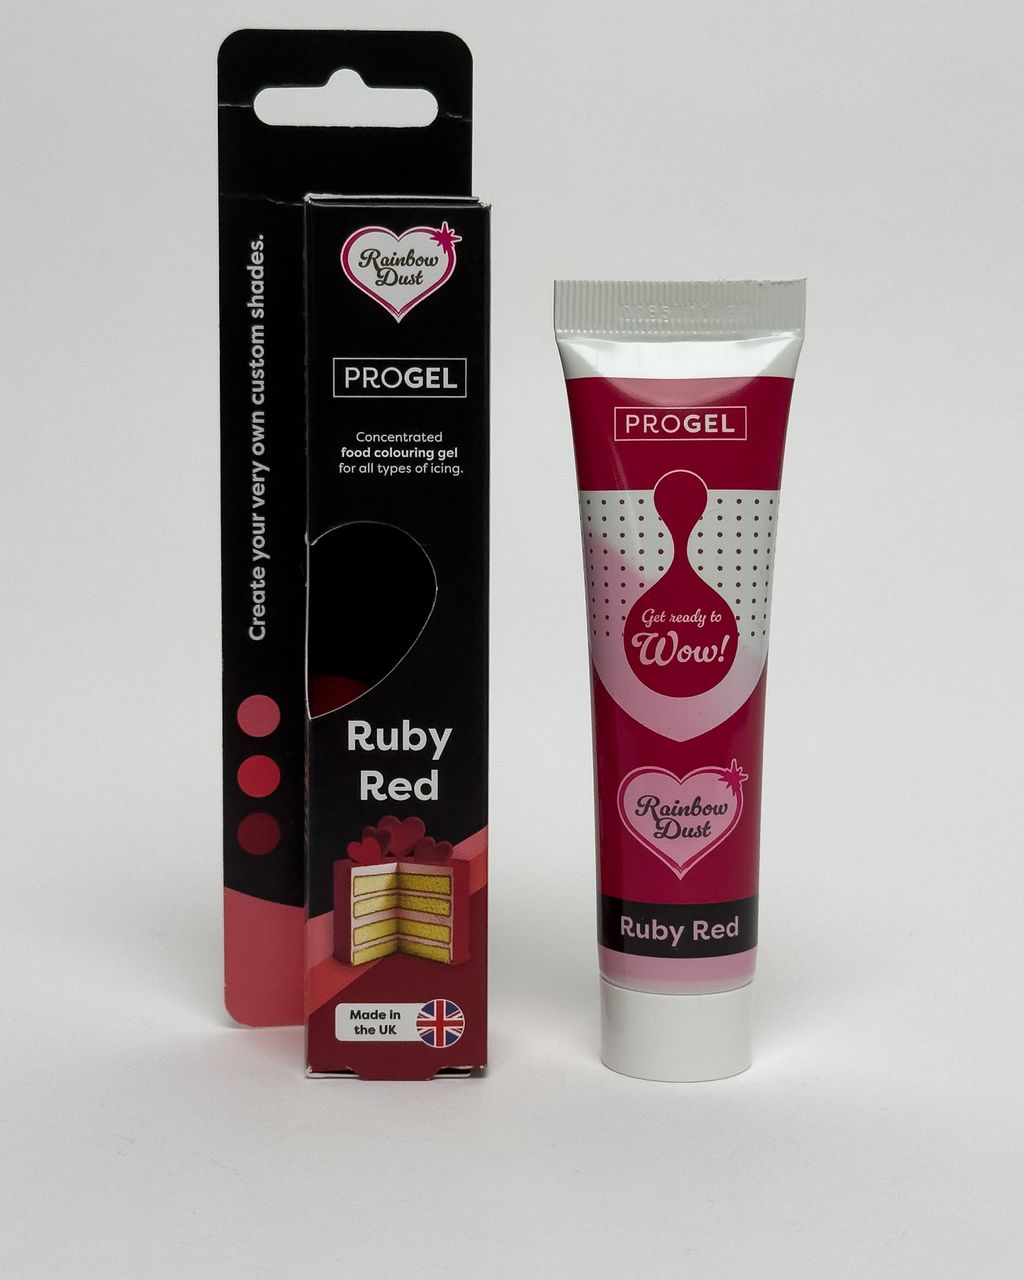
Use gel food colouring, not liquid — gel is concentrated pigment and won't thin out the frosting. With liquid colouring you'd need so much that the frosting turns runny and stops holding its shape. Add colour a few drops at a time and let the frosting sit: after 15–20 minutes the shade deepens slightly, and it won't reach full intensity for another 2–3 hours, so mix black and deep red the day before if you can. Butter's natural yellow tint also means you'll never get a truly pure white or a vivid blue.
Chill the cake for at least an hour before you travel — cold frosting is firm and can handle bumps, warm frosting can't. Set it on a flat board inside a tall box, and put the box on the floor of the car in front of a seat, never on the seat itself. In summer, use a cool bag with chilled packs along the sides, never resting directly on the cake. Add any tall or delicate decorations — drip, tall rosettes, fresh fruit — only once you've arrived.
A cake with buttercream or ganache freezes well; one with whipped cream, cream cheese frosting, or fresh fruit doesn't — the water separates on thawing and the frosting turns watery. Only freeze once the frosting has firmly set: put the cake in the freezer unwrapped for an hour first, then wrap it tightly in plastic wrap. Always thaw slowly in the fridge, and don't unwrap it until it's reached fridge temperature — otherwise condensation will form on the cold surface and the frosting will turn runny.
One recipe worth heating the oven for, one tip, and one deal from the shop. Nothing else.