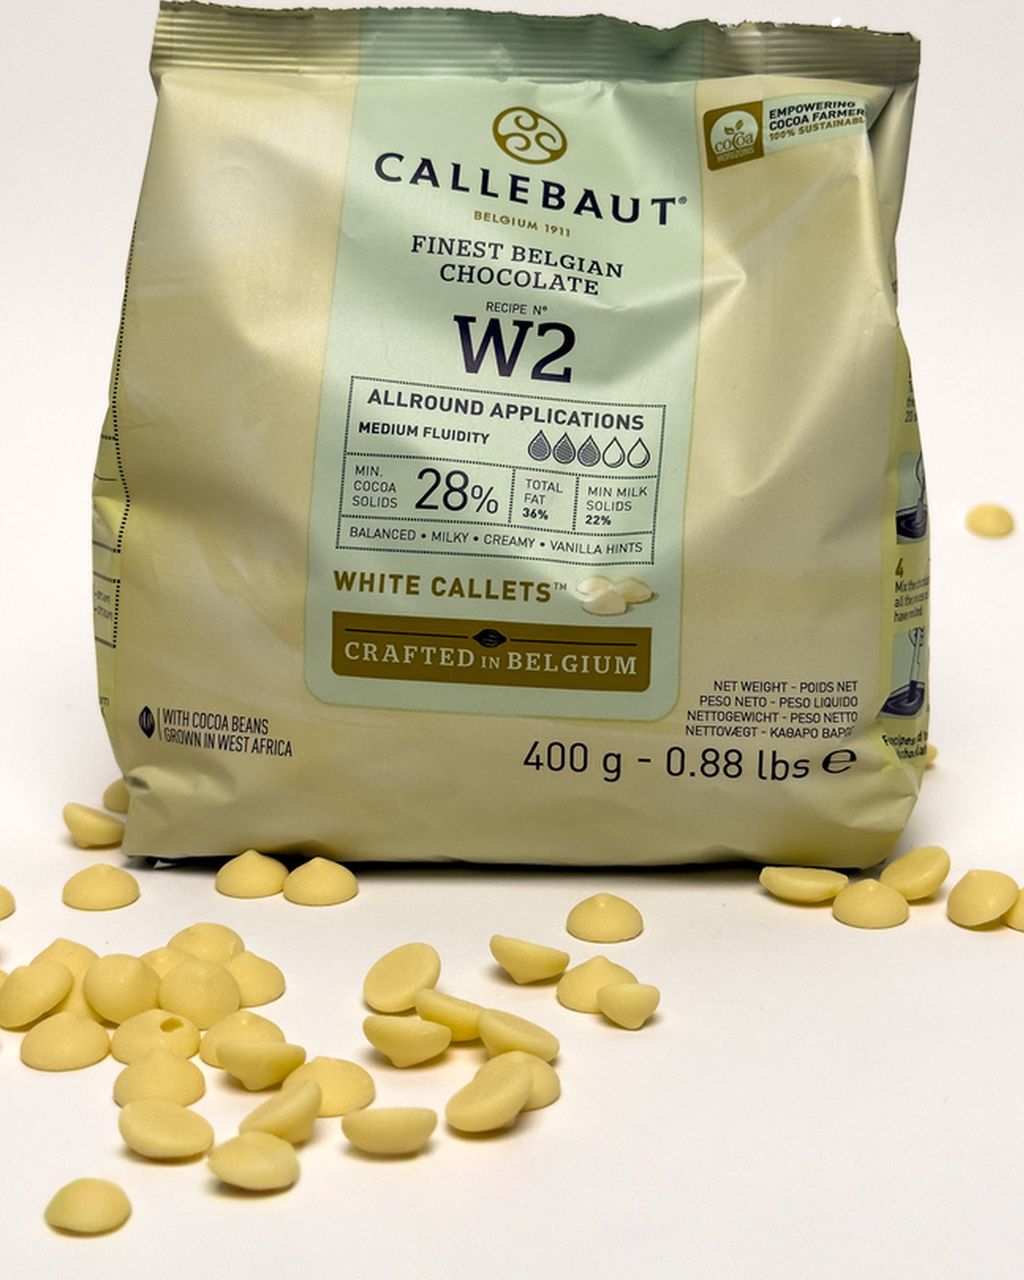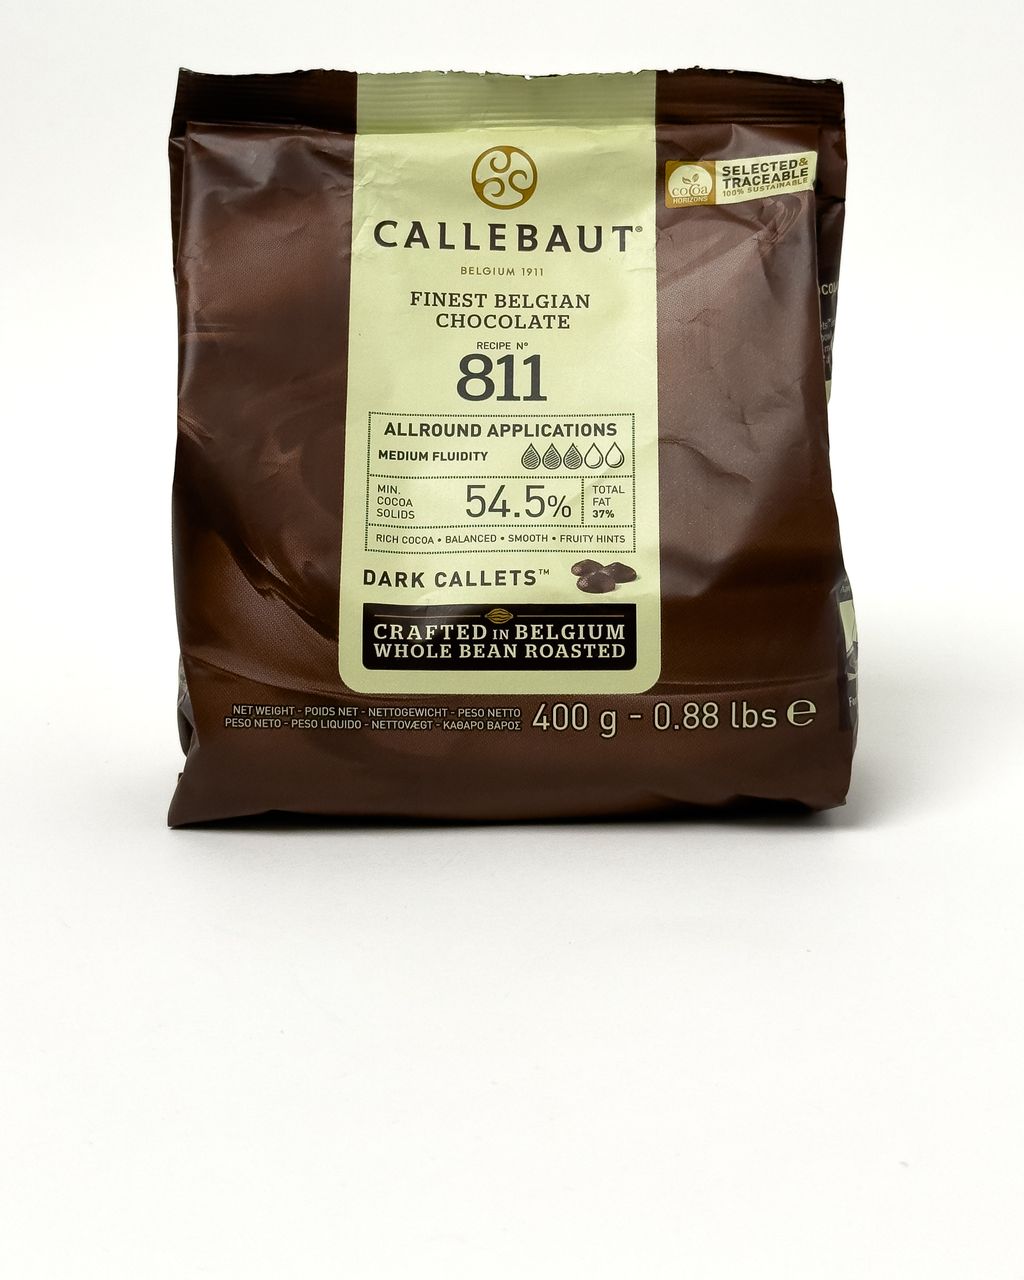
Callebaut Dark Chocolate Callets (811) 400g
How to Frost a Cake with Buttercream or Ganache for Straight Sides and Sharp Edges
Updated Oct 15, 2026
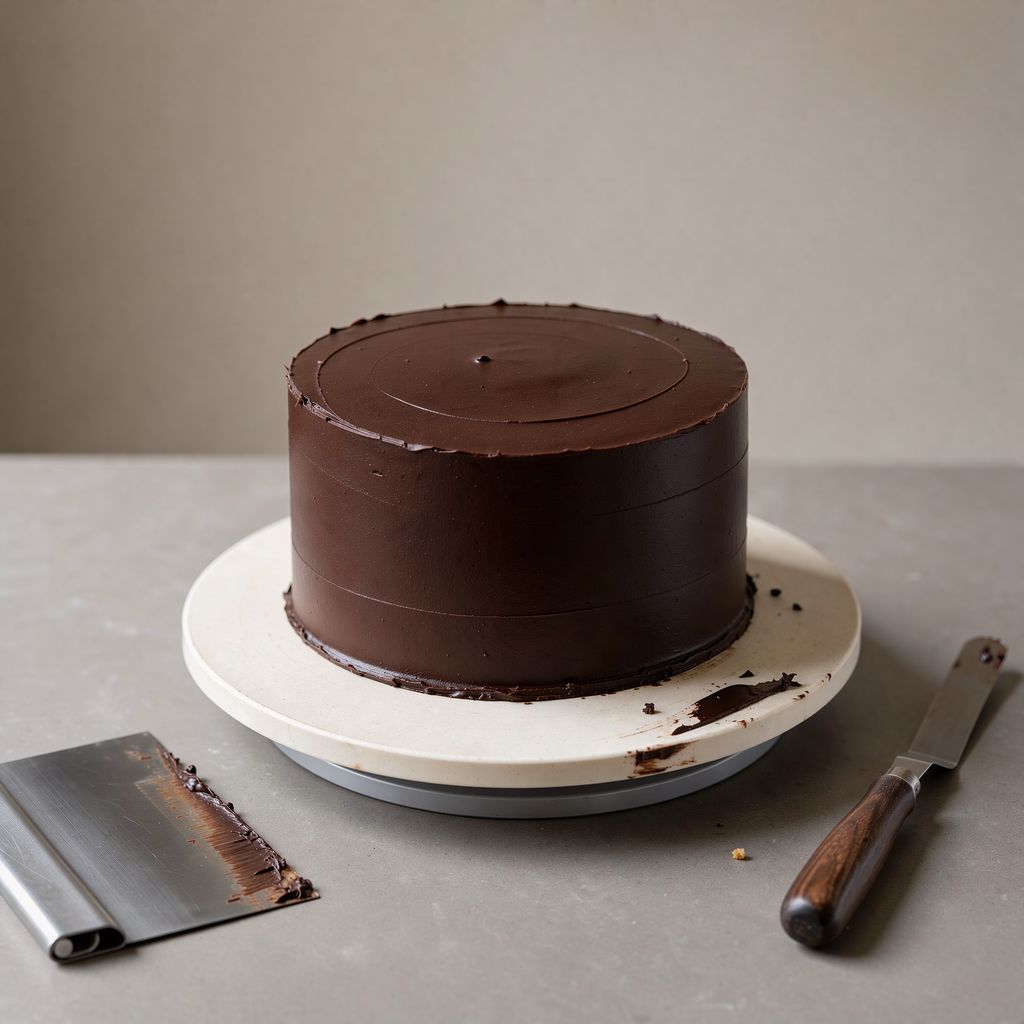
You can get straight sides and sharp edges on a cake with three things: a ganache or frosting that's firm enough, a thin, chilled first coat to trap the crumbs, and a straight scraper that you hold still while the cake turns. Finally, you pull the edge in from the outside toward the center. It's not about talent. It's about temperature, consistency and patience. Here's the whole process, from choosing your frosting to the last pass of the scraper.
For straight sides and sharp edges you need a mixture that sets firm in the fridge and holds its shape at room temperature: firm ganache or buttercream. From firmest to softest:
Dark chocolate ganache in a 2:1 ratio (chocolate to 33% cream, weighed in grams). The sharpest edges and the most working time. The classic base under fondant.
Milk chocolate ganache at 2.5:1 and white chocolate ganache at 3:1. White and milk chocolate contain less cocoa and more milk solids and sugar, so they need more chocolate for the same amount of cream.
Meringue-based buttercream (Swiss or Italian). Smooth, easy to scrape, and it firms up in the fridge.
Mascarpone and white chocolate frosting or firm Parisian-style cream. It holds well, but the edge is a bit softer.
Whipped cream stabilized with gelatin. It works, but it's the most delicate option: the edges are soft and the cake has to stay cold.
Always weigh your ratios, because ratios measured by volume don't work. For all the ratios and why ganache works, see Chocolate Ganache: Ratios, Preparation and Uses. The frostings are covered in firm Parisian cream for cakes, mascarpone and white chocolate frosting and firm gelatin-stabilized whipped cream.
Ganache for covering a cake should have the consistency of peanut butter: spreadable, it stays on the scraper, but it doesn't run. The best way to get there is to let the ganache set overnight (about 12 hours) at a room temperature of around 20 °C (68 °F), not in the fridge. The slowly crystallizing cocoa butter gives it a smooth, velvety texture.
Too stiff? Warm it in the microwave in 5–10 second bursts and stir until it softens.
Too runny? Let it sit a little longer, or stir it briefly in a bowl set over ice water.
Don't whip it. You'll beat air into it, and the bubbles will show on the side of the cake.
Reach for chocolate with a consistent composition stated by the manufacturer, such as Callebaut 811 (dark, 54.5% cocoa, 36.6% fat) or Callebaut W2 (white, 28% cocoa). That way you get the same result every time.
For straight sides you need a turntable, a straight scraper taller than the cake, a small angled spatula and a sturdy cake board. Without a turntable and a straight scraper you can't get sharp edges. The rest is just extra convenience.
Turntable. A heavy metal or cast-iron one that spins smoothly and doesn't wobble. Light plastic turntables shake, and you can see it on the side of the cake.
Straight scraper, at least 2–3 cm (about 1 inch) taller than the cake. A metal one is stiffer and gives a sharper result than a plastic one.
Small angled spatula for spreading the frosting and pulling in the edge.
Cake board exactly the diameter of the cake layers, or 1–2 cm (about ½ inch) larger. The edge of the board acts as a guide for the scraper: the amount it sticks out is the thickness of the frosting layer.
Cake ring and acetate strip for assembling the cake so the layers are straight from the start. You'll find rings and boards on the cake rings and boards page.
We don't currently sell turntables and scrapers. Buy them at any baking supply shop. A turntable is the one worth investing in, because smooth turning does more than anything else.
Straight sides start with the cake layers: when the layers are level and the cake is assembled in a ring, the frosting only has to even things out, not rescue anything.
Bake a sturdy sponge that can carry the weight of the frosting. A reliable base is a fluffy Génoise sponge. It's hard to get sharp edges on a moist, crumbly sponge.
Trim the top and cut the sponge into layers of equal height, ideally 2–2.5 cm (about 1 inch).
Assemble the cake in a ring lined with an acetate strip. The strip keeps the layers exactly on top of each other, and the filling between them sets into a straight wall. Use a strip as wide as the cake is tall (10–12 cm). For how to work with the strip, see Acetate Cake Strips: What They're For and How to Build a Cake with Them.
Let the cake set in the fridge for at least 2–4 hours, ideally overnight. The filling between the layers has to firm up, otherwise the cake starts to bulge under the pressure of the scraper.
The first thin layer of frosting, the crumb coat, traps the crumbs and fills in any unevenness. That keeps the final layer clean and smooth.
Spread 2–3 mm of frosting or ganache over the top and sides, and fill in the gaps between the layers.
Scrape it off straight away with the scraper. It doesn't matter if the sponge shows through, because this layer isn't meant to look pretty.
Put the cake in the fridge for 20–30 minutes, until the coat feels firm and not sticky to the touch.
Use the same mixture for the first coat as for the final one (ganache under ganache, buttercream under buttercream), so the layers bond and don't peel off.
A straight side comes from holding the scraper upright and still and turning only the turntable. The scraper doesn't move; the cake does.
Apply more than you need. With an angled spatula or a piping bag, coat the sides with a layer 5–8 mm thick. Then scrape off the excess.
Set the scraper upright on the turntable. The bottom edge of the scraper rests on the turntable plate, the scraper stands vertically, and its blade touches the side of the cake at an angle of about 30–45°, measured between the blade and the side of the cake.
Turn the turntable smoothly, in one pass. The hand holding the scraper stays in place. After each turn, wipe the scraper clean on a bowl.
Fill in the holes. Where you see gaps or dips, add a little frosting and scrape again.
Let the top overflow. The scraper pushes frosting up over the top edge of the cake, forming a ridge. Leave it for now, because this is what will later become the sharp edge.
Chill the cake for 15–20 minutes and scrape the side once more as a practice run. A chilled layer doesn't tear or lift.
You make a sharp edge by pulling the ridge of frosting above the top edge of the cake from the outside toward the center, and not the other way around.
First chill the cake for 15–20 minutes so the ridge firms up.
Take a straight scraper or a small sharp knife and hold it almost flat.
Start above the outer edge of the cake and, with a short stroke, pull the ridge toward the center. Turn the cake a little and repeat.
Wipe the tool after every stroke. Frosting stuck to the blade will fray the edge.
For a smooth finish, warm the scraper in hot water and dry it. The warm metal lightly melts and smooths ganache or buttercream. This works mainly on ganache, so warm it only gently on buttercream.
The upside-down method gives you a perfectly flat top and a sharp edge because a flat board shapes the top of the cake, not a scraper. It's especially useful for ganache under fondant.
On a sturdy board larger than the cake, lay a piece of parchment paper or acetate and spread it with a layer of ganache about 5 mm thick.
Flip the chilled cake (after its crumb coat) over and press its top into the ganache. Use a spirit level to check that it sits straight.
On the original bottom of the cake, which is now on top, place a board exactly the diameter of the cake plus 2× the thickness of the frosting layer.
Fill the sides with ganache and scrape them with a scraper resting against both the top and bottom boards. Both boards act as a guide.
Let the ganache set (about 1 hour in the fridge, longer at room temperature), flip the cake over and peel off the paper. The top is smooth and the edge is as sharp as if it came from a mold.
You can get a smooth, glossy side even without a scraper: wrap a strip of acetate taller than the cake around the freshly frosted cake and pull it tight. The ganache or frosting sets against the acetate, and when you peel it off in the cold, the side is smooth and glossy. This trick needs a strip the full height of the cake, so 10–12 cm. For the technique in detail, see the article on acetate cake strips.
Most problems on the side of a cake come down to temperature: the cake is too warm, the frosting is too cold, or the cake swings quickly between cold and warm.
A bulge halfway up the cake. The cake is sinking because the filling hasn't set, or the sponge is releasing air. Leave the assembled cake in the fridge overnight and only then frost it.
Cracks in the ganache. A cold cake and ganache expand differently as they warm up. Before covering with fondant or doing the final smoothing, let the cake sit for 15–30 minutes to come up in temperature.
Bubbles and small holes. The ganache has been whipped, or you mixed the frosting too fast. Stir ganache with a spatula, and for buttercream, finish by stirring it by hand for a few minutes against the side of the bowl.
Condensation after taking it out of the fridge. Moisture condenses on a cold surface. Don't touch it; leave the cake to dry at room temperature.
The frosting looks yellowish. Butter and white chocolate are naturally yellow in tone. Add a little white food coloring, such as powdered Sugarflair Superwhite in the E171-free version (titanium dioxide has been banned in food in the EU since 2022, so only use a version that doesn't contain it). A knife tip per 500 g of frosting is enough, then add more gradually. Only then tint it to a pastel shade, and the color will come out cleaner. For how to mix specific colors, see How to Color Frosting.
For a 20 cm (8-inch) cake that's 10 cm (4 inches) tall, plan on 700–900 g of ganache for both the thin first coat and the final coat. For a 24 cm (9½-inch) cake, plan on 1–1.2 kg. It's better to make 100–200 g extra. Some ganache will end up on the scraper, and any leftovers can be frozen.
Yes, but dark chocolate ganache in a 2:1 ratio is the more reliable choice under fondant. It sets firmer, gives sharper edges, and the fondant doesn't sag on it as much. Put a 3–5 mm layer of frosting under the fondant, and chill the cake before covering it so the surface is firm.
You can prepare a cake covered in ganache 1–2 days ahead and keep it in the fridge, ideally in a box so it doesn't absorb odors. Let it come to room temperature for about an hour before serving. The ganache softens and the chocolate flavor comes through.
No. The sponge has to be completely cool, and the assembled cake should ideally be chilled overnight in the fridge until firm. A warm sponge melts the ganache, and under the pressure of the scraper the cake starts to sink and bulge.
One recipe worth heating the oven for, one tip, and one deal from the shop. Nothing else.