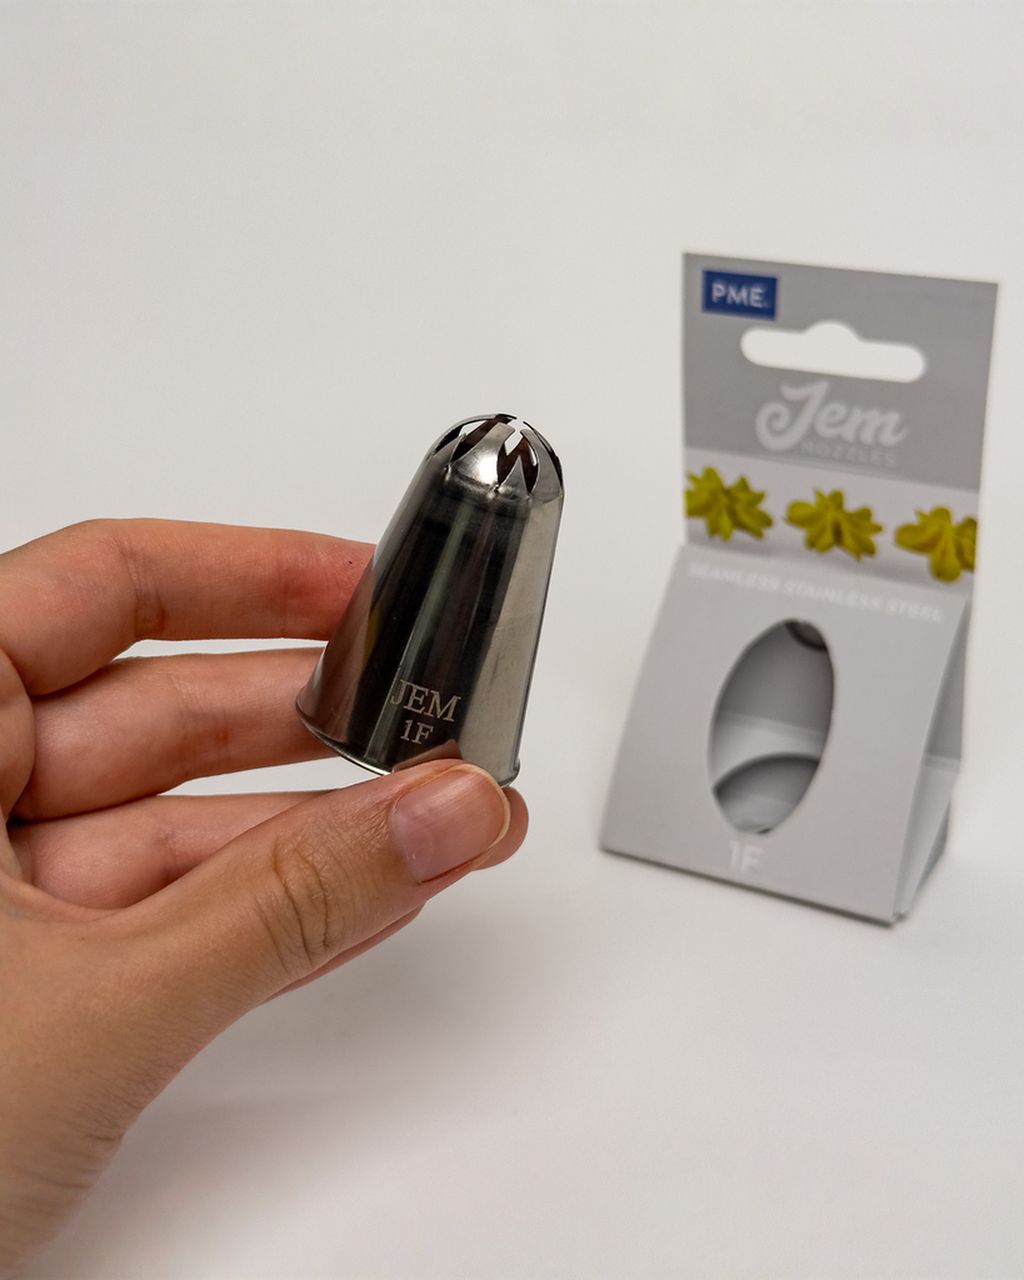
JEM Piping Tip – Drop Flower #2D (Full Flowers & Rosettes)
Rosette Cake: How to Pipe Rosettes All Over a Cake
Updated Oct 15, 2026
To cover a cake in rosettes, use one large star tip (2D or 1F), a firm buttercream, and a set order: sides from the bottom up, then the top from the edge to the center. Each rosette covers the tail of the one before it, so no gaps show. For an 8-inch (20 cm) cake, plan on roughly 40–50 rosettes and about 1.5 kg (3.3 lb) of frosting, filling included. It looks daunting, but it's one motion repeated fifty times. Once your hand finds its rhythm, the cake takes about 20 minutes.
For a whole cake, reach for the 2D. It makes firm, deeply ridged rosettes about 4–5 cm (roughly 2 inches) across and forgives uneven pressure. The 1F gives a bigger, more ruffled rosette that looks more like a real rose, but it uses more frosting and fits fewer rosettes in a row on a small cake.
JEM 2D (closed star tip) – the teeth curve inward, so the ridges are deep and well shaded. The most versatile choice for both sides and top.
JEM 1F (large closed star tip) – more fine teeth, with bigger, fluffier rosettes. Great for large cakes (22 cm / 9 inches and up) and for a top where you want a statement.
1M (open star) – sharper, flatter rosettes with defined points. It's a popular alternative you'll commonly find from Wilton; we don't carry it. If you have one at home, go ahead and use it – the method is the same.
What doesn't work: small star tips (with an opening under 1 cm). The rosettes come out tiny, you'd need over a hundred to cover the cake, and the frosting will soften in the bag before you finish.
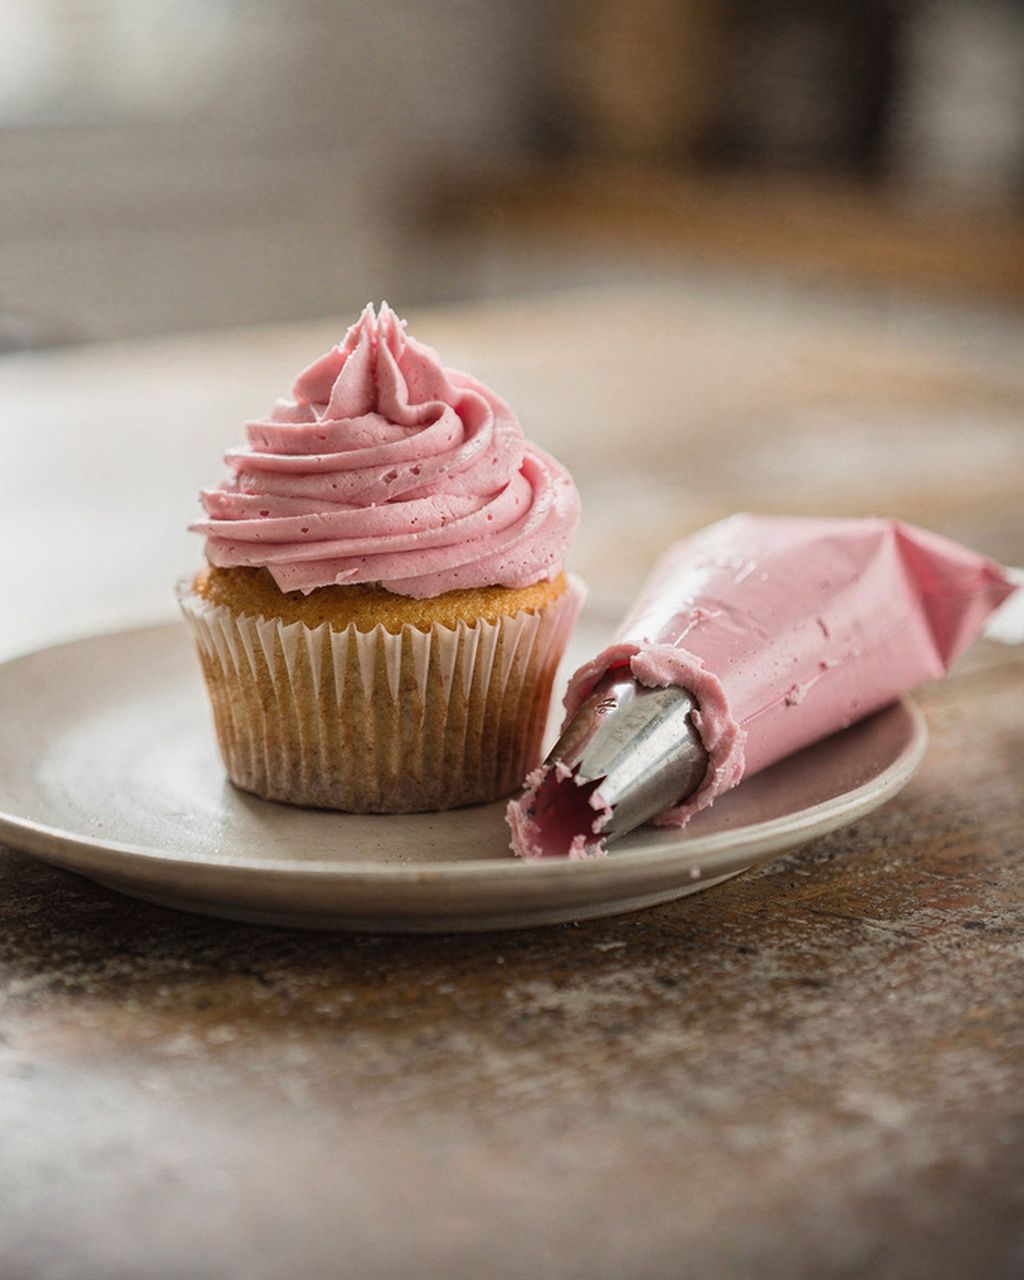
If you'd like to perfect a single rosette first as a practice run, read how to pipe a buttercream rosette on a cupcake. The hand motion is exactly the same; on a cake you just lay it out in rows.
Seasonal baking plans, tested recipes and kitchen tricks that save you time. Unsubscribe in one click.
The best choice is buttercream, either Swiss meringue (made from warmed egg whites and sugar) or simple American (butter and powdered sugar). At 18–20 °C (64–68 °F), both have a consistency that gives a sharp ridge, and the rosette won't sag.
Swiss meringue buttercream – smooth, less sweet, with beautifully glossy ridges. More sensitive to heat: it starts to soften above 24 °C (75 °F). If you want a pure white base for pastel shades, our article on how to whiten buttercream will help.
American buttercream – the firmest, and it sets slightly on the surface, so the cake travels better. It's sweeter.
Stiff whipped cream or mascarpone frosting – it works, but the ridges are softer and the cake has to stay chilled. When and how to stabilize whipped cream is covered in our article on whipped cream stabilizer.
Whipped ganache (Paris cream) – it holds, as long as it's firm enough; you'll find the chocolate-to-cream ratios in our article chocolate ganache: ratios and uses.
Rosettes are not suited to plain unstabilized whipped cream, unstabilized cream cheese frosting, or anything that melts at room temperature. A quick test: pipe one rosette onto a plate and leave it for 10 minutes. If the edges melt away, the frosting is too warm or too loose – put it in the fridge for 10 minutes and try again.
For a 20 cm (8-inch) cake you need 40–50 rosettes and 1.2–1.5 kg (2.6–3.3 lb) of buttercream in total. This is calculated for a cake 10–12 cm (4–5 inches) tall and a 2D tip. Here's the breakdown:
40–50 rosettes: 2–3 rows of 13–15 on the sides and 12–15 on top,
about 700–900 g (1.5–2 lb) of frosting for the rosettes alone,
another 500–600 g (1.1–1.3 lb) for filling between the layers and a thin crumb coat.
It's easy to work out how many rosettes fit in a row: divide the cake's circumference (diameter × 3.14) by the diameter of one rosette. A 20 cm cake has a circumference of about 63 cm, so with 4.5 cm rosettes that's 14. With a 1F tip, plan on fewer, larger rosettes and 15–20% more frosting.
Always make a bit more than you think you'll need. Leftover frosting is handy for cupcakes; running out in the middle of the last row will ruin the cake.
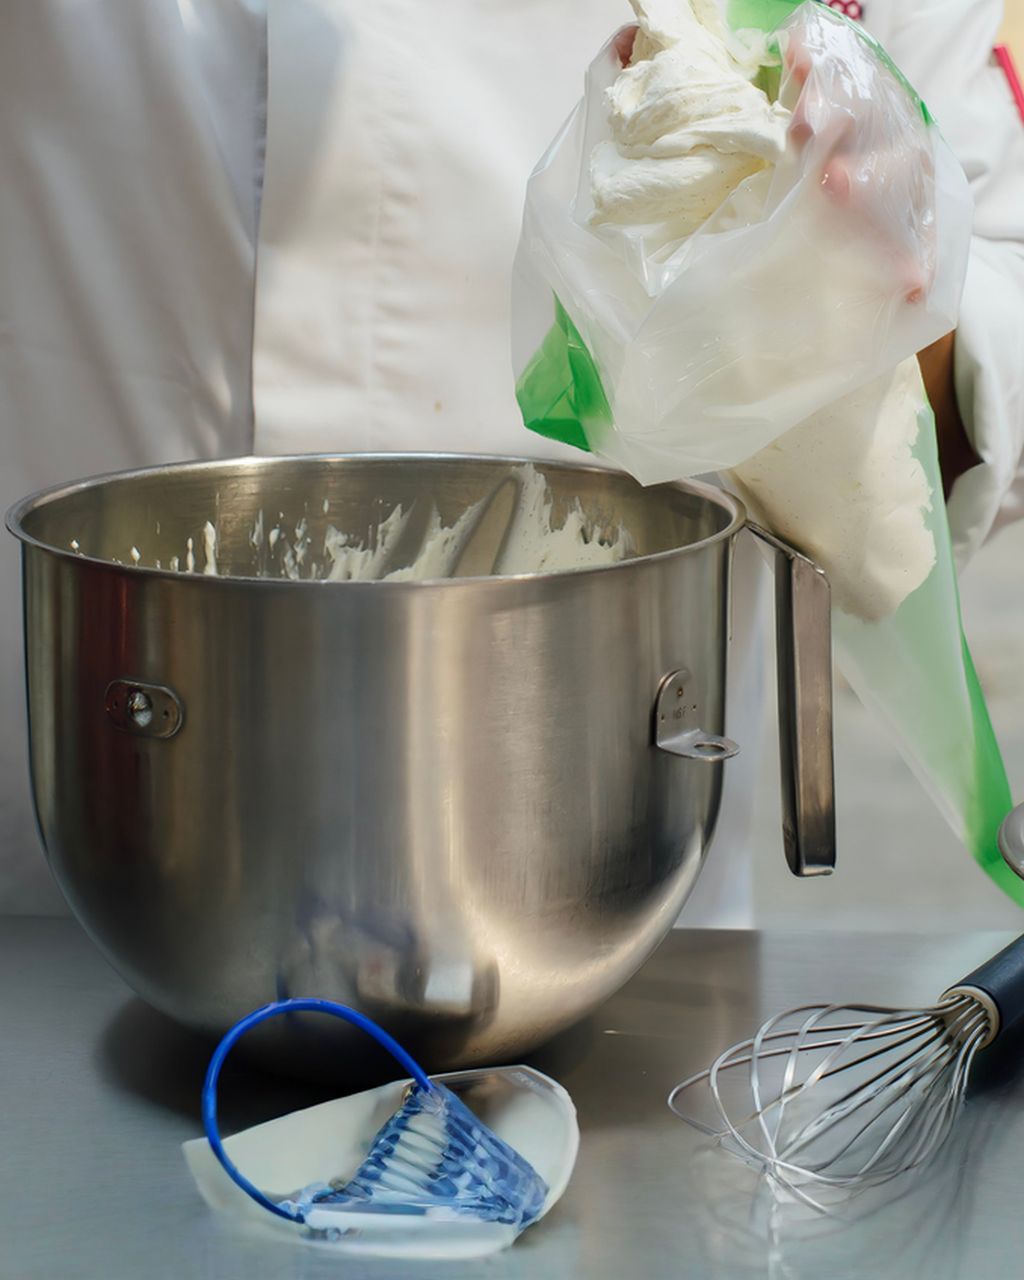
Large tips like the 2D and 1F need a large bag, ideally 46 cm (18 inches). A bag that size comfortably holds about half a kilo (1 lb) of frosting, so you can pipe the sides of the cake in one or two fills. With a small 30 cm bag you have to keep refilling it, and the frosting warms up in your hand for no reason.
Disposable bags (such as One Way 46 cm) – clean, with no lingering smell of the last frosting, and if you're making an ombré, each shade gets its own bag. You can snip the tip to fit your piping tip exactly.
Reusable fabric or silicone bags – they last for years, but you have to wash and dry them thoroughly, or the buttercream will go rancid. For a single color they work just as well.
Fill the bag no more than two-thirds full and twist the top closed. Press with your palm on the twisted end, not with your fingers on the middle of the bag. You'll find bags, tips, and couplers together in the piping bags and tips category.
The process at a glance: crumb coat → chill → bottom row on the sides → more rows going up → outer ring on top → rings working inward → fill the gaps.
Coat the cake with a thin layer of frosting in the same color as the rosettes. The base always shows through a little between rosettes, so a white base under pink rosettes will be visible. The coat doesn't have to be perfect; it just seals in the crumbs.
Chill the cake for 20–30 minutes. A cold, firm base holds the weight of the rosettes and won't shift under the tip.
Start with the bottom row on the side. Hold the tip perpendicular to the side of the cake, so horizontally, about 5 mm from the surface. Squeeze to form a star, then immediately pipe one full circle around it, counterclockwise.
Release the pressure and pull the tail toward where the next rosette will go. This tail is the trick of the whole technique: the next rosette covers it, so the row is continuous with no gaps.
Keep going all the way around. Pipe the last rosette in the row slightly smaller so it fits. Even a slightly shorter circle will hide at the back of the cake.
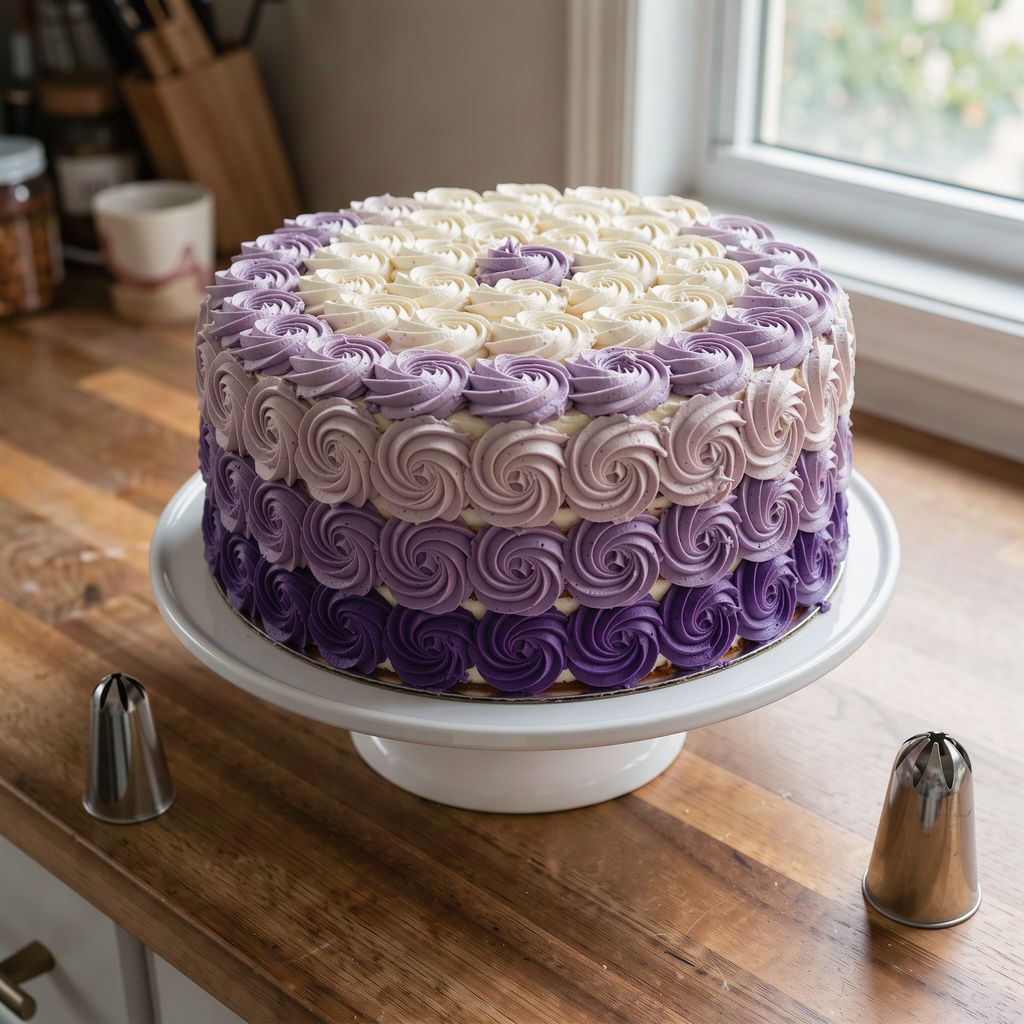
Offset the next row by half a rosette (brick pattern), or place it directly above the bottom row. The offset looks fuller and hides gaps better.
Start the top around the edge. Pipe a ring of rosettes right at the edge, then a smaller ring inside it, and one rosette in the center.
Fill the gaps with small stars from the same tip – a short squeeze, no circling.
Make an ombré cake from three shades of one color: the darkest row at the bottom, the lightest at the top, and the top itself the lightest or white. Divide the frosting among three bowls in roughly a 1 : 1 : 1.5 ratio (the most goes to the lightest shade, because it also covers the top).
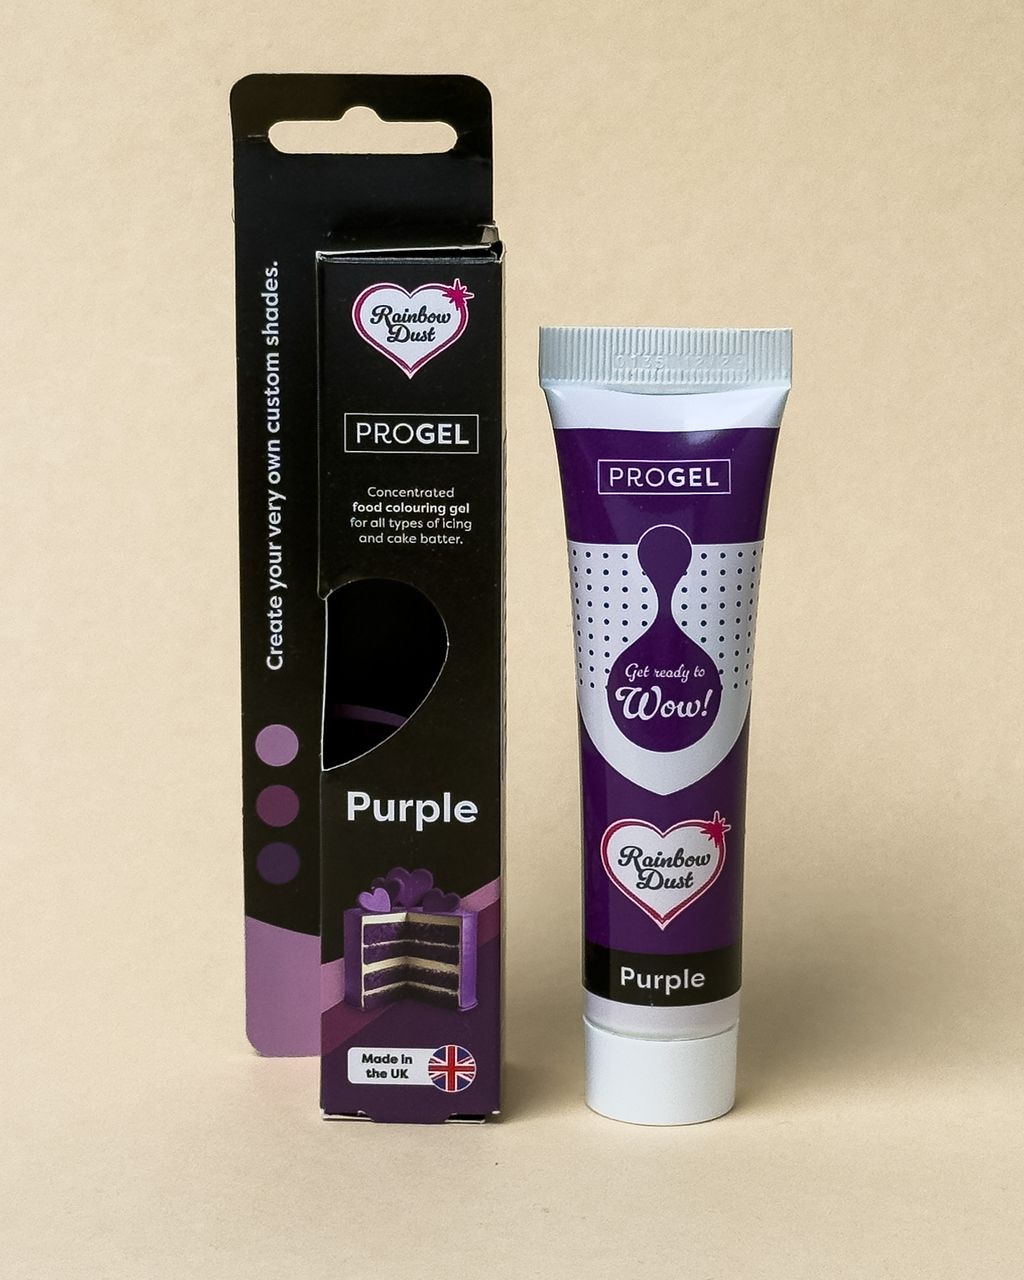
Color with gel food coloring, not liquid. Liquid coloring thins the frosting and softens the ridges; gel colors such as ProGel only need a few drops on a toothpick, so the consistency stays the same.
Start with the darkest shade and add progressively less color to the other bowls – always compare each shade next to the previous one.
The color in buttercream deepens within 1–2 hours. So mix it one step lighter than you want, and let the frosting rest.
Keep each shade in its own disposable bag, but you only need one tip – switch it between bags, or use a coupler.
You'll find the differences between gel, powder, and liquid colorings in our article gel and powder food coloring.
Most failures come down to three causes: warm frosting, uneven pressure, and a soft base.
The rosettes have no sharp ridges and blur together – the frosting is too warm. Set the bag in the fridge for 10 minutes. It also helps to press with your palm on the twisted end, not with your fingers on the middle of the bag.
The rosettes are different sizes – you're changing the pressure or speed. Count in your head: squeeze–circle–release, the same length of time for each one.
The row curves up or down – you're not holding the tip perpendicular to the side of the cake, meaning horizontally. Turn the cake, not yourself; a turntable makes this much easier, but you can also do it on a plate set on a kitchen towel.
Whole rows slide down – the base wasn't chilled, or the frosting is too loose. Put the cake in the fridge right away and continue once it has firmed up.
A different-colored base shows between the rosettes – the crumb coat should be the same color as the rosettes (for ombré, the color of the middle row).
The top is crooked – pipe the outer ring first, right at the edge. If you start in the middle, the rings will never come out right toward the edge.
A rosette that went wrong can be lifted off with a spatula and the frosting put back in the bag. Take your time; one fix takes ten seconds.
Rosettes pair well with larger buttercream roses, ruffles, and garlands and pearls.
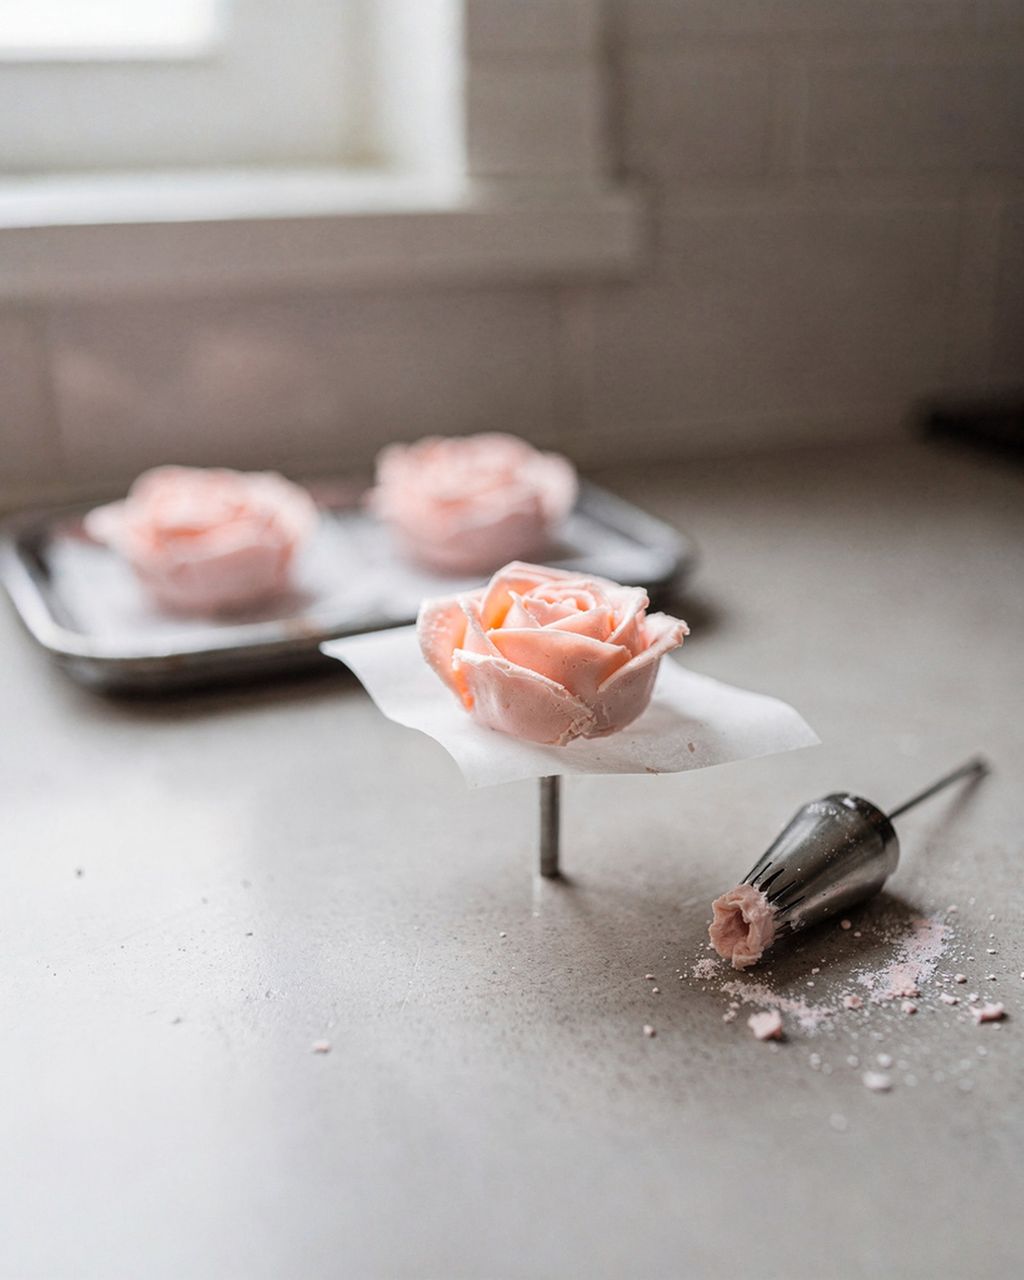
Roses and flowers on top – a few larger roses piped separately and set in the center turn the cake into a bouquet. You'll find the method in our article buttercream roses on a flower nail.
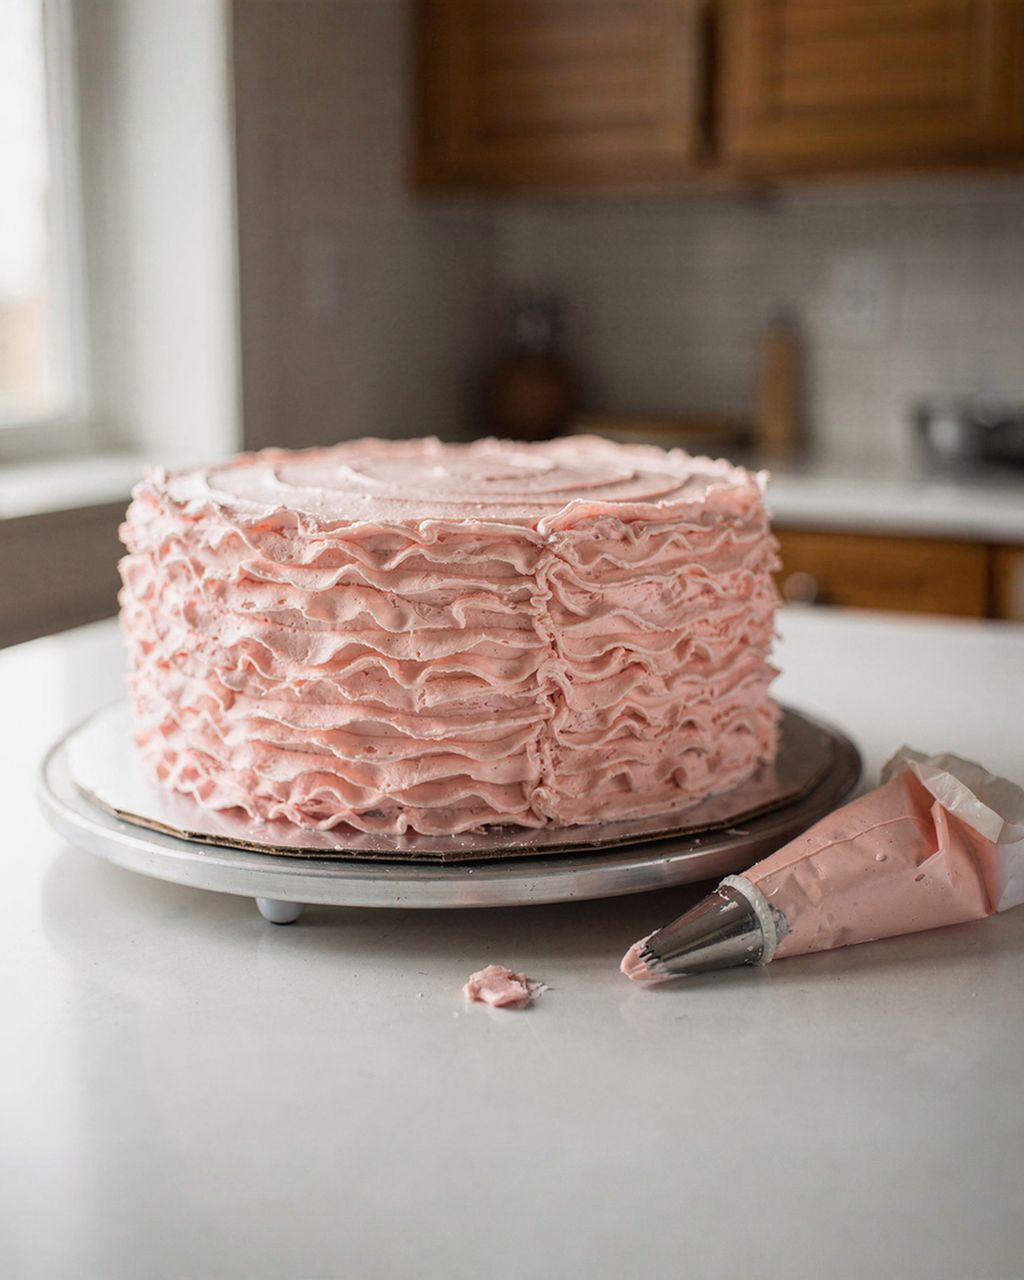
Ruffles on the sides, rosettes on top – wrap the sides in buttercream ruffles and cover the top with rosettes; we describe how to do ruffles in our article ruffle cake with buttercream ruffles.
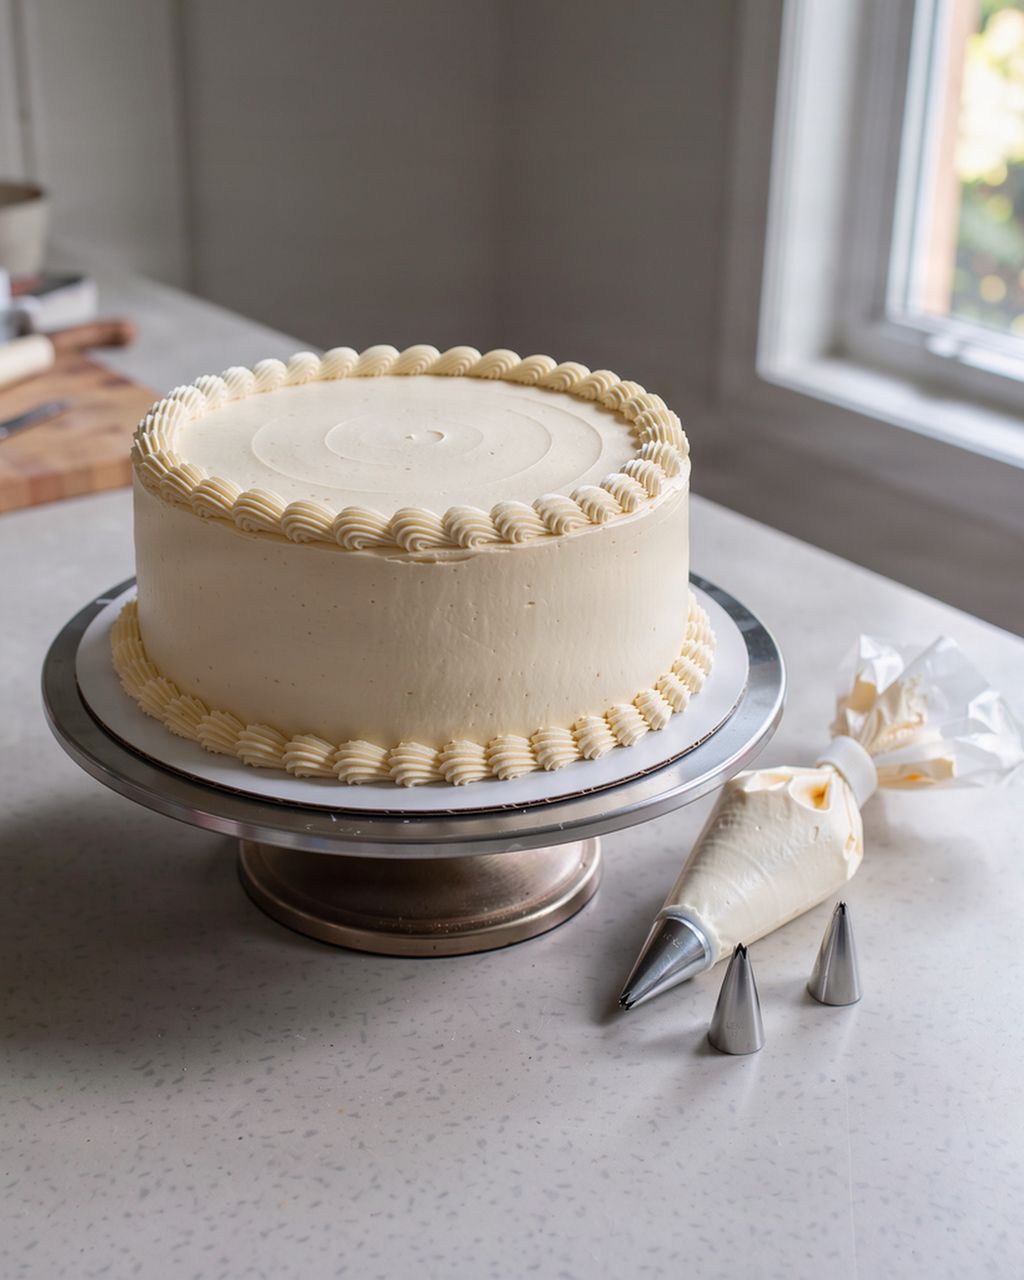
Garlands and pearls – for a retro look, put a wreath of rosettes on top and pipe a garland around the edge with the same 2D tip.
Yes, a buttercream rosette cake can be decorated a day ahead and kept in the fridge. Put it in a box or under a cake dome so the buttercream doesn't absorb fridge smells. Take it out 1–2 hours before serving, since buttercream tastes best at room temperature.
Transport a rosette cake well chilled, in a box at least 2–3 cm (about 1 inch) taller than the cake. In the car, set it on a flat surface, such as a non-slip mat on the front passenger floor, not on the seat. American buttercream, which firms up on the surface, travels better than Swiss meringue buttercream.
Slice a rosette cake while chilled, using a long knife dipped in hot water and wiped dry. Wipe the knife after every cut. If you can, cut between the rosettes, so each slice gets whole rosettes and stays neat instead of smeared.
Yes, you can pipe rosettes just as well with your left hand. Just draw the circle clockwise and turn the cake the opposite way. You then pull the tail toward the next rosette on the other side, and the overlapping principle stays the same.
Clean 2D and 1F tips of buttercream right after use: squeeze out any leftovers, soak the tips in hot water with dish soap, and run a small brush through the grooves. If you clean them like this after every decorating session, they'll last you for years.
One recipe worth heating the oven for, one tip, and one deal from the shop. Nothing else.