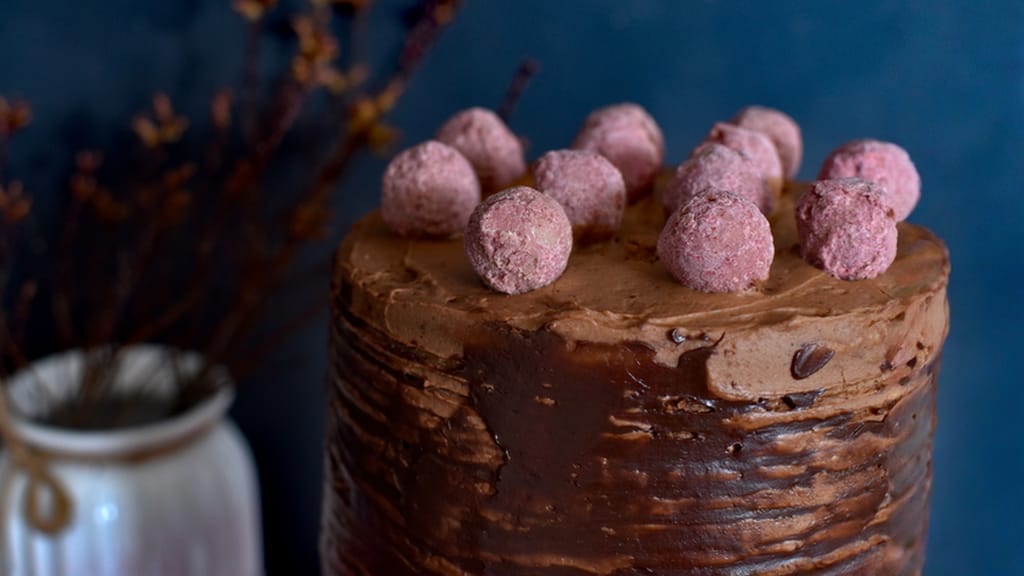
Chocolate cake with chocolate and raspberry pralines

Updated Jul 19, 2026
You really can make chocolate pralines at home that shine and snap just like a pastry chef's – all you need is good-quality chocolate, a thermometer, and one key skill: tempering. This guide walks you through everything, from choosing the right chocolate to tempering it to the exact degree, plus fillings and decorating. No magic tricks, just a handful of rules that work every single time.
For pralines, reach for couverture – chocolate with a high cocoa butter content (at least 31% for dark chocolate). It's the cocoa butter that makes tempering, shine, and that signature snap possible; ordinary "baking" chocolate made with vegetable fat behaves differently and doesn't shine as well.
Among the three types, your choice mainly comes down to flavour and sweetness:
Dark (55–70% cocoa): intense, less sweet, holds its shape and shine best. Ideal for classic pralines and ganache.
Milk: sweeter and softer thanks to milk and sugar, but more sensitive to temperature during tempering.
White: contains no cocoa solids, just cocoa butter, milk and sugar – creamy and buttery, easy to colour, but the quickest to scorch.
You can judge quality by the ingredients list: good chocolate contains cocoa mass or cocoa butter, sugar, and at most a touch of vanilla or soy lecithin. Steer clear of products containing palm oil or other vegetable fats. If you're not sure about the differences between the types, check out our guide to the differences between dark, milk and white chocolate.

For pralines that look truly professional, you only need five things: a mould, an accurate thermometer, a good spatula, kitchen scales, and patience. Apart from the thermometer, everyday kitchen kit will do just fine – this doesn't have to be an expensive hobby.
The glossiest pralines come from a polycarbonate (hard plastic) mould – its smooth, rigid surface transfers a mirror-like shine and crisp edges onto the chocolate. Silicone moulds are cheaper and flexible, so the pralines pop out easily, but the finish tends to be duller. Always buff the mould completely dry (ideally with a cotton cloth or cotton wool) before pouring in the chocolate – even a fingerprint will show up in the finished praline.
A digital thermometer (ideally with a probe tip, or a contactless infrared thermometer) is the one tool you shouldn't skimp on. A difference of just two degrees decides whether your pralines end up glossy or grey. A kitchen thermometer with a range up to 60°C and accuracy to 0.5°C is more than enough.
A flexible silicone spatula is essential for stirring during tempering and scraping excess chocolate off the mould. Add kitchen scales (fillings are measured in grams, not guesswork), a scraper or long knife for cleaning up the mould's edges, and a piping bag for filling. To knock air bubbles out of a filled mould, simply tap it firmly on the worktop a few times.
Tempering means carefully heating, cooling and then gently reheating chocolate to precise temperatures – this makes the cocoa butter crystallise into a stable form, giving your pralines shine, snap, and an easy release from the mould. Without tempering, chocolate stays soft, dull, and quickly turns grey.
Target temperatures vary by type of chocolate:
Dark: melt to 45–50°C, cool to 28–29°C, work at 31–32°C.
Milk: melt to 40–45°C, cool to 27–28°C, work at 29–30°C.
White: melt to 40°C, cool to 26–27°C, work at 28–29°C.
Pastry chefs are aiming for what's known as Form V crystals, which give chocolate both shine and firmness. We break down the whole process with pictures in our complete guide to tempering chocolate.
The classic method for larger batches. Put chopped chocolate in a bowl set over a pan of hot (not boiling) water, making sure the bottom of the bowl doesn't touch the water. Stirring constantly, melt it to the upper temperature, then remove from the heat and keep stirring until it cools to the lower temperature. Finally, return it briefly over the steam and warm it a few degrees back up to working temperature.
A quick option for smaller batches. Chop the chocolate finely and heat on medium power in 15–20 second bursts, stirring thoroughly after each one. Residual heat can keep melting chocolate even once it's out of the microwave, so it's best to go slowly – there's no saving chocolate once it's overheated (scorched).
The most reliable method if you don't have a marble slab. Melt two-thirds of the chocolate to the upper temperature, remove from the heat, and gradually stir in the remaining third, finely chopped, still-tempered chocolate. The unmelted crystals will "seed" the whole batch with the right structure while also cooling it down to working temperature. Remove any pieces that haven't melted by the end.
When things don't turn out right, it's almost always down to temperature or moisture:
Grey or white bloom: the chocolate wasn't tempered properly, or it sat somewhere warm – the cocoa butter has risen to the surface. It won't affect the taste, but it will kill the shine.
Dull surface: the temperature strayed outside the target range. Check your thermometer and temper again.
Rough or grainy surface: not enough stirring, or the chocolate cooled too fast.
Pralines won't release from the mould: the chocolate hasn't crystallised enough – let it set somewhere cool (not the freezer) and try again in a few minutes.
Chocolate cake with chocolate and raspberry pralines
Homemade chocolate pralines, step by step
A good praline lives or dies by its filling, which needs to hold its shape and not leak. The most versatile option is ganache, though salted caramel and alcohol-soaked fruit are popular too. Fill the shells only once the filling has cooled completely – warm filling will melt the tempered shell.
Ganache is an emulsion of chocolate and cream, and the ratio between the two determines how firm it is. For a filling firm enough to hold in a shell, aim for roughly:
Dark chocolate: a 2:1 ratio (chocolate:cream).
Milk: 2.5:1 to 3:1.
White: 3:1 – it needs less cream, since it's already softer on its own.
Bring cream (33% fat or higher) just to the boil, pour it over chopped chocolate, wait a minute, then stir until smooth. For an even silkier filling, stir in a knob of butter once the mixture has cooled below 35°C. Flavour it with vanilla, coffee, or a splash of liqueur if you like.
A sweet-and-salty contrast that suits pralines beautifully. Melt sugar dry until amber (it turns bitter fast, so watch it closely), take it off the heat and carefully stir in hot cream and butter – the mixture will bubble up fiercely. Season with a pinch of flaky sea salt, then let it cool and thicken before using it to fill the shells. If you'd rather skip cooking caramel from scratch, use a ready-made salted caramel cream from the recipe below.
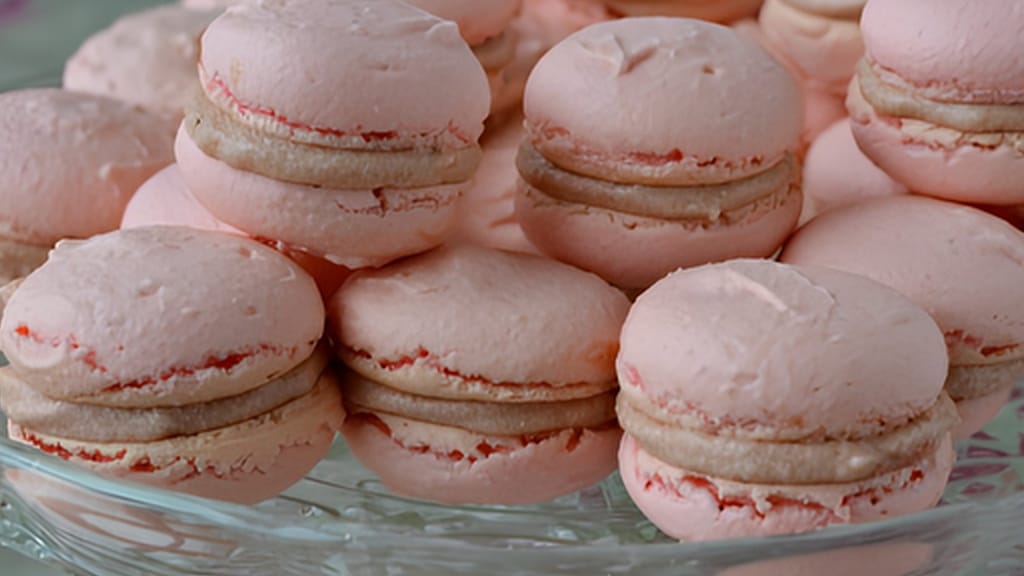
Salted caramel cream - great for macarons and more
Salted caramel cream as a ready-made praline filling
A fresh filling with a boozy edge – classic choices are brandy-soaked cherries or rum-soaked orange peel. Let the fruit soak for at least overnight, ideally several days, so it really absorbs the flavour. Pat it dry thoroughly before filling, so no moisture reaches the tempered chocolate. For a liquid filling in the style of "griottes", cover the fruit in a sugar syrup laced with alcohol – though that's more of an advanced technique.

Homemade pralines with ganache will keep in a cool (12–18°C), dry spot for roughly 1–2 weeks; with a cream filling, keep them in the fridge and eat within a week. Store them in a sealed box away from strongly scented foods – chocolate readily picks up odours. Don't put them in the freezer or leave them in the sun: temperature swings and moisture cause bloom. Keep your ingredients (chocolate, nuts) somewhere cool and dry, and alcohol out of the light.
Looks sell. The simplest effect comes from a fork-textured surface, colour comes from tinted cocoa butter, and a touch of luxury comes from edible gold. Finally, think about packaging – gift pralines deserve a proper box.
While the shell (or dipped praline) is still soft, press the tines of a fork gently into it and pull away – this creates the classic striped pattern. For sharp geometric patterns and glossy "marbling", use a polycarbonate mould, flicking in tinted cocoa butter before you pour the chocolate.
Colour chocolate only with fat-based colourings or tinted cocoa butter – water-based or gel colourings will make the chocolate seize. Apply the cocoa butter into the mould with a brush, a sponge, or by flicking it on with your fingers, let it set, and only then pour in the tempered chocolate.
For festive treats, lay a piece of edible gold leaf onto the finished praline, or dust it with edible gold powder. A little goes a long way – a few glinting accents look far more luxurious than a praline covered entirely in gold.
Tempered pralines can handle room temperature, so they're perfect for gift boxes with paper cases. Only close the box once they've fully set, otherwise moisture will condense inside. A cool, dry spot is the best place to store them – and your guarantee that the gift arrives glossy.
If tempering still feels like a step too far, start with chocolate truffles instead – ganache balls rolled in cocoa powder or chopped nuts need no tempering at all, and they're just as delicious as pralines. It's the best way to get comfortable working with chocolate before moving on to filled shells.
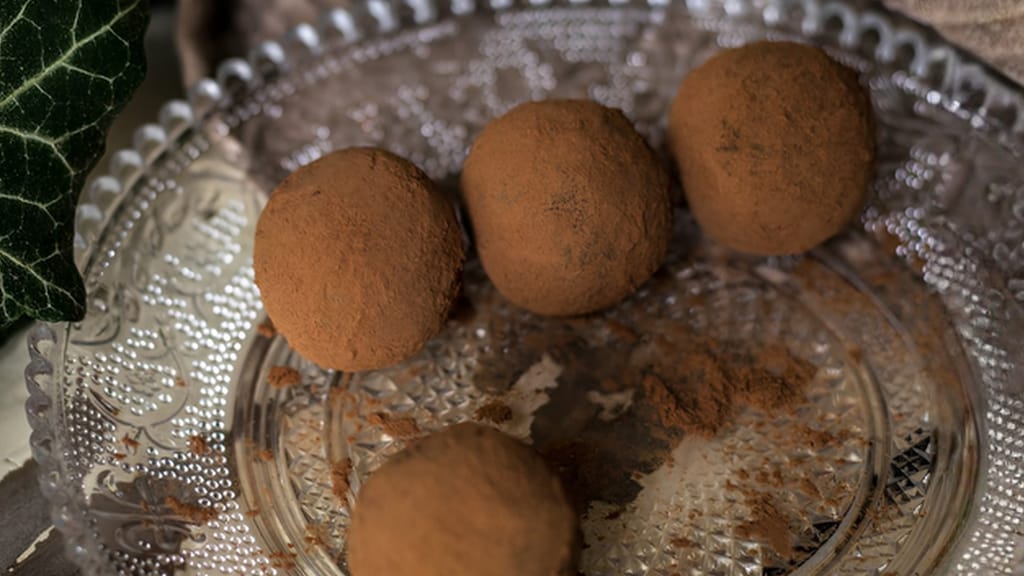
Chocolate peanut butter truffles
Peanut butter chocolate truffles – pralines with no tempering required
Yes, but the result won't be quite as glossy. Standard bar chocolate usually has less cocoa butter and sometimes contains vegetable fats, so it's trickier to temper and turns grey more quickly. For your first attempts, a good dark chocolate bar with a high cocoa content will do fine – for a truly perfect shine, reach for couverture instead.
From 200 g of chocolate you'll get roughly 20–25 filled pralines in a mould, depending on the size of the cavities. Keep in mind some chocolate goes into the shells and some into sealing the base, so it's worth preparing a bit extra – any leftover can simply be melted down and reused.
Yes. Without a mould you can make truffles – ganache balls rolled in cocoa powder – or dipped pralines: dip cooled balls of filling into tempered chocolate with a fork and let them drip dry on baking paper. A mould gives you smooth shells, but it's not essential.
Most often it's because the shell isn't properly sealed, or the filling is too runny. Always seal the base with tempered chocolate so it joins up with the edges of the shell, and only fill with cooled, firm filling – warm or liquid filling will seep through and melt the walls.
One recipe worth heating the oven for, one tip, and one deal from the shop. Nothing else.