Light and airy génoise sponge cake
Updated Sep 18, 2026
Modern cake decorating comes down to three techniques: the naked cake (frosting only between the layers, sides left bare), the drip cake (a smoothly coated cake with chocolate ganache dripping over the edge), and ombré (a smooth colour gradient up the side). You can pull off all three at home without piping tips and without a scrap of fondant. And all three rely on the same three fundamentals: level layers, frosting that's firm enough, and a properly chilled cake. Below you'll find the method for each one, exact ratios and temperatures, plus a rundown of the mistakes that trip up a cake most often.
Choose based on how much practice you've got and how confident you feel about smooth sides: naked for rustic and fruit-forward cakes, drip when you want maximum impact for minimum skill, ombré when you want colour and aren't afraid of smooth sides.
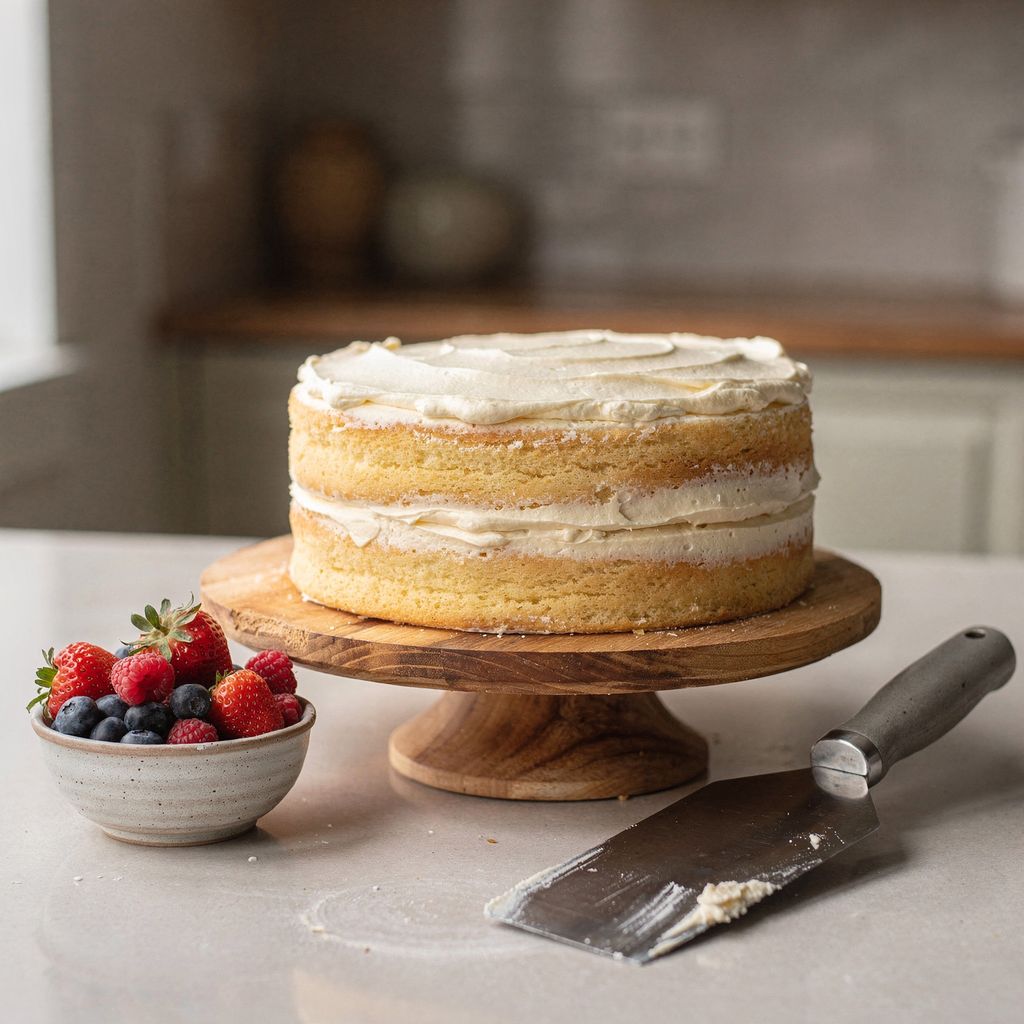
Naked cake — the least demanding technique, since the sides don't need to be smooth at all. What it does need is a moist sponge, and it's best eaten fresh. Great for summer cakes, weddings, anything with fruit.
Semi-naked — a thin, semi-transparent layer of frosting all round the side, with the layers just showing through. The safest option if you're starting out: it forgives unevenness while still keeping the cake from drying out.
Drip cake — the biggest wow factor for the least effort. The drip masks a slightly uneven side, but you need a cold cake and ganache at the right temperature.
Ombré — the trickiest of the three, because the colour gradient only shows up on a smooth side. On the plus side, all you need is a scraper and gel colours.
Six things will see you through all three techniques: a turntable, a bench scraper, an offset spatula, a cake board, gel food colours, and a kitchen thermometer.
Turntable — the one thing you genuinely can't skip. Without rotation you can't get a smooth side or a seamless ombré.
Bench scraper — a flat metal blade you use to level the sides. For ombré, it's your main tool, not an extra.
Offset spatula — for frosting between the layers, for the top edge, and for pushing drips over the rim. The offset keeps your hand above the cake, so your knuckles never brush against it.
A cake board or plate matching the cake's diameter — so you can move the finished cake without bending it.
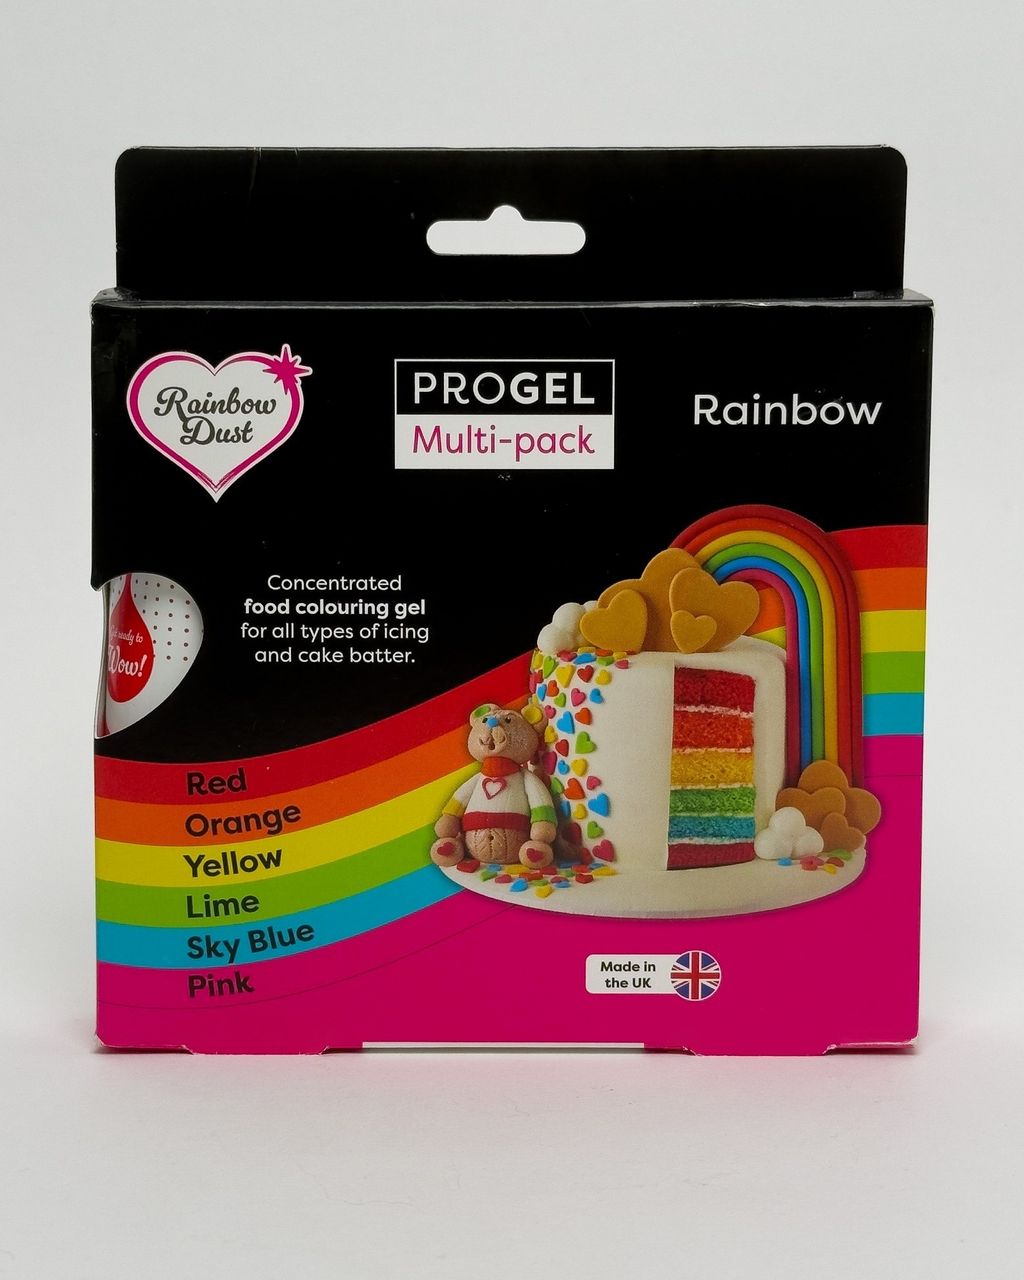
Gel food colours, not liquid ones. Liquid colouring thins the frosting and makes the sides start to slip; gel lets you reach even dark shades without changing the consistency.
Kitchen thermometer — for a drip cake, this is the difference between "it worked" and "it dripped straight onto the board." You want your ganache at 30–35°C.
What you can't buy: fridge space and a cool kitchen. Expect the cake to spend more time chilling than sitting on the counter. Above 22°C, everything works against you — the frosting turns glossy, softens, and stops holding an edge.
Most cakes go wrong before decorating even starts — with uneven layers and a skipped crumb coat. None of the techniques below can rescue those two things, so give yourself an extra twenty minutes for them.
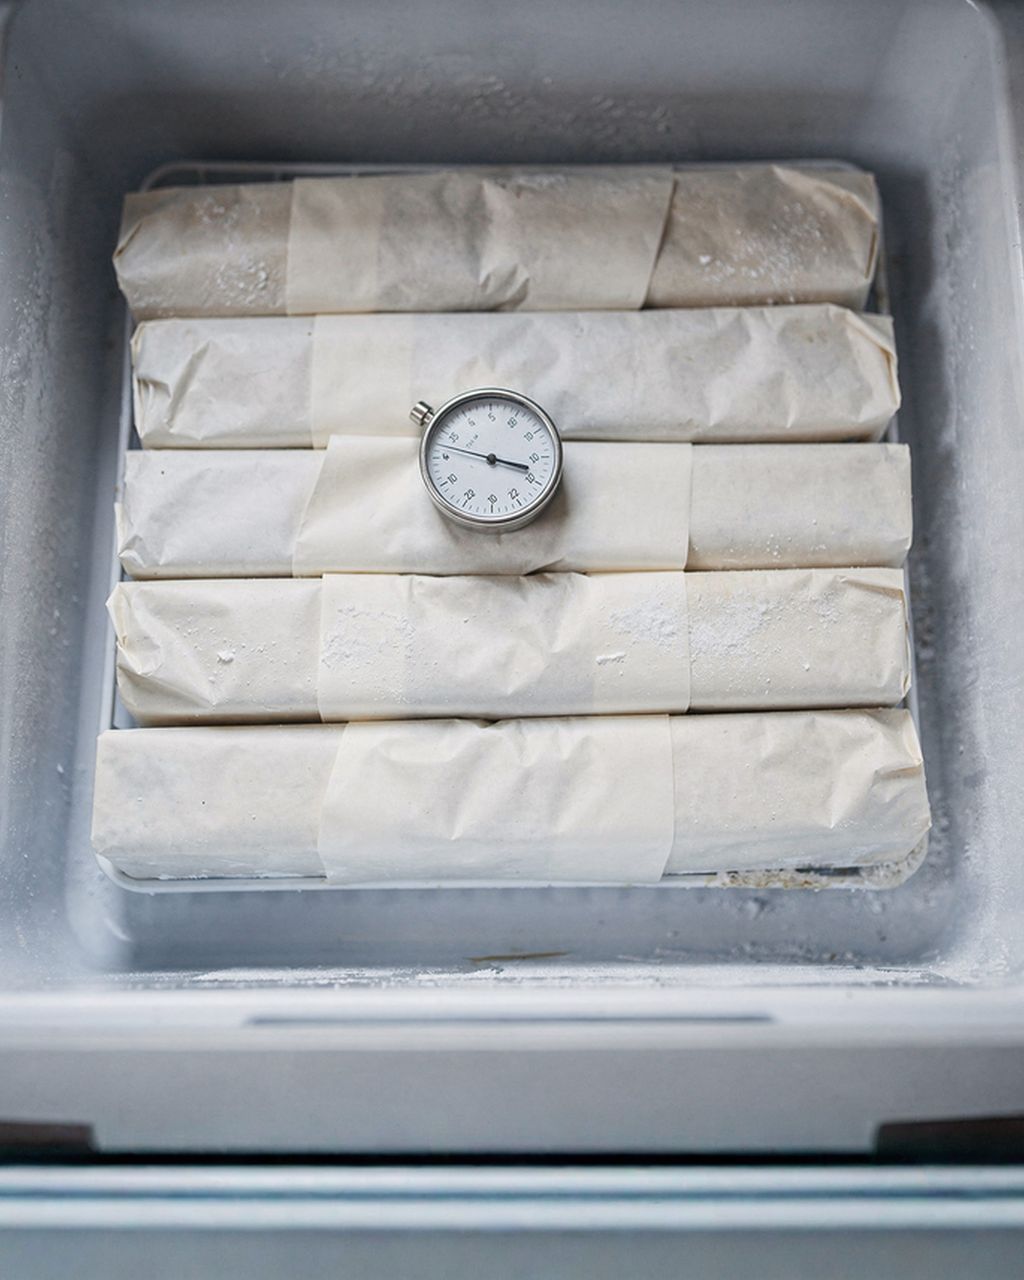
Always cut a fully chilled sponge, ideally wrapped in film and left in the fridge overnight — a warm sponge crumbles and the layers come out wedge-shaped.
Level off the domed top with a long serrated knife so the sponge is as flat as a board.
Cut a vertical notch into the side with the knife. Once stacked, it lets you line the layers back up exactly as they were.
Slice into layers 1.5–2 cm thick. Keep the knife horizontal and turn the sponge, not the knife.
Génoise-style sponges are naturally dry and need soaking: a 1:1 sugar syrup (water and sugar, briefly boiled and cooled), 2–3 tablespoons per layer. For a naked cake this is non-negotiable, since there's no frosting anywhere covering the sponge.
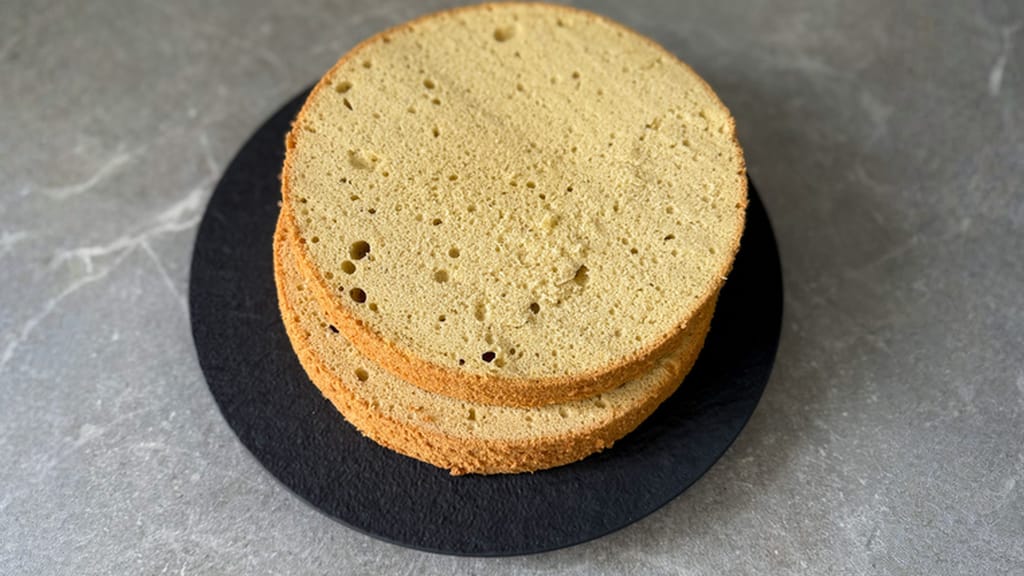
A reliable base for all three techniques is a sponge that holds its height and doesn't fall apart when sliced.
Light and airy génoise sponge cake
A light, airy Génoise sponge — the base that slices cleanly into layers for both naked and drip cakes
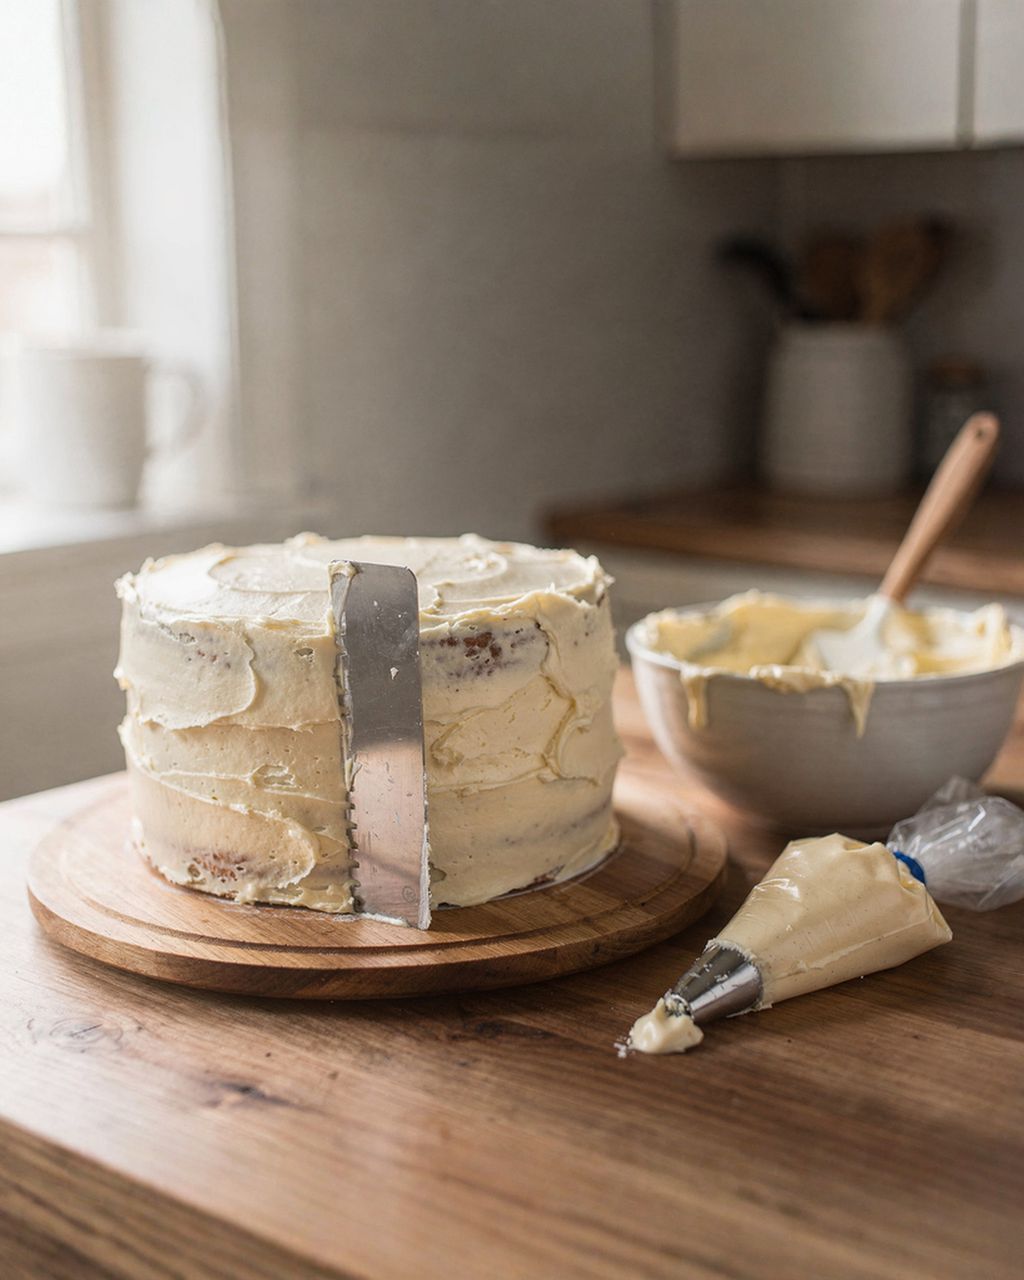
A crumb coat is a thin layer of frosting that locks in crumbs so they don't end up in the final surface — and for a naked cake, it also keeps the sponge from drying out. It should be thin enough that the sponge shows through; the full coverage layer comes second.
Once the cake is stacked and filled, coat the sides and top with a thin layer of frosting and pull it back almost to the sponge with the scraper.
Chill it for 30 minutes. The frosting needs to be firm to the touch, not just cold. This is the step people rush most often, and then they wonder why crumbs show up in the white frosting.
Only then apply the second, full coat — for a smooth side, for ombré, and as the base under a drip.
A naked cake is one where the frosting stays only between the layers and the sides are left bare — so the result lives or dies by how the layers look and how moist they are. By her own account, Christina Tosi popularised the technique at Milk Bar in New York: she didn't want to hide what was inside.
Level the layers to the same height. With an exposed side, every millimetre shows, and the eye reads unevenness as a mistake, not as rustic charm.
Soak every layer with syrup. Without frosting on the sides, the sponge dries out from both directions.
Pipe the frosting in a spiral, from the centre out to the edge. You'll never spread it by hand to an even height.
Leave 2–3 mm of overhang between layers and scrape off the excess upward, not downward. That's what creates the characteristic ripple between layers instead of a smear down the side.
If you're filling with fruit, curd or a runny filling, build a dam first — a ring of firm frosting or ganache around the edge of the layer. Without it, the filling will push the side into a bulge within a couple of hours.
Weight it down and chill it. Stack the cake, set a light board or plate on top, and chill for 30–60 minutes. It'll settle evenly and then stay put.
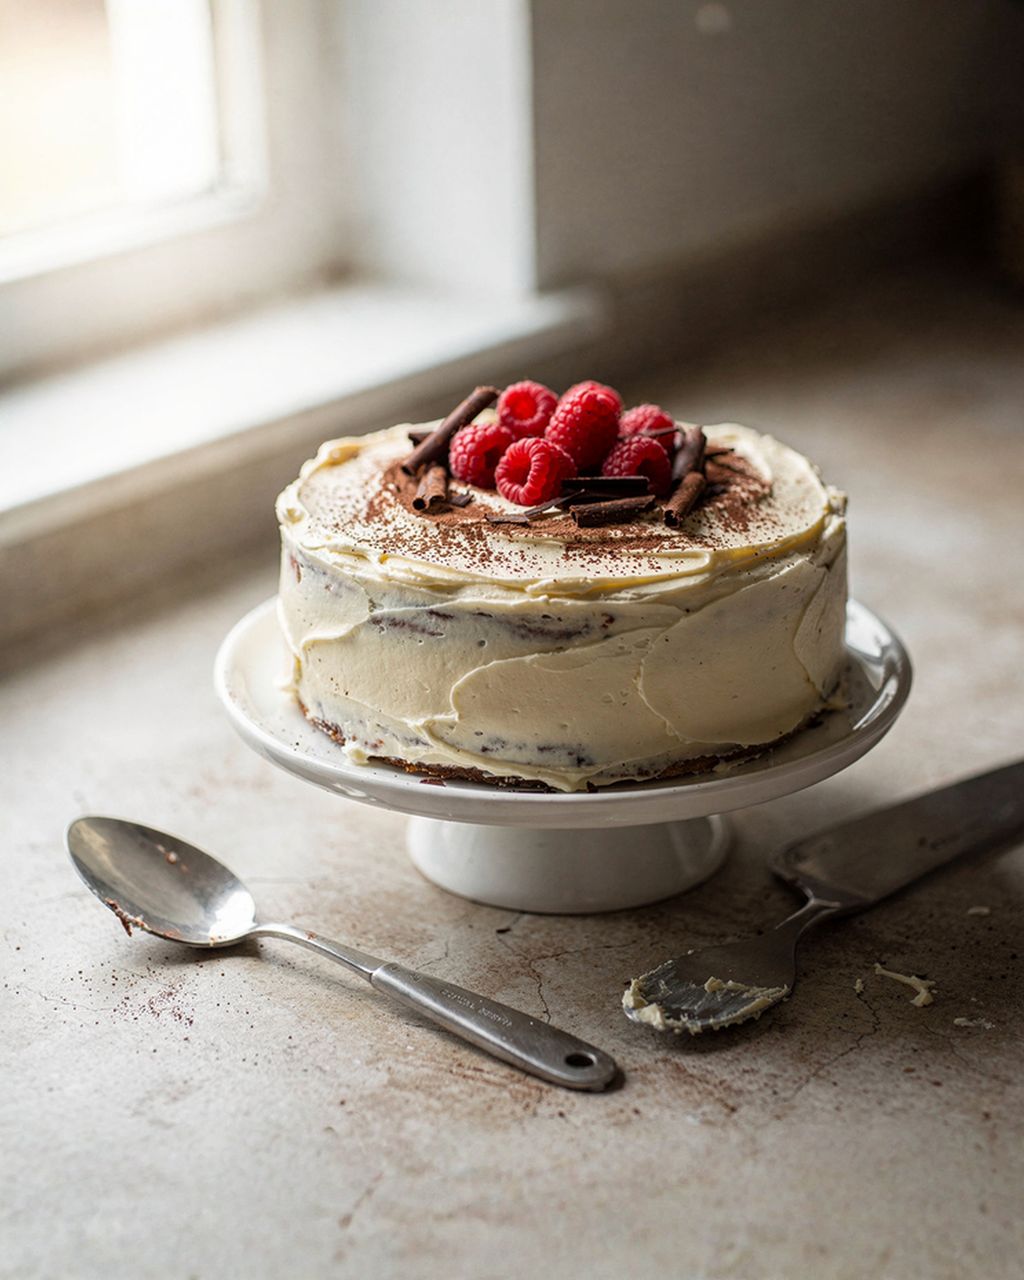
Decorate right at the end: fruit, berries, a sprig of rosemary, a dusting of icing sugar through a sieve. A naked cake can't sit for hours with fruit on top — it stains the frosting.
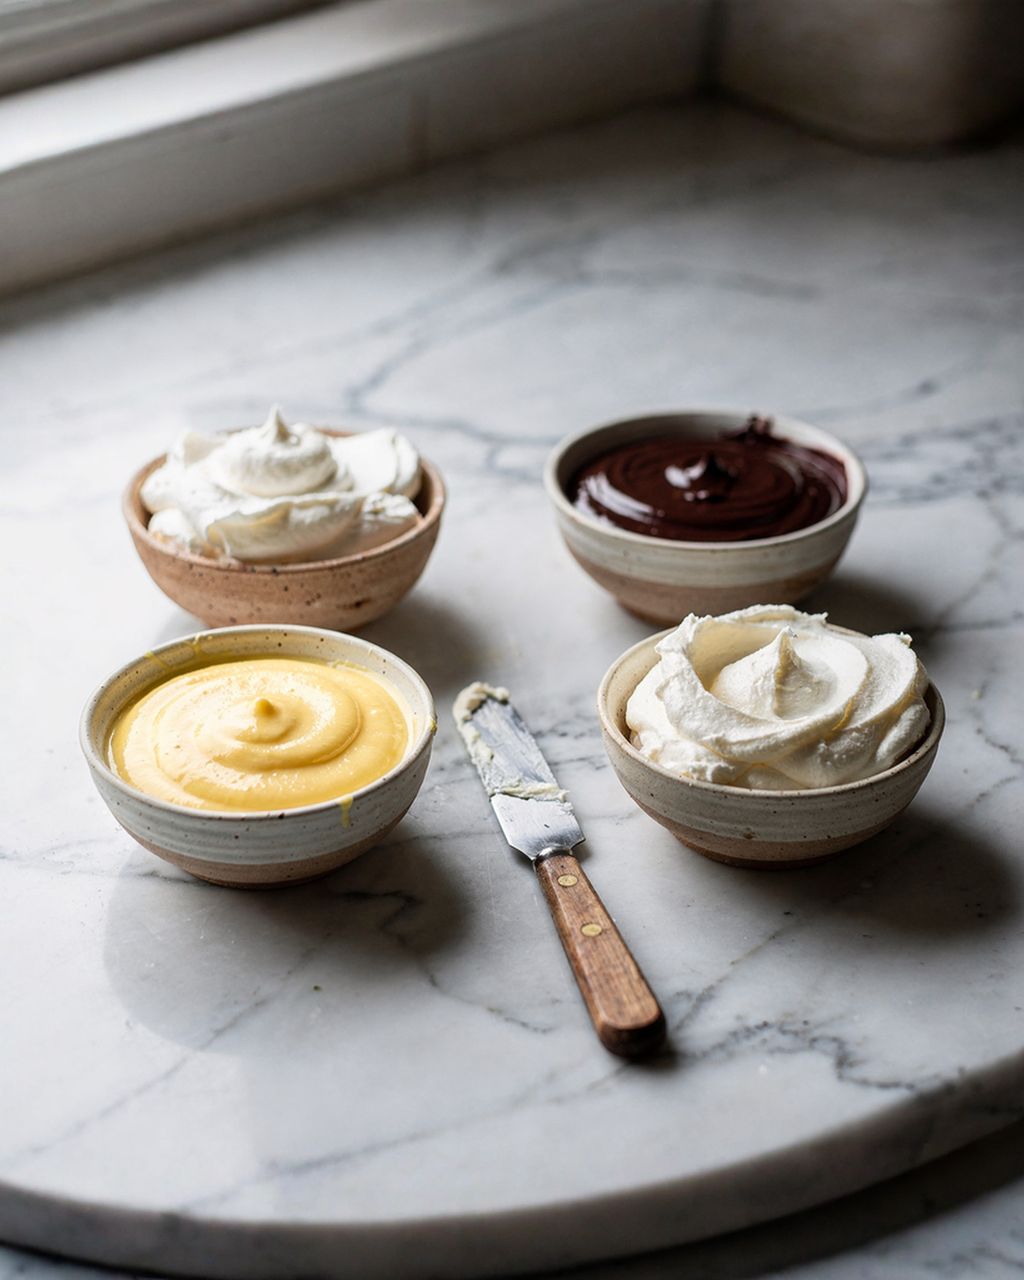
The filling needs to be firm. Mascarpone or quark with white chocolate, Swiss buttercream, ganache. Plain whipped cream will collapse under the weight of the layers. We break down which frosting goes where in our guide to the five essential cake frostings.
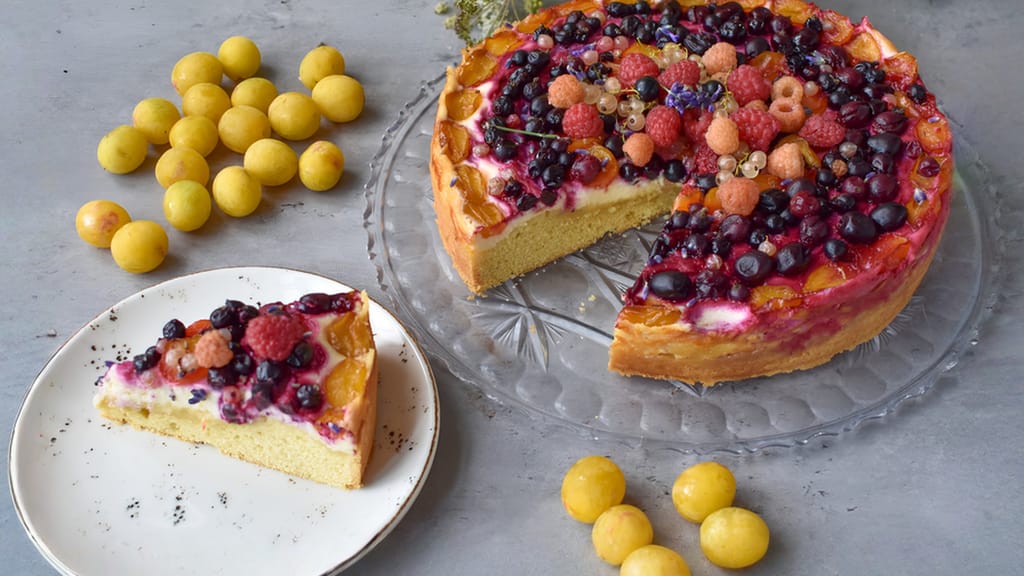
Summer mascarpone and curd cheese cake with loads of fresh fruit
A summer cake with mascarpone, quark and heaps of fruit — a filling that holds up even in a naked cake with exposed sides
A semi-naked cake is a naked cake with a thin, see-through layer of frosting all round the side — in practice, it's a crumb coat you stopped at. For most home bakes, it's a better choice than fully exposed sides, for two reasons.
It doesn't dry out. That thin layer acts as a barrier against the air, so you can assemble the cake a day ahead.
It's forgiving. Minor unevenness in the layers disappears under the frosting; the layer heights don't need to be millimetre-perfect.
The method is the same as for a crumb coat, except you're not doing it blind: press the scraper flat against the side, rotate the cake, and keep pulling frosting off until the layers just start to show through. Then stop. Trying to "perfect it a bit more" is the most common reason a semi-naked cake ends up looking smeared.
A drip works when the ganache sits at 30–35°C and the cake is properly chilled; the ratio of chocolate to cream then decides how far the drips travel. Those two numbers are the whole secret — the rest is five minutes of technique.
Ratios are given by weight, chocolate : cream (whipping cream, i.e. at least 30% fat; a thicker ganache comes from heavy cream at 35% fat or more). White and milk chocolate set less firmly than dark, so they're used in higher proportions:
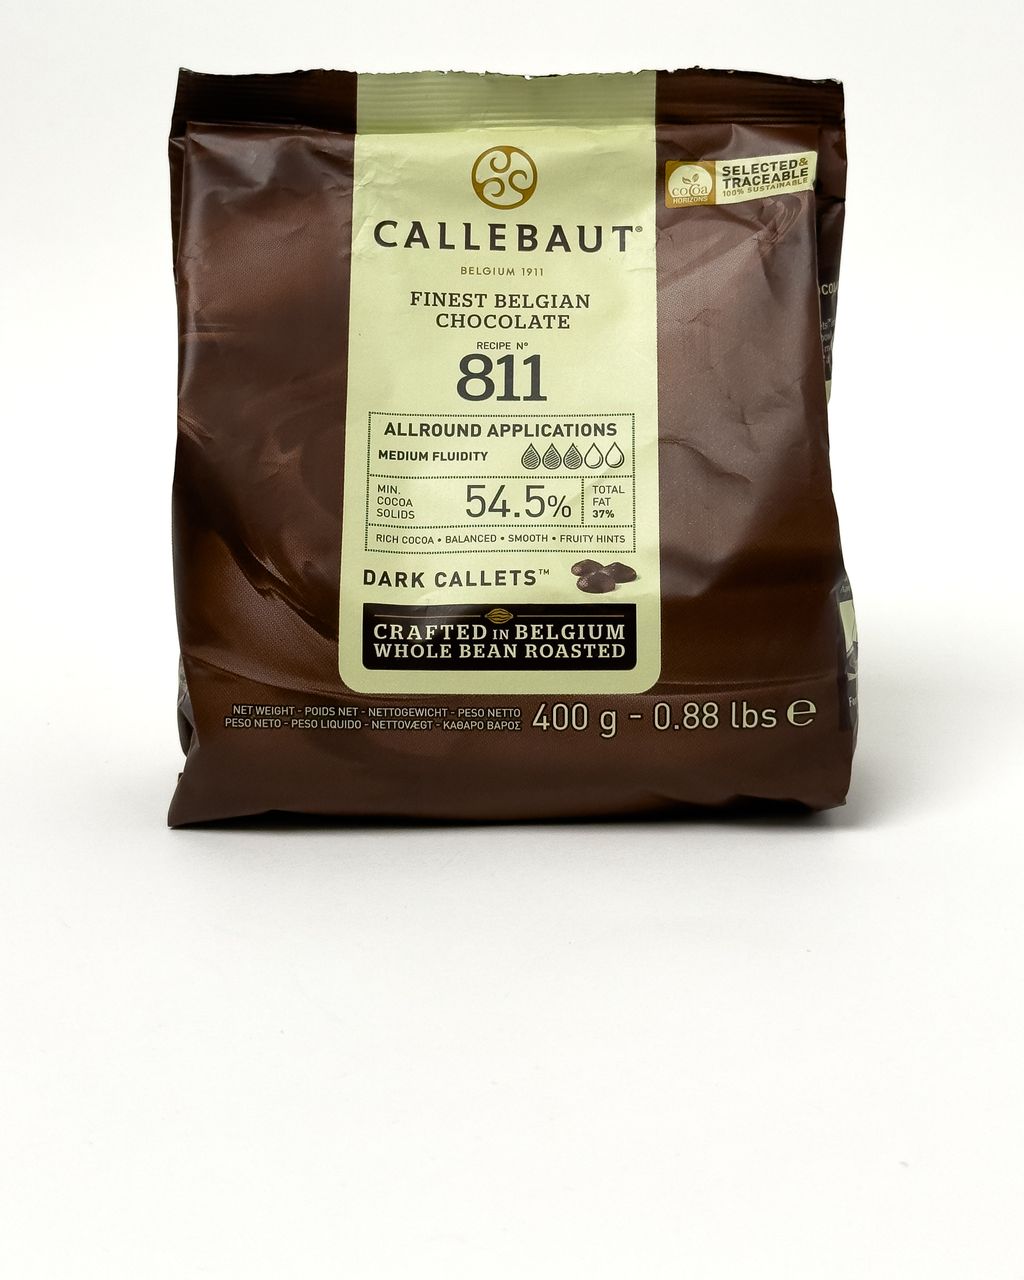
Dark chocolate, 55–70% — 1:1
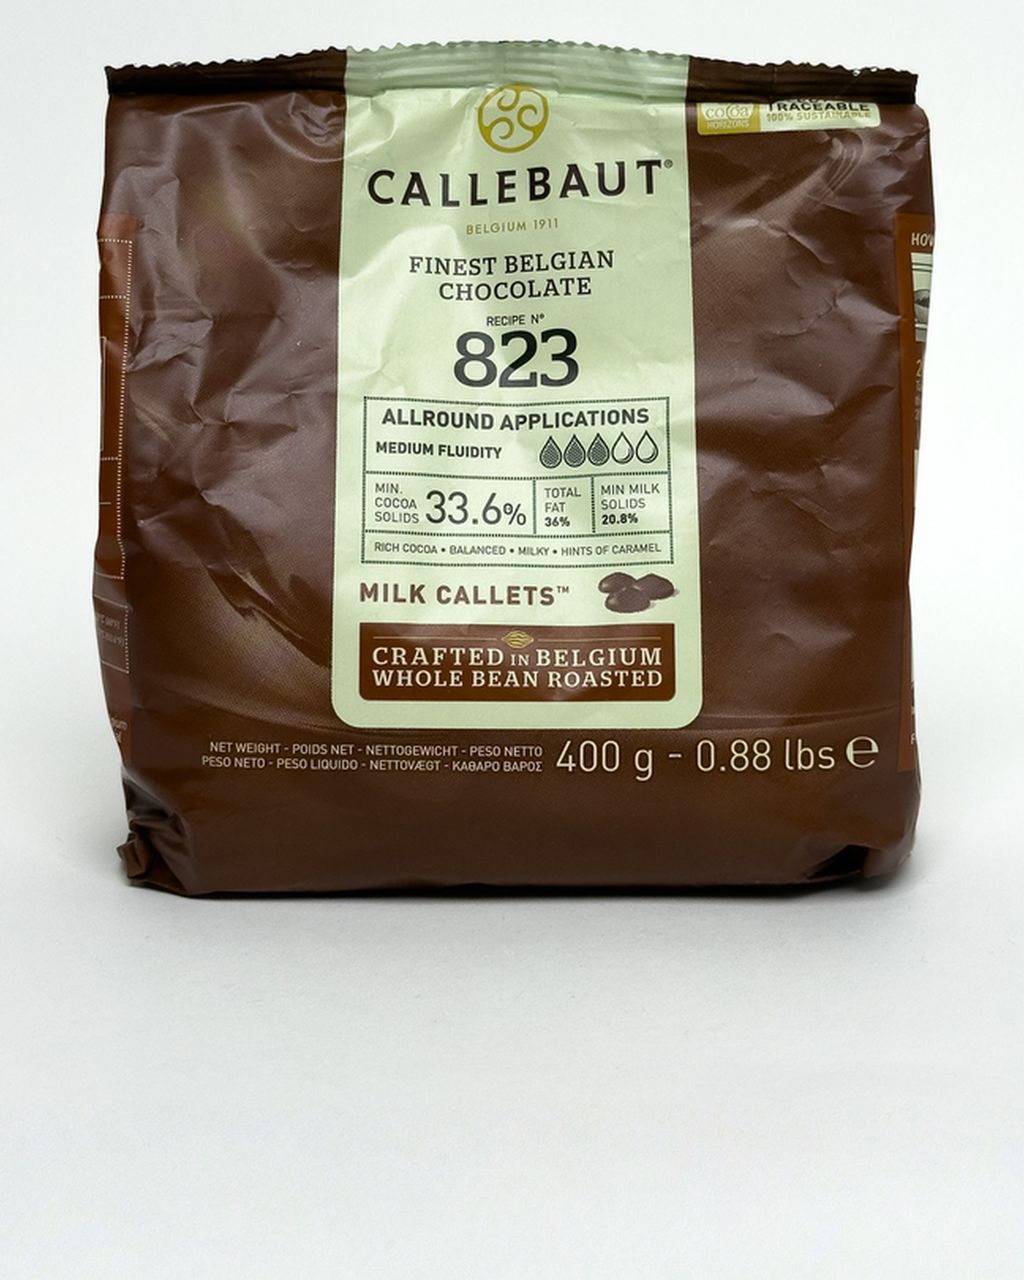
Milk chocolate — 2:1
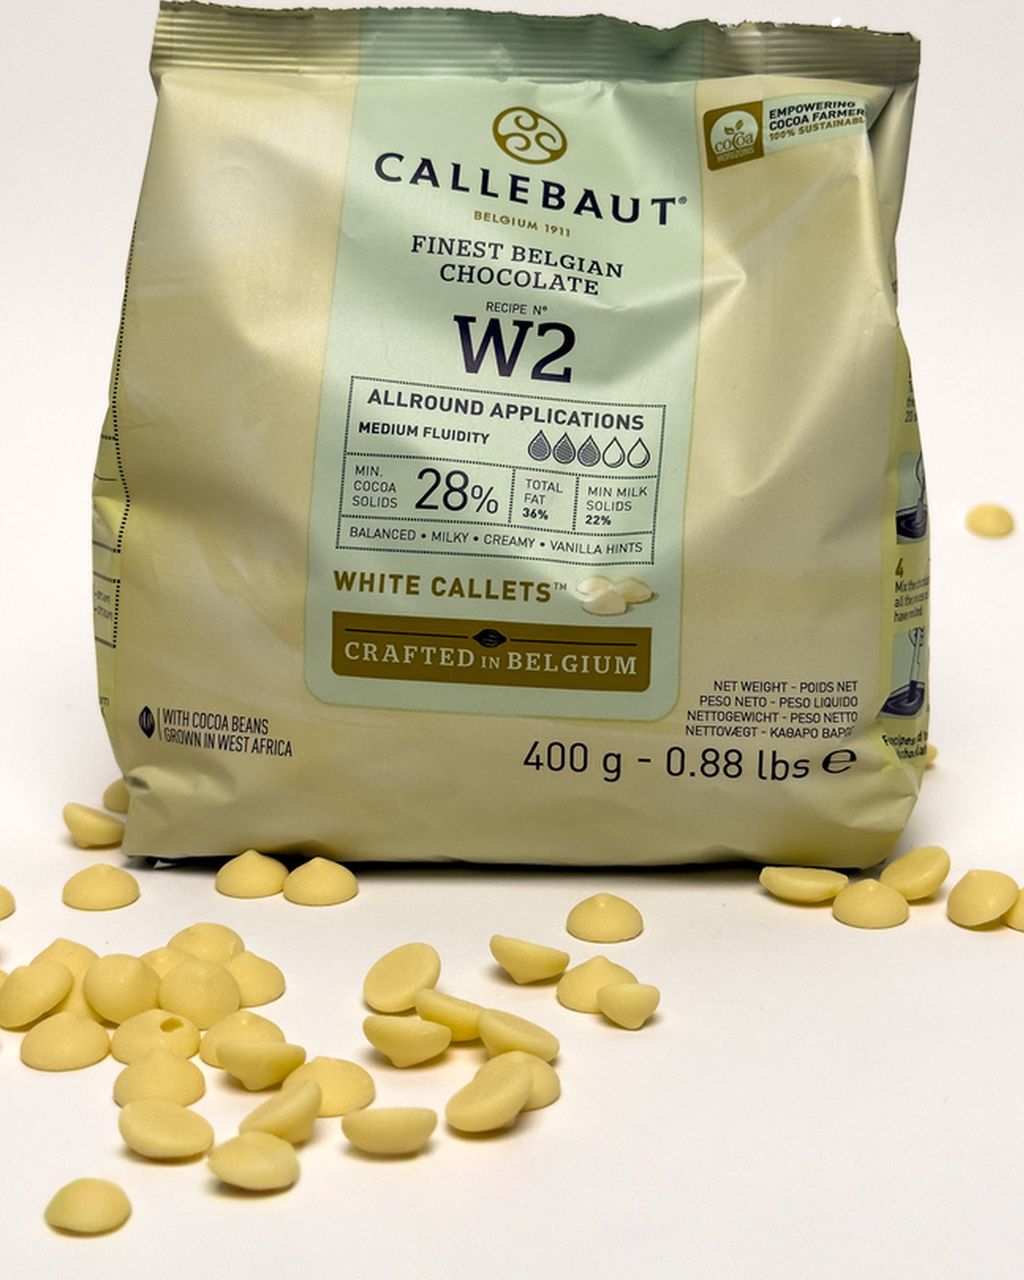
White chocolate — 2.5:1 to 3:1 (recipes vary here depending on the specific chocolate, so make a small test batch first)
And the method:
Put the chocolate (callets or chopped) in a bowl. Heat the cream to just below boiling, pour it over the chocolate, and let it sit for two minutes without stirring.
Stir from the centre outward until you get a smooth, glossy emulsion. If you stir vigorously from the start, you'll beat air into it, and the bubbles will end up in your drips.
Let it cool on the counter for 10–20 minutes to 30–35°C. No thermometer? It should feel just warm, not hot, against the inside of your wrist.
Test it on an upturned cold glass. A drip should run 3–4 cm and stop. If it runs all the way to the counter → let the ganache cool further. If it barely moves → 10 seconds over steam and stir again.
Take the cake straight from the fridge, where it's been for at least 30 minutes. The frosting on the sides needs to be firm to the touch — warm frosting will let the ganache sink in and blend.
Spoon it onto the edge, or pour the ganache into the centre and push it over the rim with the back of a spoon. Don't make the drips uniform: irregular lengths always look better than a set rhythm.
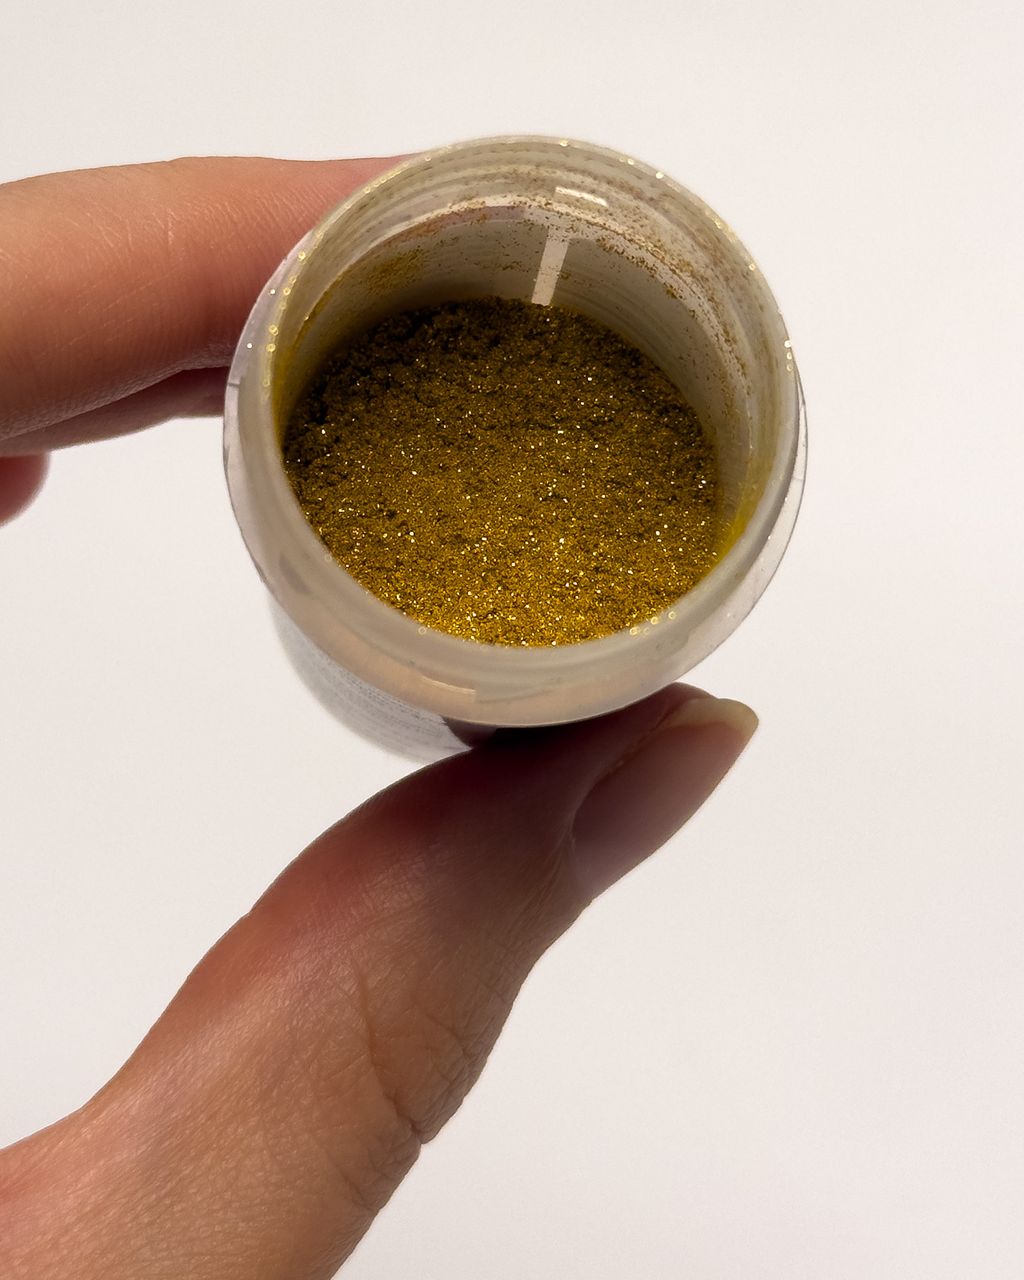
Ten minutes in the fridge, then decorate — sprinkles, chocolate shards, berries, edible glitter.
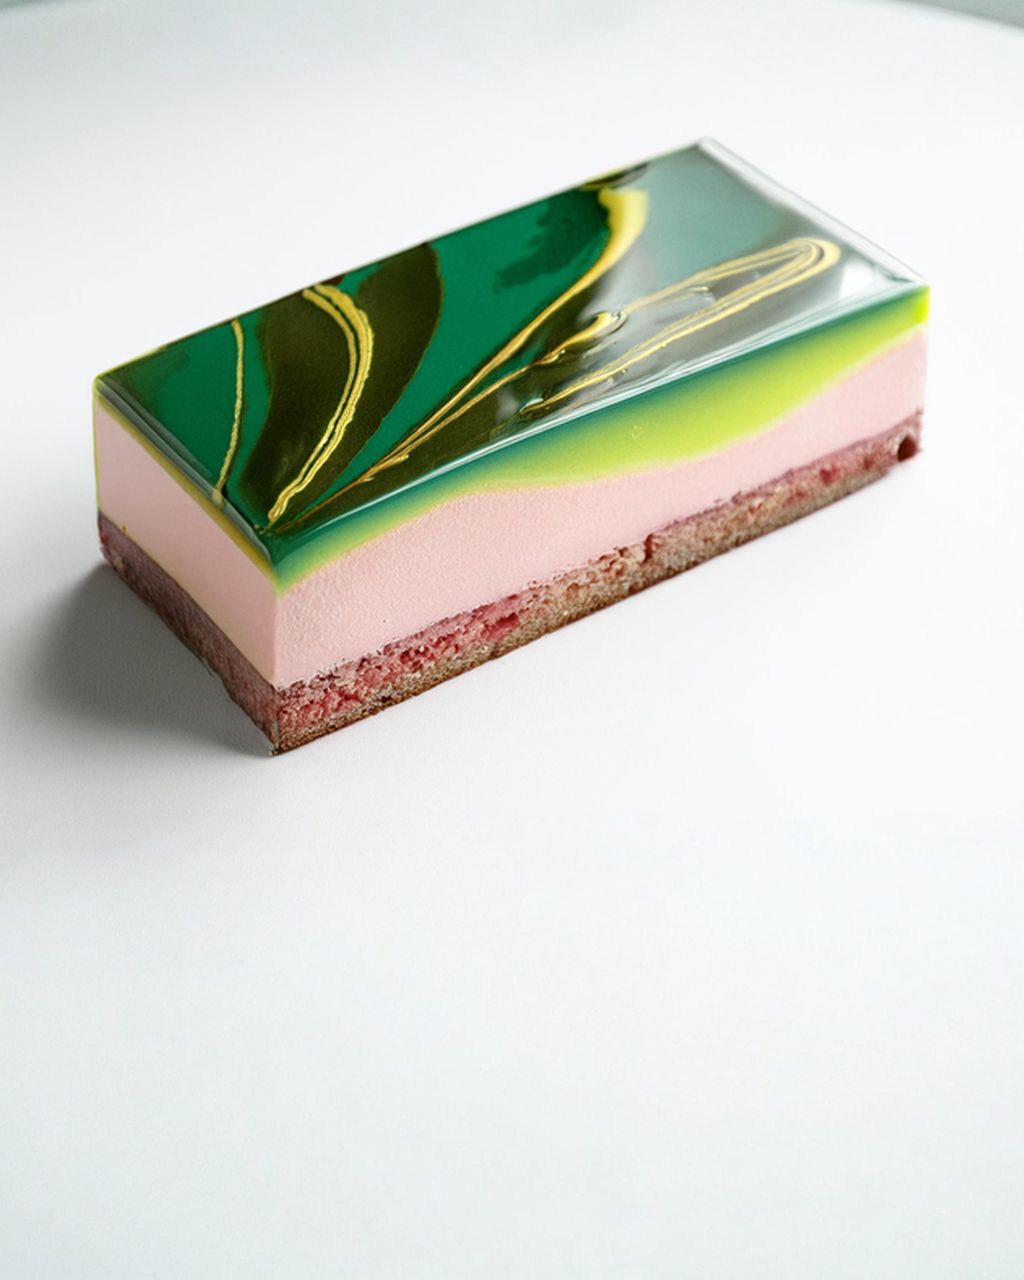
If you're after a mirror-glossy finish without a single drip instead, that's a different technique and a different glaze: mirror glaze cakes.
Three things control how far your drips travel: the ganache temperature, the chocolate-to-cream ratio, and how much you push over the edge. Change only one variable at a time so you know what caused the shift.
Ganache temperature — warmer ganache is runnier and travels further. The most sensitive lever; two degrees make a visible difference.
Ratio — more cream means a thinner ganache and long drips that reach the board. More chocolate means short, thick drips that stop just below the rim.
How much ganache you push over the edge — a small teaspoon in one spot gives a short drip, a full tablespoon gives a long one.
And one thing that will reliably ruin the whole effect: a warm cake. However well you've dialled in the ganache, on room-temperature frosting the drips will just melt into smears.
For a coloured drip, use white chocolate and gel colouring — in a cream-based ganache, gel works fine because there's both water and fat present. But for pure melted chocolate without cream, only oil-based colours will do: a water-based gel will seize the chocolate into lumps you'll never smooth out again.
What to know about white chocolate before you add colour:
It has a yellowish undertone. Pastels (powder pink, mint, lilac) come out easily; a true "white" white will never look completely white.
Dark shades need time. Red, navy and black deepen in ganache after about an hour. Mix them a shade lighter than you actually want and let them sit — otherwise you'll end up doubling the colouring and tasting it.
Overheating kills it. Above 45°C, white chocolate turns grainy and the fat separates out — melt it only up to 43–45°C, and pour the cream in just below boiling, not straight off the boil.
A chocolate sponge pairs well under a dark drip, since it can carry that colour.
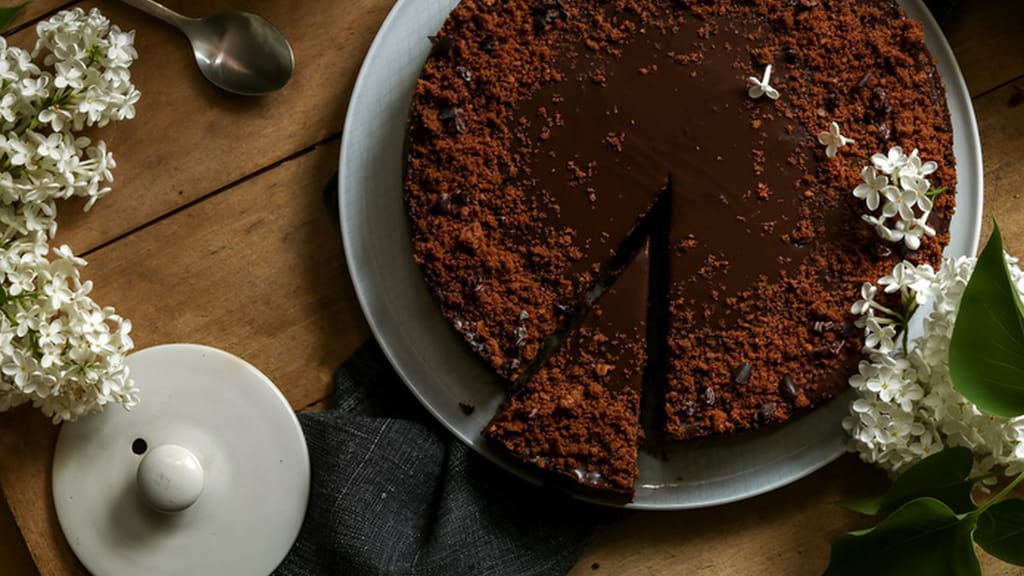
Simple chocolate cake
A simple chocolate cake — a reliable base under a drip cake with chocolate ganache
To make an ombré cake, apply 3–5 shades of the same frosting in rings up the side of the cake, darkest at the bottom to lightest at the top, then blend the transitions with a bench scraper. It all comes down to the frosting and the contrast between shades.
Choose a frosting that can take a lot of mixing. Swiss or Italian buttercream, or a simple butter-and-icing-sugar frosting. Quark, cream-cheese or whipped-cream frostings will break down and start weeping from all that mixing.
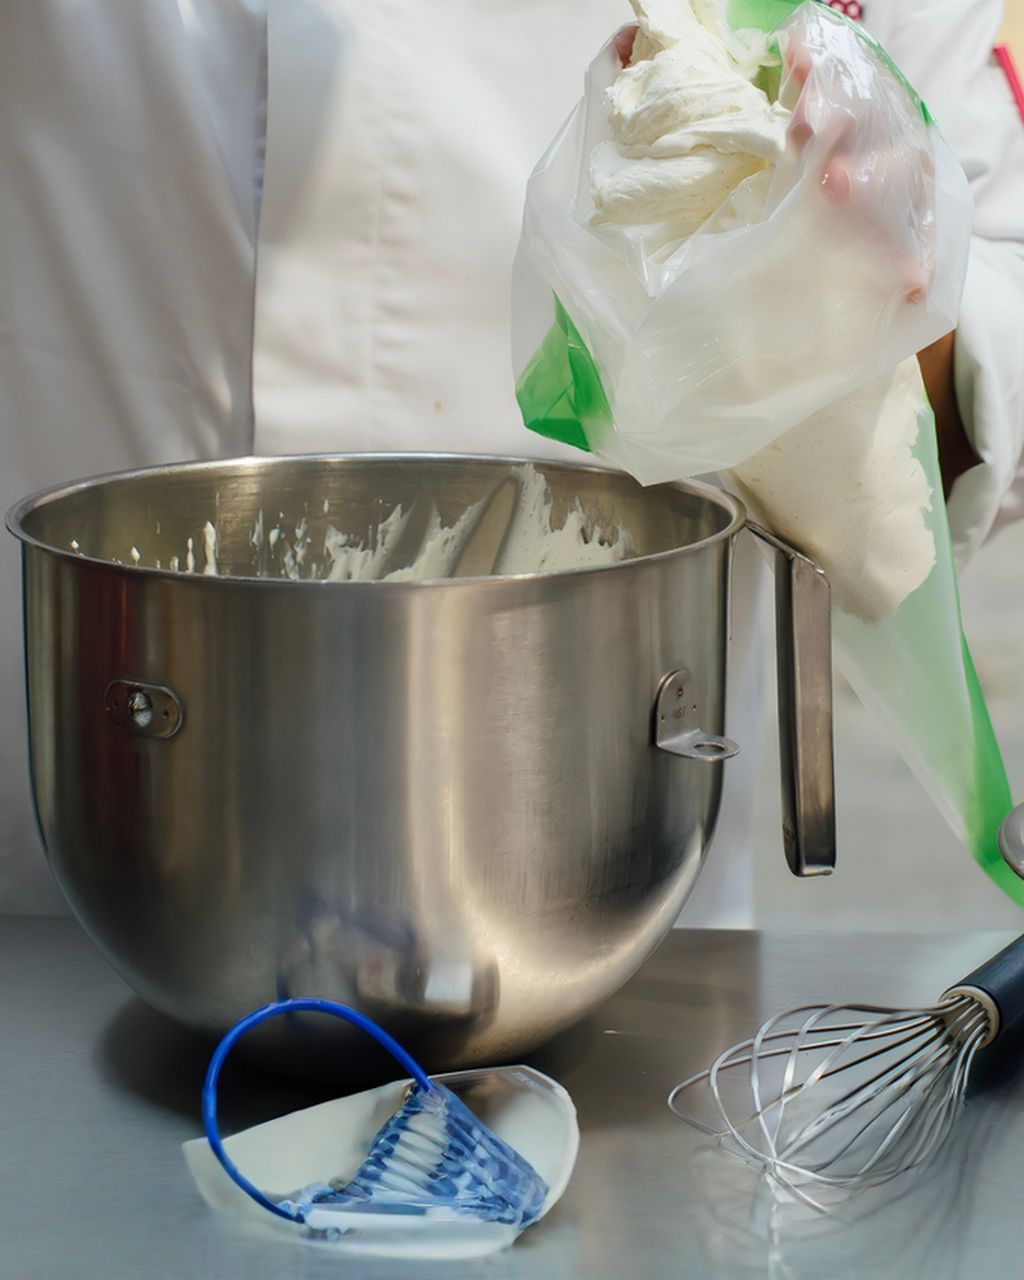
Before colouring, stir the frosting with a wooden spoon for two minutes slowly and without incorporating air. Whipped frosting is full of tiny bubbles, and they'll print through as dimples on a smooth side.
Mix the darkest shade first. Then take some of it out and lighten it with white frosting to get your second and third shades. That way all the shades stay in the same colour family — mixing each shade separately "upward from white" almost never works.
Don't skimp on colour. Three shades that are nearly identical will blur into one grey blob. You want a clear difference between the darkest and lightest even while they're still in the bowl.
Apply the frosting in rings, using a piping bag with no tip or an offset spatula: darkest at the bottom, lightest at the top edge. Let the zones overlap slightly.
Hold the scraper at 45° to the side and rotate the cake three times. The first pass evens out the bands, the second blends the overlaps, and the third fine-tunes the gradient. Wipe the scraper after every pass — otherwise you'll drag the dark colour all the way up and ruin the gradient.
If the frosting starts sticking or turning glossy, 15 minutes in the fridge and then carry on. Five short breaks beat one smeared side.
Finish the top edge last. Levelling pushes up a "crown" of excess frosting at the top — remove it with an offset spatula, pulling from the edge toward the centre.
The same rule applies to gel colours here as with a drip: liquid colouring thins the frosting, and once the side starts to slip, there's no fixing it.
Ombré doesn't have to live only on the outside — you can create the same gradient inside the cake, and with a naked cake it'll show from the outside too. Divide the batter by weight into 3–4 equal portions, tint each one a shade darker with gel colour, and bake them separately. Stack darkest at the bottom.
Two things usually trip people up here: the portions need to be equal in weight (otherwise the layers won't come out the same height), and you should add the colour to the batter at full strength before baking, since baking fades it by a shade. With navy blue and green especially, test on one small layer first.
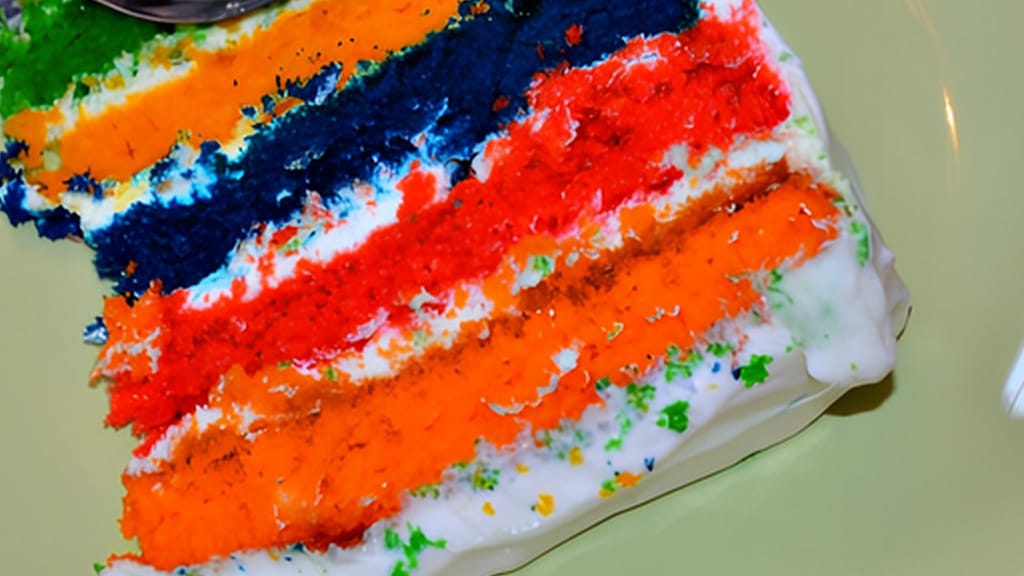
Rainbow kids' birthday cake
A colourful kids' birthday cake — coloured layers you can use to practise ombré on the inside of a cake
Nine mistakes that trip up a cake most often: a bulging side, crumbs in the frosting, bubbles in a smooth side, drips that run too far, drips that stop too soon, seized white ganache, ombré that reads as stripes, dark colour dragged upward, and soft frosting in a warm kitchen. Here's what to do about each one:
The side bulges out after a few hours. The filling was too runny, or the cake wasn't weighted while chilling. Next time, build a dam of firm frosting around the edge of the layer and chill under weight for 30 minutes.
Crumbs show through the white frosting. The crumb coat wasn't chilled enough. It needs to be firm to the touch, not just cold.
The smooth side is pitted with bubbles. You whipped air into the frosting. Stir it slowly with a wooden spoon for two minutes before applying it.
The drips ran all the way to the board. The ganache was too hot, too thin, or the cake was too warm. Let the ganache cool and test it on a cold glass.
The drips stopped right under the rim. The ganache was too cold or too thick. Warm it over steam for 10 seconds.
The white ganache went lumpy or split. You poured cream that was too hot, or water got into it. Try adding a spoonful of warm cream and blending with a stick blender tilted to avoid pulling in air.
The ombré came out as three stripes instead of a gradient. Too few passes with the scraper, or the frosting was too firm. Let it warm up on the counter for five minutes and do two more passes.
The dark colour has smeared all the way up. You didn't wipe the scraper between passes.
The frosting turns glossy, slips, and won't hold an edge. Warm kitchen and warm hands. Above 22°C, work in stages with fridge breaks in between.
Transport the cake chilled, on a level, sturdy board, inside a closed box, and in the footwell of the front passenger seat — never in the boot. Cold frosting holds its shape far better than frosting at room temperature, so pop the cake in the fridge for an hour before you leave. For a drip cake, let the drips set completely (10–15 minutes in the fridge), and make sure the box sides are taller than your tallest decoration. Add tall garnishes, candles or fruit on top only once you've arrived.
Anything that sets and can be adjusted to 30–35°C works for a drip — caramel, salted caramel, lemon curd thickened with white chocolate, or a simple sugar glaze made from icing sugar and milk. Fruit coulis and melted jam don't work: even chilled, their gel stays soft, so the drips slump and soak into the frosting. With a sugar glaze, adjust the liquid a teaspoon at a time — the consistency tips over very quickly.
The fridge won't fade the colours, but daylight will — especially reds, pinks and purples. So store a decorated cake in a closed box or under a cake dome in the fridge, not on the counter by a window. On the flip side, colours actually deepen in the first few hours after mixing into the frosting, so mix dark shades one notch lighter than you want and let them sit.
For a three-layer, 20 cm cake, plan on roughly 1–1.2 kg of frosting: 400–500 g for the filling between layers, 200 g for the crumb coat, and 400–500 g for the final coat. For an ombré cake, make about 200 g extra, since some frosting stays on the scraper and in the tinting bowls. For a drip, 200–250 g of ganache is enough for a cake this size.
A cake filled with mascarpone, quark or whipped cream frosting should be kept in the fridge and eaten within two days; a cake with buttercream keeps in the fridge for three to four days. Take it out 30–60 minutes before serving, since cold frosting and sponge are both firm and mute the flavour. A naked cake with exposed sides is the exception — eat it on the day you assemble it, since uncovered sponge dries out fast.
One recipe worth heating the oven for, one tip, and one deal from the shop. Nothing else.