Simple chocolate cake
Birthday Cake at Home: What You Can Pull Off Without a Baking Course
Updated Oct 8, 2026
You can make a birthday cake at home without any cake-decorating course if you pick a sturdy sponge, a frosting that holds its shape, and simple decoration: one star nozzle, sprinkles and a message. Save fondant figures, tiers and mirror glaze for another day. Here's what actually works the first time, in what order, and what to prepare ahead.
Without any training, there are five things you can reliably manage at home: baking and splitting the sponge, filling it with a stable buttercream or frosting, getting the sides smooth and straight, piping stars with a single nozzle, and finishing with sprinkles and a message.
What to skip for your first attempt:
Fondant covering. It takes practice, a smooth crumb coat underneath, and just the right moisture level. At home it tends to tear and go sticky.
Tiered cakes. Without proper supports, they'll slump. If you really want to try one, read up first on how to build a tiered cake so it doesn't collapse.
Mirror glaze. It needs an exact temperature, a frozen cake underneath, and one slip means redoing the whole surface.
Whipped cream as the only frosting. Without stabilising, it'll sink and start weeping within a few hours in a warm room.
The good news: a bit of planning does most of the work for you. Spread the cake over two or three days and it's an easy, relaxed job. Try to do it all on party day and it's just stress.
For a birthday cake, pick a sponge that's sturdy yet moist: a "wet" chocolate sponge or a classic whisked sponge. Both can carry frosting and be split into layers.
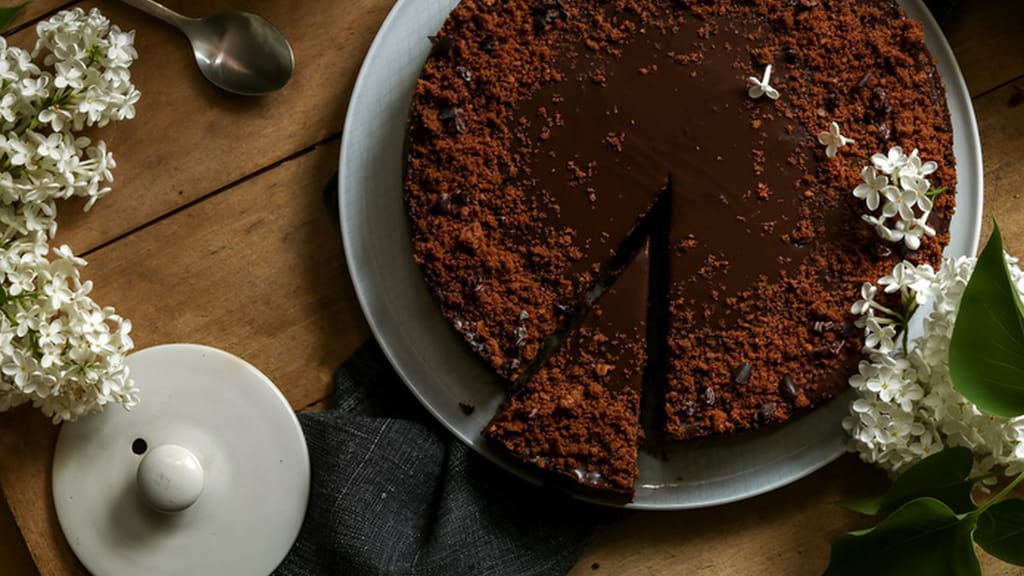
A chocolate sponge forgives more mistakes, stays moist even on day two, and its dark colour hides any unevenness. Start with something like a simple chocolate cake or, if you're celebrating a serious chocolate lover, the most chocolatey chocolate cake.
A whisked sponge is lighter and soaks up syrup or fruit juice nicely. The method for a light Génoise sponge is a great base for a fruit birthday cake. If yours ever sinks, this article explains why a whisked sponge collapses.
For 10–14 guests, a 20 cm (8 in) tin is plenty, with a sponge 6–8 cm high that you split into 2–3 layers. If the top domes up, just trim it level. For tips on baking a level sponge the first time, see why cakes dome up, and for even layers, see how to slice a cake into layers.
Once the sponge has cooled, wrap it in cling film and leave it in the fridge overnight. Chilled sponge crumbles less and slices more evenly.
Simple chocolate cake
Simple chocolate cake as a base for a birthday cake
The most chocolatey chocolate cake
The most chocolatey chocolate birthday cake
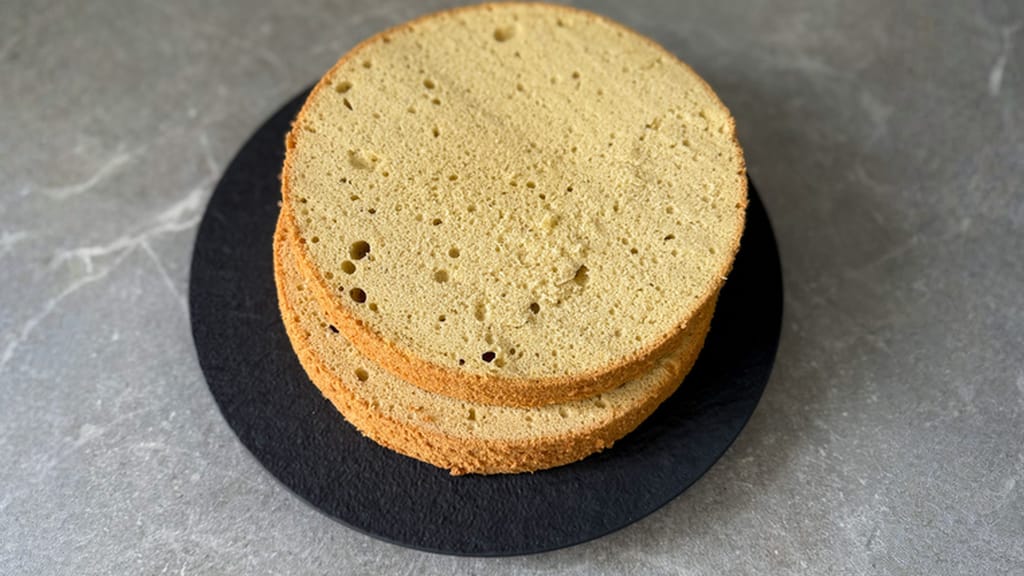
Light and airy génoise sponge cake
Light Génoise sponge for a fruit birthday cake
For filling and crumb-coating a homemade birthday cake, mascarpone frosting or buttercream work best. Both hold a sharp edge, pipe well through a nozzle, and firm up in the fridge.
Mascarpone frosting is the safest bet for beginners. A rough ratio: 500 g mascarpone, 250 ml double/whipping cream (33% fat), and 60–80 g icing sugar. Everything needs to be fridge-cold, and you only whip it to stiff peaks. Overwhip it and it'll split.
Buttercream (Swiss meringue or custard-based) is the most stable and best for colouring. It does need butter at room temperature, around 18–20°C (64–68°F), otherwise it'll split or turn greasy. This article helps: how to whip buttercream so it isn't greasy.
Plain whipped cream tastes great but is weak for decorating: it softens in the warmth and piped stars lose their crisp edges.
For a 20 cm (8 in) cake with three layers, plan on 700–900 g of frosting for filling, coating and decorating. For an overview of other frostings and where each works best, see types of cake frosting.
A straight-sided cake comes from a thin first layer of frosting that catches the crumbs, followed by chilling. Only then does the final layer go on. Pros call this the crumb coat.
Build a dam. Pipe a ring of frosting about 1 cm high around the edge of each layer, then fill the middle. This stops a soft filling (fruit, caramel) from oozing out. The article on frosting dams covers this in detail.
Level the layers. Place the bottom layer cut-side down. Put the top layer smooth-side up for the flattest possible top.
Coat the whole cake thinly. 2–3 mm of frosting is enough. It's fine if the sponge shows through slightly — this layer is only there to trap the crumbs.
Chill for 30–60 minutes, until the frosting feels firm and no longer tacky. Leaving it in the fridge overnight is fine too. Rush this step and crumbs will end up mixed into the final layer.
Apply the final layer and smooth it off with a scraper. Hold the scraper upright and turn the cake, not the scraper.
For smoothing, a turntable, an offset palette knife, and a straight scraper all help. A large plate set on an upturned pot can stand in for a turntable, but a real one is noticeably faster. A clean ruler or a plastic card can substitute for a smoothing scraper.
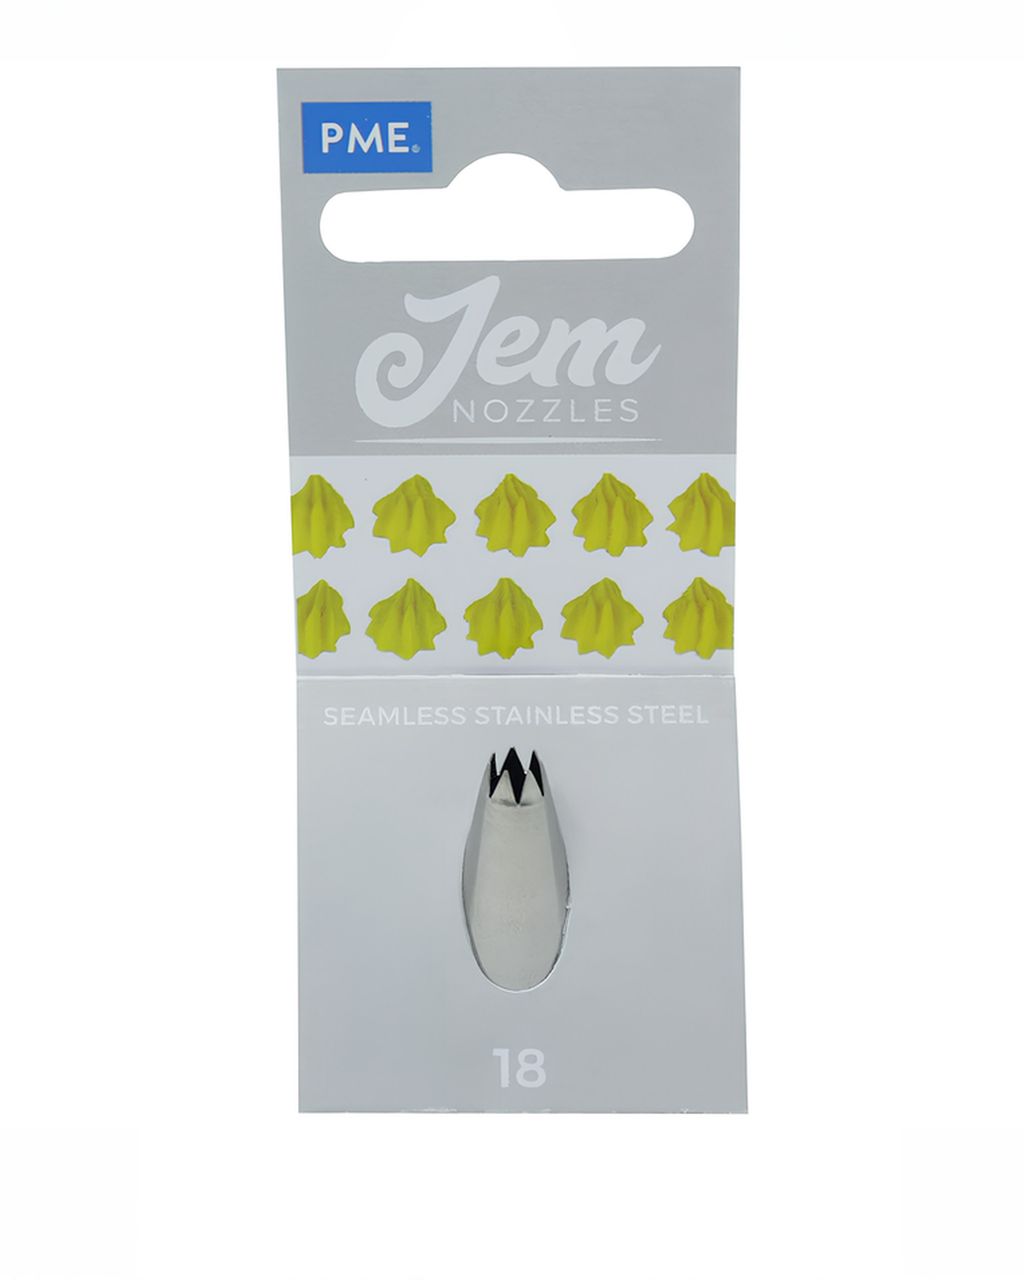
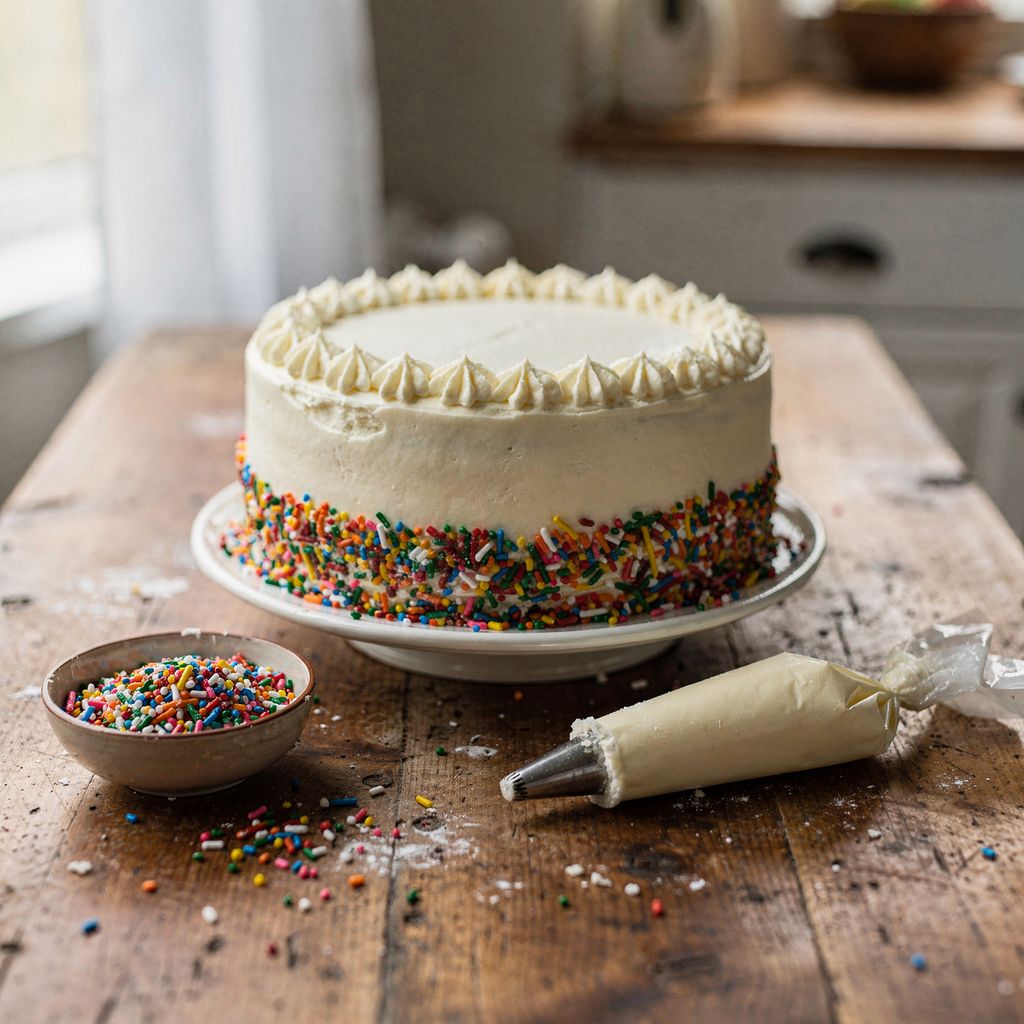
For a birthday cake, basically one nozzle is all you need: an open star tip. With it you can pipe a decorative border, little stars, and small rosettes, and it'll look bakery-bought. The next two nozzles on the list are optional extras.
An open star tip, size 18, makes small stars and a dense border around the top or bottom edge of the cake. Unlike larger tips, it uses very little frosting for the whole border.
Optional: a large star tip, type 1M, makes big rosettes like the ones you see on cupcakes. On a cake it's good for a few bold accents but too large for a full border.
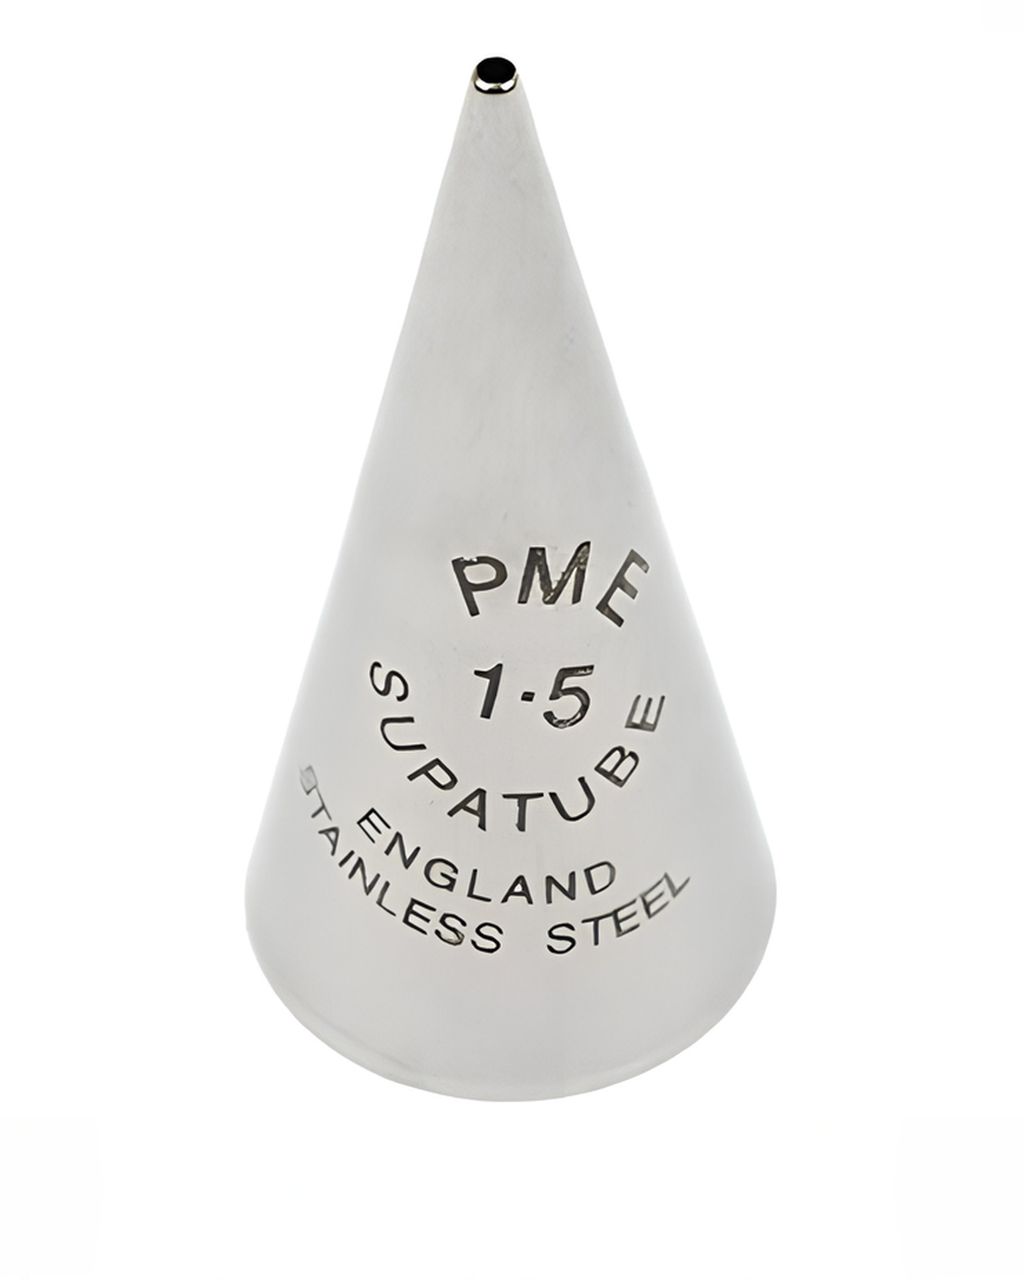
Optional: a round writing tip (1.5–3 mm) is for the message and dots. See the lettering section below.
How to pipe a star: hold the bag upright, about 5 mm above the surface, squeeze, release, and lift straight up — don't drag your hand sideways. Before piping onto the cake, practise a few on baking paper and scrape the frosting back into the bag.
You'll find nozzles and piping bags in our cake decorating supplies category. If you're not sure which nozzle to pick, this guide helps: cake piping tips: which one for what. For whether to go disposable or reusable, see the article on piping bags.
Colour cake frosting with gel colouring. It's concentrated, so a few drops are enough and it won't thin the frosting. Liquid food colours from the supermarket add water: you'd need a lot for a pastel shade, and the frosting will go soft.
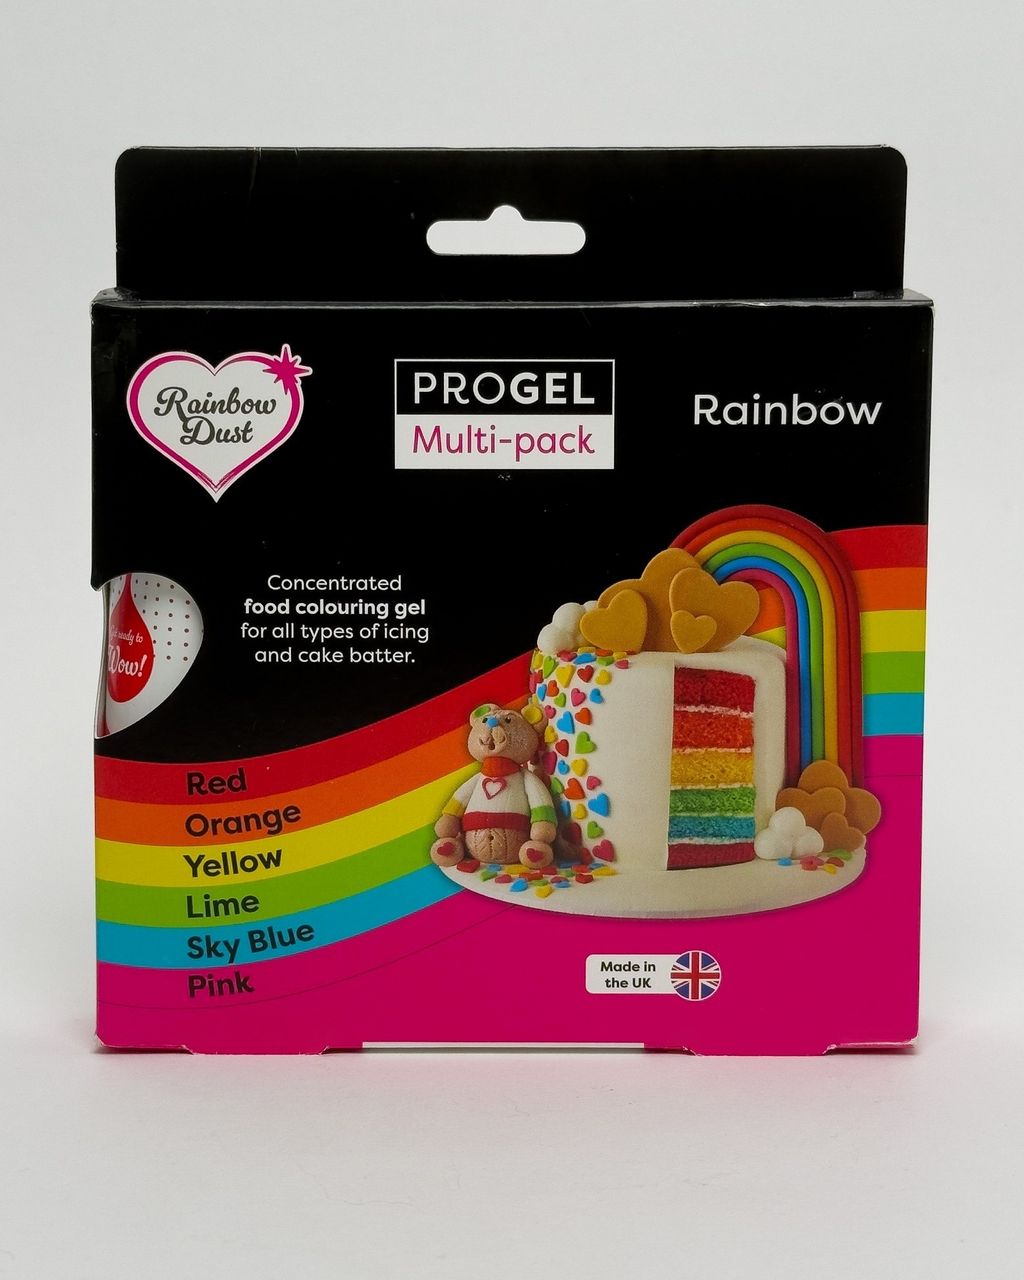
Gel colours (e.g. ProGel by Rainbow Dust): start with a toothpick-tip's worth per 200 g of frosting and add drop by drop. Colour keeps deepening for several hours — rich reds and black can darken right up to the next day — so stop a shade lighter than you're aiming for.
Supermarket liquid colours: cheap, and fine for a soft pink or yellow, but not up to the job of deep colour.
Natural colourings (beetroot, turmeric, matcha, freeze-dried fruit powder) are more subtle and bring their own flavour too. See the overview in what to use instead of food colouring.
Watch out with deep red and black: too much colouring and the frosting can turn bitter. Red works better starting from a cocoa-tinted frosting, black from a chocolate one. These articles cover the method: black frosting and black glaze and deep red glaze. Buttercream has a yellowish tint, which is why blue and violet-green come out muddy — strip the yellow tint out first, as shown in snow-white buttercream.
Apply sugar sprinkles to the cake while the frosting is still fresh and tacky — they won't stick to a chilled surface. On a whipped-cream cake, add them just before serving, since colour starts bleeding into the moisture within a few hours.
Bottom edge: hold the cake over a tray and press the sprinkles onto the bottom 2–3 cm of the side with your palm. Scoop up any that fall and reuse them.
Top: sprinkle just a band near the edge or a crescent shape, not the whole surface — less looks better.
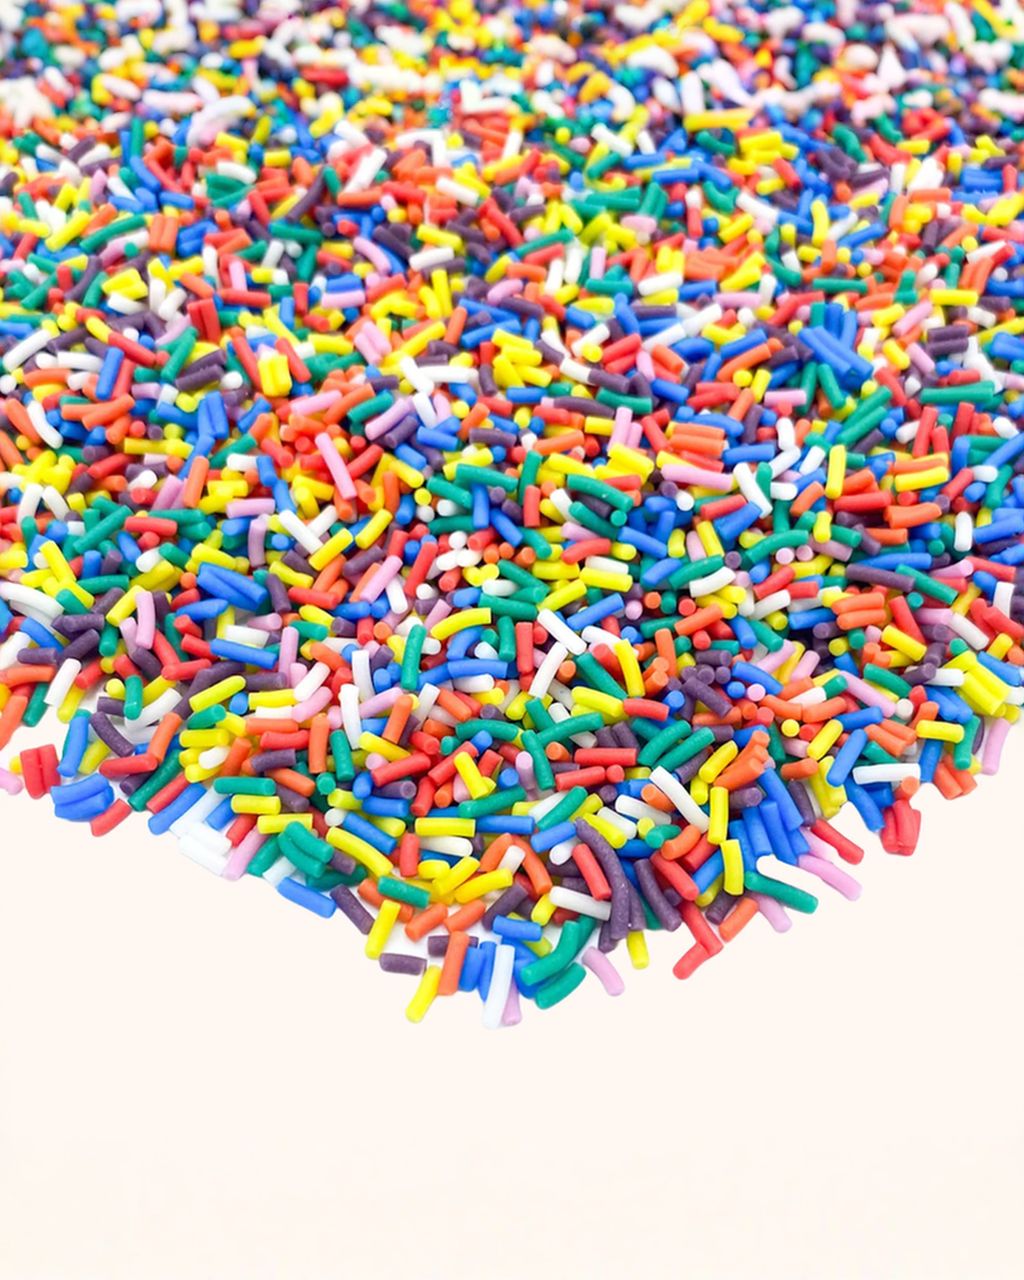
Type of sprinkles: coloured sprinkle sticks hold their colour and shape better than fine coloured sugar, which bleeds fastest on wet frosting. Larger shapes (hearts, stars, lips) work well as accents.
More ideas are in the article on decorating a cake with sugar sprinkles. If you want sprinkles inside the cake too, try a funfetti cake — there, the type of sprinkles matters even more.
The easiest way to write on a cake is with a round writing tip (1.5–3 mm) and melted chocolate or a thicker frosting, piped onto a chilled surface — cold frosting won't smear under your hand.
First write the text on baking paper cut to the size of the cake. A 20 cm (8 in) cake fits roughly 12–15 characters on one line.
Lightly trace the lines into the frosting with a toothpick.
Pipe with even pressure, holding the tip 2–3 mm above the surface and letting the ribbon of frosting "lay" itself down — don't drag it across the surface.
If lettering feels too daunting, just pipe a large age number in the middle using sprinkles or stars instead. The full method is in writing on a cake with frosting or chocolate.
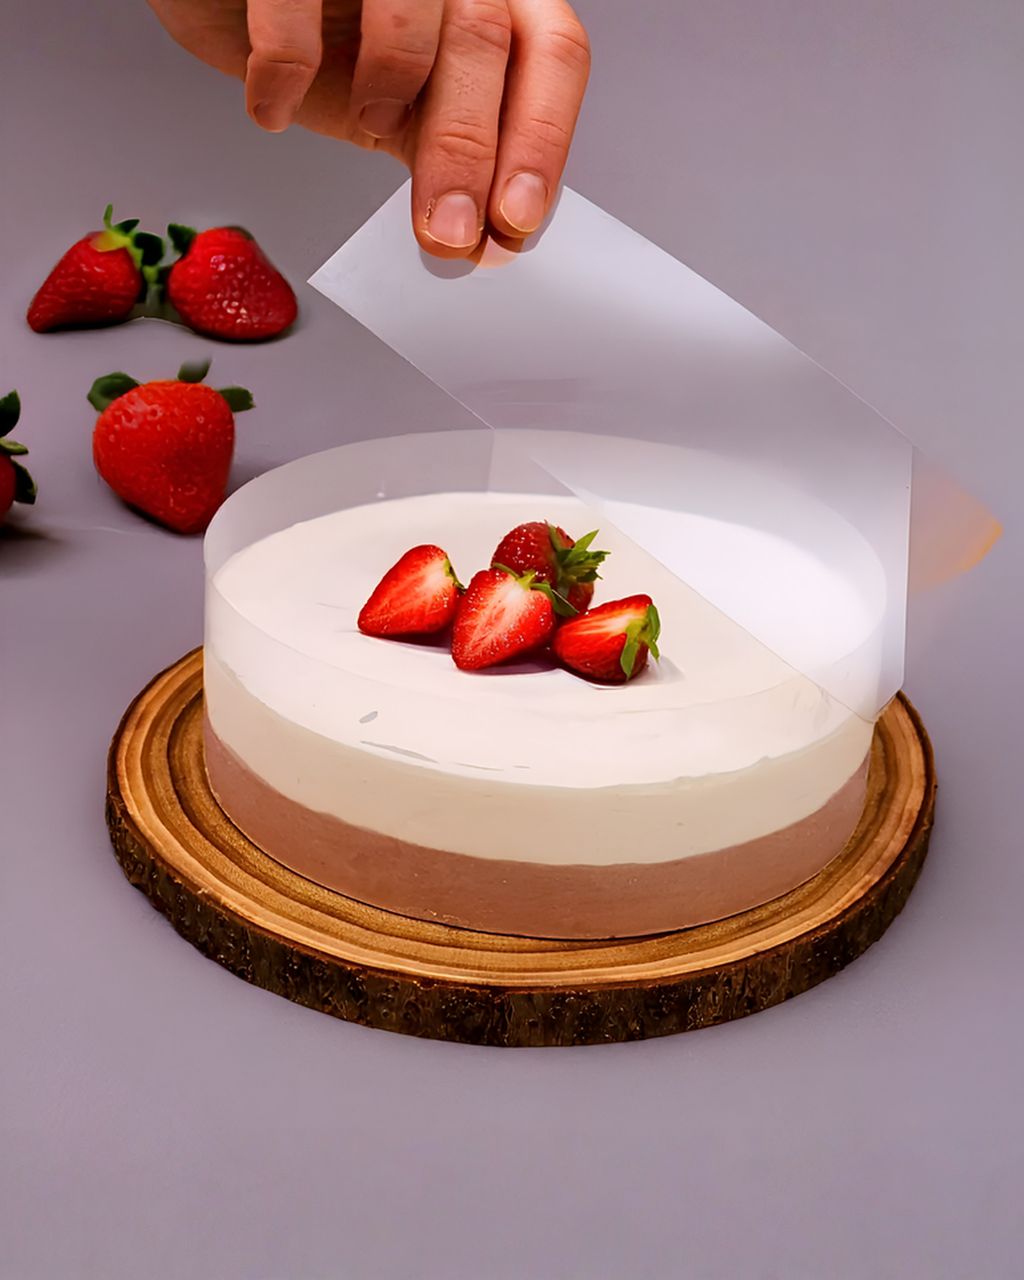
Acetate strip is smooth, clear plastic film that lets frosting, mousse, or chocolate release with a straight, glossy edge. For a homemade birthday cake, you'll use it for two things:
A collar around the cake when layering soft fillings or mousse directly inside a cake ring. The strip keeps the sides straight until the cake sets in the fridge. For a collar, you need strip at least as tall as the cake, usually 8–10 cm.
Chocolate decorations: spread melted chocolate onto the strip, let it set, then peel off glossy strips, waves, or a "fence" to go around the cake.
Our roll is 35 mm wide, so it suits chocolate decorations, low desserts, and lining smaller tins — not a collar for a tall cake, for which you'd need a wider roll. The article on acetate strip: what it's for and how to use it to build a cake explains the technique. You can skip the strip entirely if you're simply coating the cake with frosting.
Spread your birthday cake over three days. That way every step is relaxed, and the cake has time to firm up.
Two days ahead: bake the sponge, let it cool completely, wrap in cling film, and refrigerate. You can even bake the sponges earlier still and freeze them.
One day ahead: split the sponge, fill it, apply the thin first layer of frosting, and leave the cake in the fridge overnight. Colour the frosting now too, so the shade has time to deepen.
On the day: final layer, piping, sprinkles, lettering. Then back into the fridge for at least 1 hour.
Take it out of the fridge 20–30 minutes before serving — the frosting softens slightly and tastes better. For the rest of the spread, see dessert table ideas for a party.
Once you've nailed your first birthday cake, the next step is colour and shape. Try a rainbow cake with vividly coloured layers or buttercream ruffles. For a kids' party, see decorating cakes for children, and if you're not sure what to buy first, this guide helps: baking supplies for beginners.
A tall 20 cm (8 in) birthday cake cuts into 12–16 servings. A 24 cm (9½ in) cake gives roughly 18–22 servings, and a 16 cm (6 in) cake about 8–10. If the cake is 10 cm (4 in) tall or more, cut narrower slices so you get even more out of it.
Transport the cake well-chilled, in a sturdy box, on a flat board, and set on the floor of the car rather than on a seat. Chilled frosting is firm, so the cake won't shift. For a longer journey, add cooling packs to the box and leave any piped decorations to finish at the venue. Add sprinkles before you set off, while the frosting is still fresh.
A sturdy zip-top sandwich bag with a small corner snipped off works instead of a piping bag — fine for lettering and dots. You can fit a nozzle into it too, but a thin bag tends to split around the nozzle under firmer pressure, so for longer decorating sessions a disposable piping bag is more reliable.
Yes, a birthday cake freezes well, best as plain sponge layers or as a cake filled with buttercream. Sponge layers wrapped well in cling film keep in the freezer for up to 3 months and thaw overnight in the fridge. Mascarpone or whipped-cream frosting can split and weep after thawing. Don't freeze a decorated cake with sprinkles on, as they'll turn damp and bleed colour when thawed.
One recipe worth heating the oven for, one tip, and one deal from the shop. Nothing else.