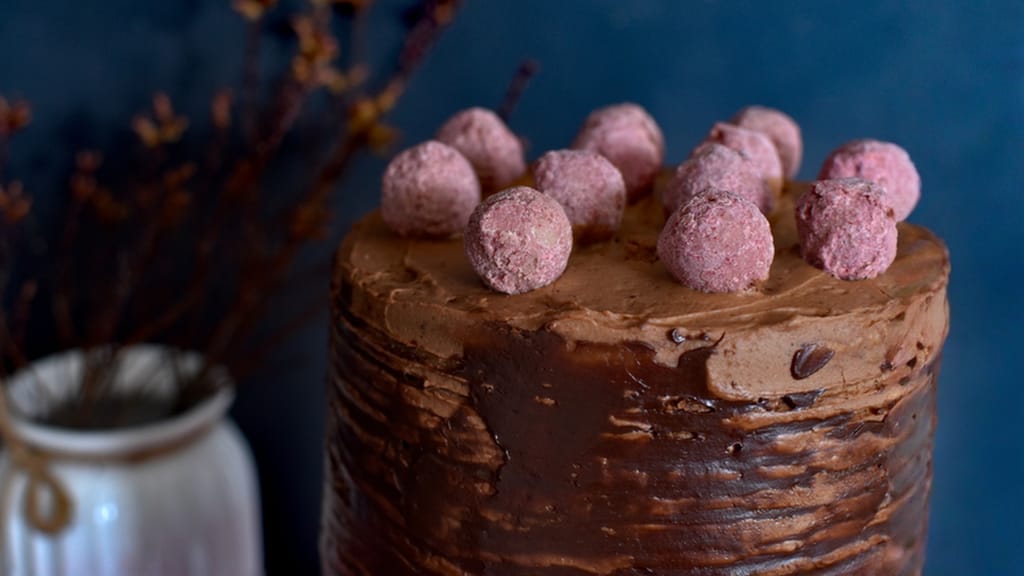
Chocolate cake with chocolate and raspberry pralines
Homemade Chocolate Pralines Step by Step: Chocolate, Mold, Filling and Decorating

Updated Nov 2, 2026
You can make homemade chocolate pralines in five steps: temper the chocolate, cast thin shells in a mold, fill them with a cooled filling, let the filling set, and seal each praline by pouring a chocolate base over it. You'll need couverture (chocolate with at least 31% cocoa butter), a polycarbonate or silicone mold, and a thermometer. One 24-cavity mold takes 200–250 g of chocolate, and you'll spread the work over two days, because the ganache has to set overnight before you seal the bases. Below you'll find tempering temperatures, ganache ratios, storage and decorating tips.
For homemade chocolate pralines, reach for couverture, a chocolate with a high proportion of cocoa butter (under European rules, at least 31% for dark couverture). It's the cocoa butter that makes tempering, shine and that characteristic snap possible. Compound chocolate coating made with vegetable fat isn't real chocolate: it doesn't temper, doesn't snap, and pralines made with it taste flat.
Among the three types, you're mainly choosing by flavor and sweetness:
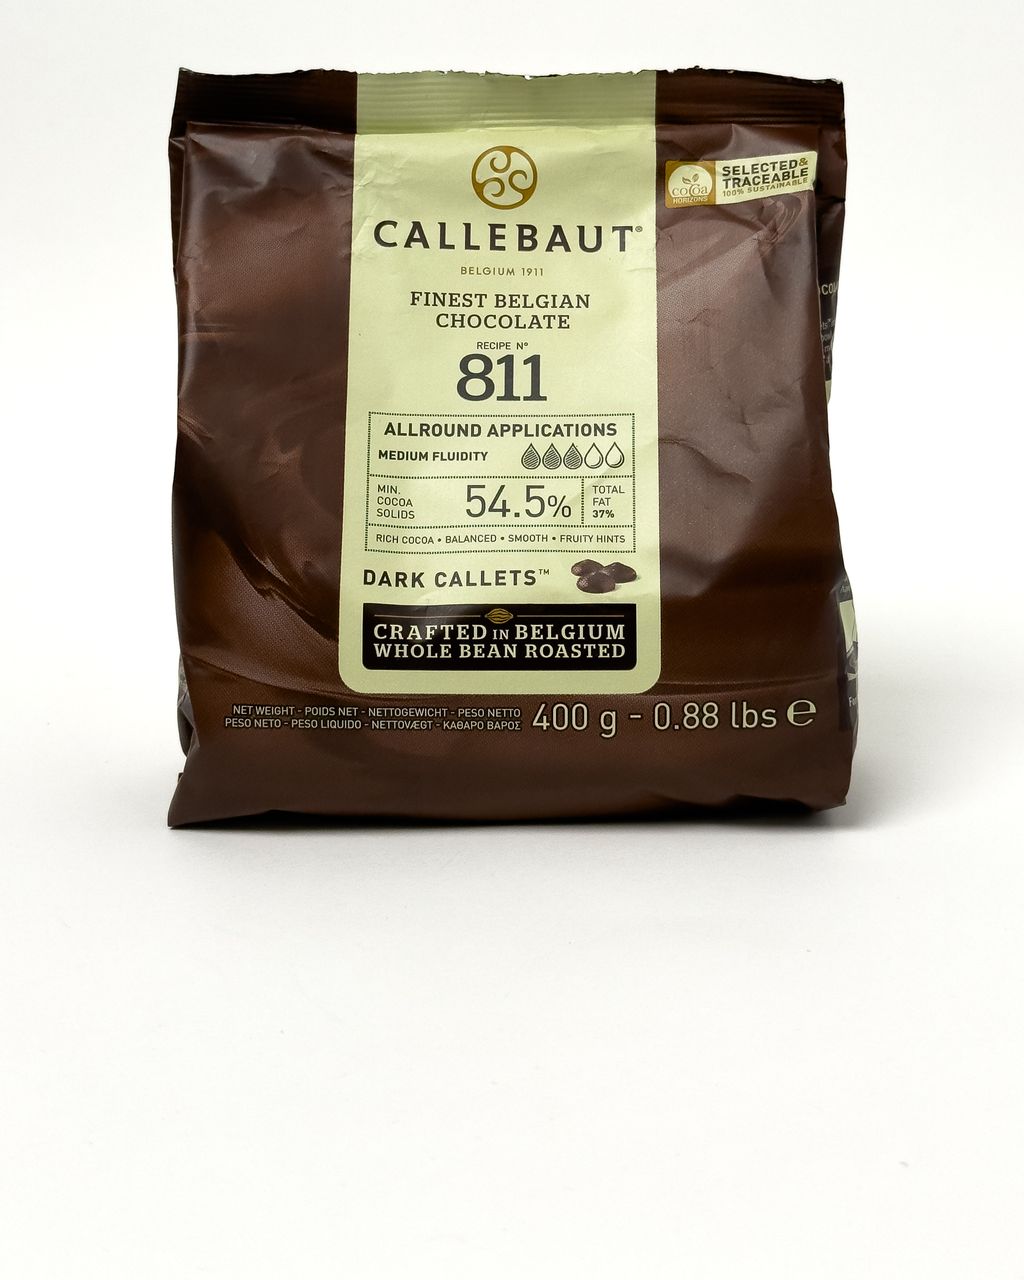
Dark (roughly 54–70% cocoa): intense, less sweet, and best at holding its shape and shine. Ideal for your first pralines and for ganache. For shells we use Callebaut 811 dark chocolate callets with 54.5% cocoa, which is milder than 70% chocolates.
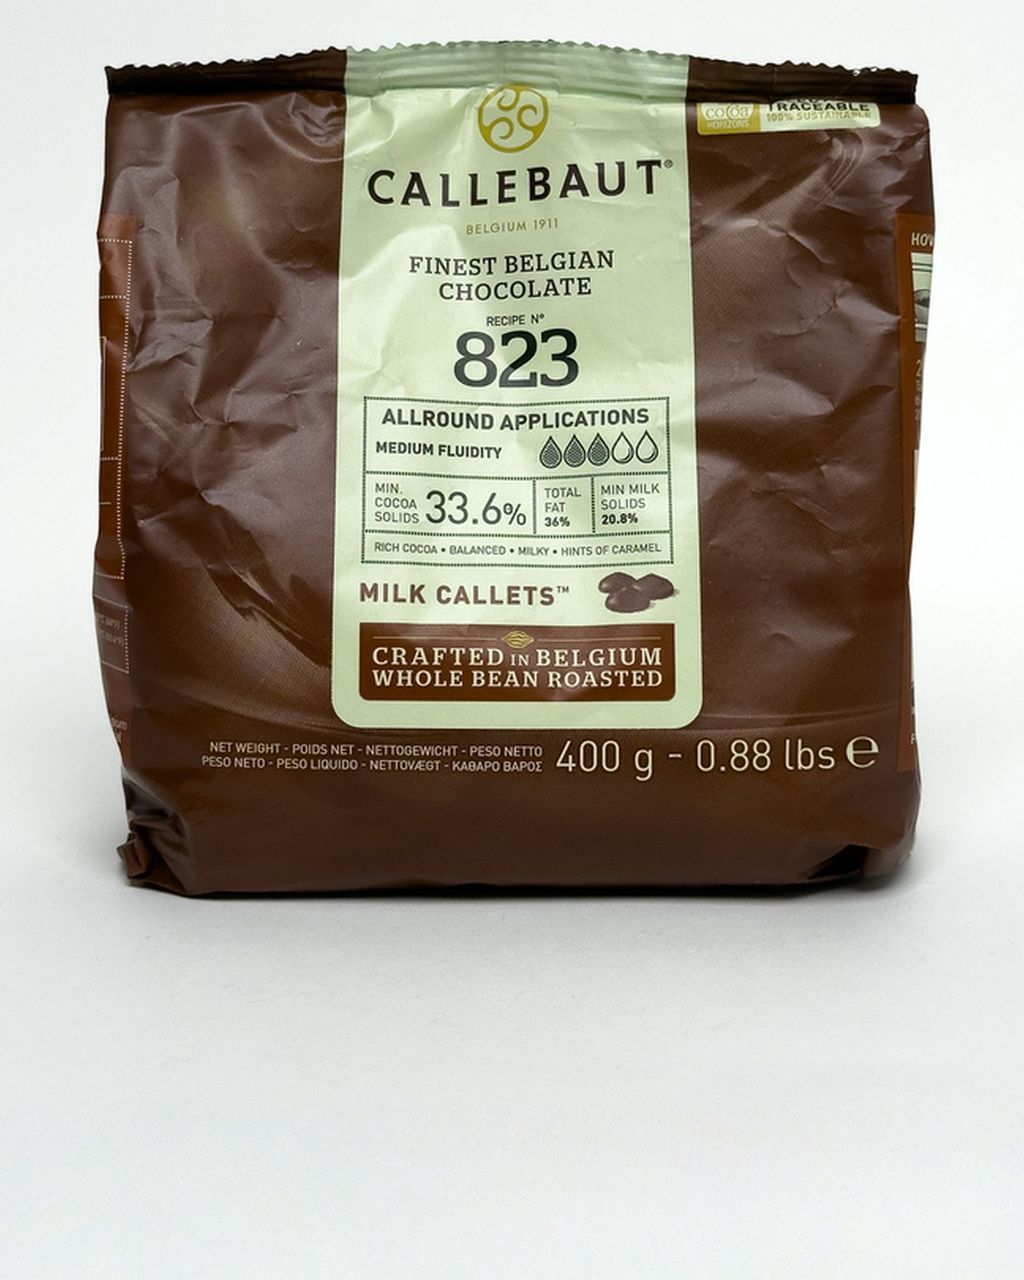
Milk: sweeter and mellower thanks to the milk and sugar, but more sensitive to temperature when tempering. Callebaut 823 milk chocolate callets work well for both shells and ganache.
White: contains no cocoa solids, only cocoa butter, milk and sugar. It's creamy and buttery and easy to color, but it scorches the fastest.
Callets have one practical advantage over bars: there's nothing to chop, and they melt evenly. You can judge quality by the ingredients: good chocolate contains cocoa mass or cocoa butter, sugar, and at most vanilla or soy lecithin. For what the numbers on Callebaut bags mean, see the article Callebaut 811, 823, W2 and RB2: which chocolate to use for what. You'll find the couvertures we have in stock in the chocolate category, and the differences between the types are covered in the difference between dark, milk and white chocolate.

Seasonal baking plans, tested recipes and kitchen tricks that save you time. Unsubscribe in one click.
To get professional-looking pralines, you need just five things: a mold, an accurate thermometer, a good spatula, a kitchen scale and patience. Apart from the thermometer, ordinary kitchen equipment will do, so it doesn't have to be expensive.
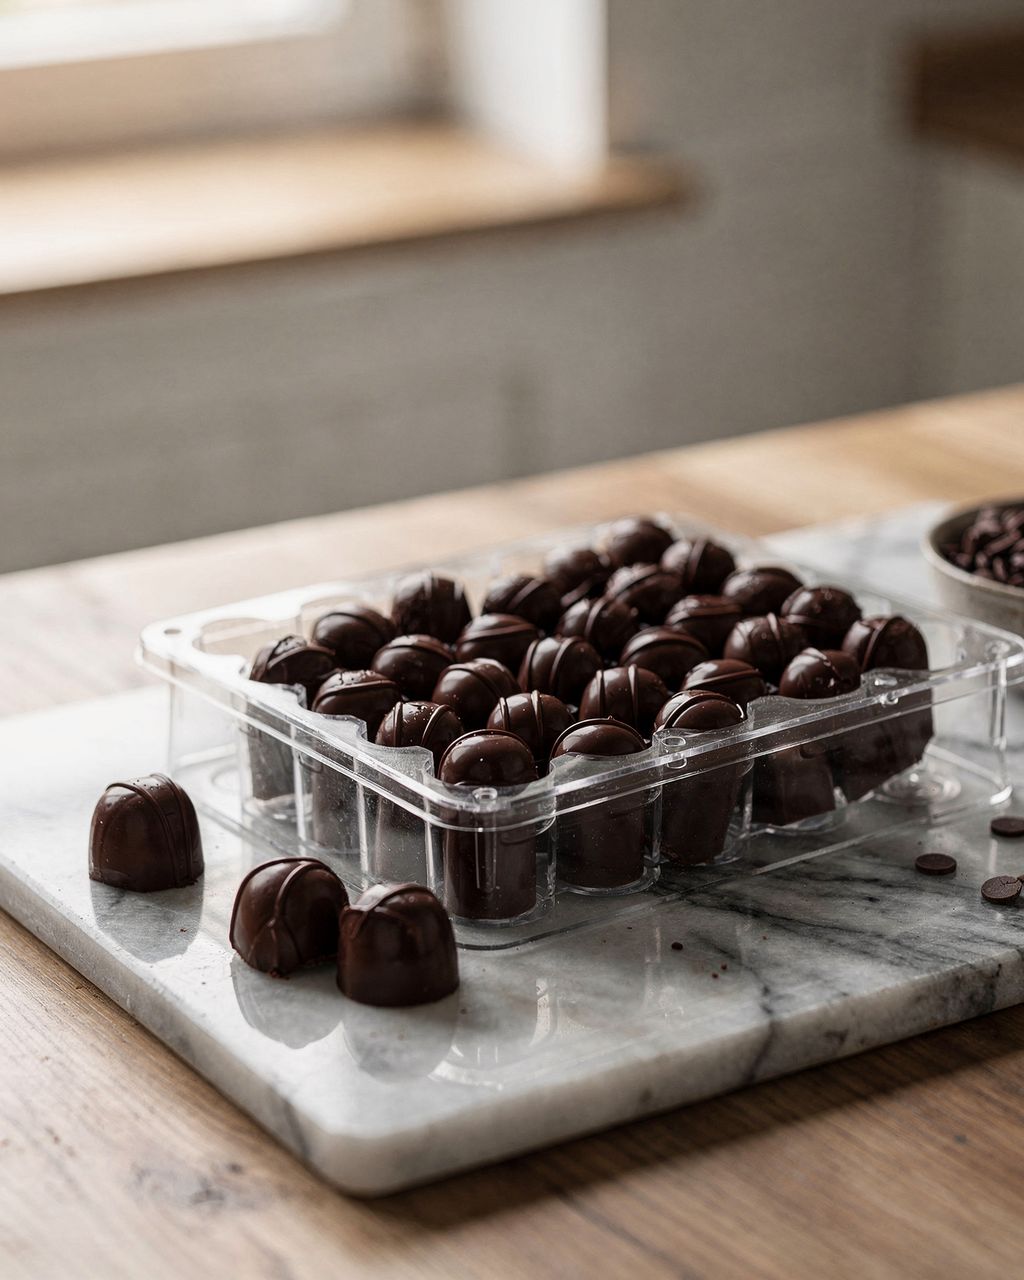
For the glossiest pralines, use a polycarbonate (hard plastic) mold: its smooth, rigid surface transfers a mirror shine and sharp edges to the chocolate, and properly tempered chocolate releases on its own. Silicone molds are cheaper and flexible and forgive chocolate that isn't perfectly tempered, but the surface tends to be duller and you have to push the pralines out by hand.
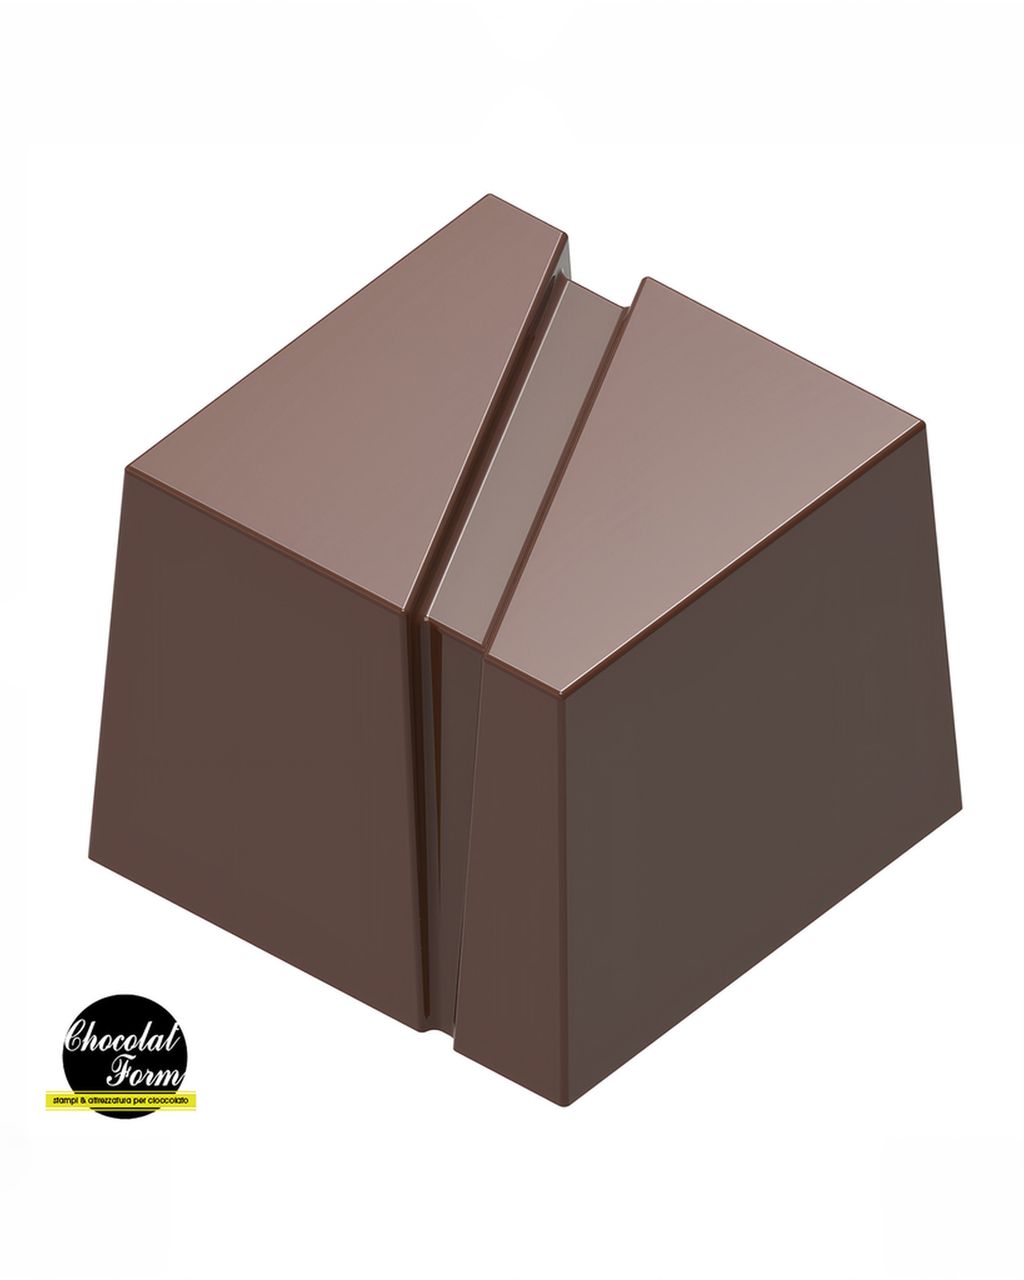
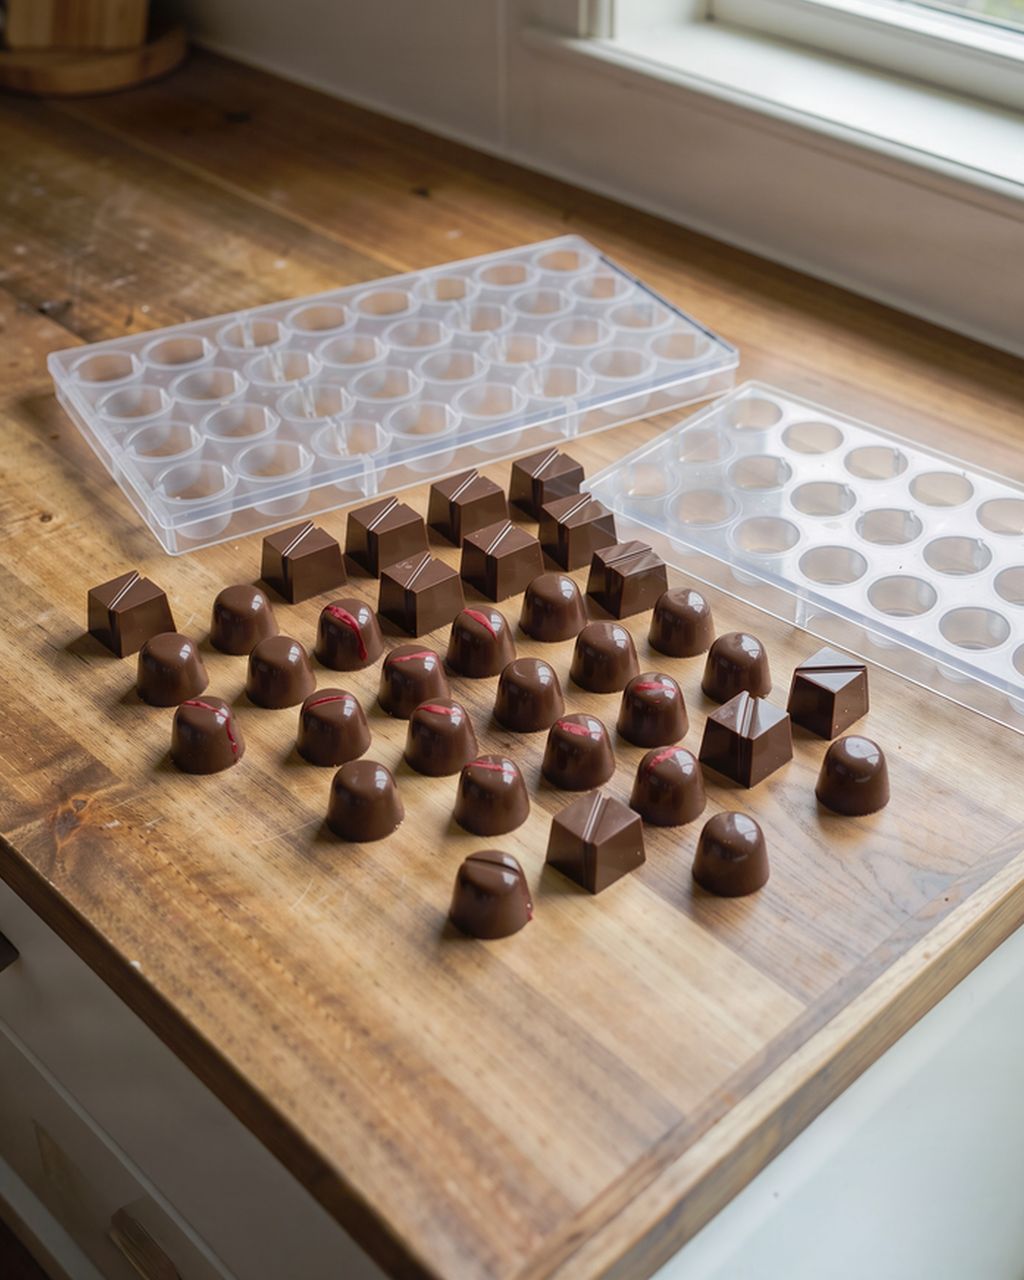
For your first pralines, choose a simple shape, such as the polycarbonate Cube with Stripe mold with 24 cavities of 25 mm each. The straight walls are easy to scrape clean, and the stripe hides small imperfections.
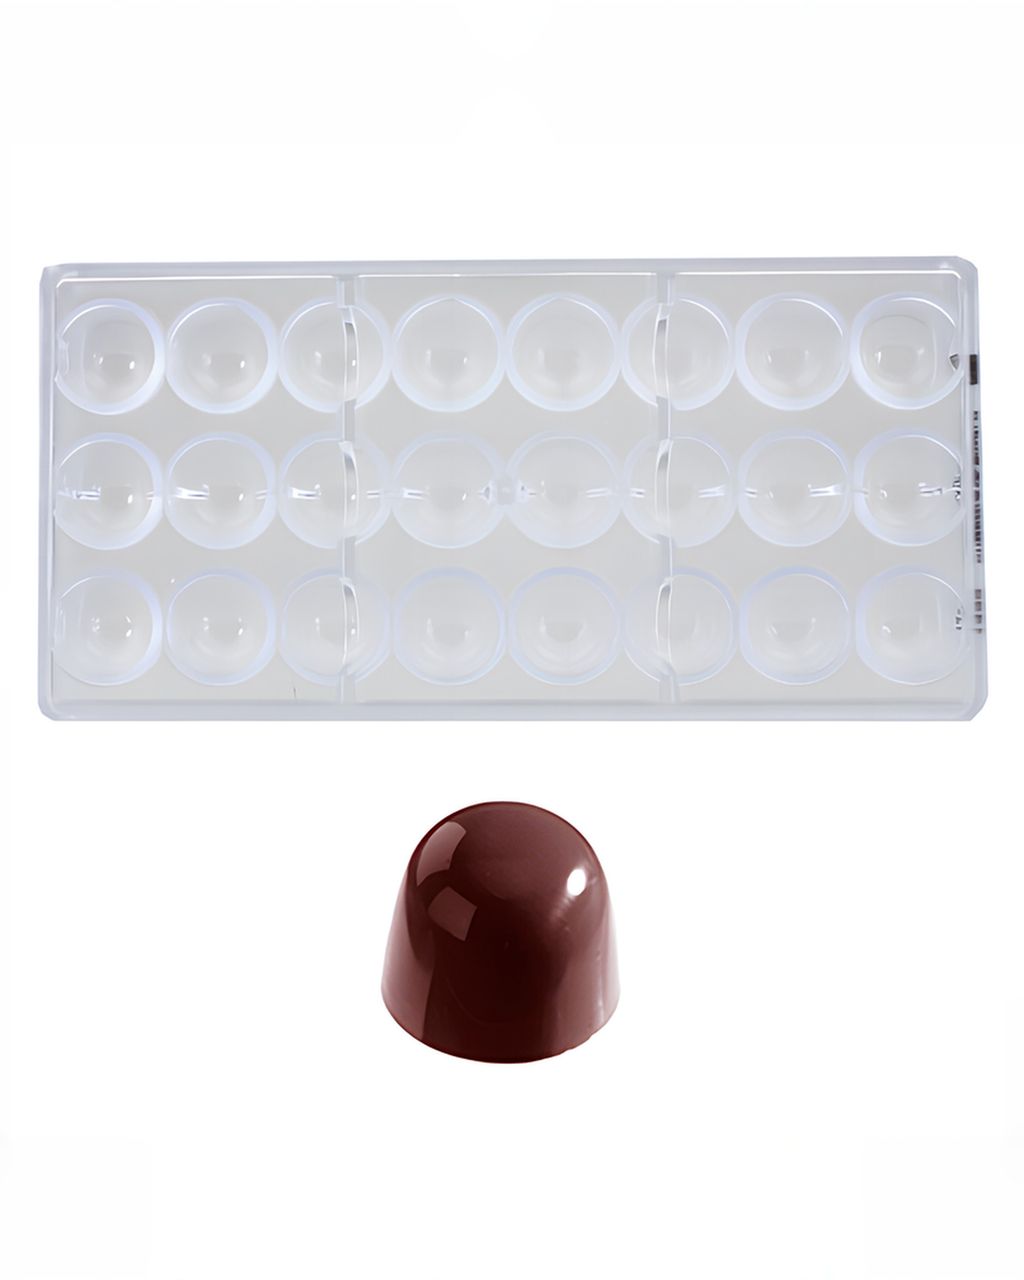
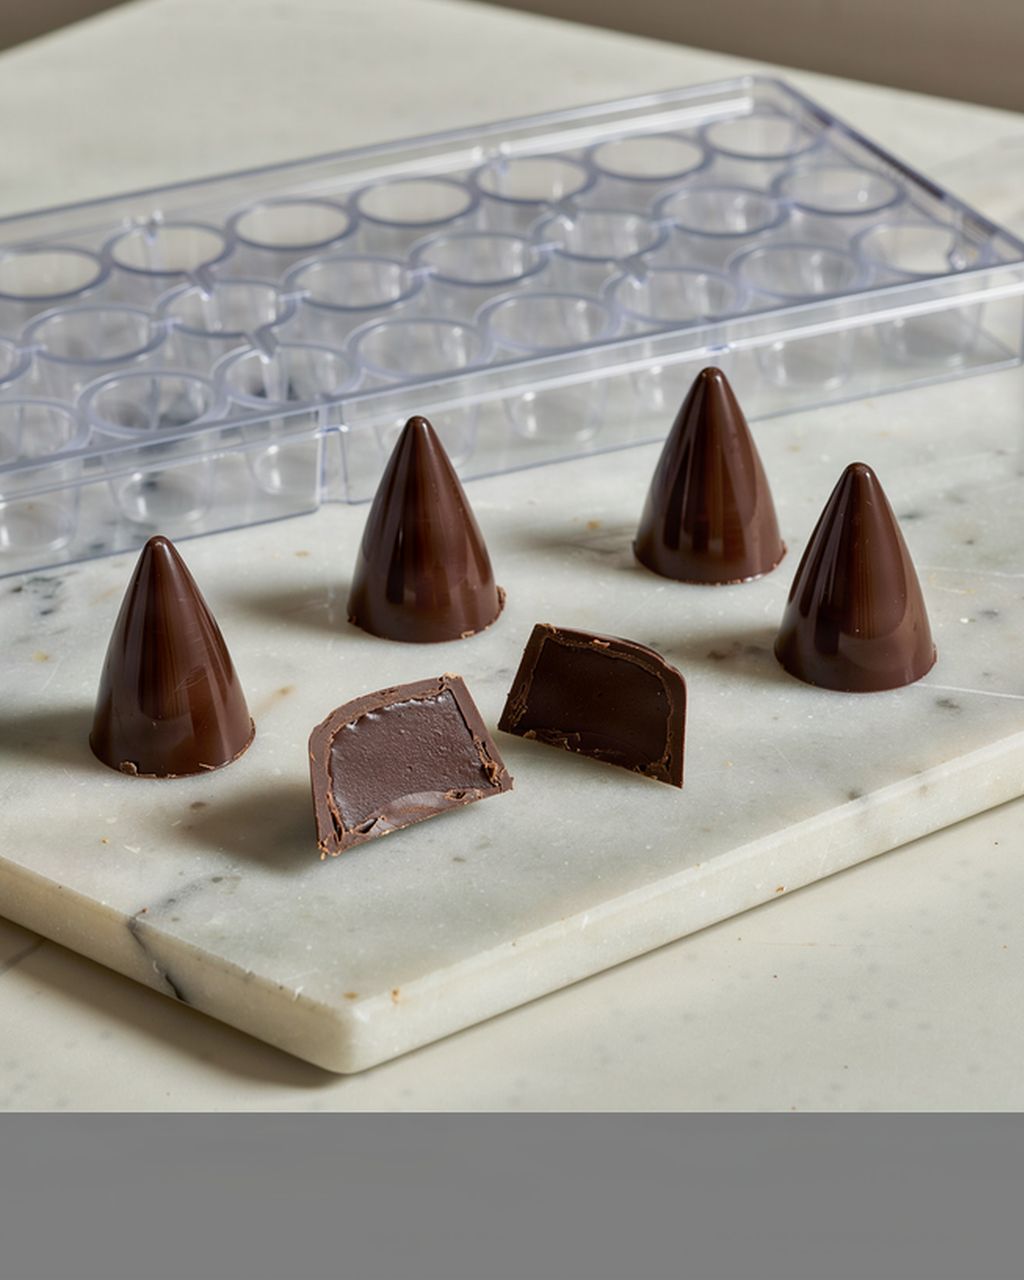
For gifts, the Cone mold (24 cavities, Ø 29 × 25 mm) looks impressive. The article cone-shaped pralines shows how to cast and close it.
Before pouring in the chocolate, polish the mold dry with cotton wool or a cotton cloth, because even a fingerprint will show in the result. You'll find a detailed comparison of the two materials in the article praline molds: polycarbonate or silicone, and more molds in the molds and baking accessories category.
A digital thermometer (ideally with a probe tip, or a non-contact infrared one) is the one tool you shouldn't skimp on. A difference of two degrees decides whether your pralines will shine or turn grey. A kitchen thermometer with a range up to 60 °C and 0.5 °C accuracy is more than enough.
A flexible silicone spatula is essential for stirring while tempering and for scraping excess chocolate off the mold. Add a kitchen scale (fillings are measured in grams, not "by eye"), a scraper or long knife to clean up the mold, and a piping bag for filling. To get air bubbles out of a filled mold, tap it on the counter several times.
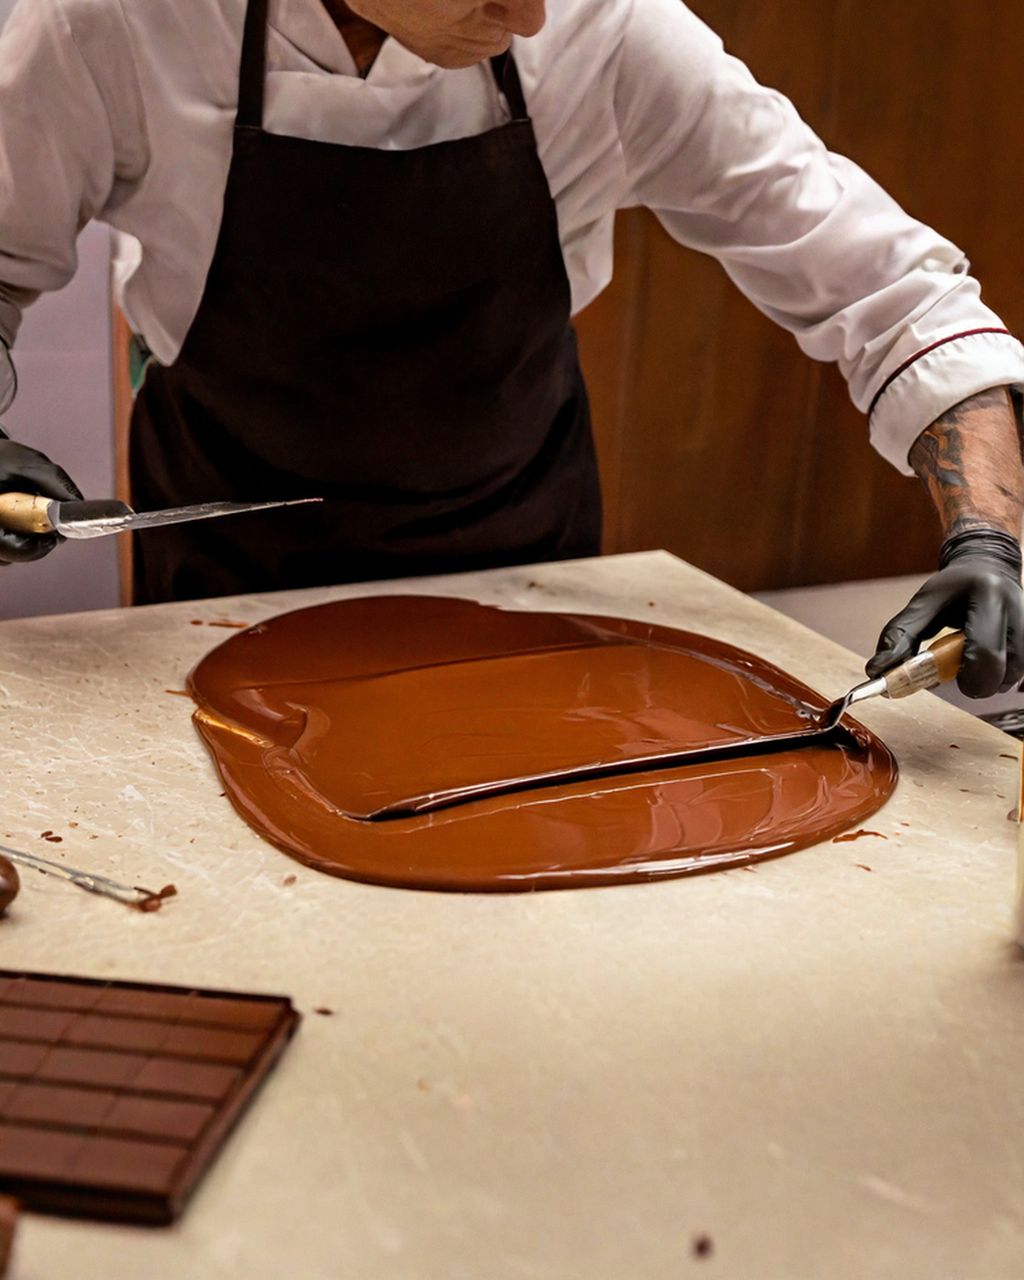
Tempering means heating, cooling and gently rewarming chocolate to precise temperatures. It lets the cocoa butter crystallize into a stable form, so your pralines are glossy, snap cleanly and release from the mold on their own. Without tempering, chocolate stays soft and dull and quickly turns grey.
Approximate temperatures by type of chocolate:
Dark: melt to 45–50 °C, cool to 28–29 °C, work at 31–32 °C.
Milk: melt to 40–45 °C, cool to 27–28 °C, work at 29–30 °C.
White: melt to 40 °C, cool to 26–27 °C, work at 28–29 °C.
Every couverture has its own curve, so if the manufacturer gives different temperatures on the packaging, follow the packaging. You can check your result with a simple test: dip the tip of a knife in the chocolate and lay it on the counter. At 18–20 °C, the chocolate should set glossy and streak-free within 5 minutes. We go through the whole process in the complete guide to tempering chocolate.
The classic method for larger quantities. Put chopped chocolate in a bowl over a pot of hot (not boiling) water, making sure the bottom of the bowl doesn't touch the water. Melt it to the upper temperature, stirring constantly, then take the bowl off and stir until it cools to the lower temperature. Finally, return it briefly over the steam and warm it a few degrees to working temperature.
A quick route for smaller batches. Chop the chocolate finely and heat it on medium power in 15–20 second bursts, stirring thoroughly after each one. Residual heat can keep melting the chocolate even outside the microwave, so it's better to heat slowly: chocolate that's overheated (scorched) can't be rescued.
The most reliable method without a marble slab. Melt two-thirds of the chocolate to the upper temperature, take it off the heat and gradually stir in the remaining third of finely chopped tempered chocolate. The unmelted crystals "seed" the whole batch with the right structure while cooling it to working temperature. Take out any pieces that haven't melted by the end.
Molded pralines come together in five steps: cast the shells, let them set, fill them with a cooled filling, let the filling set, and seal them by pouring a chocolate base. One 24-cavity mold with cavities of about 25 mm takes roughly 200–250 g of chocolate, but temper at least 400–500 g, because a small amount cools quickly as you work.
Shells. Pour tempered chocolate into a room-temperature mold right up to the rim, tap the mold on the counter to release bubbles, then turn it upside down over a bowl and let the excess run out. A thin layer stays on the walls.
Scrape and set. Scrape the surface of the mold clean with a long scraper and leave the shells to set for 10–20 minutes at 16–18 °C.
Fill. Pipe the filling in with a piping bag, to about 2 mm below the rim. Ganache must be no warmer than 28–30 °C, as anything hotter would melt the shell from the inside.
Let the filling set. Ganache usually needs 12–24 hours at 16–18 °C to form a firm layer on top for the base to hold onto. That's why you should spread the work over two days.
Seal the base and unmold. Pour tempered chocolate over the filling, scrape clean and let it set. Put the mold in the fridge for 10–15 minutes, turn it over onto a clean surface and tap gently. Properly tempered pralines drop out of a polycarbonate mold on their own.
You'll find details on every step, including what to do when pralines won't come out of the mold, in the article praline molds: polycarbonate or silicone.
When the result isn't right, it's almost always down to temperature or moisture:
Grey or white film that melts under your finger (fat bloom): the chocolate wasn't properly tempered, or it sat somewhere warm and the cocoa butter rose to the surface. It won't spoil the taste, but it ruins the shine.
Rough white film (sugar bloom): moisture got onto the chocolate, typically when pralines sweat after coming out of the fridge. Water dissolves the sugar on the surface, and it then recrystallizes. That's why pralines should be left to warm up in a closed box.
Dull surface: the temperature was outside the range, or the mold was too cold or not polished. Check your thermometer, polish the mold and temper again.
Cracks in the shell: the shell was too thin, or the mold went into a fridge or freezer that was too cold.
Pralines won't come out of the mold: the chocolate hasn't crystallized enough. Leave the mold in the fridge for another 10–15 minutes, no longer, and try again.
For why chocolate turns grey even in storage, see the article how to store chocolate and why it turns grey.
Chocolate cake with chocolate and raspberry pralines
Chocolate cake with raspberry pralines: where to use homemade pralines
The foundation of a good praline is a filling that holds its shape and doesn't leak. Ganache is the most versatile, and salted caramel and fruit soaked in alcohol are popular too. Fill with all of them only once cooled, to 28–30 °C at most, because a warm filling will melt the tempered shell. Exact ratios, glucose and invert sugar, and the shelf life of each filling are covered in the article praline fillings: ganache, caramel and fruit pastes.
Ganache is an emulsion of chocolate and cream, and the ratio of the two determines how thick it is. For praline shells, keep roughly these ratios of chocolate to whipping cream (30–33%):
Dark chocolate: 1.5 : 1, so 300 g of chocolate to 200 g of cream.
Milk: 2 : 1, so 300 g to 150 g of cream.
White: 2.5–3 : 1, so 300 g to 100–120 g of cream. It needs the least cream, because it's the softest to begin with.
Heat the cream to about 40 °C, melt the chocolate separately to 35 °C, combine them and blend with an immersion blender into a glossy emulsion. If you want a silkier filling, stir in a little butter once the mixture has cooled below 35 °C. You can flavor it with vanilla, coffee or a spoonful of spirits. If your ganache splits and releases fat, the article why ganache splits and how to rescue it will help.
A contrast of sweet and salty that suits pralines well. Dissolve the sugar dry until amber (it turns bitter quickly, so keep a close eye on it), take it off the heat and carefully stir in the hot cream and butter, as the mixture will bubble up fiercely. Season with a pinch of sea salt flakes and let it cool and thicken before you fill the shells with it. If you don't want to cook caramel, reach for the ready-made salted caramel cream from the recipe below.
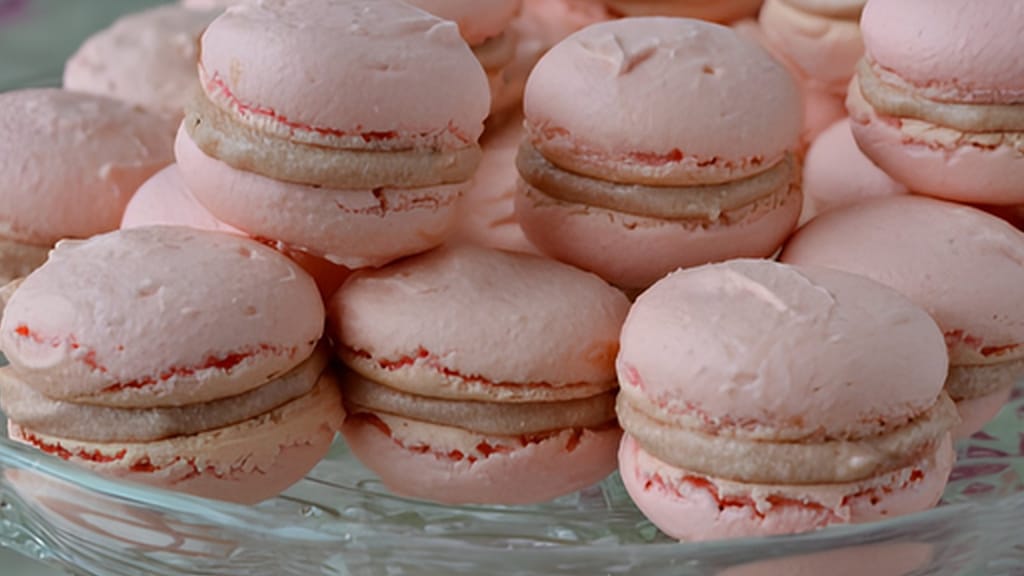
Salted caramel cream - great for macarons and more
Salted caramel cream as a ready-made praline filling
A fresh filling with an alcoholic undertone: the classics are cherries in brandy or orange peel in rum. Soak the fruit at least overnight, ideally for several days, so it absorbs the flavor. Dry it well before filling so no moisture reaches the tempered chocolate, and cover it with ganache so the fruit is completely enclosed. How much alcohol a filling can take and still hold its shape is covered in the article rum pralines: how much rum to put in the filling. Pralines with alcohol aren't for children, so label them in the box.

Store homemade pralines with cream ganache in a closed box at 12–18 °C and eat them within about 2 weeks. In his textbook _Chocolates and Confections_, Peter Greweling gives up to 3 weeks for cream ganache, but at home, without measuring water activity, the shorter timeframe is the safer bet. Treat caramel with cream and fruit fillings the same way as ganache.
Where: in a cool room or pantry, away from light and aromatic foods, because chocolate absorbs odors.
Fridge only as a last resort: if you have no spot below 18 °C at home, put the box in the fridge (4 °C at most). Before opening it, let it warm up to room temperature for an hour, so that moisture condenses on the box and not on the chocolate.
Keep them away from sun and heaters: temperature swings cause fat bloom and make the filling start to seep.
Pralines with nut praliné filling and no cream keep longer, because there's no water in the filling. Store ingredients for the next batch (chocolate, nuts) somewhere dry and cool.
Looks sell. The simplest effect comes from a fork texture, you can add color with tinted cocoa butter, and edible gold brings luxury. Finally, think about packaging, as pralines given as gifts call for a box.
While the shell or dipped praline is still soft, gently press the tines of a fork into it and pull away to create the classic striped pattern. For sharp geometric patterns and a glossy "marble", use a polycarbonate mold, flicking tinted cocoa butter into it first.
Color chocolate only with fat-based colors or tinted cocoa butter. Water-based or gel colors would make the chocolate seize. Warm colored cocoa butter to 29–31 °C, apply it to the mold with a brush, sponge or a flick of your gloved fingers, let it set, and only then pour in the tempered chocolate. With colors containing azo dyes, stick to the dosage given on the packaging, since it's calculated per kilogram of finished chocolate. For how to paint a mold so the color stays on the praline and not in the mold, see the article colored pralines: how to paint a mold.
For special occasions, place a scrap of edible gold leaf on a finished praline with a dry brush or tweezers. Real edible gold is approved in the EU as the additive E 175, specifically for decorating chocolate and confectionery. Use only gold and dusts labeled as edible, with ingredients listed on the packaging. The words "non-toxic" or "for decoration only" mean it doesn't belong on food. A little goes a long way: a few glittering accents look more luxurious than a fully gilded praline. For what's edible and what's merely decorative, see the article edible gold and sparkly dusts.
If you're giving homemade chocolate pralines as a gift, it's best to make them 2–5 days ahead, so you can be sure the shells have set and the recipient still has plenty of time to eat them. Arrange them in the box in paper cups, close the box only once everything has fully set, and add a note telling them to keep the pralines cool and eat them within two weeks of making. For how many pralines make a box of chocolates and how to wrap them so they arrive glossy, see the article homemade boxed chocolates as a gift.
If you're not ready to tackle tempering yet, start with chocolate truffles: ganache balls rolled in cocoa or chopped nuts don't need tempering at all, and they can match pralines for flavor. Make the ganache for them firmer, roughly 2 : 1 with dark chocolate. It's the best way to get a feel for working with chocolate before you move on to filled shells. Coating and shelf life are covered in the article chocolate truffles: ganache, coating and shelf life.
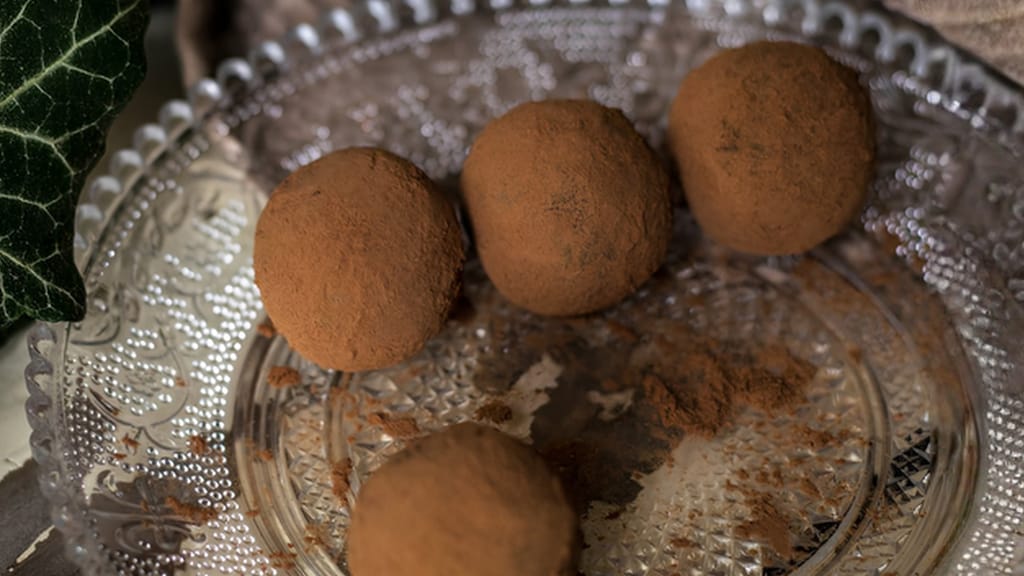
Chocolate peanut butter truffles
Chocolate truffles with peanut butter: pralines without tempering
Yes, but the result won't be as glossy. Regular chocolate bars usually contain less cocoa butter and sometimes vegetable fats, so they're harder to temper and go grey faster. For your first attempts, a good dark chocolate bar with a high cocoa content will do; for a perfect shine, reach for couverture.
For one mold of 24 pralines, each about 25 mm, you'll use roughly 200–250 g of chocolate for the shells and bases, but you should temper at least 400–500 g. A small amount cools quickly while you work and loses its temper. Let whatever runs back into the bowl set and use it next time.
Yes. Without a mold you can make truffles (ganache balls rolled in cocoa) or dipped pralines: dip cooled balls of filling into tempered chocolate with a fork and let them drip off on baking paper. A mold gives you smooth shells, but it isn't essential.
Most often because the shell isn't properly sealed or the filling is too runny. Always pour tempered chocolate over the base so that it joins the edges of the shell, and fill only with a cooled, thick filling. A warm or liquid one will seep through and melt the walls.
Pralines with ganache, caramel or nuts are fine for children as long as they contain no alcohol. Label any pralines with rum-soaked fruit or ganache made with spirits, and don't give them to children. Watch out for allergens too: chocolate usually contains soy and milk or traces of them, so if you're giving the pralines as a gift, write on the box what's in them.
One recipe worth heating the oven for, one tip, and one deal from the shop. Nothing else.