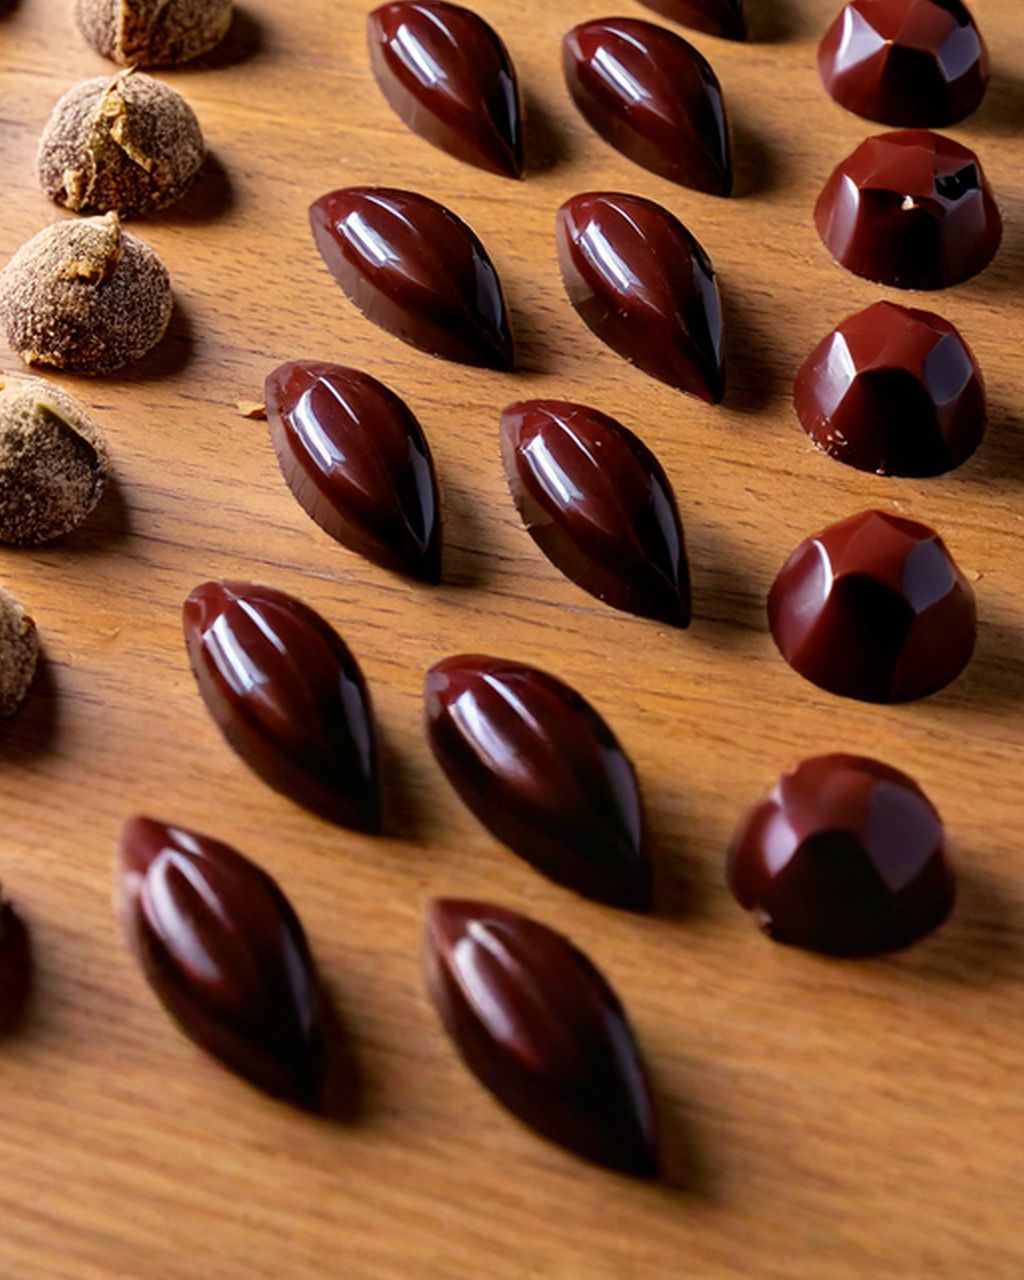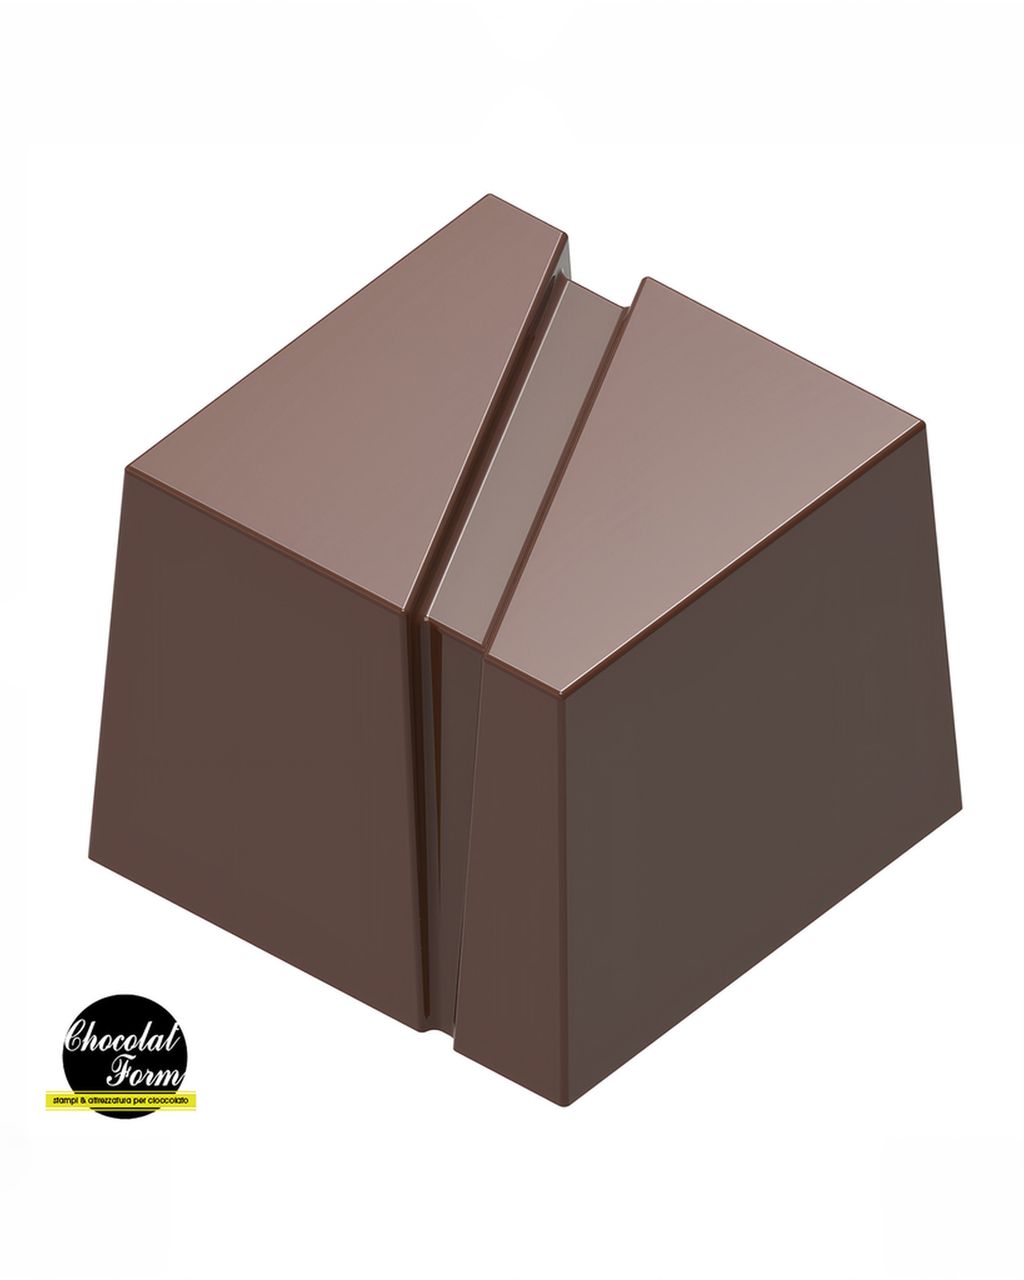
Chocolat Form Polycarbonate Praline Mould – Striped Cube (24 pcs, 25 mm)
Colored Chocolates: How to Paint a Mold So the Color Stays on the Chocolate
Updated Oct 15, 2026
Colored chocolates work when the color sets into crystals in the mold just like the chocolate does: it then shrinks with the shell, clings to it and releases with a shine. You need three things: a fat-based color (never water-based), the right temperatures (colored cocoa butter tempered to a working temperature of 29–31 °C / 84–88 °F, white chocolate with oil-based color at 28–29 °C / 82–84 °F, and a mold at about 20 °C / 68 °F), and a clean, polished polycarbonate mold. Professionals paint with colored cocoa butter. At home you can get lovely results with oil-based color and white chocolate too, as long as you know where that method tops out.
The color stays in the mold when it hasn't crystallized properly: either it wasn't tempered, or the chocolate you poured over it was too warm and melted it. Shine and a clean release come only from fat that sets into stable crystals and shrinks slightly as it does.
In practice, that comes down to three rules:
The color must be fat-based: cocoa butter or oil-based color mixed into chocolate. Water-based and gel colors don't mix with fat and will seize the chocolate.
Both the color and the chocolate must be tempered. Untempered cocoa butter stays tacky and sticks to the plastic.
The temperatures have to work together. Use a mold at about 20 °C (68 °F), colored cocoa butter at 29–31 °C (84–88 °F) (white chocolate with oil-based color at 28–29 °C / 82–84 °F), and a chocolate shell at its working temperature, no warmer, or it will melt the color layer.
For the basics of why polycarbonate is the right choice for chocolates and how to look after your mold, see our article chocolate molds: polycarbonate or silicone.
Colored cocoa butter is best for painting molds. Liquid oil-based color mixed into white chocolate is the home-kitchen route, and it has clear limits. Frankly, pastry chefs and chocolatiers paint almost exclusively with cocoa butter.
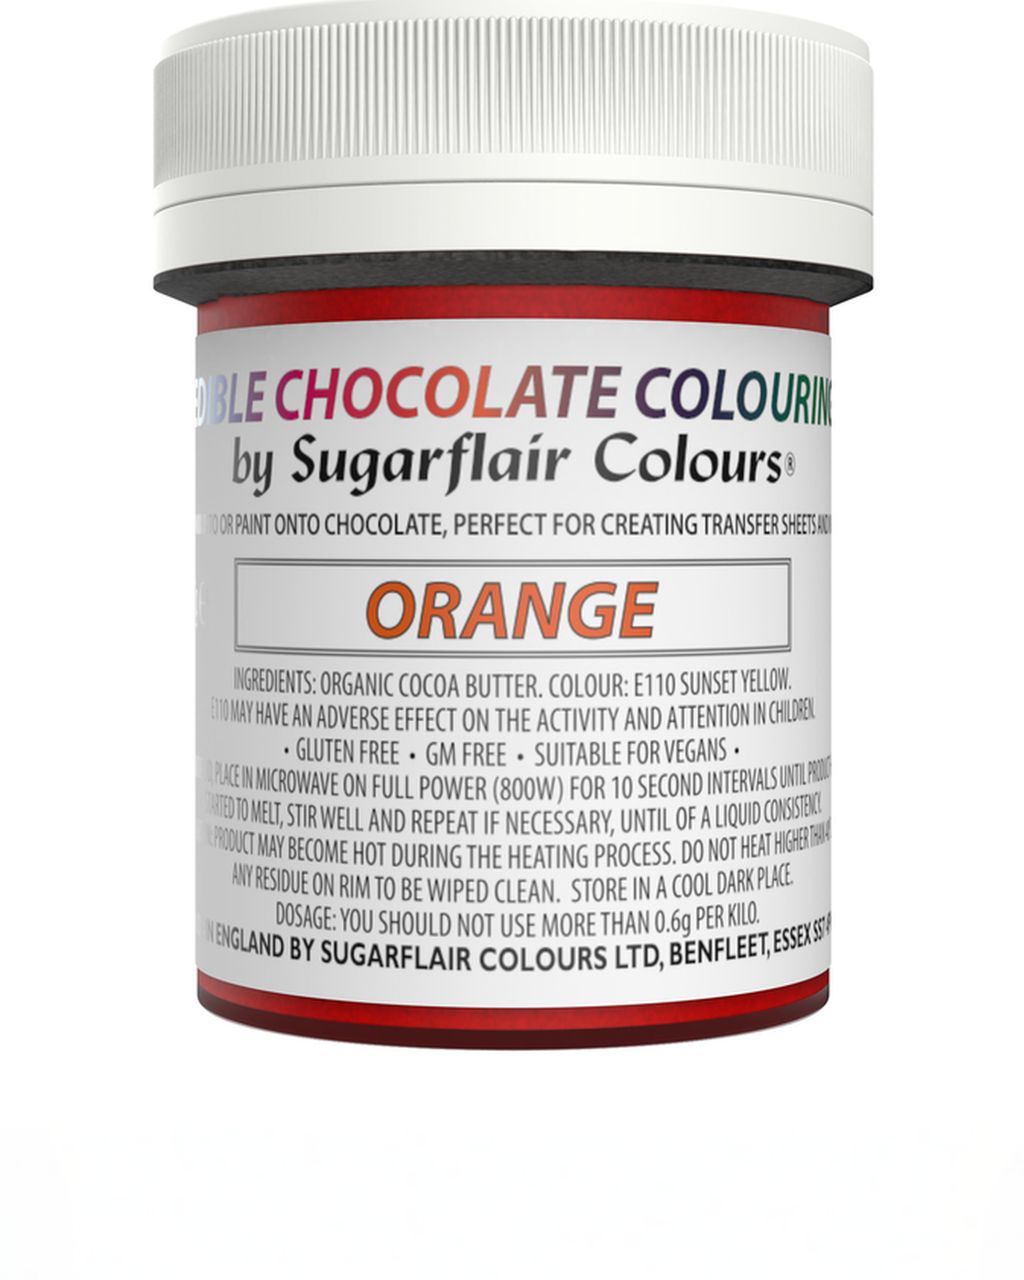
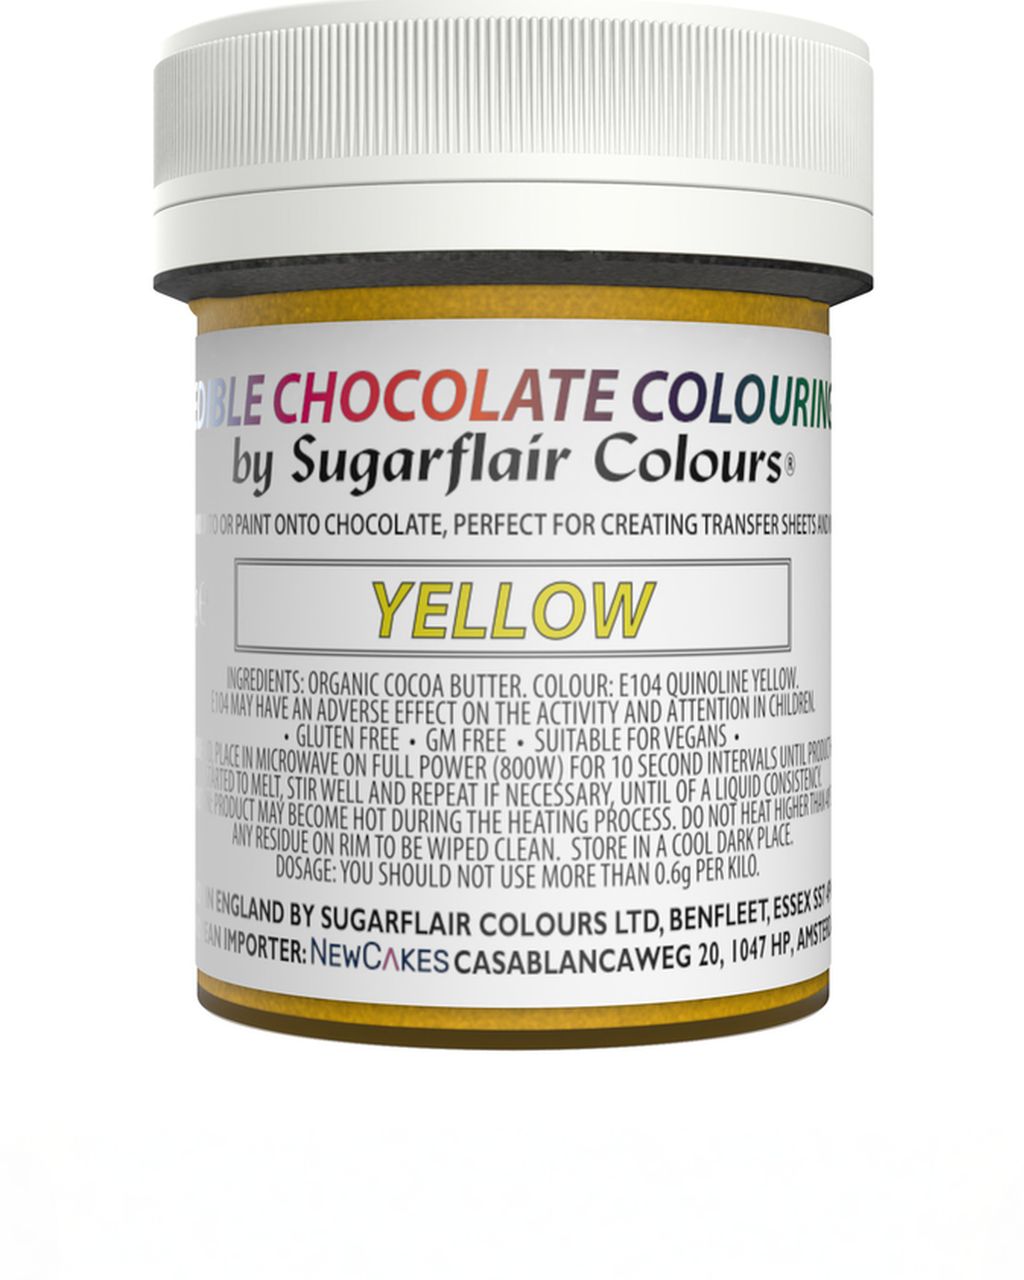
Colored cocoa butter (ready-made, such as Sugarflair Chocolate Colouring 35 g, PCB Création or Roxy & Rich):
a thin, vivid layer, even a translucent one,
can be sprayed or smudged with a finger for soft gradients,
holds extremely well once tempered and gives the highest shine,
downside: you have to temper it separately.
Note: in our shop, the 35 g Sugarflair is currently listed as an oil-based chocolate color, but it is in fact colored cocoa butter.
Liquid oil-based color in tempered white chocolate (for example Sugarflair 30 ml):
it works because the chocolate carries the color, and chocolate tempers and shrinks as normal,
colors come out pastel and opaque, not translucent, because white chocolate is milky,
the layer is thicker, so fine splatters and very thin strokes don't work as well,
for bold brushstrokes, a solid color base or a two-color "marble", it's more than enough.
What liquid oil-based color can't do: you can't paint it into the mold on its own. Oil doesn't crystallize, so it stays tacky, smears under the shell and part of it stays in the mold. Always mix liquid oil-based color into a fat that does crystallize first, either white chocolate or cocoa butter. A cocoa butter paste is a different case: that's already colored cocoa butter and is painted on directly.
For a detailed comparison of oil-based and gel colors, see how to color white chocolate.
The method has five steps: polish the mold, temper the color, paint the cavities, scrape the edges and pour the shell. It works with colored cocoa butter and with white chocolate colored with oil-based color. Only the temperatures in step 2 differ.
Polish the mold. Polish a washed, dry polycarbonate mold with a cotton pad or a piece of cotton wool. Every fingerprint and trace of fat will show on the chocolate as a dull spot. Keep the mold at room temperature, ideally 18–22 °C (64–72 °F).
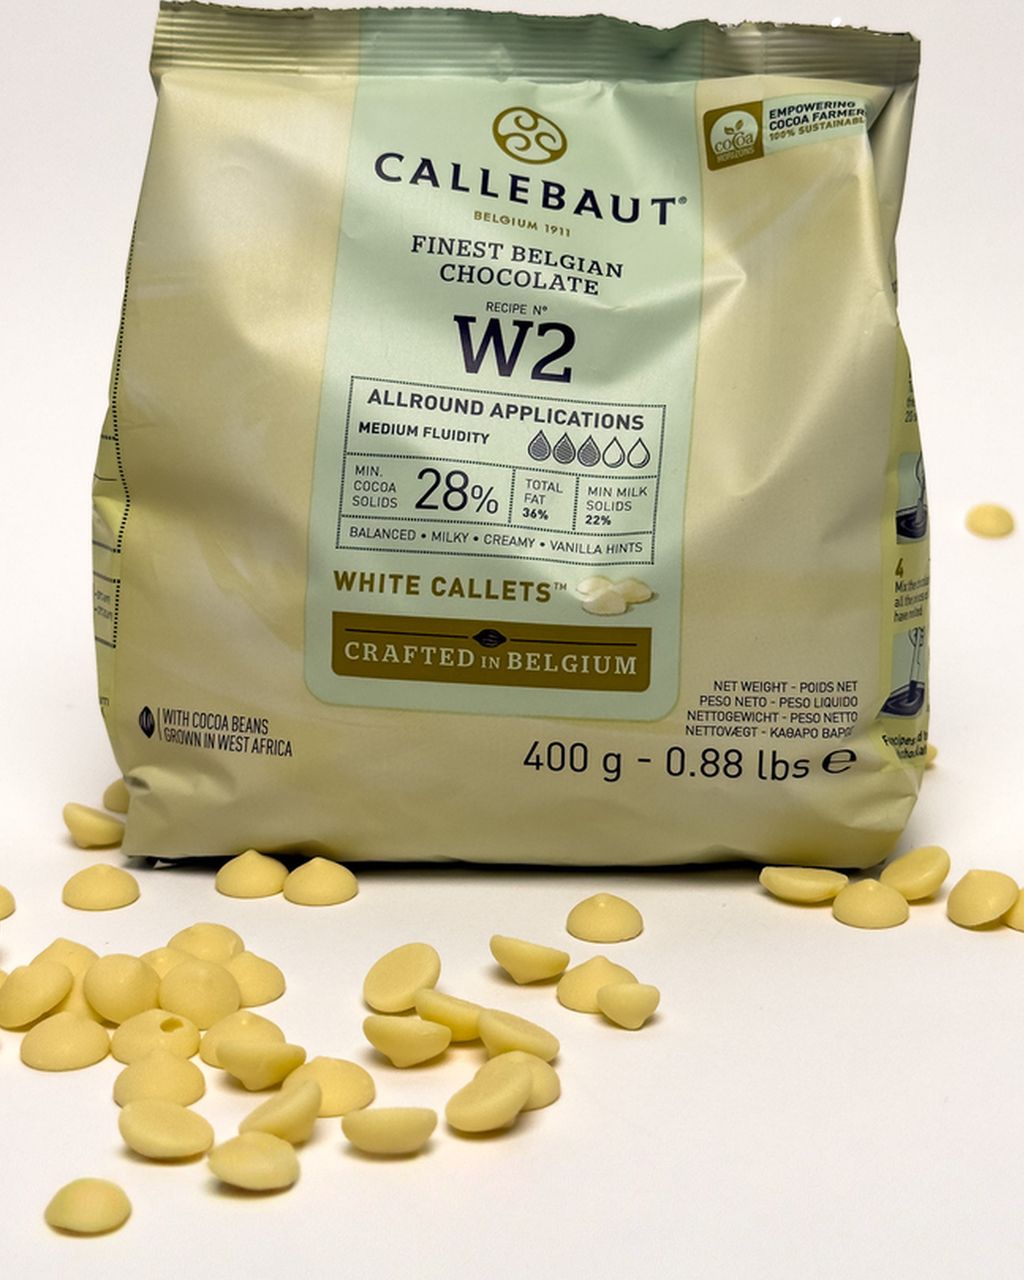
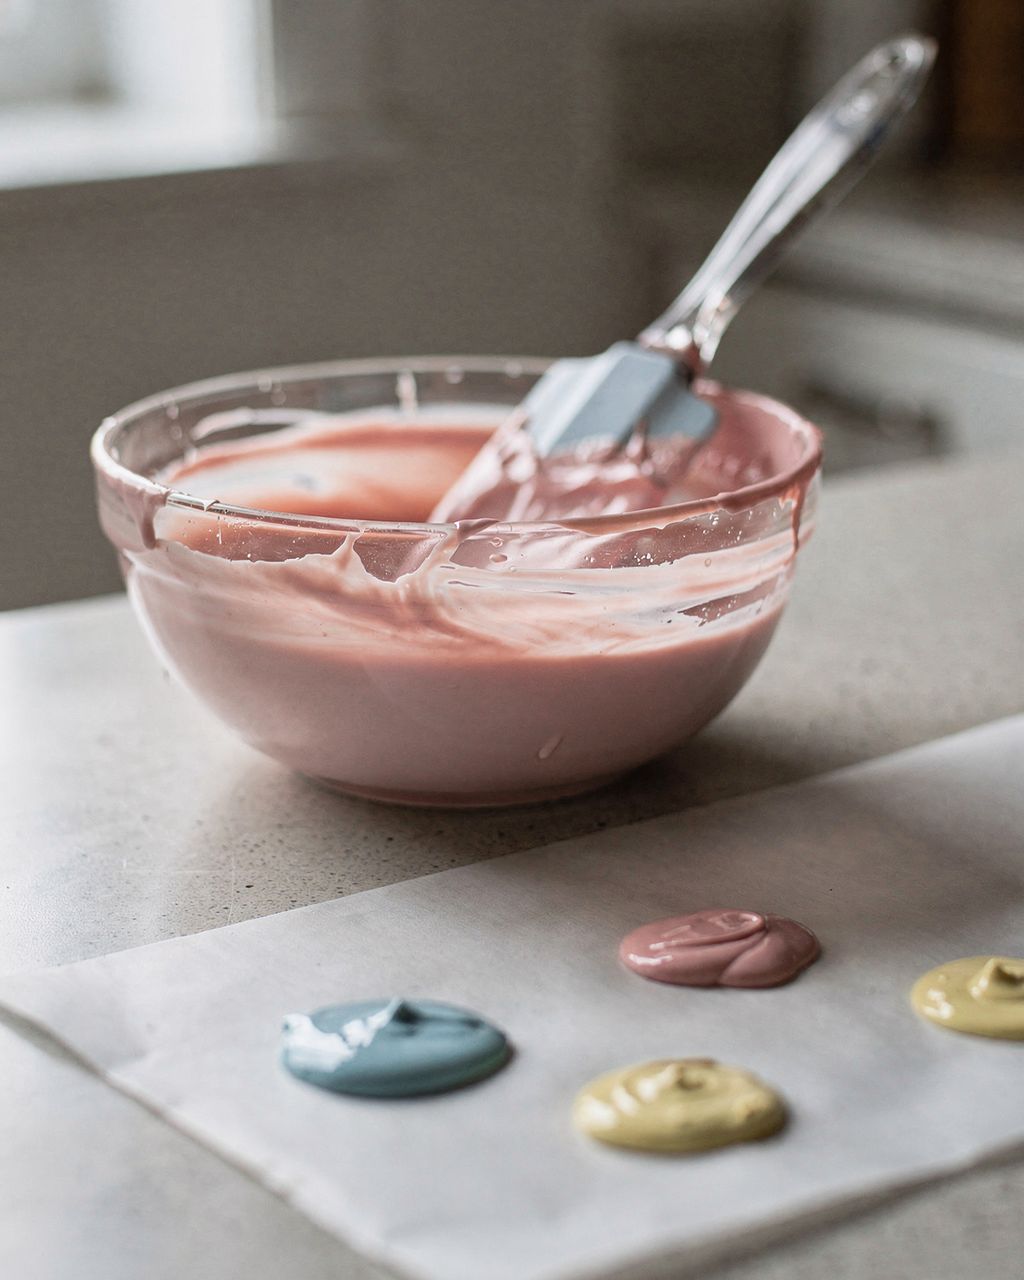
Temper the color. Heat colored cocoa butter to no more than 40 °C (104 °F), cool it while stirring to about 27–29 °C (81–84 °F), then warm it again to a working temperature of 29–31 °C (84–88 °F). Don't go above roughly 33 °C (91 °F), or the butter will fall out of temper. If you're painting with colored white chocolate (such as Callebaut W2), add the liquid oil-based color gradually to the melted chocolate before tempering. According to the manufacturer, its shade deepens over the next 1–2 hours. Then temper the chocolate: melt to 45 °C (113 °F), cool while stirring to 26–27 °C (79–81 °F) and warm to a working temperature of 28–29 °C (82–84 °F).
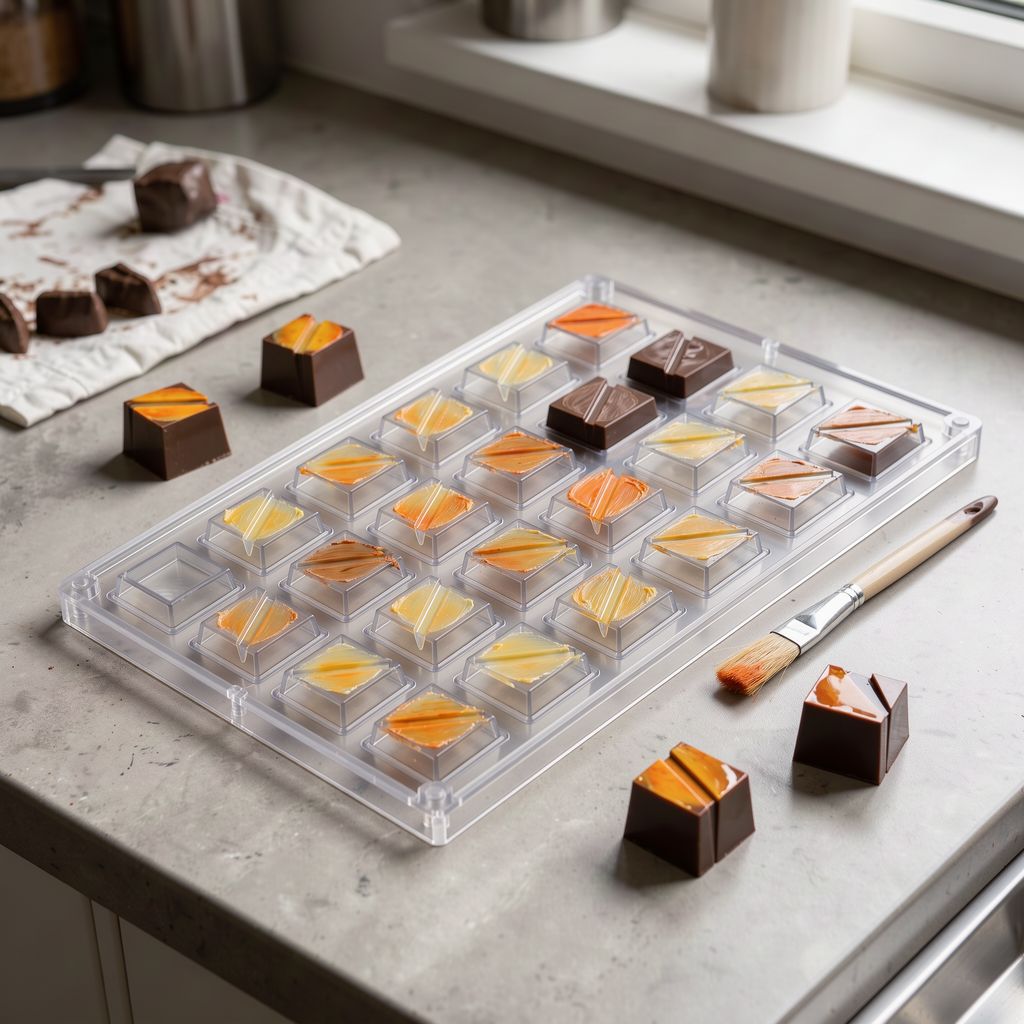
Paint the cavities. Apply the color to the cavities with a brush, a gloved finger or a sponge. Start with the darker details, then the lighter areas. Let each layer set (a few minutes at 18–20 °C / 64–68 °F) before adding the next.
Scrape the edges. Once the color turns matte and firm, run a scraper or flat knife across the mold. Color left on the ridges between the cavities would otherwise leave ragged edges on your chocolates.
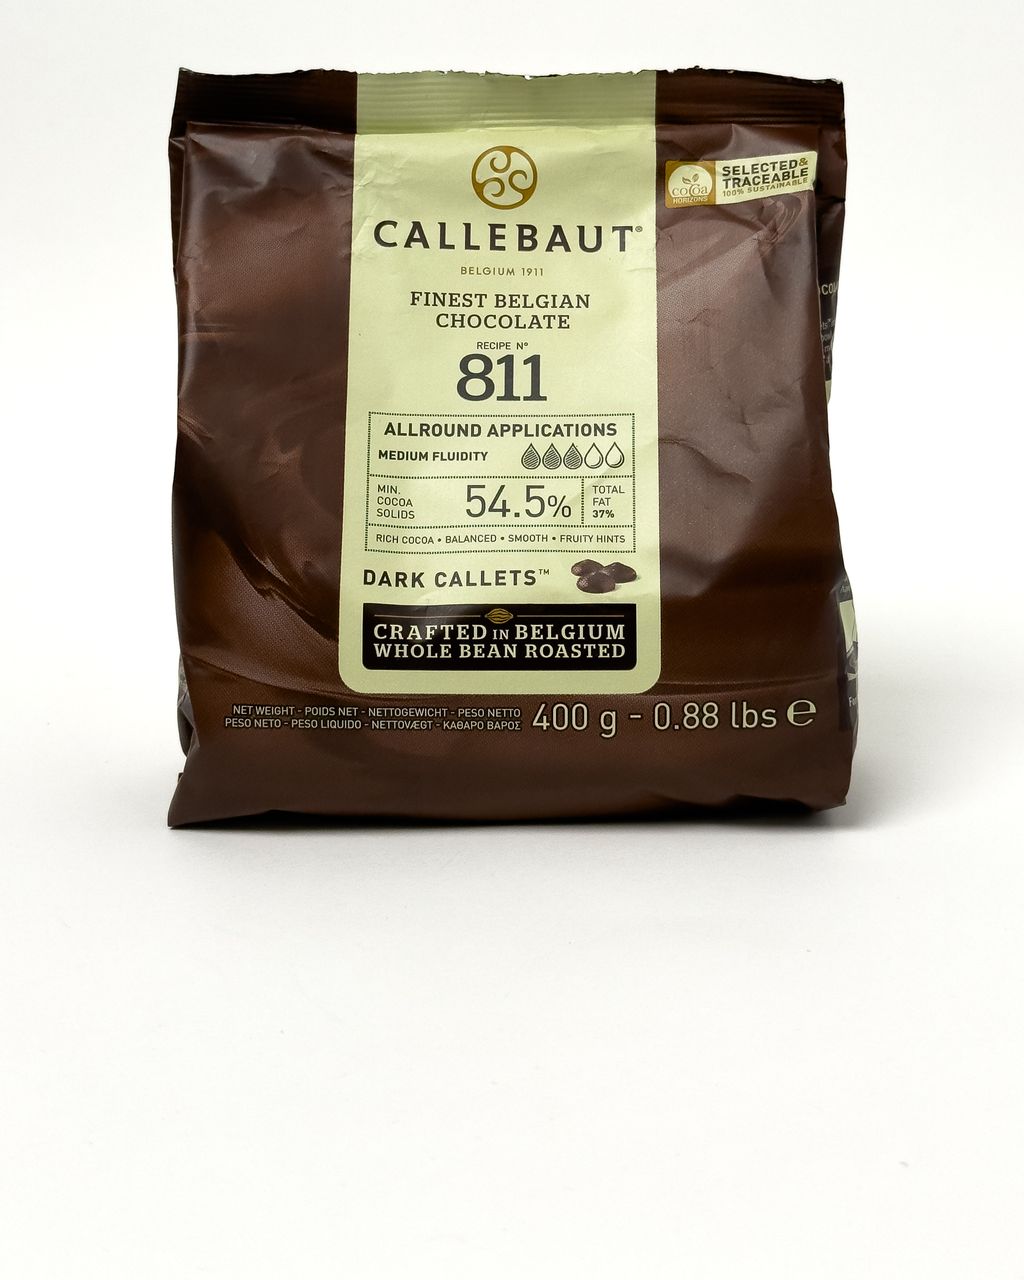
Pour the shell. Fill the mold with tempered chocolate, tap out the bubbles, pour out the excess and scrape the edges again. Dark chocolate such as Callebaut 811 has a working temperature of 31–32 °C (88–90 °F), milk chocolate roughly 29–30 °C (84–86 °F). Don't put the painted mold in the fridge. Pour the shell as soon as the color sets at room temperature. A color layer that has chilled too much will peel away from the shell.
After that, it's just the filling, the cap, and 10–15 minutes in the fridge until the chocolates release from the mold on their own. For the whole process, from choosing chocolate to filling, see our guide to homemade chocolate pralines. Chocolate for the shells is in the chocolate category.
Colored cocoa butter is painted tempered at 29–31 °C (84–88 °F), and white chocolate with oil-based color at 28–29 °C (82–84 °F). Always use a mold at room temperature, 18–22 °C (64–72 °F), in a room with humidity below 60%. Quick overview:
Colored cocoa butter: melt to 40–45 °C (104–113 °F) (ready-made colored cocoa butter only up to 40 °C / 104 °F), cool while stirring to about 27–29 °C (81–84 °F), then warm again to a working temperature of 29–31 °C (84–88 °F). Don't go above roughly 33 °C (91 °F), or the butter will fall out of temper.
White chocolate with oil-based color: working temperature 28–29 °C (82–84 °F).
Milk chocolate for the shell: 29–30 °C (84–86 °F).
Dark chocolate for the shell: 31–32 °C (88–90 °F).
Mold: 18–22 °C (64–72 °F). Not from the fridge, not from a warm oven.
Room: ideally 18–21 °C (64–70 °F). In a warm kitchen the fat won't shrink and the color sticks.
Tempering test: dab some color onto foil or a knife. Properly tempered color sets at room temperature within 3–5 minutes and peels off cleanly. If it stays tacky, the tempering didn't work.
Four home techniques give the best results: brushstrokes, fingerprints, splatter and a white base under the color.
Brushstrokes: one quick sweep across the cavity. This works with colored white chocolate too.
Fingerprints: dip a gloved finger in the color and press it into the bottom of the cavity with a twist. You get a "swirl" that looks professional and is hard to get wrong.
Splatter: dip a toothbrush or stiff brush in the color and flick it with your finger. It needs thinner color, so it's the territory of cocoa butter. Thicker white chocolate makes drops instead.
White base: after the color layer, spray or brush a thin layer of white (white chocolate or white cocoa butter) into the cavities. On a dark chocolate shell, color without a base darkens and nearly vanishes. With a base, it glows.
Always work from details to larger areas: whatever you paint first ends up on top of the finished chocolate.
Smeared color is almost always down to a shell that was too warm. Dull color comes from a dirty mold or untempered fat. The symptom tells you what to adjust:
The color stayed in the mold: the color wasn't tempered, the mold was too cold or the kitchen was too warm. Check the color's temperature and do the knife test.
The color is smeared and merged into the shell: the shell chocolate was warmer than its working temperature and melted the color layer.
The color peeled away from the shell: the color layer got too cold (mold in the fridge) and the shell didn't bond to it. Pour the shell as soon as the color sets.
Dull spots: traces of fat or fingerprints in the mold. Polish it with cotton wool.
The color is pale and translucent on dark chocolate: it needs a white base.
The color is tacky and wouldn't scrape off: you painted with pure liquid oil-based color, or the cocoa butter wasn't tempered. Next time, mix liquid oil-based color into white chocolate or cocoa butter.
For your first colored chocolates, the best choice is a mold with flat surfaces, such as a polycarbonate square with a stripe, where brushstrokes and fingerprints are easiest to paint. A polycarbonate cone-shaped mold looks impressive, but it's harder to paint inside a deep, narrow cavity. Save it until you have the technique down.
You can paint chocolates in a silicone mold, but they come out less glossy than from polycarbonate. Silicone flexes when you unmold, so the thin layer of color can crack, and its surface isn't as smooth as hard plastic. For shiny painted chocolates, polycarbonate is the better choice.
Yes, you can use metallic or pearl dust on chocolates as long as it's labeled edible. Some glitters are decorative only and aren't meant to be eaten. Either brush the dust dry into the mold before the color, or stir it into melted cocoa butter and paint with it like a color.
Wash the mold with warm water at about 40 °C (104 °F) and a soft cloth. At that temperature the cocoa butter melts away. Don't use steel wool or a dishwasher: scratched polycarbonate will never give a shine again. Then dry the mold and polish it with cotton wool.
Colored chocolates keep as long as plain ones. The filling determines shelf life, not the color layer. Chocolates with ganache usually keep for about 2–3 weeks in a cool place at around 15–18 °C (59–64 °F), away from direct light, which fades colors over time.
One recipe worth heating the oven for, one tip, and one deal from the shop. Nothing else.