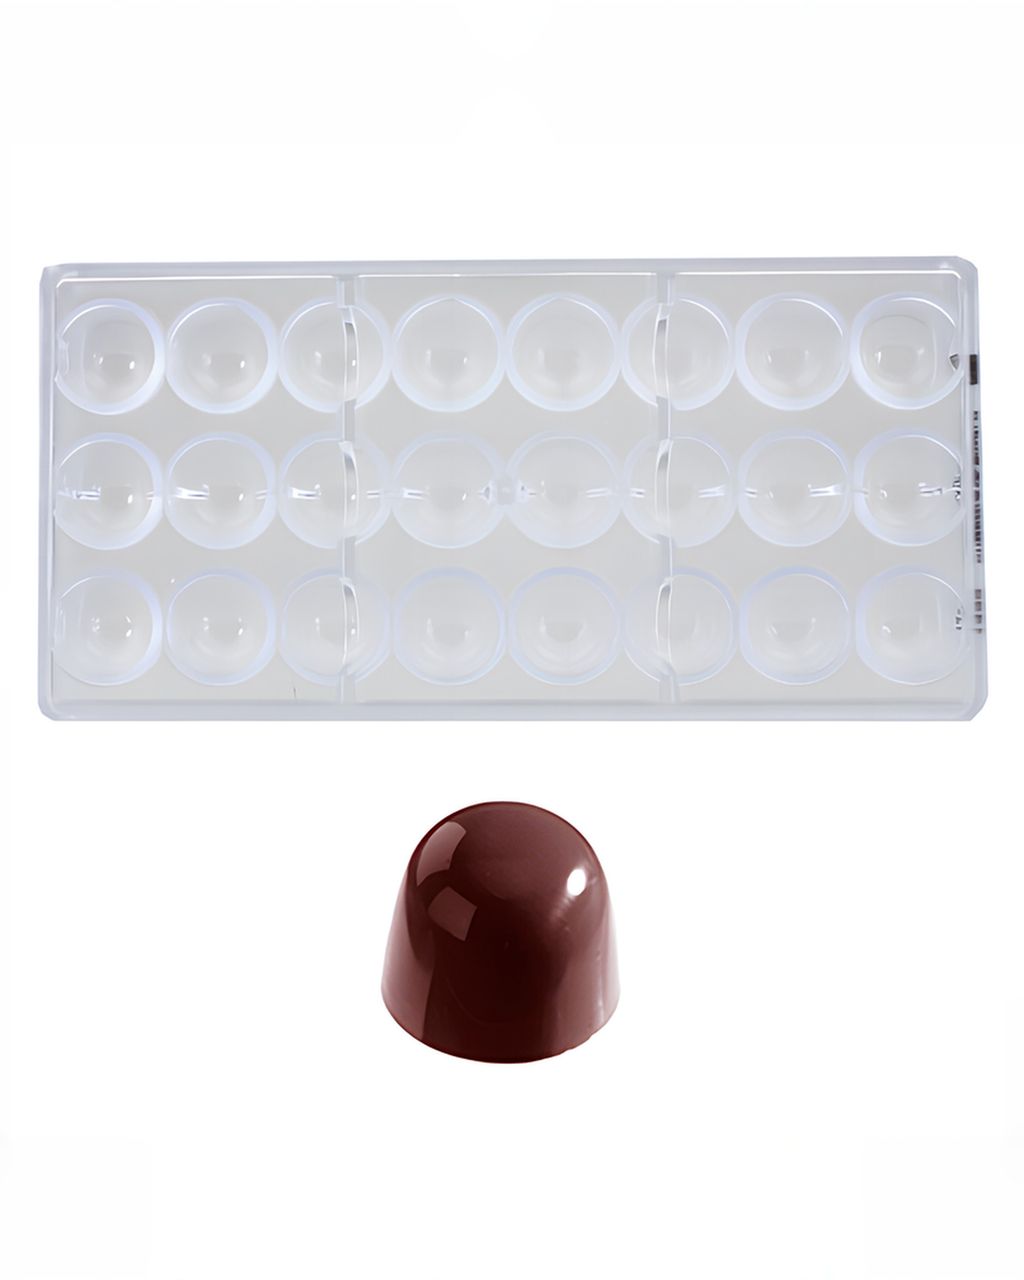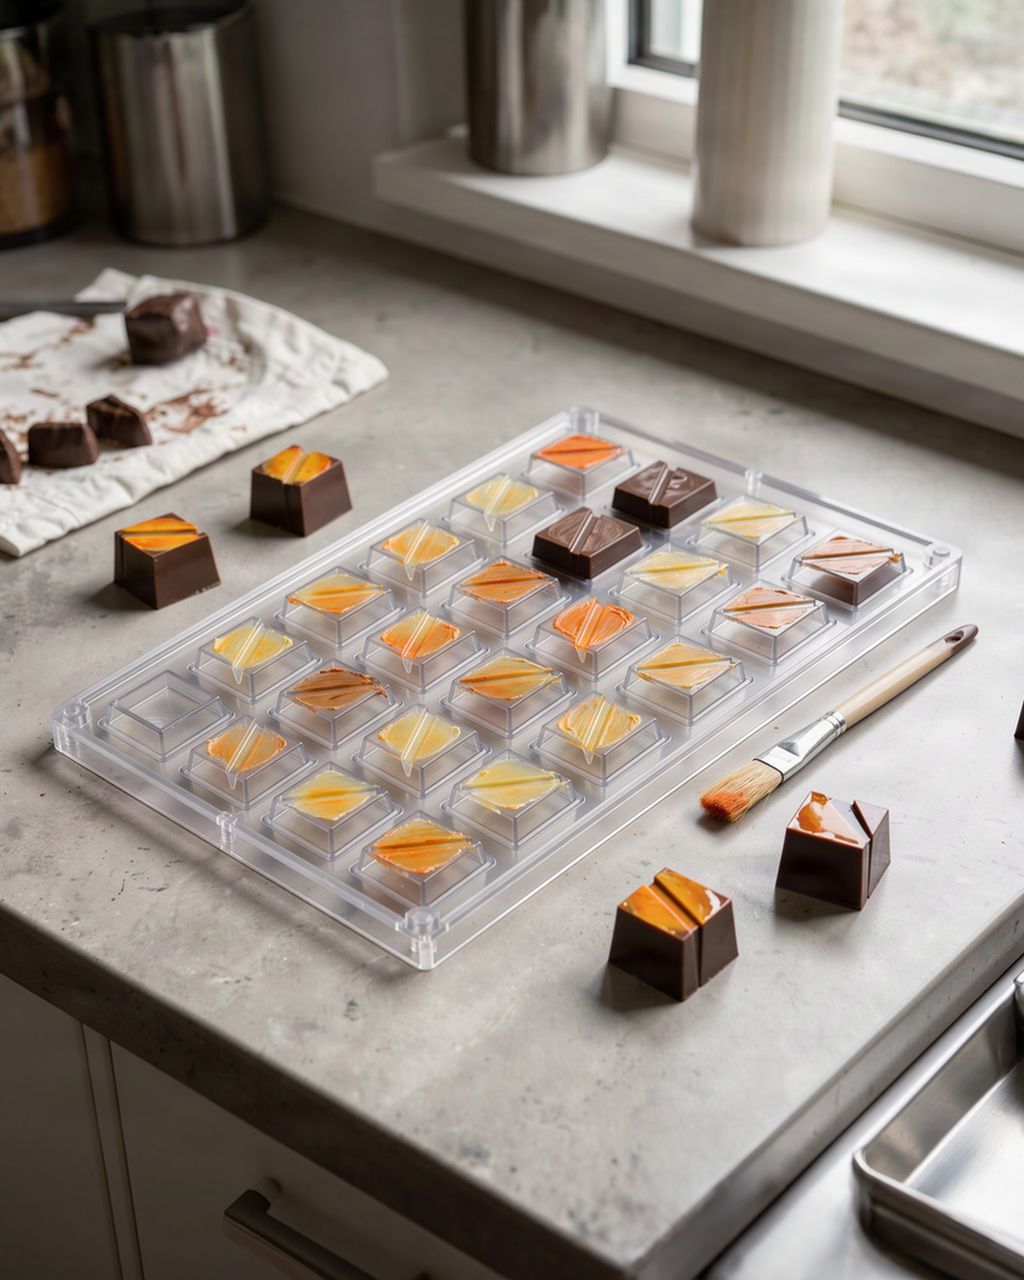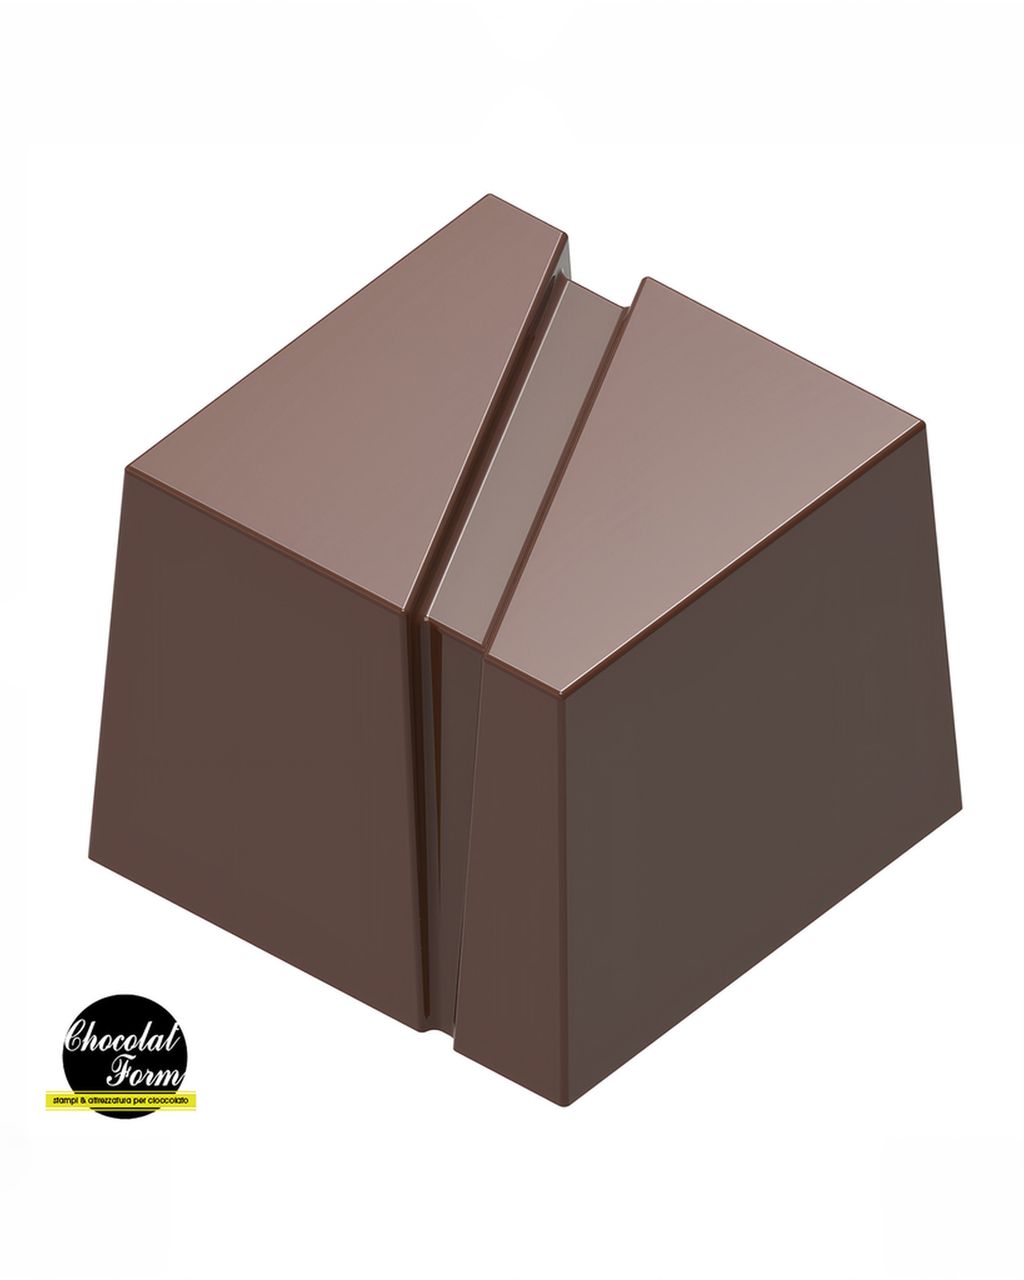
Chocolat Form Polycarbonate Praline Mould – Striped Cube (24 pcs, 25 mm)
Homemade Chocolate Advent Calendar: How to Mold 24 Chocolates That Last All December
Updated Oct 17, 2026
A homemade chocolate advent calendar takes one mold with 24 cavities, about 500 g of tempered chocolate and a single afternoon. Solid, unfilled chocolates keep happily in a cool, dry place all through December, so you can mold them all at once at the end of November. One thing matters above all: the chocolate must be tempered, or it won't release from the mold and will turn gray before Christmas. Below you'll find the process step by step, when you can get around tempering, how to color the chocolates and how to store them.
For 24 chocolates, all you need is a 24-cavity mold, about 500 g of good chocolate, a thermometer and a scraper. Colorings and a box with little windows are a bonus.
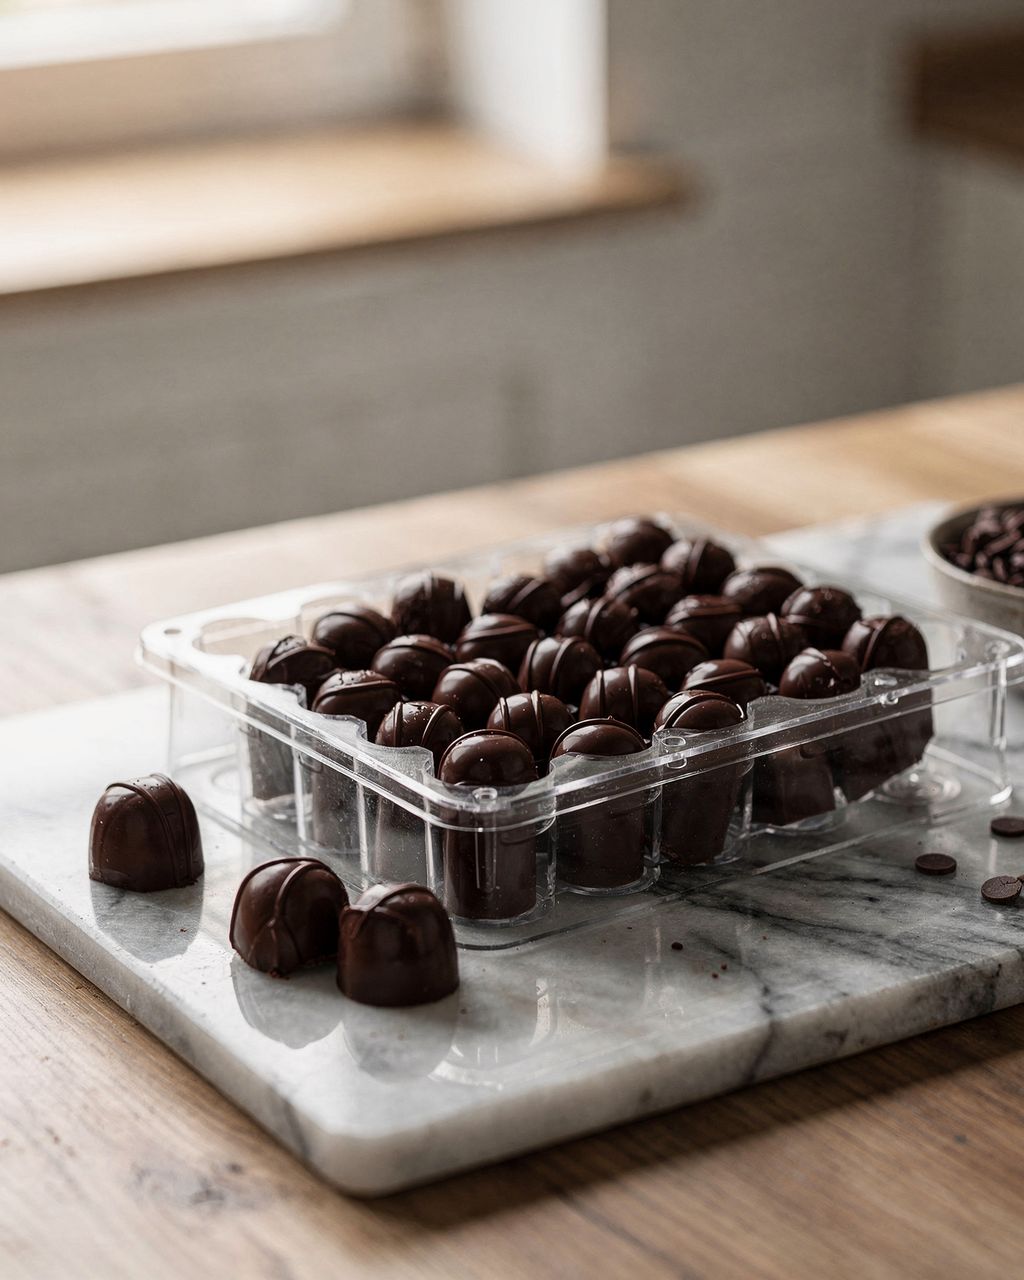
A praline mold with 24 cavities – one mold = the whole calendar in a single pour.
Chocolate (couverture), around 500 g – one cavity of a 25 × 25 × 20 mm cube holds roughly 14–15 g, so 24 pieces use about 350 g. The rest is a safety margin, without which tempering and pouring off the excess is awkward. Once it sets, you can use it again.
An instant-read probe thermometer – tempering is done to the exact degree, and guessing by touch doesn't work here.
A scraper or wide spatula – for scraping the excess off the surface of the mold.
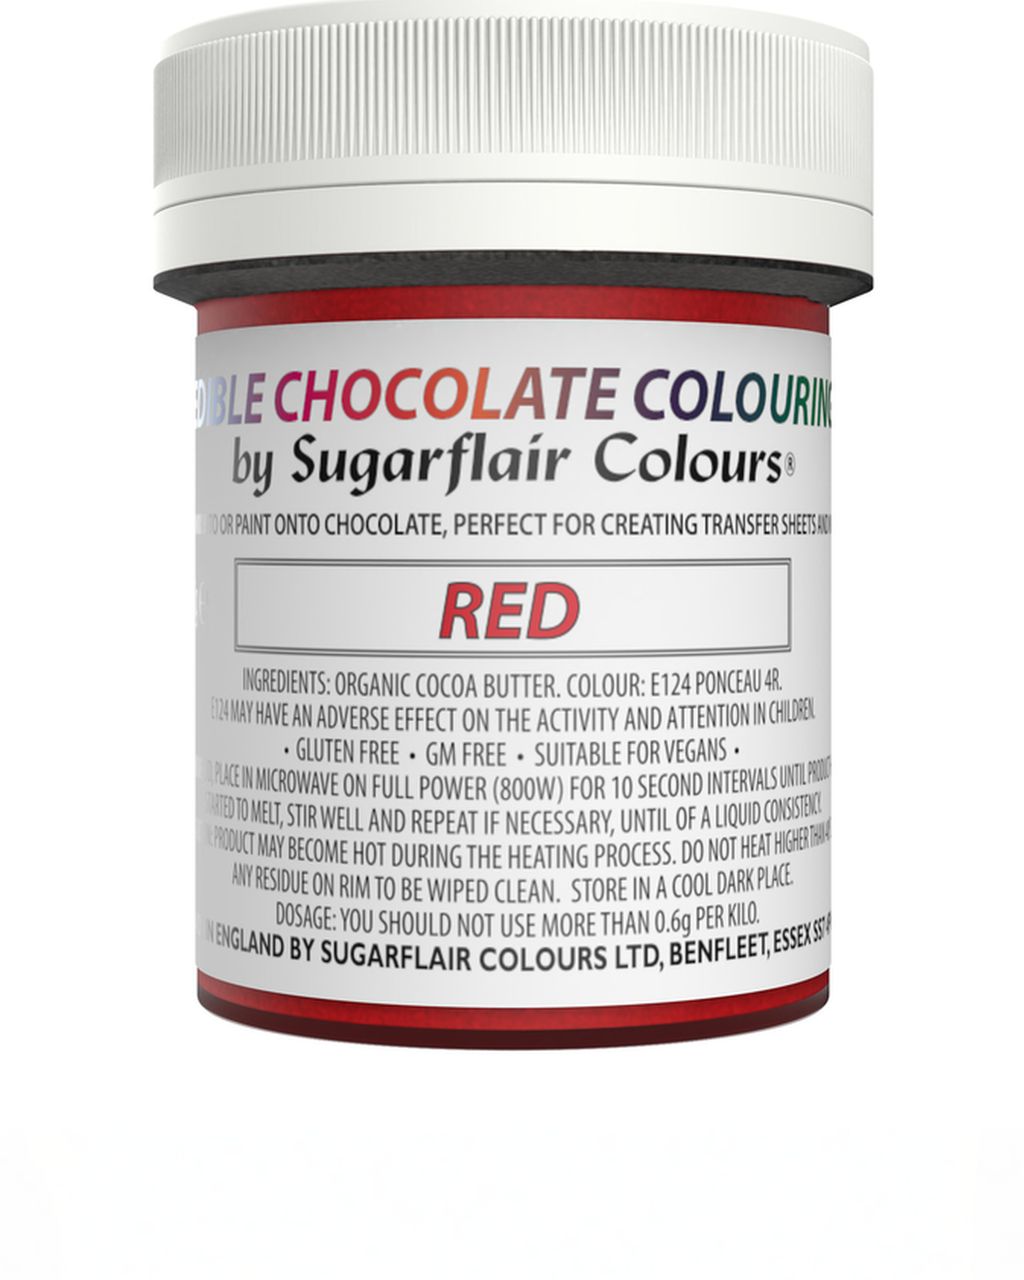
Oil-based chocolate coloring (optional) – only if you want colorful accents.
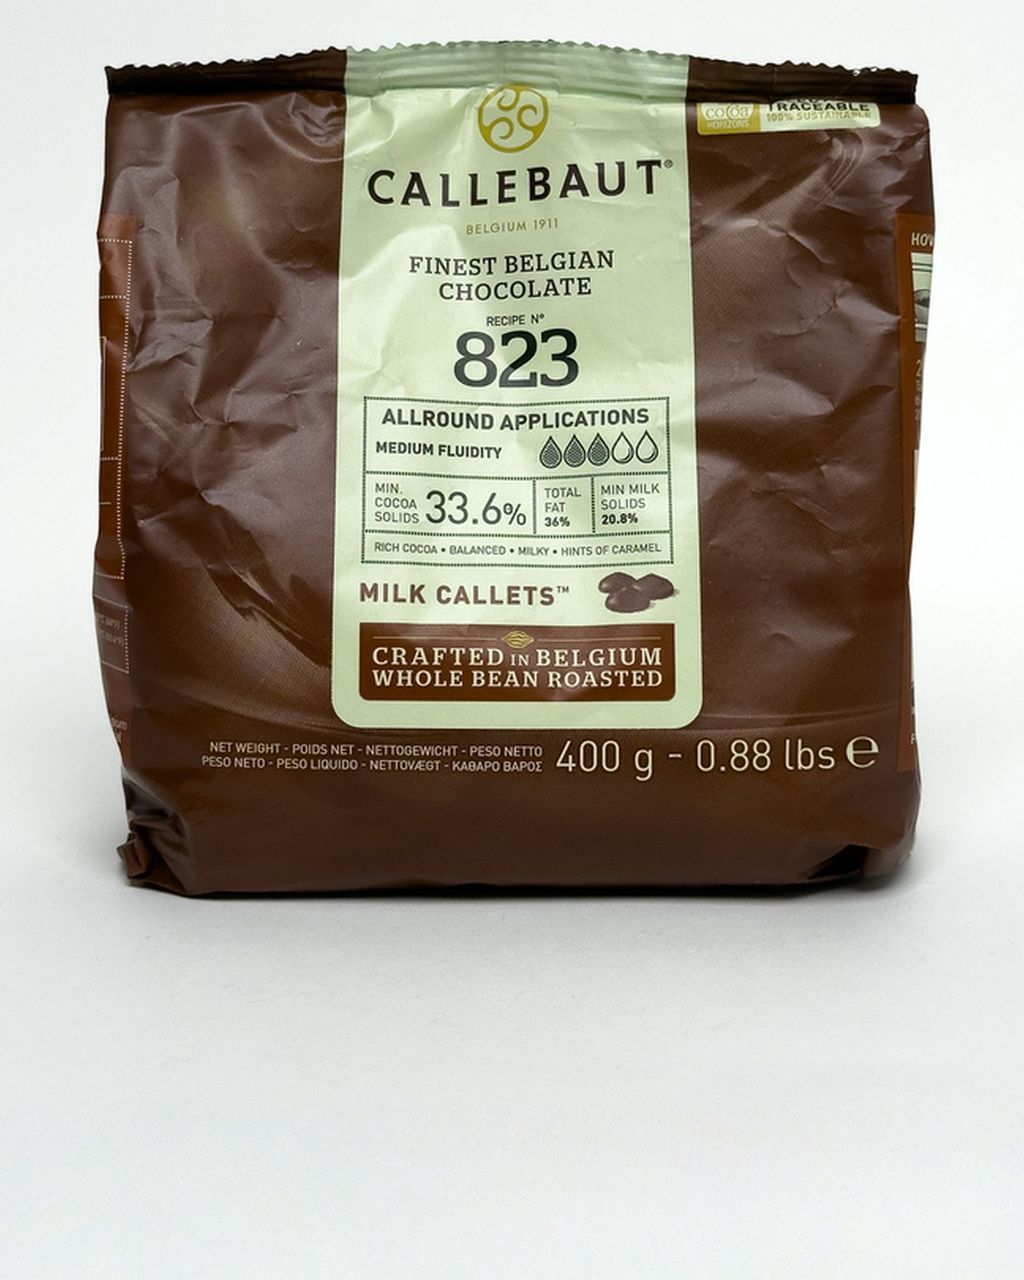
The easiest chocolate to start with is Callebaut 823 milk chocolate callets. One 400 g pack only just covers the whole mold, so it's more comfortable to buy two – whatever is left over you can use for coloring or in hot chocolate. The callets are also perfect for the seeding method of tempering. If you'd like a dark or white calendar, the principle is the same and only the temperatures change – you'll find more options in the baking and molding chocolate category.
Seasonal baking plans, tested recipes and kitchen tricks that save you time. Unsubscribe in one click.
For glossy chocolates that last a month, the best choice is a hard polycarbonate mold. Silicone is easier to unmold but won't give you any shine, and thin plastic molds are a single-use compromise.
Polycarbonate – rigid, glass-smooth, and it gives a mirror shine. Tempered chocolate shrinks as it sets and drops out of the cavities by itself when you tap the mold on the counter. Untempered chocolate, though, sticks. A polycarbonate mold lasts for years.
Silicone – you can pop chocolates out even if they're untempered, but the surface is matte, and sharp edges and fine patterns won't come out well. A soft mold also sags when you carry it full to a cool spot – put a cutting board underneath.
Thin plastic (PET) – cheap and it gives shine, but it cracks and warps easily. Good enough for one calendar.
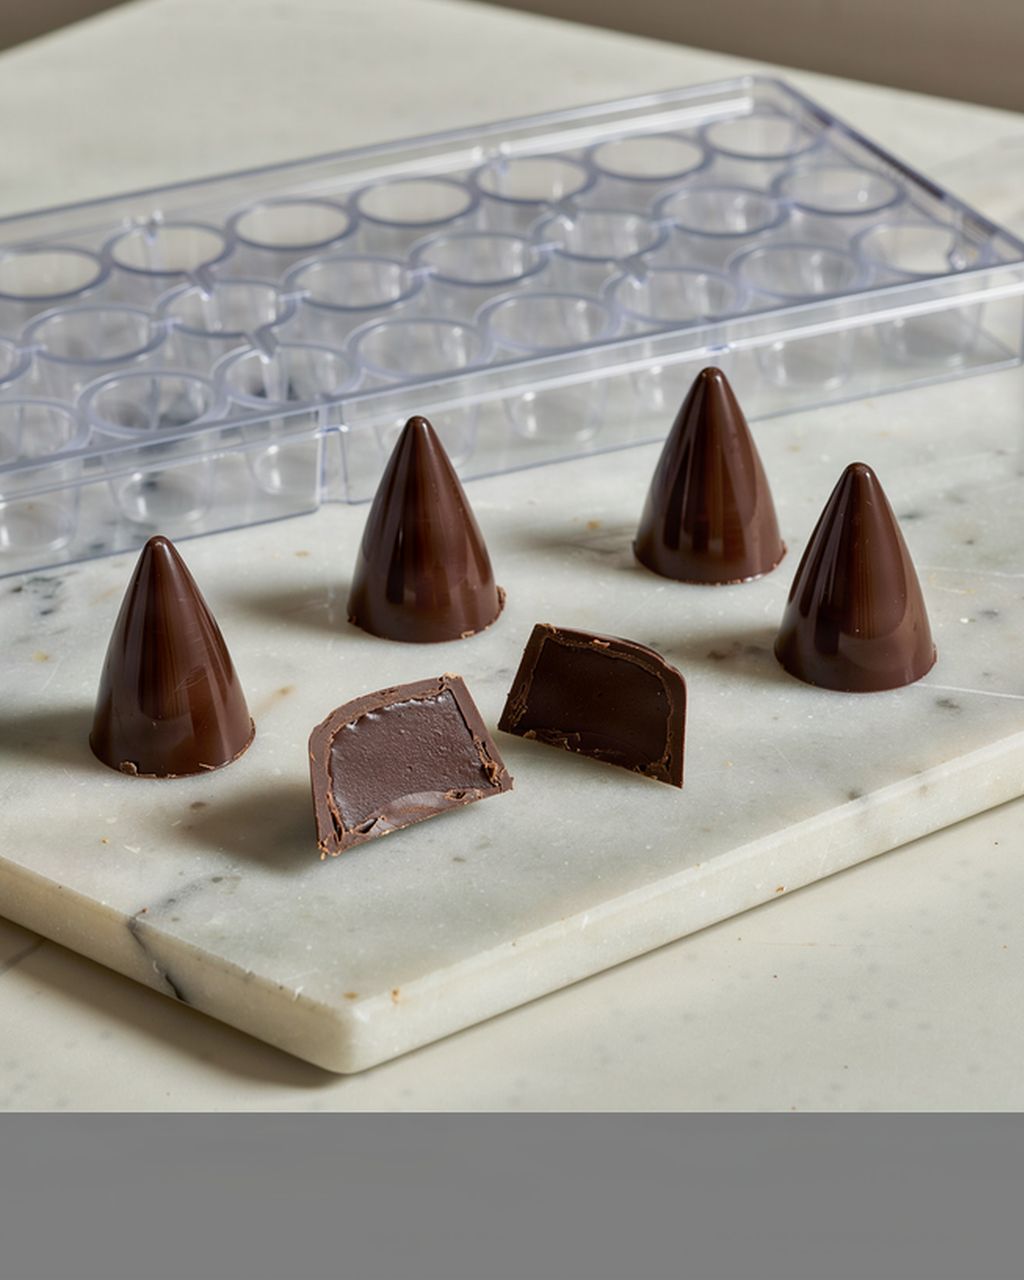
For a calendar, choose shapes that look like little gifts in the window and pack well. The Chocolat Form cube mold with a stripe has 24 cubes of 25 × 25 × 20 mm, exactly one calendar. It has a flat underside, so the cubes stack neatly in a box. The Chocolate World cone mold (24 pieces, Ø 29 × 25 mm) makes cones that alternate nicely with cubes if you'd like a calendar of two shapes, 12 pieces each – the cone has a different volume, so recalculate how much chocolate you need. You don't have to buy both, though; one 24-cavity mold covers the whole of Advent. For a detailed comparison of materials, see the article praline molds: polycarbonate or silicone.
You temper milk chocolate with the seeding method: melt two thirds to 45 °C (113 °F), then cool it with the remaining third of callets down to a working temperature of 29–30 °C (84–86 °F). At home, it's the simplest way:
Weigh out 500 g of callets. Put two thirds (about 330 g) in a bowl and set one third (about 170 g) aside.
Melt the two thirds to 45 °C – in the microwave in 20–30 second bursts, stirring after each one, or over a water bath, making sure the bowl doesn't touch the water. Don't heat milk chocolate above 50 °C (122 °F), or the milk solids will scorch and turn lumpy.
Add the remaining third of callets and stir until the temperature drops to 29–30 °C. The callets are already tempered, and their stable cocoa butter crystals "seed" the whole mass. If they don't all melt, fish out what's left.
Do a test. Dip the tip of a knife or a strip of baking paper into the chocolate and leave it at room temperature. Within 5 minutes it should set glossy, with no streaks. If it's tacky or streaky, add a few more callets and keep stirring.
Hold the working temperature. Milk chocolate must not go above roughly 32 °C (90 °F), or the temper falls apart. If it starts to thicken, warm it briefly by 1–2 °C.
Dark chocolate is tempered to a higher working temperature (around 31–32 °C), white to a lower one (around 28–29 °C). Always follow the figures on the packaging, though – every couverture has its own curve.
You make solid chocolates in six steps: prepare the mold, fill, tap out the bubbles, scrape off the excess, let set and unmold. Including setting time, the whole thing takes about half an hour.
Prepare the mold. It must be clean, dry and at room temperature (around 20 °C). Buff the cavities with a piece of cotton wool for extra shine. A cold mold from the fridge causes streaks, and a warm one ruins the temper.
Fill the cavities right to the rim. Pour from the bowl or from a piping bag with the tip snipped off – the bag is less messy.
Tap out the bubbles. Tap the mold on the counter for 20–30 seconds, until bubbles stop rising to the surface. Otherwise you'll have pinholes on the face of the chocolates.
Scrape off the excess. Draw a scraper held at an angle across the mold so the cavities are level and the surface between them is clean. Otherwise the overflow around the edges turns into rough fins that break off.
Let it set. 10 minutes at room temperature, then 15–20 minutes in the fridge. No longer – after 30 minutes moisture condenses on the mold.
Unmold. Turn the mold over a clean kitchen towel and tap. Properly tempered chocolates drop out by themselves. If they stick, the tempering didn't work – see below.
Handle the chocolates with gloves or by the edges, because fingerprints stay visible on the glossy surface.
There are two ways to do it without tempering – a silicone mold with untempered chocolate, or cocoa (fat-based) coating – but in a polycarbonate mold neither will give you chocolates that still look good by the end of Advent. If it's mainly the seeding that worries you, there's a third route: tempering with Mycryo.
Silicone mold + untempered chocolate. Melt, pour, and let set in the fridge. The chocolate pops out, but it will be matte, softer, and it melts in your fingers in warmth. Within days to weeks a gray coating (fat bloom) appears on it. It's still edible, but it doesn't look good in the window on Christmas Eve.
Cocoa (fat-based) coating. The cocoa butter in it is replaced with vegetable fat, so it needs no tempering and releases from the mold easily. On Czech packaging you can recognize it by the label "kakaová poleva" or "tuková poleva". By contrast, "čokoládová poleva" (for milk, "mléčná čokoládová poleva") is the legal Czech term for couverture – dark must contain at least 31% cocoa butter, milk at least 31% fat in total. You can taste the difference: fat-based coating is waxier and less chocolatey. For a children's calendar, where the windows are what matter most, it may do.
Mycryo – a different way of tempering, not a shortcut around it. Mycryo is powdered cocoa butter that seeds the chocolate instead of callets. Let melted milk chocolate cool to about 33 °C (91 °F), stir in 1% Mycryo (5 g per 500 g of chocolate), and stir until it drops to a working temperature of 29–30 °C. You need a thermometer here too.
Don't temper without a thermometer – you'll never find out why it went wrong.
An honest tip: tempering with the seeding method takes 15 extra minutes, and it pays you back by the chocolates dropping out of the mold on their own and staying glossy for a month. For a calendar where you eat the last piece four weeks after molding, it's worth it more than anywhere else.
Color chocolate only with oil-based coloring (or fat-soluble powder), never with ordinary gel or liquid water-based food coloring. Water makes chocolate seize instantly into a grainy paste.
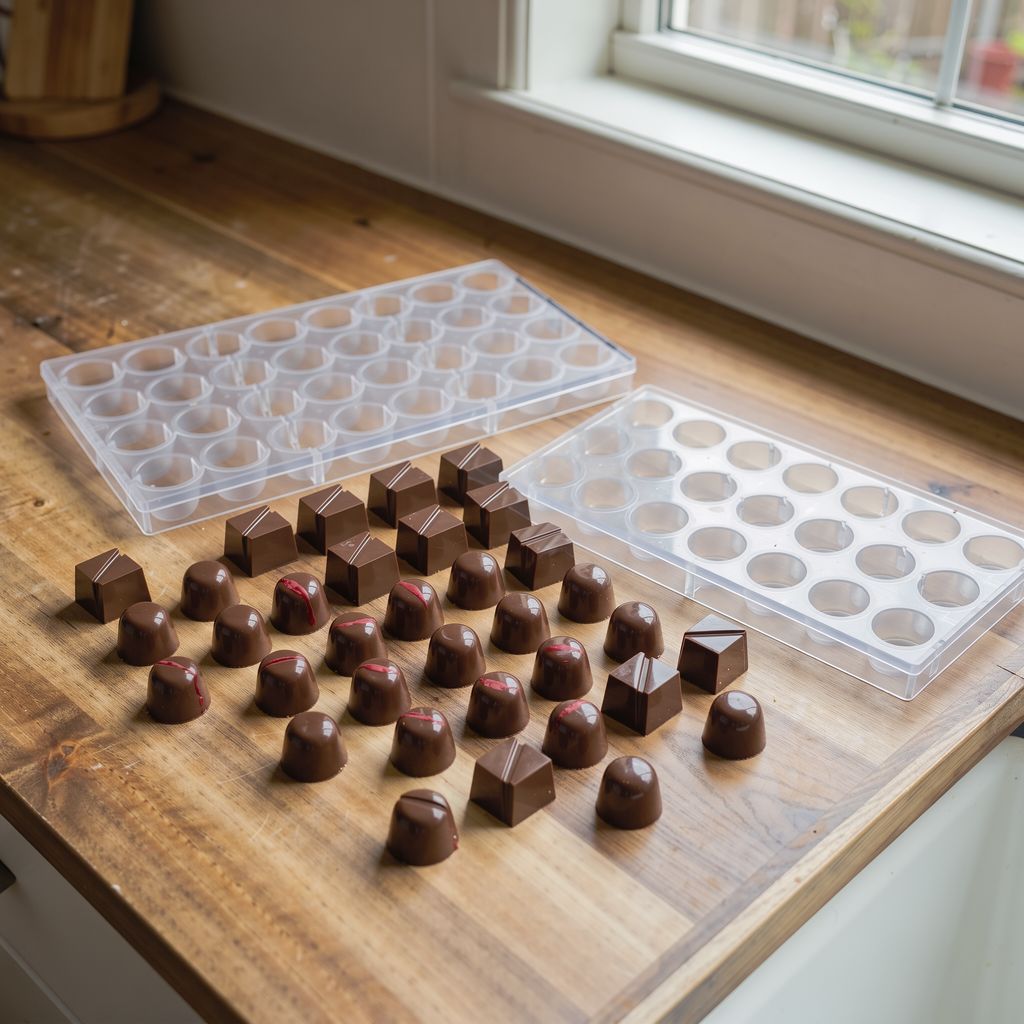
The most attractive and reliable technique for a calendar is a colored accent in the cavity first, and only then the milk chocolate:
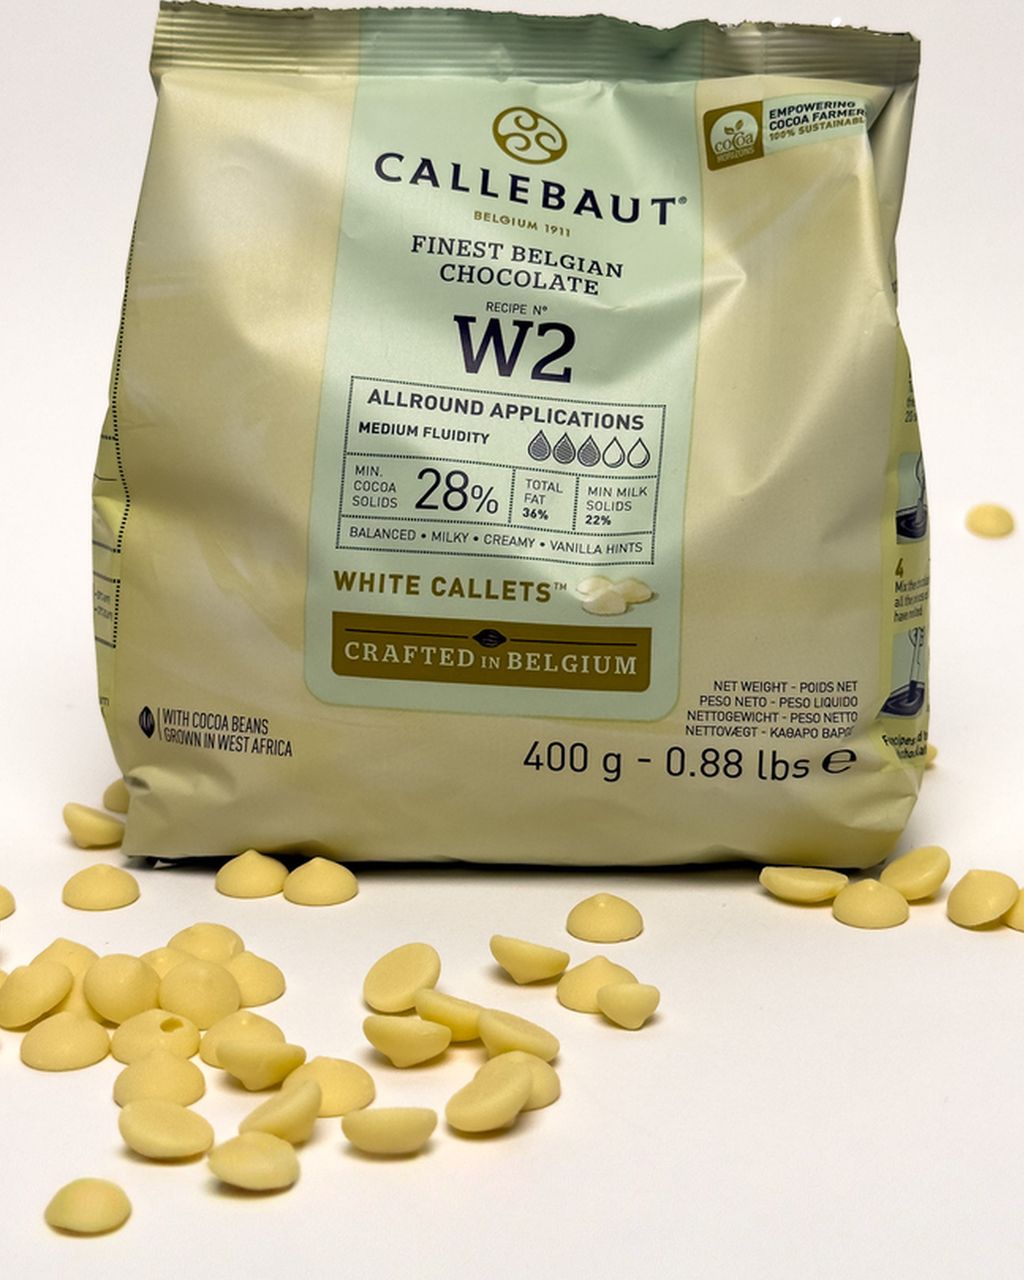
Melt 30–50 g of white chocolate and temper it (white has a working temperature of around 28–29 °C).
Stir in a few drops of Sugarflair oil-based coloring in Red. Start with 2–3 drops per 50 g and add more – a deep red needs more. Add the color to the finished, tempered chocolate and stir right away so you don't cool it below working temperature.
With a gloved finger, a brush or a toothbrush, apply a smear, dots or splatters in the cavities. Let set for 5 minutes.
Only then top up the cavities with tempered milk chocolate.
Why not just color the milk chocolate? Milk chocolate is brown, so red turns out brick or brownish red in it. You only get a clean shade in white chocolate or in cocoa butter. For mirror-like colored surfaces like those in a patisserie, professionals use colored cocoa butter sprayed with a spray gun – there's more about it in the article colorful pralines: how to paint a mold. At home, a smear of white chocolate is just as striking and a lot easier.
Solid chocolates made from tempered chocolate keep without trouble for several months in a dry, dark place at 15–18 °C (59–64 °F), so a whole Advent is easy for them. You can quite happily mold them in the last week of November.
The ideal spot: a cool pantry, a bedroom, an unheated hallway. Not above a radiator, not on a windowsill over a heater, not in the sun.
The fridge is better avoided. When you take cold chocolate out, moisture condenses on it, dissolves the sugar on the surface, and once it dries a white, powdery coating (sugar bloom) is left. The chocolate also absorbs odors.
Wrap each piece separately in foil, cellophane or a paper cup. It protects the shine from fingerprints and stops the chocolates from scuffing each other.
Fillings shorten shelf life. Cream ganache lasts only 2–3 weeks, so it isn't suitable for a month-long calendar. Fillings without water are safe: hazelnut paste, gianduja, crushed biscuits, candied orange peel.
For the last few windows, make chocolates with a cream filling separately a few days before Christmas Eve, for example chocolate truffles with peanut butter, and keep them in the fridge.
Almost all chocolate problems have one cause: the chocolate wasn't tempered properly, or the temperature got thrown off along the way.
Sticking in the mold – the chocolate wasn't tempered, or you overheated it above working temperature. Put the mold in the freezer for 10 minutes, then tap. The chocolates will release, but they won't be as glossy.
Dull patches and streaks – the mold was cold or greasy, or the chocolate set too slowly. Buff the mold and keep it at 20 °C.
Gray stripes and spots – fat bloom from untempered or overheated chocolate. Melt it, temper again and mold again; the chocolate isn't spoiled by this.
White powder that rubs off with a finger – sugar bloom from damp (typically from the fridge). It doesn't change the taste, only the look.
Pinholes on the face – the bubbles weren't tapped out enough. Tap for longer next time.
A grainy, stiff paste when coloring – water or water-based coloring got into the chocolate. This chocolate can no longer be used for the mold, but you can use it in batter or in hot chocolate.
Once the chocolates are done, just wrap them, number them 1–24 and arrange them so you can open one window a day. Three tried-and-tested options: a box with 24 compartments, paper bags on a string, or toilet paper rolls in a shoebox.
A box with 24 compartments (say, for pralines or jewelry) – chocolates in paper cups, numbers on the lid or on stickers.
Paper bags on a string – pinned to twine with clothespins, each with a number. Two pieces in each is enough, so there's something to discover inside.
Toilet paper rolls stacked in a shoebox and sealed with paper circles – the cheapest option.
Have fun with the contents: alternate cubes and cones, put a red-splattered one in every fifth day, and something extra for December 24. If you'd like to combine the calendar with baking, you'll find inspiration in the article a Christmas cookie advent calendar. If you'd like to fill the chocolates, the whole process from choosing chocolate to decorating is in the guide homemade filled chocolate pralines.
Yes, bar chocolate can be tempered too, but it's thicker and has less cocoa butter, so it's harder to pour into small cavities. Couverture in callets flows more thinly, fills the mold more easily, and the callets double as seed chocolate for tempering.
You can, but a standard bar mold won't work for 24 little windows, because it only has a few large cavities. For a calendar you need 24 small pieces, so reach for a praline mold or a mini-bar mold with 24 cavities.
Better not. Moisture condenses on them as they thaw and leaves a white bloom. Solid chocolates keep for months in a cool place, so there's no need to freeze them.
Solid milk chocolates are free from alcohol and nuts on their own, but check the chocolate's packaging for a may-contain-traces-of-nuts warning. Instead of a nut filling, you can put a few grains of popping candy or some crushed biscuit in the bottom of each cavity.
It pays off mainly in quality: a homemade calendar uses couverture instead of ordinary confectionery chocolate, and the chocolates are noticeably bigger. The mold is a one-off purchase that lasts for years, so every following year you only pay for the chocolate.
One recipe worth heating the oven for, one tip, and one deal from the shop. Nothing else.