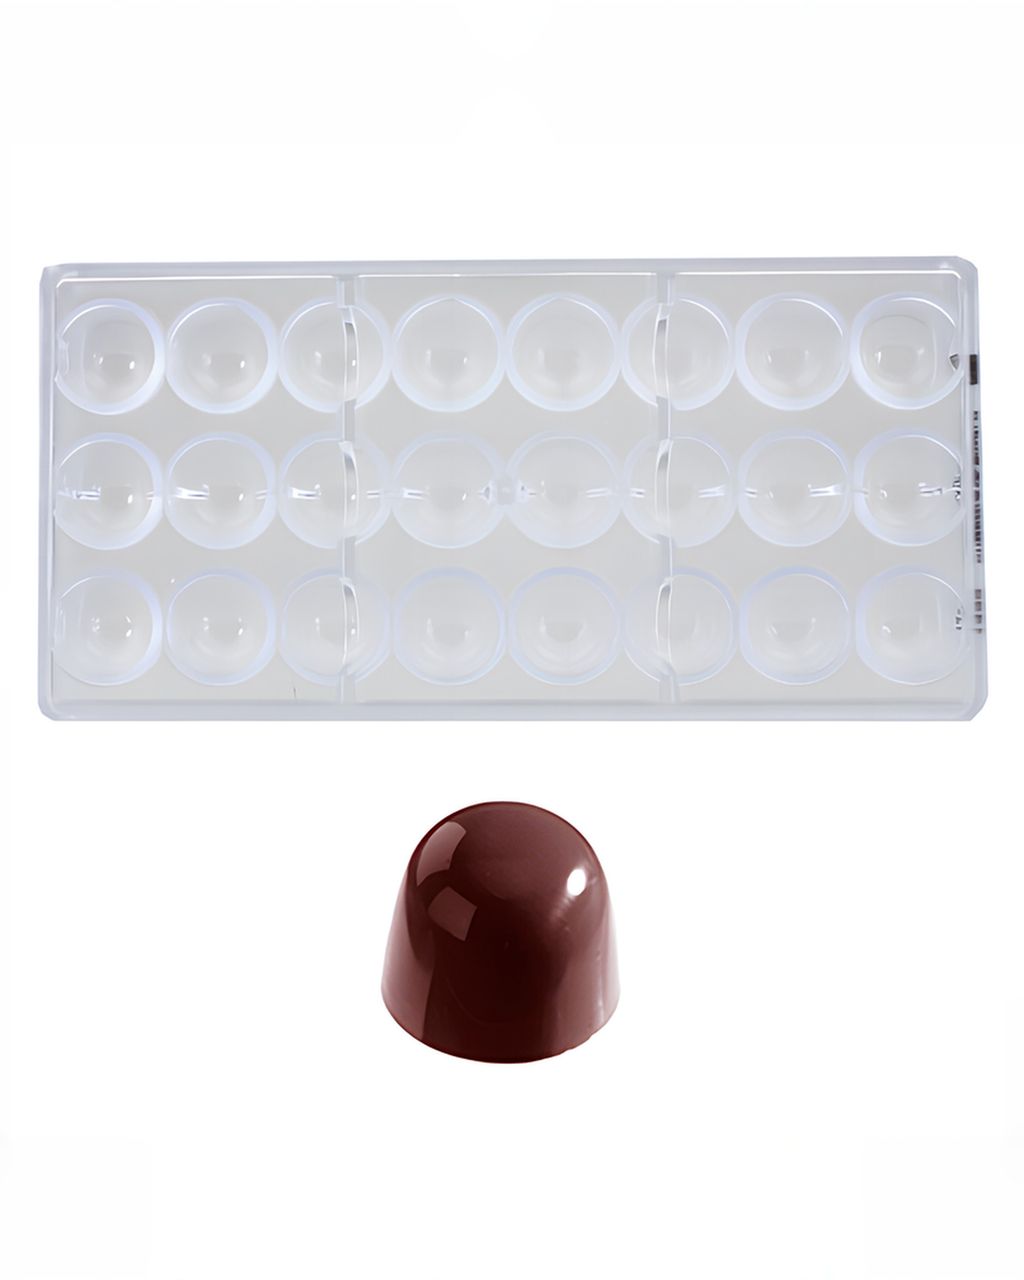
Chocolate World Polycarbonate Praline Mould – Cone (24 pcs, Ø 29 × 25 mm)
Cone-Shaped Chocolate Bonbons: How to Mold, Fill and Cap Them
Updated Oct 15, 2026
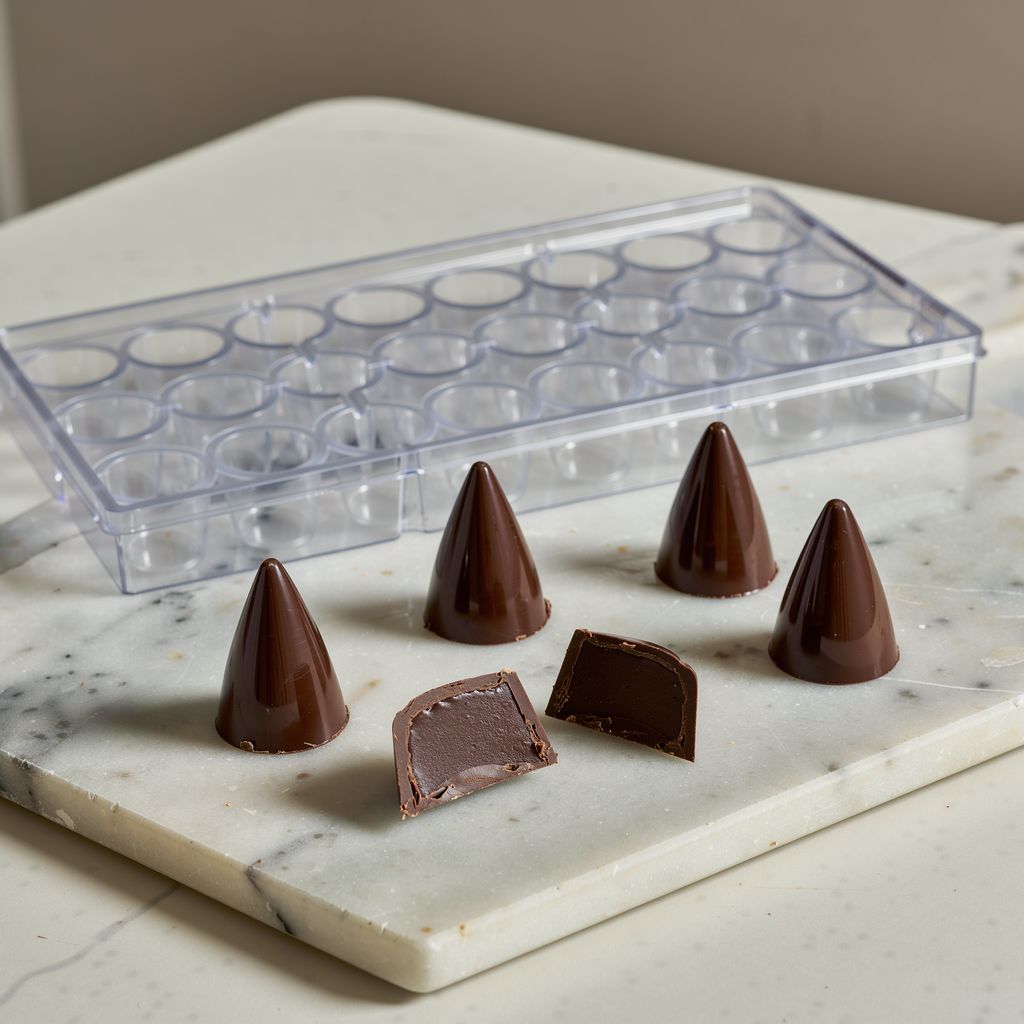
Cone-shaped bonbons come together in three steps: pour a thin shell from tempered chocolate, fill it with ganache cooled to 28–29°C (82–84°F), and after about 12 hours of resting, cap it with a chocolate lid that doubles as the flat base. Compared to a sphere or cube, the cone has one tricky spot: the narrow tip. It traps air, collects extra chocolate, and tends to scuff or snap off when you unmold. Here's how to keep that from happening.
For one batch you need four things: a cone mold, chocolate for the shell, a filling, and a scraper to level it off. Plus a thermometer and a piping bag.
Mold: we use the Chocolate World polycarbonate cone mold (24 cavities, Ø29 × 25 mm).
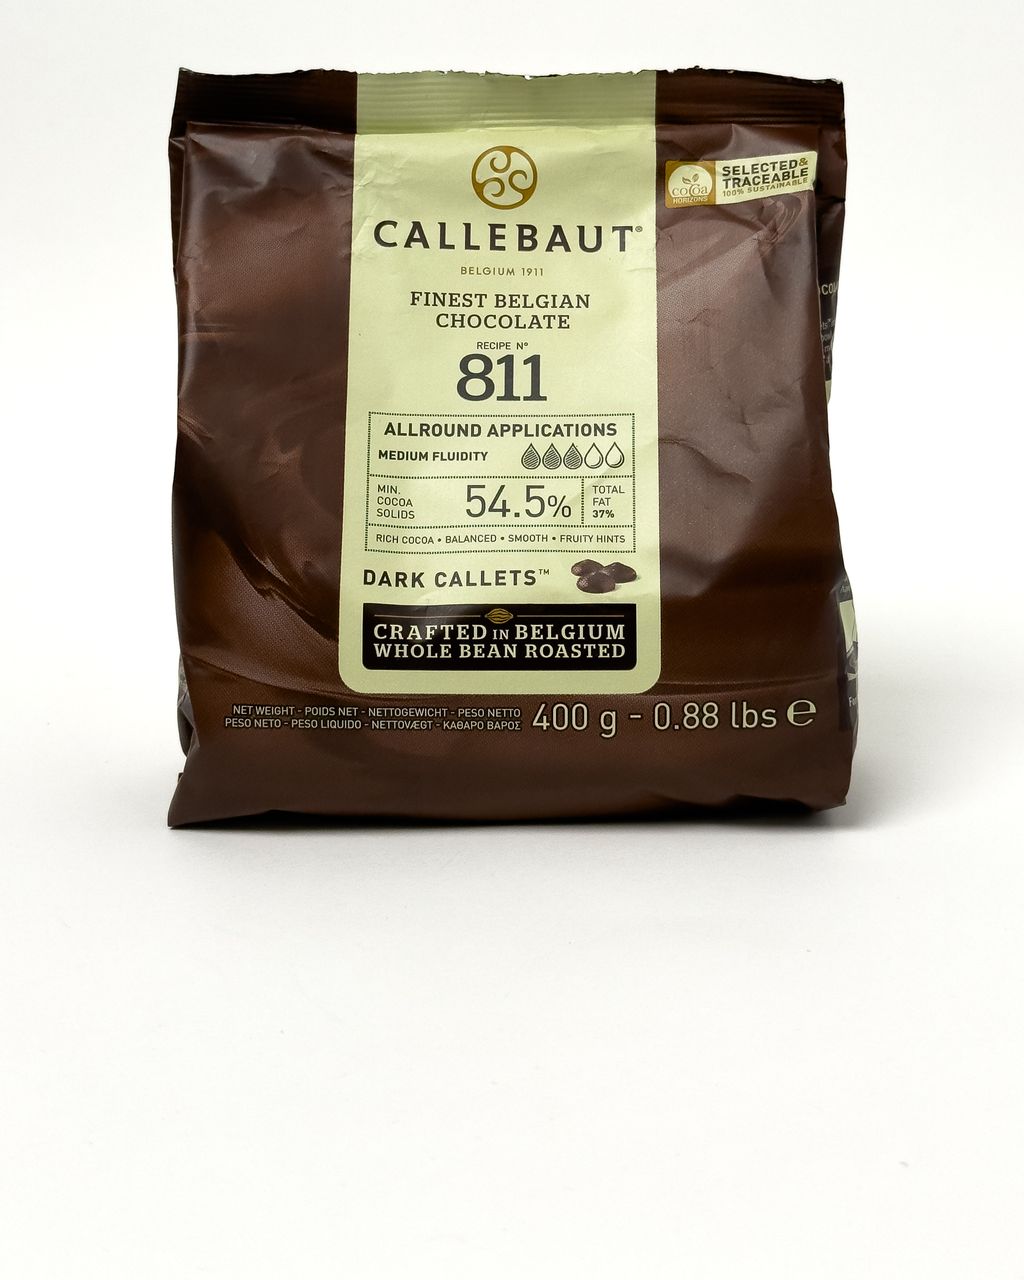
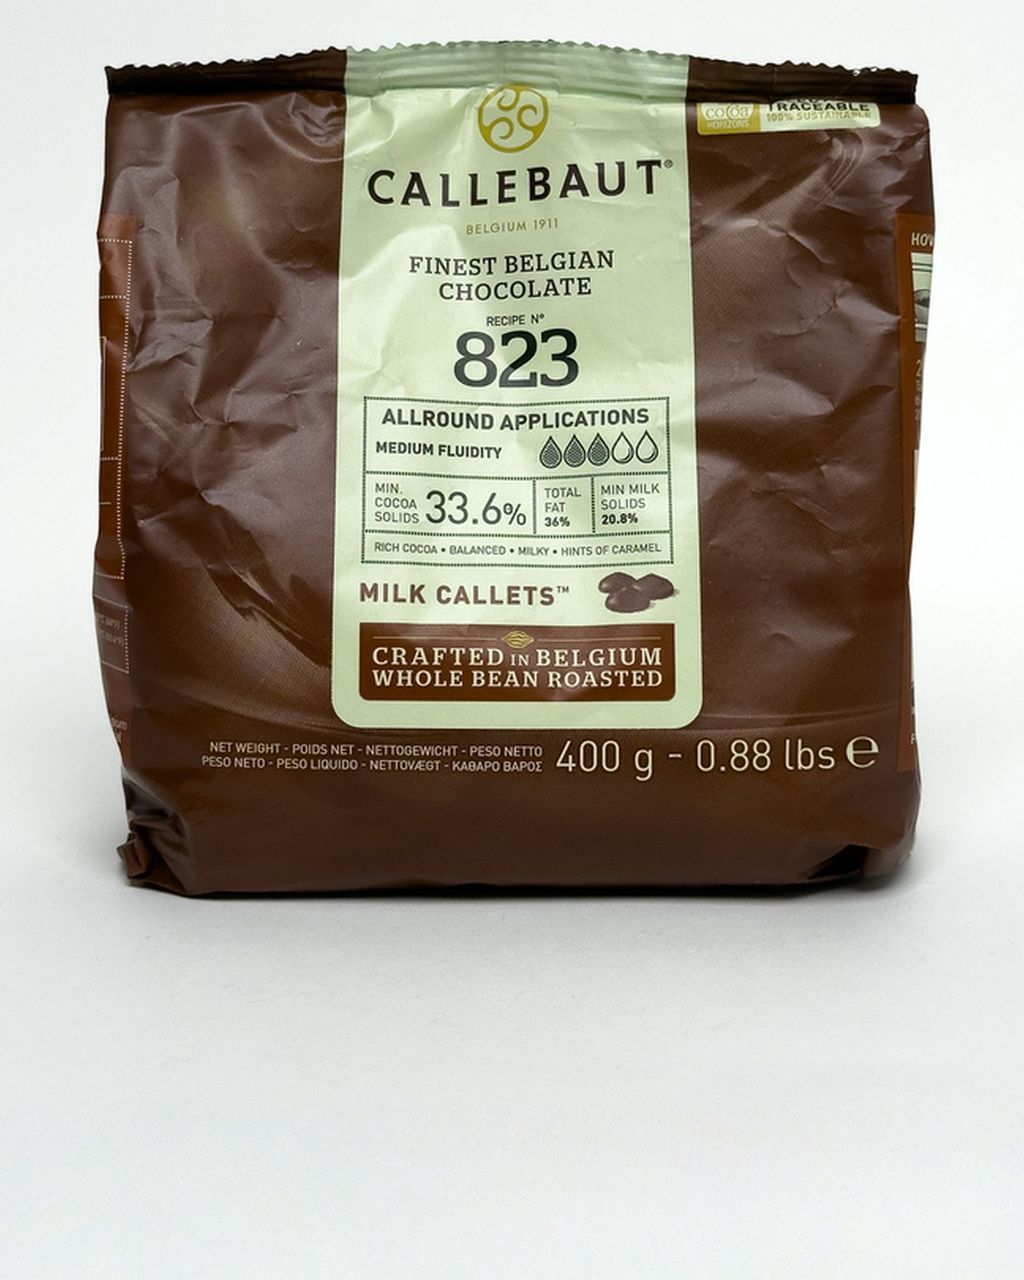
Shell chocolate: couverture — chocolate with a high cocoa butter content (at least 31% for dark), which makes it more fluid than a standard eating-chocolate bar. You can spot it by the cocoa butter percentage on the label or by its fluidity rating (Callebaut marks this with drops). The label may also say "chocolate coating": under Czech food regulations, that term actually refers to this high-cocoa-butter couverture, not a cheap fat-based coating. Try dark Callebaut 811 (54.5% cocoa) or milk Callebaut 823 (33.6% cocoa). According to the manufacturer, both have a "3-drop" fluidity rating, meaning medium — exactly what you want for shells: fluid enough to drain out of the cone, yet thick enough that the tip doesn't stay see-through. For more chocolate for bonbons and baking, browse the chocolate category.
Filling: most often ganache, though caramel or nut cream work too.
Tools: a wide scraper or palette knife, a piping bag, a thermometer, and baking paper.
If you're still choosing a mold, start with our guide to polycarbonate vs. silicone chocolate molds.
For glossy cones with a crisp point, polycarbonate is best. Silicone unmolds more easily but won't give you shine. A cheap plastic mold is a middle ground.
Polycarbonate (e.g. Chocolate World): rigid and smooth. As tempered chocolate crystallizes it shrinks slightly and releases on its own. Cones come out mirror-glossy with crisp edges. It costs more and needs properly tempered chocolate, otherwise the shell won't release.
Silicone: flexible enough that you can pop a cone out even without perfect tempering, but it won't hold the shape firmly, the surface stays matte, and thin shells are tricky to form in it. It suits solid chocolate cones without a filling better.
Plastic mold (thin molded PET): cheap, lightweight, and gives decent shine. But it's thin, flexes when you scrape it, and makes it harder to level the cap. Fine for a few trial batches, not for regular use.
If you want bonbons that look store-bought and plan on making more than one batch, polycarbonate is worth the investment.
To mold the shell, fill the mold with tempered chocolate, tap out the air, pour off the excess and let it drip away, then scrape the rim clean. For the tempering process itself, see our complete guide to tempering chocolate. Here we'll cover only what's different about cones.
Polish the mold. Wipe the cavities with a cotton pad or soft cloth. Every smudge will show on the finished cone.
Tips first. Pipe a little chocolate into each cavity and brush it into the tip with a small brush. This clears the air bubble that likes to lodge in the point of a cone — if it stays, you'll get a hole once you unmold.
Fill the whole mold with chocolate right up to the rim.
Tap out the air. Tap the mold against the table for 20–30 seconds, until no more bubbles rise.
Pour off the excess. Turn the mold upside down over a bowl and tap the sides with the scraper. For cones, let the chocolate drain longer than you would for shallow shapes — a full minute is fine. The tip collects the most chocolate, and if it doesn't drain, the shell becomes a solid chocolate point with little room left for filling.
Scrape the rim. With the mold still upside down, scrape it clean with the scraper and set it face-down on baking paper. As the chocolate starts to set, flip it over and scrape the rim again. A clean edge is the foundation for a cap that will actually hold.
Let the shells set at room temperature before filling.
A cone needs a soft ganache that can be piped from a bag and will flow down into the tip on its own. Pipe it in at 28–29°C (82–84°F), stopping about 2 mm below the rim.
Ratio by chocolate type (33% whipping cream : chocolate):
dark 811: roughly 1 : 1
milk 823: roughly 1 : 2 (milk chocolate has less cocoa solids, so you need more of it to reach the same consistency)
The temperature matters for a precise reason. In its recipe for molded coffee ganache bonbons, Callebaut recommends piping ganache at 28–29°C (82–84°F). Warmer ganache would melt the thin shell from the inside, turning the chocolate grey. Ganache that's too cold and firm won't flow into the tip, trapping air there instead.
How to fill a cone:
Snip the piping bag tip narrow enough to reach deep into the cavity.
Push the tip almost all the way down to the point of the cone and pipe from the bottom up, slowly withdrawing the bag as you go. That way there's nowhere for air to get trapped.
Stop about 2 mm below the rim — that space belongs to the cap. Fill all the way to the edge and the cap won't bond to the shell, and the bonbon will leak.
Tap the mold gently on the table to level the surface of the ganache.
To figure out how much ganache to make, fill one empty cavity with water and weigh it. The shell and cap take up roughly a third of that volume, the rest is filling. Multiply by 24 for the whole mold.
To cap them, once the ganache has crystallized, cover the filled mold with a thin layer of tempered chocolate and pull it level with the scraper. On a cone, the cap doubles as the base the bonbon stands on, so it has to be perfectly flat.
Let the ganache set. In its recipe for molded coffee ganache bonbons, Callebaut recommends 10 minutes in the fridge first, then at least 12 hours at 18–20°C (64–68°F). The ganache needs to form a surface that can support the cap. Rush it, and the warm chocolate for the cap will mix into the still-soft ganache below, so the cap won't seal or set properly.
Warm the rim slightly. Briefly heat the edge of the shell with a heat gun or hairdryer, just enough to soften the surface a touch (2–3 seconds). This fuses the cap and shell into one piece.
Pour and level. Pour tempered chocolate over the mold and pull it across in one smooth stroke with the scraper. Then make a second pass at a right angle to clear off the excess.
For a perfectly flat base, lay a strip of cake film or acetate over the fresh cap and run the scraper over it. Once set, peel it off for a smooth, glossy base.
Let it crystallize fully before unmolding.
Turn the mold over a soft cloth and tap it gently against the table. Well-tempered cones should drop out on their own. Never pry or push on the tip.
Won't release? Chill the mold for 10–15 minutes; the chocolate will shrink and let go. Unmold the cones right away and transfer them straight into a closed box. Let them come up to room temperature in the box before opening it, otherwise moisture will condense on the cold chocolate.
Only some released? The ones left behind were probably made from chocolate that wasn't tempered properly. The fridge will help; more tapping will only damage them.
Store cones standing up on their caps. Laid on their sides, the tips rub against each other and lose their shine.
Four problems show up most often: a hole in the tip, a solid chocolate tip, a leaking cap, and a grey bloom. Each has a clear cause.
Hole or bubble in the tip: air trapped while pouring. Next time, brush the tips first and tap the mold longer.
Tip is solid chocolate, filling is sparse: the excess didn't drain. Leave the mold inverted longer, or use warmer, more fluid chocolate (still within tempering range).
Cap falls off or the bonbon leaks: the ganache was filled right to the rim, the rim wasn't clean, or the ganache didn't get enough time to crystallize.
Grey or white spots: either untempered chocolate (fat bloom) or condensation after coming out of the fridge (sugar bloom). That's why Callebaut recommends letting chilled bonbons return to room temperature before opening the packaging.
Store bonbons with homemade cream-and-chocolate ganache in the fridge in a closed box and eat them as soon as possible; shelf lives measured in weeks only apply to recipes made with glucose syrup and invert sugar. A simple ganache made from just cream and chocolate contains a lot of free water.
What Callebaut states for its specific recipes:
3 weeks in the fridge at 3°C (37°F): white chocolate ganache with cream, butter, glucose, dextrose, and invert sugar (White Chocolate & Vanilla Ganache recipe).
6 weeks at 8–16°C (46–61°F) (meaning a cellar or wine fridge, not a kitchen or a regular fridge): molded bonbons with coffee-infused cream ganache, glucose syrup, invert sugar, and butter (Coffee Ganache Molded Bonbons recipe).
Both recipes contain cream. What extends their shelf life is the glucose syrup and invert sugar, which bind free water and slow spoilage. Homemade ganache made from just cream and chocolate has neither glucose nor invert sugar, so these timeframes don't apply to it.
Store plain chocolate (empty shells, leftover shell chocolate) according to Callebaut's guidance, at 12–18°C (54–64°F) and relative humidity of no more than 70%, outside the fridge.
Two more detailed guides follow on from cones: a comparison of Callebaut and Valrhona chocolate, and a complete walkthrough of homemade bonbons from choosing your chocolate to decorating.
Not sure whether to reach for Callebaut or a pricier chocolate? Read our Callebaut vs. Valrhona comparison for bonbons.
Find the full process in our guide to homemade chocolate bonbons like a pro.
You can fill a cone with any filling that's pipeable and won't melt the shell at 28–29°C (82–84°F) — nut praline cream, soft caramel, or fruit ganache, for example. Runny caramel and high-water fillings need a sturdy, flawless shell and a carefully sealed cap, or they'll leak out.
Melt at least 400–500 g of chocolate to comfortably mold the shells for one 24-cavity mold. Most of the excess goes back into the bowl and you can reuse it for the caps. Much less actually ends up in the bonbons themselves, but working with a smaller amount makes the mold harder to fill and the chocolate cools too fast.
Couverture is the better choice for cone shells, since it has more cocoa butter and flows more easily. Standard chocolate bars are thick, build up in the tip of the cone, and leave you with a shell that's too thick. For the filling (ganache), though, a good-quality everyday chocolate works just fine.
Pack cone-shaped bonbons standing upright in a box with dividers or paper cups so the tips don't rub against each other. For bonbons with cream ganache, keep them in the fridge, and tell whoever's receiving them to keep them chilled and eat them soon.
One recipe worth heating the oven for, one tip, and one deal from the shop. Nothing else.