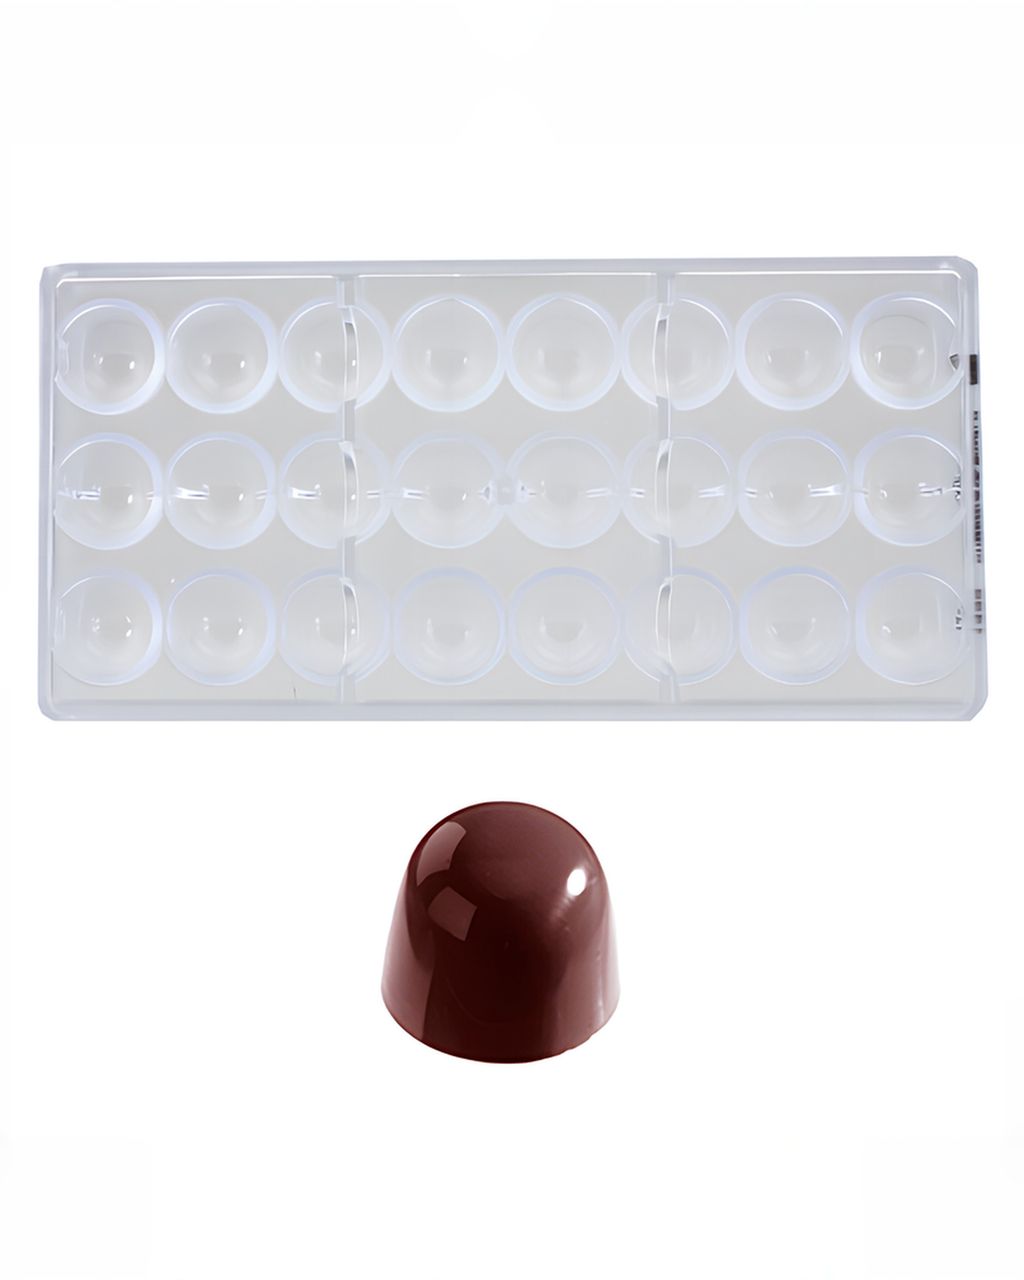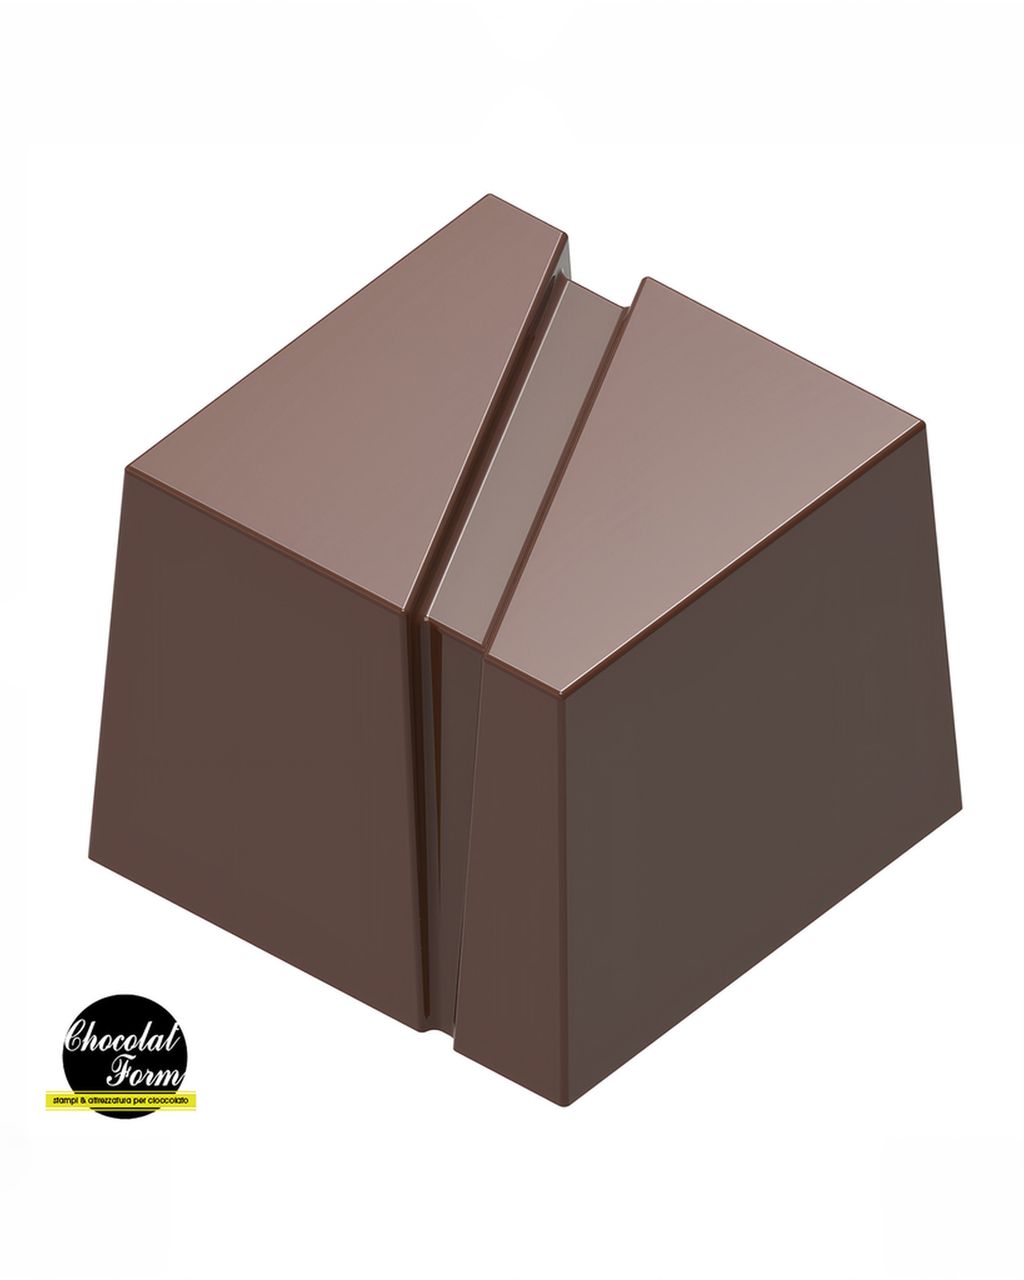
Chocolat Form Polycarbonate Praline Mould – Striped Cube (24 pcs, 25 mm)
Chocolate Mold for Pralines: Polycarbonate vs. Silicone, How to Choose and How to Use One
Updated Nov 2, 2026
A polycarbonate praline mold gives you firm, mirror-shiny shells that pop out of the mold on their own. A silicone mold is more forgiving, but you won't get the shine, and you have to push each praline out. If you want pralines that look like they came from a chocolate shop, choose polycarbonate with a simple shape and a cavity of about 25 mm. For first attempts, gummy bears or poured ganache, silicone is enough. Below you'll find how the materials differ, what to look for when choosing a mold, how to prepare it, how to make a shell step by step, and what to do when a praline won't come out.
For shiny filled pralines, a polycarbonate mold is the better choice. For beginners and for things that don't need to shine, silicone is enough. You have three kinds of mold to choose from: polycarbonate, silicone and thin plastic (PET). Here's how they differ:
Polycarbonate mold is hard and clear. It gives a mirror shine and sharp edges, and tempered chocolate releases from it on its own. It lasts for years, but it can only be washed by hand in lukewarm water and you mustn't scratch it. It costs the most and won't forgive badly tempered chocolate.
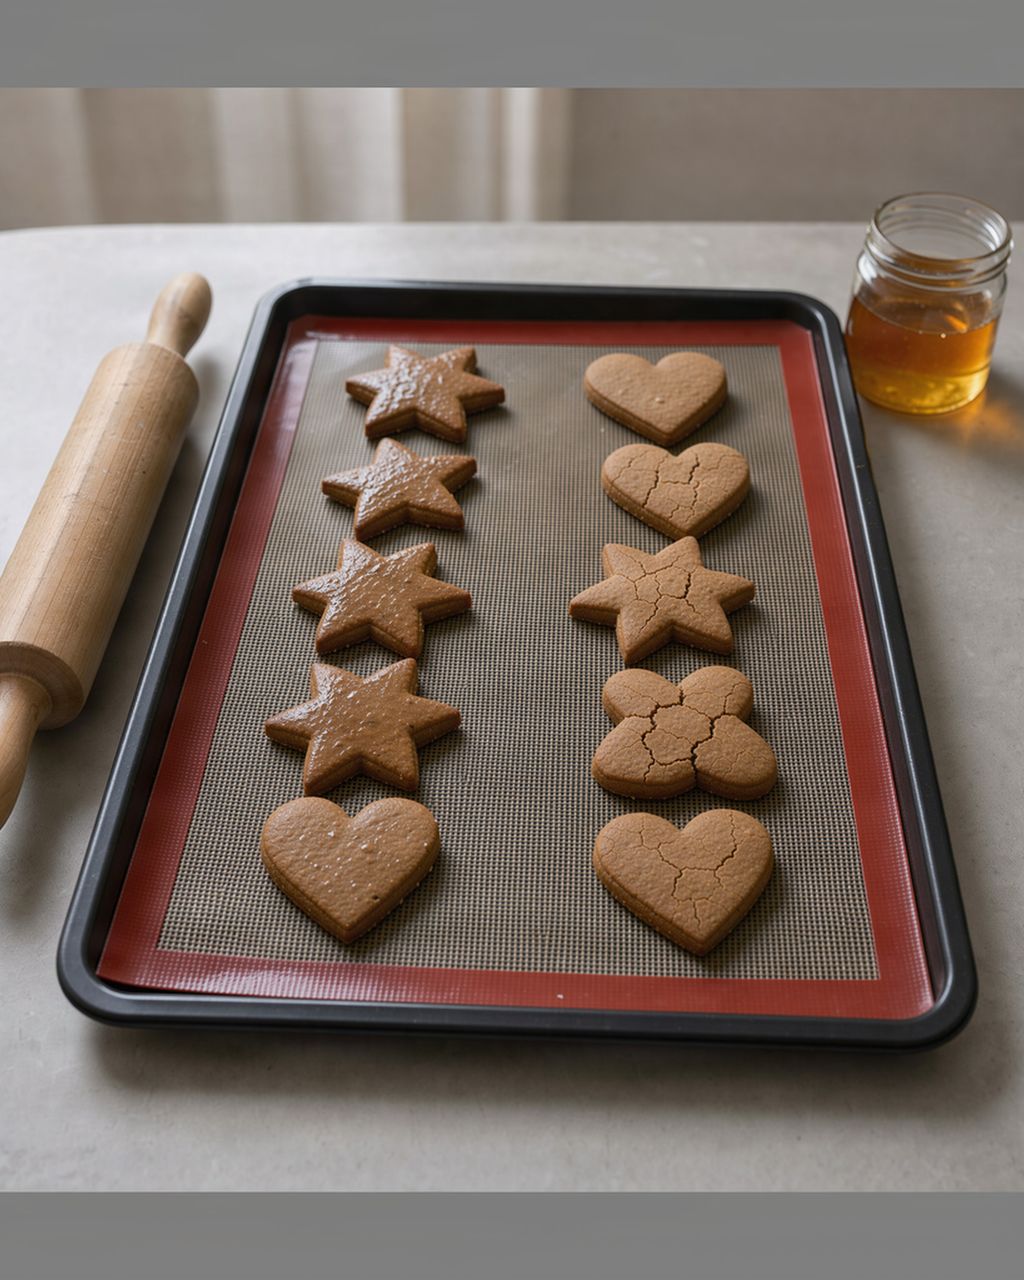
Silicone mold is soft and flexible. You can push a praline out of it even if the chocolate didn't turn out well. But the surface stays matte to satin, the edges are softer, and a thin shell is easily broken when you push it out. It's also good for gummy bears, jelly, ice cream pieces or things that go in the oven.
Thin plastic mold (foil, PET), which we don't carry, is the cheapest. It gives a decent shine, but it bends, scratches quickly and lasts a few seasons. Fine for one Christmas, not for making pralines regularly.
If you're not sure, start with one polycarbonate mold in a shape that's easy to fill. A cube or a cone is easier to fill than shallow, intricate shapes.
When choosing a praline mold, what matters is the material, the depth and shape of the cavity, the size of the praline, the size of the mold and the thickness of the wall. This is a good order to decide in:
Material. Polycarbonate for shiny filled pralines and gifts, silicone for jelly, shell-free ganache and first attempts (see the differences above).
Cavity shape and depth. Simple shapes with smooth walls and no sharp corners (cube, half-sphere, cone) are the easiest to fill and to release. Shallow, intricate reliefs look great, but the shell cracks easily in them and the lid shows.
Praline size. A cavity of about 25 mm suits a one-bite praline. Smaller pralines have proportionally more shell and less filling; larger ones have a thicker lid and more filling.
Size of the whole mold and number of cavities. Professional polycarbonate molds usually have 20–30 cavities. Measure your fridge and tray: the mold should lie flat and fit inside completely.
Thickness and rigidity. A rigid mold doesn't bend when you scrape it, so the shells have an even thickness and you can scrape the lid perfectly clean. A bowed, thin mold lets chocolate seep under the edges.
Our two polycarbonate molds cover the two most rewarding shapes: Chocolat Form – Cube with a Stripe (24 pcs, 25 mm) gives a classic box-of-chocolates praline with sharp edges, and Chocolate World – Cone (24 pcs, Ø 29 × 25 mm) gives a taller pointed shape for liquid or creamy fillings. For how to work with the cone shape specifically, see the article on cone-shaped pralines. You'll find more molds and tools in the molds and baking tools category.
Shine happens when properly tempered chocolate sets against a perfectly smooth surface and takes on its imprint. Polycarbonate is as smooth as glass, so the praline gets a mirror finish. Silicone has a fine microstructure that you can't see with the naked eye, and the chocolate picks it up as a velvety matte.
The second difference is release. Tempered chocolate (with cocoa butter crystals in the stable form V) shrinks slightly as it sets and pulls away from the hard wall by itself. The same happens in silicone, but the flexible wall shrinks along with it, so you have to push the praline out. That's why polycarbonate shows you straight away whether your tempering worked, while silicone hides it.
A mold calls for tempered couverture, meaning chocolate with a higher share of cocoa butter. It flows well, makes a thin shell and lets go of the mold. Ordinary bar chocolate is too thick and the shells made from it will be thick. We explain this in the article on couverture vs. cooking chocolate.
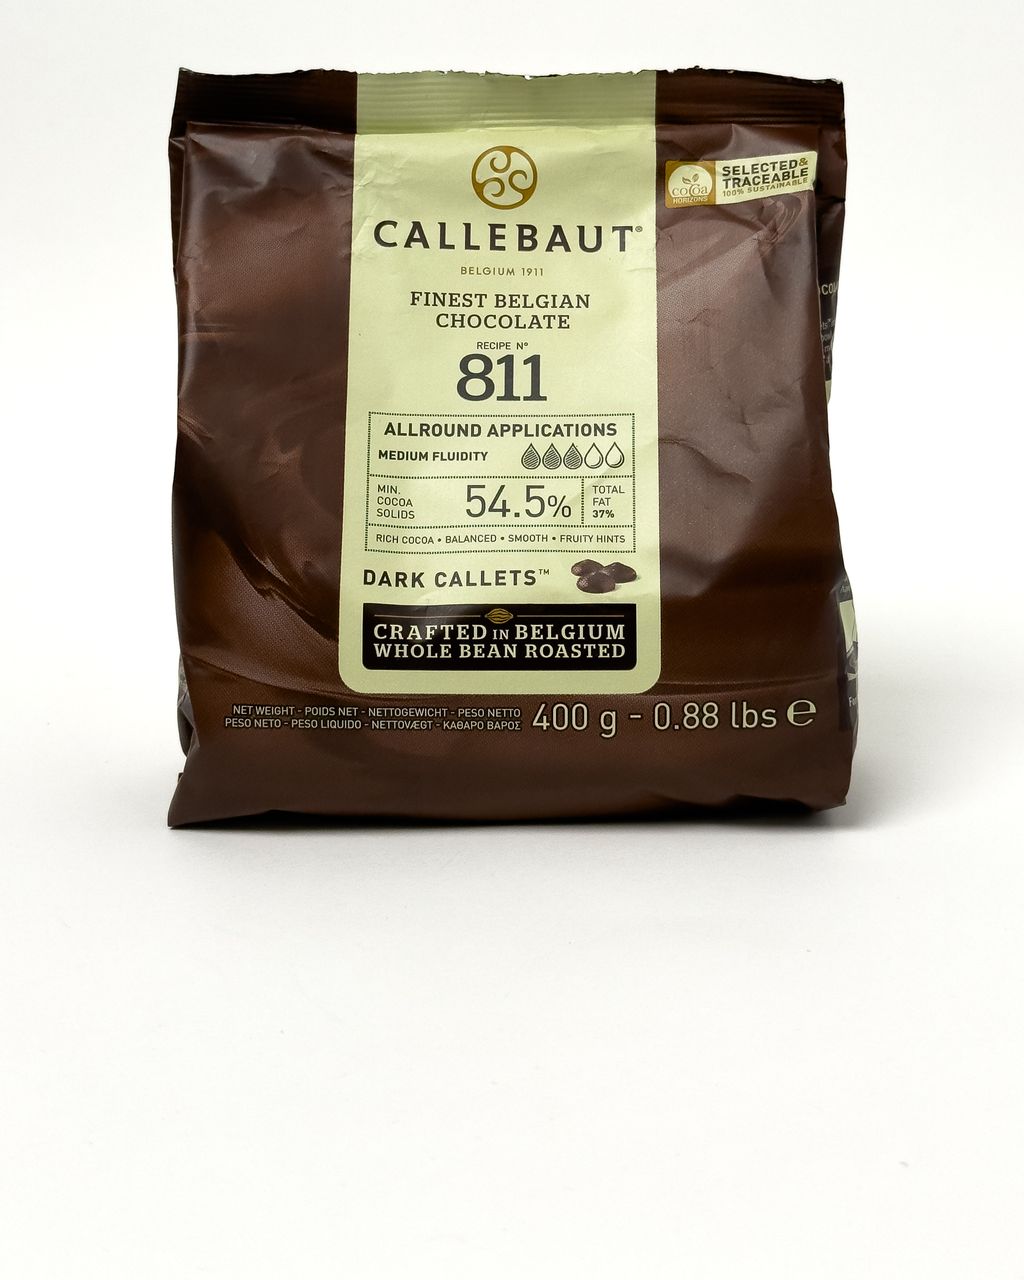
Callebaut 811 dark (54.5% cocoa) is an all-round choice for shells. It flows well and is very forgiving.
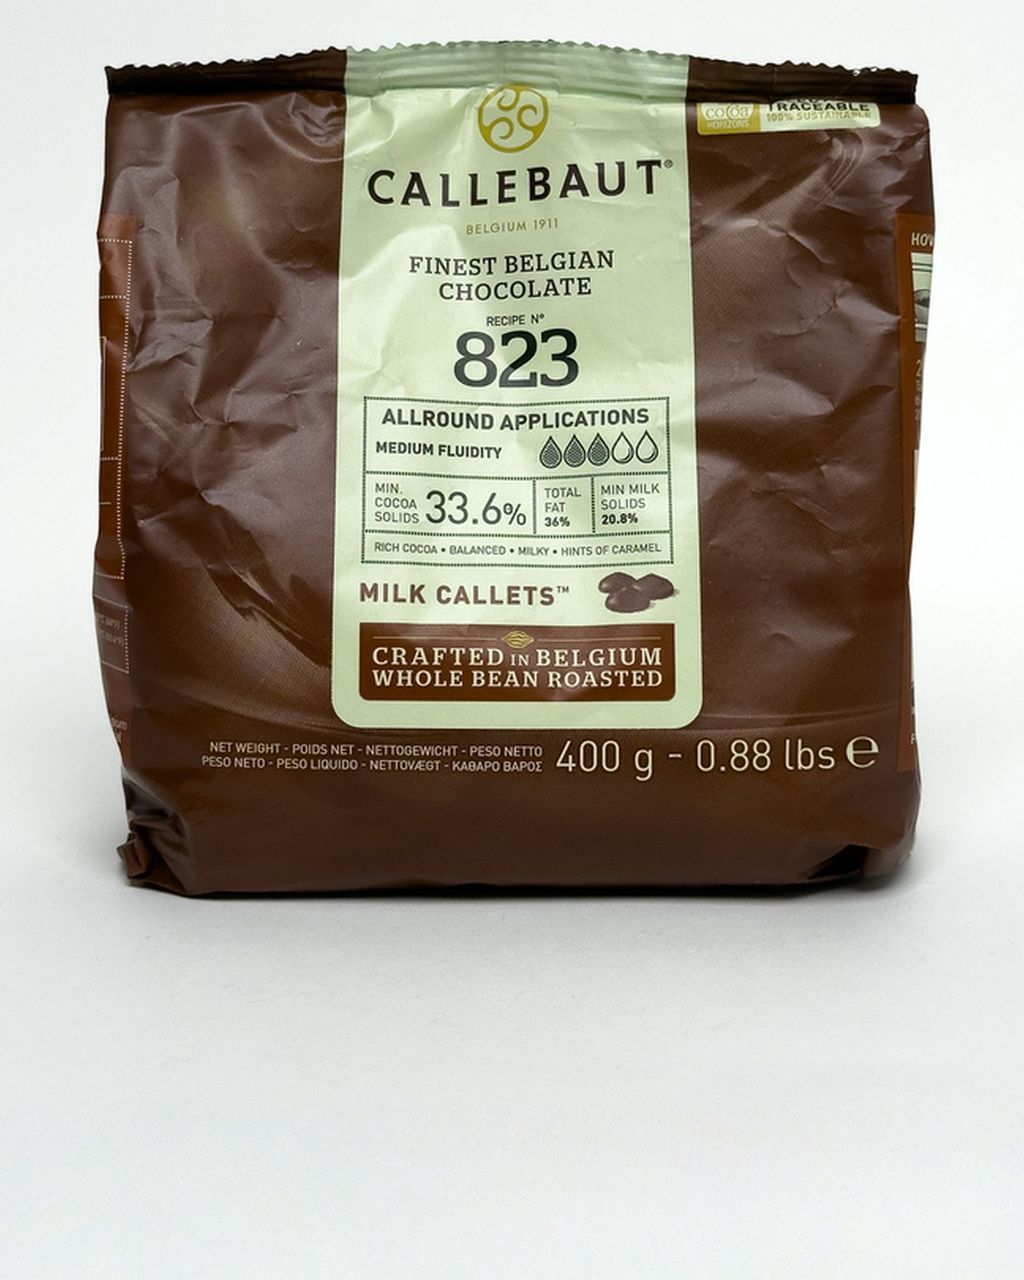
Callebaut 823 milk gives a softer, sweeter shell. It's tempered at a lower temperature than dark and is more sensitive to overheating.
White couverture suits light-colored shells, or serves as a base that you color with oil-based chocolate colorant.
Cocoa (compound) coating isn't tempered and releases from the mold with no extra work. It has vegetable fat instead of cocoa butter, so it tastes waxy and lacks that proper snap. Fine for a kids' workshop, not for a gift.
For what the numbers on the bags mean and which chocolate to use for what, see the article on Callebaut 811, 823, W2 and RB2. You'll find our full couverture range in chocolates for pralines and baking.
A clean, polished mold at room temperature (around 20–22 °C) is half the battle. In a cold mold, chocolate sets too fast and turns dull. In a warm one, the chocolate loses its temper.
Wash the mold in lukewarm water with a drop of dish soap and a soft sponge. Let it dry completely, because even a drop of water will thicken the chocolate.
Polish each cavity with a dry cotton pad or a piece of cotton wool. This wipes away traces of grease and fingerprints that would otherwise show on the pralines as matte blotches.
Don't chill the mold in advance in the fridge or freezer. Keep it at room temperature so the chocolate doesn't set before you've had time to pour it out.
Want a colored pattern? In a clean mold, first apply colored cocoa butter warmed to 29–31 °C with a brush, a gloved finger or an airbrush gun. Let it set, and only then pour in the shell. For painting techniques, see the article on colored pralines: how to paint a mold.
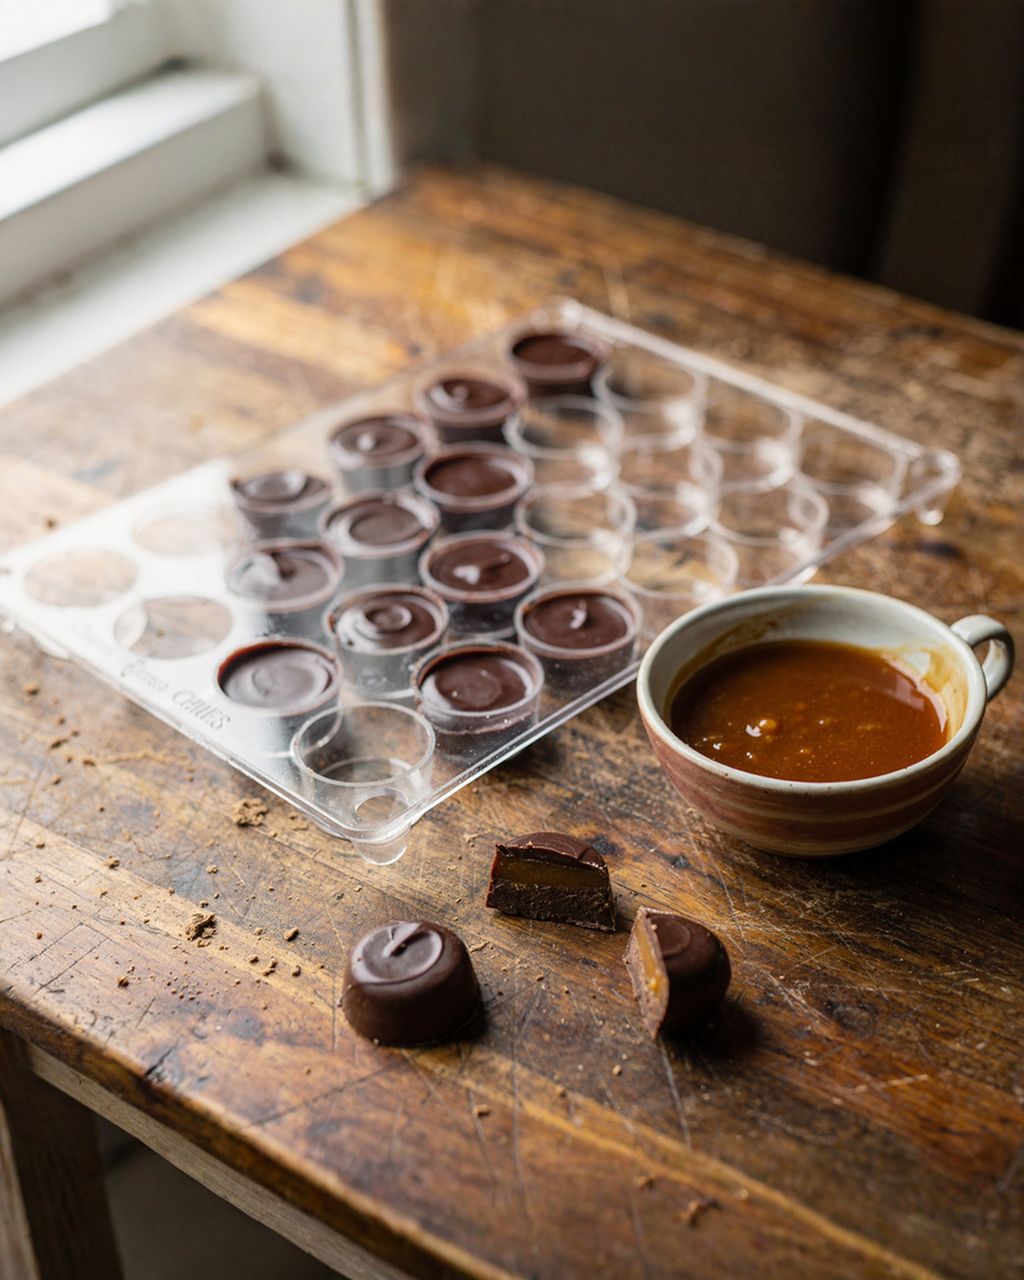
The process has three stages: shell, filling and lid. Between each stage, the chocolate or filling has to set.
Temper the chocolate. Callebaut recommends a working temperature of about 31–32 °C for dark, 29–30 °C for milk and 28–29 °C for white chocolate. Do a test: dip the tip of a knife and set it on the counter. At 18–20 °C it should set to a shine, with no streaks, within 3–5 minutes.
Fill the cavities to the brim with a ladle or a piping bag. Tap the mold on the counter to bring up the air bubbles.
Pour out the excess. Turn the mold upside down over a bowl, tap it with a scraper or a handle and let the excess run off. The shell should be 1–1.5 mm thick.
Scrape the surface clean with a long scraper or spatula so that no chocolate is left between the cavities. Place the mold, openings down, on parchment paper for 1–2 minutes to even out the edges, then scrape again.
Let the shells set for 10–20 minutes at 16–18 °C.
Fill the shells to about 2 mm below the rim. The filling must be no warmer than 28–30 °C, or it will melt the shell from the inside. For which fillings work and how long they keep, see the article Praline fillings: ganache, caramel and fruit pastes.
Let the filling set. Ganache usually needs 12–24 hours at 16–18 °C to form a "skin" on top for the lid to hold on to.
Cap the pralines. Briefly warm the edges of the mold with a hair dryer so the lid bonds with the shell, pour in tempered chocolate and scrape clean. It helps to press a piece of acetate sheet onto the mold and run a scraper over it. The lid will then be perfectly flat.
Unmold. Leave the mold in the fridge for 10–15 minutes, then turn it over a clean surface and tap it gently. Pralines from polycarbonate fall out on their own.
Finished pralines don't have to end up only in a box of chocolates. They also make a nice decoration, for example on a chocolate cake with raspberry pralines.
When a praline won't fall out of a polycarbonate mold, the cause is almost always tempering. Untempered chocolate doesn't shrink and sticks to the mold. A clear mold shows you ahead of time: cavities where the chocolate has released look lighter and matte from below. Where it's still stuck, they look dark and shiny.
Still stuck? Leave the polycarbonate mold in the fridge for another 10–15 minutes, or in the freezer for 5 minutes. No longer, or moisture will condense on the pralines after you take them out and they'll turn white. Silicone is a different case, see below.
Stuck for good? The chocolate wasn't tempered. Push the pralines out, melt them, temper again and have another go. You lose nothing.
Grey streaks or white spots are a sign that the chocolate was too warm, or that the mold was too cold or greasy.
Cracks in the shell usually mean the shell was too thin, or the mold went into a fridge or freezer that was too cold.
A hole in the bottom happens when the lid doesn't bond with the shell. Next time, warm the edges with a hair dryer.
You work with silicone in the same way, but make the shells a little thicker (about 2 mm) and unmold them thoroughly chilled. A flexible mold easily breaks a thin wall when you push the praline out.
Work on a tray or board. Put the mold on it right at the start and move it only together with the tray. Otherwise the silicone mold bends and the chocolate cracks in the set shell.
Make the shell twice. Pour in and pour out, let it set, and repeat the whole thing.
Put the mold in the freezer for 10 minutes before unmolding. Polycarbonate needs just 10–15 minutes in the fridge, but silicone needs more cold. Silicone insulates, so a thicker shell in it chills more slowly, and the praline has to be completely firm so it doesn't pick up a fingerprint when you push it out. Then press the bottom of the mold from the back with your thumb, not against the side of the praline. Let the unmolded pralines come to room temperature in a closed box, so moisture condenses on the box, not on the chocolate.
Where silicone wins: simple shell-free chocolate bonbons (poured and set ganache), gelatin gummy bears, jelly and anything that goes in the oven or freezer. Never pour anything hot into polycarbonate.
For what works and what doesn't with silicone in baking, see the article on silicone baking molds.
One mold with 24 cavities gives you 24 pralines per pour, so for a box of 12–16 pieces, one mold and one batch of filling is enough. If you're planning more gifts, work in rounds: shells and filling one day, lids the next.
Plan for 2–3 days. Ganache needs 12–24 hours before the lid will hold on to it, so for pralines for Christmas Eve, start no later than around December 20th.
Pack them only when fully set and at room temperature, never cold from the fridge.
A box with paper cups stops the shiny surfaces from rubbing against each other. Keep the box somewhere cool (12–18 °C) and away from heating.
For how to put together and label a homemade box of chocolates, see the article on homemade chocolates as a gift.
Don't put a polycarbonate mold in the dishwasher. Harsh detergents and hot water will cloud and scratch it, and your pralines will no longer come out shiny. Wash it by hand in lukewarm water with a drop of dish soap and a soft sponge (never steel wool or the rough side of a sponge), leave it to dry upside down, and polish it with cotton wool before the next use.
You can pour untempered chocolate into a praline mold, but it won't release from polycarbonate. From silicone you can push it out, but it stays soft and turns grey within a few days.
The shells and lids of one mold with 24 cavities of about 25 mm need roughly 200–250 g of chocolate. Still, temper at least 400–500 g. A smaller amount cools down quickly while you work, and whatever runs back out you can use next time.
Eat pralines with a cream ganache within about 2 weeks, stored somewhere cool (12–18 °C) and dry. Professional textbooks give up to 3 weeks, but at home, without measuring, the shorter time is the safer bet. Pralines with a water-free filling (such as hazelnut praliné) keep longer. Shelf life depends on the filling, not the mold. Avoid the fridge if you can, because after you take them out, moisture condenses on the chocolate and turns it white. The article on praline fillings covers this in detail.
With gentle care, a polycarbonate mold lasts many years; chocolate shops use them daily for years on end. What shortens its life is mainly scratching, the dishwasher and hot water. A silicone mold wears out sooner with frequent use.
One recipe worth heating the oven for, one tip, and one deal from the shop. Nothing else.