Royal icing for cookies: the foundation for perfect decorating
Updated Sep 18, 2026
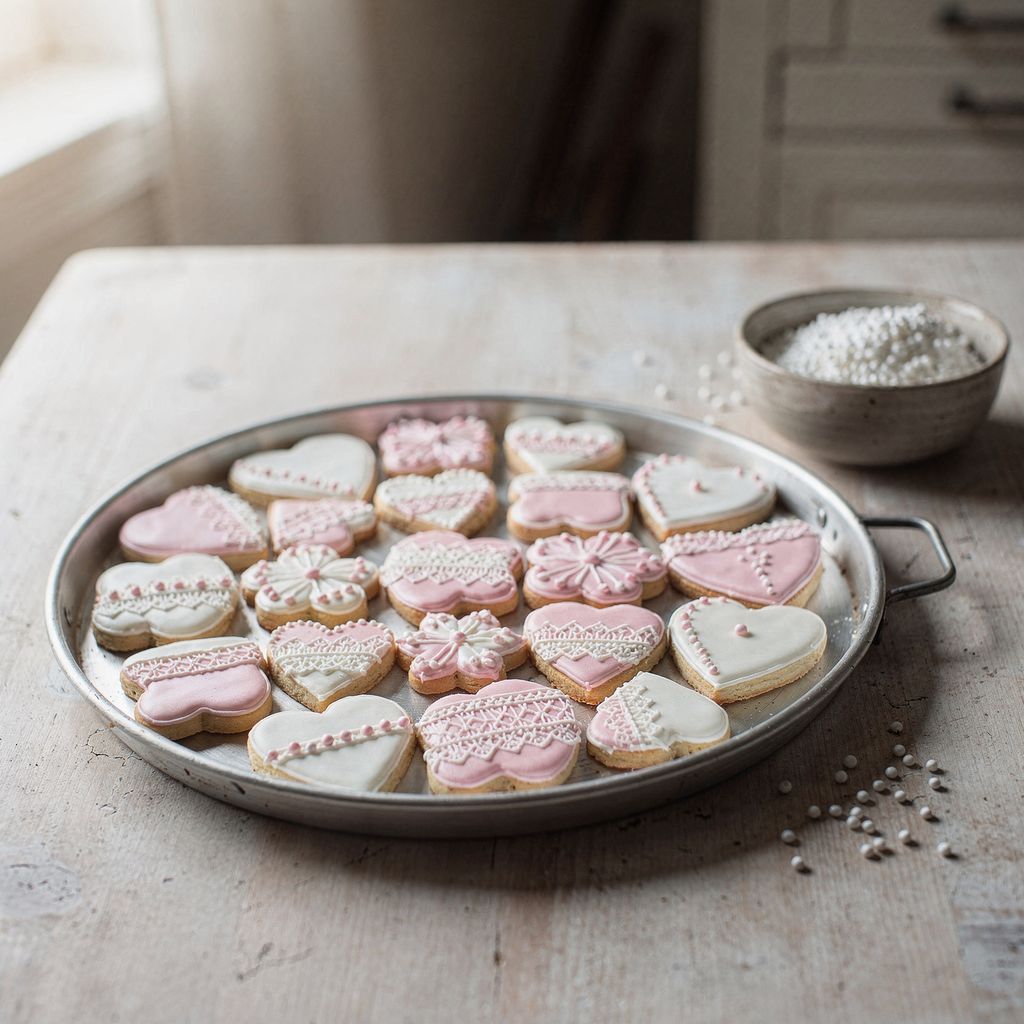
Decorating wedding cookies comes down to three things: getting the royal icing consistency right, keeping the pastel colours restrained, and giving everything enough time to dry. The rest is just detail. When your icing holds its shape, the colours don't bleed, and the cookies sit quietly drying overnight on the tray, even the simplest design looks flawless. If you're in a rush, not even the fanciest tip will save you. In this guide you'll find what wedding cookies are actually decorated with, how to mix icing to two different consistencies, four techniques from outlining to lace work, and a timeline you can realistically fit around everything else on your wedding to-do list.
Wedding cookies are typically decorated in five ways: royal icing, melted chocolate, sugar pearls and sprinkles, edible glitter and lustre dust, and marzipan or fondant. Most wedding cookies combine two or three of these — a white base, one extra detail, and that's it.
Royal icing — an egg-white-based icing that dries rock hard. The only technique that can handle outlines, lace, and a perfectly smooth flooded surface all at once. This is the backbone of wedding cookie decorating.
Melted chocolate — the fastest route. White chocolate tinted to a pastel shade holds a fine line less well than icing, but it tastes better and sets in about 20 minutes in a cool spot. Only colour chocolate with oil-based or powder colours — gel or water-based colour will make it seize into lumps.
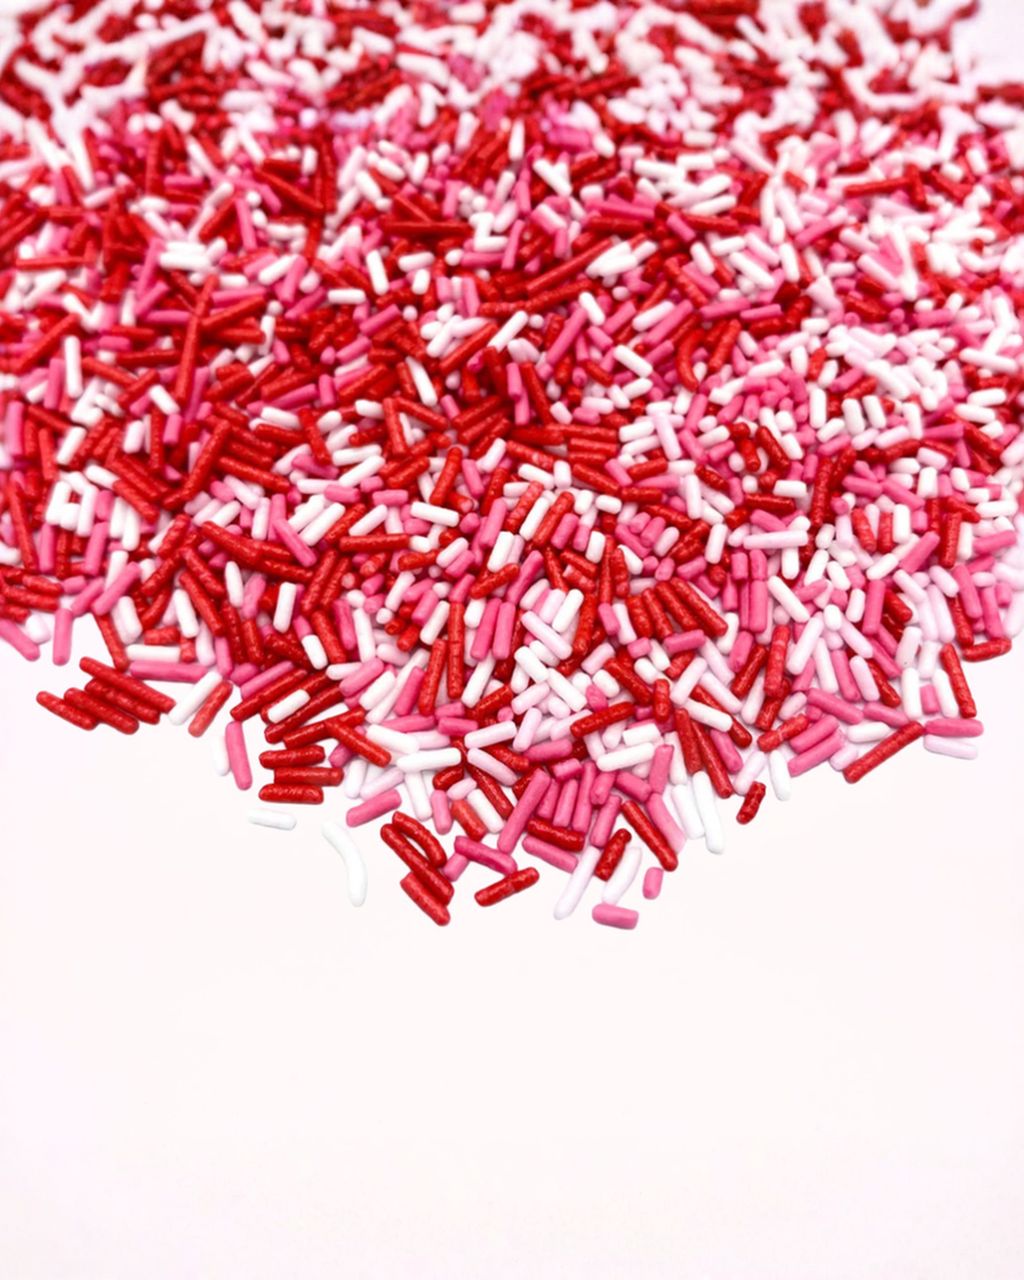
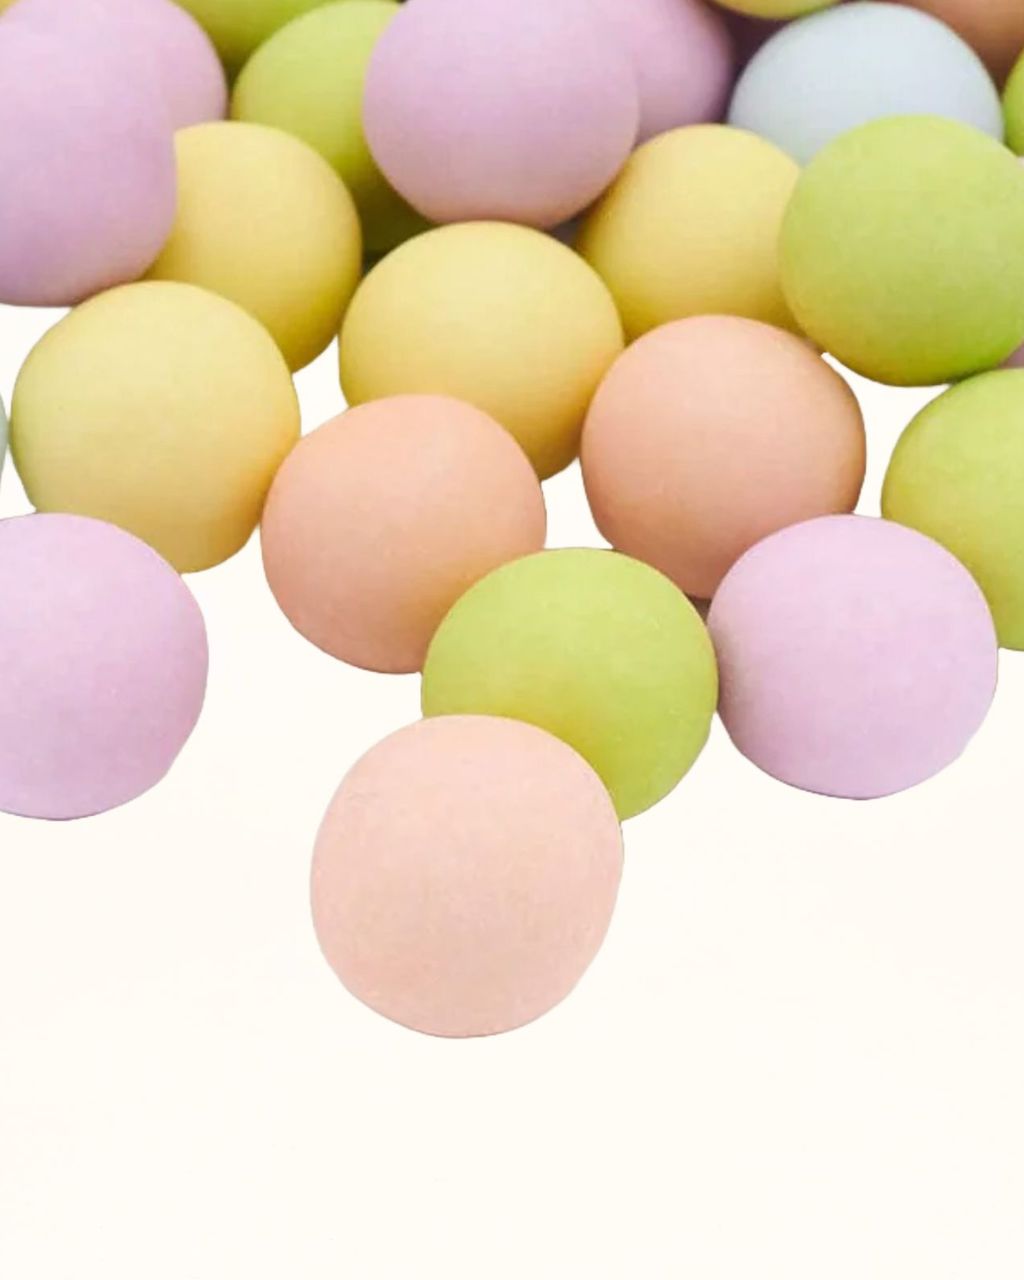
Sugar pearls and sprinkles — scatter these onto icing while it's still wet, or they won't stick. For weddings, stick to pearlescent, white and pastel shades rather than rainbow sprinkles.
Edible glitter and lustre dust — applied with a dry brush onto fully dried icing. A gold edge around a heart does more for the look than three colours combined.
Marzipan and fondant — cut out a disc and stick it on with a dab of icing. Best for monograms and for large batches you don't want to decorate by hand, one by one.
There's a direct trade-off here: the more cookies you're making, the simpler the technique should be. For 40 hearts on the top table, you can afford hand-piped lace. For 600 cookies going into favours, you can't — a single flat colour with one repeated detail wins every time.
Royal icing needs two different consistencies: stiffer for outlines, and thinner for flooding. Both come from one batch — whip the base thick, set aside a portion for outlining, then thin the rest with water, drop by drop.
The base is icing sugar, egg white or dried albumen, and a few drops of lemon juice, which whitens and stabilises the icing. The sugar needs to be properly fine and sifted through a fine sieve — any grains won't dissolve into the icing and will reliably clog the piping tip right in the middle of your finest line. (We go into detail on why icing sugar, not granulated, belongs in cookies.)
Whip on a low speed. High speed whips air into the icing, which later bursts into tiny craters on the dried surface. Once whipped, let the icing sit for 10 minutes, then stir it a few times with a spatula — any bubbles will rise to the top.
Outlining icing holds its shape: pull it up into a peak with a spatula and the peak stays standing, it doesn't sink back down. Think toothpaste consistency.
Use it for the outline that will hold in the thinner filling, and for all lines, lace, dots and lettering.
Fill the piping bag with a small amount and keep the rest covered with a damp cloth — icing dries out in the open air within minutes.
Cut the bag as little as possible — a 1 to 2 mm opening is plenty. Any bigger and you'll be piping a caterpillar, not a line.
Flooding icing is the right consistency when a trail from a spoon smooths itself out within 15 to 20 seconds. Lift a spoonful, let it drizzle back into the bowl, and count — if the trail disappears too fast, the icing is too thin and will run over the edge; if it's still visible after twenty seconds, add more water.
Thin it drop by drop, quite literally. The difference between perfect and hopelessly runny icing is about half a teaspoon of water per cup. If you overdo it, thicken it back up with sifted icing sugar — just be aware that this will also lighten the colour.
The method is always the same: pipe the outline with outlining-consistency icing, let it set for 5 minutes, then fill the middle with flooding icing and spread it right up to the outline with a cocktail stick or skewer. Tap the tray on the table afterwards — air bubbles will rise and the surface will settle flat.
Royal icing for cookies: the foundation for perfect decorating
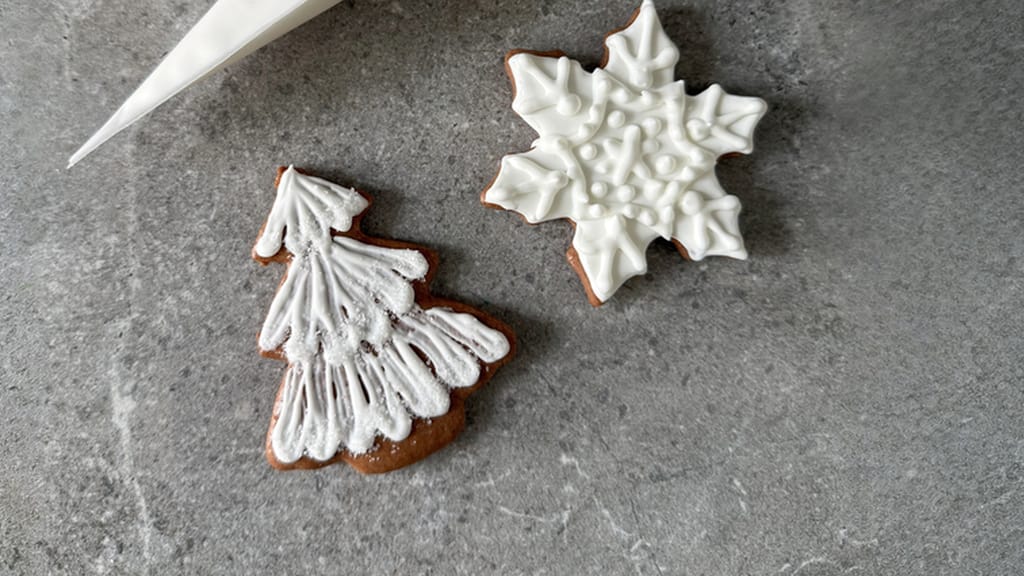
Royal icing for cookies — the base for decorating wedding cookies
For wedding cookies, four techniques will cover you: outline-and-flood, wet-on-wet, lace and pearl borders, and dusting with lustre. They can be combined, but the best results usually come from sticking to one technique and one accent per cookie.
Outline-and-flood is the foundation everything else builds on — it gives you a perfectly flat, evenly coloured surface to decorate further.
Pipe the outline about 2 mm in from the edge of the shape using outlining-consistency icing.
Let it set for 5 minutes so it can hold the fill.
Fill the inside with flooding icing and spread it into the corners with a cocktail stick.
Tap the tray on the table, and pop any bubbles that appear with a toothpick.
Leave it to dry for at least 6 hours before adding any details — drawing on a surface that's still wet will sink straight through.
Wet-on-wet means adding a second colour into the flooding icing while it's still wet — both dry together in one flat plane, giving a smooth result with no raised texture. It's the fastest way to make a lot of eye-catching wedding cookies in very little time.
Hearts: dot a row of pink dots onto the wet surface and drag each one from top to bottom with a toothpick. A dot becomes a heart.
Marbling: drop two colours side by side and drag a toothpick back and forth in a zigzag across them.
Dots and stripes: just drop the colour on, no dragging needed. Genuinely the most sensible choice for 500 favour cookies.
The only real condition is speed — you've got about a minute before the surface starts to set. So fill your colour bags before you even start flooding.
Lace work is piped with outlining icing onto a fully dried base — never before. You repeat one small motif — little arches, dots, teardrops — around the edge of the cookie, relying on consistency rather than complexity.
Pearl border: a row of evenly sized dots around the edge. Hold the bag upright, squeeze, release, lift.
Scalloped border: half-circles strung between two points along the edge.
Monogram: practise the lettering on paper first; on the actual cookie, always write onto a fully dried base.
You don't need a piping tip for any of this — most tips are far too wide for small cookies, and a plain cut corner of a piping bag draws finer lines anyway. The same principle applies elsewhere too — we've written separately about how to decorate a cake without piping tips.
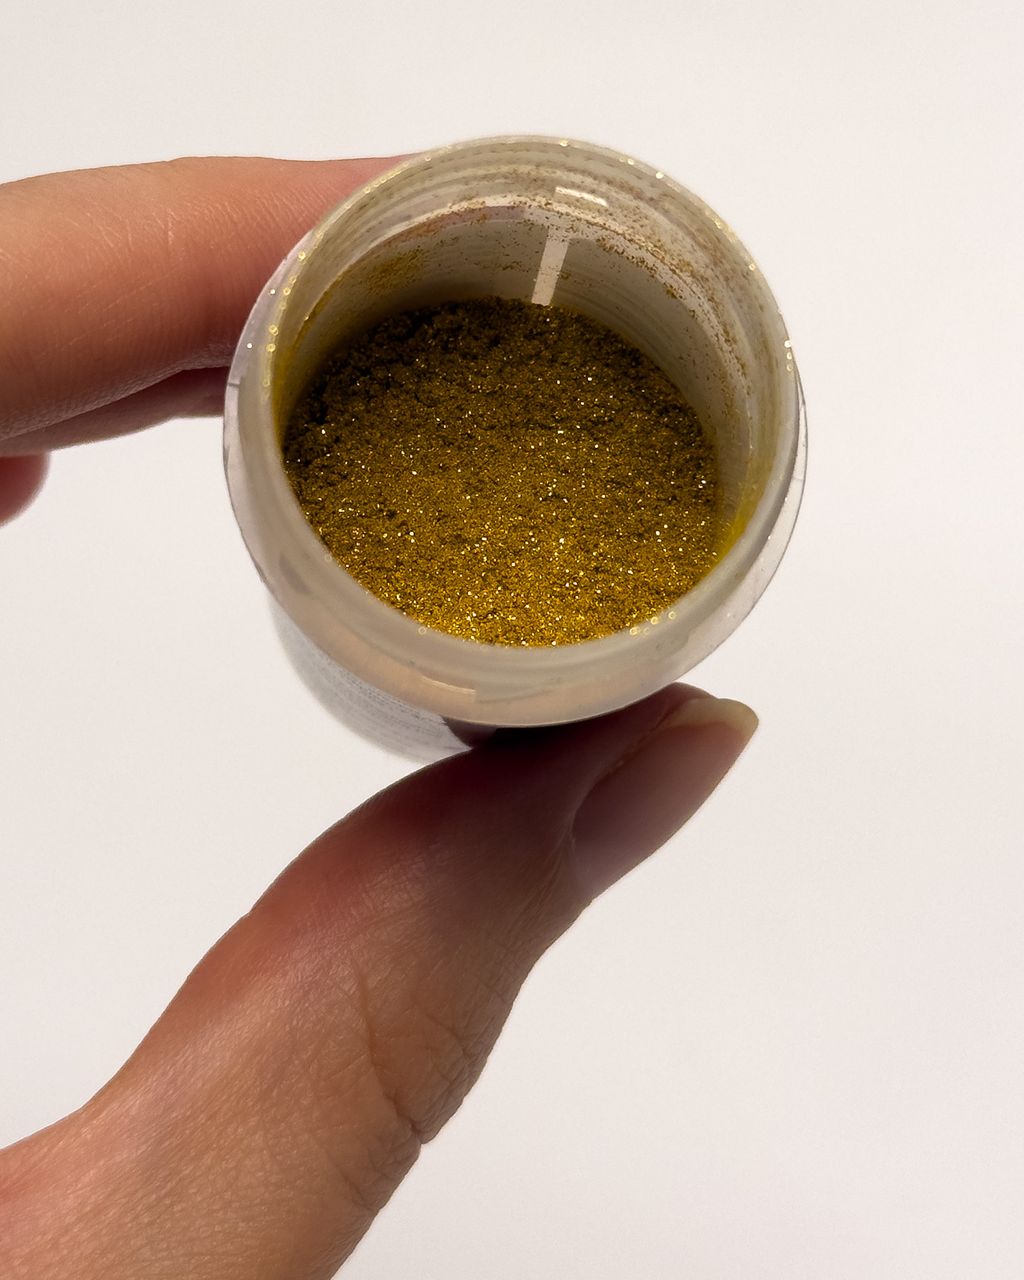
Edible lustre dust (pearl dust) is applied with a dry, soft brush onto icing that's completely dried — on a damp surface it will clump into a blotchy patch. Only brush the edges and raised lines, not the whole surface: gold should read as a trim on wedding cookies, not a coat of paint.
Only ever use products explicitly labelled edible, with a listed ingredients panel; "non-toxic" or "for decoration only" does not mean edible, and those decorations should be removed before serving. Watch out for glitter imported from outside the EU — if titanium dioxide (E171) is listed as an ingredient, it's no longer allowed on the EU market.
For a richer gold, mix lustre dust with a drop of food-grade alcohol (or high-proof vodka) and paint it on like a colour. The alcohol evaporates within minutes, leaving a solid metallic shine behind.
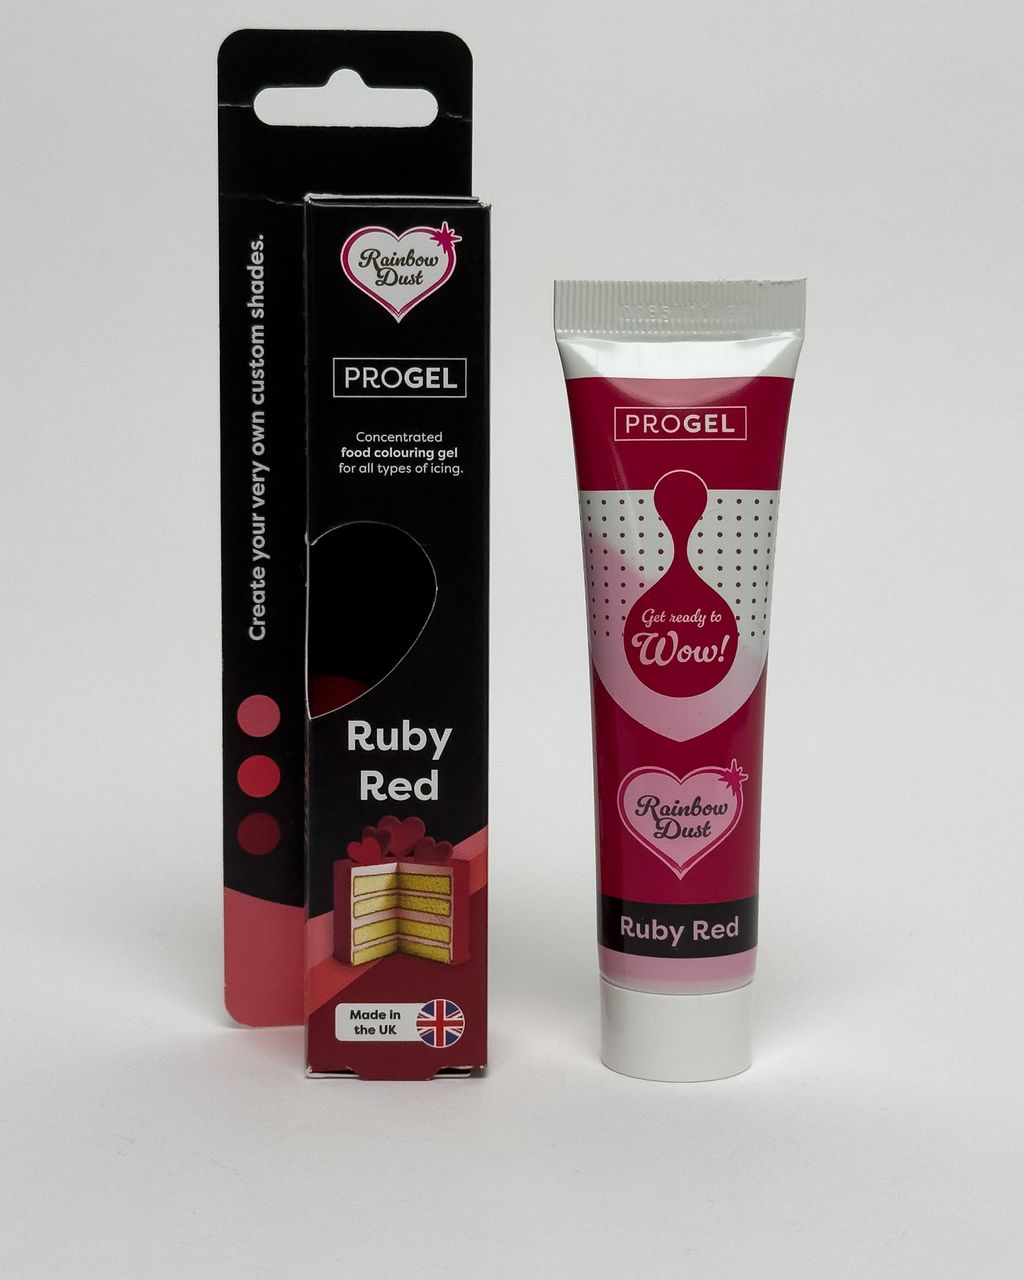
Use gel colours for wedding cookies, not liquid ones — liquid colour will thin out your icing and throw off the consistency you worked hard to get right. Scoop gel out with a toothpick, never straight from the bottle, and add it in tiny increments.
Colour deepens after it dries, usually by a shade or two. Mix it lighter than you actually want the final colour to be, and let a test piece dry before you commit the whole batch.
Pastel starts with white. White gel colour as a base gives the icing more coverage and also helps stop colours bleeding into one another.
Bleeding has two causes: too much gel in a single colour, and high humidity in the room. Dark shades — especially red and black — bleed into white the most, which is why they're rarely used on wedding cookies.
Dry air is your friend. Let the cookies dry in a cooler, dry room and point a small fan at them — fast drying gives a smoother, glossier finish. In humid conditions, icing dries slowly, dull, and crumbly.
A safe wedding palette usually looks like this: white plus one pastel (blush, sage, champagne) plus a gold accent. Three shades across the whole batch looks intentional; six looks like Christmas leftovers.
Icing sticks reliably to dry, cut-out doughs: linzer, gingerbread, honey-spice, and firm butter cookie dough. It doesn't stick to anything greasy, crumbly or filled — on those, it just flakes off or slides straight off the surface.
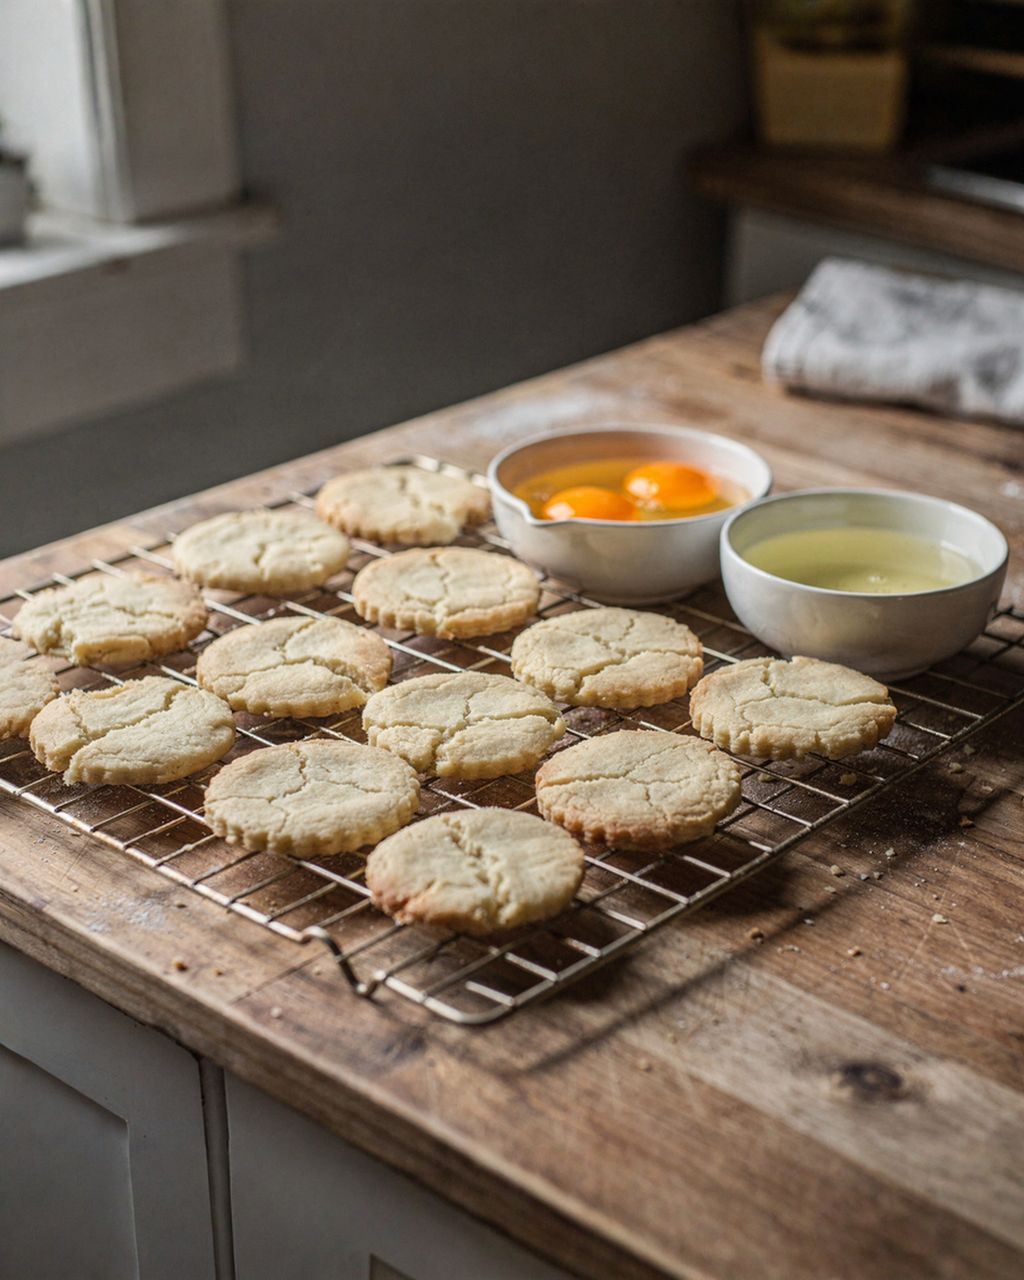
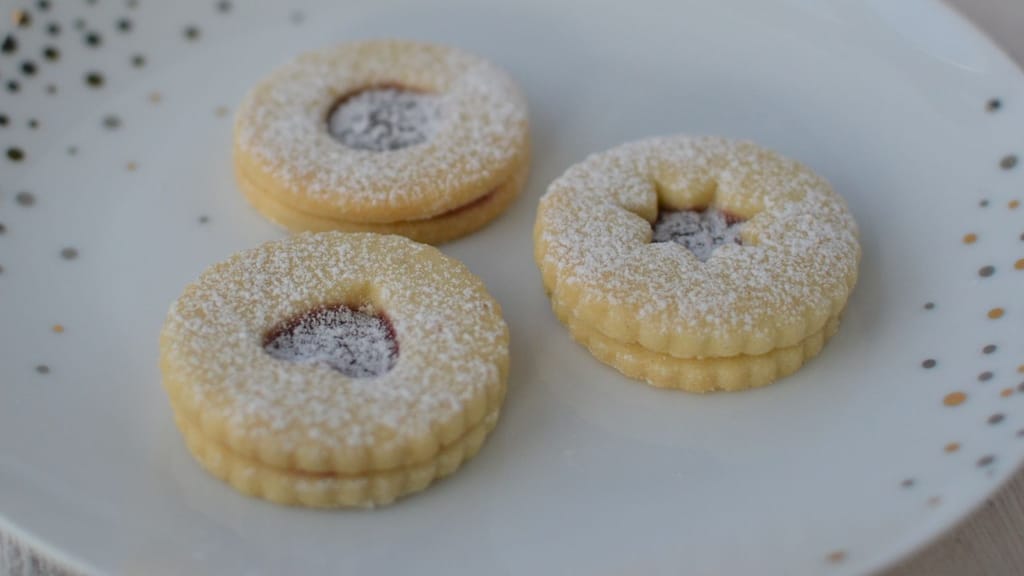
Linzer dough is the most versatile choice for wedding cookies: it holds its shape, doesn't puff up or warp in the oven, and bakes with a flat surface. For tips on rolling and cutting it without it crumbling, see why linzer dough crumbles and why linzer dough turns hard, and how to keep it tender.
Gingerbread can carry even the most delicate lace and keeps the longest of all — for a wedding, where baking happens well ahead of time, it's the safest bet. You'll find exact ratios and method in our piece on gingerbread icing and how to decorate with it, and for keeping it soft, see why gingerbread goes hard.
Shapes should be simple, with flat surfaces: hearts, circles, flowers, rectangles for monograms. Intricate shapes like swans and bells are traditional cut-outs, but flooding them smoothly is hours of work.
Any cookie that can't take icing can still go in the wedding mix — just don't decorate it with icing. Dip it in chocolate, roll it in icing sugar, or press a pearl sprinkle into the buttercream instead.
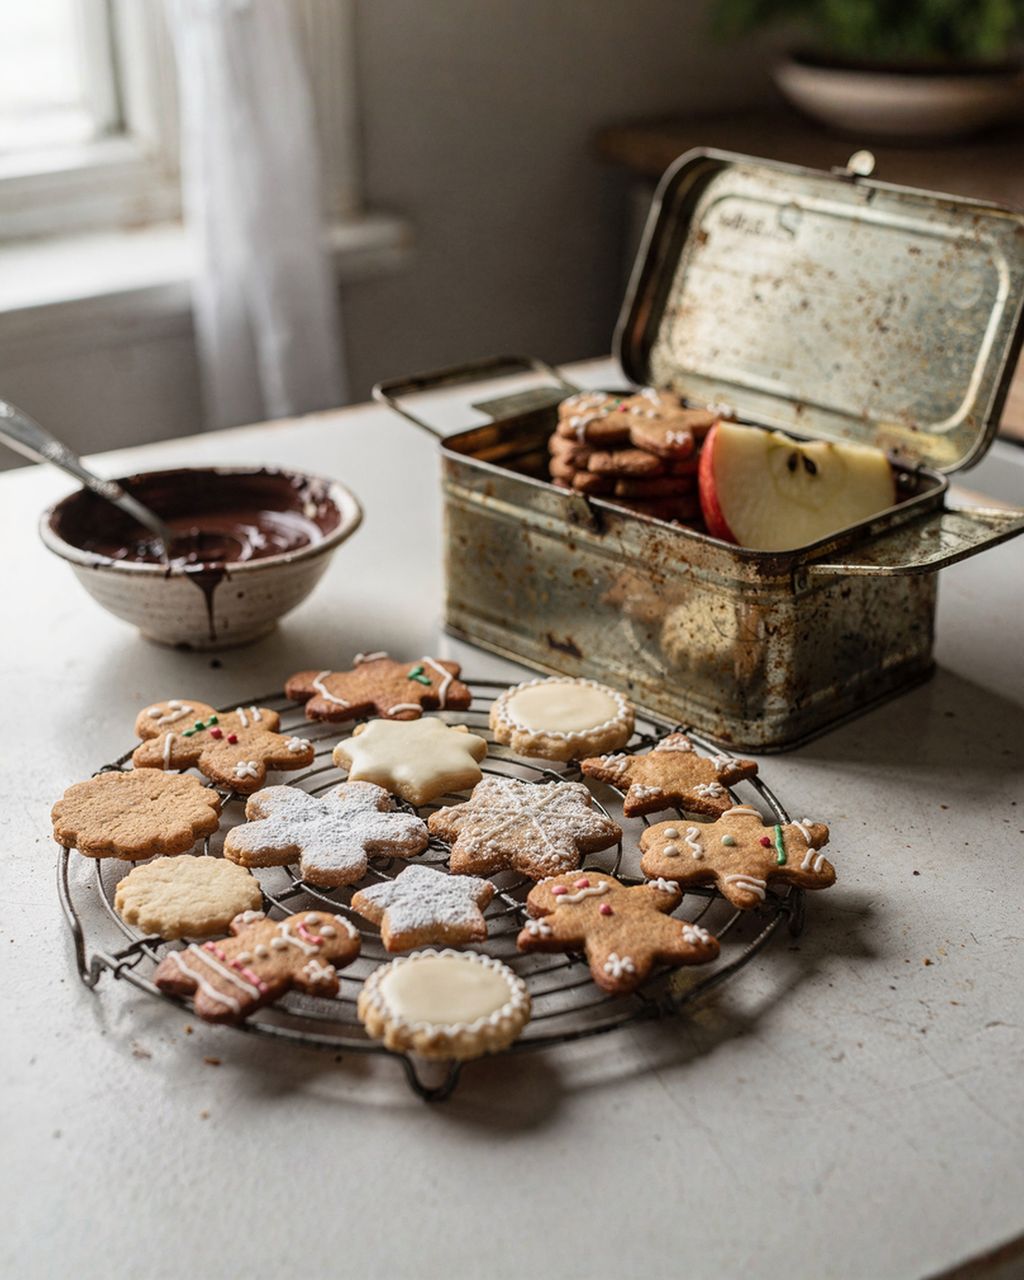
Classic christmas cookies: delicate linzer cookies
Crumbly linzer dough — the best base for icing on wedding cookies

Soft honey gingerbread cookies that never go hard
Soft honey gingerbread that doesn't go hard — a good carrier for lace work
Plan on roughly 5 cookies per guest on the table, plus favours separately; for a wedding with 50 guests, including favours, the usual guideline is 5 to 8 kg of cookies in total, so roughly 350 to 800 pieces depending on size and type (1 kg is usually 60 to 100 cookies). In terms of timing: bake and freeze the undecorated cookies 4 to 6 weeks ahead, decorate 3 to 4 days before the wedding, and let them dry for 8 to 12 hours before packing them up.
Work out favours per family or couple, not per individual guest, or your total will end up double what you need. For 50 guests, that usually works out to around 20 to 25 boxes. One box holds anywhere from 20 cookies (a small one, for a couple) to 50 cookies (a large one, for a workplace or a whole family) — and the total number shifts up or down depending on how many boxes you're making and how big they are.
Convert everything into a cookie count right at the start, because that number is what decides your technique. 300 cookies done wet-on-wet is an afternoon's work. 300 cookies of hand-piped lace is five evenings.
A timeline that actually works:
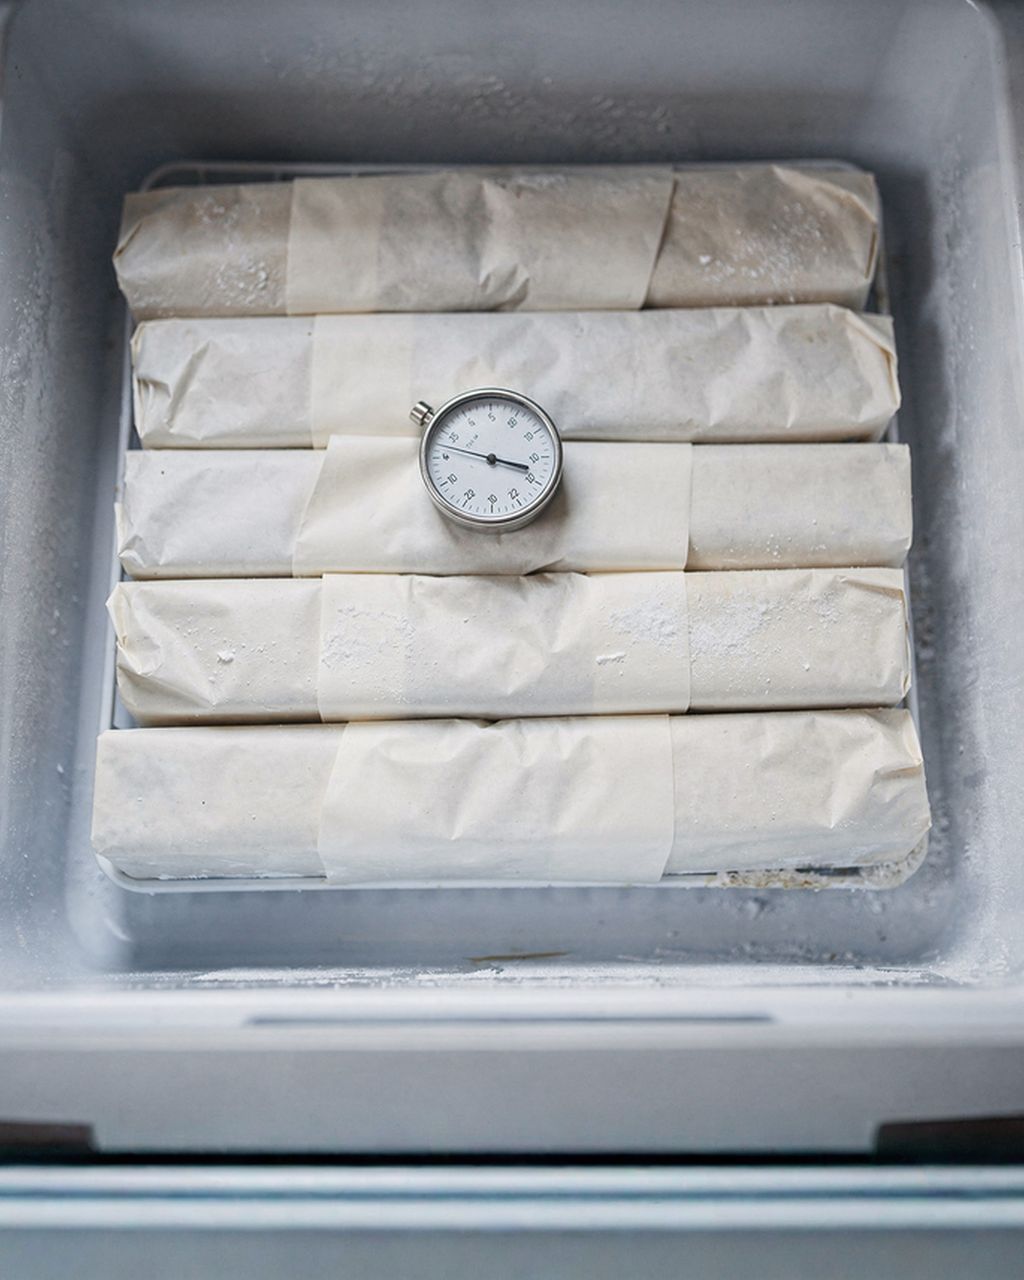
4–6 weeks ahead — bake the undecorated cookies and freeze them. Undecorated cookies freeze very well; decorated ones, much less so.
1–2 weeks ahead — make any decorations in advance. Pearls, little flowers and homemade sugar eyes will keep perfectly well stored dry, and save you hours on decorating day.
5–7 days ahead — thaw, sandwich together with jam or buttercream, and let them rest. Sandwiched cookies soften and taste better.
3–4 days ahead — decorate. Split it across two evenings: flooding on the first day, details on the second.
The last day before packing — let them dry uncovered on the tray. Don't box them up or stack them any sooner — the icing needs air, and under 8 to 12 hours it will still smear.
For help sequencing the baking by dough type, see our calendar for when to bake cookies — it's written with Christmas in mind, but the logic around how long each dough keeps applies just as well to a wedding. If you're also planning a cake to go with the cookies, this follows on nicely: cake decorating for beginners.
Almost every wedding cookie disaster comes down to one of six causes: decorating onto a wet surface, icing that's too thin, too much gel colour, packing too soon, unsifted sugar, and freezing finished decorated cookies. Every one of these is avoidable.
Decorating onto a wet surface. The line sinks in and spreads out. Always wait for the base to dry fully — at least 6 hours before adding details.
Icing that's too thin. It runs over the outline and leaves a translucent rim at the edges. Better to start stiffer and thin it drop by drop.
Too much gel. Colours will bleed into each other even hours after drying. Mix lighter, and use white as a base colour.
Packing too soon. The icing smears under its own weight and picks up moisture in a closed box. Eight to twelve hours of open-air drying is the bare minimum.
Unsifted sugar. Clogs the piping tip right in the middle of your finest line. Always sift it.
Freezing finished cookies. Condensation forms on the icing as it thaws, colours bleed, and the shine disappears. Freeze the undecorated cookies, never the finished ones.
It's best not to freeze decorated cookies — as they thaw, condensation forms on the icing, colours bleed, and the shine turns into a dull film. Instead, freeze the undecorated cookies (you can do this 4 to 6 weeks ahead), let them thaw in their packaging at room temperature, and only decorate once they're fully thawed and dry. If you absolutely must freeze finished, decorated cookies, layer them with paper in a sturdy box and let them thaw slowly while still sealed, so any condensation collects on the box rather than on the icing.
Yes — you can make egg-free royal icing using aquafaba, the liquid from a tin of chickpeas, whipped in place of egg whites. Aquafaba whips and dries much like egg white, but results vary by chickpea brand, so test a small batch before committing to a full round of lace work. For flat fills, dots, and wet-on-wet work, you can use it straight away.
Only stack decorated cookies once they've dried for 8 to 12 hours, and separate each layer with baking paper or a paper liner. Fill the box right to the edges — cookies that can shift around in the box will knock against each other in transit. Put the most delicate pieces with raised lace on top, and flat, flooded cookies on the bottom. Store the boxes somewhere dry and cool, but not in the fridge — the icing will pick up moisture there and turn dull.
Store them somewhere dry and cool, in a sturdy, closed box — never in the fridge, where the icing will absorb moisture and go dull. Only close the box after 8 to 12 hours of open drying on the tray; moisture trapped inside a closed box will dull the icing just as reliably as a fridge will. And handle them as little as possible — every extra bit of rearranging knocks decorated pieces about.
From experience, budget around a full day's work for 500 cookies using the wet-on-wet technique; for hand-piped lace, multiply that several times over. On top of that, factor in drying time, which can't be rushed: 6 hours between flooding and adding details, plus another 8 to 12 hours before packing. In practice, that means spreading the decorating over two or three evenings, with the last one no later than three days before the wedding.
One recipe worth heating the oven for, one tip, and one deal from the shop. Nothing else.