At a glance
You're making a silky-smooth, glossy royal icing by gradually beating powdered sugar into egg whites—the key to that perfect bright white color and voluminous texture. The main time-saver is beating the sugar in slowly on low speed, and the magic happens when you add your flavor and coloring before the final whip. This icing pipes beautifully crisp lines and sets firm, making it ideal for decorating cookies with confidence.
1/7
Separate the egg whites and prepare the sugar
Your mixing bowl should be perfectly clean and grease-free. First, separate the egg whites from the yolks. Keep in mind that separated egg whites whip up better at room temperature. While the egg whites come up to temperature, sift the powdered sugar.
For this step
0/22/7
Whip the egg whites until lightly foamy
Set up the bowl of your stand mixer or a large mixing bowl. Begin beating the egg whites on medium-low speed until they are just lightly foamy.
3/7
Gradually beat in the sugar
Now turn the mixer down to its lowest speed and slowly add the powdered sugar. Remember that if sugar sticks to the sides of the bowl, it's best to stop the mixer and scrape it down with a spatula. You'll see the icing gradually turn paler and grow in volume.
How it went
Nobody has tried this recipe yet
Be the first to say how it went.
Anyone can answer, without signing in or buying. Answers aren't verified. The percentage is the share of “Worked out” answers, shown from 5 answers.
Tips from the Yumsto kitchen
Why it works
As egg white is beaten, its protein forms a fine network that the sugar firms up. Adding the sugar slowly gives it time to dissolve, so the icing stays smooth and voluminous. A drop of lemon juice stabilizes the whites and helps keep them bright white. The real enemy is fat: even a trace of yolk or a greasy bowl stops the whites from whipping.
Decorating tips
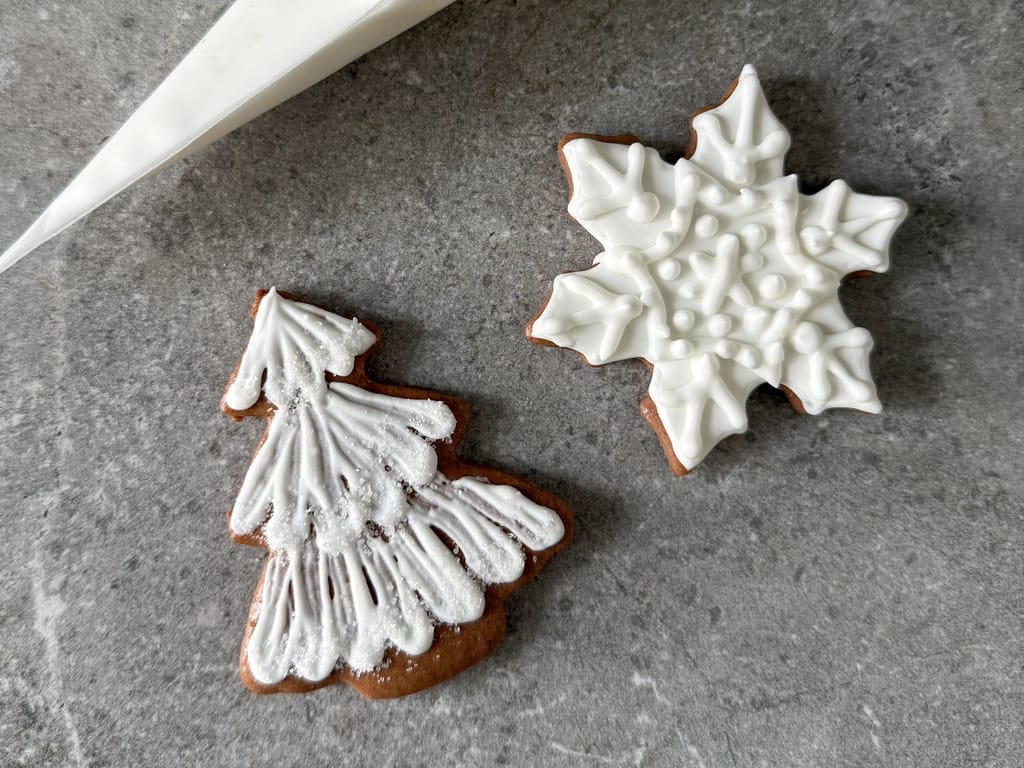
Keep the icing thicker for outlines and thin it with drops of water for flooding. Test the thinner icing with a knife: a line drawn through it should close in about 10 seconds. Color with gel colors; liquid ones thin the icing. Cover bowls with plastic wrap pressed right onto the surface. Decorate only fully cooled cookies and let flooded surfaces dry overnight before stacking the cookies in a tin.
Safety and storage
This icing contains raw egg white. If it will be eaten by pregnant women, young children, older people or anyone with a weakened immune system, use pasteurized liquid egg white or dried egg white made up as the package says. Use fresh eggs. Keep leftover icing tightly covered in the fridge for no more than 2–3 days, as the recipe says, and stir before using.
When the icing misbehaves
Runny and spreading: add sifted powdered sugar a teaspoon at a time. Too stiff and cracking in the bag: stir in a drop of water. Won't whip: there was fat or a bit of yolk in the bowl. Grainy: the sugar was not sifted. Pop bubbles on a flooded surface with a toothpick while it is still wet.
Flavor swaps
Instead of orange blossom water you can use vanilla extract, or leave the icing unflavored. Add oil-based flavorings sparingly; in larger amounts they weaken the icing.
Common questions
Is icing made with raw egg white safe to eat?
For healthy adults using fresh eggs the risk is low but not zero. For vulnerable groups, use pasteurized or dried egg white.
How long does it take to dry?
Thin lines set to the touch fairly quickly; larger flooded areas need overnight. It depends on thickness and how humid your kitchen is.
Can I make it ahead?
Yes, covered in the fridge for no more than 2–3 days. Stir briefly before use and adjust with a drop of water or a spoonful of sugar.
Why is my icing dull?
It is often overbeaten or drying somewhere humid. Beat only until glossy with a stiff peak and let the cookies dry in a dry room.
Want a recipe like this every Thursday?
One recipe worth heating the oven for, and one tip that saves you time. Nothing else.