Perforated Silicone Baking Mat
Silicone Baking Moulds: How to Bake With Them and What Doesn't Work
Updated Oct 8, 2026
Silicone baking moulds are brilliant for small, moist, and frozen desserts, since the finished piece pops right out — but they conduct heat far worse than metal, so they brown less and won't give you a crisp crust. Always set them on a baking sheet, bake a few minutes longer than usual, and reach for metal or a perforated mat when it comes to a bundt cake or a crisp pastry base. Below you'll find out why that is, what silicone handles brilliantly, and what simply doesn't work in it.
Baking in a silicone mould comes down to five things: set it on a baking sheet, wash it before first use, grease it lightly, fill it to about ⅔ full, and let the finished bake cool before you turn it out. Don't change the temperature given in the recipe — just allow for baking taking roughly 3–10 minutes longer.
Baking sheet under the mould, before you fill it. Silicone is soft — you won't be able to carry a full mould without a sheet underneath; it'll bend and the batter will spill out. Set the empty mould on a baking sheet or rack first, then fill it.
Wash before first use. Warm water with a drop of washing-up liquid, rinse, and dry. This clears off any manufacturing dust.
Grease it lightly. Silicone releases food on its own, but with sweet batters high in sugar (the caramelised surface can stick), it's worth brushing on a thin layer of butter or oil. Skip lecithin-based release sprays — over time they build up a sticky film on silicone that won't come off.
Fill to about ⅔. Thin walls bulge slightly under the weight of the batter, and a fuller mould will overflow.
Let it cool, then turn it out. A hot sponge or muffin can still tear while the mould is flexible. Let it rest for 10–15 minutes, then flex the base of the mould and push the piece out with your fingers. Keep knives away from silicone — you'll cut right through it.
Check it's done the way you always would: a skewer stuck into the centre should come out dry. Just trust the skewer more than the colour here — in silicone the surface stays paler even once the inside is fully baked.
Silicone bakes differently because it's a thermal insulator: it conducts heat roughly a thousand times worse than aluminium. Metal transfers heat quickly to the batter against the walls, which browns and forms a crust; silicone transfers heat slowly and evenly, so the batter bakes more from the hot air around it than from the walls themselves.
What that means in practice:
Paler sides and base. The Maillard reaction (browning) needs a surface temperature of around 140°C/280°F or more — and silicone walls get there slowly.
Longer baking time. Allow 3–10 extra minutes depending on the size of the pieces.
A moister, more tender crumb. That's an advantage for muffins or financiers, but a drawback for bread.
No overbrowned edges. This is exactly why silicone suits delicate egg-based batters so well.
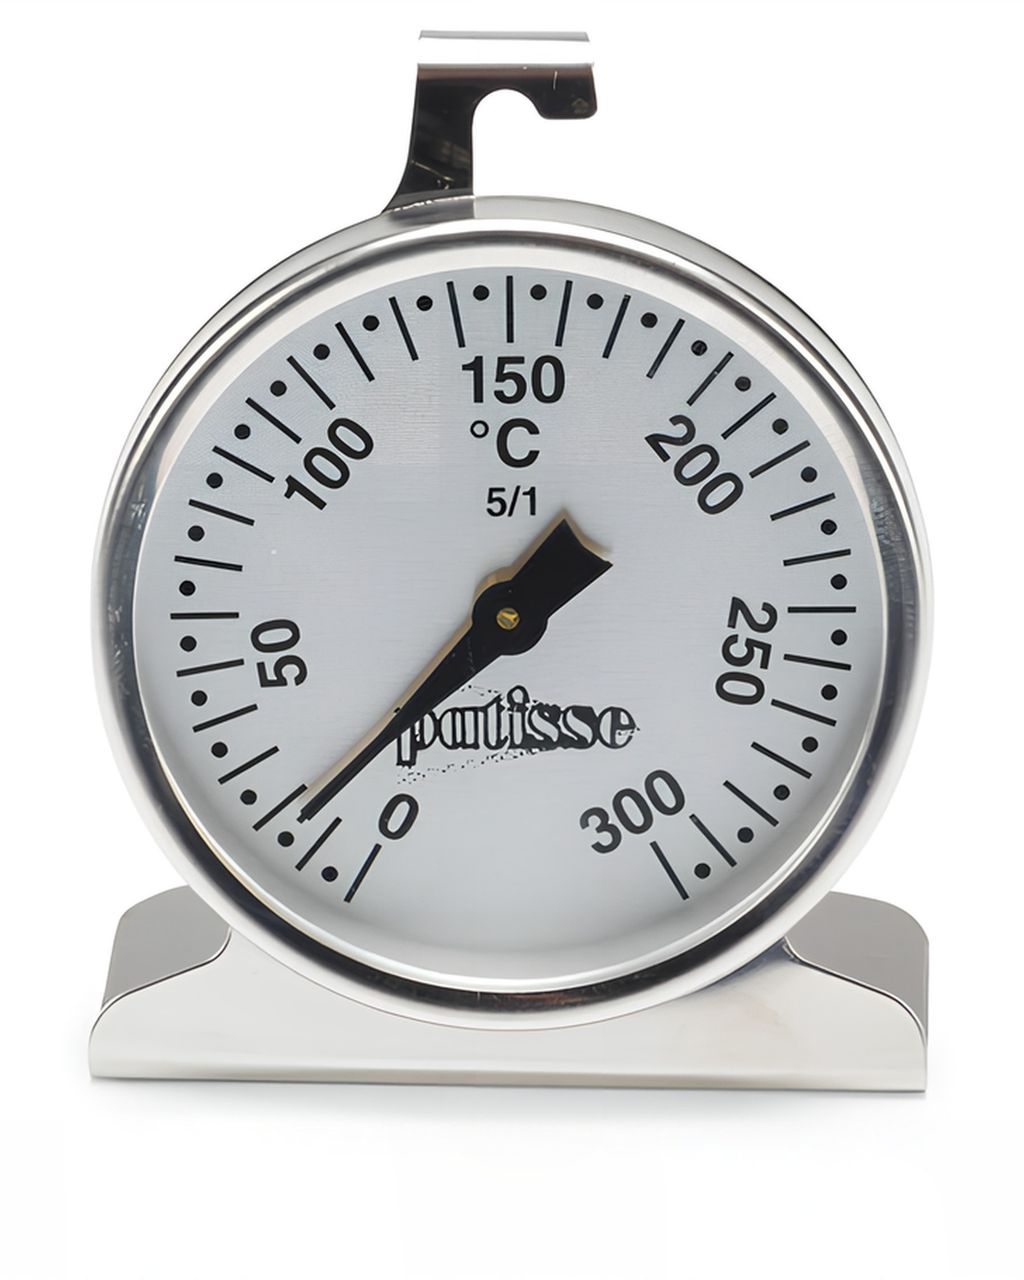
Manufacturers typically rate standard food-grade silicone from around −40°C to +230°C (−40°F to 450°F), with high-quality platinum silicone going a bit higher still. Always check the figure stated for your specific mould, though. And since silicone responds more slowly to heat, it's worth knowing how hot your oven actually runs — more on that in our article on why your oven doesn't show the real temperature.
Silicone moulds are at their best with small, moist, shaped bakes that aren't meant to have a crisp crust: muffins, financiers and madeleines, mini frittatas, and above all frozen and set desserts.
Muffins and small cakes. They pop out cleanly with no liners and no crumbs stuck to the sides. Try it with redcurrant yoghurt muffins or savoury vegetable and cheese muffins. If you're torn between a mould and paper liners, check out our comparison of muffin and cupcake liners.
Financiers and madeleines. Buttery batter with ground almonds releases beautifully from smooth silicone and holds its shape well. The edges will be paler than from a metal tin — if you want them darker, bake a further 2–3 minutes.
Frozen desserts and mousses. Silicone is unbeatable here. You can turn a frozen piece out of a flexible mould with sharp edges and a glossy surface — something neither metal nor plastic can manage. This is how inserts for mousse cakes and standalone chocolate mousse cakes are made.
Set desserts. Panna cotta or fruit jellies come out of silicone with no need to dip the mould in hot water — just flex the base.
Mini frittatas and egg muffins. Eggs and veg won't stick to the sides and the edges won't overcook. Pour in a mix like the one for spinach and fresh cheese frittata — the small portions will finish before a full-size pan would, so take them out as soon as the centre's no longer runny.
Anything that relies on a crust, a firm shape at large volume, direct heat, or high shine simply doesn't work in silicone: bundt cakes and large cakes, yeasted breads, crisp pastry bases, anything on a hob or under a grill, and glossy chocolates made from tempered chocolate.
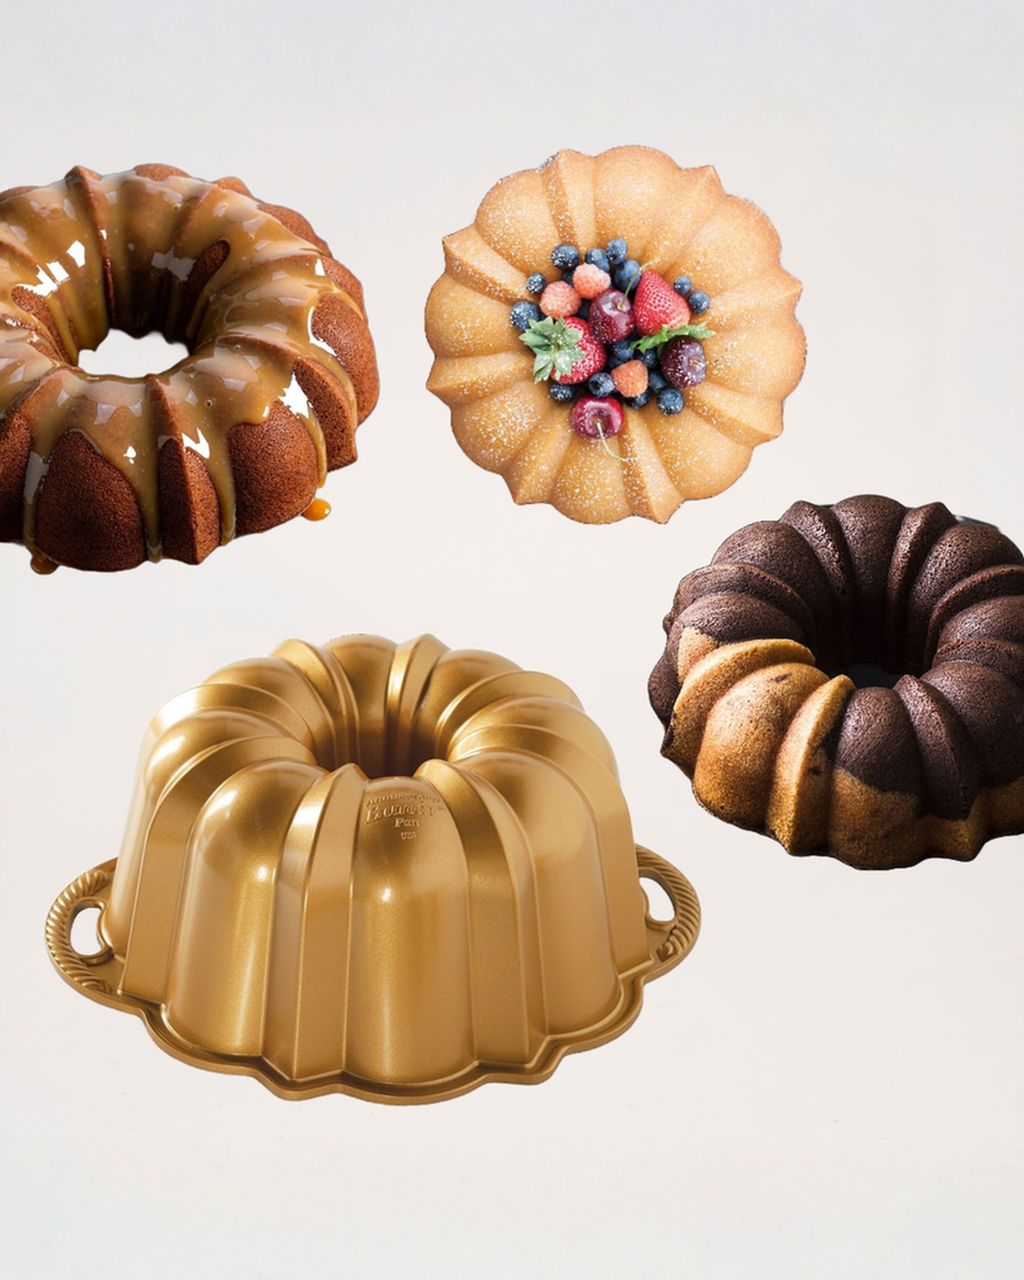
Bundt cakes and large bundt tins. A dense, heavy batter needs metal to bake it through from the sides and give it a golden crust. A large silicone bundt mould will also deform under the weight of the batter, leaving the centre gooey while the edges are supposedly already done. For bundt cakes, cast aluminium is the honest choice — and once you have one, try an orange and almond bundt cake.
Large cakes and sponges over 22cm/8½in across. The sides bulge, the sponge bakes unevenly, and it's harder to cook through properly. A metal cake tin or a cake ring works far better for sponge layers.
Yeasted breads. Without strong direct heat from the walls, you lose the crisp crust, and the base stays pale and rubbery.
Shortcrust (pâte sablée) for tartlets. Silicone won't get the base properly crisp — the butter has nowhere to go, and the pastry turns soft. There's a better solution for this — see the next section.
Hob, grill, or open flame. Silicone has no place on a hob or under a grill. The 230°C/450°F limit applies to hot air in an oven; the direct heat of a hob ring, a grill element, or an open flame will overheat silicone far beyond that at the point of contact. So don't cook caramel in a silicone mould — but once it's cooked, feel free to pour it into one.
Glossy chocolates made from tempered chocolate. Here silicone falls short for the opposite reason — it's soft and matte, so chocolates won't come out with a high shine, and the shape can easily get dented when unmoulding. Professionals use rigid polycarbonate moulds for these.
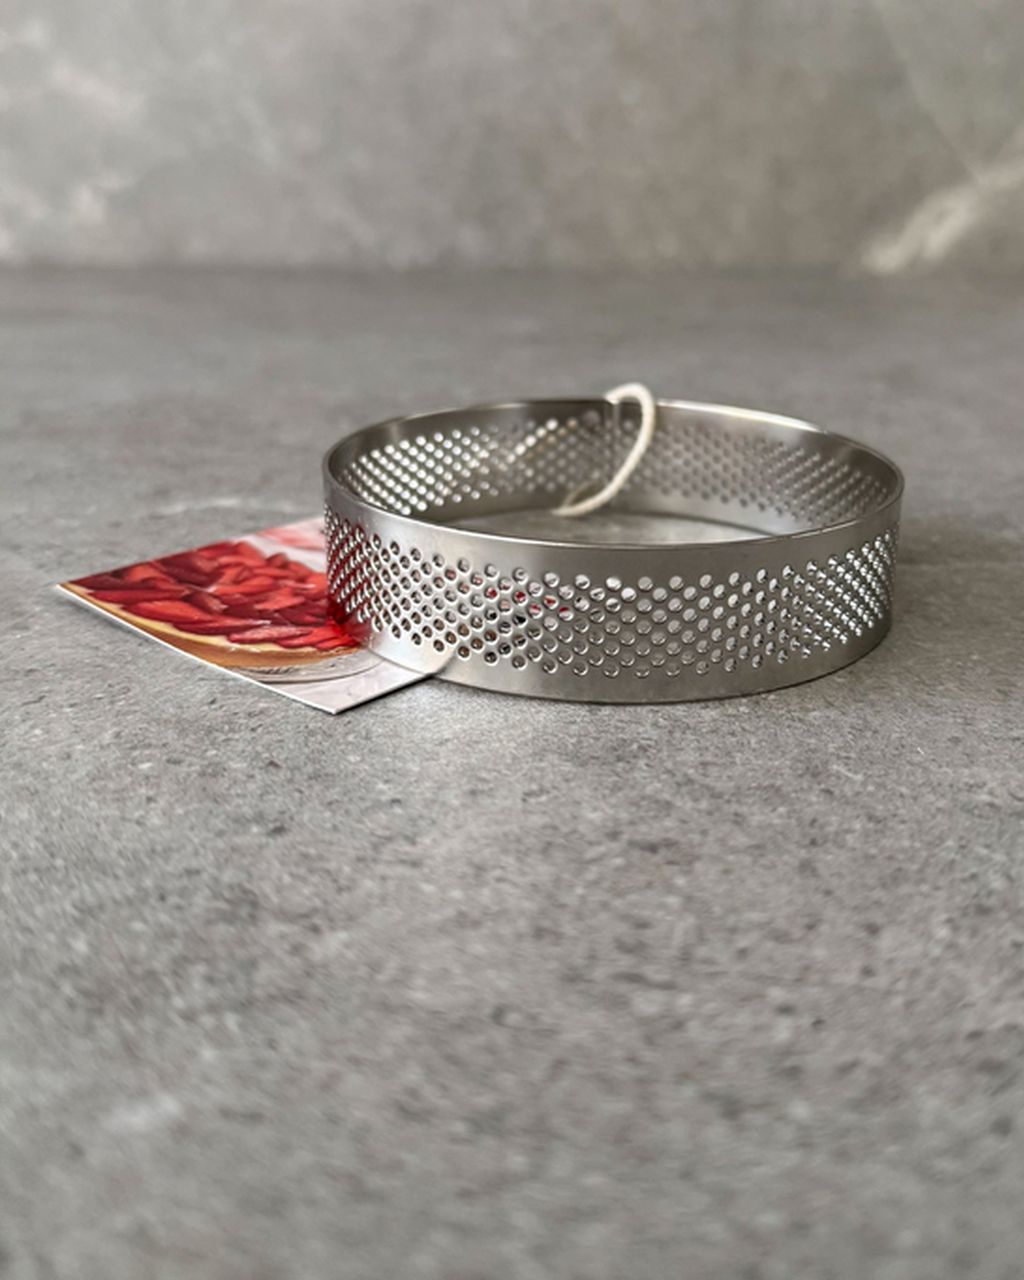
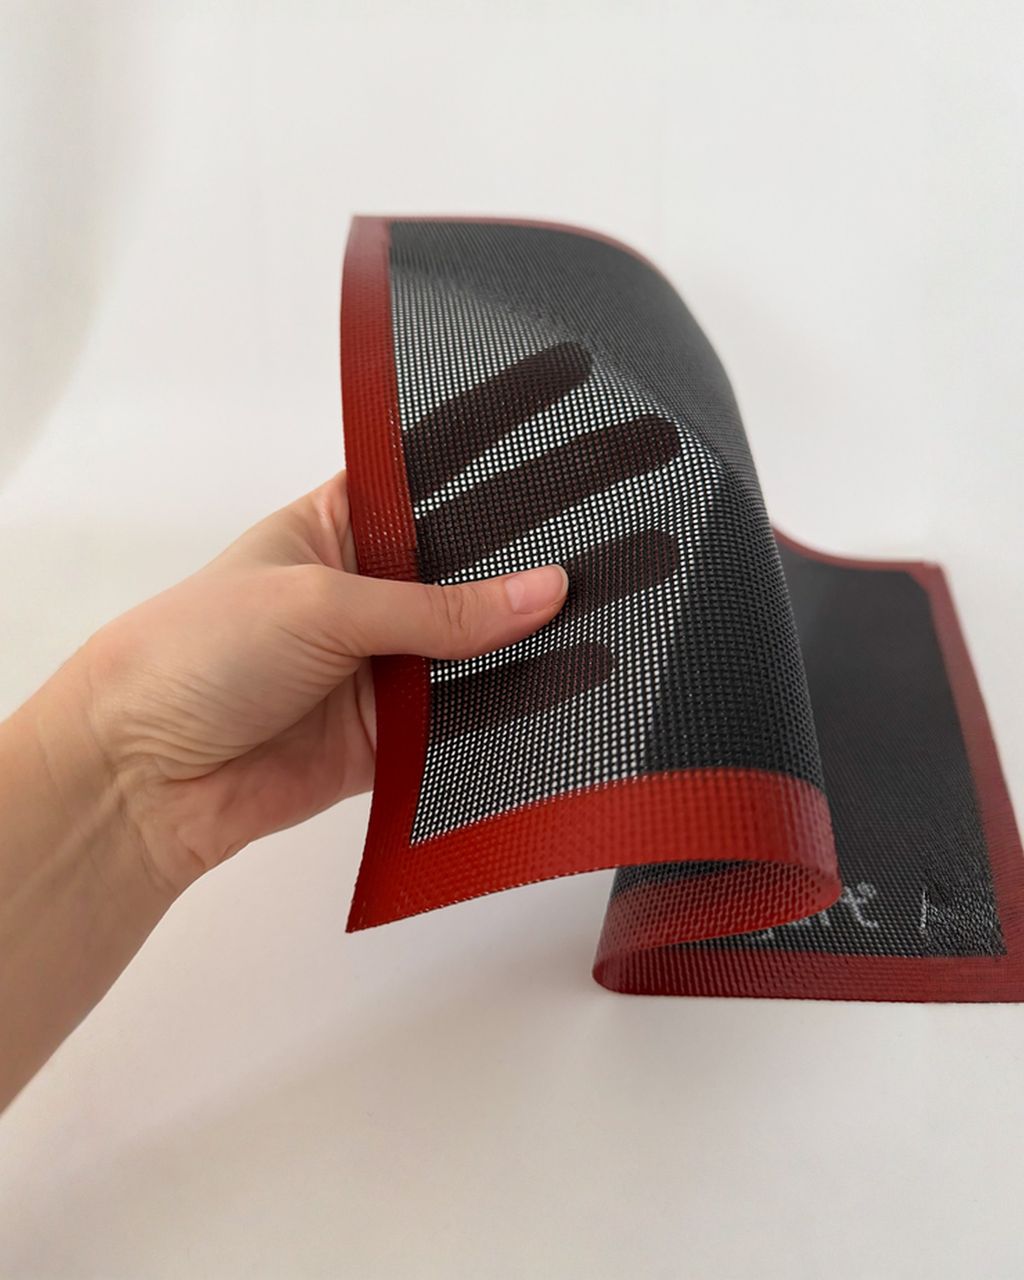
You get a crisp tartlet base by baking the pastry in a perforated ring on a perforated silicone mat — not in a silicone mould. A perforated mat is punched with thousands of tiny holes and has a fibreglass core: hot air reaches right through to the base, steam escapes, and the bottom bakes just as fast as the top. You can choose from our rings and perforated baking mats.
Why this works better than an ordinary silicone mould:
Steam has somewhere to go. The holes in both the mat and the ring stop moisture from being trapped back into the pastry, so the base doesn't go soft.
Pastry won't stick or puff up. The perforations keep the pastry flat — in most cases you won't even need to prick it with a fork or weigh it down with baking beans.
Even colour all round. The base and the edge brown at the same rate, with no dark patches from direct contact with a solid tray.
Set the mat on a rack or a perforated tray, not a solid one — otherwise the holes lose their point. It also works well for biscuits, choux pastry — think profiteroles or Ladurée-style éclairs — and for homemade pizza with a crisp base. We go into more detail on working with the ring itself in our article on perforated tartlet rings: why they're perforated and how to bake with them. Once you've got your pastry cases ready, fill them with something like our mascarpone and strawberry tartlets recipe.
Choose a silicone mould for small, moist, and frozen desserts, a metal tin for bundt cakes, large cakes and bread, and a perforated silicone mat with a ring for crisp pastry bases and biscuits.
Silicone mould – effortless unmoulding, works in both the freezer and the oven, and nothing burns. The trade-off is weaker browning, longer baking times, and it's unstable without a baking sheet underneath.
Metal tin (aluminium, steel) – fast, strong heat conduction, a golden crust, and a firm shape. The trade-off is greasing and flouring, plus a risk of sticking with intricate shapes.
Perforated silicone mat + ring – the most evenly baked, crispest base you'll get. But it's a tool for flat items and pastry cases, not for bulky batters.
You don't need to own everything at once. If you're still building up your kit, start with our guide to baking essentials for beginners.
Yes, food-grade silicone can handle the dishwasher, but it lasts longer and won't pick up odours if you wash it by hand in warm water with washing-up liquid. If a greasy film builds up over time and starts feeling sticky, soak the mould in hot water with baking soda for 10 minutes, then wash it as normal.
Yes, silicone can go straight from the freezer into the oven without cracking, since it doesn't suffer from thermal shock the way glass or ceramic does. Just bear in mind that frozen dough or batter will need a few extra minutes to bake, and set the mould on a baking sheet while it's still in the freezer — it flexes just as easily frozen as it does warm.
Yes, a mould made purely from silicone, with no metal rim or reinforcement, is fine in both the microwave and an air fryer. In the microwave the silicone itself doesn't heat up — it only warms from the food inside it; in an air fryer, leave some space around the mould so air can circulate, and don't exceed the temperature the manufacturer states for that mould.
A good-quality silicone mould comes with a stated temperature range from the manufacturer (usually up to 230°C/450°F or more), is certified food-safe, and doesn't smell once it's heated up. Thick, sturdy walls hold their shape better than thin ones; cheap moulds padded out with fillers tend to be softer and can smell chemical-ish when heated — don't bake with one of those.
Store silicone moulds clean, completely dry, and unweighted — laid flat or nested inside one another, not squashed under heavy pans. A mould left folded for a long time can develop a permanent crease, and since silicone absorbs odours readily, keep it away from spices or onions; it's also worth keeping sweet-bake moulds separate from savoury ones.
One recipe worth heating the oven for, one tip, and one deal from the shop. Nothing else.