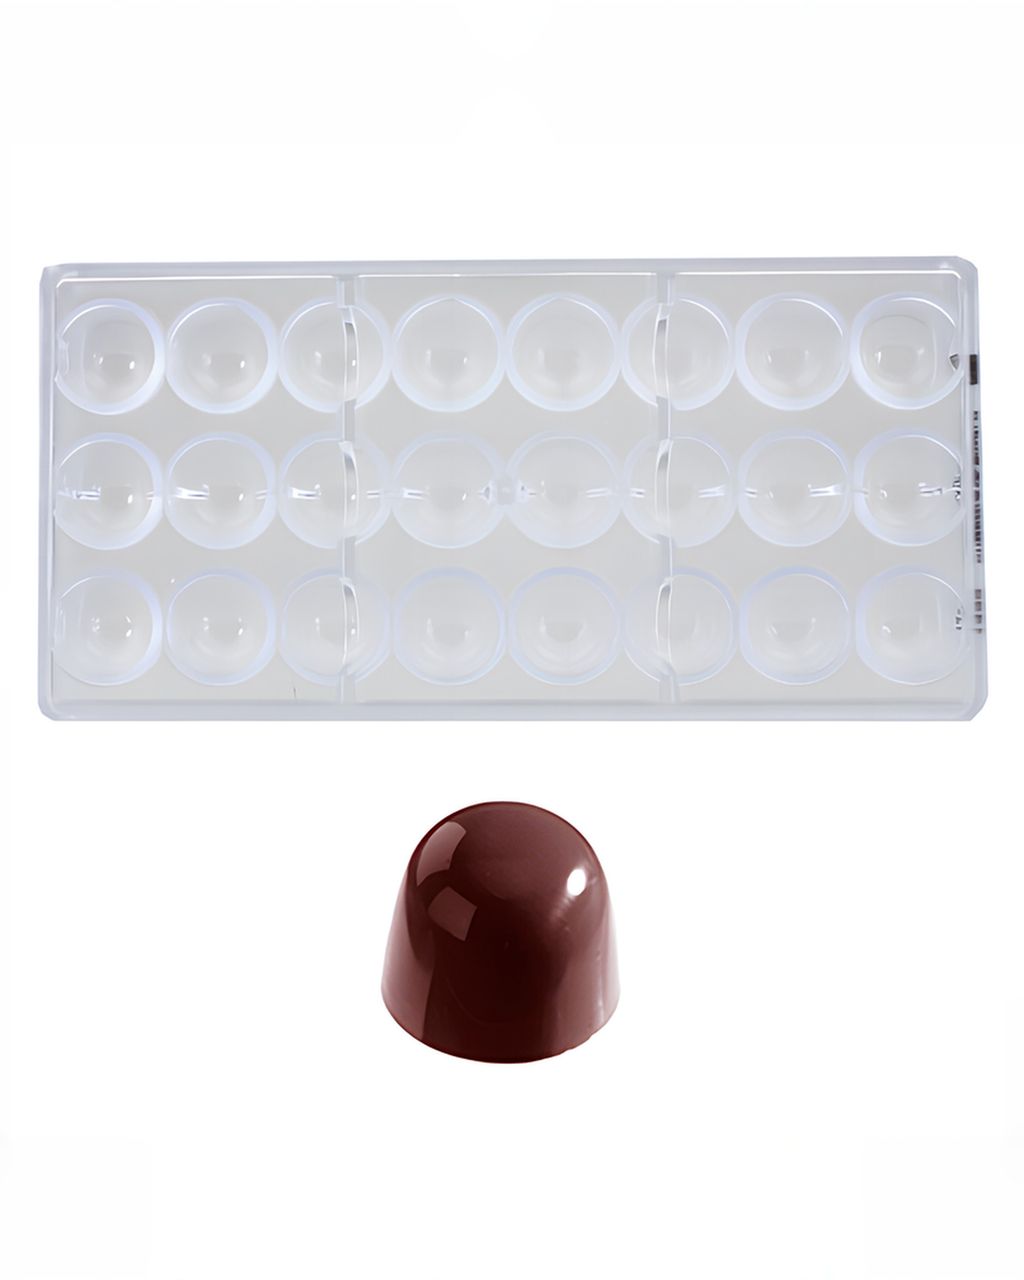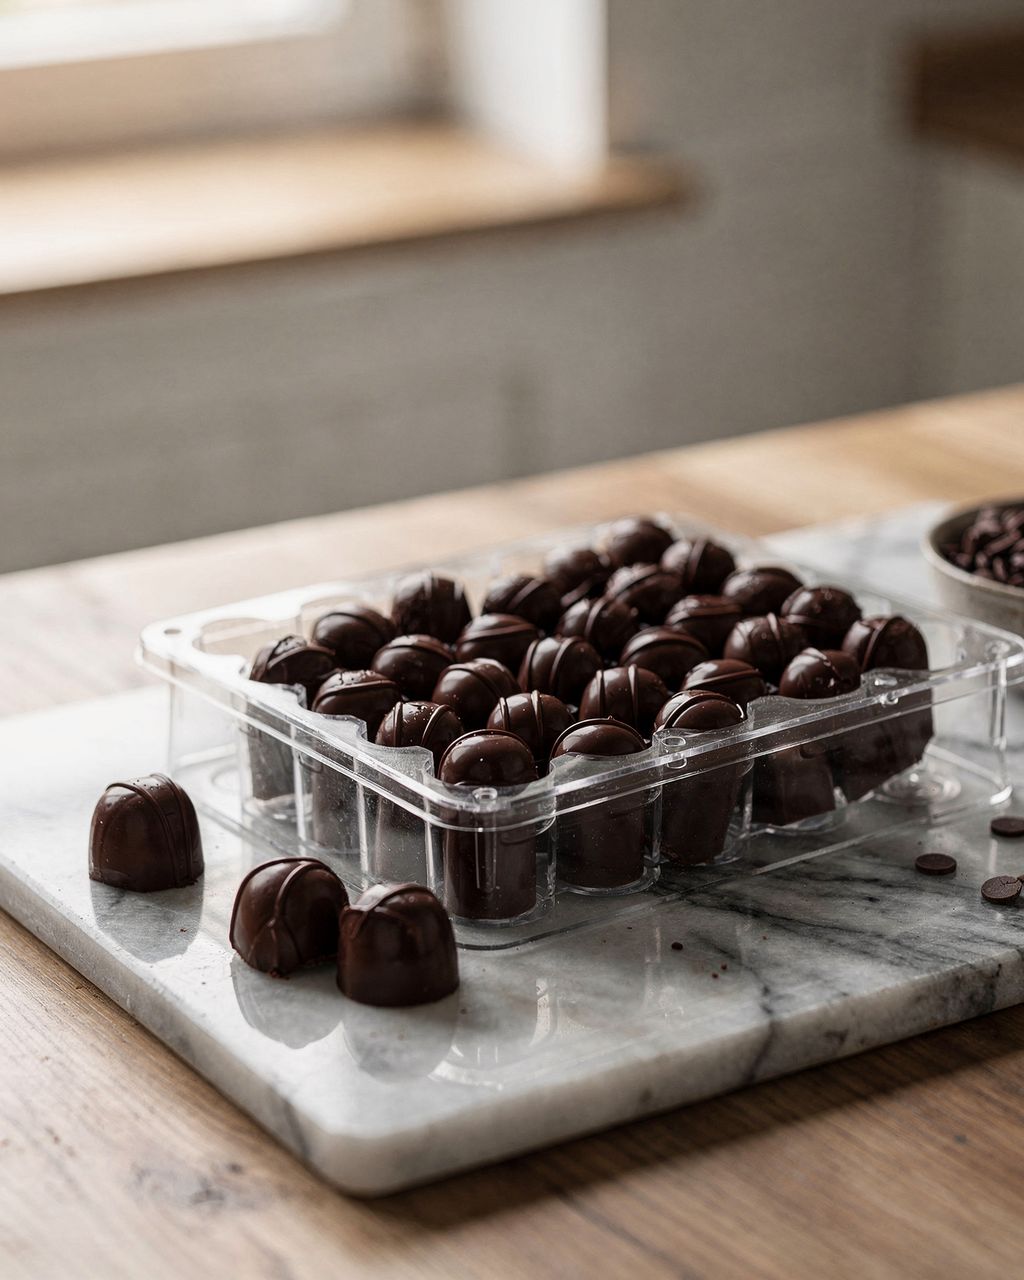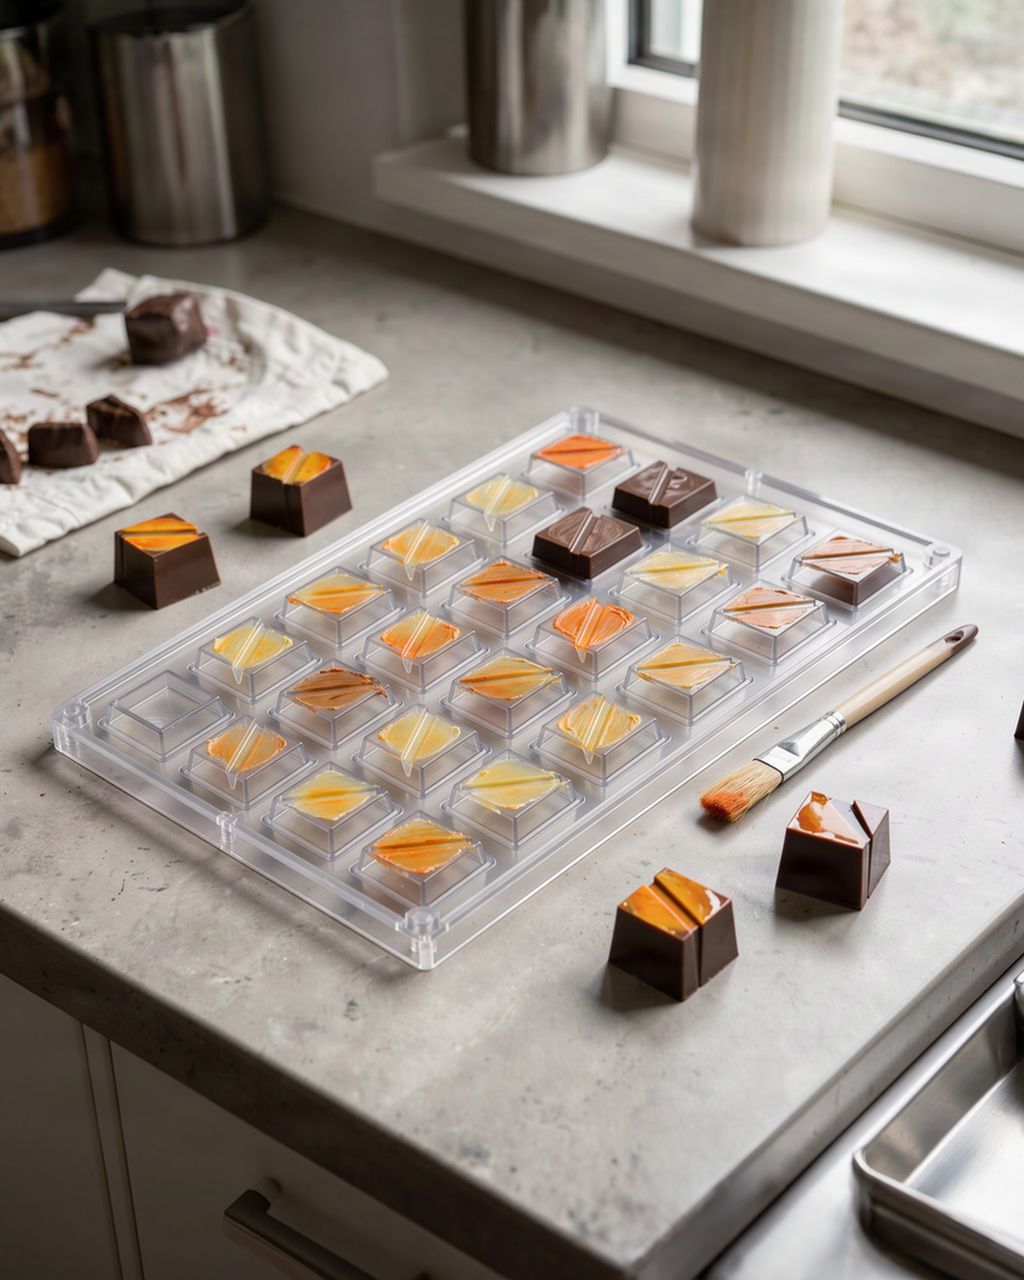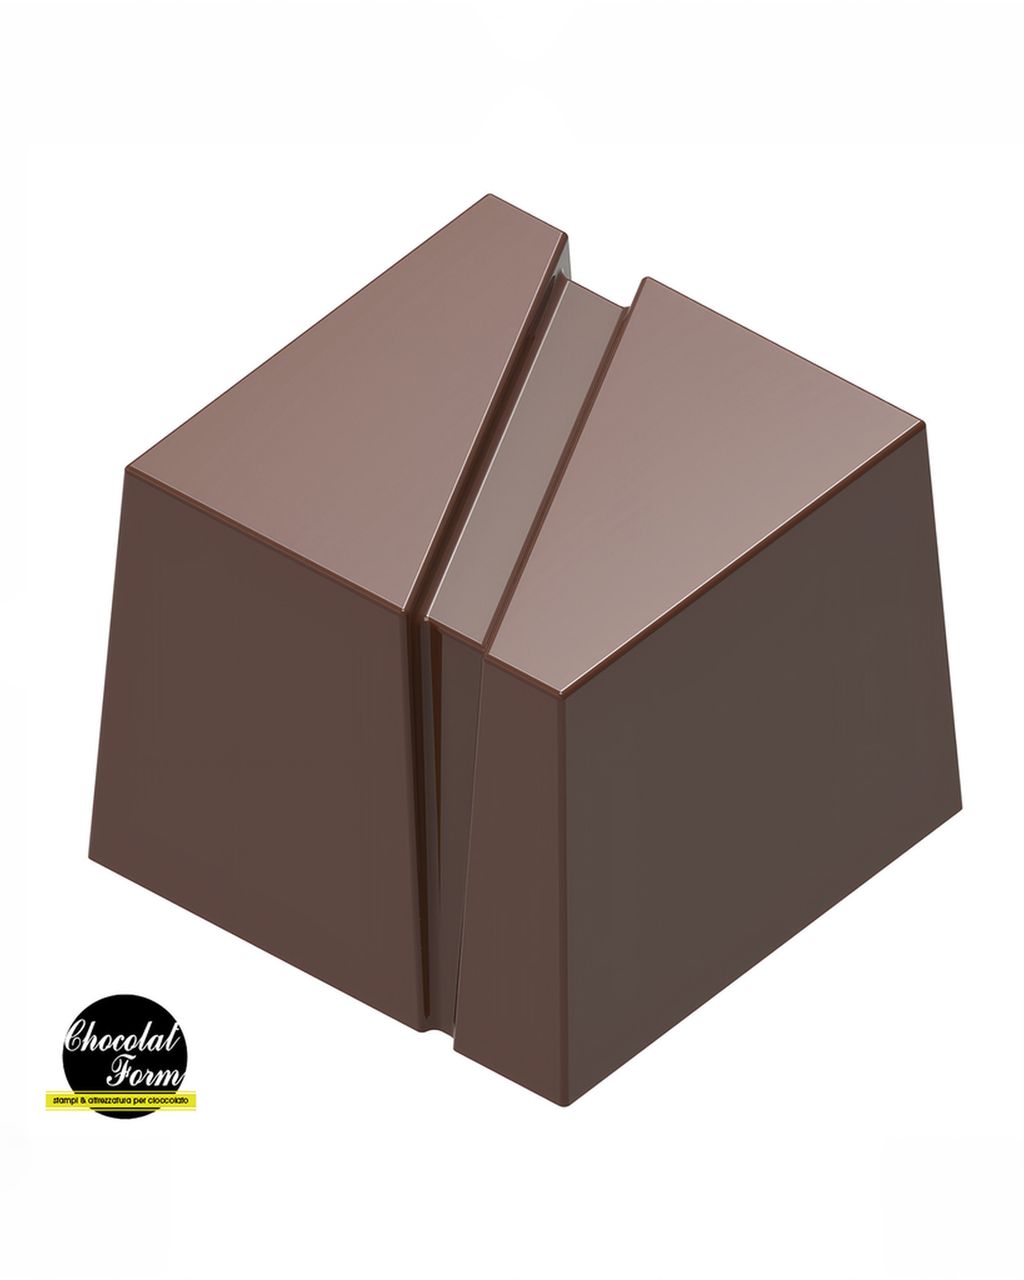
Chocolat Form Polycarbonate Praline Mould – Striped Cube (24 pcs, 25 mm)
Chocolates Stuck in the Mold: 7 Causes and How to Get Them Out
Updated Nov 3, 2026
When filled chocolates won't release from a polycarbonate mold, tempering is almost always to blame: chocolate that was never tempered, or that overheated while you worked, doesn't contract as it sets and clings to the walls. Other causes are a greasy or scratched mold, too short a chill, and chocolate that spilled between the cavities when you capped the shells. First, put the mold in the fridge for 10–15 minutes, or in the freezer for 5 minutes at most. If the chocolates still won't let go, push them out, melt the chocolate and temper it again.
Chocolates stick in the mold for seven reasons: untempered chocolate, tempering lost while working, the wrong mold temperature, a greasy or scratched mold, too short a chill, capping chocolate that overflowed, and a filling that's too warm.
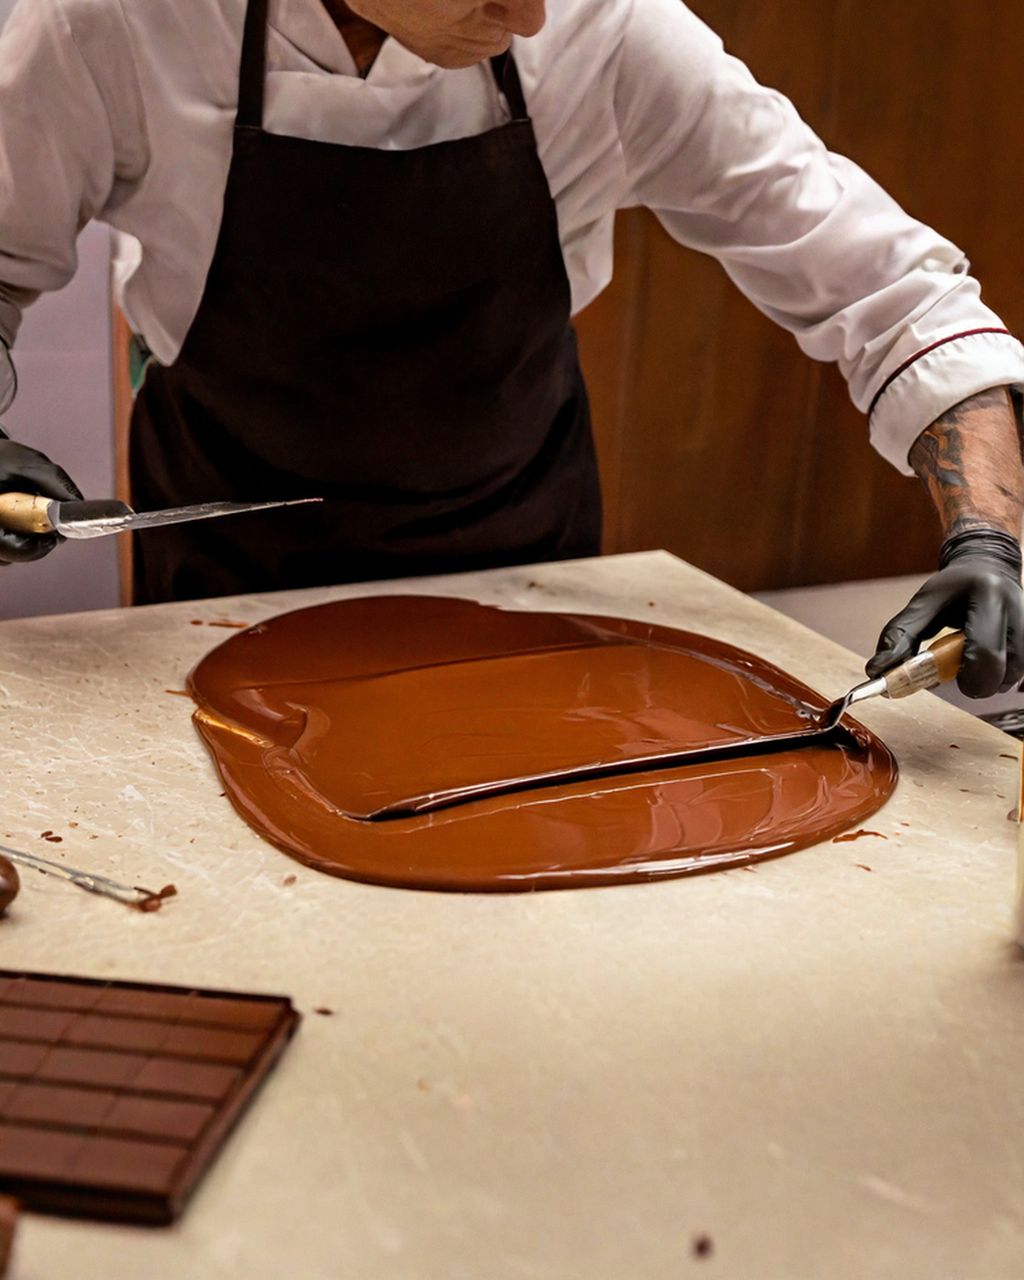
Untempered chocolate. Properly tempered chocolate shrinks slightly as it sets and pulls away from the hard wall on its own. Untempered chocolate doesn't contract, so it clings.
The chocolate overheated while you worked. If you warm it above its working temperature (above roughly 32 °C for dark), the temper is lost, even if it was fine at the start.
The mold is too cold or too warm. The ideal is a room-temperature mold at around 20–22 °C. On a cold mold the chocolate sets too fast and doesn't crystallize properly; on a warm one it loses its temper.
The mold is greasy, unpolished or scratched. Traces of fat, fingerprints and scratches from scouring pads or the dishwasher hold the chocolate like glue.
Too short a chill. Contraction takes time. A mold taken out of the fridge after just a few minutes won't release yet.
Overflowing cap. Chocolate left on the mold's surface between the cavities joins all the chocolates into one slab, which then grips the edges.
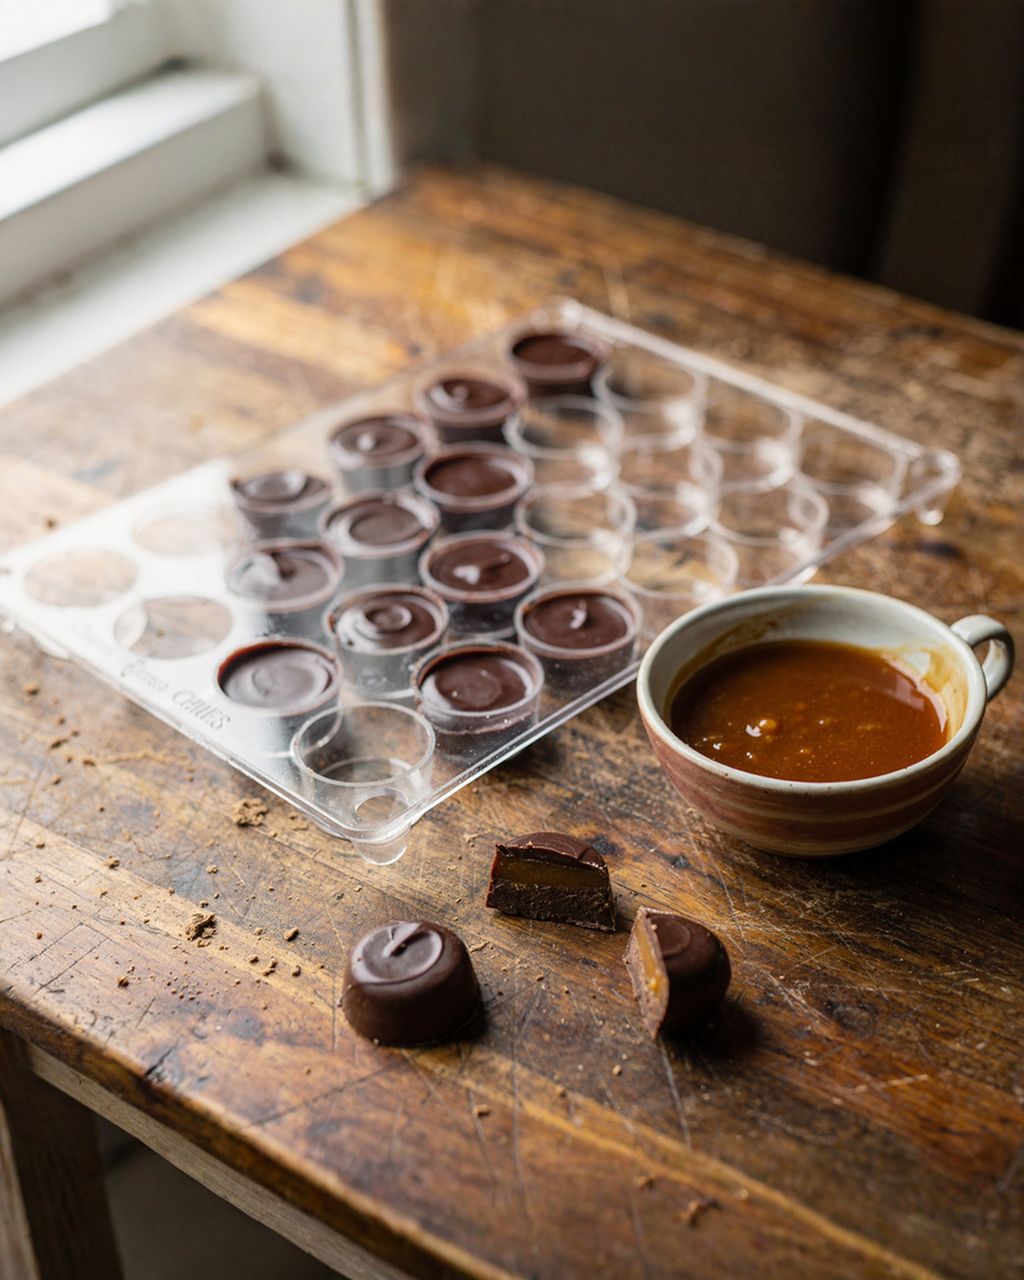
Warm filling or a thin shell. A filling warmer than 28–30 °C melts the shell from the inside. A thin shell then cracks during unmolding and a piece stays in the mold.
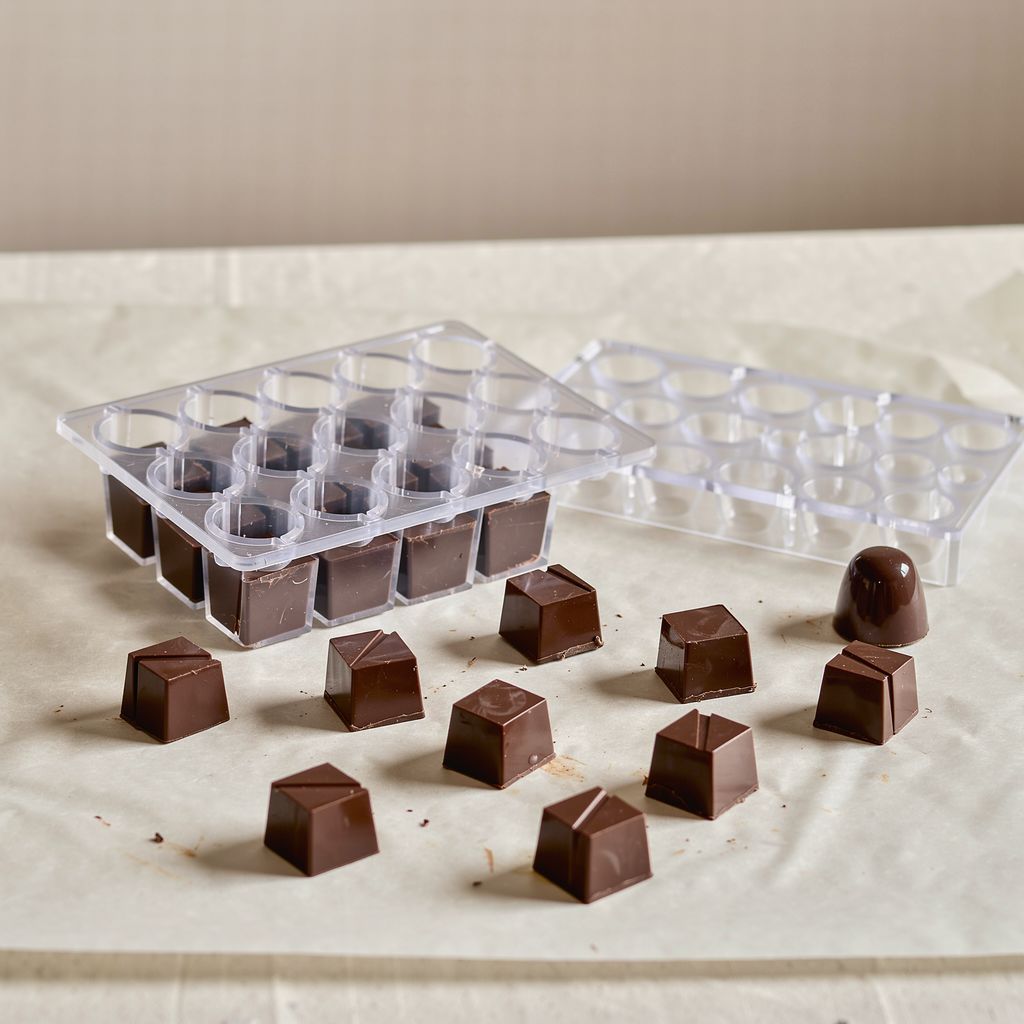
With a clear polycarbonate mold, check from underneath: cavities where the chocolate has released look lighter and matte, while those where it's still stuck look dark and glossy. When all the cavities are matte, the chocolates will drop out with a single tap. If most are still dark, don't chill any further. Instead, consider whether the chocolate was tempered at all.
First try chilling and tapping. If that isn't enough, push the chocolates out and temper again. Here's how:
Fridge: put the mold in the fridge for 10–15 minutes.
Freezer, only briefly: if the chocolates still hold on, put the mold in the freezer for 5 minutes at most. No longer. Once you take it out, moisture condenses on the cold chocolate and the chocolates turn white, and the shells may even crack.
Tap: turn the mold over a clean tea towel or a sheet of parchment paper and tap it flat against the work surface. Don't tap it on its edge, or the mold will crack.
Don't pry: never pry chocolates out with a knife or a skewer. You'll scratch the mold and the next batch will stick even more.
If they're stuck for good: the chocolate wasn't tempered. Push the chocolates out, melt them, temper the chocolate again and start over with the shell. Chocolate loses nothing from being tempered repeatedly.
Melt any leftover chocolate in the mold with warm water up to 60 °C, never hot.
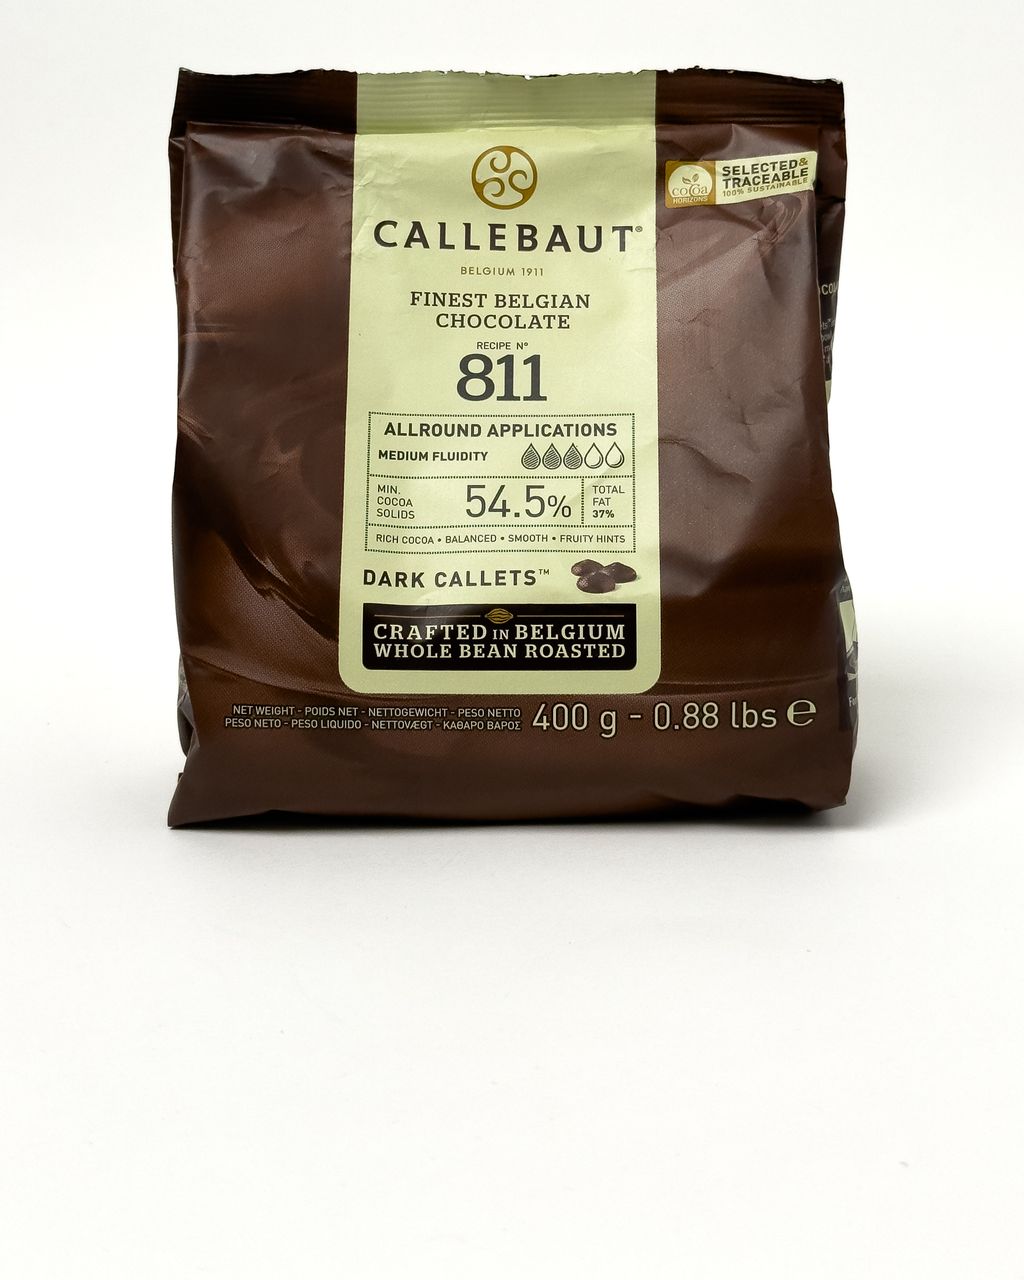
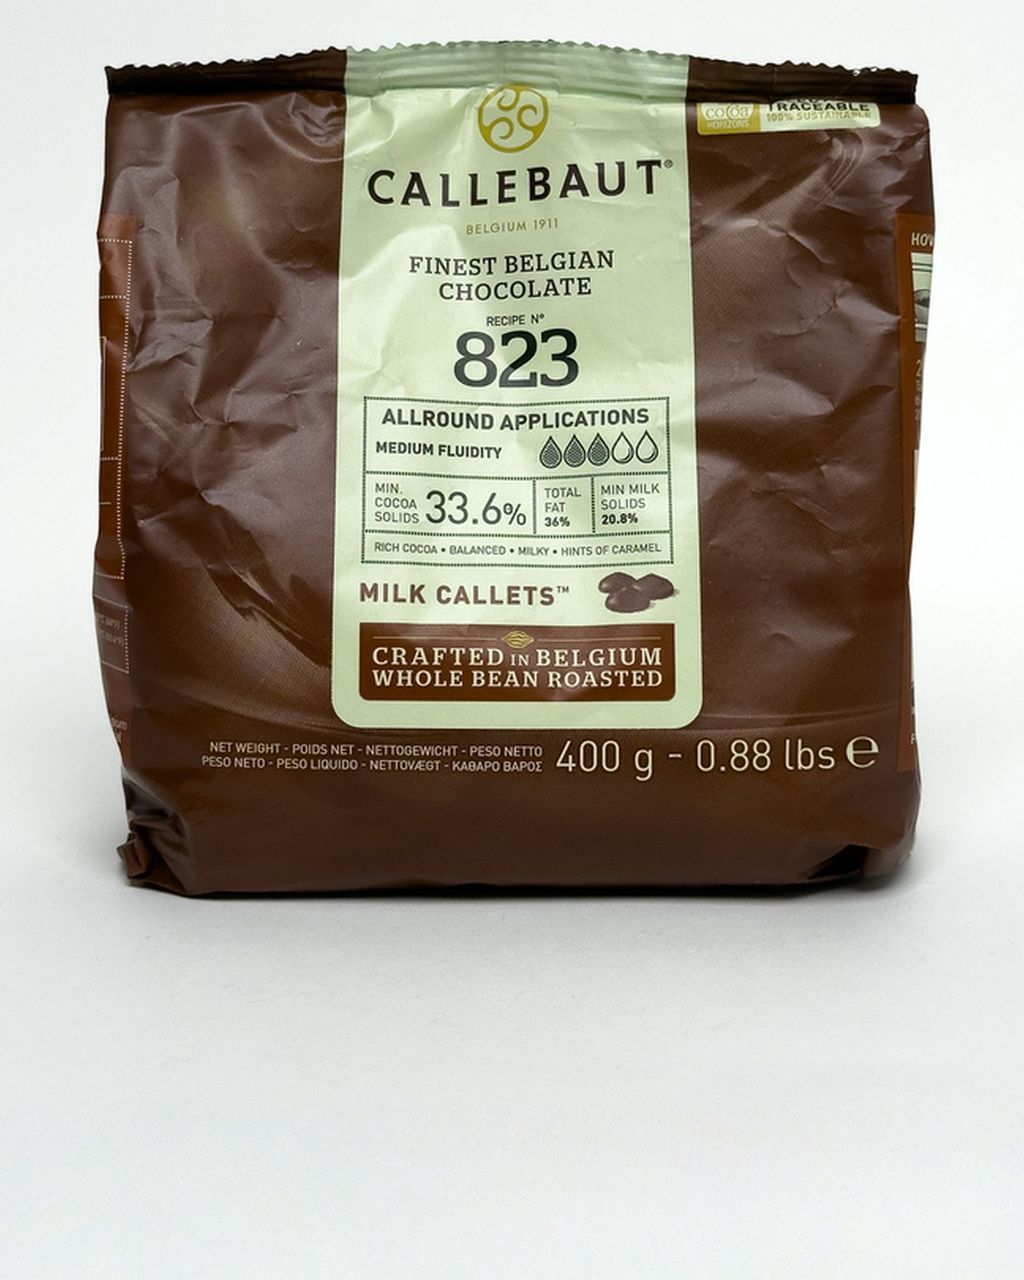
For chocolates to drop out of the mold on their own, the chocolate has to be tempered and held at working temperature. For its chocolate, Callebaut gives working temperatures of about 31–32 °C for dark, 29–30 °C for milk and 28–29 °C for white.
Knife test: dip the tip of a knife in the chocolate and lay it on the counter. At 18–20 °C it should set glossy and streak-free within 3–5 minutes.
Rewarming: if the chocolate thickens while you work, rewarm it in a few seconds at a time and take its temperature. One moment of overheating and the temper is gone.
Colored cocoa butter: the color you paint into the mold also has to be at the right temperature. Otherwise it stays in the mold and the chocolate comes out without a pattern.
You'll find the full tempering method in How to Temper Chocolate, and painting molds in Colorful Chocolates: How to Paint a Mold.
A mold releases when it's clean, polished and at room temperature. Before every pour:
Wash it by hand in lukewarm water with a drop of dish soap and a soft sponge. The dishwasher and scouring pads cloud and scratch polycarbonate.
Dry it completely. Even a drop of water will thicken the chocolate.
Polish every cavity with cotton wool or a cotton pad. This wipes off traces of fat and fingerprints.
Don't chill it beforehand. A cold mold sets the chocolate before it has time to crystallize properly.
After capping, scrape the surface clean with a long scraper so no chocolate is left between the cavities.
A new mold sometimes releases less well for the first two or three batches. Chocolates come out most willingly from a polished mold that has already seen a few batches. To start, simple shapes that are easy to fill and unmold work well, like the Cube with Stripe mold or the Cone mold.
Chocolates never drop out of a silicone mold by themselves. You push them out with your thumb from the back of the mold. The flexible wall shrinks along with the chocolate, so it never pulls away. To keep them from breaking, make a thicker shell in silicone (around 2 mm) and put the mold in the freezer for 10 minutes before pushing them out. For how silicone and polycarbonate differ, see Chocolate Molds: Polycarbonate or Silicone.
Don't throw broken chocolates away. Shells without filling can be melted and tempered again. Chocolates with ganache can be chopped into a cake, stirred into brownies or used as a decoration, for example on a chocolate cake with raspberry chocolates. For fillings that won't leak out of cracked shells, see Chocolate Fillings: Ratios and Shelf Life.
White streaks on unmolded chocolates mean the chocolate was too warm, the mold was too cold or greasy, or moisture condensed on the chocolates after they came out of the freezer or fridge. Next time, polish the mold with cotton wool, keep the chocolate at working temperature and let chilled chocolates come up to room temperature in a closed box.
Chocolates crack during unmolding when the shell is too thin, the mold went into a fridge that was too cold or stayed in the freezer too long, or the filling warmed the shell from the inside. A shell should be about 1–1.5 mm thick, the filling no warmer than 28–30 °C, and the mold should chill for 10–15 minutes in the fridge, not an hour in the freezer.
Don't grease a chocolate mold with oil. Oil leaves dull smears on the chocolates, and with properly tempered chocolate you don't need it. Just wash the polycarbonate mold, dry it and polish it with cotton wool. If your chocolates stick, the problem is the tempering or a dirty mold, not a lack of fat.
Let the filled, capped shells set first at 16–18 °C. Ganache usually needs 12–24 hours. After capping, put the mold in the fridge for 10–15 minutes, then unmold. A long stint in the freezer won't help the chocolates release. It's more likely to cause cracks and bloom.
One recipe worth heating the oven for, one tip, and one deal from the shop. Nothing else.