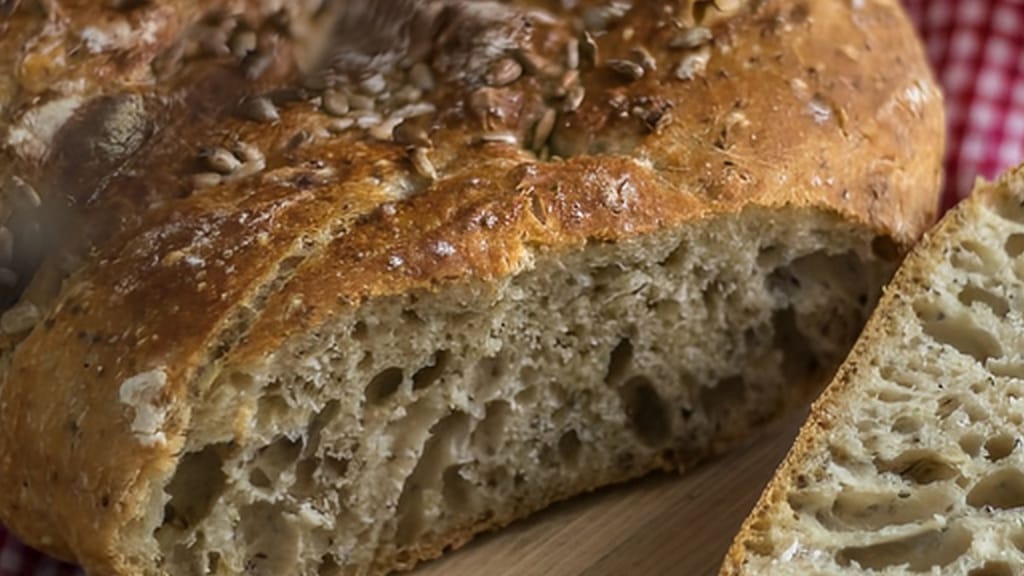
Homemade bread
How to Bake Bread at Home: With Yeast or Sourdough, Rye or Wheat, in the Oven, a Dutch Oven or a Bread Machine
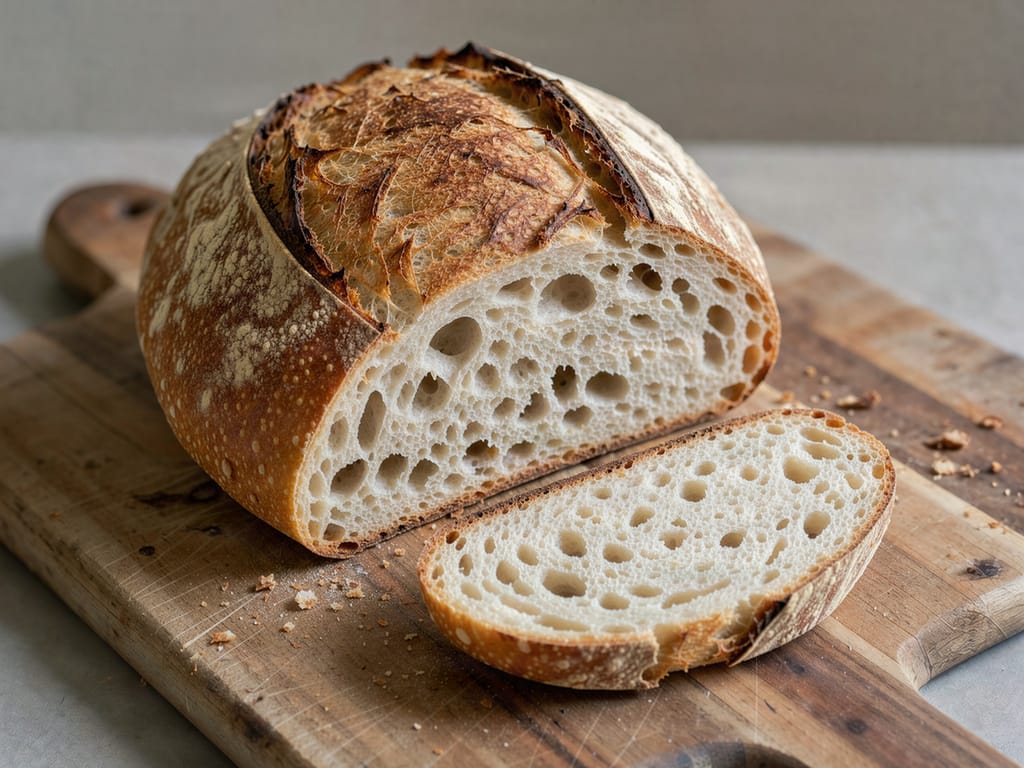
Updated Nov 19, 2026
You can bake bread at home on your very first try: all it takes is 500 g bread flour, 330 ml lukewarm water, 10 g salt and 10 g yeast, two rises and a hot oven – 15 minutes at 250°C (480°F) with steam, then 220–230°C (425–450°F). Four hours later you have a loaf on the cutting board with a crisp crust and a soft crumb. Below you'll find the simplest method and all the other routes – sourdough, no yeast, rye flour, cast-iron Dutch oven, loaf pan and bread machine – each with grams, times and temperatures. Plus what to do when your bread doesn't turn out.
The easiest homemade bread uses 500 g wheat bread flour, 330 ml lukewarm water (about 30°C/86°F), 10 g salt and 10 g fresh yeast. You knead the dough for 10 minutes, let it rise for an hour, shape a loaf and let it rise for another 45 minutes. Then it bakes for 40–45 minutes: 15 minutes at 250°C (480°F) with steam, then at 220–230°C (425–450°F).
Why these ratios: bakers calculate everything relative to the flour. Water at 66% (330 g per 500 g) gives a dough that's sticky but workable. Salt at 2% (10 g) tastes just right and strengthens the gluten. Yeast at 2% is enough for a rise that takes a few hours. Remember this and you can scale any loaf.
Stir the yeast into the lukewarm water so no lumps remain.
Mix with the flour and let it rest for 15–20 minutes. The flour absorbs the water in the meantime and kneading goes more easily. Don't taste raw dough or flour – flour isn't heat-treated and can contain bacteria such as E. coli.
Add the salt and knead for 8–10 minutes by hand (or 5–6 minutes in a stand mixer on low speed) until the dough is smooth and elastic. Windowpane test: stretch a small piece of dough between your fingers. If it stretches into a thin, translucent membrane without tearing, the gluten is ready.
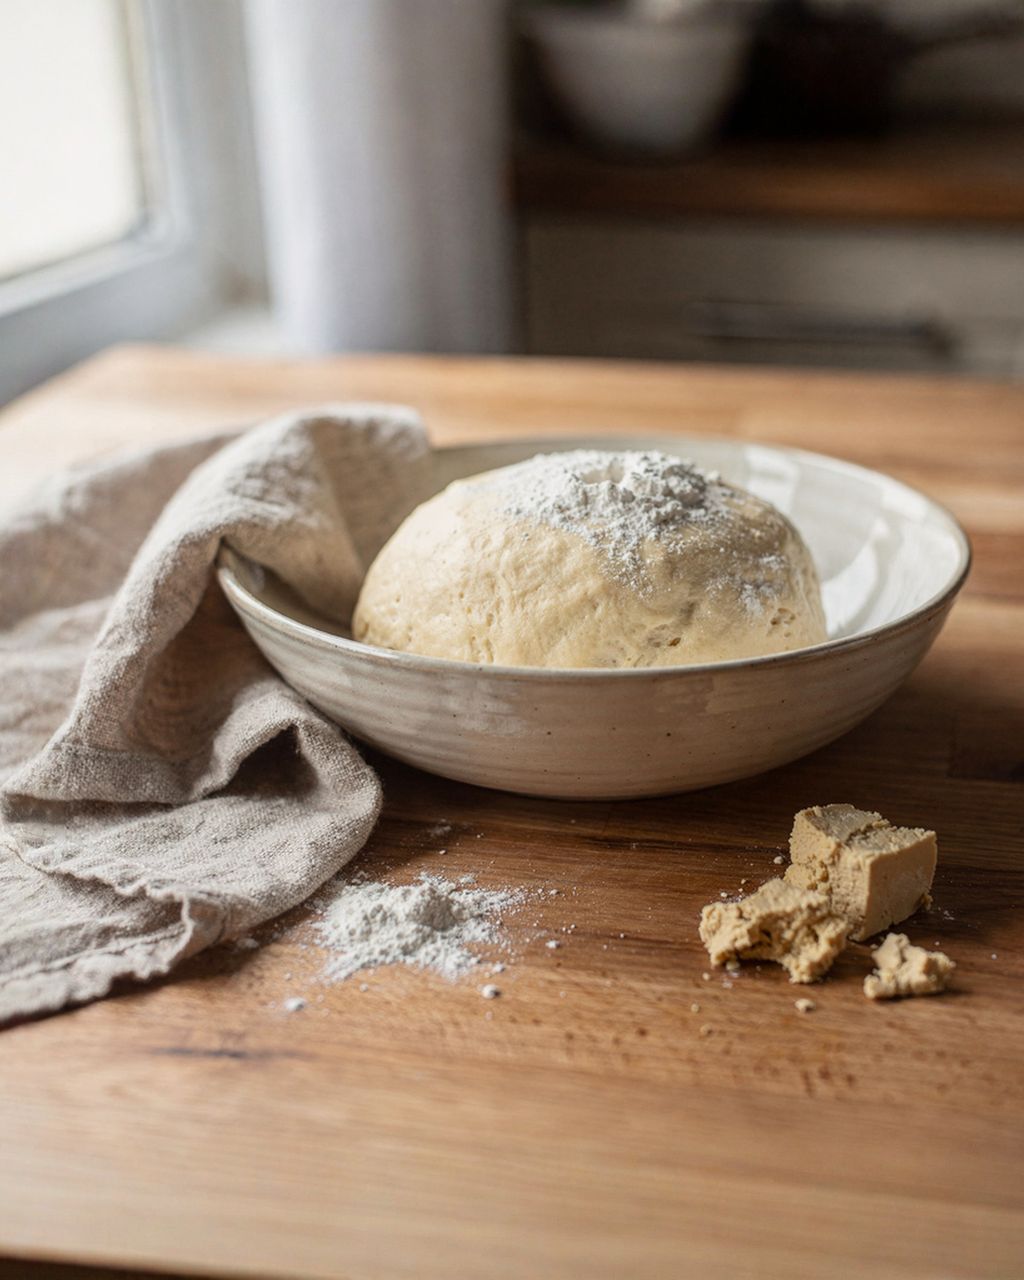
First rise: cover the bowl and leave the dough to rise for 60–90 minutes at 24–26°C (75–79°F), until it has roughly doubled in size.
Shaping: turn the dough out onto a lightly floured surface, fold the edges into the center and flip it seam side down. Cup your hands around it and drag it in circles across the surface until the top is smooth and drum-tight.
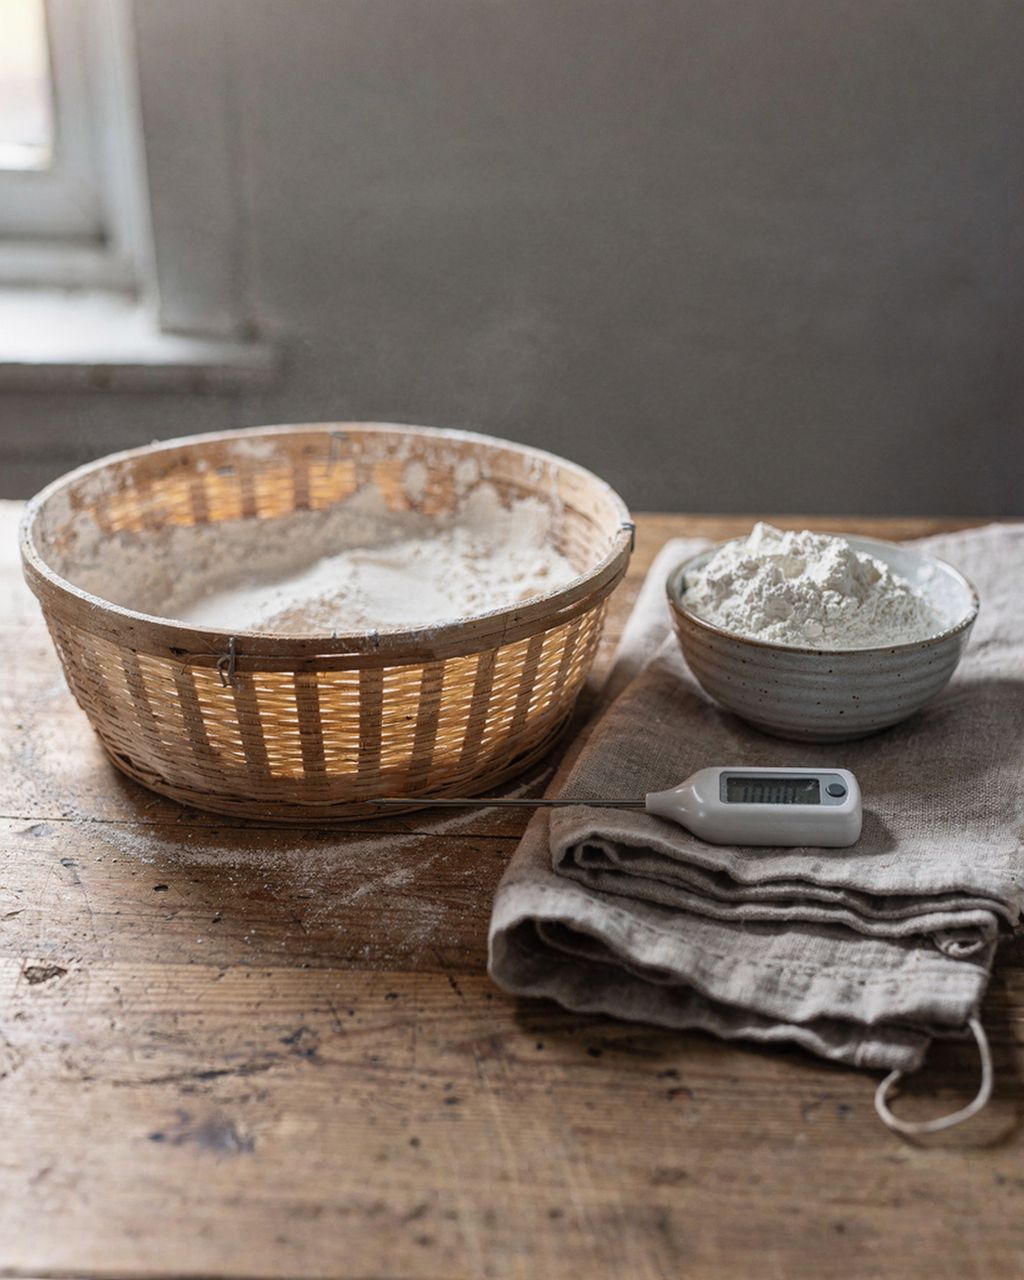
Second rise: place the loaf seam side up in a floured proofing basket (or a bowl lined with a kitchen towel) and leave to rise for 40–60 minutes. It's ready when a dent made with your finger springs back slowly and only halfway.
Baking: preheat the oven with a baking sheet or stone inside for at least 30 minutes at 250°C (480°F). Turn the loaf out onto parchment paper, slash it 1 cm (½ in) deep with a razor blade or sharp knife, slide it into the oven and create steam right away (more on that in the crust section). After 15 minutes release the steam, turn the oven down to 220–230°C (425–450°F) and bake for another 25–30 minutes, until deep golden brown.
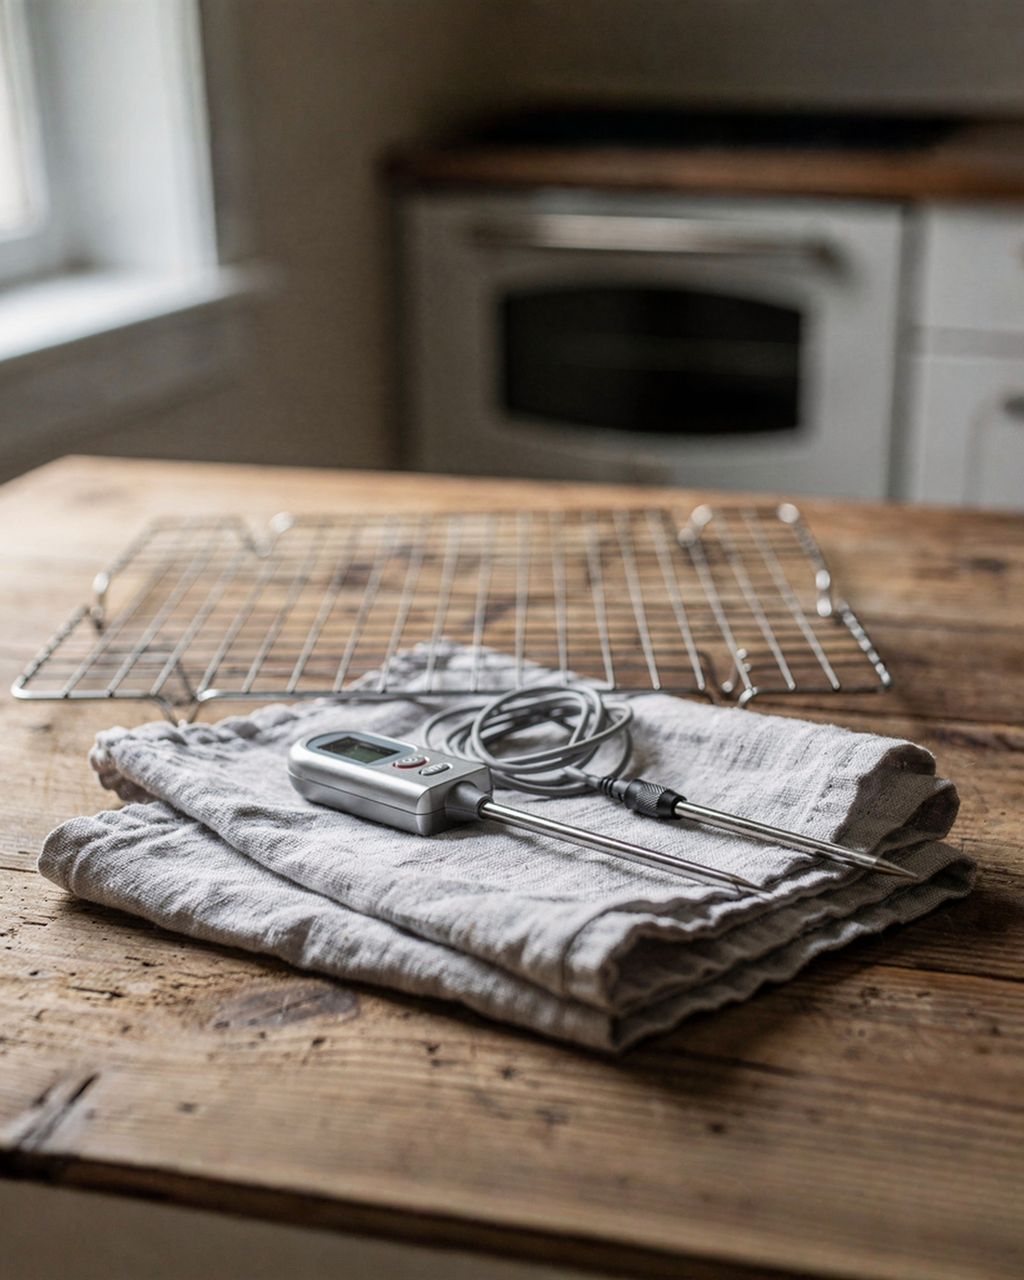
How to tell it's done: it sounds hollow when you tap the bottom, the crust is firm, and the crumb reads 96–98°C (205–208°F) when you insert a probe thermometer. All the temperatures and times by loaf size are in our article how long to bake bread and how to tell it's done.
Let it cool on a wire rack for at least an hour. During that time the crumb is still finishing its bake from the steam inside. You'll find a version with dried yeast, an overnight rise and baking in a covered roasting pan in the homemade bread recipe.
Homemade bread
Homemade bread with a crisp crust, risen overnight
Seasonal baking plans, tested recipes and kitchen tricks that save you time. Unsubscribe in one click.
For bread, reach for wheat bread flour. It's darker and more flavorful than light all-purpose (plain) flour, holds water well and gives the bread its taste. Rye flour adds flavor, aroma and keeping quality, but it needs different handling.
Wheat bread flour – the base of every wheat and caraway bread. It contains roughly 11–12% protein (depending on the mill), absorbs more water and gives an airy, elastic crumb. If you don't have it, all-purpose flour will do; just reduce the water by about 20–30 ml and expect a flatter loaf.
Rye bread flour – gives bread its typical tangy, deep flavor. It can't form a strong gluten network, so on its own it rises little and the dough is more of a sticky paste. Add 20–40% of it to a wheat bread and you get a wheat-rye bread; a classic everyday Czech loaf has even more rye. A 100% rye bread has its own method (below).
Whole wheat flour – more flavor, but the bran cuts through the gluten. Start by replacing a third of the white flour and add 5–10% more water, because bran is thirsty.
Spelt flour – tastes nutty, but its gluten is more fragile. Knead it for a shorter time and use a little less water.
Flour is a living ingredient: flour from every mill and every batch absorbs water differently. For the first few loaves, keep 20–30 ml of water aside and add it depending on how the dough behaves.
For 500 g flour use 10–15 g fresh pressed yeast, or 3.5–5 g dried yeast (about half to two-thirds of a packet). Fresh yeast converts to dried at roughly 3:1. The less yeast, the slower the rise and the better the flavor.
Yeast does more than make bubbles. During the rise, the yeast and the enzymes in the flour break starch down into sugars and create aromatic compounds. A quick bread with 20 g of yeast baked in two hours therefore tastes flatter, "yeasty". A slow bread with 3 g of yeast left overnight tastes fuller and stays fresh longer.
Quick yeast bread is ready in 3.5–4 hours; the slow overnight version tastes noticeably better and takes almost the same effort. The main differences are the amount of yeast and the water temperature.
Quick version (3.5–4 hours): 500 g bread flour, 330 ml water at 30°C (86°F), 15 g fresh yeast, 10 g salt. First rise 60 minutes, shaping, second rise 40 minutes, bake 40 minutes at 230°C (450°F).
Slow overnight version (better flavor): 500 g flour, 340 ml cold water, 3 g fresh yeast (a piece the size of a hazelnut), 10 g salt. Mix, leave for an hour on the counter, then cover and refrigerate for 12–16 hours. In the morning, shape, leave 1.5–2 hours at room temperature to finish rising and bake the same way.
For a dough that rests in the fridge overnight and gets its yeast only in the morning, see the recipe Pain à l'Ancienne, French rustic bread.
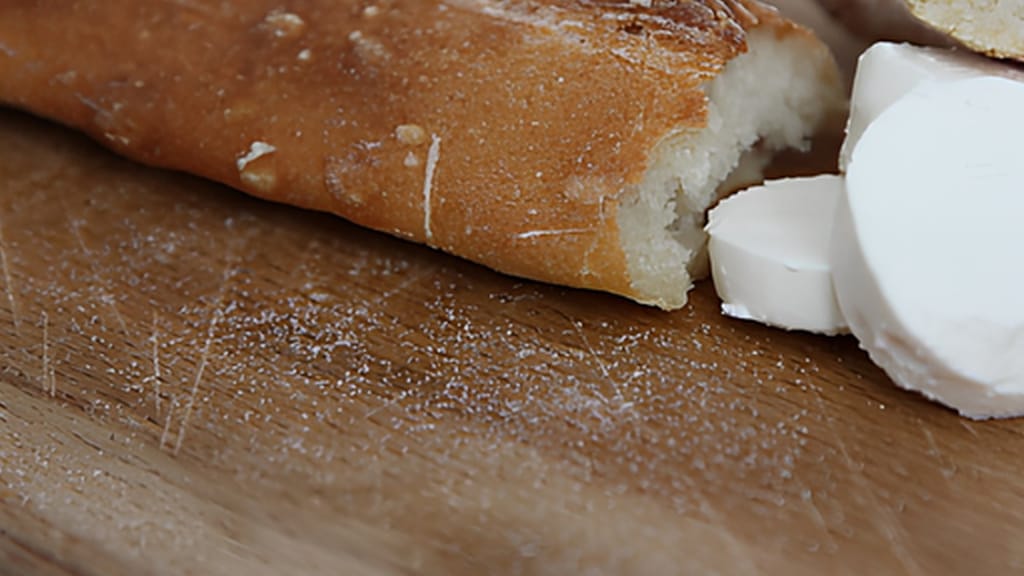
Pain à l'ancienne – rustic bread
Pain à l'Ancienne – French rustic bread
Yeast needs lukewarm water of around 30°C (86°F) and must not come into direct contact with salt. The rest is a matter of freshness.
Above 45°C (113°F) yeast suffers, and above 55–60°C (131–140°F) it dies.
Add the salt to the dough along with the flour, and never sprinkle it directly onto crumbled yeast. In concentrated contact it draws water out of the yeast and slows it down.
You don't need a yeast sponge ("proofing with sugar") for bread. Fresh yeast just needs to be stirred into the water.
Fresh yeast is pale beige, with a moist break and a pleasantly tangy smell. If it's dark, dry and crumbles to dust, or smells off, buy new.
Make caraway bread from the basic dough: add 1–2 teaspoons of whole caraway seeds and replace 100–150 g of the wheat flour with rye. This is the flavor most of us know from childhood. Rye flour makes the dough a bit gluey, so work with wet hands.
Sourdough bread needs 100 g active starter, 500 g flour, 350 g water and 10 g salt. You fold the dough several times, let it rise for 4–6 hours, let it mature overnight in the fridge and bake it in the morning in a preheated pot at 250°C (480°F). The whole process takes about 24 hours, but your own hands-on work adds up to only about 30 minutes.
A sourdough starter is a mixture of flour and water inhabited by wild yeast and lactic acid bacteria. They give bread a tangy, complex flavor, a more open crumb and a longer shelf life than commercial yeast. How to create it, feed it and tell whether it's strong enough for baking is described in our article sourdough starter for bread. Add it to the dough when it's at its peak: roughly 4–8 hours after feeding, when it has doubled in volume and a spoonful floats on water.
Autolyse (30–60 minutes): mix 450 g wheat bread flour, 50 g whole wheat or rye flour and 330 g water at 26–28°C (79–82°F). Just combine it, don't knead, and let it rest.
Add the starter and salt: squish 100 g active starter into the dough, then 10 g salt with the remaining 20 g water. Work it in with your fingers until everything comes together.
Folding instead of kneading: over the first 2 hours, fold the dough 4 times, every 30 minutes. With a wet hand, grab the edge, stretch it up and fold it over the center. Turn the bowl a quarter turn and repeat all the way around.
Bulk rise: keep letting the dough rise, covered, for 4–6 hours in total at 24–26°C (75–79°F) (in a cooler kitchen up to 8). It's ready when it has grown by 50–75%, is domed, has bubbles at the edges and jiggles when you shake the bowl.
Preshaping and shaping: turn the dough out onto the counter, loosely roll it into a ball and let it rest for 20–30 minutes. Then shape it into a tight round or oval loaf and place it seam side up in a floured proofing basket. Dust with rice flour, which doesn't stick.
Cold proof: put the basket in a bag and refrigerate for 8–14 hours. This is where most of the flavor develops, and cold dough is also easier to score.
Baking: preheat a cast-iron pot for 45 minutes at 250°C (480°F). Turn the loaf straight from the fridge onto parchment paper, score it and lower it into the pot. Bake 20 minutes with the lid on, then remove it, turn the oven down to 230°C (450°F) and bake for another 20–25 minutes until the crust is a dark, mahogany color.
Sourdough bread is done when the inside reads at least 96°C (205°F). Don't slice it until it has cooled for two hours, because the tangy, moist crumb needs time to settle. Once you've got the basic loaf down, try an autumn variation: sourdough bread with walnuts and sage.
For a wheat-rye sourdough in which kefir replaces part of the water, see the recipe homemade sourdough bread with kefir.
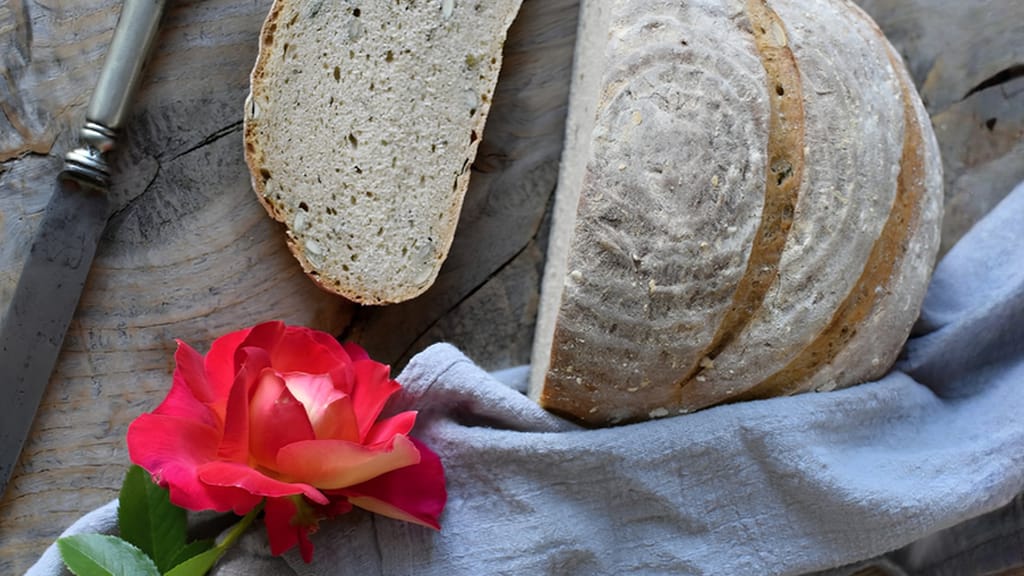
Sourdough seeded bread with kefir
Homemade sourdough bread with kefir
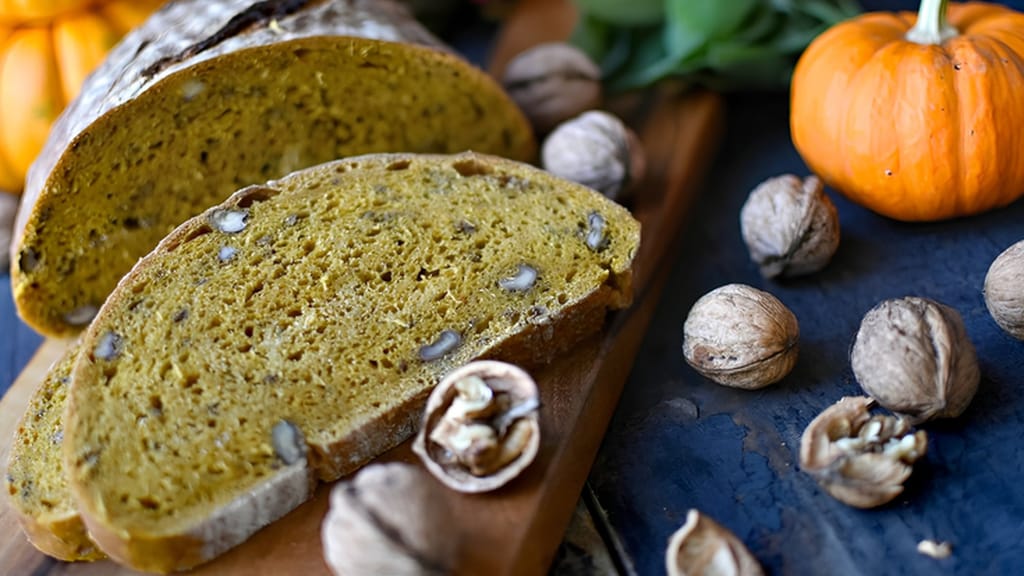
Autumn pumpkin sourdough bread with walnuts and sage
Sourdough bread with walnuts and sage
You can make bread with no yeast and no starter as Irish soda bread: 500 g flour, 1 teaspoon (about 5 g) baking soda, 1 teaspoon (about 6 g) salt and 400–450 ml buttermilk. You mix briefly, shape and bake straight away for 35–40 minutes at 220°C (425°F). From the first spoonful to a cooled loaf takes about an hour.
The rise here comes not from yeast but from chemistry: the lactic acid in buttermilk reacts with baking soda and releases carbon dioxide. The reaction begins the moment the liquid touches the soda. That's why you don't let the dough rest and don't knead it – kneading would build tough gluten and the bubbles would escape. The result is a denser, slightly crumbly bread with a crisp crust, something between bread and a scone. It's best on the day you bake it, still warm, with butter.
Preheat the oven to 220°C (425°F) (conventional, top and bottom heat) and line a baking sheet with parchment paper.
Mix the dry ingredients: 500 g all-purpose or semi-coarse flour (Czech polohrubá, slightly grittier than all-purpose) (or half and half with whole wheat), 1 teaspoon (about 5 g) baking soda and 1 teaspoon (about 6 g) salt. Sift the soda so no lumps remain. A lump of soda in the bread tastes bitter and soapy.
Pour in 400 ml buttermilk and quickly bring it together with a spatula or your hand into a sticky, shaggy dough. Add the remaining 50 ml only if dry flour is left. Mix for a minute at most.
Shape on a floured surface into a flattish loaf about 4 cm (1½ in) high. Just pat it into shape, don't press.
Cut a deep cross, almost halfway through. It helps the heat reach the center and traditionally divides the bread into four.
Bake 35–40 minutes, until the bread is golden brown and sounds hollow on the bottom. If the crust is browning too quickly, turn the oven down to 200°C (400°F) for the last 10 minutes.
Wrap it in a kitchen towel if you want a soft crust, or leave it on a wire rack if you want it crisp.
No buttermilk? Replace it with 400 ml milk mixed with 2 tablespoons lemon juice or vinegar (let it stand for 10 minutes), or with plain yogurt thinned with water at 3:1. Without an acidic ingredient the soda won't work, and the bread will be flat and bitter. If you want a yeast-free flatbread in a pan, check out no-yeast pan naan.
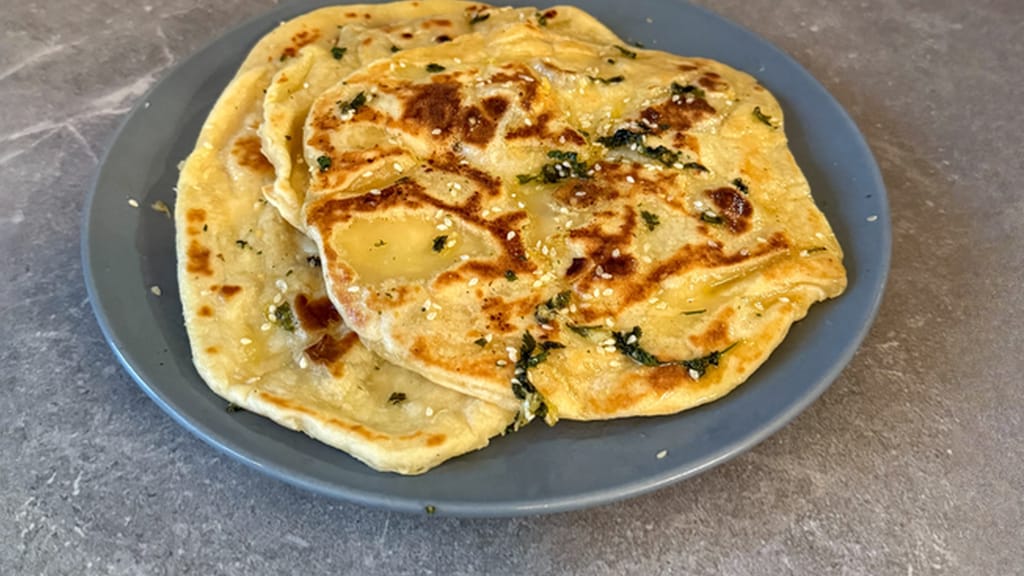
Skillet naan bread (no yeast)
No-yeast pan naan
Rye bread needs an acidic environment, which means sourdough. Rye flour has strong enzymes that, without acid, would break down the starch during baking, and the crumb would stay gummy. A 100% rye bread is therefore baked with sourdough in a loaf pan. Breads with a smaller share of rye flour also work with yeast.
Rye flour doesn't form a strong gluten network. Structure is held by mucilaginous compounds (pentosans), which bind a lot of water, and by starch. The acid from the sourdough slows the enzyme amylase, so during baking the starch has time to gelatinize and set instead of breaking down into a sticky syrup. Rye dough therefore has the consistency of a thick paste, not an elastic loaf, and it's handled that way.
A 100% rye bread is made from a starter built the evening before, 500 g rye flour in total and 450 g water, in a loaf pan of about 25 × 11 cm (10 × 4½ in). In the morning you mix the dough, let it rise for 1–2 hours and bake for about an hour.
Starter (evening): mix 30 g rye starter, 150 g rye bread flour and 150 g water at 30°C (86°F). Leave covered for 12–14 hours in a warm place (24–27°C/75–81°F), until it has grown, cracked on top and smells sour.
Dough (morning): add 350 g rye flour, 300 g warm water (40°C/104°F), 11 g salt and, to taste, 1–2 teaspoons caraway or ground coriander with fennel to the whole starter. Mix with a wooden spoon or a hand dipped in water for 5 minutes into a thick, sticky dough. There's no point in kneading; no gluten forms here.
Into the pan: grease the pan with lard or oil (see our article how to grease a baking pan), press the dough in with a wet spatula and smooth the top with a wet hand.
Rise: 1–2 hours in a warm place, until the dough has risen by about a quarter and the first fine cracks appear on the surface.
Baking: 10 minutes at 250°C (480°F) with steam, then turn the oven down to 200°C (400°F) and bake for another 50–60 minutes. It's done when the inside reads 98°C (208°F).
Resting: turn it out, let it cool and wrap it in a kitchen towel for 12–24 hours. Rye bread sliced while still warm is gummy. The day after baking it slices well and tastes best.
Wheat-rye bread with yeast is a quicker route to rye flavor: 300 g wheat bread flour, 200 g rye bread flour, 350 ml water at 30°C (86°F), 15 g fresh yeast, 11 g salt, 2 teaspoons caraway and 1 tablespoon vinegar (or 50 g plain yogurt in place of part of the water).
The acid helps the rye portion so the crumb doesn't turn gummy. Proceed as with the basic bread, just expect a stickier dough and work with wet hands. Bake for 45–50 minutes at 230°C (450°F), with steam for the first 15 minutes.
No, rye bread is not gluten-free: rye contains gluten, even though it doesn't form a firm network like wheat. If you're baking for someone who can't eat gluten, you need completely different ingredients and a different method. Why gluten-free bread collapses and how to fix it is covered in the article gluten-free bread in a bread machine.
Bread in a cast-iron Dutch oven is baked like this: heat the pot with its lid in the oven at 250°C (480°F) (45 minutes), lower the loaf in on parchment paper, bake 20–25 minutes covered, then 20–25 minutes uncovered at 230°C (450°F). The pot works like a small baker's oven, holding the heat while the steam from the dough stays inside.
Why it works so well: in the first minutes of baking, water evaporates from the dough. In a closed pot it stays around the loaf, the surface remains moist and flexible, and the bread can rise fully (bakers call this "oven spring"). Once you remove the lid, the crust dries out and caramelizes. Without a pan of water and without steam in the oven, you still get a bakery-style crust.
No-knead bread in a pot is the simplest bread there is: in the evening you stir up a dough with 2 g yeast using a spoon, it rises overnight, and in the morning you bake it in a preheated pot.
Evening: in a bowl, mix 500 g wheat bread flour, 380 ml lukewarm water, 10 g salt and 2 g fresh yeast (or a pinch, under 1 g, of dried). Bring it together with a spoon into a sticky dough, no kneading.
Overnight rise: cover and leave on the counter for 12–18 hours at 20–22°C (68–72°F). By morning the dough has doubled, is full of bubbles and has small craters on the surface.
Shaping: turn the dough out onto a generously floured surface, fold the edges into the center twice and flip it seam side down. Place it on parchment paper and leave to finish rising for 45–60 minutes. Preheat the pot in the meantime.
Baking: lift the loaf by the paper into the hot pot, cover and bake 25 minutes at 250°C (480°F). Remove the lid, turn the oven down to 230°C (450°F) and bake for another 20–25 minutes.
A finished method with caraway and a crisp crust is in the recipe homemade no-knead bread.
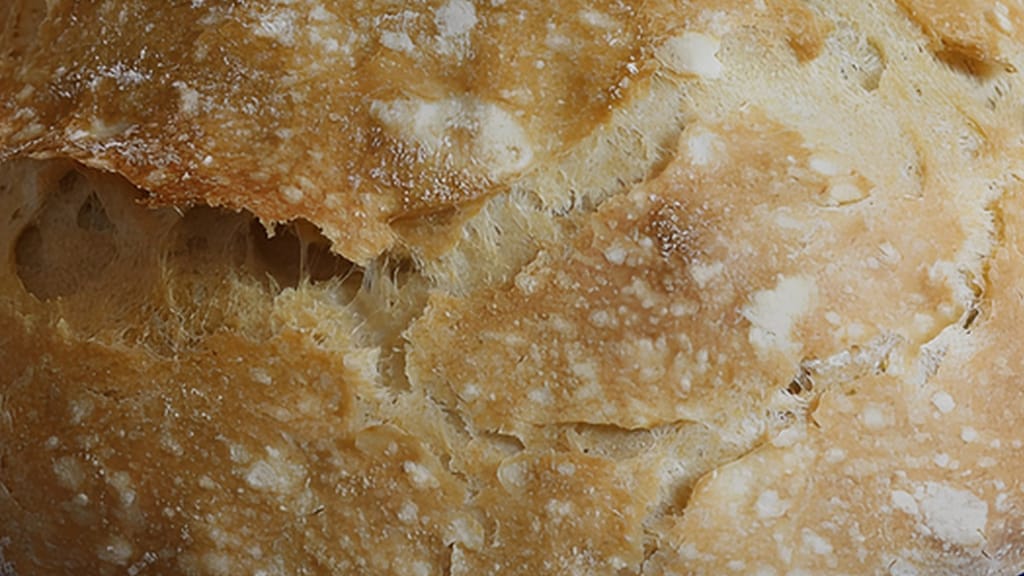
No-knead caraway bread baked in a cast-iron pot
Homemade no-knead bread with a crisp crust
A round cast-iron pot with a diameter of 22–26 cm (9–10 in) and a capacity of 4–6 liters that can withstand 250°C (480°F), including the lid handle, suits bread well. A plastic knob will melt, so replace it with a metal one, or use a second, upturned pot as the lid.
What to watch out for: a preheated pot is extremely hot. Lower the loaf in by the parchment paper, never with your hands, and always use thick oven mitts. If the bottom of the pot is scorching the bread, slide a baking sheet under the pot for the last 20 minutes, or sprinkle a handful of coarse semolina under the paper.
Pan bread is made from the basic dough enriched with milk and fat, which gives a soft crumb for toast. After the first rise you roll it into a log, put it in a greased pan and let it rise until it reaches about 1 cm (½ in) above the rim. Then it bakes for 40–45 minutes at 200–210°C (400–410°F). The pan holds the shape, so it can handle a softer, wetter dough.
For 500 g flour you need a pan 25–30 cm (10–12 in) long. In a smaller one the dough will overflow, in a larger one the bread will be low.
Dough: 500 g wheat bread flour, 320 ml lukewarm milk or water, 10 g fresh yeast, 10 g salt, 20 g butter or 2 tablespoons oil and 1 teaspoon sugar. The fat and milk give a fine, soft crumb and a thinner crust, ideal for toast.
Knead and let rise for 60 minutes, until the dough has doubled in size.
Shaping: roll the dough out into a rectangle as wide as the pan, roll it up tightly into a log and pinch the seam. Place it seam side down in the greased pan.
Second rise: 40–60 minutes, until the dough rises about 1 cm (½ in) above the rim of the pan.
Baking: 200–210°C (400–410°F), top and bottom heat, 40–45 minutes. After 30 minutes, remove the bread from the pan and bake it for the last 10 minutes directly on the oven rack. The sides and bottom turn golden instead of staying pale and damp.
Turn it out immediately onto a wire rack after baking. In the pan it would steam and the crust would soften.
How to grease a pan so the bread doesn't stick is described in the article how to grease a baking pan. Pan bread is best for sandwiches and thin slices. If you're choosing bread for open-faced Czech chlebíčky (open-faced sandwiches) and canapés, our article bread and rolls for chlebíčky and canapés will help.
Bread turns out well in a bread machine if you follow the ingredient order in your machine's manual and choose the "Basic" program (about 3 hours). In most machines the liquids go in first, then the flour and salt, and the yeast goes on top in a well so that it touches neither the water nor the salt. For a loaf of around 750 g you need 450 g flour and 290 ml water.
Here's how to make a basic 750 g loaf in the machine:
Pour 290 ml lukewarm water and 1 tablespoon oil into the pan.
Add 450 g wheat bread flour (or 350 g wheat and 100 g rye for wheat-rye bread), 1.5 teaspoons salt (9 g) in one corner and 1 teaspoon sugar.
Put 1 packet (7 g) dried yeast in a well in the middle of the flour. Fresh yeast works in a bread machine too (about 20 g crumbled), but never use it with a delayed start: it dissolves in the water and the dough starts rising too early.
Choose the Basic/Normal program, 750 g size and medium crust. For bread with rye flour, the Whole Wheat or Rye program is better, where the dough rises for longer.
After the first 5 minutes of kneading, open the lid and check the dough. It should be a smooth ball that sticks slightly to the sides. If it's crumbly, add a tablespoon of water. If it's spreading out, add a tablespoon of flour.
Take the bread out as soon as the program ends and let it cool on a wire rack. In the pan it would steam and the crust would turn damp.
A bread machine bakes in a small space, so the crust tends to be softer than from an oven. A trick: let the machine only knead and raise the dough (the Dough program), then shape it and bake it in the oven or a pot. You get the convenience of the machine and the crust of the oven. Gluten-free mixes behave completely differently in a bread machine. If yours collapse, see the article gluten-free bread in a bread machine: why it collapses.
You'll find a milk sandwich loaf made specifically for the bread machine in the recipe fluffy bread machine sandwich loaf.
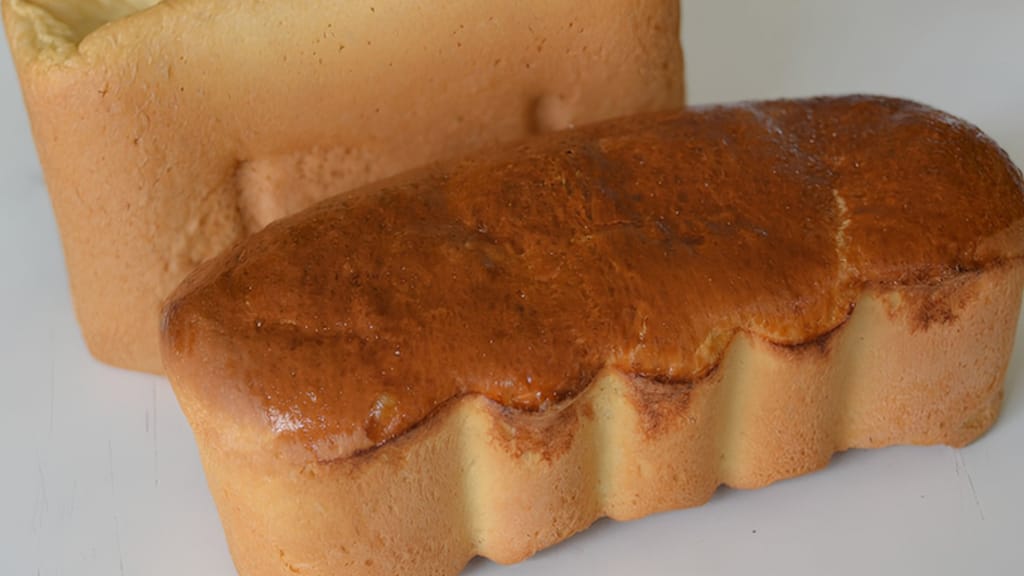
Amazing homemade toast bread
Fluffy bread machine sandwich loaf
You get a crisp, glossy crust if you bake the bread in steam for the first 15 minutes and then release it. When you put the loaf in, pour 100–150 ml boiling water onto a hot pan at the bottom of the oven, after 15 minutes open the door slightly and finish baking dry. Without steam the crust sets too early, the bread doesn't rise and bursts at the side.
You can make steam in a home oven in three ways: a pan with boiling water, ice cubes, or baking in a cast-iron pot.
Pan with water: while preheating, place an old baking sheet or cast-iron skillet on the lowest rack. When you put the bread in, pour boiling water into it and close the door quickly. Watch your face; the steam bursts out fast.
Ice cubes: a handful of ice on a hot baking sheet. It melts more slowly and releases steam for longer.
Cast-iron pot: the steam from the dough stays under the lid, and you need nothing else (see above).
We don't recommend a spray bottle: it gives very little steam, and the hot glass of the oven door can crack when hit with cold water.
In a convection oven, bake the bread for the first 15–20 minutes with top and bottom heat and steam, and switch on the fan only for finishing. The fan spreads the hot air, but it also dries out the surface, so the crust sets before the loaf has risen.
If your oven only has a fan setting, lower the temperature by 10–20°C (20–35°F) (so 210–220°C/410–430°F instead of 230°C/450°F), bake in a covered pot or add steam, and start checking the crust color 5–10 minutes earlier.
Besides steam, a long preheat, proper scoring and the courage to bake dark decide the crust.
Preheat for longer than you think. The oven shows the air temperature, but a baking sheet, stone or pot takes 30–45 minutes to heat through.
Score the loaf 0.5–1 cm (¼–½ in) deep at an angle of about 30°. The cut determines where the bread opens, so it doesn't burst randomly at the side.
Bake it dark. A deep golden brown to chestnut crust tastes best. Pale bread tends to be damp and the crust turns soft once it cools.
At the end you can leave the bread for another 5 minutes in the switched-off oven with the door slightly open. The crust dries out further and stays crisp longer.
Most failed loaves have one of three causes: overproofed or underproofed dough, weak gluten, or too little heat and time in the oven. How your loaf looks tells you what to adjust.
Flat bread has most often overproofed during the second rise: the gluten has relaxed and the loaf spreads as soon as you turn it out.
A warning sign is a finger dent that doesn't spring back at all. Shorten the rise or let it rise in a cooler place.
The dough is too wet for your level of experience. Reduce the water by 20–30 ml until you've learned shaping.
Weak shaping: the surface of the loaf wasn't tight. When shaping, drag it across the counter until it's smooth and firm.
All-purpose flour instead of bread flour – the dough tends to be softer and the loaf flatter.
Dense bread has usually underproofed: the dough hasn't doubled in size or it sat in a cold kitchen. Go by how the dough looks, not by the clock.
Underkneaded dough that didn't pass the windowpane test.
Dead yeast (water that was too hot, or old yeast), or a weak starter that wasn't yet at its peak.
Too much whole wheat or rye flour without adjusting the water and method.
A raw or gummy crumb means short baking, too low a temperature, or bread cut while still hot. Measure the crumb with a thermometer: wheat bread should read 96–98°C (205–208°F), rye 98°C (208°F).
Your oven runs weak. Home ovens often deviate from the set temperature – a cheap oven thermometer will reveal it.
You're slicing it warm. The crumb keeps finishing for another hour after it comes out of the oven, so hot bread cut open looks raw even when it's baked.
With rye bread, acid was missing (sourdough or vinegar), or you're slicing it on the day it's baked.
A pale, soft crust is a sign of short baking, an underheated oven, no steam at the start, or cooling in a closed container. Bread that burst at the side had too little steam, a shallow cut or underproofed dough.
Store homemade bread at room temperature in a linen bag, in a bread box or wrapped in a kitchen towel, cut side down on a cutting board. Wheat bread keeps 2–4 days, sourdough or rye 4–7 days. Don't put it in the fridge, where it goes stale fastest.
Staling isn't drying out, but a process in which the gelatinized starch in the crumb recrystallizes (technically retrogradation). It's fastest at fridge temperatures, while in the freezer it almost stops. That's why bread goes stale in the fridge much faster than on the counter.
A linen bag or bread box lets the crust breathe, so the bread doesn't mold as easily and the crust stays firm longer.
A plastic bag keeps the crumb softer, but the crust goes soft and in warm conditions mold is a risk. It suits pan bread. If you see mold on bread, throw out the whole loaf, not just the green spot – mold grows through the crumb farther than you can see.
Sourdough and rye bread keep longer thanks to their acidity. Rye is usually best on the second and third day.
Freezing: slice completely cooled bread (or cut the loaf in half), wrap it tightly in a freezer bag and press out the air. In the freezer at −18°C (0°F) it keeps its flavor for 2–3 months. You can toast slices straight from frozen. Let a whole loaf thaw in its bag, then refresh it for 5–10 minutes in the oven at 180–200°C (350–400°F). All the ways to thaw bread so it's crisp again are in the article how to thaw bread and baked goods.
Don't throw out stale bread. Sprinkled with water and heated for 5–8 minutes at 180°C (350°F), it comes back to life. What you can't revive, grate into breadcrumbs or cut into croutons.
Scale a bread recipe by ratios to the flour: water 65–70%, salt 2%, fresh yeast 1–2% (or sourdough starter 20%). For 1 kg of flour that means 650–700 ml water, 20 g salt and 10–20 g yeast. Bake a large loaf 10–15 minutes longer and check that it reads 96–98°C (205–208°F) inside.
Add seeds (sunflower, pumpkin, flax, sesame) at the end of kneading, roughly 50–100 g per 500 g flour. Soak flaxseed in twice its weight of water and chia in five times its weight beforehand, otherwise the seeds will draw moisture from the dough and the bread will turn out dry. For a seed crust, dampen the shaped loaf and roll it in the seeds.
You can bake bread without salt, but it will taste bland, and the dough will be slacker and overproof faster, because salt strengthens gluten and slows the yeast. If you're cutting back on salt, reduce it to 1–1.5% (5–7 g per 500 g flour) and shorten the rise, or add flavor with caraway, seeds or herbs.
One recipe worth heating the oven for, one tip, and one deal from the shop. Nothing else.