Classic yeasted plum sheet cake with crumble topping
Proofing Dough: Temperature, Time and the Banneton
Updated Sep 18, 2026
Proofing dough lives and dies by temperature: yeast is happiest at 24–28°C (75–82°F), where the first rise takes roughly 60–90 minutes and the dough doubles in size. Below 10°C (50°F) yeast works only very slowly and proofing can stretch to many hours; above 40°C (104°F) yeast quickly weakens, roughly above 45–50°C (113–122°F) it starts to die off, and at 55–60°C (131–140°F) it's reliably killed — so keep your liquid at 30–35°C (86–95°F). The times given are only a guide, not a rule — what matters is volume and how the dough behaves under your finger. Below you'll find exact temperatures and timings, the finger-poke test, how to use a banneton, and when it's worth letting dough proof overnight in the fridge.
The ideal temperature for proofing dough is 24–28°C (75–82°F). In this range yeast works briskly but not recklessly — the dough has time to develop flavour while you stay in control. Standard yeasted dough will double in volume in 60–90 minutes at this temperature. But yeast isn't an on/off switch — it works across a wide range, and that's what lets you control your timing:
Below 10°C (50°F) — yeast works only very slowly, and proofing can stretch to many hours.
3–5°C / fridge (37–41°F) — a slow overnight rise, 8 to 18 hours, giving the most pronounced flavour.
20–22°C / normal kitchen (68–72°F) — 2 to 3 hours, great flavour, reliable results.
24–28°C (75–82°F) — the sweet spot, 60–90 minutes.
30–35°C (86–95°F) — the fastest yeast activity (its optimum sits around 30–33°C/86–91°F), dough is ready in 30–45 minutes, but the flavour is flatter and it's easy to over-proof.
Above 40°C (104°F) — yeast rapidly loses strength; roughly above 45–50°C (113–122°F) it starts to die off, and at 55–60°C (131–140°F) it's reliably killed.
The same rule applies to the liquid you dissolve fresh yeast in: milk or water at 30–35°C (86–95°F) gets the yeast going nicely; above 40°C (104°F) you quickly sap its strength, and at 55–60°C (131–140°F) you'll kill it outright. If you're not sure, test it with a finger — it should feel lukewarm, like a baby's bath, never hot.
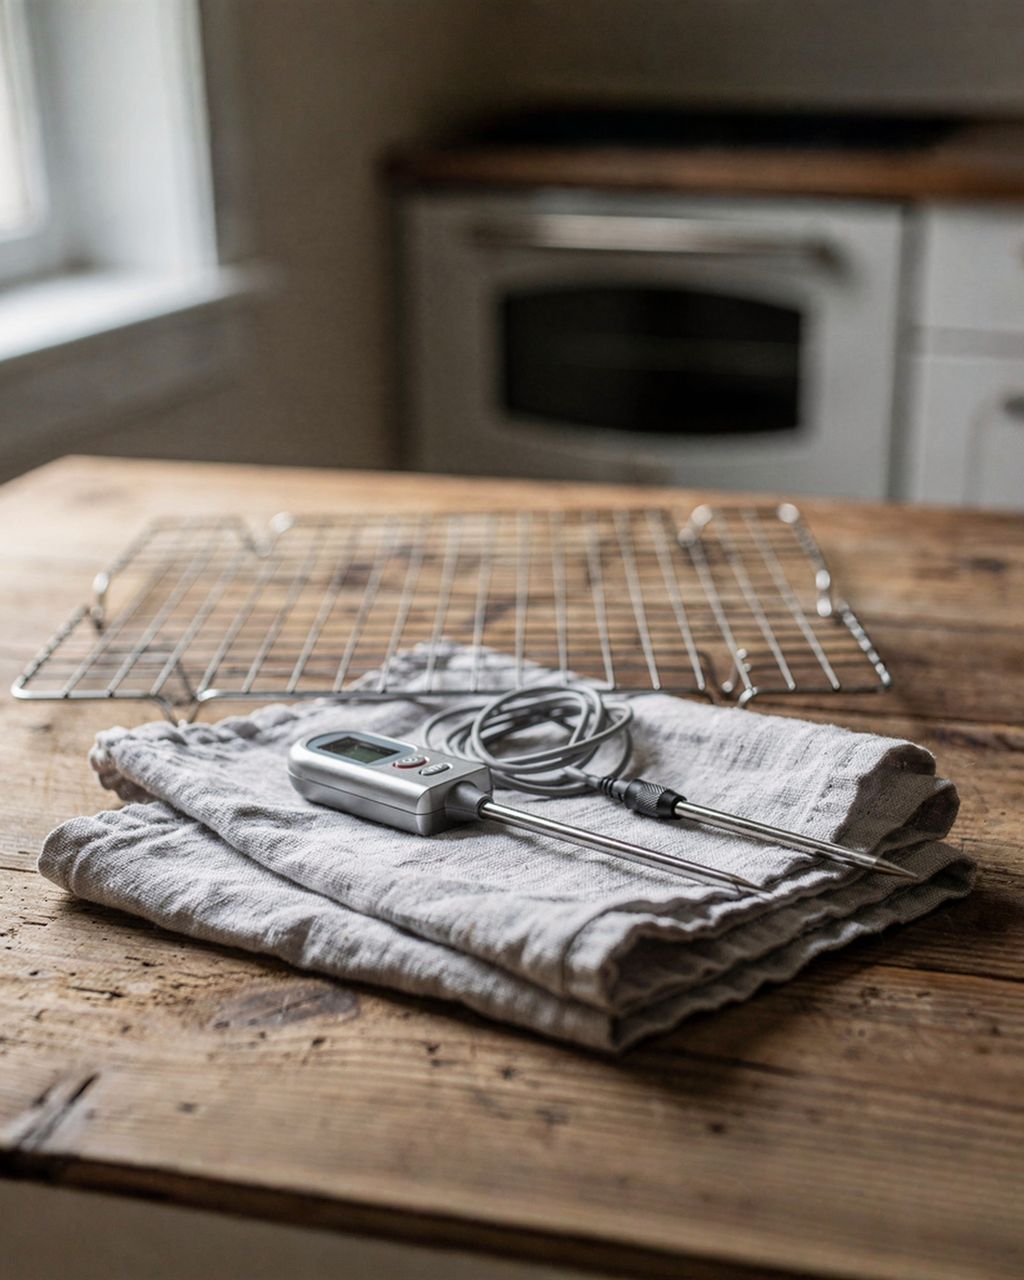
Measure the temperature of the dough, not the air — push a probe thermometer into the middle of the ball straight after kneading. This figure (bakers call it the target dough temperature) is what determines how fast your dough will rise.
You can actually plan this ahead of time. The one thing you can easily control is the temperature of your liquid, and it can be calculated like this:
water temperature = 3 × target dough temperature − room temperature − flour temperature − friction factor
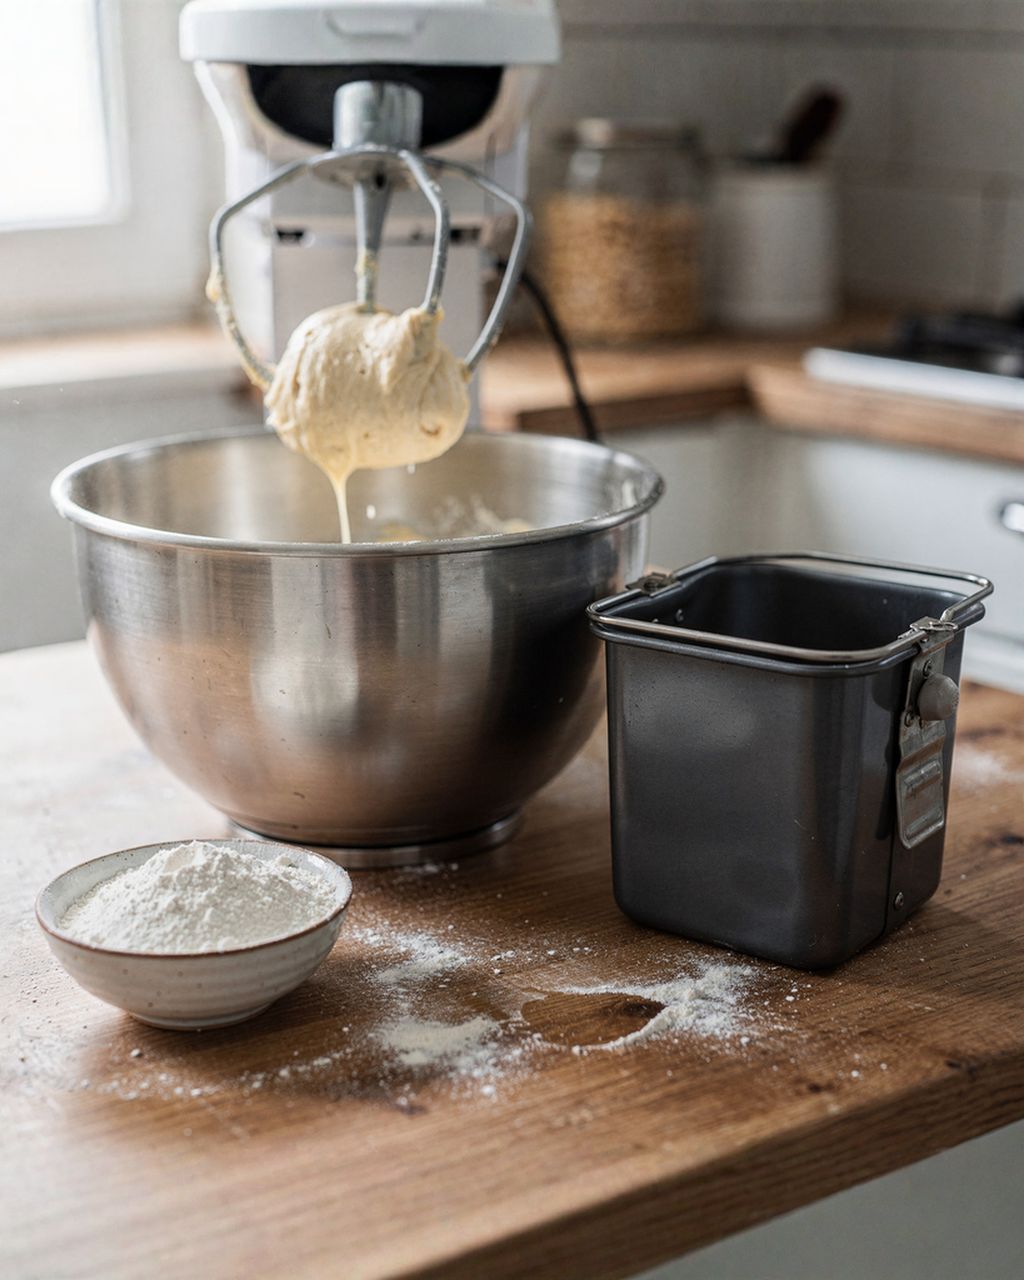
Friction is the heat that kneading itself adds to the dough: hand-kneading adds roughly 3°C (5°F), a stand mixer with a dough hook adds 12–15°C (22–27°F).
Example: you're aiming for 25°C (77°F), your kitchen and flour are both at 21°C (70°F), and you're kneading by hand. That gives you (3 × 25) − 21 − 21 − 3 = 30°C (86°F). With a stand mixer and dough hook, work out 75 − 21 − 21 − 13 = 20°C (68°F), meaning cold tap water.
And where do you proof dough if your kitchen sits at 19°C (66°F)? The safest bet is an oven with the light on and the door shut — it's usually a few degrees warmer inside than the kitchen, so check with a thermometer. A switched-off oven with a mug of boiling water on the bottom also works: the steam stops the surface drying out too.
At 24–28°C (75–82°F), expect 60–90 minutes for the first rise and 30–45 minutes for the second, after shaping. At 20–22°C (68–72°F) roughly double those times; at 30–35°C (86–95°F) halve them. But time is only a guide — what actually matters is volume and how the dough behaves.
What changes the timing:
Fat, eggs and sugar slow things down. Rich doughs like vánočka, mazanec or sweet buns take noticeably longer to rise — easily twice as long as a lean bread dough.
Wholemeal flour speeds things up — it carries more enzymes and nutrients, but holds gas less well, so it over-proofs sooner.
Salt slows things down. That's why you never sprinkle it directly onto yeast; stir it into the flour instead.
The amount of yeast. 20g of fresh yeast per 500g of flour gives a quick rise; 7g is enough for a leisurely three-hour proof.
Instead of watching the clock, mark a level: pop an elastic band round the bowl at the dough's starting height, or proof it in a straight-sided clear container. Once the dough hits double its size, it's ready — whether that took 50 minutes or two hours.
You can tell dough is properly proofed with the finger-poke test — the dent springs back slowly and leaves a shallow indent. It's simple: dust your finger with flour and press it about a centimetre into the dough. How the dent behaves tells you everything:
Springs back quickly and fully — the dough isn't ready yet; give it another 15–30 minutes.
Springs back slowly, leaving a shallow dent — this is exactly the moment to shape or bake it.
Doesn't spring back at all, and the edges start to sink — the dough is over-proofed.
You can also spot over-proofed dough by smell and touch: it smells sharply of yeast, almost boozy, feels sticky, and collapses when you touch it. Don't throw it out — gently fold it over on itself, let it rest 20–30 minutes, and bake it anyway. It'll turn out flatter and paler, but still perfectly edible.
The second rise is always shorter than the first, and should stop at roughly one and a half times its volume, not double — you leave the rest of the rise to happen in the oven. Rolls, buns and sweet cakes need just 30–45 minutes at 24–26°C (75–79°F); rich sweet dough can take a full hour.
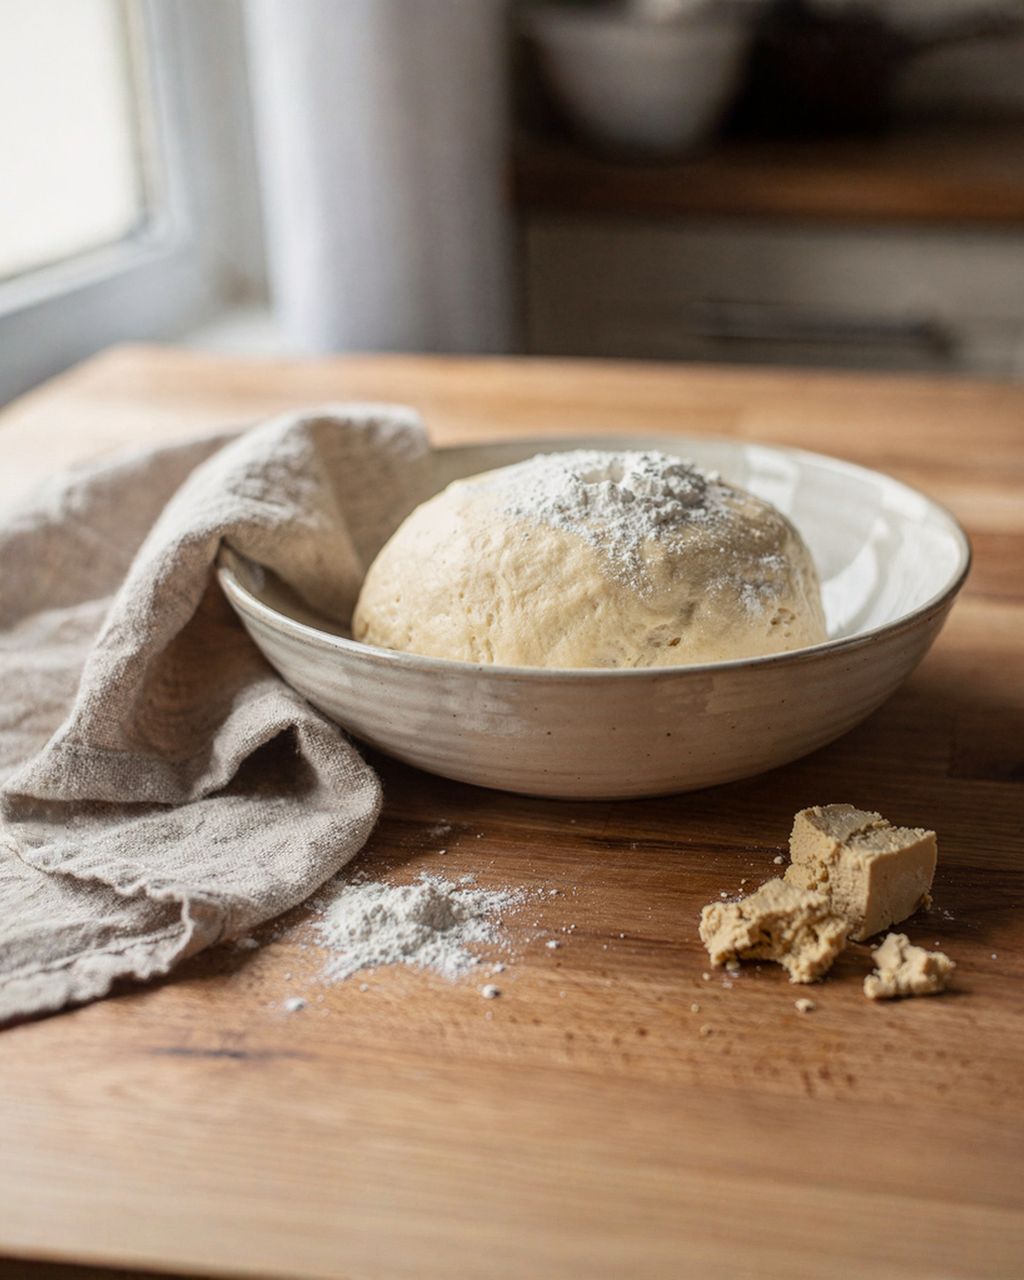
Between the first and second rise, work the dough gently: fold it down without rolling it flat. This knocks out the big bubbles, redistributes food for the yeast, and gives you a finer, more even crumb. Meanwhile keep the surface from drying out — a tea towel, plastic wrap, or an upturned bowl all work. A dried-out crust won't stretch in the oven, and the loaf will crack along the side.
You'll find detailed ratios and methods for each type of dough in our guide to yeasted dough and its basic ratios, and for sweet versions in our article on yeasted dough for buns and dumplings.
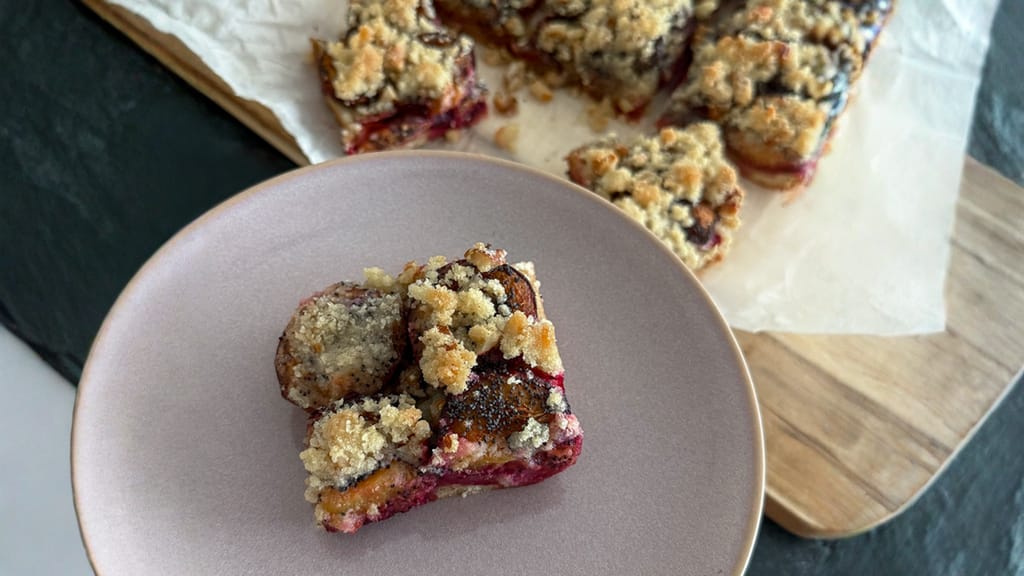
Classic yeasted plum sheet cake with crumble topping
Proofed dough in action: classic plum tray bake with crumble topping
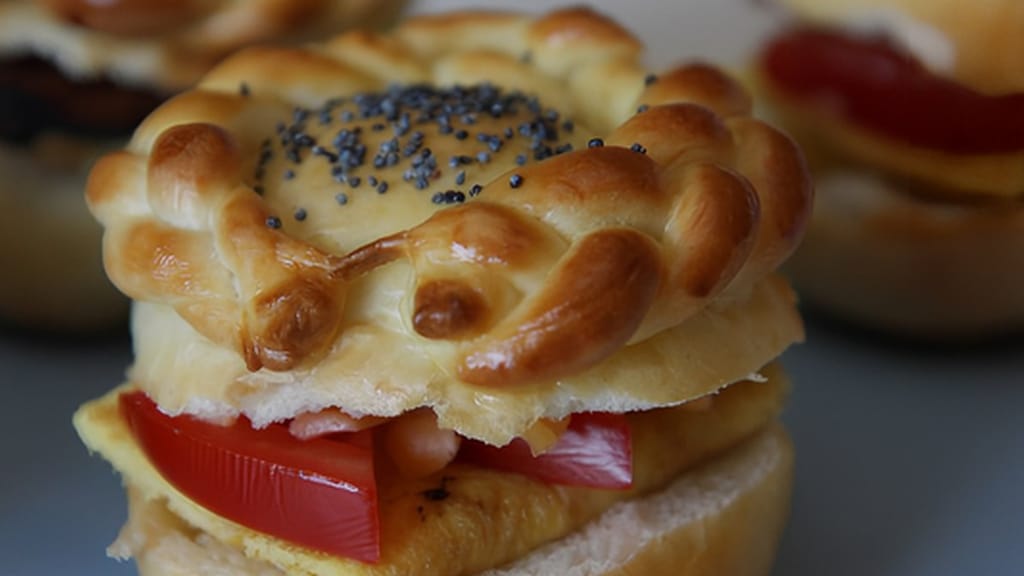
Bread rolls – not just for breakfast
Homemade rolls from yeasted dough — perfect for practising the second rise
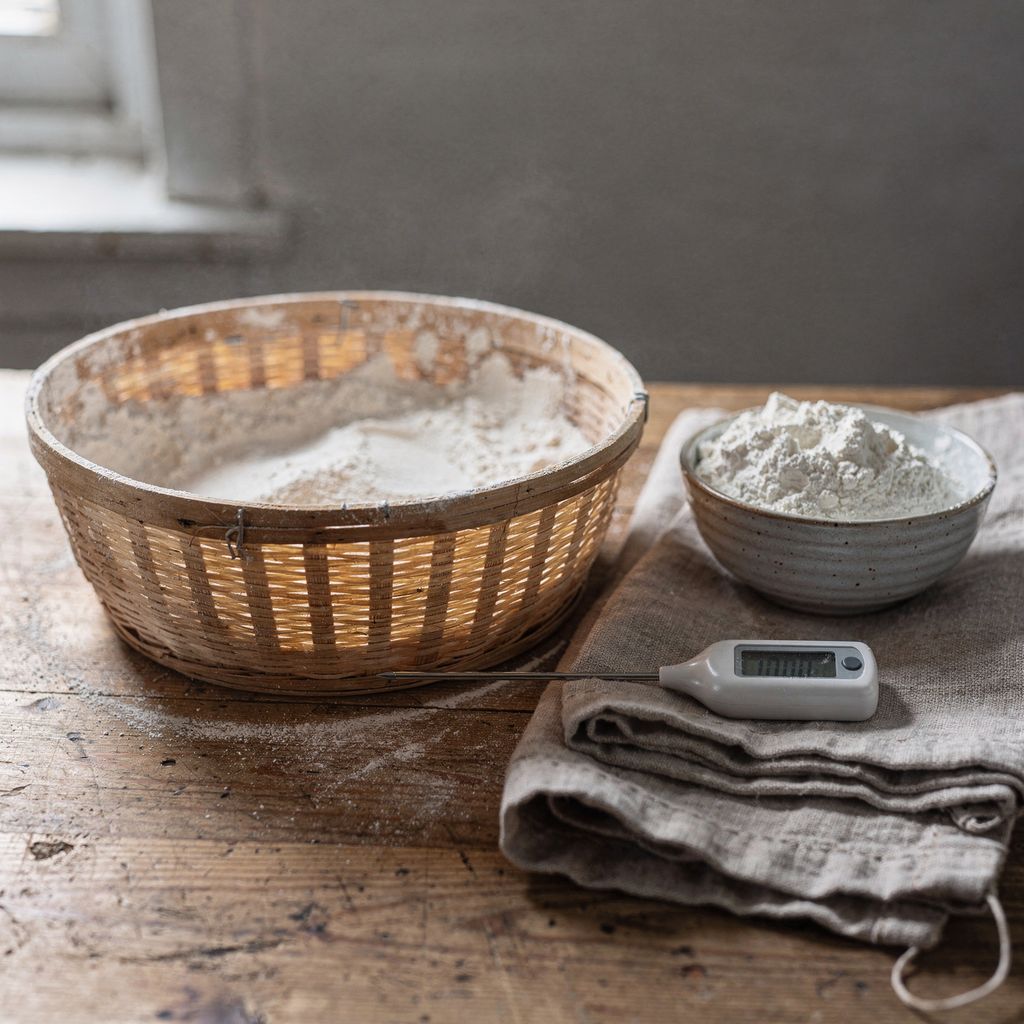
A banneton is a basket, made of rattan or pressed wood pulp, that lets a shaped loaf hold its rise without slumping into a flat puddle. It keeps the shape, dries out the dough's surface (which helps give a crisp crust), and leaves the loaf with those signature ring markings. It's used only for the second rise, after shaping.
How to use one:
Dust the banneton generously with flour — right into the grooves, not just on the surface.
Place the shaped loaf seam-side up. The smooth side, which will face up in the oven, sits against the bottom of the banneton.
Cover with a tea towel, or slide the banneton into a plastic bag, and let it rise 45–75 minutes at room temperature, or 8–18 hours in the fridge.
Turn it out onto baking paper or a peel, score with a blade, and bake straight away.
Choose the size to match your dough: a loaf made from 500g of flour suits a 20–22cm banneton, while a kilo of dough needs a 25cm one. Too big and it won't hold the shape; too small and the dough will bulge over the rim.
A rattan banneton gives a drier, crispier crust with pronounced ring marks; a wood-pulp one draws out more moisture and suits very wet doughs. The difference comes down to surface and upkeep:
Rattan — the gaps between the coils let the dough breathe, giving a drier, crispier crust. It leaves distinct concentric rings. Lasts for years, and cleans up with a brush. Willow-wicker bannetons look similar but have a coarser, more delicate weave, so handle them more gently when cleaning.
Pressed wood pulp (brotform) — a smooth, continuous surface that draws in moisture. Good for very hydrated doughs, and the dough releases cleanly even the first time you use it. It's more delicate, though, and harder to clean.
Pick the shape to match your oven and tin: round for a loaf baked in a pot or on a baking stone, oval for a longer loaf that slices neatly into sandwich-sized pieces.
The most reliable choice is rice flour, because it contains no gluten and won't form a sticky layer with the dough — it stays dry like a powder. A well-proven, cheaper option is a 1:1 blend of rice flour and plain wheat flour.
What to watch out for:
Never grease a banneton with fat or oil — the dough will stick even more, and the weave will turn rancid.
Dust the banneton only when it's completely dry, and tap out any excess. A damp basket is a guaranteed sticking hazard.
Before using a new banneton for the first time, lightly mist it with water and dust it with flour; the flour lodges in the grooves and builds up a basic non-stick layer.
After baking, let the banneton air-dry completely before putting it away. Brush out any leftover bits of dough dry, with no soap and no dishwasher.
No banneton? Line a colander or bowl with a tea towel (linen works best) and dust it generously with the same flour.
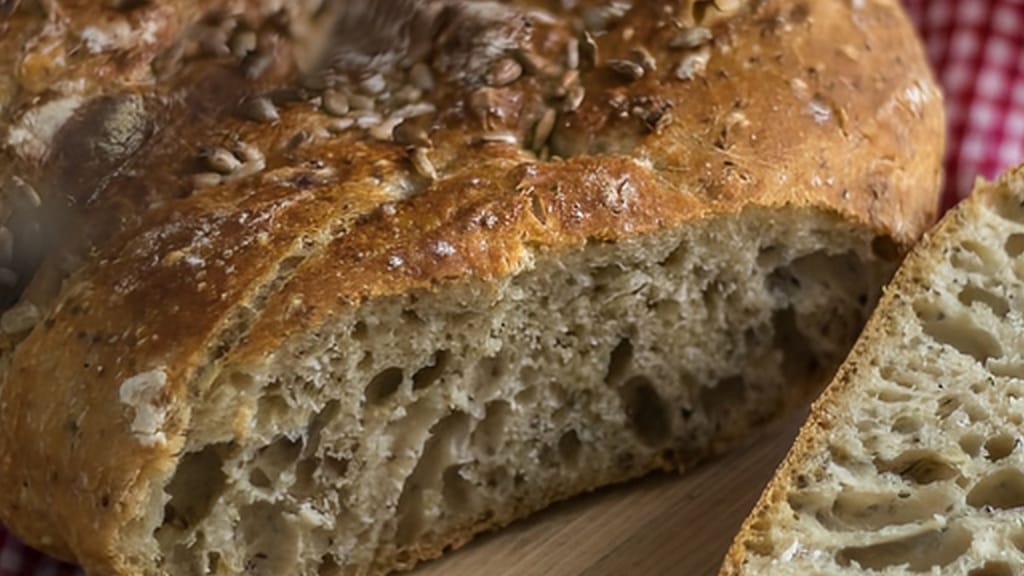
Homemade bread
Homemade bread — a great recipe for practising banneton proofing
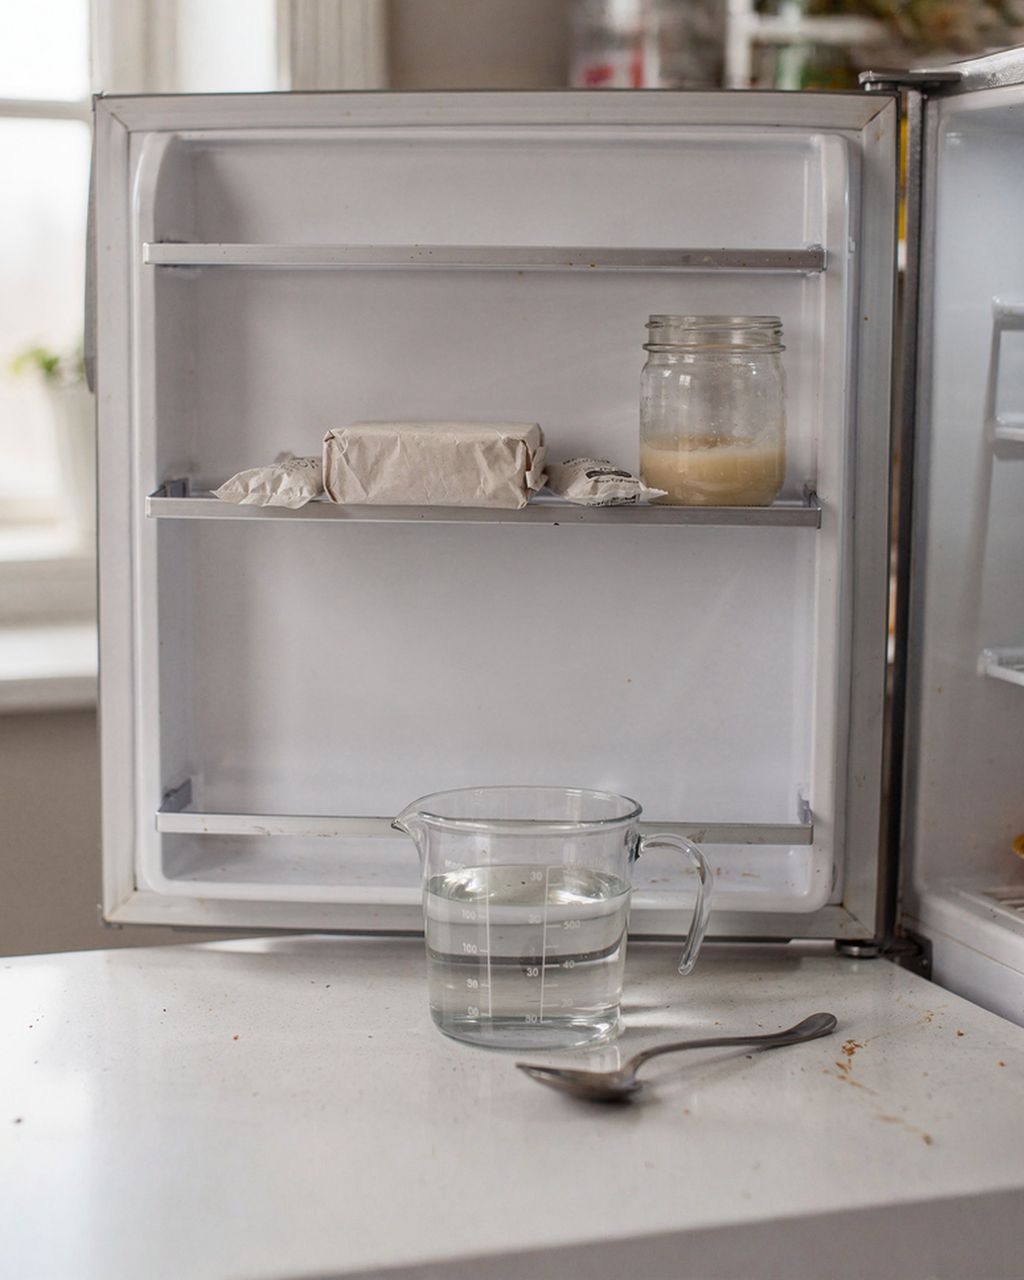
Proofing in the fridge at 3–5°C (37–41°F) takes 8 to 18 hours and gives dough noticeably more flavour. In the cold, yeast slows right down and works away steadily over a long stretch — and that's exactly what builds a depth of flavour a quick, hour-long rise can't match. It also spreads out the work: mix the dough in the evening, bake in the morning.
How to do it:
Cut back the yeast to a quarter or a sixth of the usual amount (3–5g fresh yeast per 500g flour). With a full dose, the dough will over-proof in the fridge.
Put the dough in the fridge already shaped in the banneton, wrapped in a bag so it doesn't dry out.
Bake it straight from the fridge. Cold dough scores more cleanly, holds its shape, and rises more dramatically in the oven.
Don't push it too long. After roughly 18–24 hours the gluten network starts to break down, the dough turns wet, and the loaf will spread and lose its shape.
The same trick is homemade pizza's best friend: dough left in the fridge for 24 hours gives a stretchier base and a deeper flavour.

The perfect homemade pizza
The perfect homemade pizza — dough from a slow, cold fridge rise
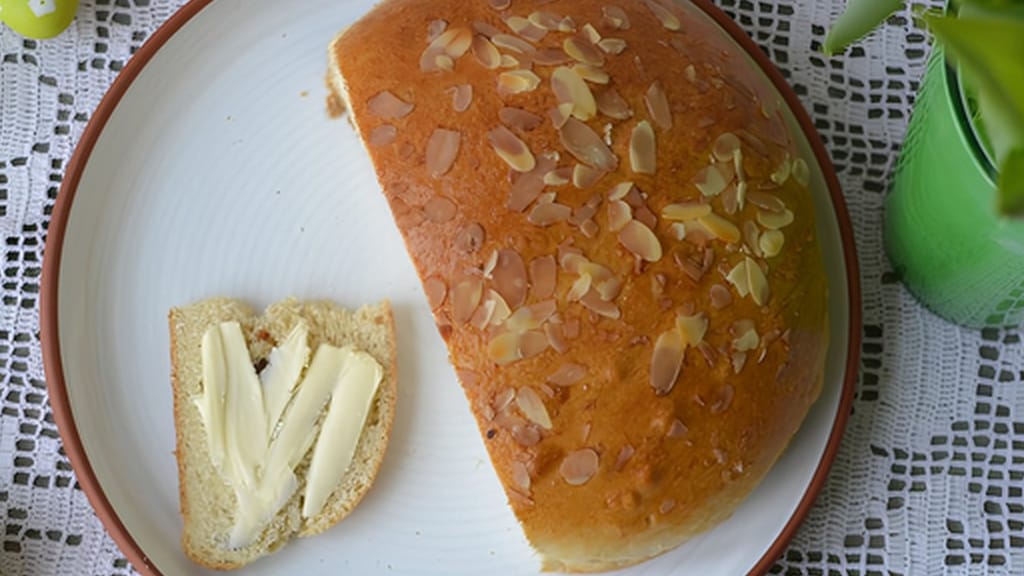
Easter classic: fragrant mazanec bread
Easter mazanec: a rich yeasted dough that needs extra time
Five mistakes trip up proofing more often than any others: liquid that's too hot, salt sprinkled straight onto the yeast, old or badly stored yeast, a cold kitchen with no adjustment to the plan, and a dough surface left to dry out. All of them are easy to avoid once you know what to look for:
Liquid that's too hot. Above 40°C (104°F) yeast rapidly weakens, roughly above 45–50°C (113–122°F) it starts to die off, and at 55–60°C (131–140°F) it's reliably killed — so keep your liquid at 30–35°C (86–95°F).
Salt straight onto the yeast. It dries out the yeast before it gets a chance to work. Always mix salt into the flour instead.
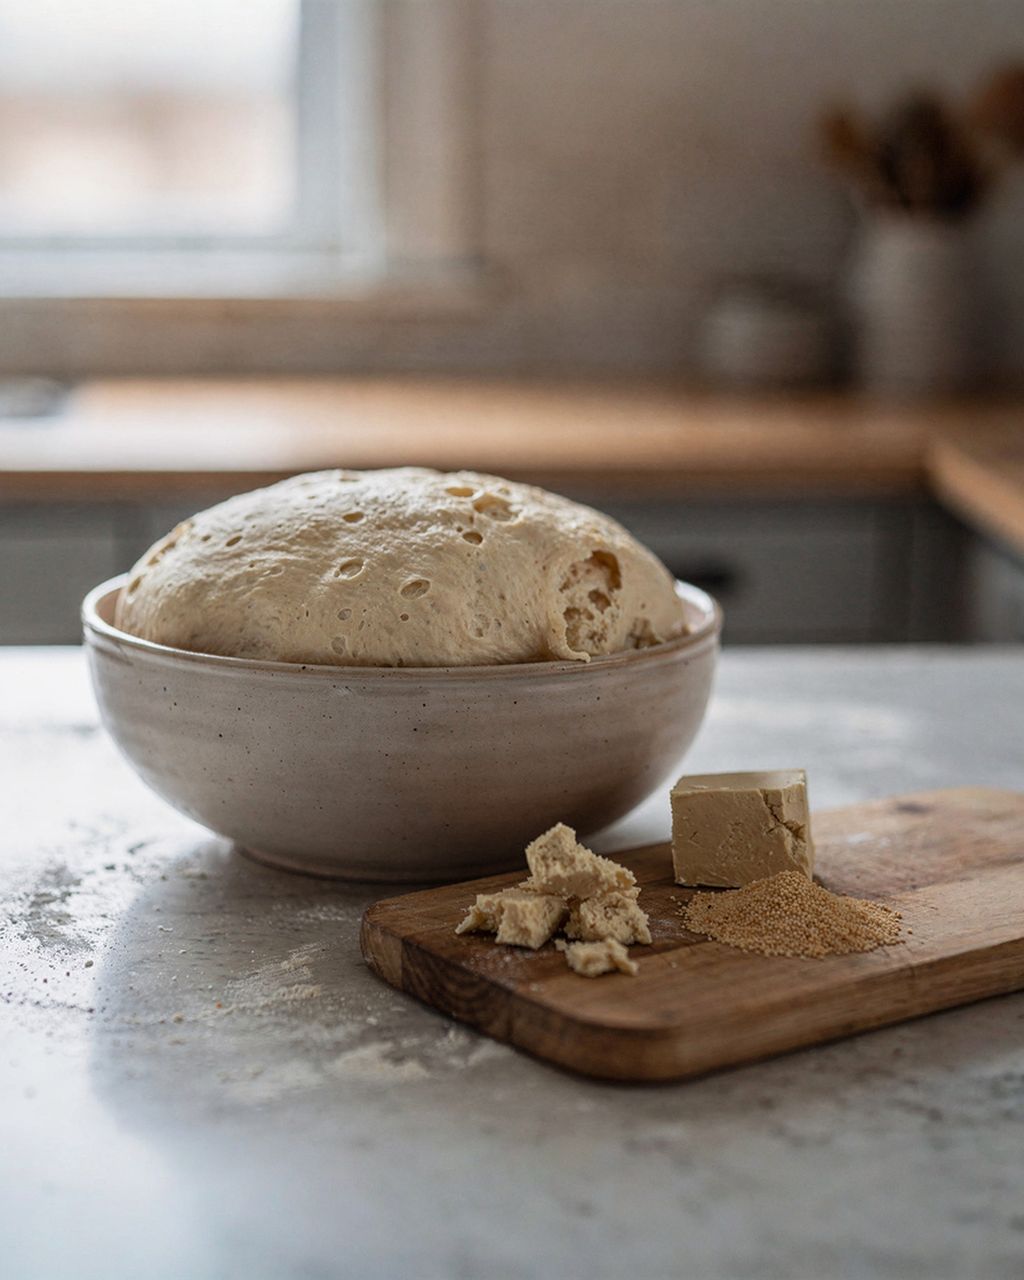
Old or badly stored yeast. Fresh yeast should be creamy, pliable and smell like beer; if it's crumbly and turning brown, don't buy it. Dried fast-action yeast loses strength once opened, so use it up within a few months.
A cold kitchen with no adjustment to the plan. At 18°C (64°F) dough will still rise, it just needs three hours instead of one. Don't add more yeast — add more time.
A drying-out surface. Uncovered dough forms a crust that won't stretch in the oven. Always use a tea towel, plastic wrap or an upturned bowl.
And one thing that isn't a mistake: the idea that "dough has to proof somewhere warm, tucked up under blankets" is a myth. A cooler, longer rise almost always gives better flavour and texture than a hot, rushed one.
Yes, but only freeze it after the first rise and once it's been shaped. Place the shaped pieces on a tray, freeze them individually, then transfer to a bag; they'll keep for roughly 1–3 months. Thaw overnight in the fridge, then let them come back to life for 60–90 minutes at room temperature before baking. Freezing kills off some of the yeast, so if dough is destined for the freezer, add about a quarter more yeast than usual.
Collapsing in the oven almost always means over-proofed dough — the gluten network can no longer hold the gas and gives way in the heat. After shaping, let it rise only to about one and a half times its volume and bake while a poked dent still springs back slowly. A sharp blade score also helps: it gives the gas somewhere to escape, so the loaf spreads upward instead of caving in.
A small amount of sugar (1–2% of the flour weight) kick-starts the yeast by giving it an instant food source. A larger amount, typical of rich festive breads like vánočka or mazanec, actually slows proofing down — sugar binds water and takes it away from the yeast. For sweet, buttery doughs, plan on a longer rise and add time, not more yeast.
Yes, but only as a warm, humid chamber — never switch the microwave on with the dough inside. Heat a mug of water to boiling inside it (2–3 minutes), leave the water in there, place the bowl of dough alongside it and close the door: the sealed, steamy space stays gently warm and stops the surface of the dough drying out. A running microwave heats unevenly, and in the hot spots the yeast will die while other patches turn soggy.
Yes — 30 minutes in the fridge just before baking firms up the surface, so the loaf slides out of the banneton in one piece and scores more cleanly. This works even for dough that proofed at room temperature: just slip the banneton, bag and all, into the fridge at the end of the second rise and bake it straight from cold.
One recipe worth heating the oven for, one tip, and one deal from the shop. Nothing else.