Banana bread
How to Grease a Baking Pan: Cake, Ceramic, Silicone and Loaf Pans
Updated Nov 17, 2026
How you grease a baking pan depends on two things: what the pan is made of and what you're baking in it. The general rule is a thin layer of soft butter or oil, a dusting of flour, and parchment paper on the bottom. But sponge cake wants dry sides, a loaf loves a parchment "cradle," ceramic and stoneware need a thorough greasing, and silicone usually needs nothing at all. Below you'll find a rundown by pan type, with an explanation of why each one works the way it does.
Grease the pan to suit the material and the batter: metal gets butter and flour plus parchment on the bottom, sponge cake gets parchment only, and silicone usually gets nothing.
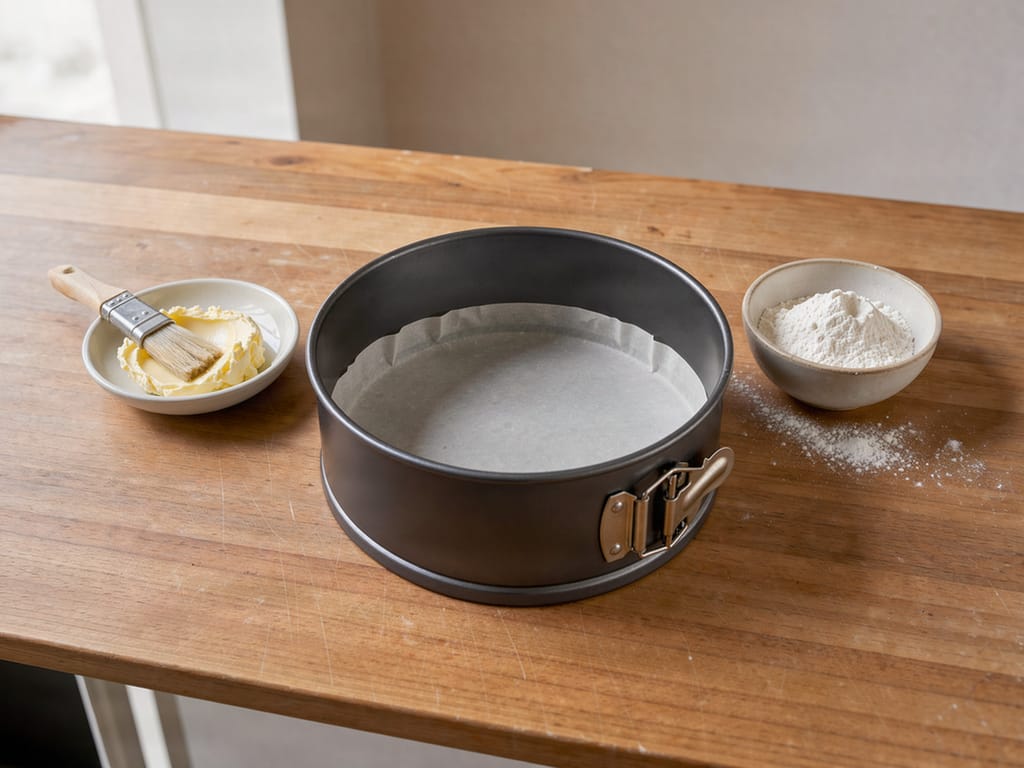
Cake pan (butter, creamed or chocolate cake layers): line the bottom with parchment paper, grease the sides with butter and dust with flour (use cocoa for chocolate cakes).
Cake pan for sponge cake: parchment on the bottom only, don't grease the sides at all.
Cheesecake pan: parchment on the bottom and a strip of parchment around the sides, or lightly grease the sides.
Loaf pan and fruit loaf (biskupský chlebíček): grease with butter or oil and lay a strip of parchment across the long side so it overhangs like handles.
Ceramic pan: butter it thoroughly into every corner, then add flour or breadcrumbs.
Stoneware (unglazed) pan: use oil or butter, not spray; more at first, less over time.
Silicone pan: usually nothing; for a new pan and fine patterns, a thin film of oil or butter.
Muffin tin: paper liners, or butter and flour in every cup and on the rim.
Tart pan: you usually don't need to grease shortcrust; for blind baking, use parchment and pie weights.
I'm leaving Bundt pans out here on purpose, as they have their own guide: what to dust a Bundt pan with so it doesn't stick. And if you're dealing with a flat baking sheet for cookies rather than a pan, see the comparison of parchment paper, silicone mat or a greased baking sheet.
Seasonal baking plans, tested recipes and kitchen tricks that save you time. Unsubscribe in one click.
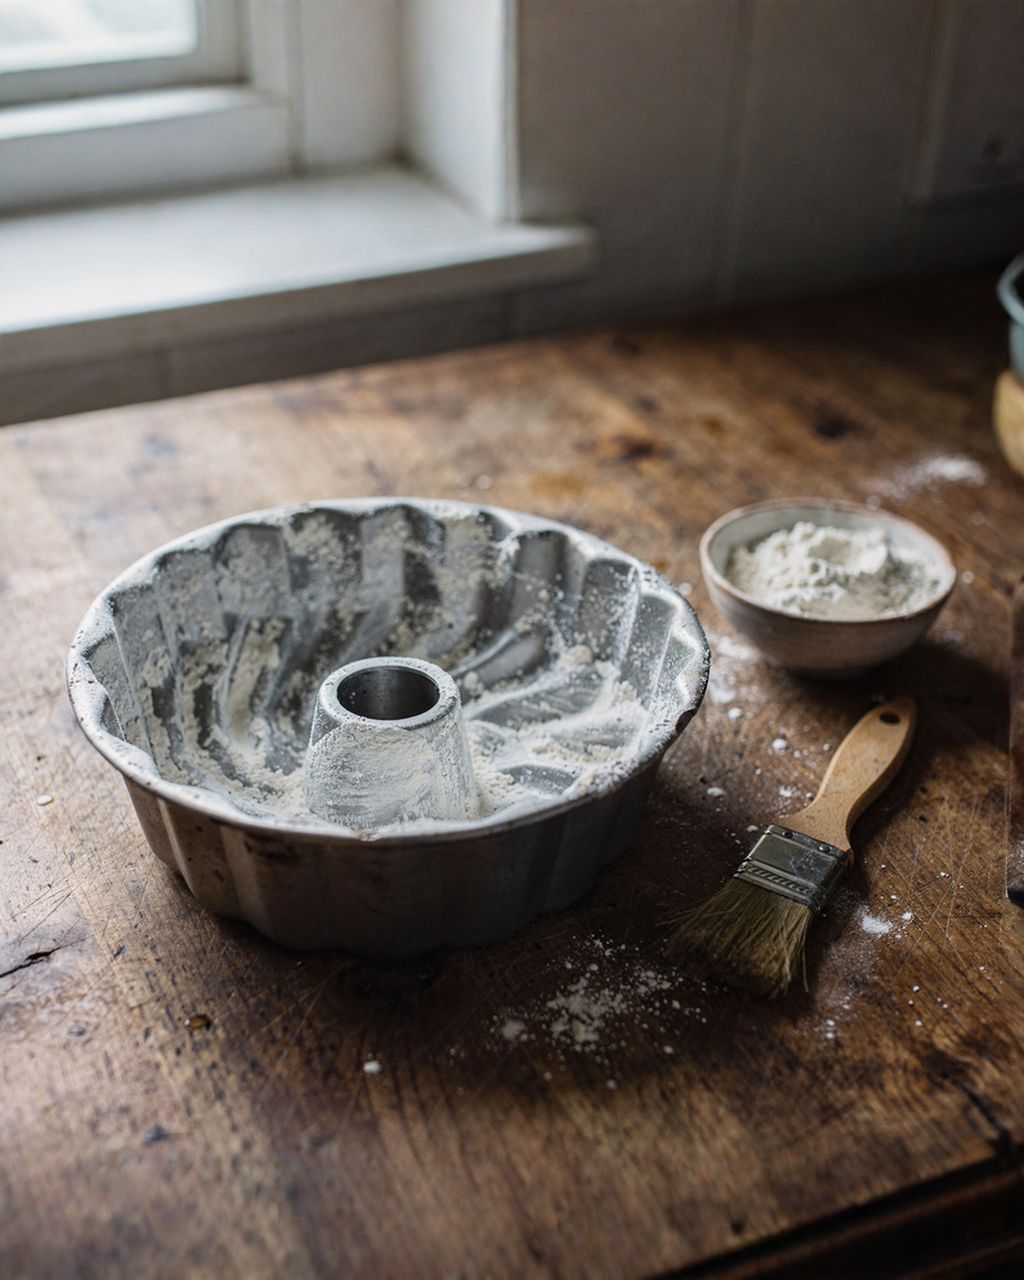
The most reliable combination for most pans is soft butter + flour + parchment on the bottom. Each component does something different:
Butter holds the flour in place and gives the crust flavor and color. Spread it on softened with a pastry brush or paper towel, not melted: melted butter runs down to the bottom and leaves bare patches on the sides.
Oil is pure fat, so it doesn't scorch under the batter. It suits loaves, savory bakes and stoneware. Flour doesn't cling to it quite as well as to butter.
Flour turns the fat into a dry layer that the batter slides off as it cools. Always tap out the excess, or you'll end up with a white coating on your cake. For dark cakes, use cocoa instead, and for savory pans, breadcrumbs.
Parchment paper is your insurance on the bottom. No fat releases the whole base as reliably, and the base is where things stick most.
Baking spray is quick, but be careful with it on a nonstick surface. It bakes on there into a sticky film (lecithin and the propellant play a part). Makers of nonstick cookware (KitchenAid, for example) therefore don't recommend aerosol sprays, and makers of unglazed stoneware such as Pampered Chef advise much the same.
For a cake pan, most often a springform with a removable rim, line the bottom with parchment, then grease the sides with butter and dust with flour. This applies to butter, creamed, quark and chocolate cakes.
Set the pan on parchment paper, trace the bottom with a pencil, and cut out the circle a few millimeters smaller.
Dab a little butter on the bottom so the paper doesn't slide, and press the paper down.
Brush the sides with a thin layer of soft butter all the way up to the top edge.
Add a tablespoon of flour, then turn and tap the pan until the flour coats the whole side. Tap the excess out over the sink.
If you want straight, clean sides (for a cake you'll be covering, say), add a strip of parchment around the sides too. It sticks to the butter by itself. Baking in a cake ring instead of a springform? There the main worry is batter leaking out the bottom: set the ring on a baking sheet lined with parchment and wrap the bottom edge tightly on the outside with aluminum foil, up over the rim of the ring. Grease the sides just as you would for a springform. And if you have no cake pan at all, our article on what to use instead of a cake pan will help.
A sponge cake pan gets parchment on the bottom only, because whipped batter "climbs" up the dry sides as it bakes. A classic sponge is held up mainly by the air whipped into the eggs. It has little or no fat, so it needs dry sides to grip. On dry metal the batter catches and rises tall and level. On a greased side it slides back, stays lower and often sinks in the middle. This holds even for sponges with a little melted butter, like génoise, or a teaspoon of baking powder.
After baking, let the sponge cool for a while, run a thin knife around the edge, and only then remove the ring. How many eggs to use, how long to whip and how to handle the pan is covered in detail in sponge cake batter: the ratio of eggs, sugar and flour. You can try it right away on a light and airy génoise sponge layer.
For cheesecake, line the bottom with parchment and either wrap the sides with a strip of parchment or just grease them lightly. The creamy filling shrinks as it cools. If the edge sticks to the wall while the center sinks, the filling tears and a crack appears.
There are two approaches for the sides:
A strip of parchment or lightly greased sides: the edge releases freely as the cake shrinks. This is the safer choice in a home oven.
Dry sides: the batter grips them while baking and the cheesecake rises higher. But then run a thin knife around the edge as soon as it comes out of the oven, so nothing tears as it cools.
A base with a cookie crust always goes on parchment, or you won't be able to move it onto a plate. For a Basque cheesecake, the pan is lined with crumpled parchment with an overhang past the rim; those rippled, browned edges are part of the charm. The same goes for quark cakes such as quark cake with salted caramel and peanuts or a Halloween cheesecake: parchment on the bottom saves you a lot of stress when you move it.
Grease the loaf pan with butter or oil and lay in a strip of parchment across the long side with an overhang, so two "handles" stick out at the sides. You can then lift the loaf out by them, even if the shorter ends have stuck a little.
Yeast bread: oil is enough, more is fine, followed by rolled oats, seeds or coarse flour. The crust will be crisper and the bread will slide out. Try it with a homemade loaf.
Sweet loaves (biskupský, banana, egg white loaf with nuts): butter, flour and a parchment cradle. Sugar caramelizes on the walls and sticks far more than bread dough does.
Corners: a loaf pan has sharp corners, and that's exactly where the batter sticks most often. Grease them separately with a brush.
You can stick the parchment to the sides with butter; if you crumple it first and then smooth it out again, it will settle into the corners more easily.
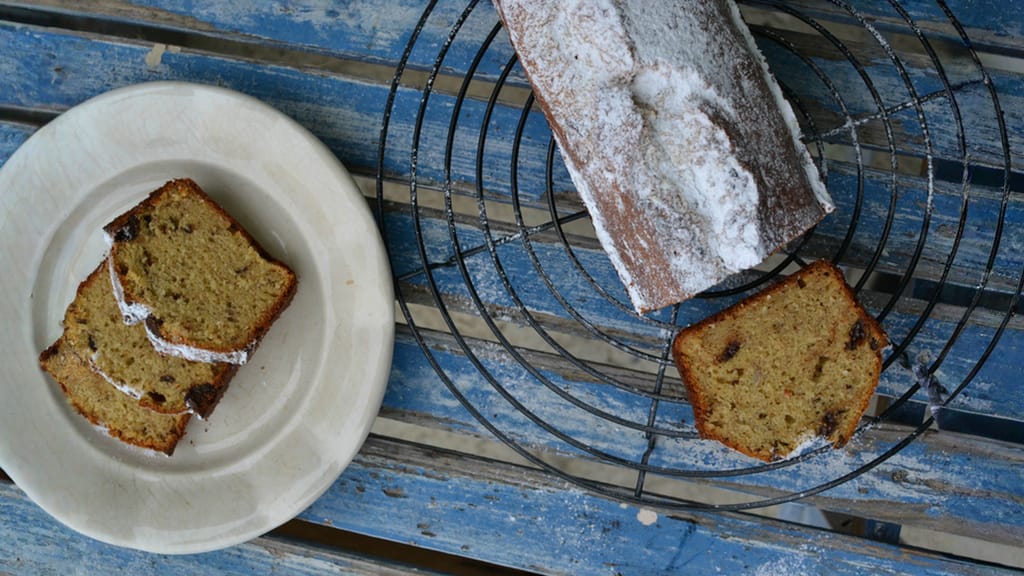
Banana bread
Banana bread: a recipe for a greased loaf pan lined with parchment
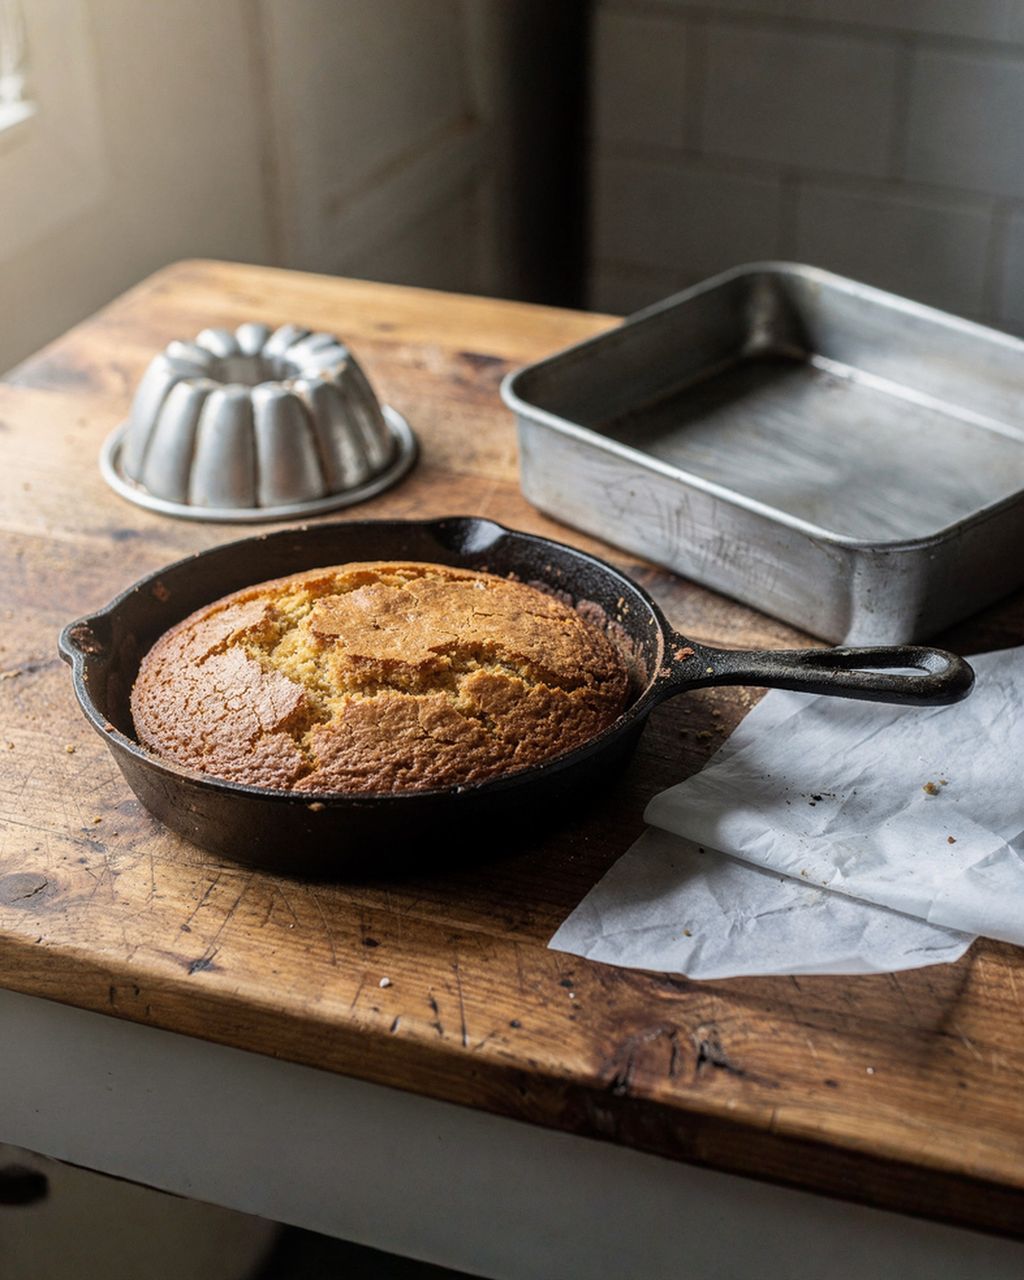
For a glazed ceramic pan, butter it thoroughly into every nook and dust with flour, or breadcrumbs for savory dishes. The glaze looks smooth, but it isn't nonstick, and ceramic heats more slowly than a metal pan. The bottom stays cooler for a long time, so the batter has time to cling to it before the crust sets.
For fluted and patterned pans, use a brush rather than your finger. An ungreased groove means a torn-off piece.
Leave the bake to rest for about ten minutes after baking. Ceramic holds heat for a long time, and a hot bake is fragile, while a lukewarm one releases more easily.
Unglazed stoneware is greased differently: it's porous and gradually soaks up fat. For the first few bakes, grease it more generously with oil and skip the spray; makers such as Pampered Chef write that the sticky film from spray bakes into the pores. It gradually darkens and sticks less and less.
Makers of ceramic and stoneware also warn about thermal shock: don't put a cold pan straight from the fridge into a hot oven. You'll find exact instructions on the packaging or in the manual for your pan.
You usually don't need to grease a silicone pan. Silicone is naturally nonstick, and you can simply pop the finished bake out. The exceptions:
A new pan: according to manufacturers, it's enough to wash it in warm water with dish soap and dry it. Some also recommend baking the first time over a thin film of fat.
Fine patterns and deep shapes: a thin film of oil or soft butter, applied with a brush. The details then come out sharp.
Very sweet or sticky batters (caramel, fruit on the bottom): grease lightly.
Always set a silicone pan on a baking sheet or rack, because it sags when filled. Turn the bake out only after it has cooled, as a warm one tears. And stay within the maximum temperature given by the maker of your pan.
For muffins you have two options: paper liners, or butter and flour in every cup. Liners are quicker and the muffins are easier to carry. Which liner suits what is covered in paper, foil or tulip muffin liners.
If you bake without liners, grease the top surface of the tin around the cups too. The muffin rises over the edge, and the "top" sticks right there. After baking, let the tin rest for five minutes, run a knife around each muffin and turn them out. Currant yogurt muffins work well for this.
A tart pan with a fluted edge and removable bottom usually doesn't need greasing: shortcrust has so much butter that it releases by itself. If the pan is old and scratched, or the dough has a lot of sugar, brush it with just a very thin layer of butter.
For blind baking, line the rolled-out dough with parchment (crumpled first so it settles into the ridges) and weigh it down with dried legumes or ceramic baking beads. To remove the finished tart, set the pan on top of a mug and let the rim slide down. Try it with a chocolate tart with salted caramel.
A bake most often sticks because of melted butter instead of soft, missing parchment on the bottom, or bad timing when turning it out. All five common causes:
Melted butter instead of soft: it runs down to the bottom and leaves the sides bare.
Skipped parchment on the bottom: the bottom is where things stick most, and fat alone may not hold it.
Too early or too late: a hot bake is fragile and tears, while a fully cooled one sticks again, especially the sugar in a caramelized crust. The ideal is 5–15 minutes after it comes out, depending on size.
A scratched nonstick surface: the nonstick no longer works there, and it behaves like plain metal.
Spray buildup: a sticky film that even dish soap won't wash off turns the pan into Velcro.
Yes, clarified butter sticks even less than regular butter, because it contains no water or milk proteins, which scorch under the batter. Brush it on in a thin layer just like regular butter, then dust the pan with flour.
It depends on the dough or batter: for a pourable or creamed cake, use butter and flour or parchment on the bottom; for a yeast dough, butter or oil is enough; and shortcrust usually needs nothing. If there's fruit or a lot of sugar on the bottom, always line it with parchment, because juice and sugar caramelize and stick. With a ceramic pie dish, grease more thoroughly than you would a metal one.
Grease the loaf pan with butter, dust lightly with flour, and lay a strip of parchment paper across the long side with an overhang at both ends. Banana batter is moist and sweet, and the sugar caramelizes on the walls and sticks more than in an ordinary loaf. The parchment handles then let you lift the whole loaf out after ten to fifteen minutes.
A metal quiche pan with a buttery shortcrust usually doesn't need greasing, but a ceramic dish should be lightly buttered. Ceramic heats more slowly, and any egg filling that seeps under the crust will stick to the bottom. If you blind bake the crust, the bottom sets and sticks far less. You can try it with a whole-grain quiche with broccoli and smoked ham.
One recipe worth heating the oven for, one tip, and one deal from the shop. Nothing else.