Autumn pumpkin cupcakes
Halloween Cupcakes and Cakes, Step by Step
Updated Sep 18, 2026
Halloween cupcakes and cakes come down to four steps done in the right order: bake a dense-enough sponge, whip a frosting that holds its shape, tint it with gel colour, and only then decorate. Most collapsed spiderwebs and droopy mummies happen because that order gets flipped — the decoration gets planned before anyone checks whether the frosting can actually support it. Below is the full method with temperatures, times and ratios, plus six designs you can pull off with zero cake-decorating experience.
Break those four intro steps down into practice and you get six stages — cooling the sponge and storage get added in. Active work takes 60–75 minutes, but with sponge cooling and colour resting, plan on 4–5 hours total — or tint the frosting a day ahead and let it rest overnight.
Bake the sponge — cupcakes at 175°C for 18–22 minutes, cake layers 25–35 minutes depending on the tin size.
Let it cool completely — at least 60 minutes; the sponge needs to be cold to the touch.
Whip the frosting so it holds its shape: American buttercream, Swiss buttercream or ganache.
Tint it with gel colour and let it rest 1–2 hours (ideally overnight for black and purple) so the shade deepens fully.
Decorate — large areas first, then details, and crunchy toppings last.
Chill and store according to the frosting type (2–3 days in the fridge).
The one step you can't rush is step 2. A warm sponge will melt the frosting from underneath, and your mummy will slump into a puddle within half an hour — even if it looked perfect right after decorating.
A denser, moister batter — cocoa, pumpkin or carrot — works best for Halloween cupcakes, since it can support 40–50 g of frosting on top without caving in. A light, airy sponge is the wrong choice for Halloween: the frosting sinks into it and the decoration collapses.
What to keep in mind while baking:
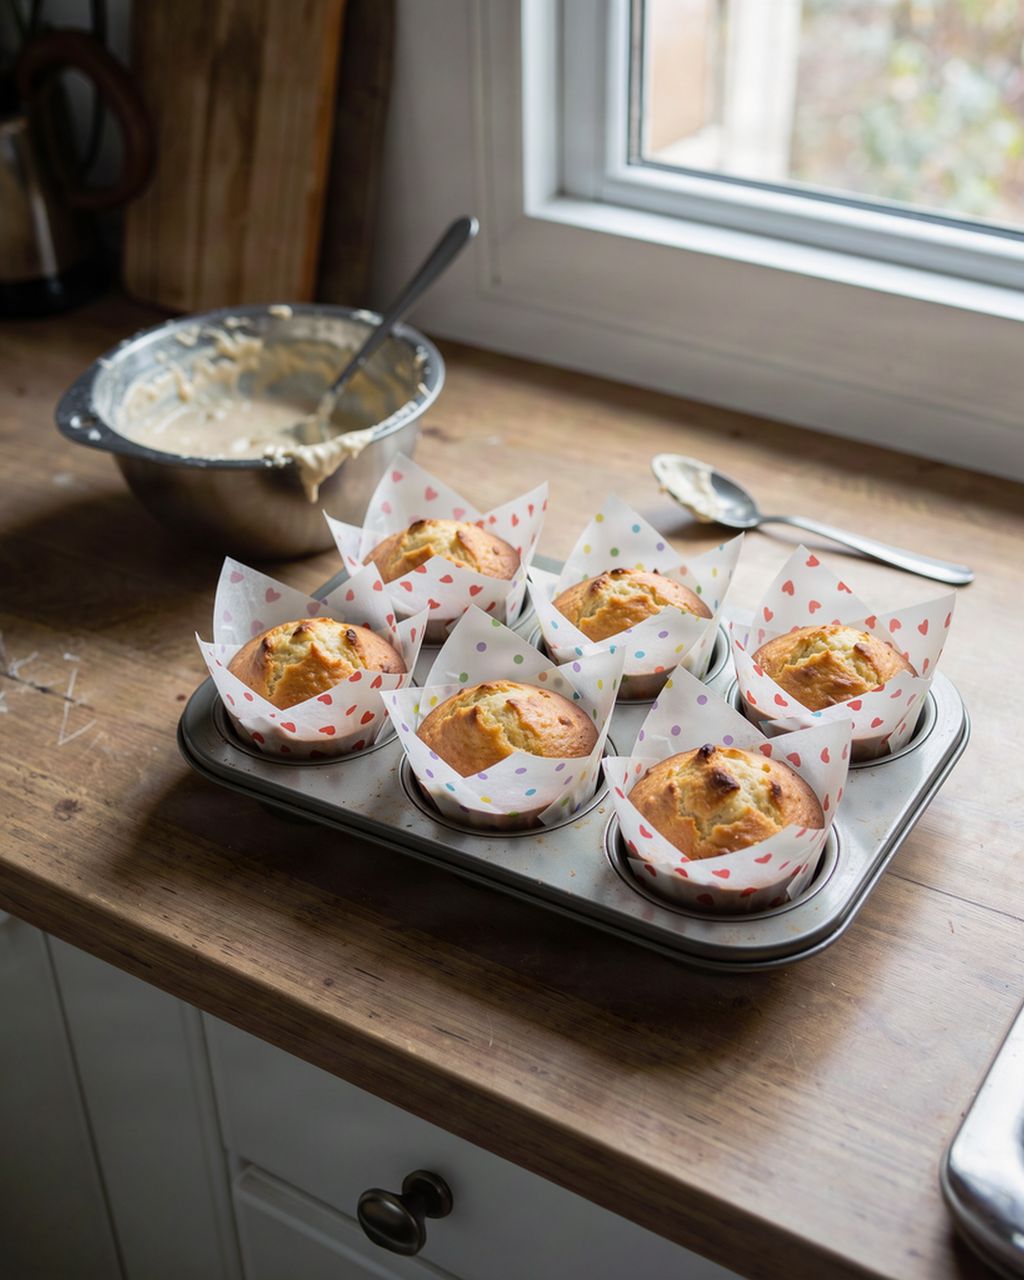
Fill the liners two-thirds full, no higher. An overfilled liner overflows at the edge, and you lose the flat surface you need for decorating.
175°C for 18–22 minutes. For a more pronounced dome, bake the first 5 minutes at 200°C, then drop the temperature to 175°C — the initial blast of heat pushes the batter upward, and the lower temperature finishes baking it without browning it too much.
Toothpick test in the centre: it should come out dry but not dusty.
Cool on a wire rack, not in the tin. In the tin, steam gets trapped underneath the cupcakes and the bottoms turn damp.
A sunken centre almost always comes down to one of three causes: an oven that's too cold, too much baking powder, or opening the door before the 15-minute mark.
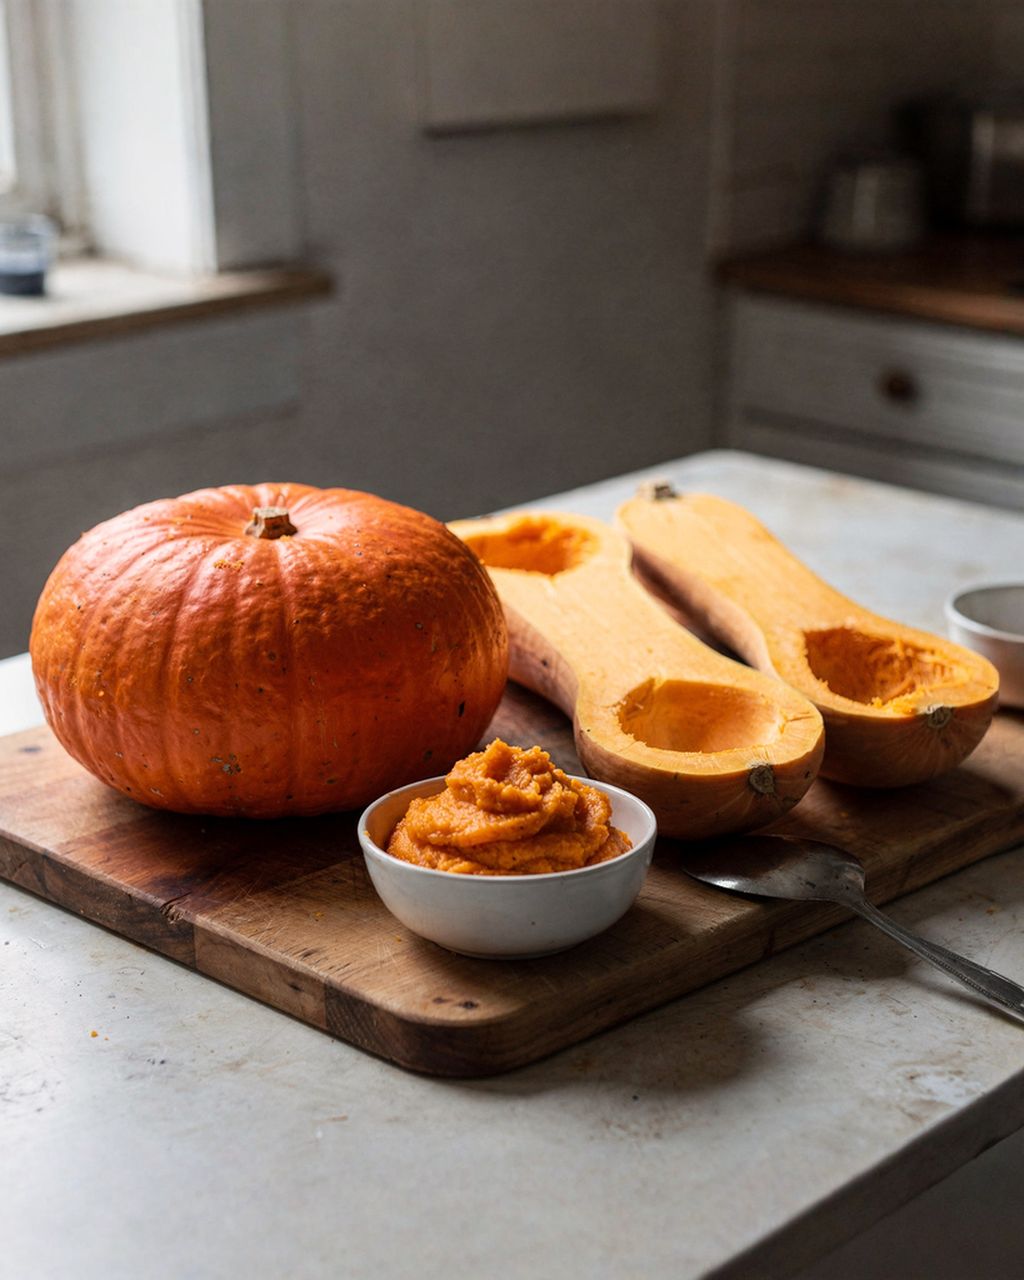
Pumpkin shouldn't go into the batter straight off the peeler — watery purée throws off the moisture balance and leaves the sponge gummy. We cover how to pick the right variety and drain the purée properly in our article Pumpkin in Baking.
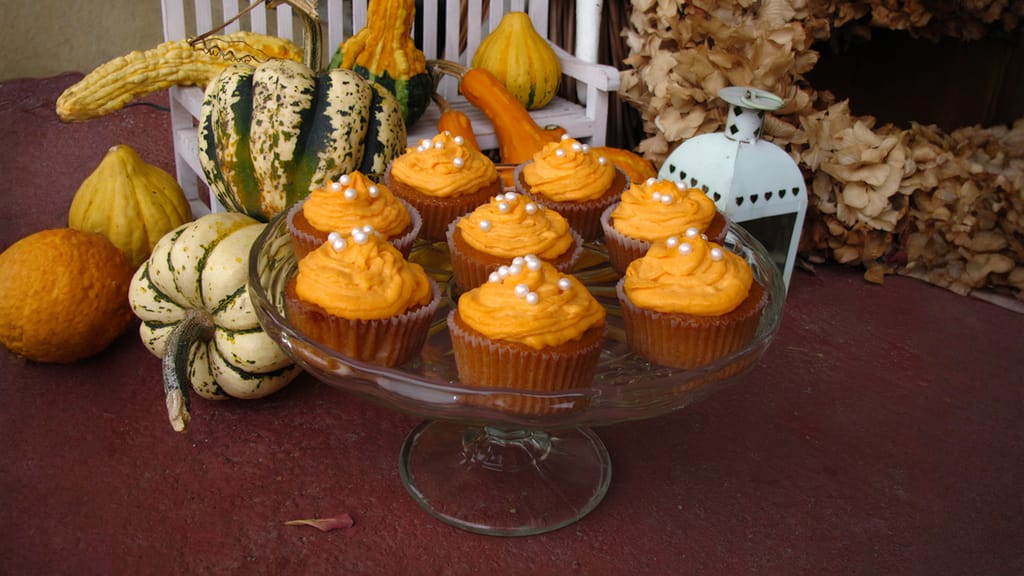
Autumn pumpkin cupcakes
Autumn Pumpkin Cupcakes: a Moist, Spiced Sponge That Can Carry Heavy Halloween Decoration
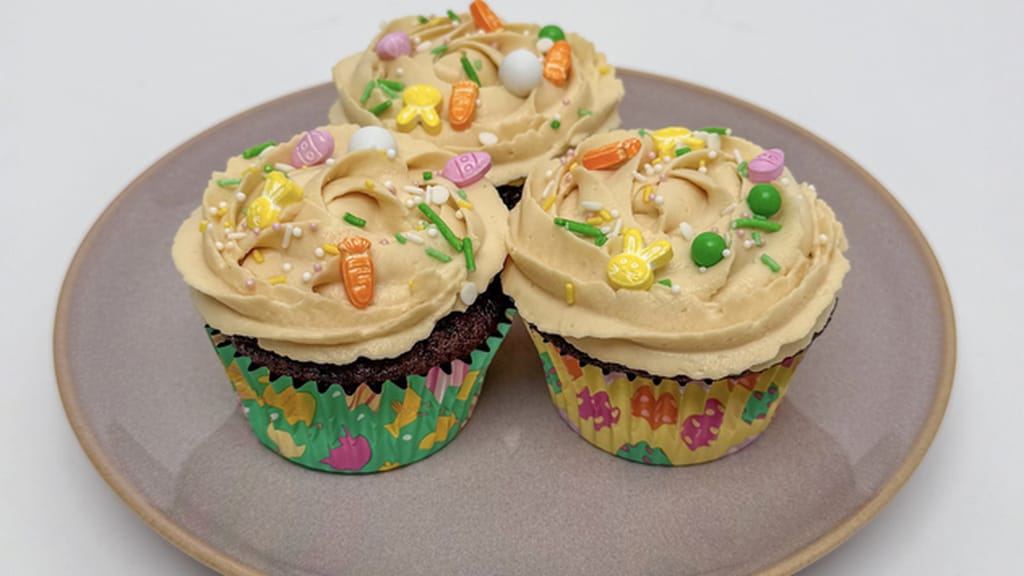
Chocolate cupcakes with salted caramel cream
Chocolate Cupcakes with Caramel Frosting — a Dark Base for Spiderwebs and Mummies Alike
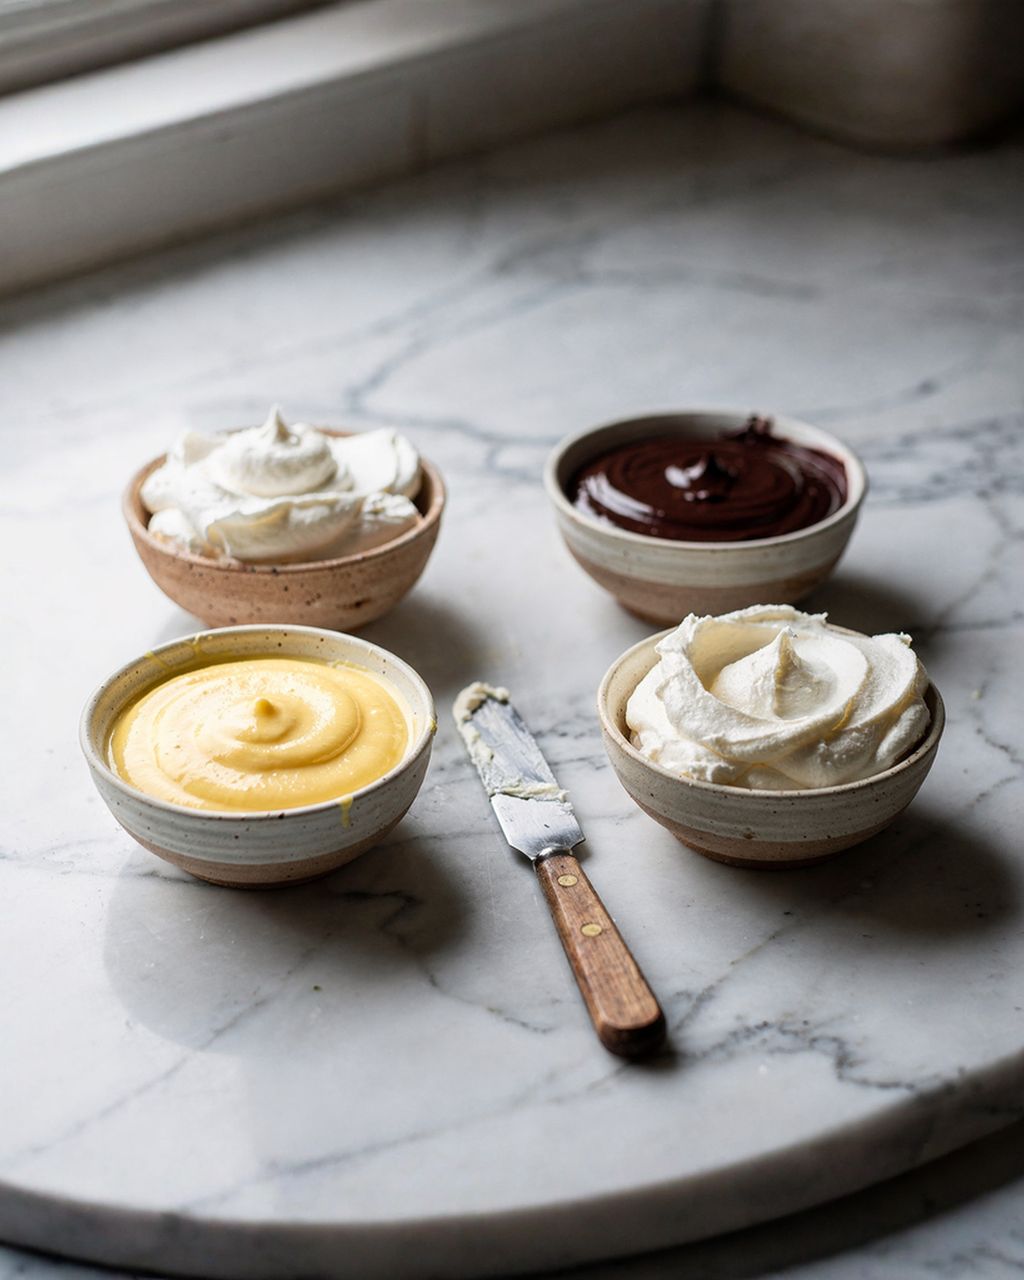
American buttercream holds its shape best, at a ratio of 1 part butter to 2 parts icing sugar by weight — it stays put on the table for 4–5 hours without slumping. Choose based on how long the cupcakes will sit out of the fridge:
American buttercream (butter to icing sugar, 1:2). The most stable and the easiest to make, but also the sweetest. Keep the butter at around 18–20°C — soft enough to work but not melty or shiny. Soften it up with 2–3 tablespoons of cream and a pinch of salt. It holds crisp piping lines even after hours at a party.
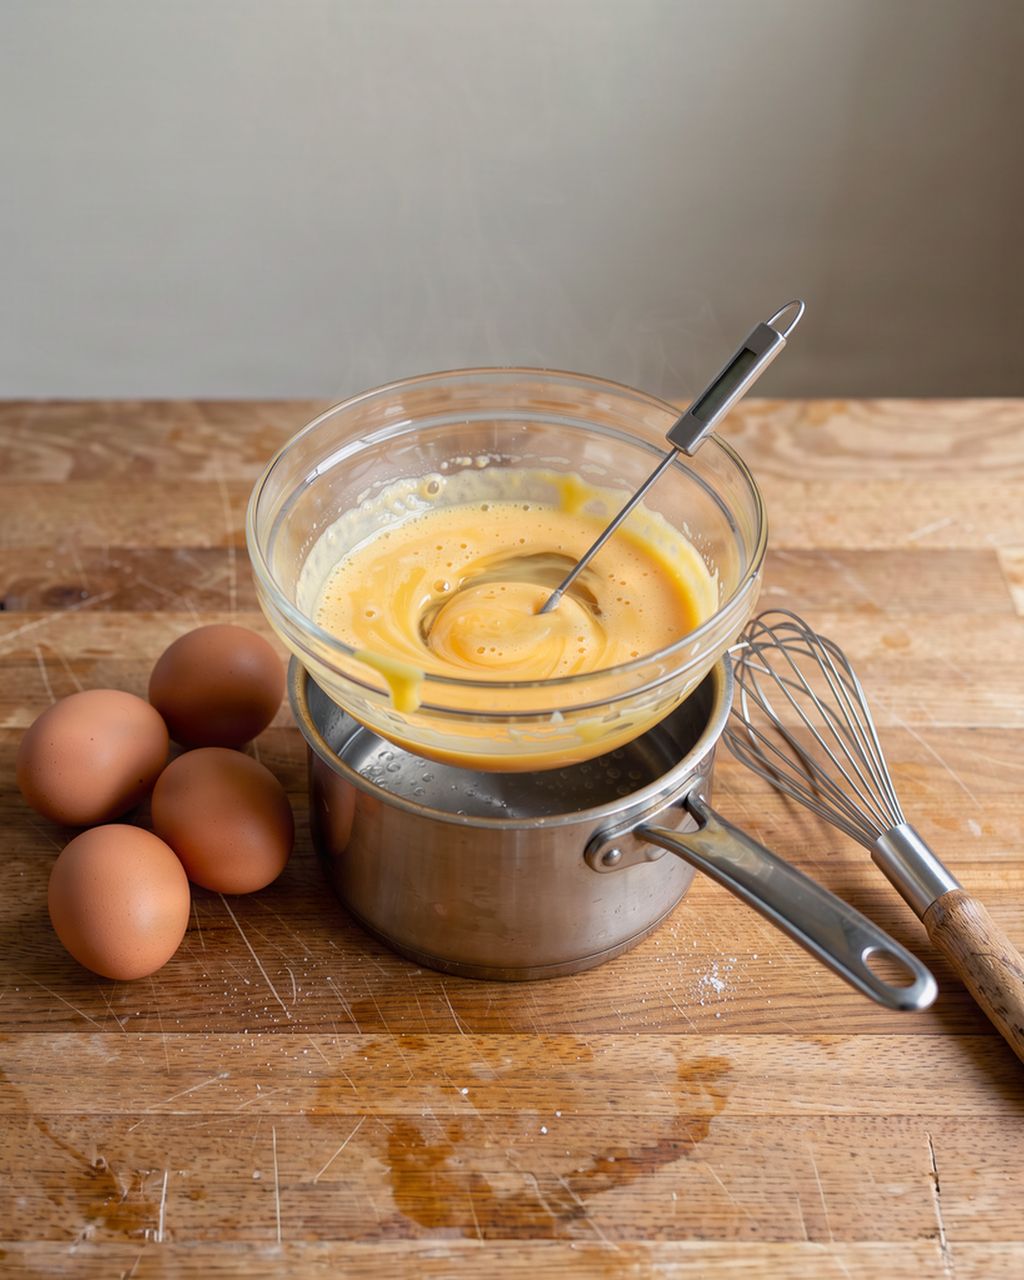
Swiss buttercream (meringue-based, often called SMBC). Whisk egg whites with sugar over simmering water, stirring constantly, to 71°C, until the sugar fully dissolves; then whip to stiff peaks, let cool below 25°C, and only then beat in butter, at around 18–20°C, a cube at a time. Less sweet, silky, and holds crisp lines. If it curdles, just keep whipping — it will come back together.
Cream cheese frosting (1 part cold butter to 2 parts cold cream cheese). The best flavour match for pumpkin and carrot, but the least stable. Keep it in the fridge and out on the table for no more than an hour.
Quark frosting. Quark isn't a straight 1:2 swap for cream cheese — it has more whey and less fat, so the frosting turns thinner. Use full-fat block quark, drain it overnight in a sieve, and expect a softer finish: fine for a swirl, not for crisp piped lines.
Ganache as frosting. Dark chocolate and cream at a 2:1 ratio, chilled overnight, then whipped briefly. Velvety, dark, and ideal for Halloween since it barely needs any added black colouring.
For 12 cupcakes, budget 500–600 g of frosting if you're piping a tall swirl. For a thin layer spread with a knife, half that is enough.
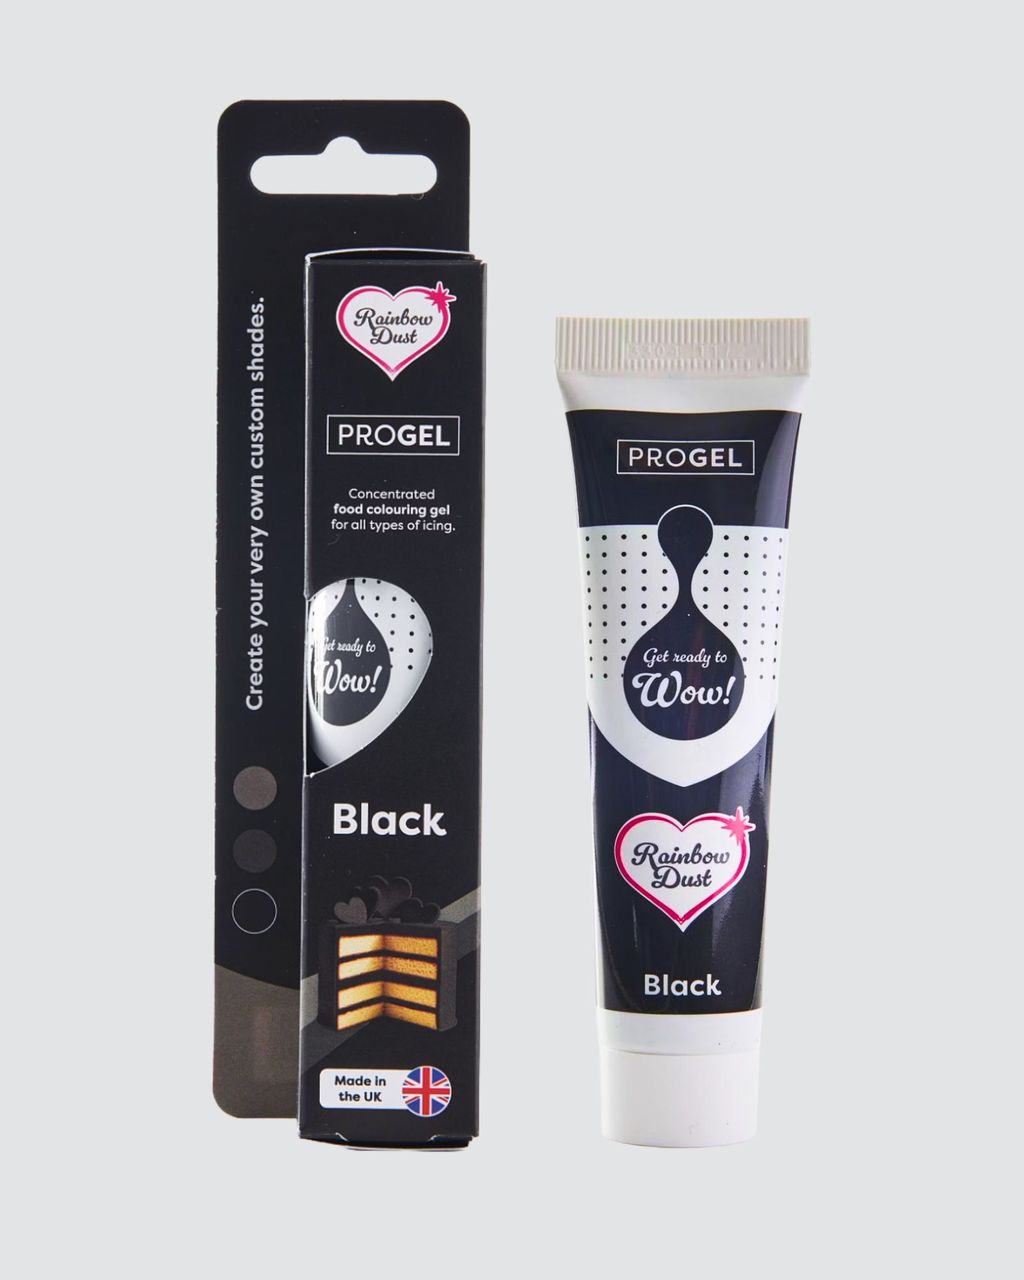
Use only gel colours for tinting frosting — liquid colours are mostly water with little pigment, so they thin out the frosting before it ever picks up the colour, leaving you with a dull or blotchy result. Add gel a toothpick-tip's worth at a time and build the shade up gradually.
Black is the hardest shade to get right and the one most often over-coloured. Here's the method that works:
Whip the frosting and mix in dark Dutch-process cocoa — 20–30 g per 500 g of frosting. Dutch-process cocoa is less acidic, so the frosting won't turn bitter, and you get a dark greyish-brown base right away.
Add black gel colour to this base. You'll need only a fraction of what you'd use on plain white frosting.
Let it rest 1–2 hours, ideally overnight in a sealed container. Black deepens on its own by several shades as it sits — anyone who tops it up right away almost always overdoes it, and the frosting starts to turn bitter.
Orange comes out cleaner mixed from yellow with a single drop of red than from a ready-made orange, which tends to skew salmon-pink. Purple should be mixed from blue and red at roughly a 2:1 ratio, and also needs time to rest and deepen.
Don't use activated charcoal in frosting: it colours strongly, but you can taste it as a gritty, dusty note, and it flattens the flavour overall.
One practical note: deep black and purple colouring will temporarily stain your tongue and teeth. It's a nuisance for photos, doesn't affect the taste, and usually fades after a few meals and a good brushing. If you'd rather avoid it altogether, lean on the cocoa base and use as little gel as possible.
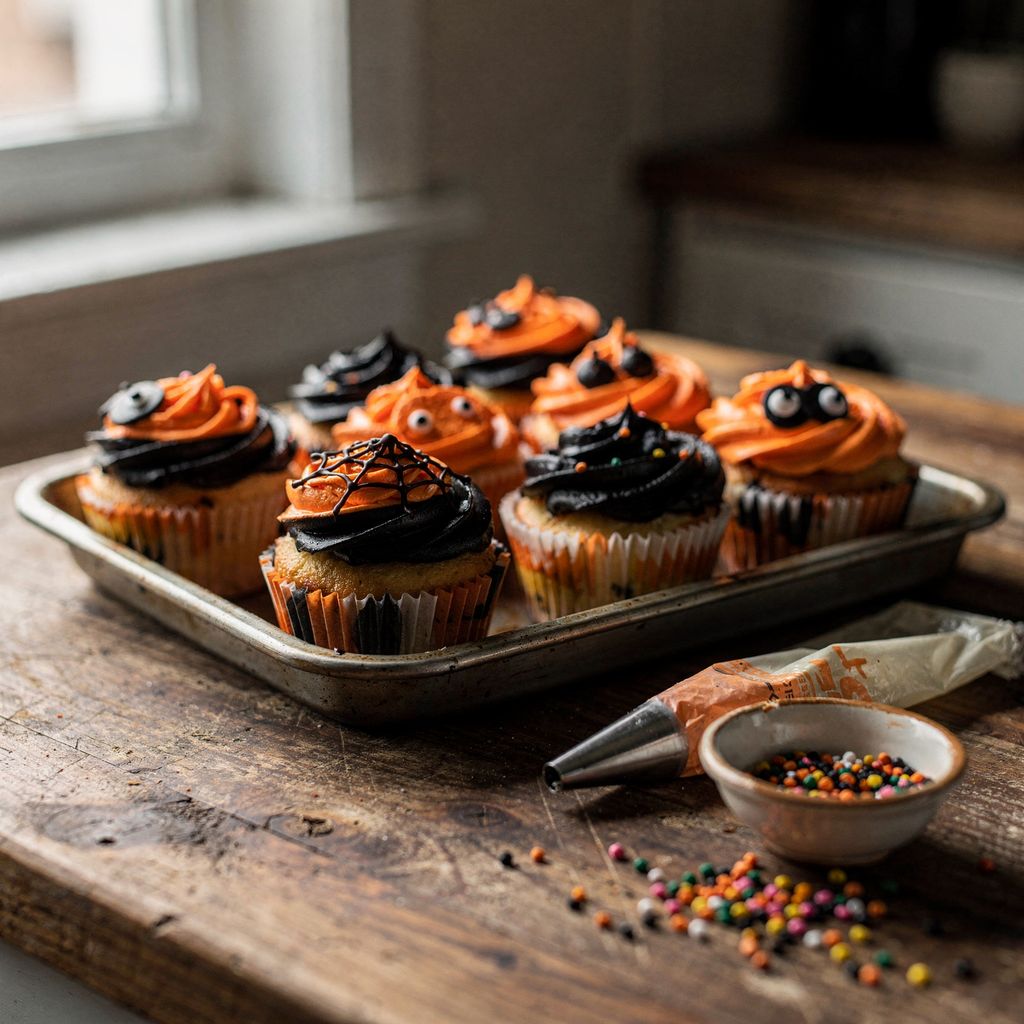
With just two colours and one piping bag, you can pull off six Halloween cupcake designs: a mummy, a spiderweb, a ghost, a pumpkin, a graveyard and a furry monster. Each one rests on a single technique — everything else is just detail.
Mummy. Spread a thin layer of white frosting over a dark sponge, then use a narrow round tip (or a bag with the tip snipped to 3–4 mm) to pipe crisscrossing strips. Leave one gap between them and set two candy eyes into it. Irregularity works in your favour here.
Spiderweb. Cover the cupcake smoothly with orange frosting. Dip a skewer into melted chocolate and draw three concentric circles, then drag the skewer from the centre outward in eight spokes. The chocolate needs to be lukewarm, not hot, or it will sink into the frosting.
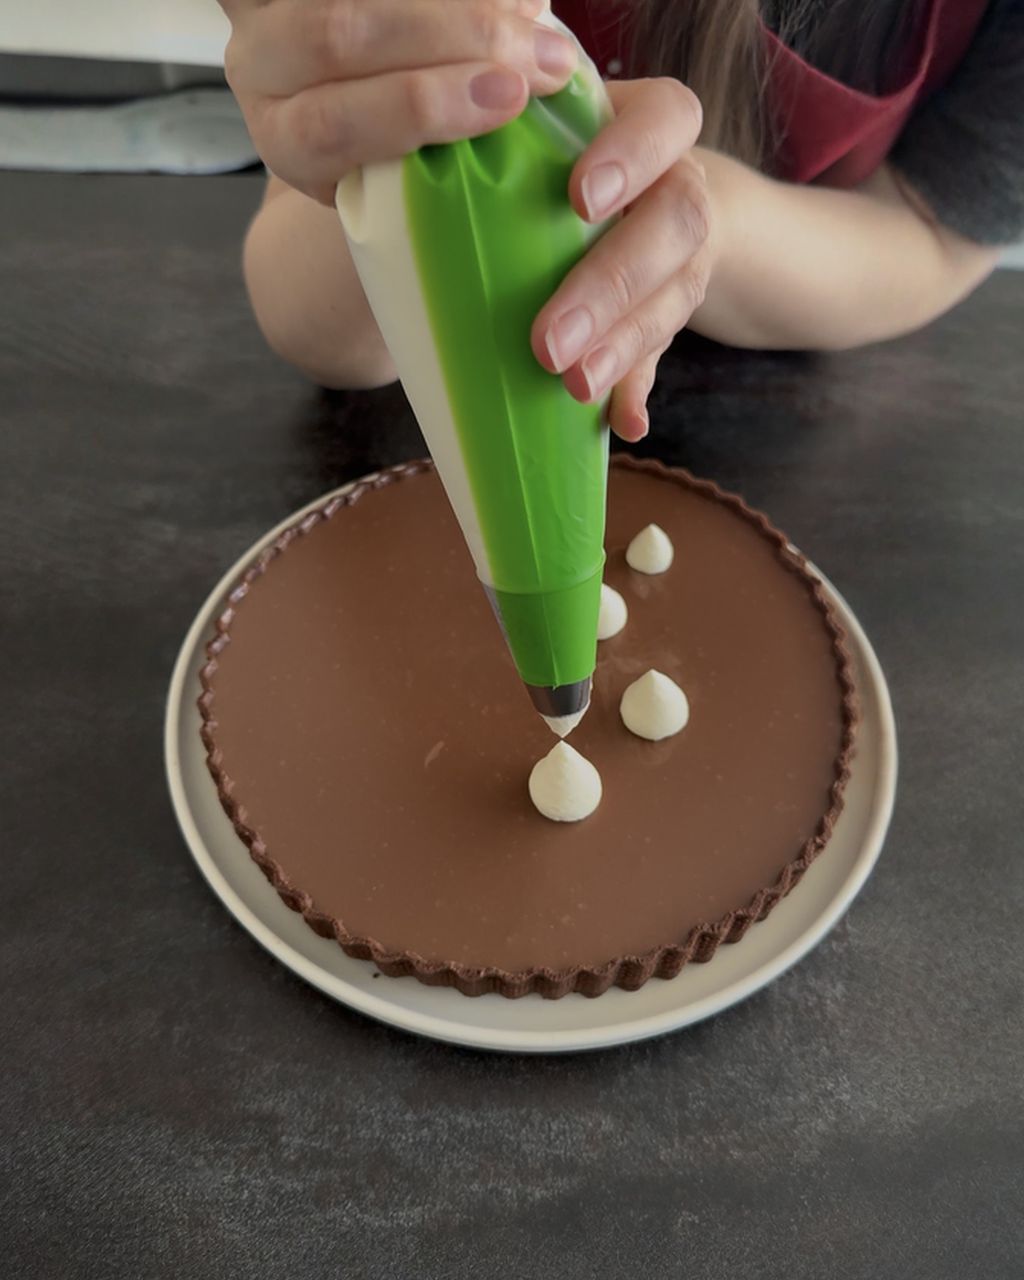
Ghost. Using a large round tip, pipe three mounds stacked on top of each other, each smaller than the last, and finish with a quick upward flick into a point. Add two candy eyes and you're done. White frosting holds a sharper shape when it's chilled — 20 minutes in the fridge before piping.
Pumpkin. Pipe a swirl of orange frosting, then use a spatula or the edge of a spoon to carve four vertical grooves from the top down to the edge. Stick a small piece of pretzel or a green candy into the top as the stem.
Graveyard. Cover the top with crushed chocolate cookie crumbs, plant a butter cookie headstone into it, and scatter a few candies around. No piping needed at all, and yet it's the one that works best of all six.
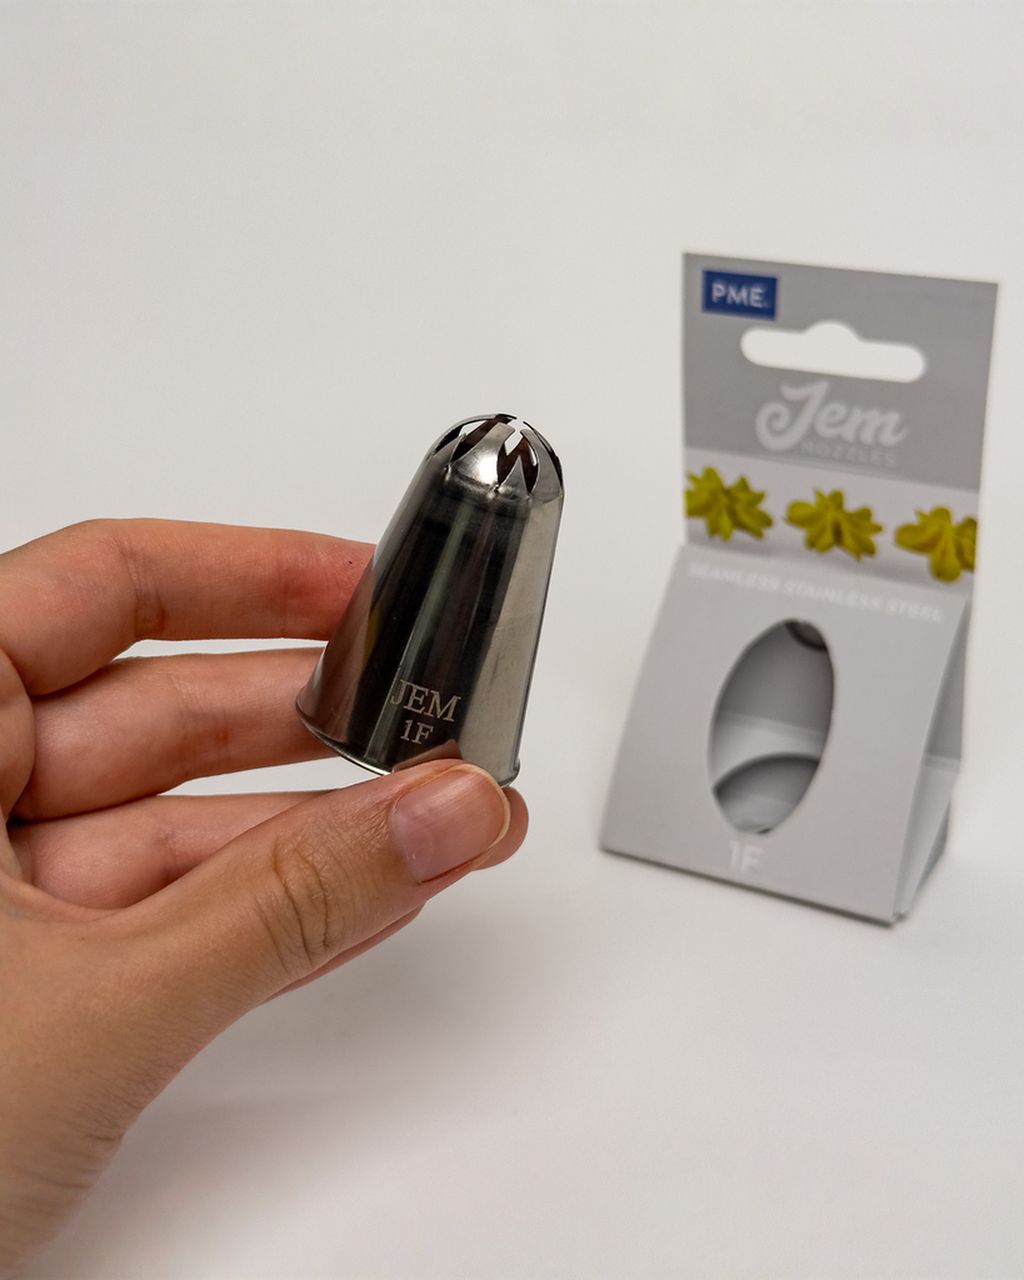
Furry monster. Using a grass piping tip (also sold as a multi-hole tip), pipe short fur all over the top, then add one large eye in the centre. The fastest design — 15 seconds per cupcake.
You can make your own candy eyes at home with royal icing — they come out cheaper than store-bought ones and hold their shape just as well.
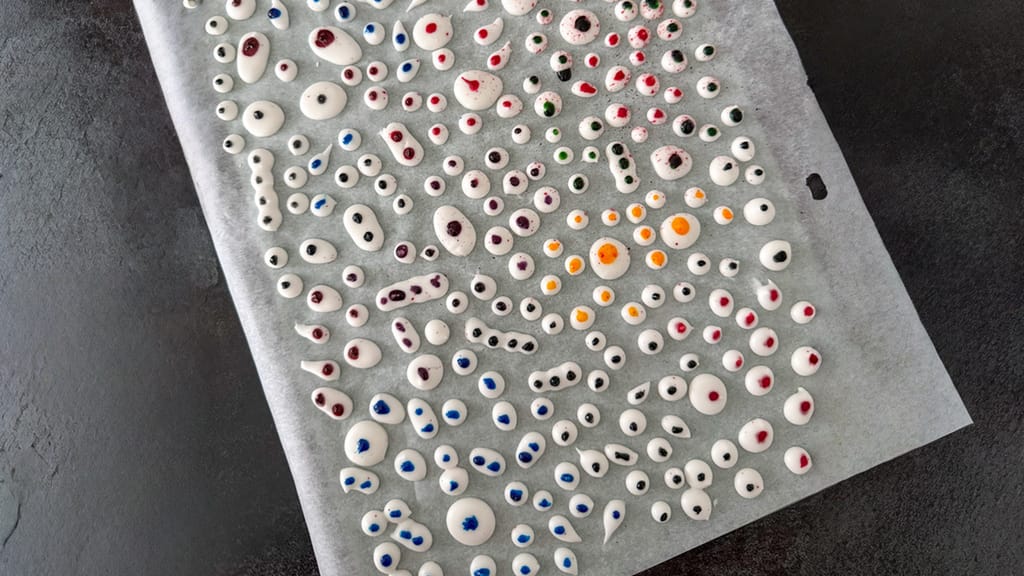
Homemade sugar eyes for decorating desserts
Homemade Candy Eyes for Decorating Desserts — the Basic Building Block of Halloween Cupcakes
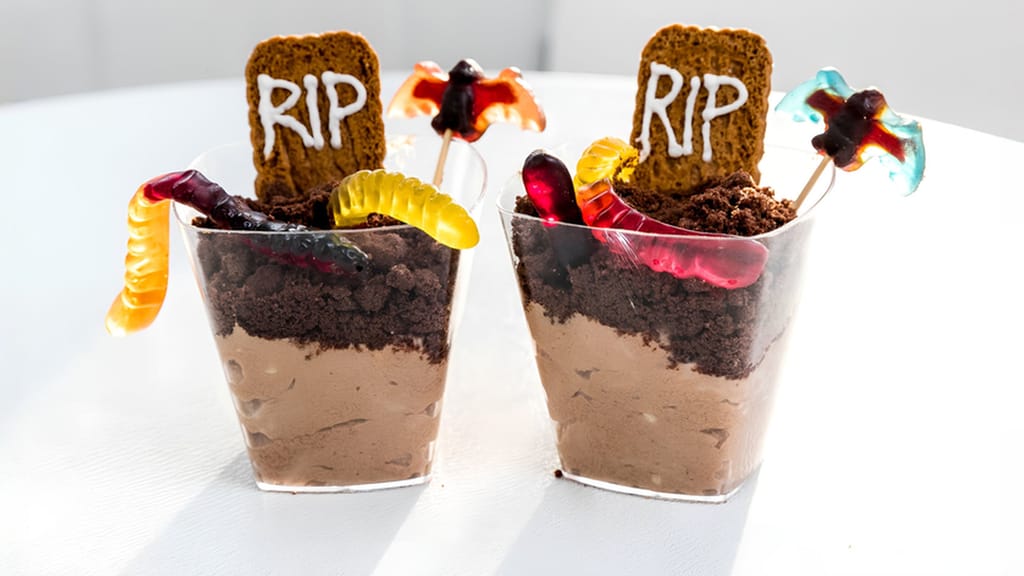
Halloween graveyard cups with haribo sweets
Halloween Graveyard Cupcakes with Haribo Sweets: a Graveyard Design With No Piping Tip Required
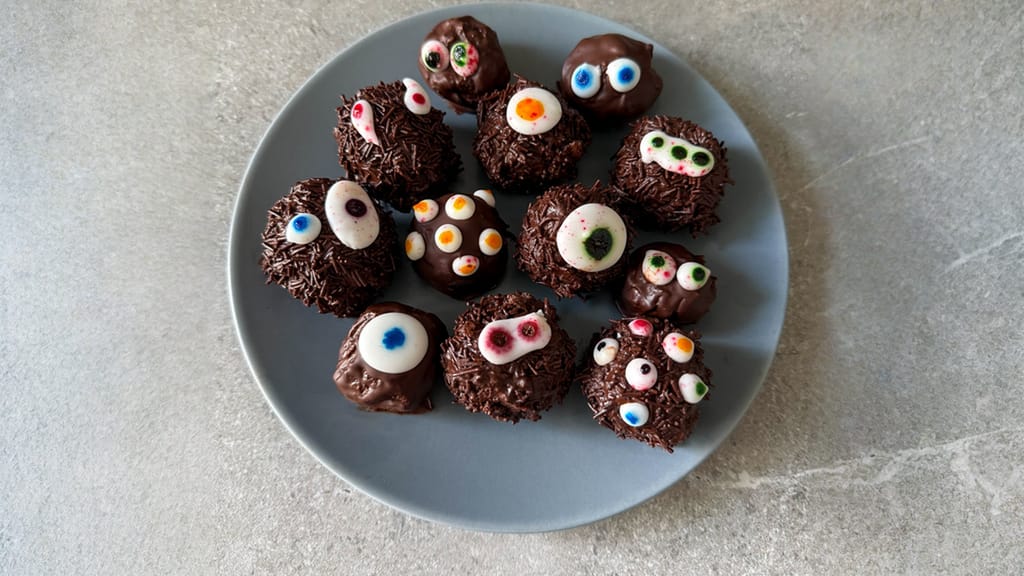
Chocolate brownie ball monsters
Chocolate Brownie Balls as Little Monsters — a No-Bake Halloween Twist
A Halloween cake goes together exactly like any other layer cake — it's only the finish that makes it Halloween. Here's the process, starting from cooled layers:
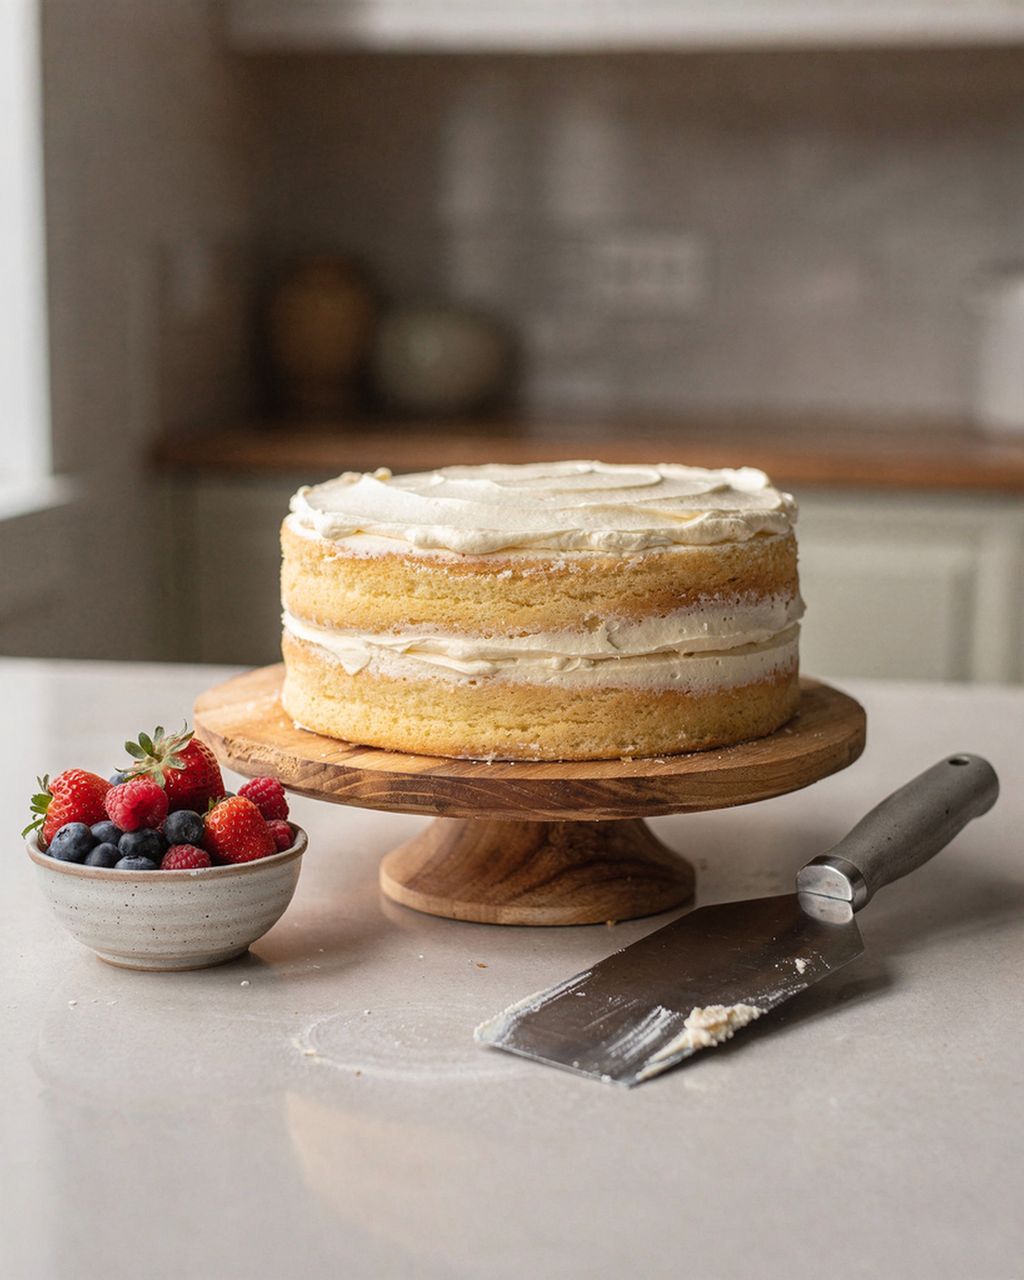
Level the layers with a serrated knife. A crooked layer only multiplies the problem as you stack more on top — it doesn't fix itself.
Soak the layers with syrup — 2–3 tablespoons per layer. A dry sponge stands out even more under a thick layer of frosting.
Filling with a dam. Pipe a ring of firm buttercream around the edge of the layer, then add the softer filling inside it. Without the dam, the filling will squeeze out the sides and push through the final layer of frosting.
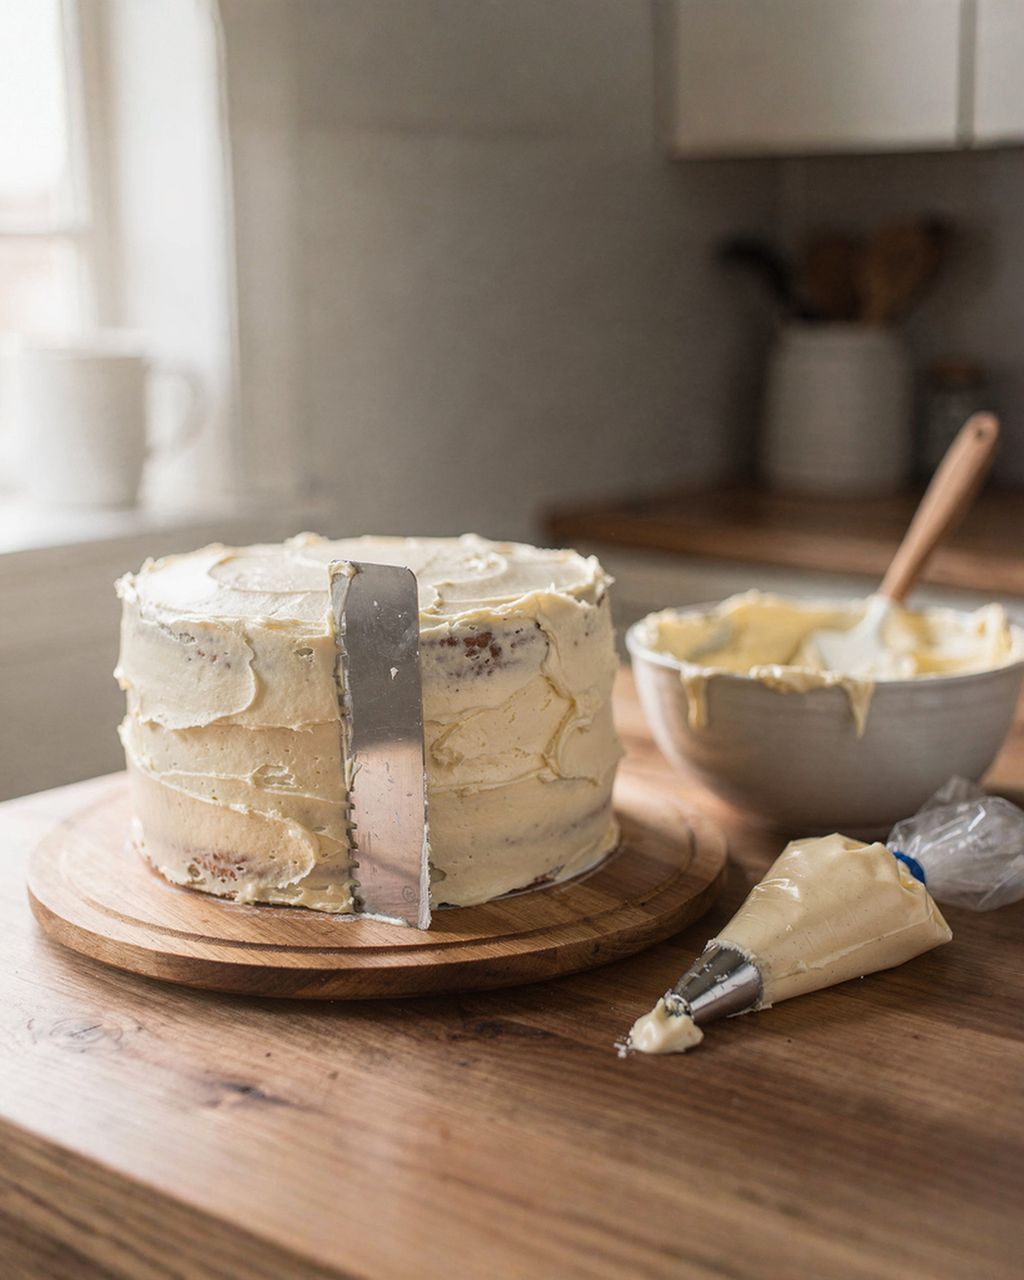
Crumb coat. A thin, 2–3 mm layer of frosting all over the cake to lock in the crumbs. Then 20–30 minutes in the fridge, until the surface is firm to the touch.
Final layer of frosting, smoothed with a bench scraper or cake smoother. Another 20 minutes in the fridge — the cake needs to be cold before you do the drip.
Drip. Pour the ganache into the centre of the top and use a spoon to gradually push it over the edge.
Ganache drip ratios that work reliably:
Dark chocolate to cream, 1:1
White chocolate or coloured candy melts to cream, 2:1 (white chocolate has no cocoa solids to firm up the ganache, and has more sugar and milk solids — at a 1:1 ratio it stays too thin)
Pouring temperature: 30–35°C. Hot ganache will run all the way down onto the cake board; cold ganache will stall halfway down the side.
Before you drip the whole cake, do a test drop on the chilled side. Does it run about two-thirds of the way down? The consistency is right. Does it run all the way to the bottom? Let the ganache cool for 5 minutes and try again.
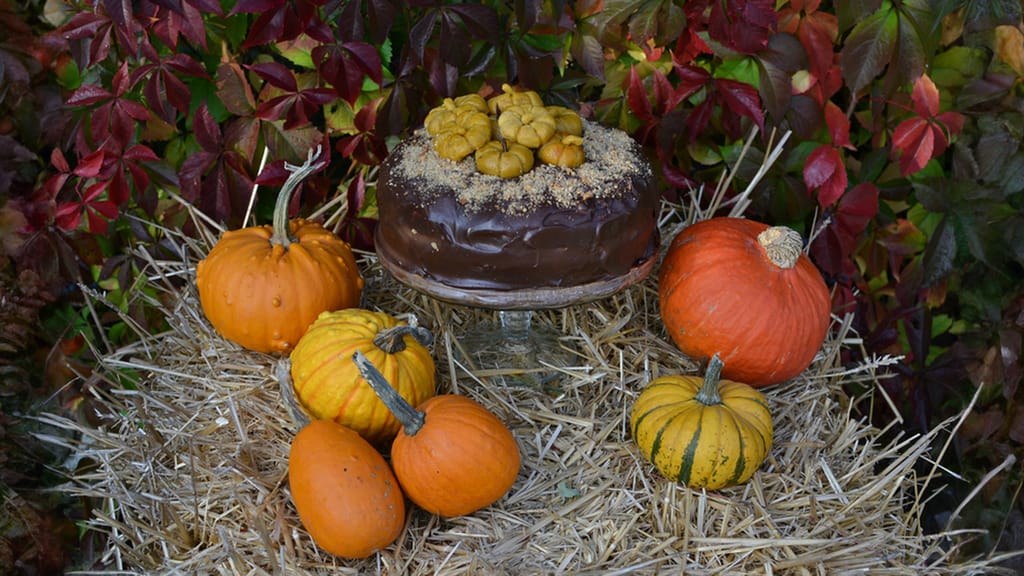
Halloween pumpkin cake - lidl food challenge
Halloween Cake, Step by Step — the Full Recipe With Assembly Instructions
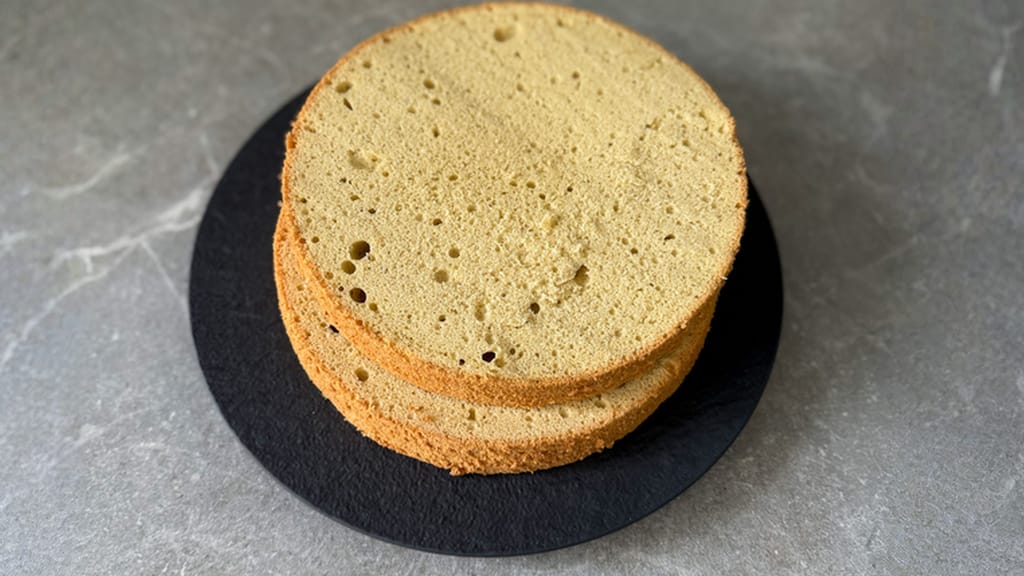
Light and airy génoise sponge cake
Light Génoise Sponge — yes for a layer cake with syrup, a dam and a lighter filling, no for cupcakes carrying heavy decoration
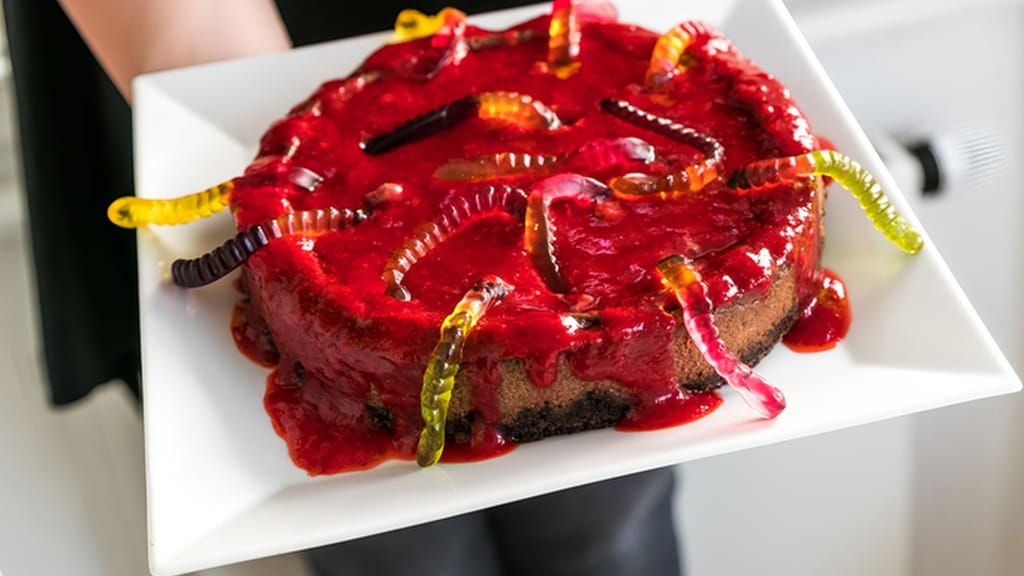
Halloween cheesecake
Halloween Cheesecake: a Version With No Layer Stacking and No Buttercream
The five most common mistakes with Halloween cupcakes and cakes are decorating a still-warm sponge, over-tinted black, a too-warm drip, overfilled liners, and crunchy decorations gone soft. How to spot and fix each one:
Decorating a still-warm sponge. The frosting melts from underneath and slides off. Fix: 60 minutes on a wire rack — the sponge needs to be cold to the touch.
Over-tinted black. The frosting tastes bitter and metallic. Fix: start from a cocoa base and let the colour deepen by resting it, not by adding more gel.
Drip runs all the way onto the board. Either the ganache or the cake was too warm. Fix: chill the cake 20 minutes, cool the ganache to 30–35°C, and test one drop first.
Liners overflowing at the edge. They were filled past two-thirds. You won't get a flat surface for decorating any more — trim the top with a knife and hide it under the frosting.
Decorations gone soft. Cookies, pretzels and sprinkles will soften within a few hours sitting on moist frosting. Fix: add crunchy elements right before serving, not the evening before.
Bake the sponges two days ahead and whip and tint the frosting a day ahead; finished cupcakes with buttercream will then keep for 4–5 hours at room temperature and 2–3 days in the fridge, while cupcakes with cream cheese frosting need to go straight into the fridge and be eaten within 2 days. Here's how to spread the work over three days:
Two days ahead: bake the sponges, let them cool, and wrap in plastic film. Cupcakes stay moist for 2 days in a sealed container; cake layers can go in the freezer for up to a month.
One day ahead: whip the frosting and tint it. Resting it overnight is an advantage for black and purple, not a compromise. Keep the frosting in a sealed container in the fridge.
On party day: take the frosting out an hour ahead and give it a brief mix with a spatula, then decorate. Add crunchy elements last.
Storing finished cupcakes:
Buttercream: 4–5 hours at room temperature, 2–3 days in the fridge, up to a month in the freezer.
Cream cheese frosting (and quark frosting): fridge only, eat within 2 days. No more than an hour out on the table.
Whipped cream decoration: same-day only, otherwise it deflates.
Let cupcakes taken straight from the fridge sit out for 30–45 minutes to come up to temperature. Cold buttercream is hard as wax and tastes flat.
For a three-layer 18 cm cake, budget 700–900 g of frosting total, including the filling, crumb coat and final layer. It's worth whipping a bit extra — matching a second batch to the exact same shade later is nearly impossible.
Yes, most Halloween designs don't need a piping tip at all. Mummies work with a zip-top bag with the corner snipped off (a 3–4 mm opening), a graveyard scene is built from just crumbs and cookies, a pumpkin can be carved with the edge of a spoon, and a spiderweb can be drawn with a skewer dipped in melted chocolate. The only designs where you genuinely need a tip are the ghost and the furry monster.
Yes — decorated cupcakes topped with buttercream or ganache keep in the freezer for a month, but don't freeze cream-cheese-frosted ones, as they'll weep water and turn grainy once thawed. Freeze them uncovered on a tray for 1–2 hours first so the surface firms up, then transfer them into a sealed container — otherwise the decoration will get pressed flat. Thaw overnight in the fridge, then let them sit 30–45 minutes at room temperature. Add crunchy elements — cookies, pretzels, sprinkles — only after thawing, since they'll absorb moisture and go soft in the freezer or during thawing.
Chill the cupcakes for 30 minutes before wrapping them — firm frosting survives a car ride far better than freshly whipped. Transport them in a sealed container with dividers, or in a muffin tin covered with a tall lid, always flat in the boot, never on the seat. Pack crunchy elements, cookie headstones and sprinkles separately in a bag and add them once you arrive.
Yes, and it's easiest with a pumpkin or cocoa sponge, since a moist batter forgives both swaps most readily. For gluten-free, swap wheat flour for a 1:1 gluten-free blend and let the batter rest 15 minutes before baking so the starches can absorb the liquid. For vegan, use a block-style margarine (80–90% fat) or solid vegetable baking fat — with lower-fat spreadable margarines (39–41%) or reduced-fat spreads the frosting will turn runny; replace the egg with 60 g pumpkin purée or a flax egg per portion.
One recipe worth heating the oven for, one tip, and one deal from the shop. Nothing else.