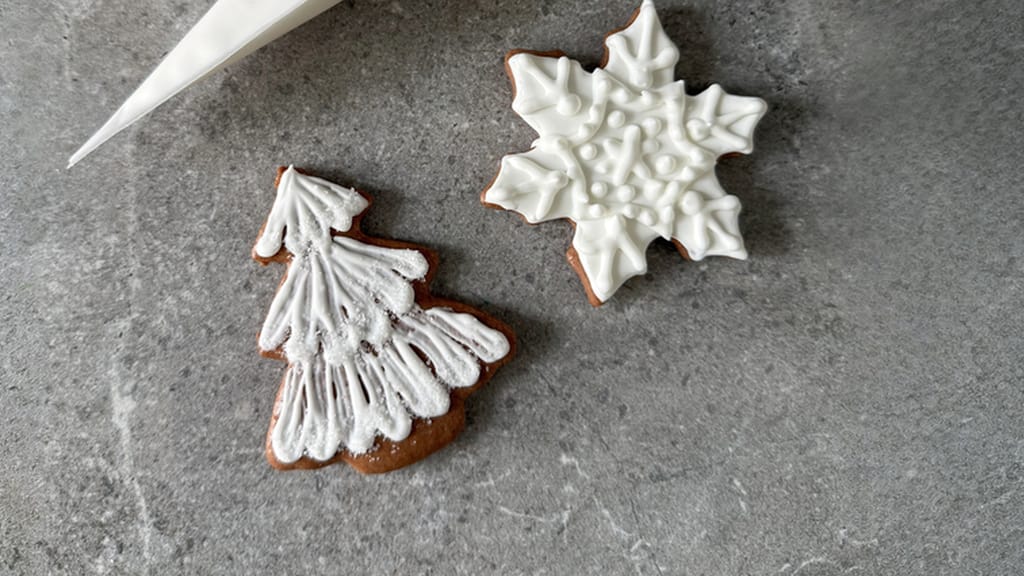
Royal icing for christmas cookies: the base for flawless decorating
Food Colouring for Baking: Gel, Powder and Chocolate Colours Explained

Updated Aug 30, 2026
Food colourings fall into different types depending on what they're for: gel for buttercreams, batters and icings, powder for dry mixes and painting, and oil-based for chocolate. Mixing them up isn't a small slip — think watery buttercream, blotchy macarons, or seized chocolate you can never bring back. Here's which one to reach for and when, how much to use, and why black and red behave differently from every other colour.
There are four types of colouring used in baking: gel, powder, oil-based (for chocolate) and liquid. They differ mainly in their carrier — the medium the pigment is dissolved in — and it's the carrier that determines what you can safely add the colouring to.
Gel — pigment suspended in glycerine, thick and highly concentrated. Use in buttercream, batters, royal icing, fondant, marzipan. It contains a little water, so never use it in chocolate.
Powder (dust) — pure pigment with no liquid at all. Use in macarons, biscuits, dry mixes, and anywhere you can't afford to add even a drop of moisture. Mixed with alcohol, it also works as a paint.
Oil-based (cocoa-butter-based) — the only type that mixes safely with chocolate and cocoa butter. Sold as both gel and powder.
Liquid — mostly water, very little pigment. The cheap kind from the drugstore colours weakly and just waters down your mix. Fine for lemonade, not for buttercream.
Simple rule of thumb: water-based colouring goes into water-based mixes, oil-based into oil-based ones. Buttercream, batter and icing are all water-based systems. Chocolate is an oil-based system — and a completely different set of rules applies there.
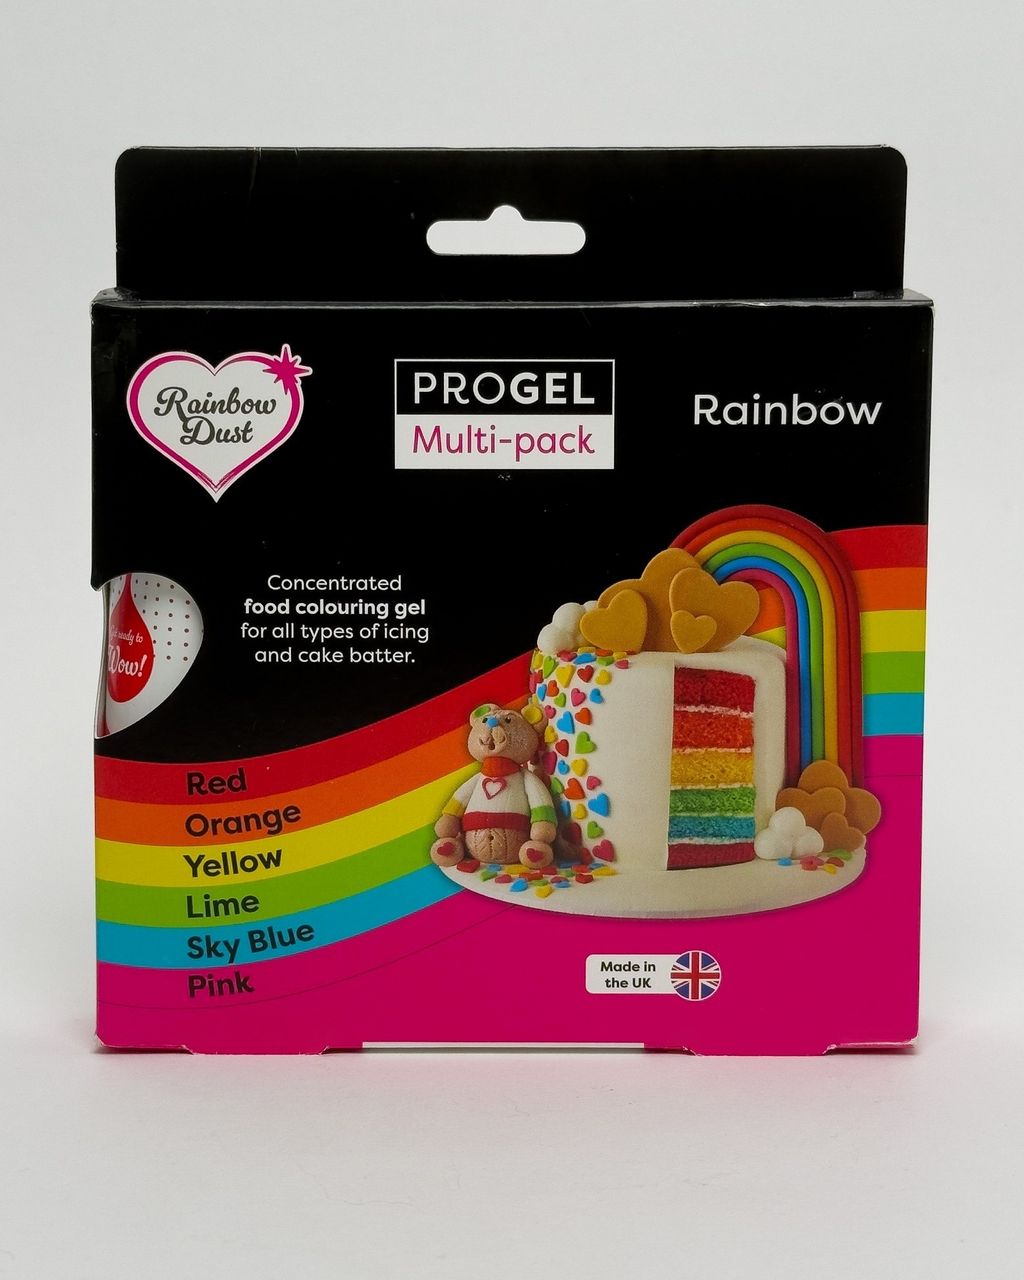
Gel colouring is concentrated pigment suspended in glycerine, and it's the right choice anywhere you want a deep colour without adding liquid — buttercream, ganache, batter, royal icing, and sugar paste. The glycerine keeps the pigment evenly dispersed without watering down your mix the way liquid colouring would.
Start with a toothpick-tip amount per 200–250g of buttercream and add in matching increments. Always use a clean toothpick each time — otherwise you'll carry pigment back into the bottle.
Watch out for two things that catch beginners out almost every time:
Colour deepens in buttercream over a few hours. A shade that looks just right straight after mixing is often noticeably darker the next day.
In larger amounts, colouring has a taste.A deep red or black buttercream can turn bitter. Once you're close to the point where you can taste it, you've gone too far — from there, only time helps, not more colouring.
Colour your buttercream the day before you need it and let it rest — the pigment gradually develops in the fat and the colour deepens on its own. Red that looks pink an hour after mixing will be genuinely red after a night in a sealed container.
So never top up the colour right away. Mix it in, cover with plastic wrap pressed onto the surface, leave for at least 2 hours at room temperature, ideally overnight, and only then decide whether to add more. This one step alone will save you half your colouring and spare you the bitter taste of overdoing it.
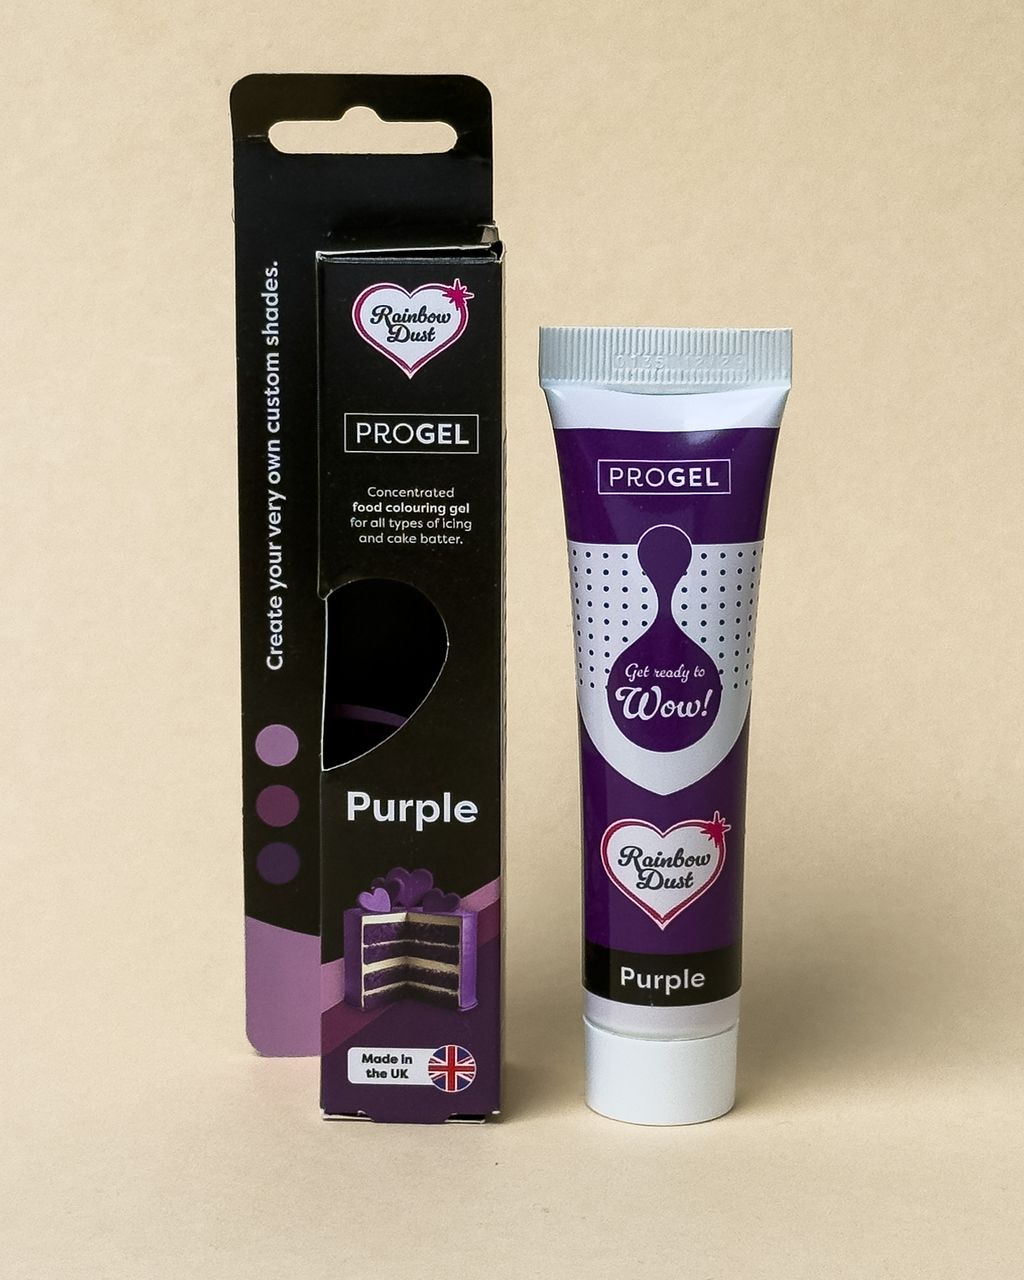
Add a tiny amount of purple gel colouring to the buttercream — purple sits opposite yellow on the colour wheel, so it neutralises butter's natural yellowish tint and the buttercream looks visibly whiter.
Go very light-handed: a toothpick tip for a whole batch of buttercream. Any more and you'll tip it into grey or lavender territory.
White colouring works too, but bear in mind it's changed in recent years — titanium dioxide (E171), long the backbone of white colourings, has been banned as a food additive in the EU since August 2022 after the EFSA couldn't rule out genotoxicity concerns. White colourings sold in the EU today rely on other pigments, such as calcium carbonate (E170), and cover slightly less well. That makes the purple trick more reliable now than it used to be.
Set aside a few spoonfuls of buttercream, stir in the colouring, and warm it to around 30°C (86°F) — in warmer fat, the pigment develops faster and the shade deepens. Then fold the concentrate back into the rest of the buttercream.
Warming pays off specifically when your buttercream is stubbornly stuck at pastel and you want a deeper tone without adding more colouring. A lukewarm water bath or a few seconds in the microwave is all it takes.
Just keep it low: around 30°C (86°F) is the ceiling. Above roughly 35°C (95°F), buttercream starts to break down, and instead of a smooth mixture you're left with a greasy mess that only chilling and re-whipping will fix.
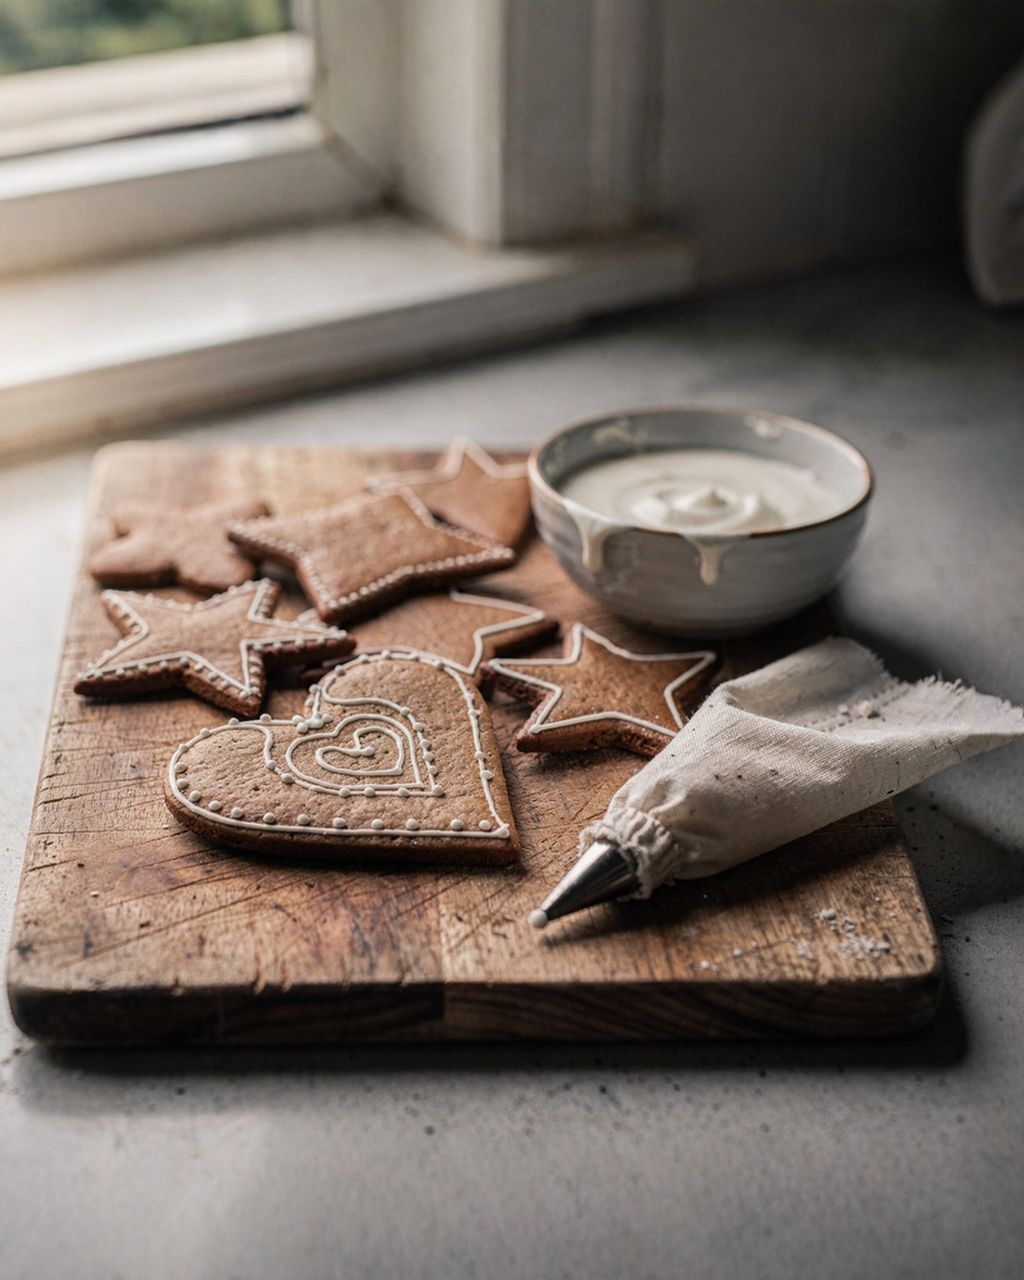
Royal icing for christmas cookies: the base for flawless decorating
Royal icing for cookies — the base that handles gel colouring best
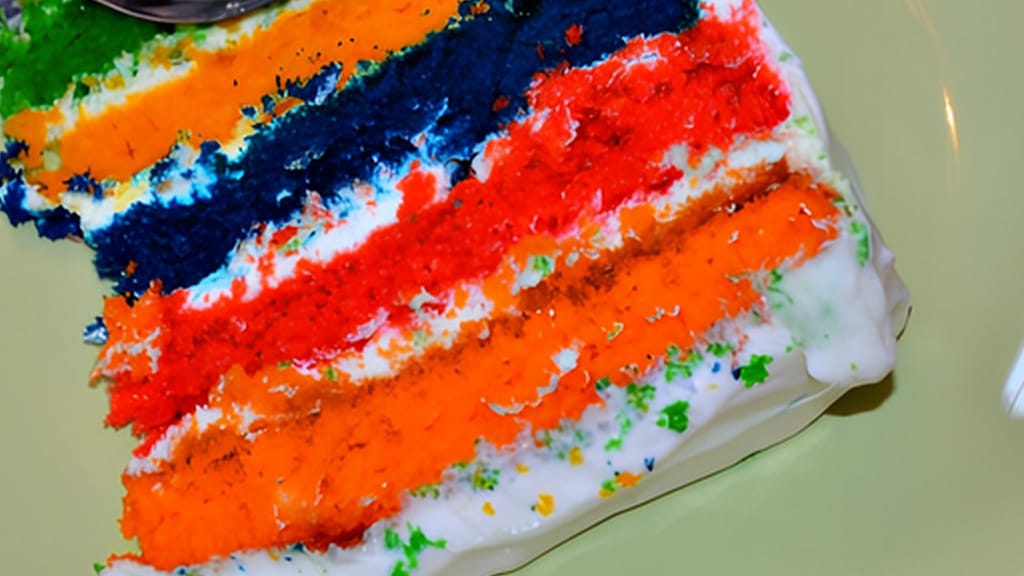
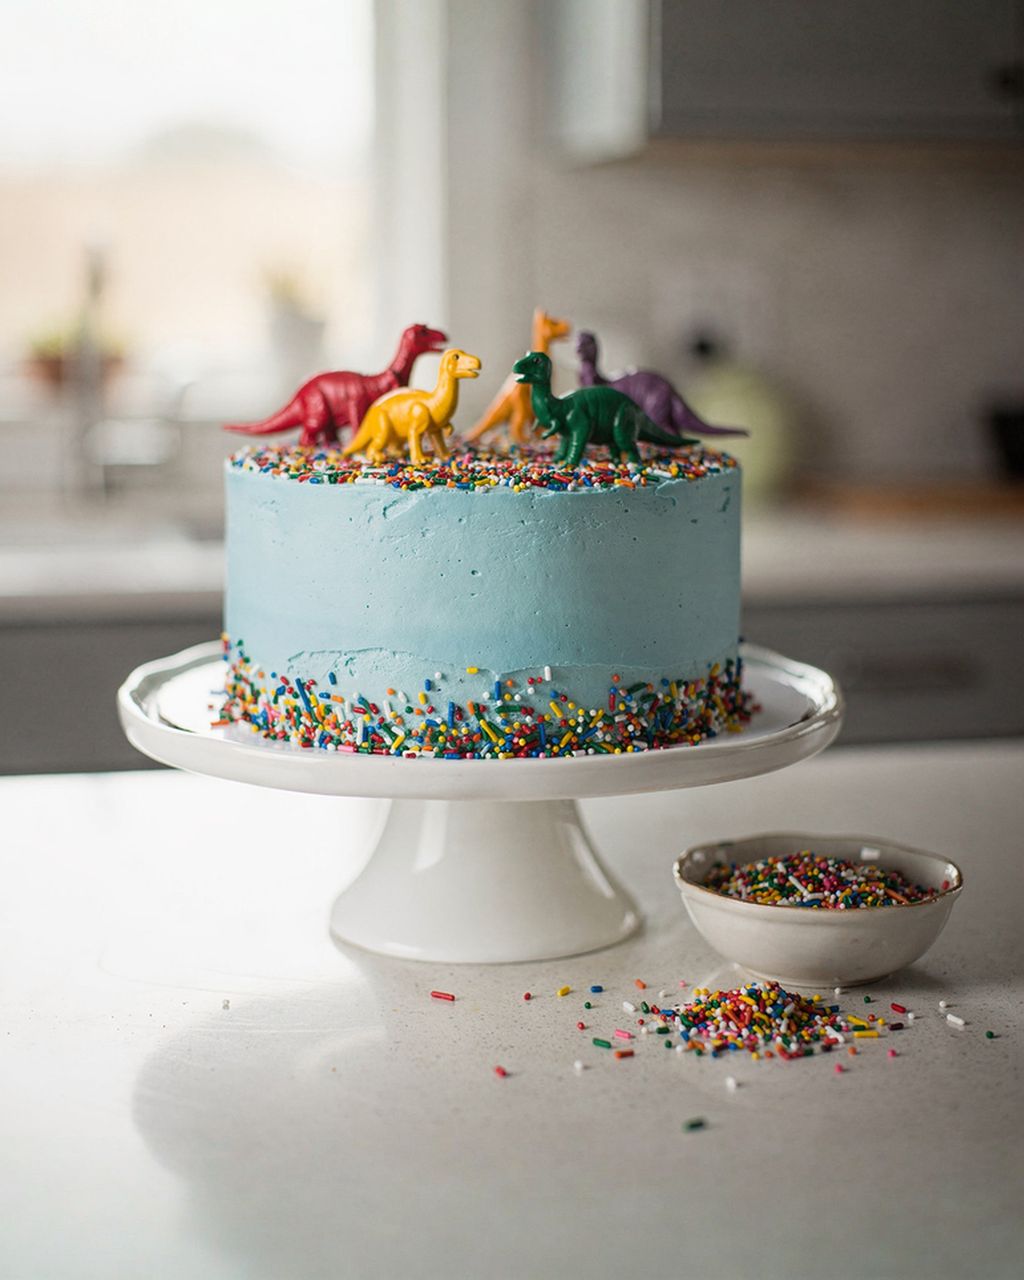
Colourful rainbow kids' cake
A colourful kids' birthday cake: gel colouring in both sponge and buttercream
Powder colouring has three main uses: colouring dry, moisture-sensitive mixes, mixing with alcohol to use as paint, and dusting dry onto a finished surface. It's pure pigment with no carrier at all, so it doesn't add a single drop of liquid — and that's the whole point of it.
That makes it the go-to choice for macarons: French meringue is extremely sensitive to moisture, and a few extra drops of liquid colouring are enough to crack the shells or stop them growing feet. Stir the powder straight into the sifted almond flour and icing sugar, before you fold in the meringue.
Never sprinkle powder straight into a wet mix — stir it first into a teaspoon of liquid from the recipe itself (milk, water, egg white) to make a smooth paste, then fold that into the whole batch. Dry pigment sprinkled onto a moist surface hardens instantly into lumps, which then show up in your finished cream as dark specks.
For dry mixes, on the other hand, you can add the powder directly and sift it in together with the flour — it passes through the sieve and disperses perfectly evenly.
Mix half a teaspoon of powder colouring with a few drops of clear 40%-proof spirit (vodka or white rum) into a thick paste and paint it straight onto macaron shells, gingerbread, or set icing with a fine brush.
Alcohol is used instead of water on purpose: it evaporates quickly and leaves behind no taste or damp mark. Water would soften the surface, and on macarons it would dissolve the shell outright.
A few practical notes: - The less liquid, the more vivid the stroke. A thin paste will bleed. - Let it dry for at least 30 minutes before touching it. - The surface underneath must be dry and set. You can't paint onto fresh icing.
Gel colouring mixed with alcohol works just as well, though the stroke tends to come out a touch more translucent.
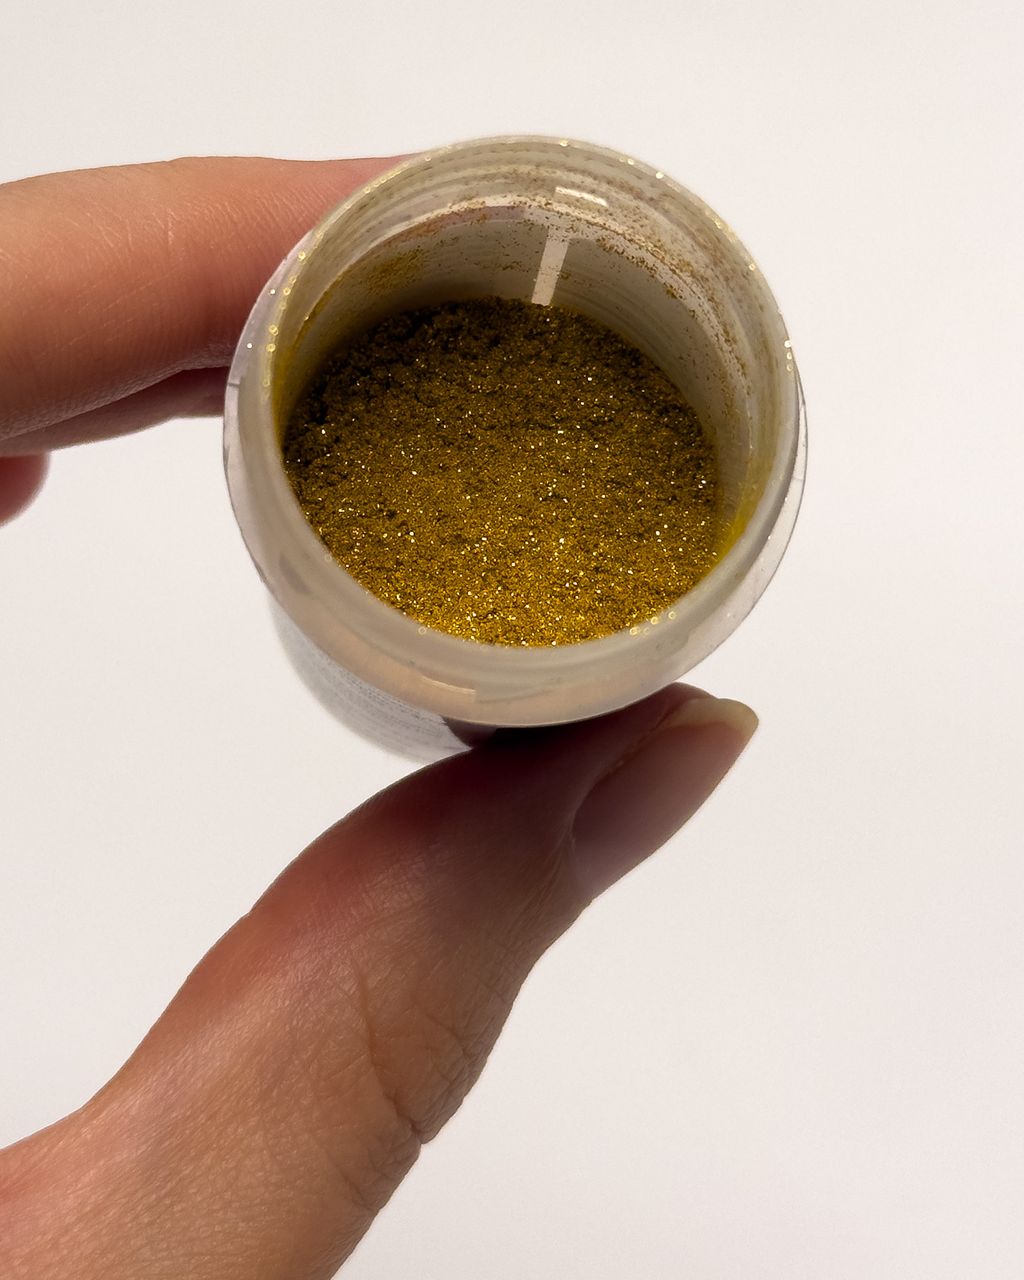
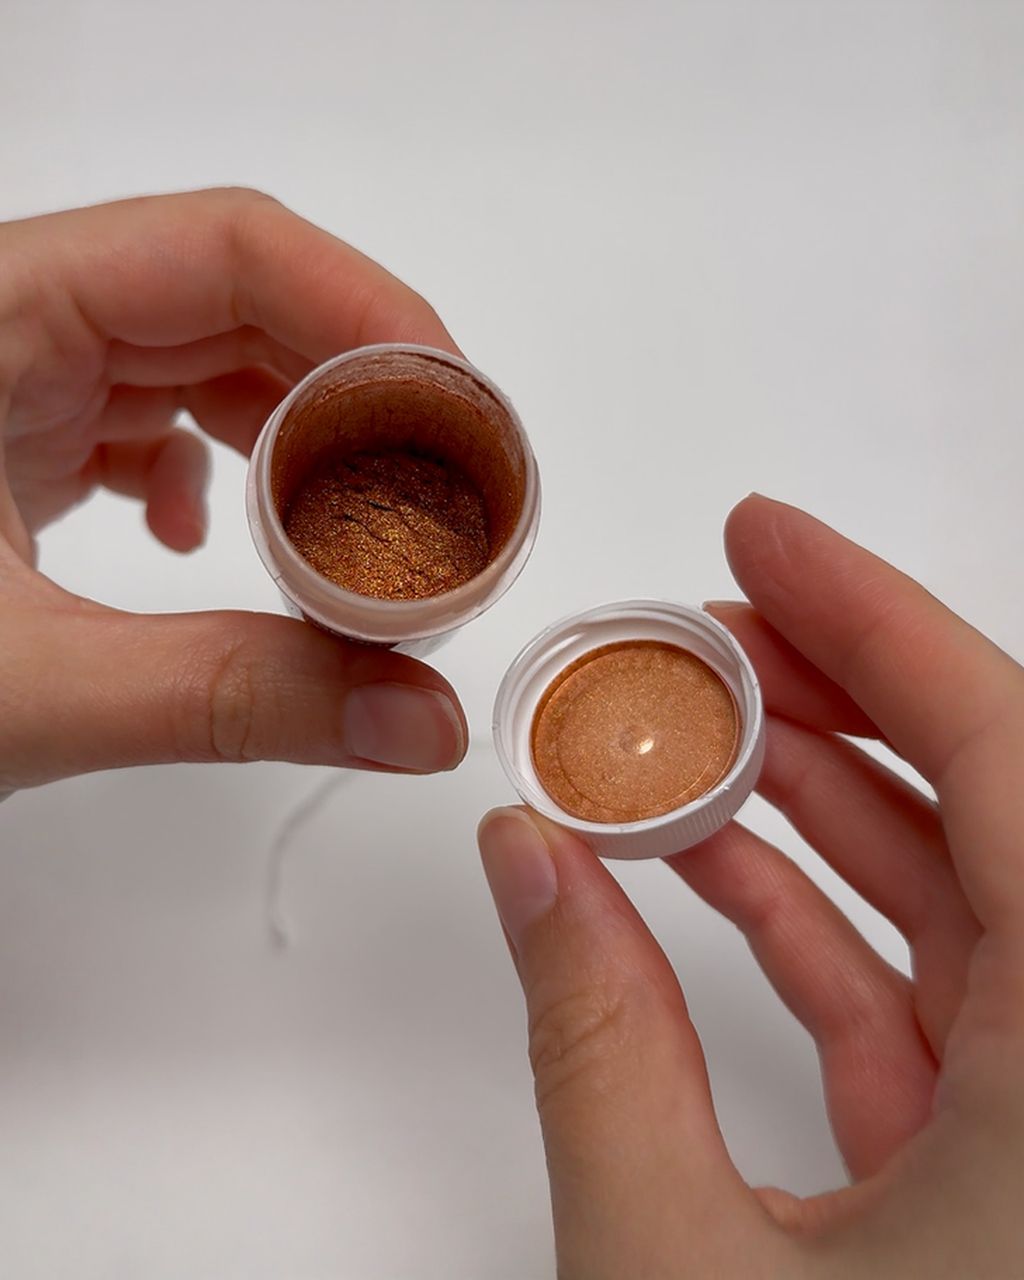
Apply pearl and shimmer dusts with a dry, soft brush straight onto the finished surface — onto set chocolate, sugar paste, or the edges of macarons. Applied dry you get a subtle metallic sheen; with a drop of alcohol mixed in, a much bolder metallic shine.
This is the only way to get gold or silver onto a dessert. Gold can't be stirred into a mixture — it disappears into buttercream and leaves nothing but a dull grey tinge.
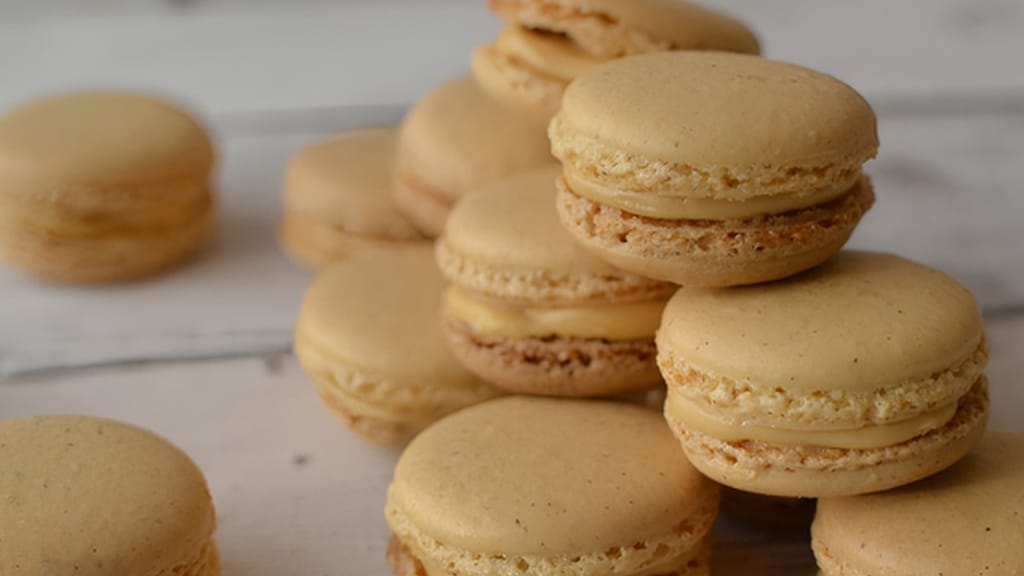
Salted caramel macarons
Salted caramel macarons — shells that call for powder colouring and nothing else
Colour chocolate only with oil-based, cocoa-butter colourings — gel and liquid colourings have no place in chocolate, because they contain water, and water makes chocolate seize instantly.
There's simple physics behind this. Melted chocolate is a suspension of dry particles — sugar and cocoa solids — dispersed in a film of fat. The moment even a few drops of water get in, the sugar dissolves into a sticky syrup that binds the particles together. In a matter of seconds, the smooth, flowing chocolate turns into a lumpy, dull paste. And the process is irreversible: no amount of reheating or tempering will bring it back.
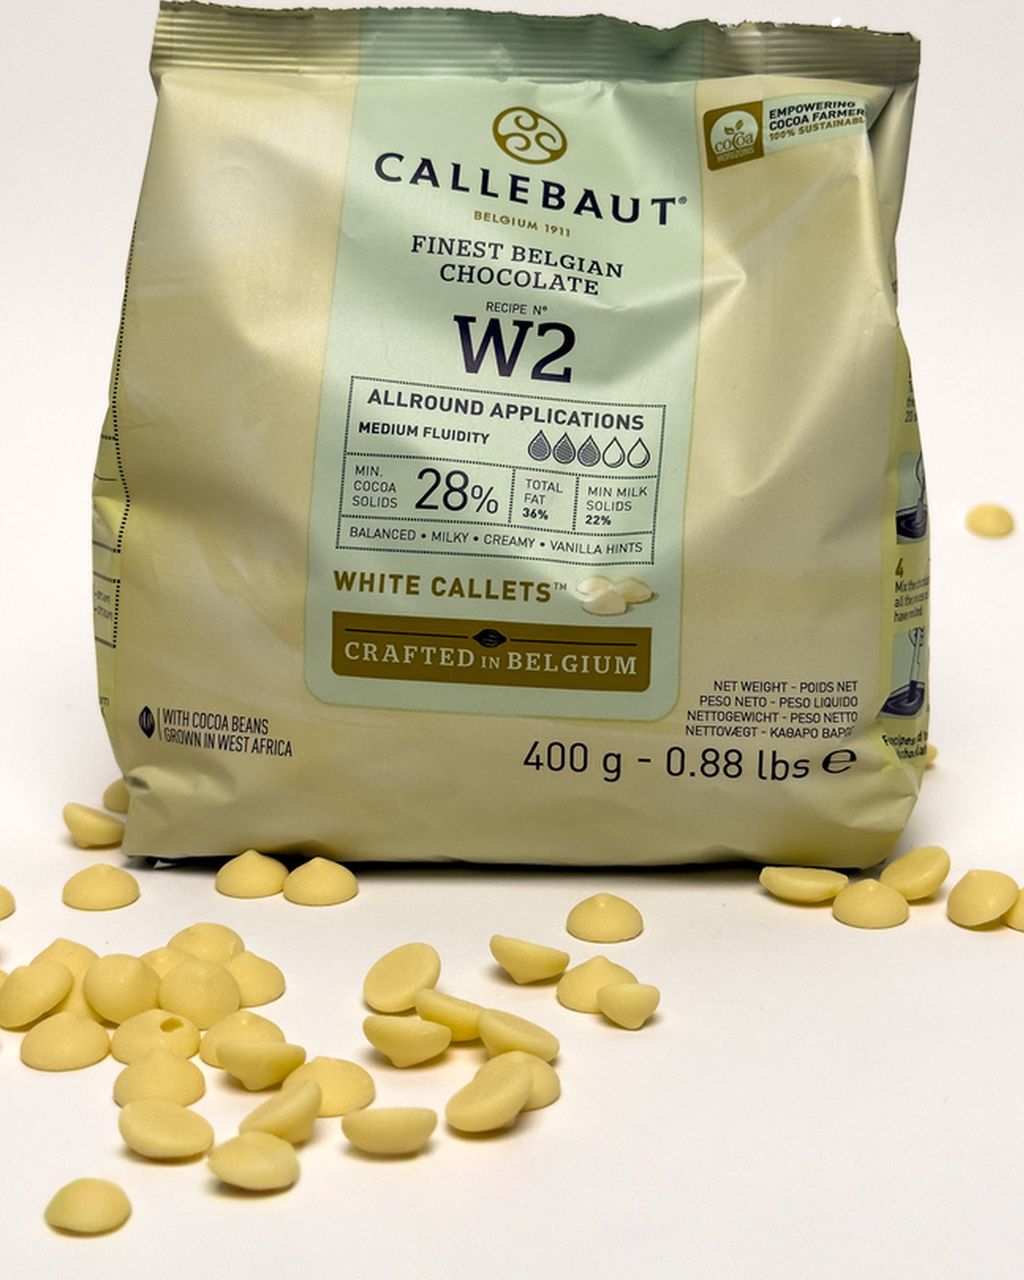
White chocolate takes colour best — it has the lightest base, so the shade really shows. Milk chocolate pushes every colour toward brown, and there's no point trying to colour dark chocolate at all.
Colouring chocolate comes down to five steps: melt, temper, pre-warm the colouring, add it drop by drop while stirring with a spatula, and colour in small batches. In detail:
Melt the chocolate in a bain-marie, or in the microwave in 20-second bursts, stirring in between. Never blast it on full power in one go.
Temper it and keep an eye on the working temperature. White chocolate is worked at around 28–29°C (82–84°F), milk at around 29–30°C (84–86°F), dark at around 31–32°C (88–90°F). Don't go above that — you'll lose temper and the chocolate will turn dull and won't snap properly.
Warm the colouring to the same temperature as the chocolate. Cold pigment poured into tempered chocolate cools it locally and throws off the crystallisation. Just hold the bottle in lukewarm water for a moment first.
Add it drop by drop, stirring with a spatula, not a whisk — a whisk beats air into the chocolate and you'll see little bubbles in the finished decoration.
Colour in small batches. If you need several shades, split the chocolate between bowls and colour each one separately. Keep the bowl somewhere warm, or it'll start to set while you're stirring.
Powder colouring works for chocolate too, as long as it's fat-soluble — just rub it into a little melted cocoa butter first so no grains are left behind.
Synthetic colourings hold their colour through oven heat and both acidic and alkaline conditions; natural ones don't — which is why baking and confectionery still lean mainly on synthetic colours. The difference isn't about how carefully you work, but about the chemistry of the pigment itself, and natural colourings tend to fail in one of three ways: heat, the wrong pH, or exposure to light.
Anthocyanins (red cabbage, blueberry, hibiscus) give a deep red, but they're only stable in acidic conditions, roughly below pH 3.5; around pH 4–5 they fade, and in neutral-to-alkaline batter they can shift toward purple or grey. Most baked goods sit at pH 5–7, and baking soda speeds that shift up even more.
Betalains from beetroot are, by most measurements, among the least heat-stable plant pigments around — they fade noticeably at just 70–100°C (158–212°F), so they simply don't survive baking. Beet sugars also kick-start the Maillard reaction, turning pink into beige.
Curcumin and spirulina fade in light and heat respectively.
Natural colourings work best, then, where nothing gets baked or overheated: cold creams, fillings, glazes and marzipan. Just factor in the flavour they bring along — both beetroot and spirulina come with a taste of their own.
Classic red velvet is the textbook case: without synthetic red, you simply can't get that colour from cocoa and buttermilk alone.
Six synthetic colourings (the so-called "Southampton Six", five of them azo dyes) must carry a warning on EU packaging: "may have an adverse effect on activity and attention in children" — a requirement in place since 2010, following a University of Southampton study linking them to hyperactivity in children. They are:
E102 tartrazine (yellow) — azo dye
E104 quinoline yellow — a quinophthalone dye, the only one in the six that isn't an azo dye
E110 sunset yellow FCF — azo dye
E122 azorubine (red) — azo dye
E124 ponceau 4R (red) — azo dye
E129 allura red AC — azo dye
Plenty of baking colourings skip this six altogether and rely on other pigments instead — you'll know because the packaging won't carry the mandatory warning. Check the ingredients list on the label to see exactly which pigments a colouring contains.
Two more things that catch people off guard: E120 (cochineal, carmine) is derived from insects, so it's neither vegan nor vegetarian, and the glazing agent E904 (shellac) is a secretion from the lac bug.
Five mistakes are behind most colouring disasters: overdoing it, using the wrong type for the job, not mixing thoroughly, being impatient, and using cheap drugstore colouring. In turn:
Overdoing it. Chasing a deep shade often ends in grey, because too much pigment starts cancelling itself out — and the buttercream turns bitter on top of it. The fix isn't more colouring, it's time (see the note on resting above).
The wrong type for the wrong mix. Gel in chocolate = seized mess. Liquid in macarons = cracked shells. Powder sprinkled into wet buttercream = dark specks.
Not mixing thoroughly enough. Scrape right down to the bottom and sides of the bowl; unmixed streaks only show up once the cake's been decorated. With buttercream, mix with a spatula, not a whisk — a whisk pumps air in.
Being impatient. Colour develops in fat over hours. Anyone who tops up after ten minutes will almost always overshoot.
Cheap liquid colourings from the drugstore. These are mostly water and glucose syrup with barely any pigment. They'll water down buttercream, give batter a washed-out colour, and ruin chocolate outright. A good gel, by contrast, uses glycerine as its carrier, very little water, a natural thickener (tapioca, say), and concentrated pigment — it lasts years and you use just a fraction of it.
And one more mistake that's easy to overlook: storage. Colourings belong somewhere dark, dry and at room temperature. In the light, pigment gradually fades right there in the bottle, and you end up adding more and more with no result.
Black and red need more pigment than any other colour, which is exactly why they're the ones most likely to end up tasting bitter. Both are solved with the same trick — don't start from white.
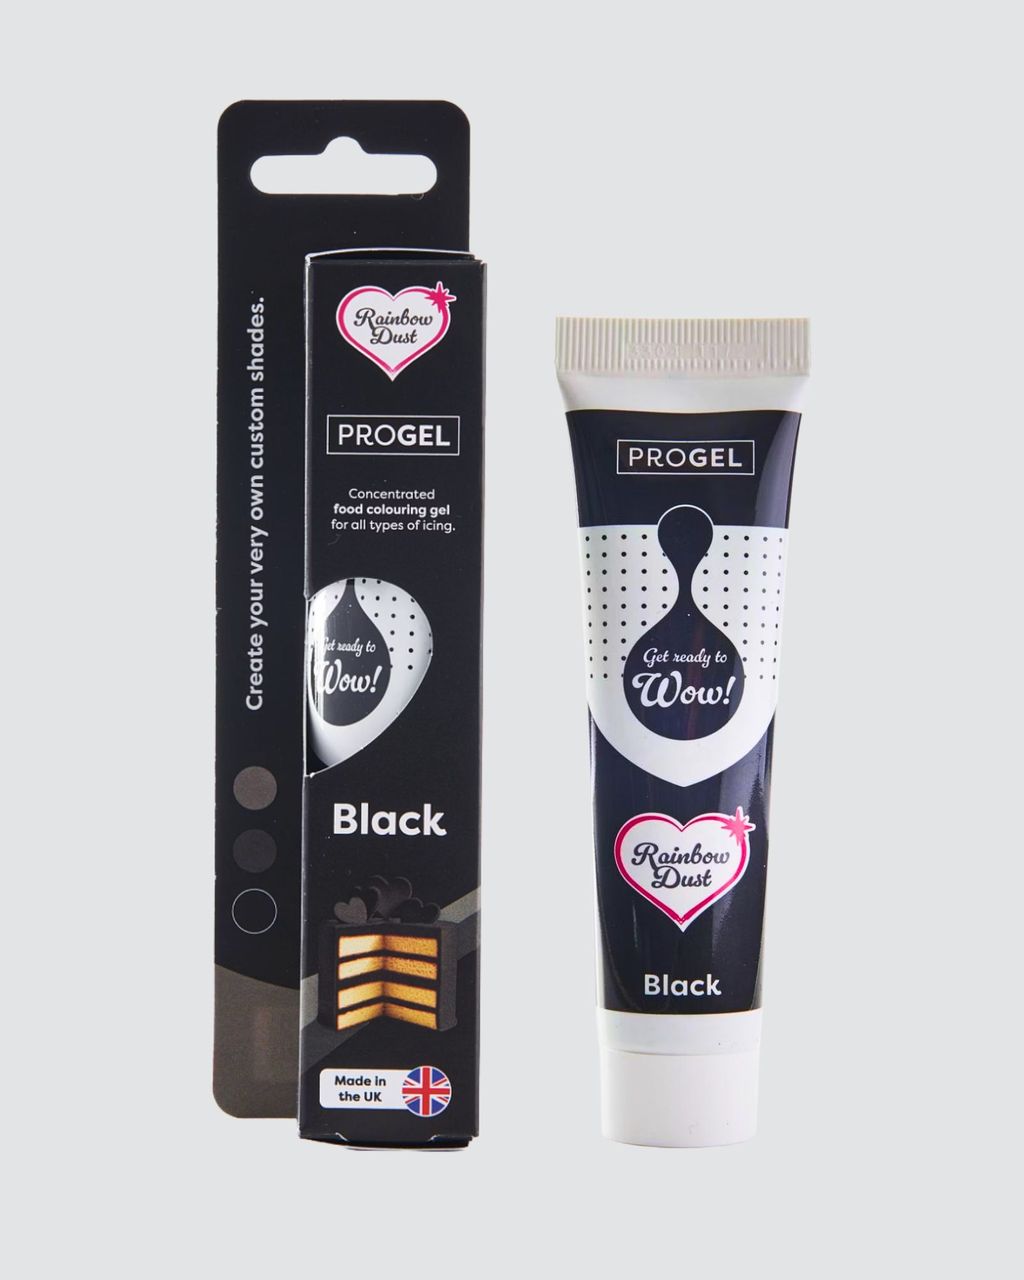
For black, start with a chocolate buttercream base, or stir a tablespoon of dark cocoa into your buttercream first. Getting from brown to black is a much shorter road than from white, so you'll use a third of the colouring. Then let it rest overnight; black deepens more than any other colour after resting.
For red, a pinch of cocoa helps, or the tiniest touch of black gel to deepen the shade. Add it in the smallest possible increments — one drop too many and you'll land on burgundy or greyish brown.
The same logic runs the other way too: you can't get a pastel shade out of a dark base. If you want pale blue buttercream, the base needs to be genuinely white to start with — which is where the purple trick comes in handy again.
Food colouring pays off most in four situations: two-tone buttercreams, marshmallows, royal icing on gingerbread, and white chocolate. What they have in common is that the colour is actually doing something — carrying a pattern, or developing perfectly evenly because it goes into something hot or melted. Specifically:
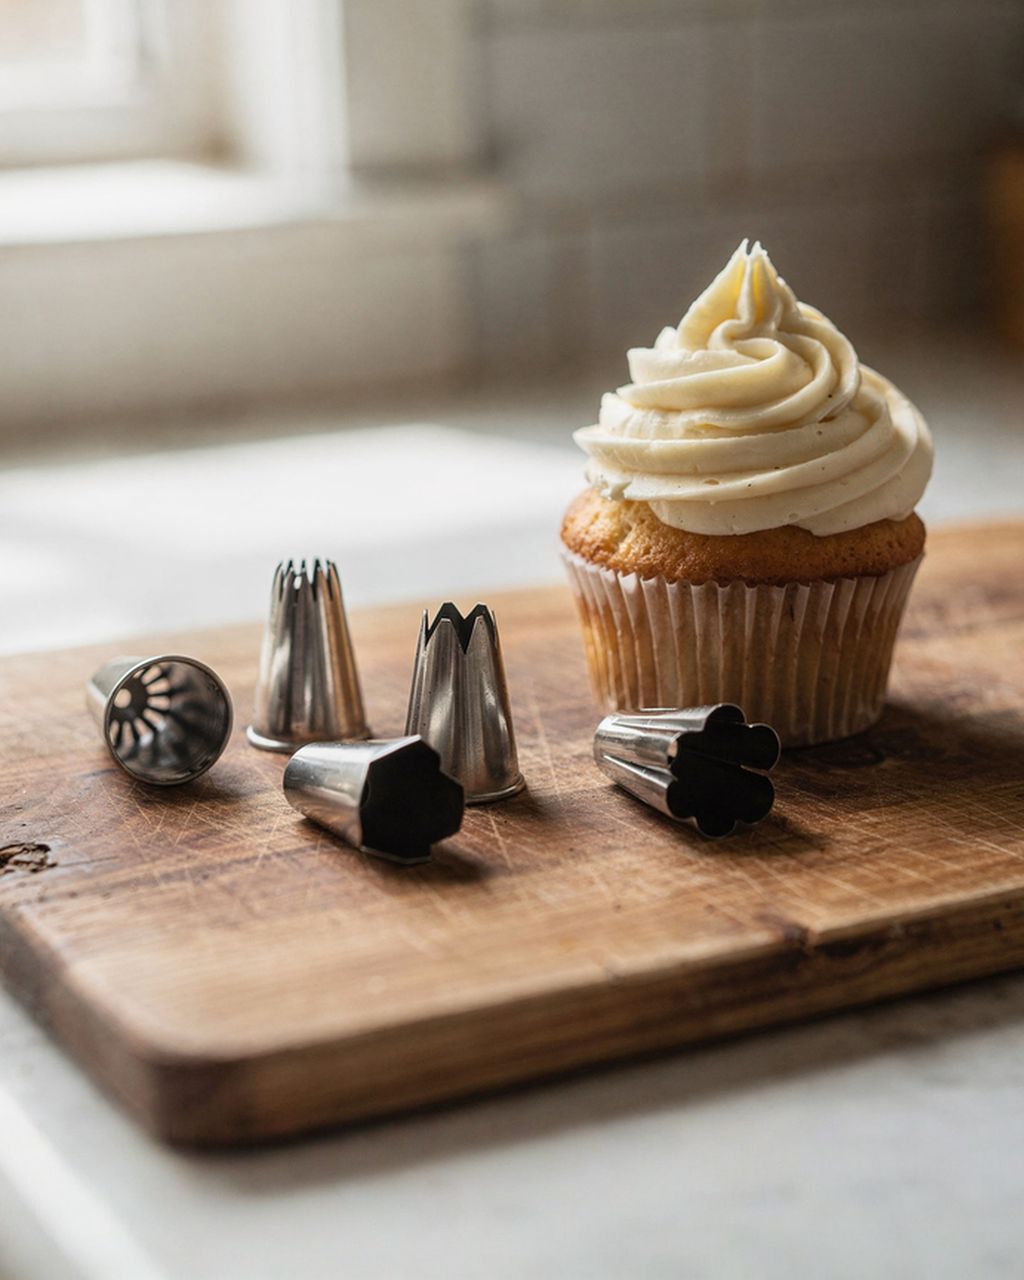
Two-tone buttercreams. Two-tone mascarpone frosting shows how two shades piped from one bag can do the work of ten different piping tips.
Marshmallows. Homemade watermelon marshmallows call for gel colouring stirred into the hot syrup, where it develops perfectly evenly.
Gingerbread. Honey gingerbread cookies call for coloured royal icing — and once that's set, fine details painted on with powder and alcohol.
White chocolate. White chocolate mousse can carry a soft pastel beautifully; just stir the colouring in while the chocolate is still melted.
Powder colourings last longest because they contain no water — but always check the best-before date on the label. Store colourings in a sealed bottle, away from light, at room temperature. Light will fade the pigment right there in the bottle, and you'll end up overdosing to compensate. Don't put colourings in the fridge: gel thickens up in the cold, and cocoa-butter-based oil colours will harden and can turn grainy once melted again. Dried gel around the bottle neck isn't a reason to bin it — just wipe it off and screw the lid back on tight.
Good-quality synthetic colourings hold up well to oven heat, but natural ones don't. Either way, browning from the Maillard reaction will mute the colour in baked sponges, so always colour the batter a shade or two deeper than you actually want the finished result to be, and bake at a slightly lower temperature for longer. You can also trim off the very top of the sponge once it's cooled, since that's where the browning is heaviest.
Use a gel colouring and stir it into the liquid cream before you start whipping. Once cream is fully whipped, colouring is hard to incorporate evenly, and extra mixing easily overbeats it into a grainy mess. Also keep in mind that whipped cream only really holds soft pastels — you won't get a deep, saturated colour from it, because the amount of colouring needed would thin it out too much.
On hands, baking soda mixed with a little lemon juice into a paste works best — rub it in, then rinse with lukewarm water. On worktops and plastic equipment, washing-up liquid with a splash of vinegar, or a drop of rubbing alcohol, does the job. But prevention beats cleanup: concentrated pigment stains instantly, so wear disposable gloves when working with red or black, and use silicone spatulas rather than wooden ones — wood soaks up pigment permanently.
Yes, and it's often the best approach — as long as each type is used where it belongs. Typically you'd colour the base with gel, then once the surface has set, finish it off with powder, either applied dry or painted on with alcohol. Mixing both types together into a single batch, though, doesn't make sense: powder dissolves poorly into an already-made cream and you risk dark specks.
One recipe worth heating the oven for, one tip, and one deal from the shop. Nothing else.