Pumpkin pie
What to Bake for Halloween: From Pumpkin Pie to Meringue Ghosts
Updated Oct 4, 2026
What should you bake for Halloween? The winning combo is usually three things: something pumpkin-based (a pie or cupcakes), something chocolatey and spookily decorated (brownie monsters, graveyard treats, a cake), and something white and light (meringue ghosts). Most Halloween desserts don't rely on a complicated recipe — they rely on colour, shape, and spreading the work out over four days. Below you'll find eight tried-and-tested ideas with recipe links, a trick for getting your icing properly black, and a schedule so you're not still baking at midnight on October 31st.
The best things for a Halloween spread are pumpkin pie, a pie with a pumpkin-chocolate filling, pumpkin cupcakes, brownie monsters, graveyard treats made with sweets, a Halloween cheesecake, chocolate mousse with meringue ghosts, and a spooky cake. Here they all are, with recipes:
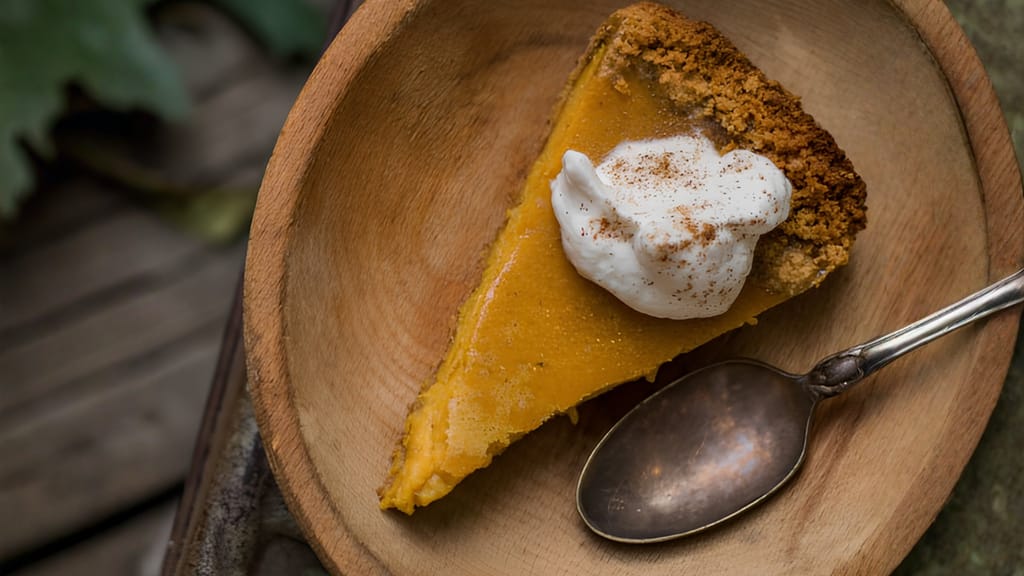
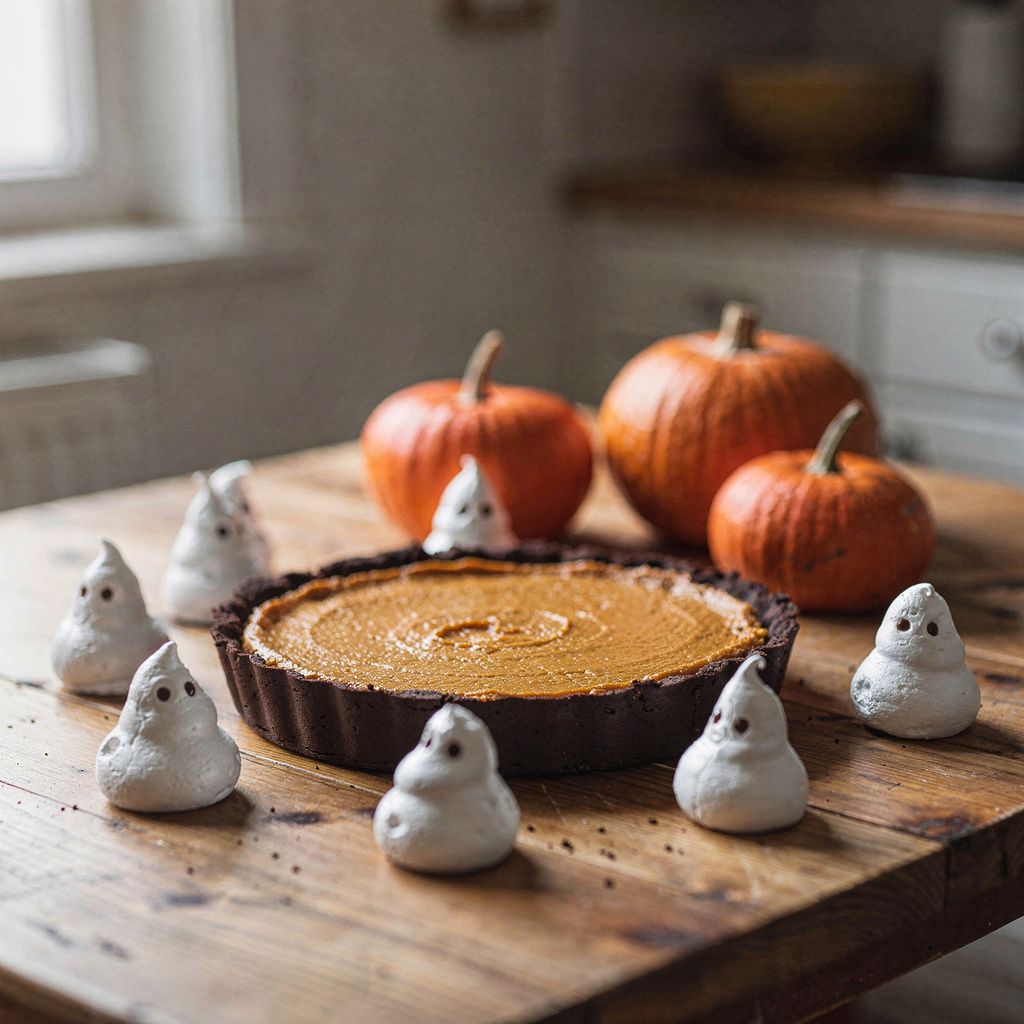
**Pumpkin pie** – the classic, with a spiced pumpkin filling that only gets better after a day in the fridge.
**Pie with a pumpkin-chocolate filling** – for anyone who thinks plain pumpkin isn't quite enough.
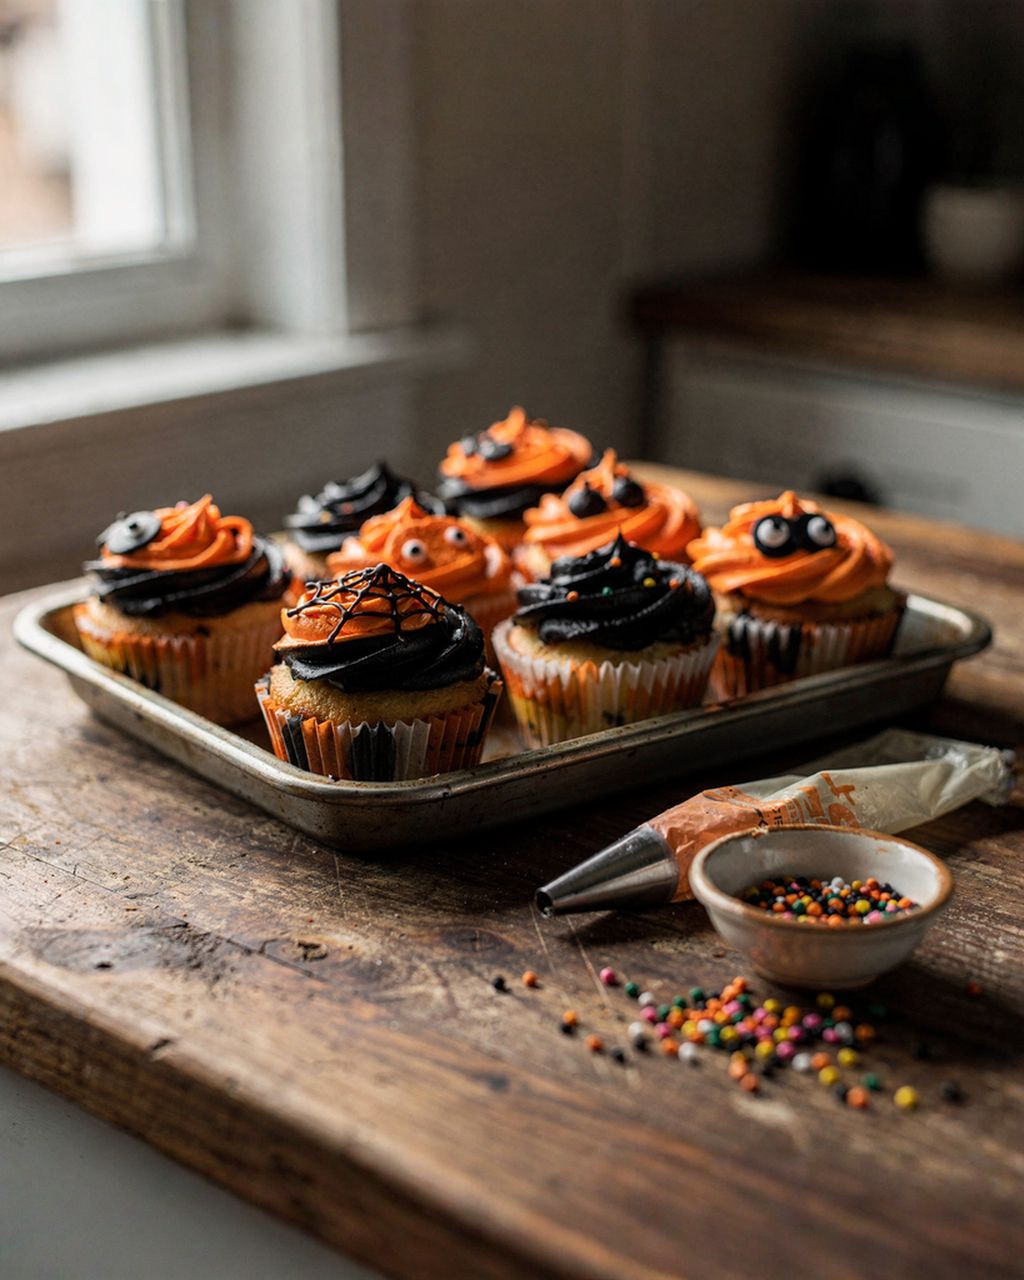
**Hokkaido pumpkin cupcakes** – orange batter that just needs a pair of eyes or a spiderweb on top.
**Brownie bites as little monsters** – the quickest Halloween dessert for kids.
**Halloween graveyard treats with sweets** – crushed-biscuit "dirt", gravestones, gummy worms.
**Halloween cheesecake** – a creamy, foolproof choice for the grown-ups' table.
**Chocolate mousse with meringue ghosts** – a dessert in glasses you can make a day ahead.
**Halloween cake** – for when you want one big showstopper instead of ten small ones.
Halloween gingerbread cut into bats and pumpkins is always a great addition too. You'll find how to make it from the same dough you'd use at Christmas further down.
Not sure how much to bake? For a party of up to ten people, one larger dessert (a pie, cake, or cheesecake) plus one bite-sized treat (brownie monsters, gingerbread, ghosts) is plenty.
Pumpkin pie
Pumpkin pie – the backbone of Halloween baking
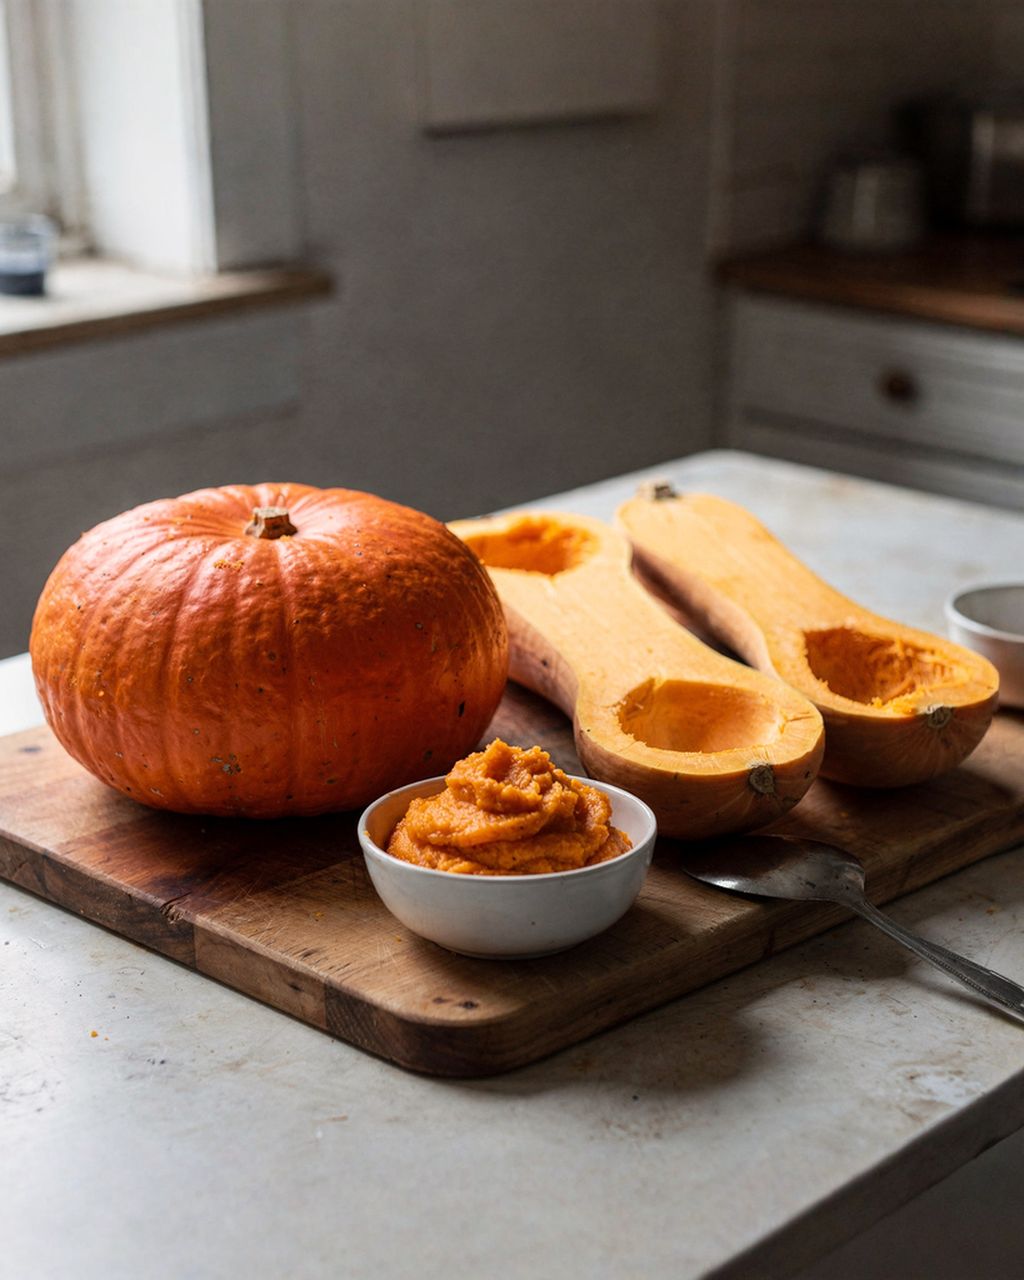
For baking, go for hokkaido or butternut squash, not the big orange pumpkins meant for carving. Hokkaido has dense, sweet flesh and doesn't even need peeling. Carving pumpkins are bred for size and thin walls, so their flesh tends to be watery, fibrous, and bland.
Roast your purée, don't boil it. Cut the pumpkin open, scoop out the seeds, and roast it cut-side down for roughly 40–50 minutes at 200°C (400°F), until a fork slides in like it would through butter. Roasting evaporates the water and caramelises the flavour, while boiling just waterlogs the flesh further.
Drain watery purée. If your purée is runny, let it drip for 1–2 hours in a sieve lined with a tea towel. Otherwise your pie won't set properly and your cupcakes will turn gummy inside.
Spice is non-negotiable. Cinnamon, ginger, nutmeg, and cloves give pumpkin real depth. 1–2 teaspoons total is enough for a whole pie.
For more on varieties, making purée, and balancing moisture in the batter, see our article Pumpkin in baking: choosing a variety, making purée, and balancing batter moisture.
The most crowd-pleasing spooky chocolate desserts for Halloween are a graveyard made from crushed cocoa biscuits, brownies shaped as graves or monsters, and a cheesecake or cake topped with a white-icing spiderweb. Chocolate is the perfect base for all of these, since it's dark to begin with — so the "dirt," graves, and monsters need only the smallest touch of colouring.
"Dirt" from crushed cocoa biscuits turns an ordinary trifle or sheet cake into a graveyard. Cut gravestones out of sponge fingers or butter biscuits and write the epitaphs in melted chocolate.
Brownies as monsters or graves. Dense brownies cut cleanly and hold their shape well. Try our fudgy brownies with sprinkles, skip the sprinkles, and decorate them as graves instead. Or roll the mixture into brownie bites shaped as monsters.
A spiderweb on top. Pipe concentric circles of white icing onto a dark surface, then drag a cocktail stick from the centre outward to create the web lines. This works beautifully on cheesecake, cake, or chocolate mousse.
If you want a spooky cake or cupcakes with piped frosting, check out our step-by-step guide to Halloween cupcakes and cakes.
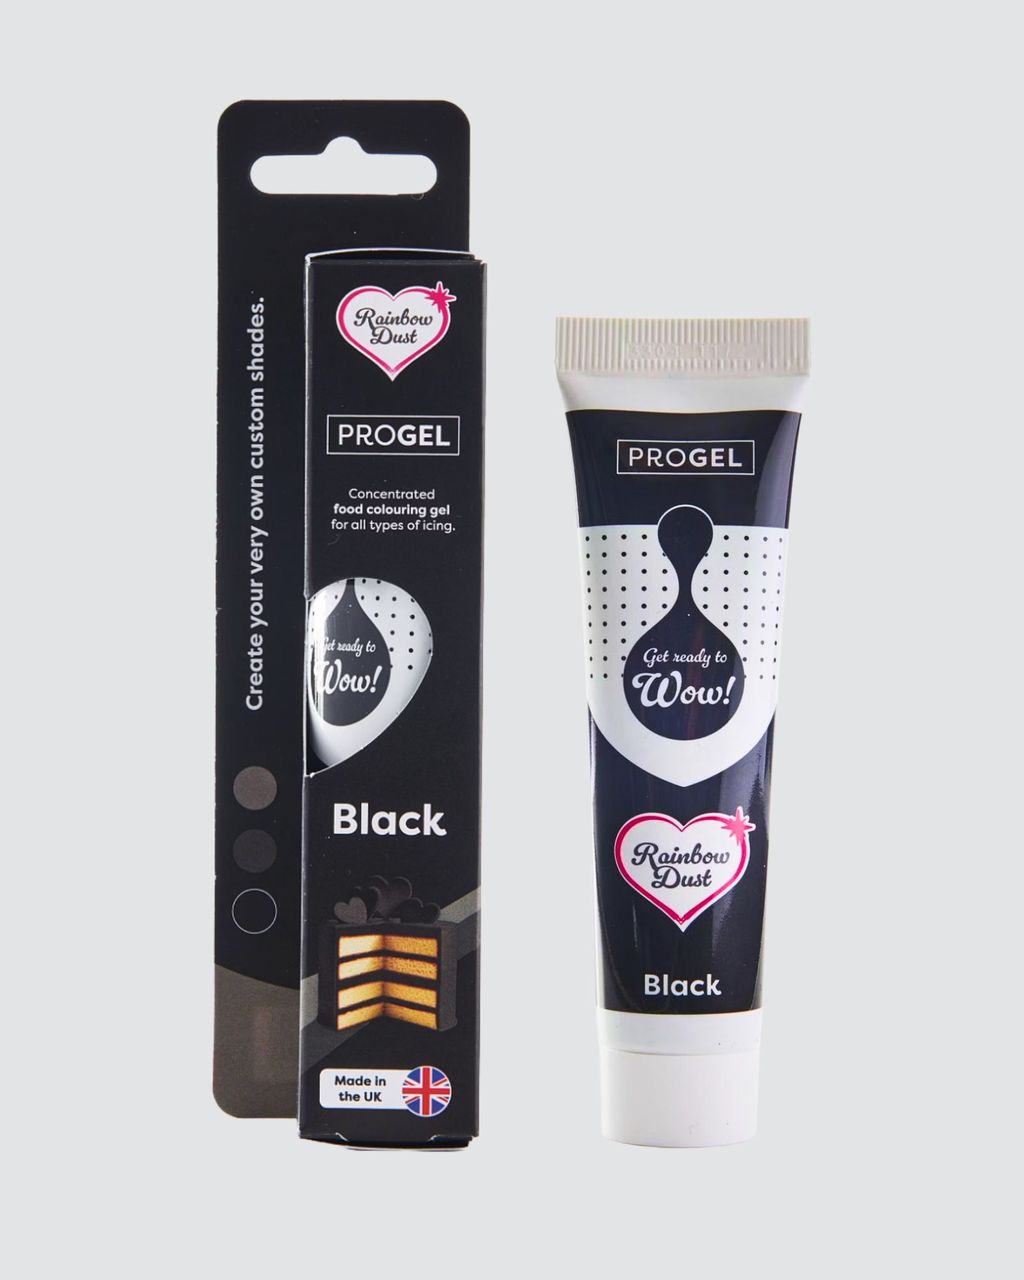
Use gel colouring, not liquid, for Halloween shades. Gel is so concentrated that just a few drops give you a deep colour, whereas liquid colouring would thin out the icing before it had a chance to properly tint it.
Black: don't start from white. Colour a base that's already dark, made with cocoa or melted chocolate, then add black gel colouring and let the icing rest. Black (and red, too) deepens over time. Right after mixing it often looks like wet concrete, and it'll ripen into true black over a few hours, ideally overnight. Add colouring until it looks black immediately, and you'll end up with a bitter icing that stains teeth.
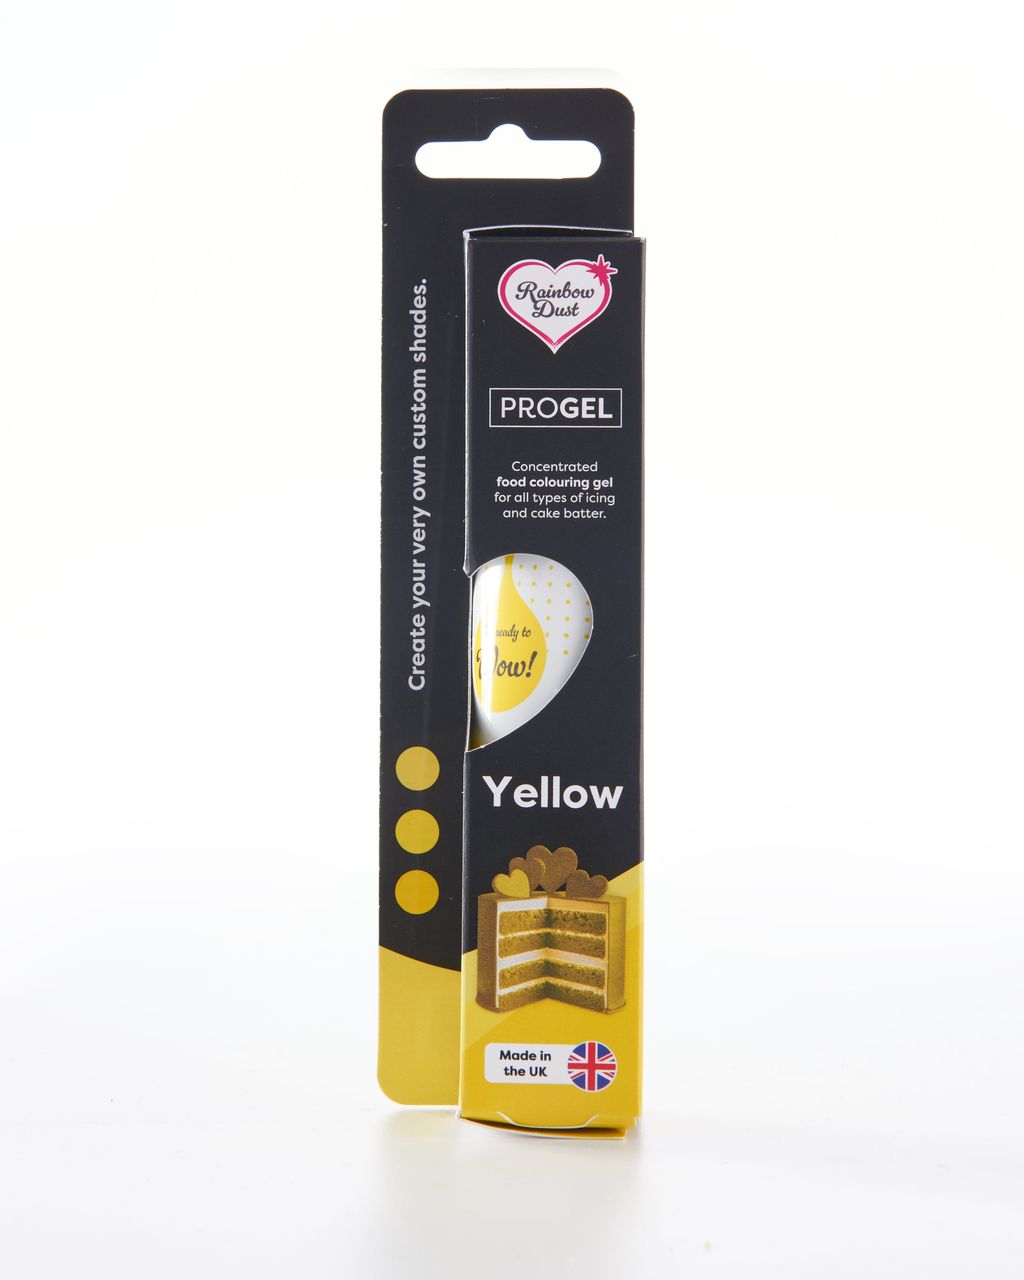
Orange: plenty of yellow plus a pinch of red. Start with yellow, then add red with a cocktail stick until you hit that pumpkin shade. Orange deepens too, so stop just a touch short of where you want to land.
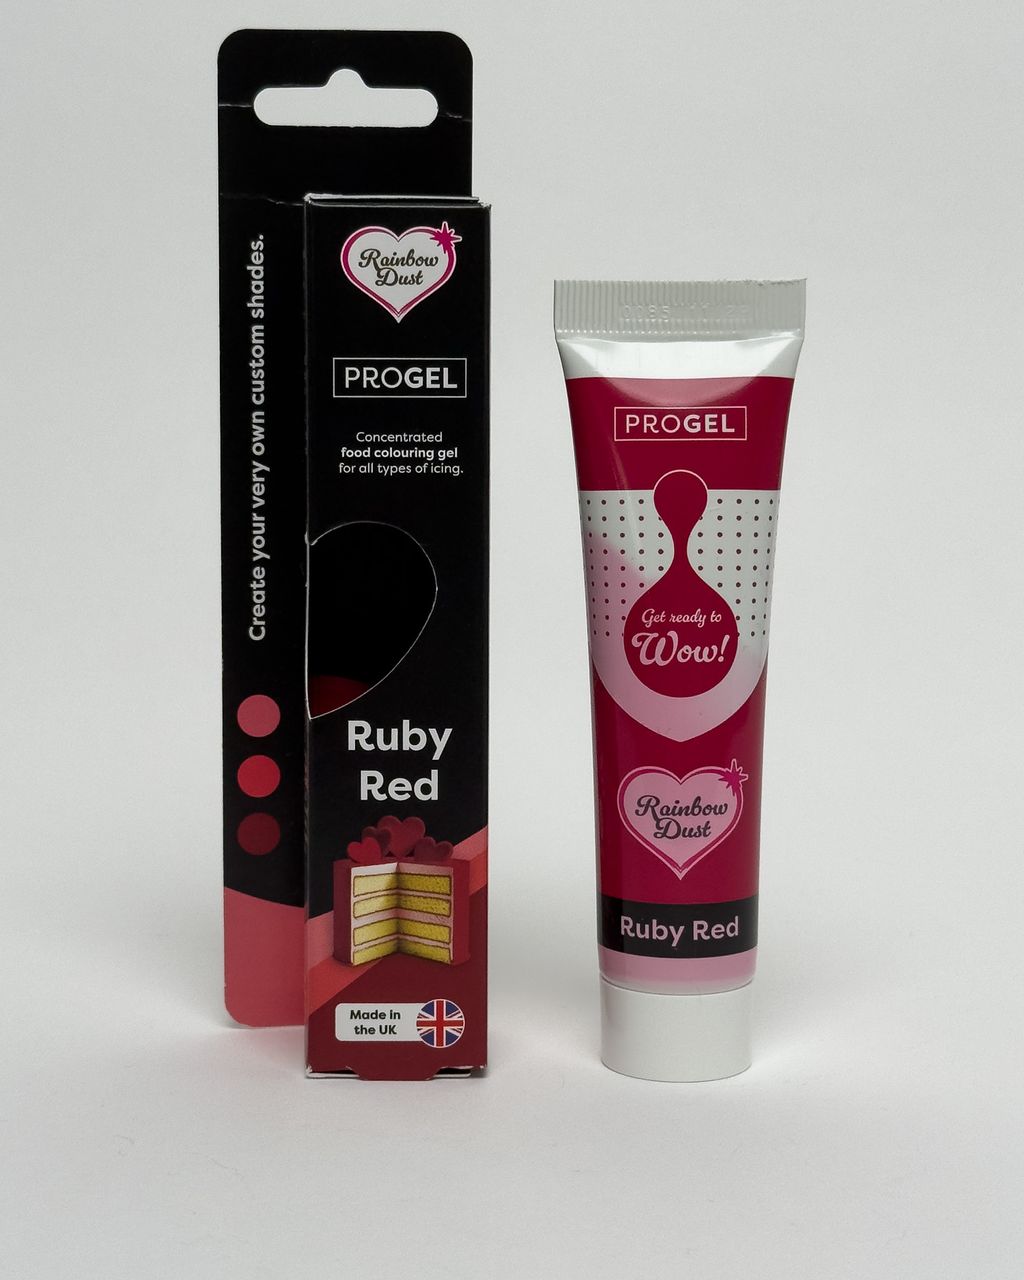
Blood red: for gingerbread and "blood" drips, go for a darker ruby shade. Classic strawberry red tends to look cheerful rather than sinister.
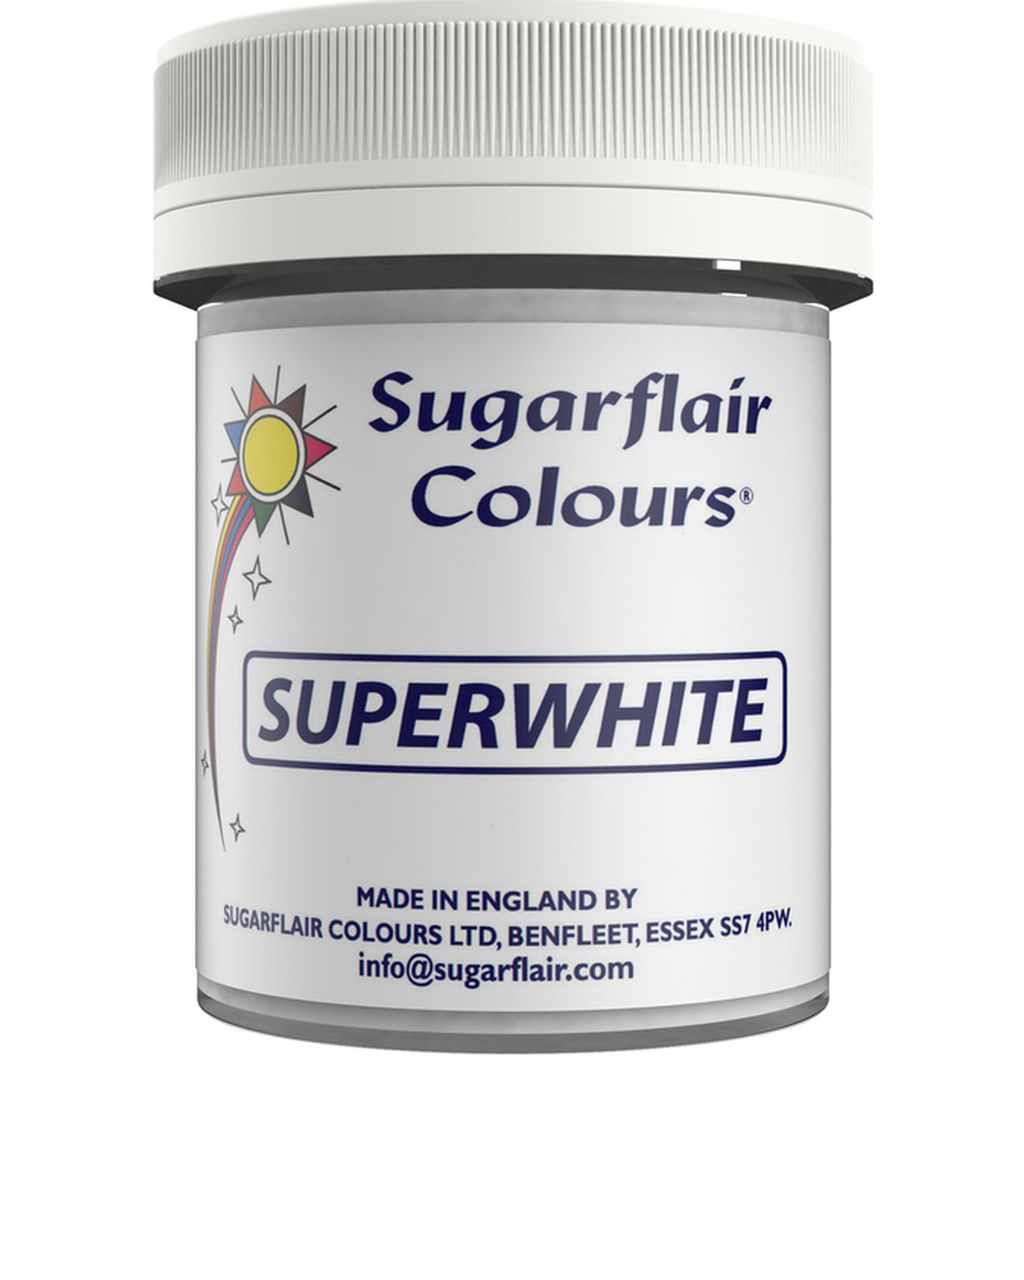
Bright white for ghosts: egg-white and buttercream icings aren't pure white on their own — they lean cream-coloured. A few drops of white colouring will push them toward snow-white.
For a handy guide on which colour to use where, see our page on baking colours and dyes. Apply colouring with the tip of a cocktail stick, wiping it clean each time so you don't contaminate the tub with icing.
Meringue ghosts are a snowy mix of whisked egg whites and sugar, piped into pointed drops and slowly dried out in the oven. Give them eyes with black colouring or melted chocolate.
Ratio: for every egg white, use roughly double the weight in sugar — about 60 g sugar to 30 g egg white. Add the sugar gradually, only once the whites are white and foamy.
Finished meringue is glossy and stiff. Turn the bowl upside down and it should stay put, with no graininess when you rub a little between your fingers.
Pipe straight down through a round nozzle. Squeeze, lift slowly, then ease off the pressure at the end and pull the nozzle upward sharply to form the ghost's little tail. Piping is much easier once you know how to fill a piping bag without the mess.
Dry them, don't bake them: 90–100°C (195–210°F) for 1.5–2 hours, then let the ghosts cool inside the oven with the door slightly ajar. Higher heat will turn them yellow and crack them.
Add the eyes only once the meringues are completely dry. Dot them on with a cocktail stick dipped in black gel colouring or melted chocolate.
Stored in a sealed tin, these ghosts stay crisp for up to a week, so feel free to make them first. One finished dessert to pair them with is our chocolate mousse with meringue ghosts.
You don't need a new recipe for Halloween gingerbread. Just use your trusted go-to, like our soft gingerbread cookies, and change up the shapes and colours instead: bats, pumpkins, ghosts, spiders, a crescent moon.
Bats and spiders rely on black icing. Pipe the outline with a thicker icing, then fill in the shape with a thinner one.
Pumpkins get filled with orange, with a green or brown stem added on.
Blood drops can be dripped on with ruby-red icing from the top edge, letting it run down.
Ghosts are the most popular motif with kids. All you need is a white shape and two black dots.
For the icing recipe, the right consistency, and step-by-step decorating, see our article Gingerbread icing: recipe, consistency, and decorating step by step. If you don't have a Halloween cookie cutter, draw a template on paper, lay it on the dough, and cut around it with a knife.
Spread your baking out over four days. Most Halloween desserts taste just as good — or better — the next day, and decorating is what really eats up the time.
3 days ahead: gingerbread and meringue ghosts. Both keep well in a sealed container, and the gingerbread will even soften nicely.
2 days ahead: decorate the gingerbread — the icing needs roughly 12–24 hours to fully harden.
1 day ahead: pumpkin pie or cheesecake (both need a night in the fridge for clean slicing), chocolate mousse in glasses, and black icing left to ripen.
On the day: brownies, cupcakes, final decorating, spiderwebs, and eyes. Hold off combining anything damp, like frosting or mousse, with meringues until just before serving, or the meringues will go soft.
You can use the flesh you scoop out while carving, but expect a watery, bland purée. Roast it and drain it thoroughly. Don't bake with a pumpkin that's already been sitting carved outdoors or indoors in the warmth — once cut open, the flesh spoils quickly at room temperature.
Yes, black Halloween icing stains teeth and tongues for anywhere from a few minutes to a few hours, and the more colouring it contains, the worse it is. It helps to start from a dark base made with cocoa or chocolate, and to let the icing rest overnight, since then you need far less colouring.
The best substitute is butternut squash or roasted sweet potato, both of which have a similar sweetness and density. In a pinch, roasted carrot will also work, though it gives a paler colour and a milder flavour.
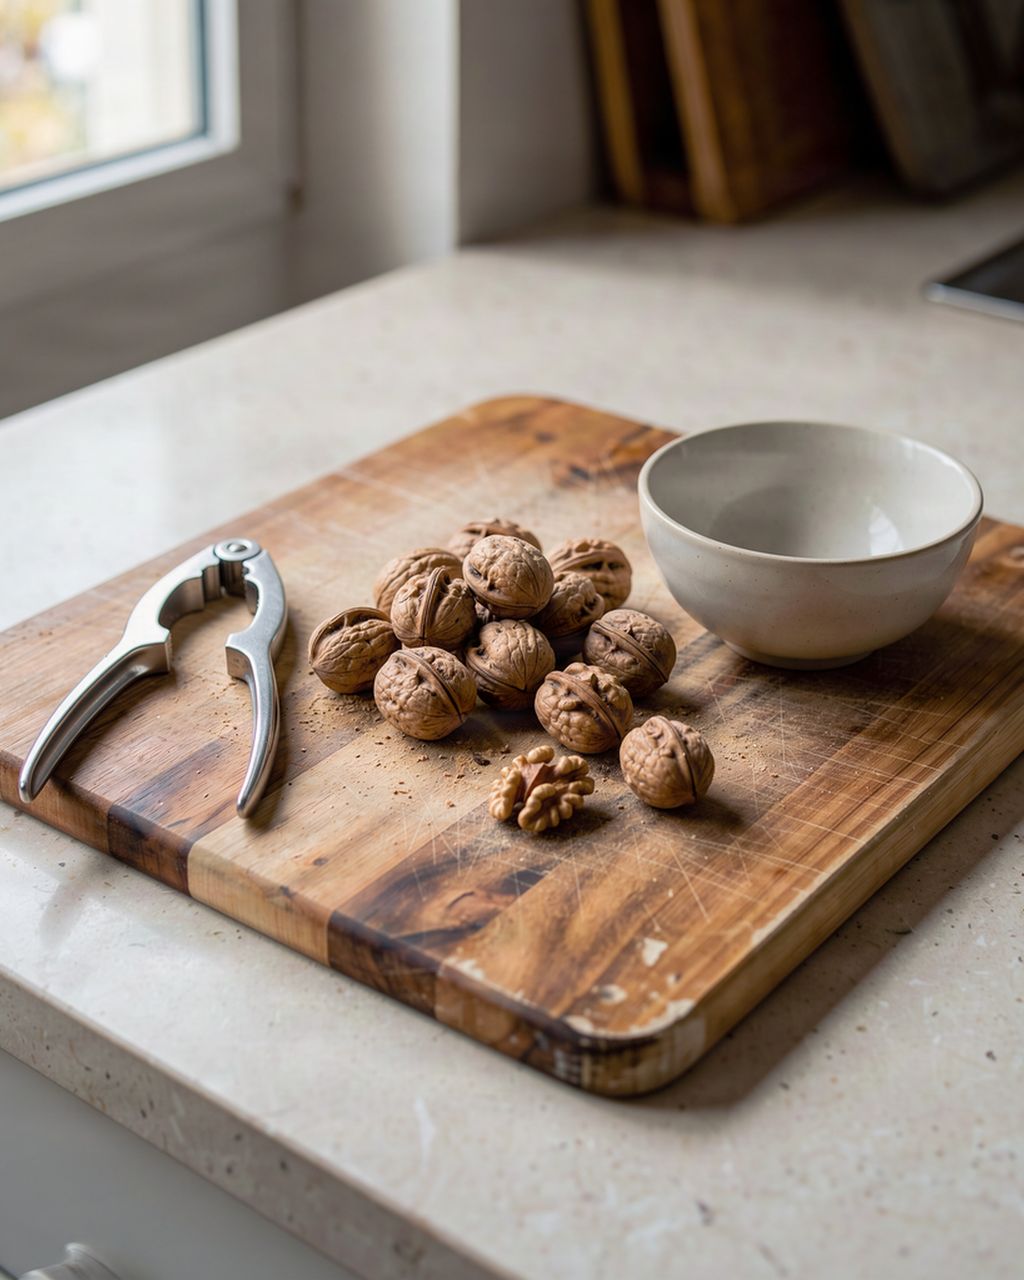
You can colour Halloween desserts naturally: cocoa or dark chocolate for a dark shade, pumpkin purée for orange, and beetroot for a deep red, as in these [gluten-free beetroot and walnut brownies](/recipes/gluten-free-beetroot-and-walnut-brownies). What you won't get from natural ingredients is a true black or a vivid orange icing — the result will be more muted, leaning brown or brick-red instead.
Transport decorated Halloween desserts well chilled, keep each type separate, and finish any meringue decorations only once you arrive. Keep a cheesecake or pie in its tin in the fridge right up until you leave; put cupcakes in a box with a liner or a tall container so the frosting doesn't rub against the lid. Only move gingerbread once the icing has fully hardened, layering pieces between sheets of baking paper, and carry meringue ghosts in a dry tin rather than a cool bag, where they'd turn damp.
One recipe worth heating the oven for, one tip, and one deal from the shop. Nothing else.