Chocolate cupcakes with salted caramel cream
How to Fill a Piping Bag Without the Mess (and Decorate Like a Pro)
Updated Oct 4, 2026
How do you fill a piping bag without ending up with cream all over your hands, the counter and the outside of the bag? Stand the bag in a tall glass, fold the top edge over the rim, fit the tip before you snip the point, fill it no more than two-thirds full, and push the air down toward the tip with a spatula. Everything else is just detail. Here it all is, along with why it works and how to actually pipe once the bag is full.
You can fill a piping bag cleanly in six steps: tip in first, snip the point, bag in a glass, fill to two-thirds, push out the air, twist.
Drop the tip into the empty bag and push it all the way down into the point. Don't cut anything yet.
Snip the point of the bag — just a little. Enough so the tip pokes out about a third to half its length. Cut in 5 mm increments and test as you go; you can't un-cut a hole that's too big, and the tip will slip right out under pressure.
Twist the bag just above the tip and tuck that twisted bit into the tip itself. This plugs the opening so cream doesn't leak out while you're filling. Just pull it back out before you start piping.
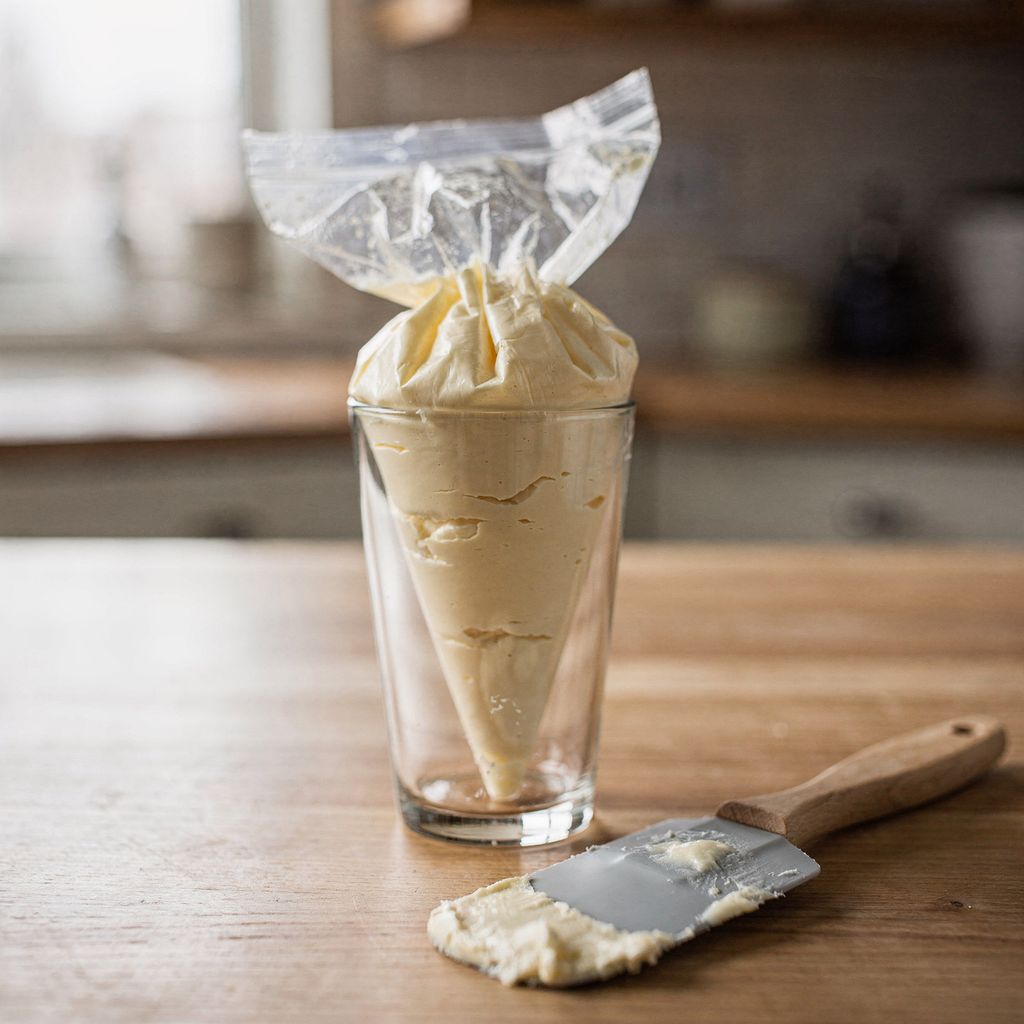
Stand the bag in a tall glass (or measuring jug) and fold the top edge down over the rim, like turning up a cuff. Both hands stay free, and you've got the folded edge to wipe your spatula on.
Fill no more than two-thirds full. Scoop the cream with a spatula, push it into the bag, and scrape it off against the inside wall.
Push the air out and twist. Lift the bag out of the glass, lay it on the counter, and run the edge of the spatula or a bench scraper from the top down toward the tip to flatten it. Then twist right at the point where the cream ends.
No glass handy? Fold the edge of the bag over the palm of your non-dominant hand instead — same cuff, just held in your hand.
Cream escaping while you fill a piping bag almost always comes down to three things: an overfilled bag, cream left on the top edge, and trapped air.
An overfilled bag leaves you nothing to twist. The pressure then goes up instead of down, and cream squeezes out between your fingers. Two-thirds isn't just caution — it's your margin for twisting.
Cream on the top edge smears all over your hands the moment you close the bag. That's exactly why you make that cuff: once filled, you roll it back up and the edge stays clean.
Trapped air shows up as a sputter: the line breaks, a rosette tears, cream shoots off sideways. That's the reason for the spatula step. Anyone who pipes a lot of decorating will also test-squeeze a bit onto a plate first, until it flows smoothly.
For everyday home decorating, a disposable 30 × 17 cm bag is plenty. A bigger bag, around 36–40 cm, pays off once you're filling a lot at once.
30 cm — cupcakes, a smaller cake, filling little cases, a single tray of meringues. Easy to hold with one hand, and the cream doesn't have time to warm up.
36–40 cm — choux pastry for cream puffs and Ladurée-style éclairs, meringue kisses across several trays, piping around a big cake. Less topping up.
A small bag or a parchment cone — royal icing, chocolate, fine lines and lettering. You don't even need a tip for thin lines, just snip the point to 1–2 mm.
Disposable bags are hygienic and there's nothing to scrub. Fabric and silicone bags last for years, but butter cream is tricky to wash out of them and they need to dry completely. You'll find a size overview in piping bags and tips.
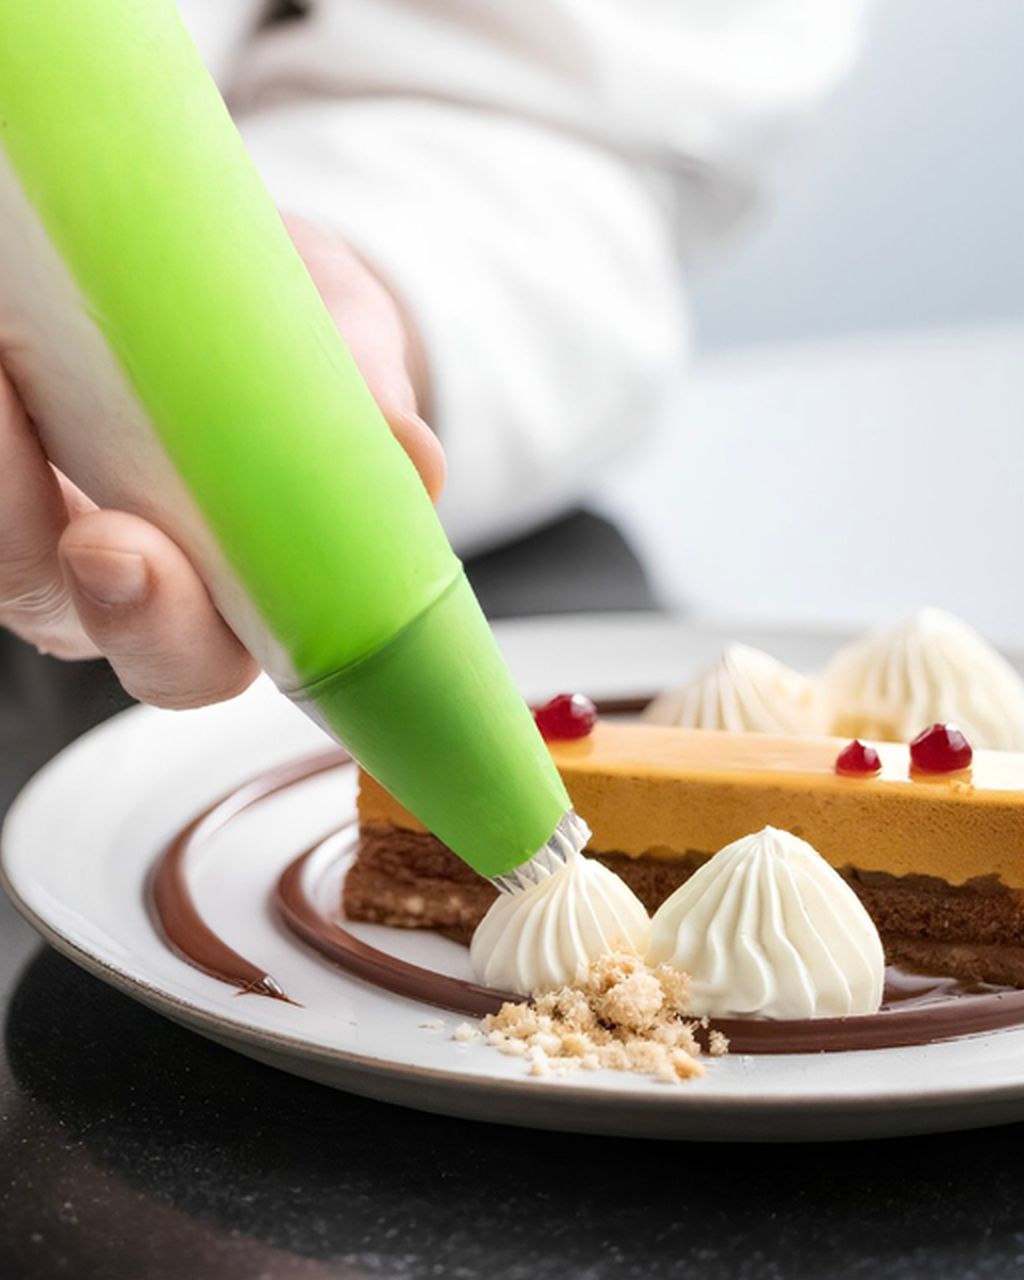
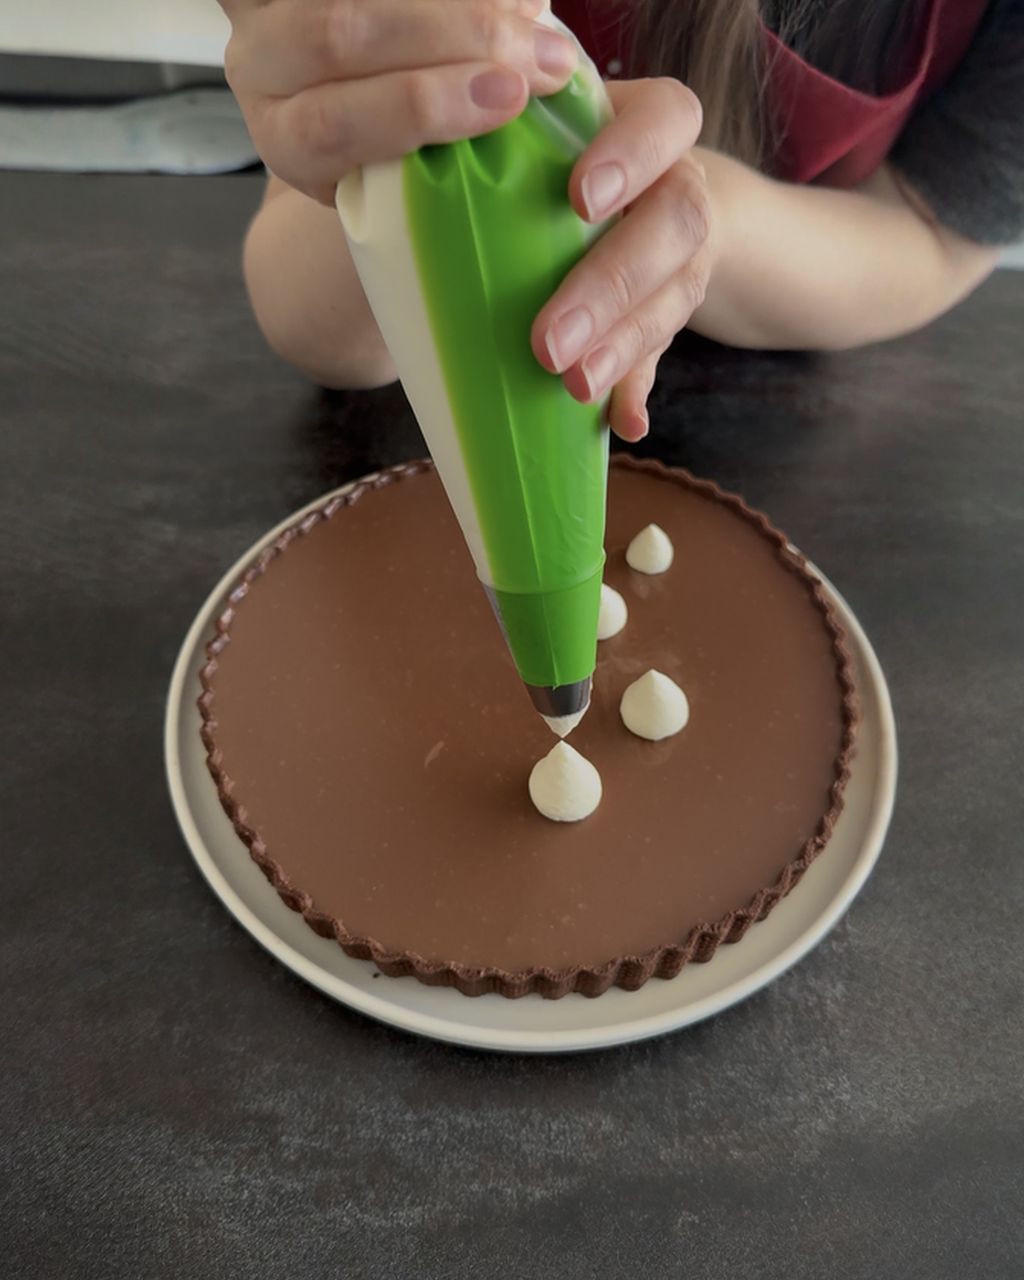
Here's how to work a piping bag: your dominant hand sits up by the twist and does the squeezing, your other hand down near the tip just steers. Squeeze a bag in the middle and you'll squash it sideways, so the cream comes out unevenly.
Hold the twist between thumb and forefinger and give it another twist every few decorations. That keeps the pressure inside the bag consistent.
Tip angle: straight down (90°) for rosettes, stars and swirls on cupcakes; around 45° for lines, borders and leaves.
Squeeze, stop, lift. At the end of each decoration, ease off the pressure first, then lift the tip. Do it the other way round and you'll leave a little tail behind.
Watch the heat from your hands. Butter cream and ganache soften in your palm. If they start losing their shape, pop the bag in the fridge for 5–10 minutes.
Practise on a plate or a sheet of parchment first — any cream can just be scraped back into the bowl. When you're ready for the real thing, these two recipes are a good place to start: cupcake swirls and delicately filled macarons.
Chocolate cupcakes with salted caramel cream
Chocolate cupcakes with caramel buttercream for practising piped swirls
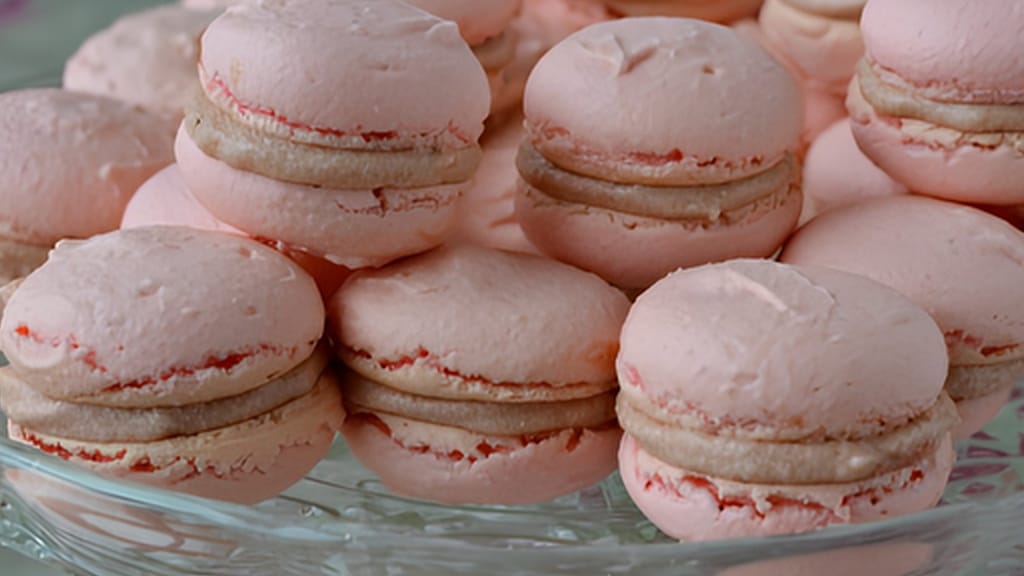
Salted caramel cream - great for macarons and more
Salted caramel filling for piping into macarons
The cleanest way to get two-tone cream from one bag is to wrap each color separately, then load both little parcels into one bag fitted with a tip.
Spread a strip of one color onto plastic wrap and roll it into a log. Do the same with the second color.
Twist the ends of each log. Snip off one end of each.
Place both logs, cut end down, side by side into the bag fitted with the tip.
The colors only merge right at the tip, so you get a crisp line with no blending. To switch colors, just pull one log out and pop another one in — the tip and bag stay as they are. A quicker option is to brush gel color up the inside wall of the bag, then fill it with white cream for soft streaks.
Five things most often go wrong when filling a piping bag: the tip pops out, the seam splits, the tip clogs, the cream is too thin, and the filling is too hot.
The tip pops out, or cream leaks around it. You cut too much. A coupler (a two-part tip adapter) can save it, or just start with a fresh bag.
The bag split at the seam. You're pushing cream that's too thick through too small a tip, or squeezing from the middle of the bag. Let the cream sit at room temperature for 5–10 minutes to soften, and squeeze from the top.
The tip keeps clogging. There are lumps of sugar or bits of chocolate in the cream. Always sift powdered sugar into cream — it's doubly worth it with tips under 3 mm.
The cream is too thin and won't hold its shape. No bag fixes that. The cream is too warm or wasn't whipped properly. Chill it for 15–20 minutes, then give it a quick re-whip.
You're filling the bag with hot cream or melted chocolate. A thin disposable bag goes soft and chocolate will seep straight through it. Let it cool to around 30–35°C (86–95°F) — just lukewarm to the touch.
A sturdy zip-top sandwich bag with a corner snipped off works instead of a piping bag. It's fine for thick cream and simple swirls. You can fit a tip into it just like a regular bag, though the seams won't take as much pressure. For fine lines of icing or chocolate, roll a cone from a triangle of parchment paper instead.
You can reuse a disposable piping bag more than once, as long as it isn't torn and you're filling it with the same cream again. Butter cream, though, is hard to wash out and fat tends to cling to the seam, so it's better to grab a fresh one the next day. For a fabric bag, rinse it in hot water after use and let it dry completely, or it will start to smell.
A filled piping bag will keep in the fridge for several hours, usually until the next day — though it really depends on how long the cream itself keeps. Twist the bag closed and cover the tip with plastic wrap. Let butter cream sit at room temperature for about 30–60 minutes before using it again, and knead the bag with your hands first, or it will be stiff to squeeze and prone to splitting.
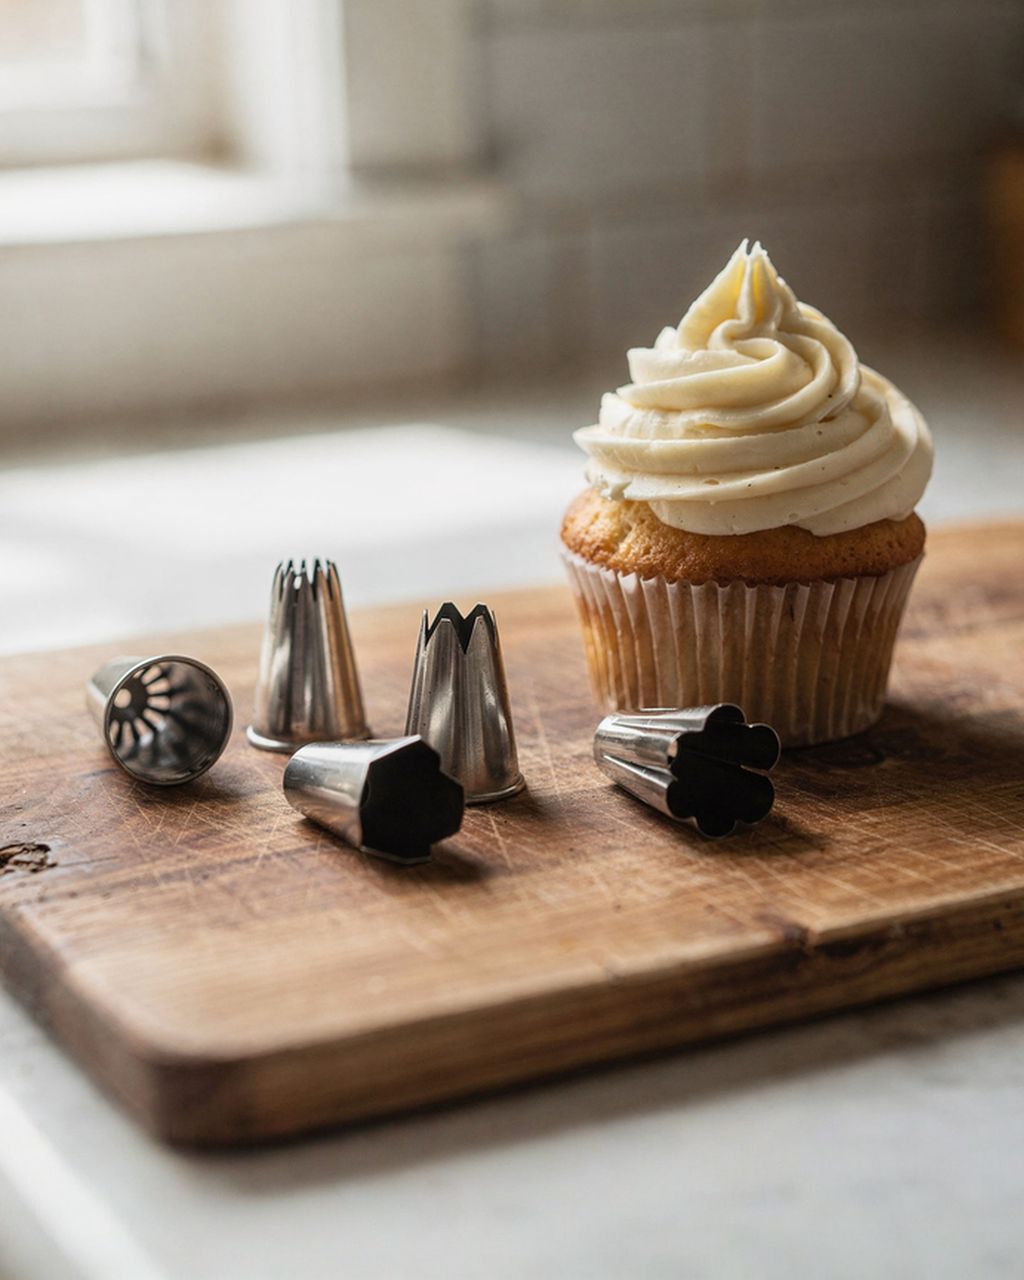
You can switch tips without emptying the bag using a coupler — a two-part adapter for decorating tips. Slide the base piece inside the bag, fit the tip on the outside, then screw on the ring to hold it in place. To change tips, just unscrew the ring and swap it, and the cream stays in the bag the whole time. Without a coupler, you'll need to squeeze out or cut away the old tip first, then slide the whole bag — minus the tip — into a fresh bag fitted with the new one.
One recipe worth heating the oven for, one tip, and one deal from the shop. Nothing else.