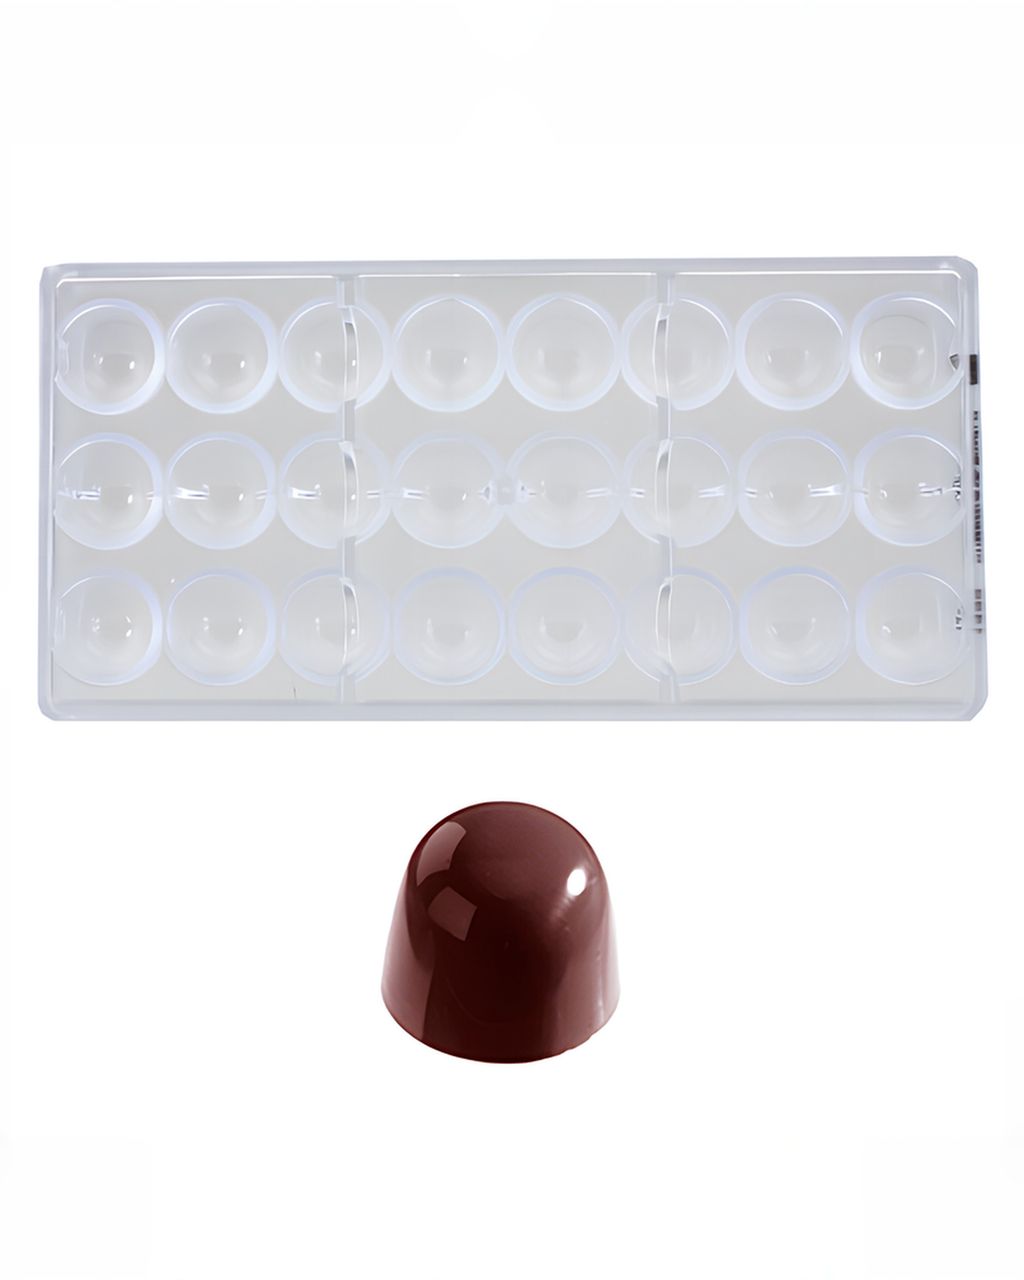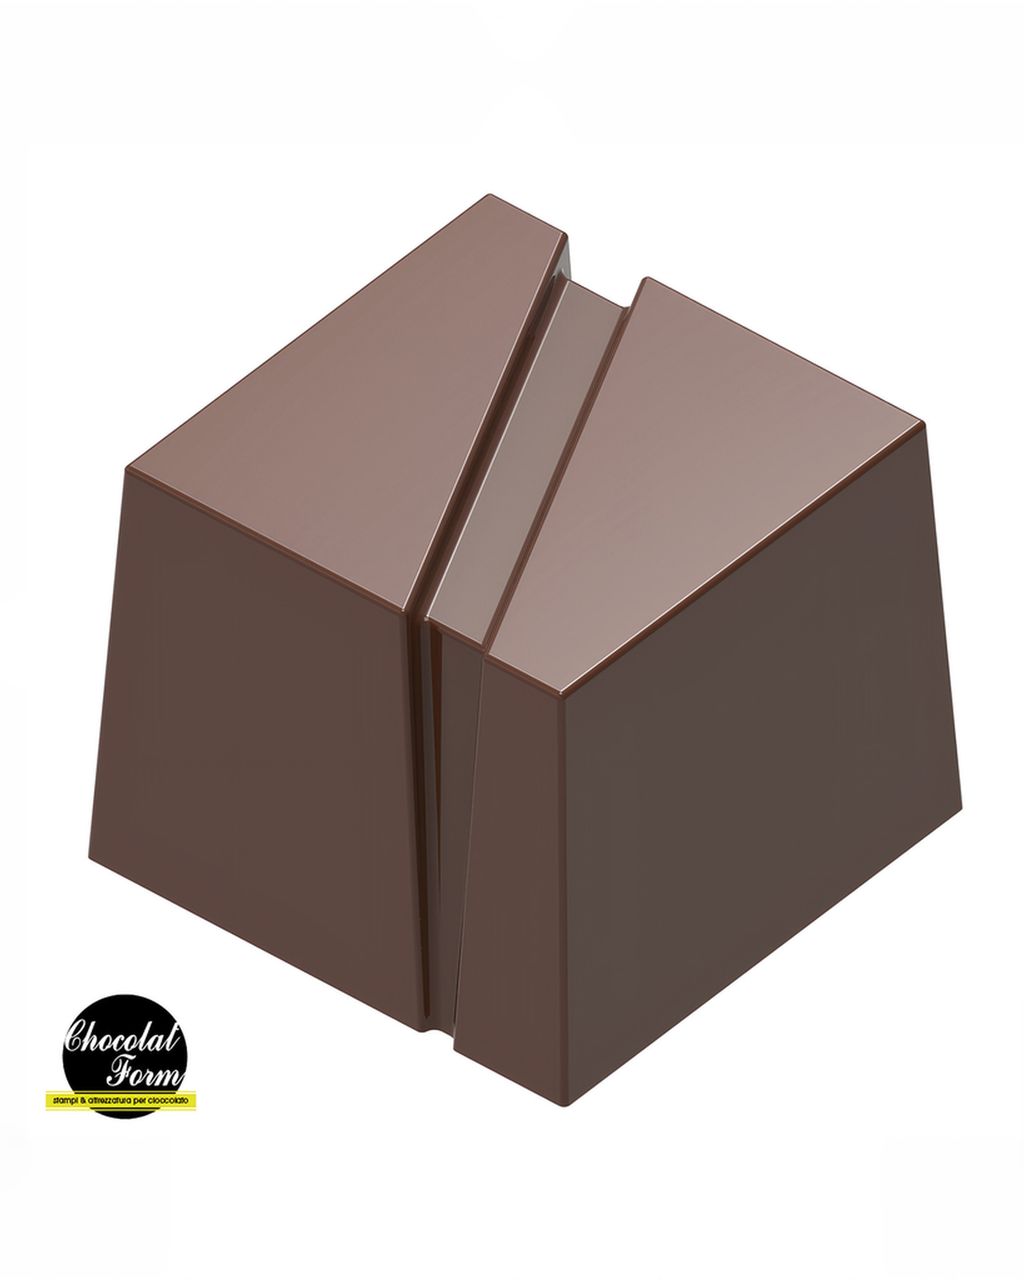
Chocolat Form Polycarbonate Praline Mould – Striped Cube (24 pcs, 25 mm)
Praline Moulds: Polycarbonate vs Silicone, and How to Use Them
Updated Oct 8, 2026
A polycarbonate praline mould gives you firm, mirror-glossy shells that pop out on their own. A silicone mould forgives mistakes, but you won't get that shine, and you'll have to push the praline out yourself. If you want pralines like from a proper chocolate shop, go for polycarbonate. For your first attempts, gummy bears, or poured ganache, silicone is all you need. Below, you'll find how the two materials differ, how to prep a mould, how to make a shell step by step, and what to do when a praline won't come out.
For glossy, filled pralines, polycarbonate is the better choice. For your first attempts, or anything that doesn't need to shine, silicone will do. You've got three types of mould to choose from: polycarbonate, silicone, and thin plastic (PET). Here's how they differ:
Polycarbonate moulds are hard and transparent. They give you a mirror shine and crisp edges. Tempered chocolate releases from them on its own. They last for years, but can only take warm water (up to 60°C/140°F) and must never be scratched. They cost the most and won't forgive poorly tempered chocolate.
Silicone moulds are soft and flexible. You can push the praline out even if the chocolate didn't turn out perfectly. The surface, though, stays matte to satiny, the edges are softer, and you can easily crack a thin shell while popping it out. These moulds also work for gummy bears, jellies, frozen treats, or anything baked.
Thin plastic moulds (foil/PET), which we don't stock, are the cheapest option. They give a decent shine but warp easily, scratch fast, and only last a season or two. Fine for one Christmas, not for making pralines regularly.
If you're not sure where to start, pick one polycarbonate mould in a shape that's easy to fill. A cube or cone fills more easily than a shallow, intricate shape.
Shine happens when properly tempered chocolate sets against a perfectly smooth surface and takes on its imprint. Polycarbonate is as smooth as glass, so the praline comes out mirror-bright. Silicone has a fine microtexture, invisible to the naked eye, which the chocolate picks up as a velvety matte finish instead.
The second difference is in unmoulding. Tempered chocolate (with cocoa butter crystals in the stable Form V) shrinks slightly as it sets and pulls away from a rigid wall on its own. The same shrinking happens in silicone, but since the flexible wall shrinks along with it, you have to push the praline out. That's why polycarbonate immediately reveals whether your tempering worked, while silicone hides the evidence.
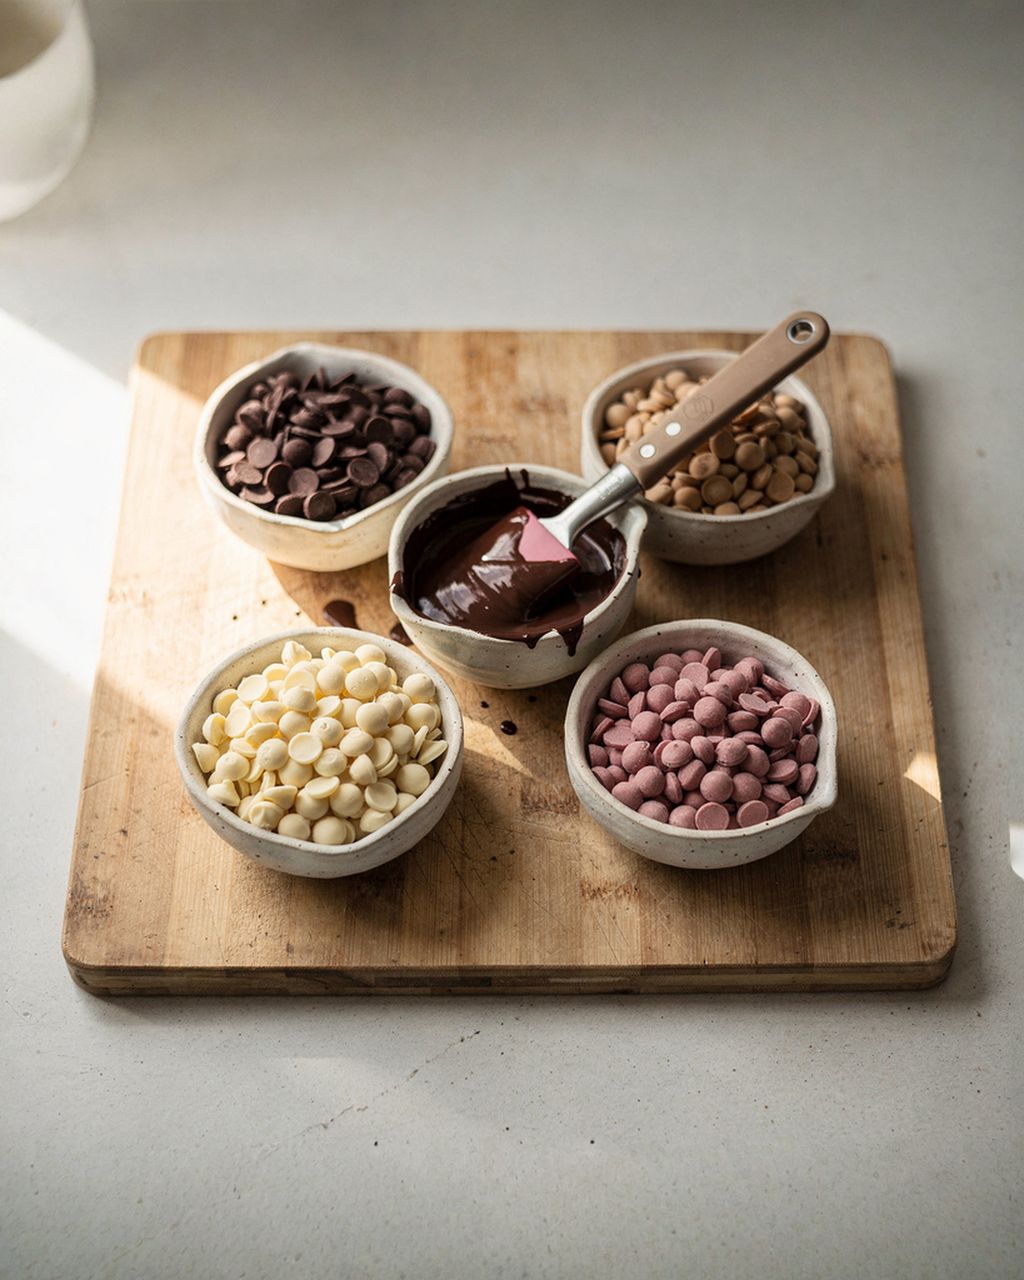
Moulds call for tempered couverture — chocolate with a higher cocoa butter content. It flows well, forms a thin shell, and releases cleanly from the mould. Ordinary bar chocolate is too thick and will leave you with bulky shells. We explain this in our article on couverture vs. baking chocolate.
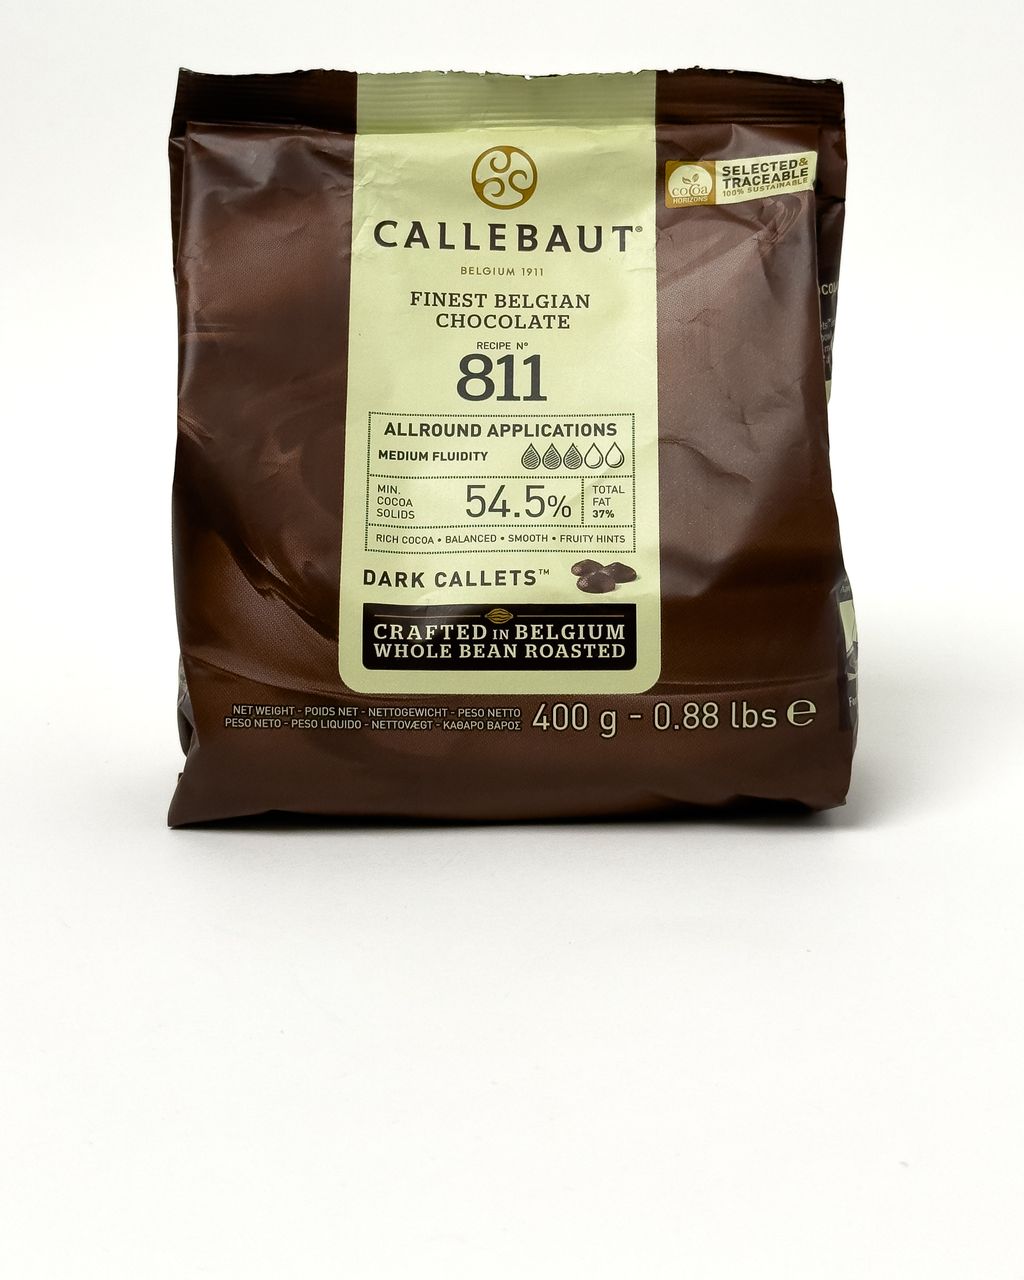
Callebaut 811 dark (54.5% cocoa) is an all-purpose choice for shells. It flows well and forgives a lot of mistakes.
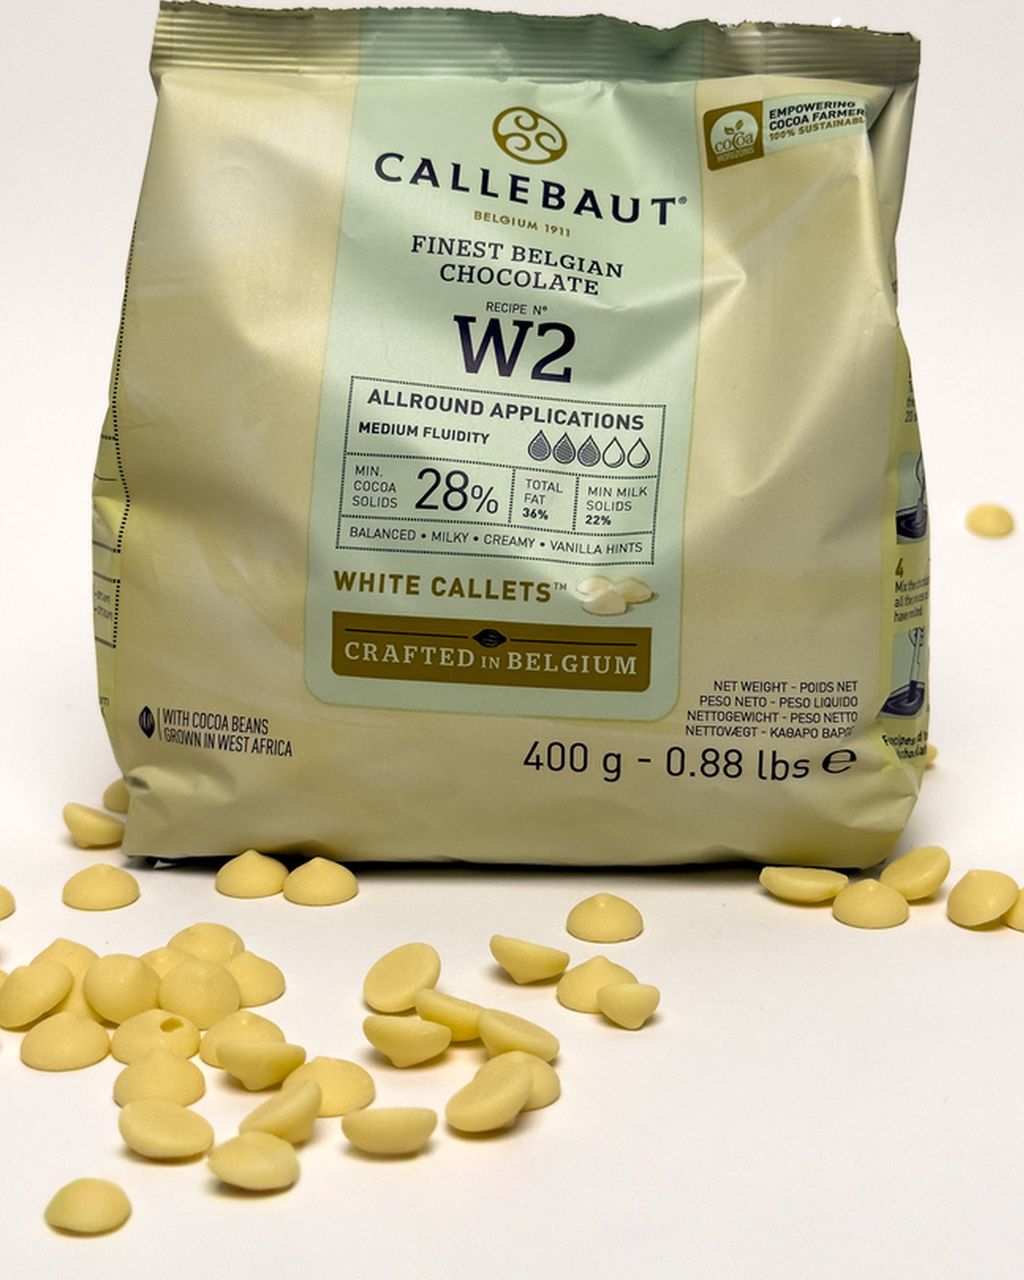
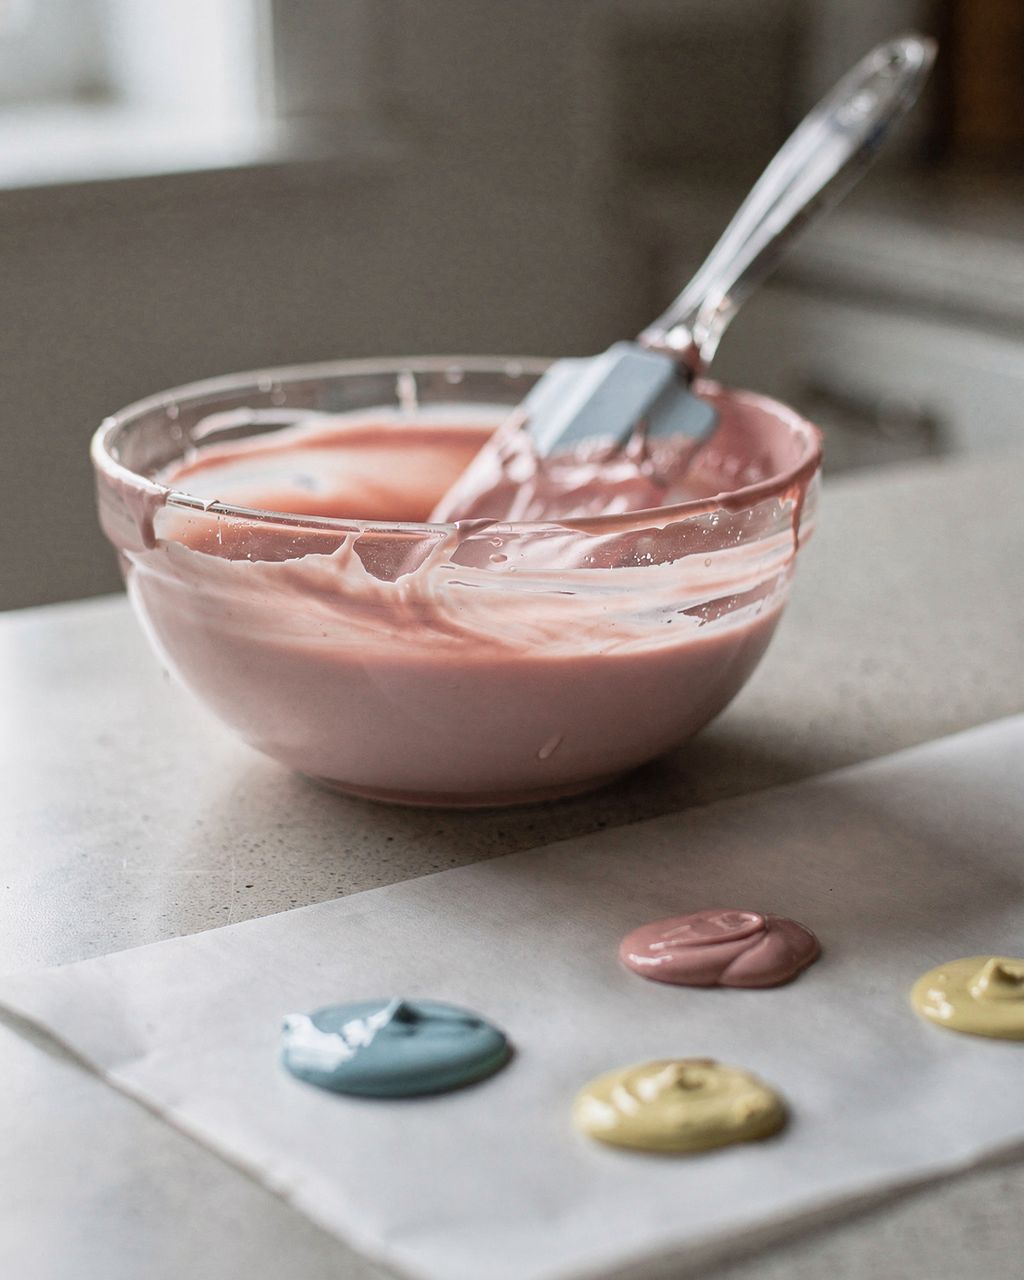
Callebaut W2 white works well for pale shells, or as a base you can tint with oil-based chocolate colouring.
Cocoa (compound) coating doesn't need tempering and releases from the mould without any extra effort. It replaces cocoa butter with vegetable fat, so it tastes waxy and lacks that proper snap. Fine for a kids' craft session, not for a gift.
What the numbers on the bags mean, and which chocolate to use for what, is covered in our article on Callebaut 811, 823, W2 and RB2. You'll find our full couverture range under chocolate for pralines and baking.
A clean, polished mould at room temperature (around 20–22°C/68–72°F) is half the battle. Chocolate sets too fast and turns dull on a cold mould. On a warm one, it loses its temper.
Wash the mould with lukewarm water, a drop of washing-up liquid, and a soft sponge. Let it dry completely — even a single drop of water will thicken the chocolate.
Polish every cavity with a dry cotton pad or a bit of cotton wool. This wipes away any traces of grease or fingerprints that would otherwise leave dull patches on the pralines.
Don't put the mould in the fridge or freezer beforehand. Leave it at room temperature so the chocolate doesn't set before you've managed to pour it.
Want a coloured pattern? Into the clean mould, first apply coloured cocoa butter warmed to 29–31°C (84–88°F) with a brush, a gloved finger, or a spray gun, let it set, and only then pour the shell.
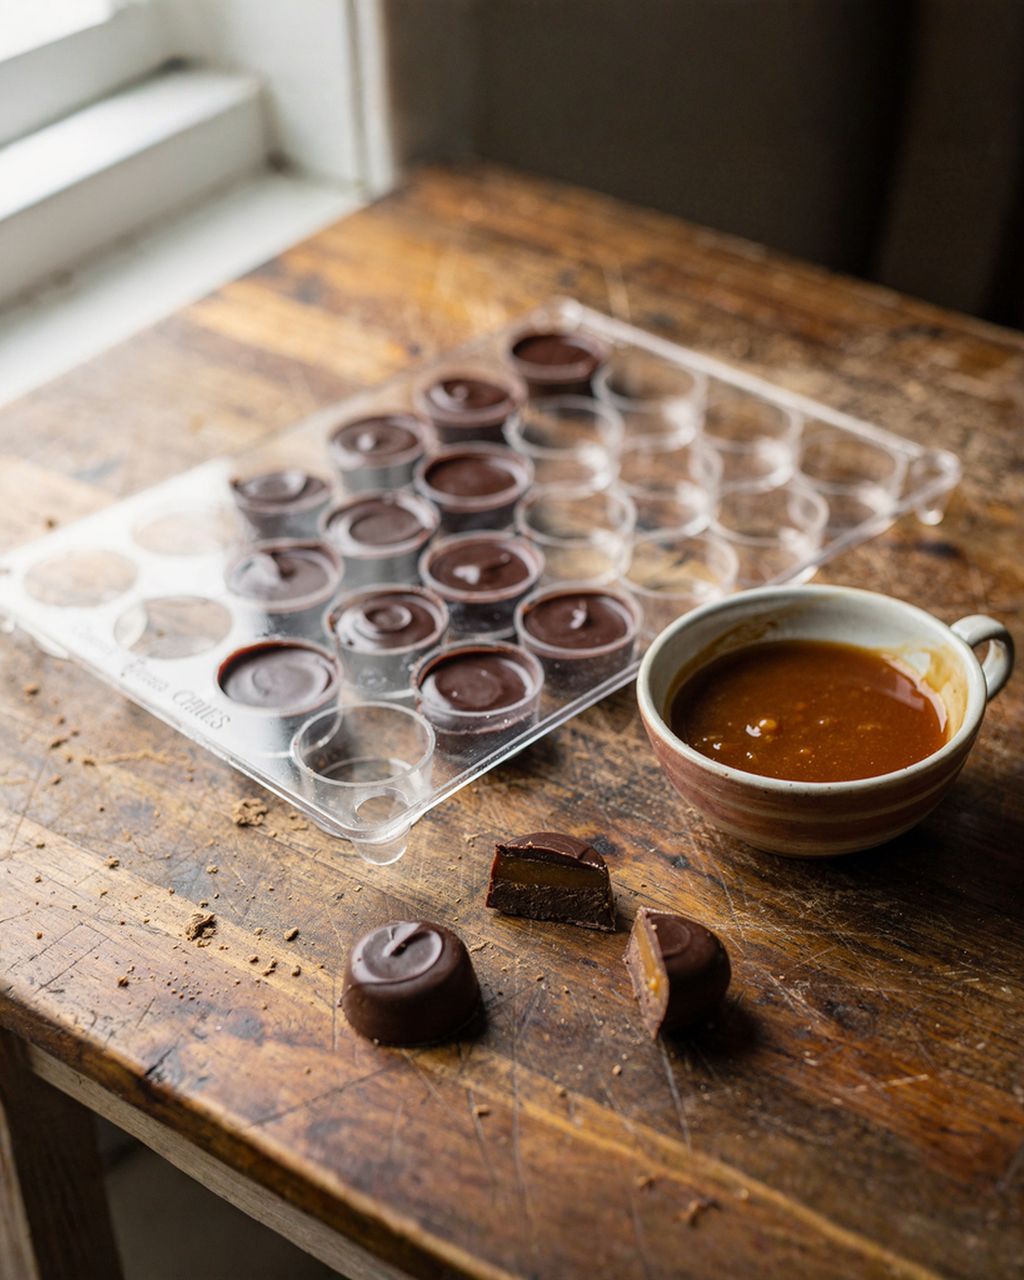
The process has three stages: shell, filling, and lid. The chocolate or filling needs to set between each stage.
Temper the chocolate. Callebaut recommends a working temperature of around 31–32°C (88–90°F) for dark, 29–30°C (84–86°F) for milk, and 28–29°C (82–84°F) for white chocolate. Test it: dip the tip of a knife and set it on the table. At 18–20°C (64–68°F), it should set to a shine within 3–5 minutes, with no streaks.
Fill the cavities to the brim using a ladle or a piping bag. Tap the mould on the table to release any air bubbles.
Pour out the excess. Flip the mould upside down over a bowl, tap it with a spatula or its handle, and let the excess drain off. The shell should end up about 1–1.5 mm thick.
Scrape the surface clean with a long spatula or palette knife so no chocolate is left between the cavities. Set the mould face-down on baking paper for 1–2 minutes to let the edges settle, then scrape it clean again.
Let the shells set for 10–20 minutes at 16–18°C (61–64°F).
Fill the shells to about 2 mm below the rim. The filling shouldn't exceed 28–30°C (82–86°F), or it will melt the shell from the inside. Which fillings work best and how long they keep is covered in our article on praline fillings: ganache, caramel, and fruit pastes.
Let the filling set. Ganache usually needs 12–24 hours at 16–18°C (61–64°F) to form a "skin" on top that the lid can bond to.
Seal with a lid. Briefly warm the mould's edges with a hair dryer so the lid bonds to the shell, pour in tempered chocolate, and scrape clean. It helps to press a sheet of acetate film onto the mould and run a spatula over it — this gives you a perfectly flat lid.
Unmould. Chill the mould in the fridge for 10–15 minutes, then flip it over a clean surface and tap it gently. Polycarbonate pralines will drop out on their own.
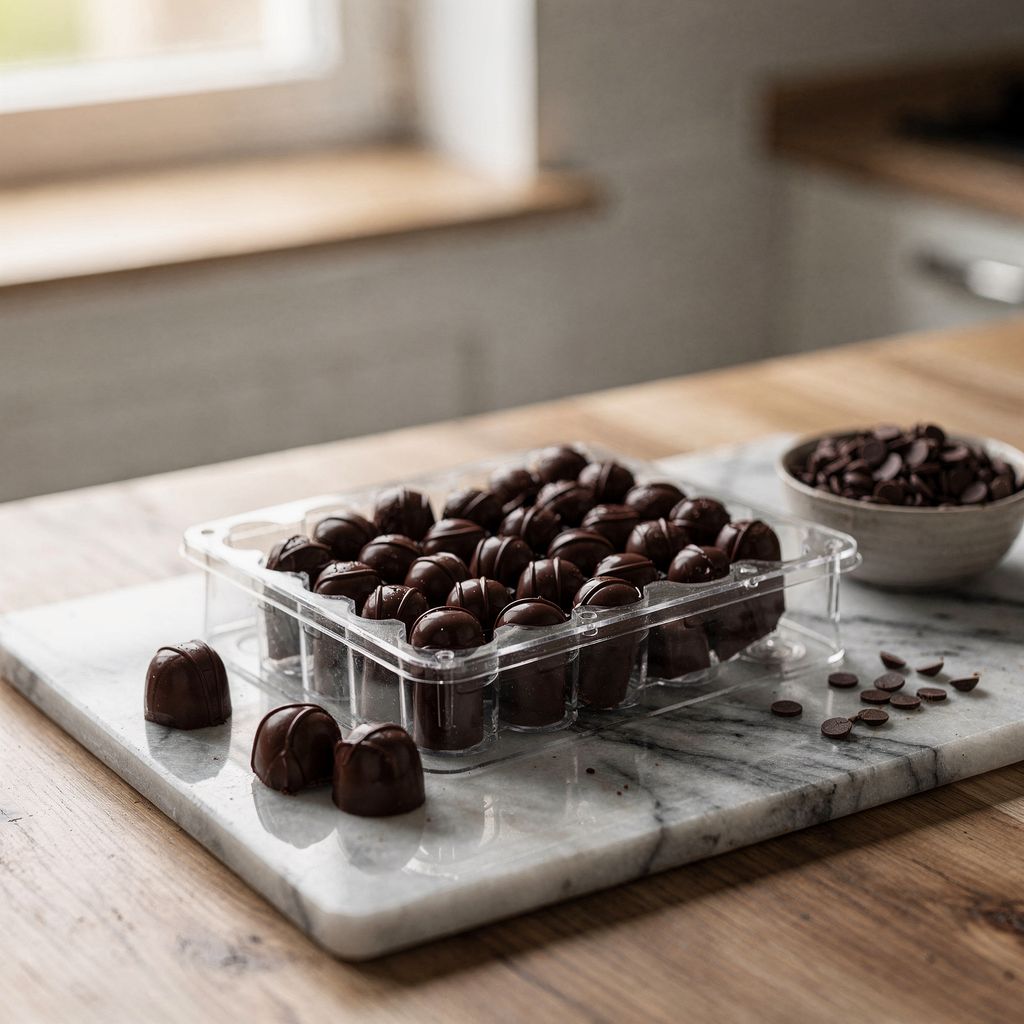
Finished pralines don't just have to end up in a box of chocolates. They also make a lovely decoration — try them on a chocolate cake with raspberry pralines.
If a praline won't drop out of a polycarbonate mould, it's almost always down to the tempering. Untempered chocolate doesn't shrink and sticks to the mould. A transparent mould will warn you in advance: cavities where the chocolate has pulled away look paler and matte from underneath, while cavities where it's still stuck look dark and glossy.
Still stuck? Chill the polycarbonate mould for another 10–15 minutes in the fridge, or 5 minutes in the freezer. No longer than that, or moisture will condense on the pralines once removed and turn them white. Silicone is a different story — see below.
Stuck no matter what? The chocolate wasn't tempered properly. Push the pralines out, melt them down, re-temper, and try again. You won't lose any chocolate in the process.
Grey streaks or white spots are a sign the chocolate was too warm, or the mould was too cold or had grease on it.
Cracks in the shell usually mean the shell was too thin, or the mould went into a fridge or freezer that was too cold.
A hole in the base happens when the lid doesn't bond properly to the shell. Next time, warm the edges with a hair dryer first.
Working with silicone is much the same, except you should make the shells a bit thicker (around 2 mm) and chill them thoroughly before unmoulding. A flexible mould can easily crack a thin wall when you push the praline out.
Work on a tray or board. Set the mould on it right from the start and only move it along with the tray. Otherwise the silicone mould will flex and crack the set shell inside.
Make the shell in two coats. Pour in, pour out, let it set, then repeat the whole process.
Freeze the mould for 10 minutes before unmoulding. Polycarbonate only needs 10–15 minutes in the fridge, but silicone needs more cold. Silicone insulates, so a thicker shell cools more slowly inside it, and the praline needs to be completely firm so pushing it out doesn't leave a fingerprint. Then press the base of the mould from the back with your thumb, not the side of the praline. Let the unmoulded pralines come up to room temperature in a closed box, so any condensation forms on the box rather than on the chocolate.
Where silicone wins: simple chocolate bonbons with no shell (poured, set ganache), gelatine gummy bears, jellies, and anything that goes in the oven or freezer. Never pour anything hot into polycarbonate.
What works and what doesn't with silicone in baking is covered in our article on silicone baking moulds.
Don't put a polycarbonate mould in the dishwasher — harsh detergents and water above 60°C (140°F) will cloud and scratch it, and your pralines will lose their shine. Wash it by hand in lukewarm water with a drop of washing-up liquid and a soft sponge (never a scouring pad or the rough side of a sponge), let it dry upside down, and polish it with cotton wool before using it again.
You can pour untempered chocolate into a praline mould, but it won't release from polycarbonate, and while you can push it out of silicone, it will stay soft and turn grey within a few days.
For the shells and lids of one mould with 24 cavities around 25 mm in size, you'll use roughly 200–250 g of chocolate. But temper at least 400–500 g at a time. Smaller amounts cool down too fast while you're working, and whatever drains back off, you can use next time.
Pralines with cream ganache usually keep for 2–3 weeks in a cool (15–18°C/59–64°F), dry spot, and longer with a water-free filling (praline or nut-based). Shelf life depends on the filling, not the mould. It's best to avoid the fridge, since condensation forms on the chocolate once you take it out and turns it white.
With careful handling, a polycarbonate mould can easily last 5–10 years. Professional chocolate shops use theirs daily for years on end. What shortens its life is mainly scratching, the dishwasher, and hot water. A silicone mould wears out sooner with frequent use.
One recipe worth heating the oven for, one tip, and one deal from the shop. Nothing else.