Royal icing for christmas cookies: the base for flawless decorating
Royal Icing Too Thin or Too Stiff: Why It Happens and How to Fix It
Updated Sep 25, 2026
Royal icing turns thin when there's more liquid in it than the sugar and egg white can hold — most often from water or lemon juice added all at once, liquid food colouring, a trace of fat in the bowl, or too little whipping. Icing that's too stiff, crumbly, and cracks in the piping bag has the opposite problem: not enough liquid, over-whipping, or it's simply starting to dry out in the air. The good news is both are fixable with a teaspoon of water or a spoonful of sugar. You just need to know which consistency you actually need.
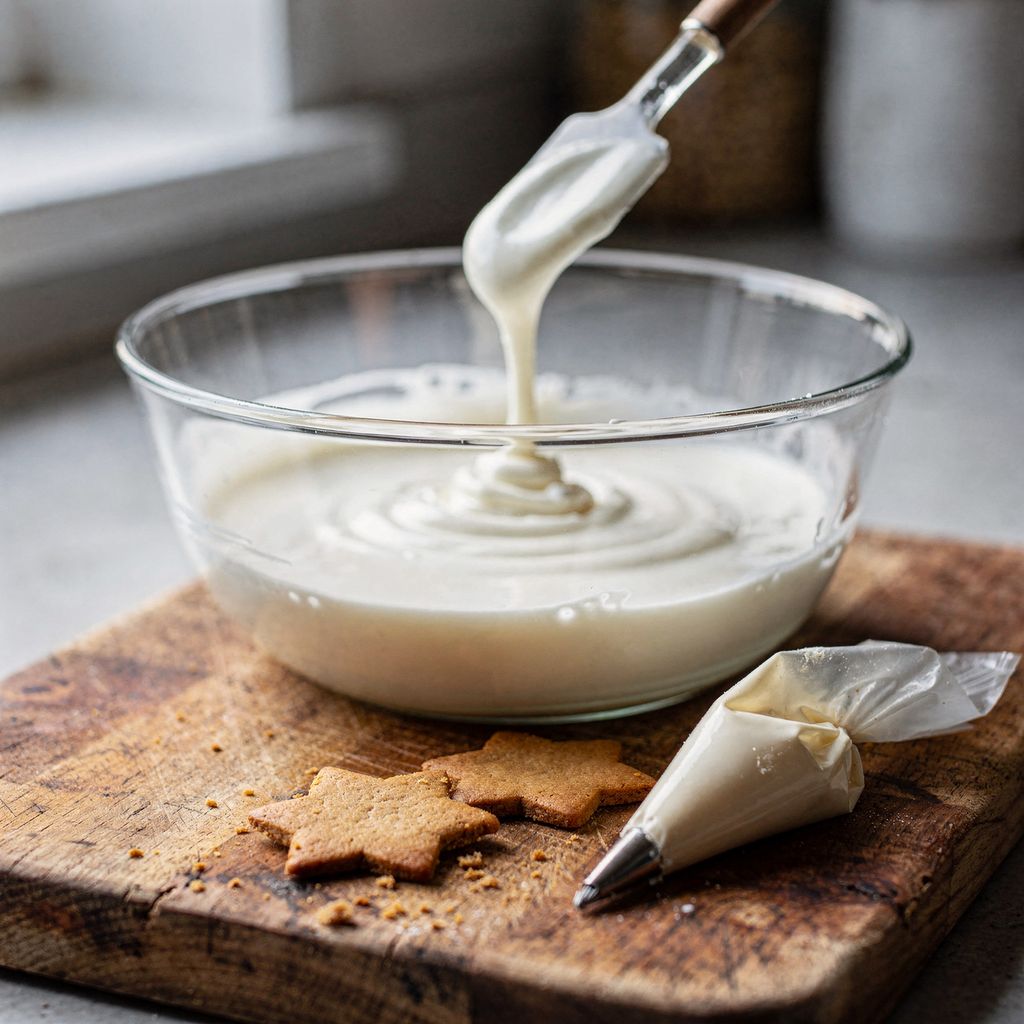
Royal icing doesn't have one correct consistency — it has three. Each does a different job, and what's "thin" for outlines is exactly right for flooding.
Stiff — the peak on the whisk stands straight up and doesn't move. Used for gluing gingerbread houses together and for flowers and lace details that need to hold their shape.
Outline / piping — the peak curls over like a hook at the end, about the consistency of toothpaste. Used for outlines, lettering, and fine details.
Flooding — a line drawn across the surface with a knife disappears within 10–15 seconds. Used for filling in an area inside an outline.
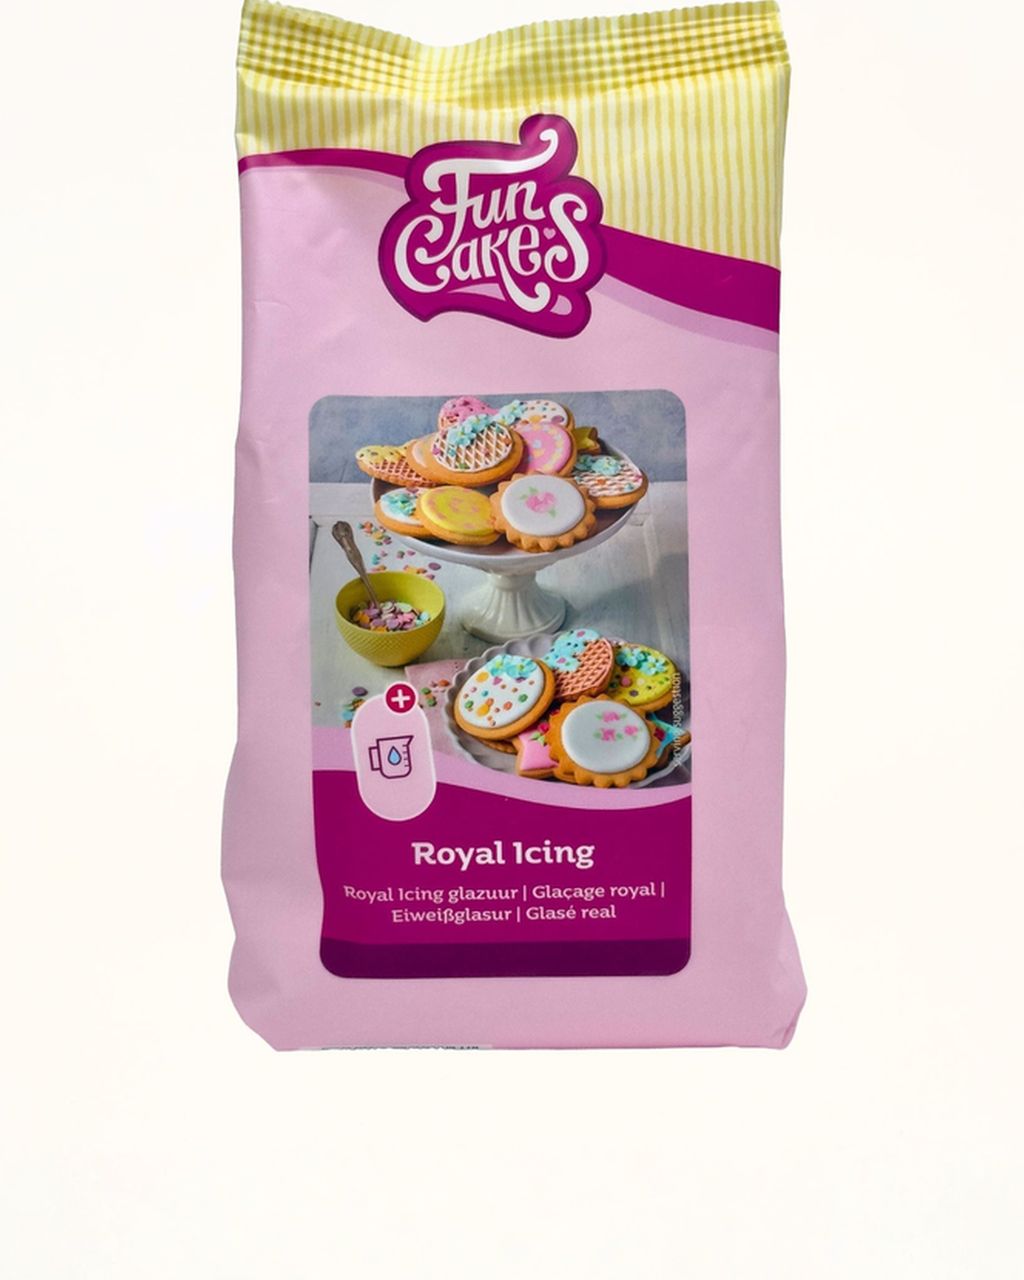
The base is always the stiff icing: roughly 1 egg white (about 30 g) to 200–250 g of sifted icing sugar, whipped until glossy. From there, you thin it spoonful by spoonful of water into the other two consistencies. We break down exact ratios and colouring in the article Royal Icing: Ratios, Consistency and Colouring.
Thin royal icing almost always comes down to one of six causes: too much liquid added at once, too much lemon juice, liquid food colouring, fat in the bowl, not enough whipping, or it separated after standing.
You're adding liquid all at once. There's only a few drops' difference between outline and flooding icing. One extra spoonful of water turns it into a glaze that runs off the edge of the cookie. Thin it a teaspoon at a time — ideally a few drops at a time from a dropper or spray bottle.
There's too much lemon juice. Lemon juice is a liquid too — a few drops firm up the foam, but any more just thins the icing out. Per egg white, a few drops is plenty; anything extra is purely for flavour, at the expense of thickness.
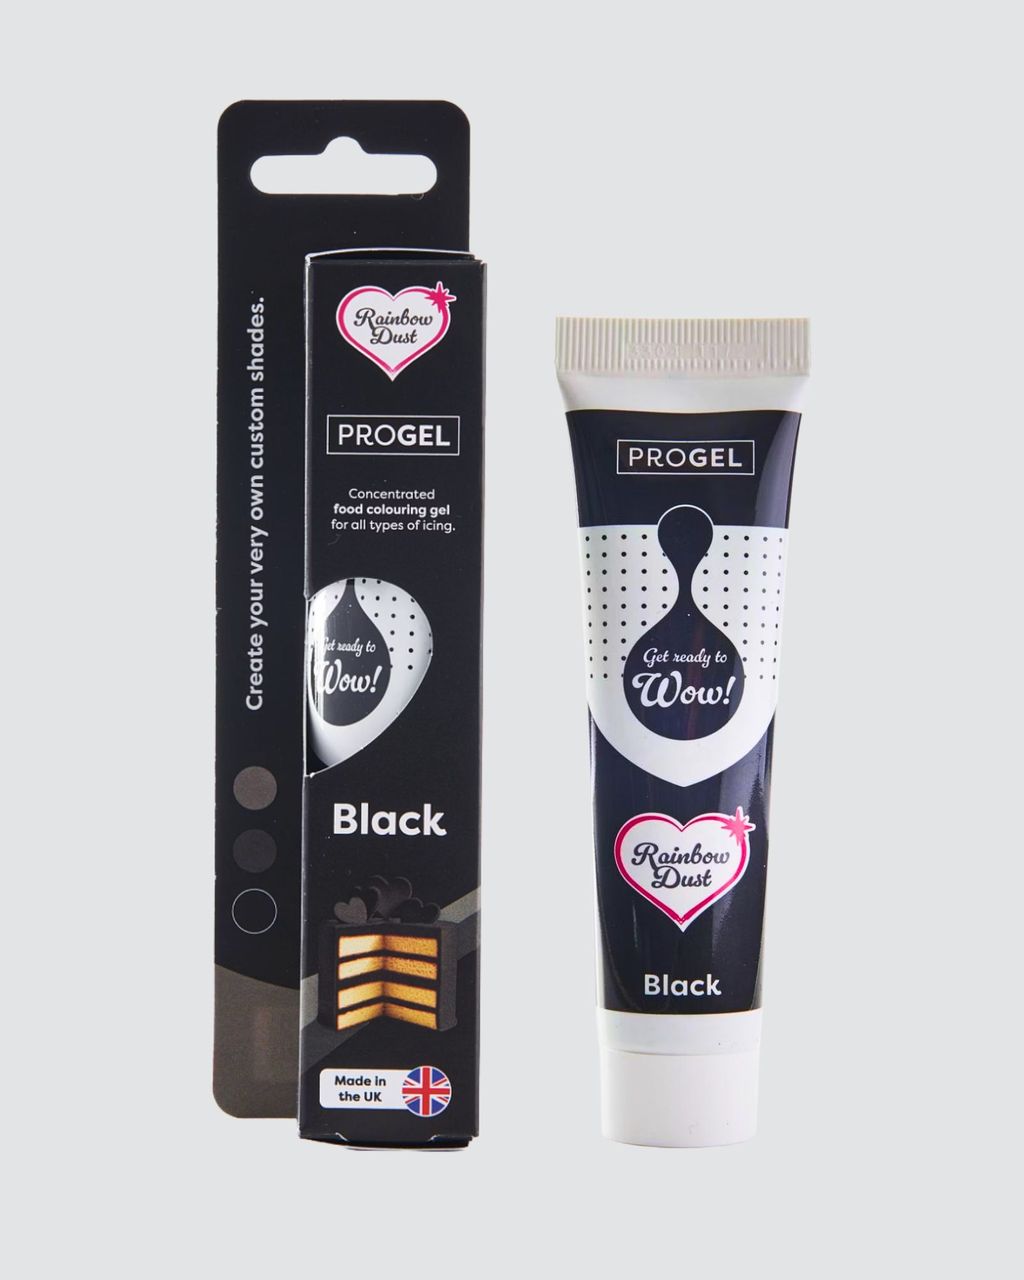
You're colouring with liquid food dye. Liquid food colours from the supermarket are mostly water, and you need a lot of it to get a deep red or black. Gel colour, by contrast, needs only a toothpick-tip's worth and barely changes the consistency.
There was fat in the bowl. A speck of yolk, a greasy whisk, or a plastic bowl that previously held buttery dough — fat breaks down the egg-white foam, and the icing then refuses to thicken no matter how much sugar you add. Wipe the bowl and whisk with a paper towel dipped in a little vinegar before you start.
You're not whipping it long enough. Icing that's just been stirred with a spoon stays dull and sticky. Whip it with a mixer on the lowest speed for 4–6 minutes, until it turns glossy and holds a peak.
The icing has been sitting and separated. Liquid settles at the bottom while a thicker layer sits on top, so it looks thin even when it isn't. Always give it a thorough stir before piping it into a bag.
Royal icing that cracks in the bag, tears the line, or won't come out of the tip at all has too little liquid, is over-whipped, is drying out, or has lumps from unsifted sugar.
It's still the basic stiff icing. Great for gluing, but too thick for lines. Thin it a teaspoon of water at a time, until the peak curls over.
It's over-whipped. Long whipping on high speed beats too much air into it. The icing becomes fluffy like foam, the line tears, it turns brittle once dry, and tiny bubble holes appear in the flooded surface. Let it sit for a bit, then stir it slowly with a spoon to let the bubbles escape.
It's drying out in the air. Royal icing starts to firm up within minutes. Always keep the bowl covered with a damp cloth or with plastic wrap pressed right onto the surface. A dried skin will break into bits inside the tip and clog the line.
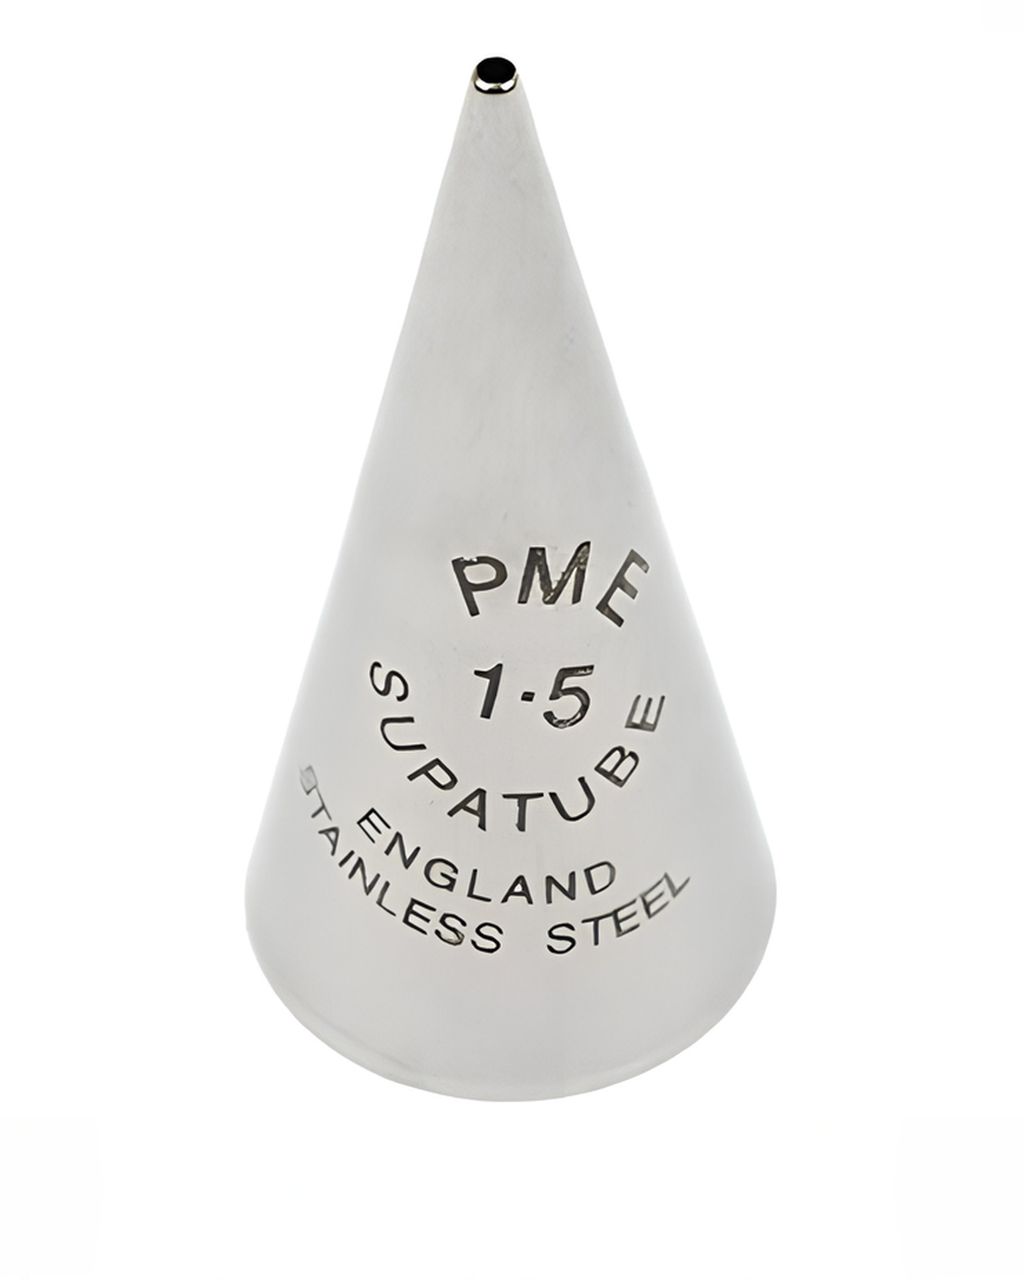
The sugar wasn't sifted. Lumps of icing sugar can survive even a mixer, and they jam in a narrow tip (1–1.5 mm). It looks like the icing is too stiff, but really it's just lumpy.
A flooded area spills over the edge of the cookie when the outline icing is too thin or the flooding icing is too runny. The outline is meant to act like a dam. If it's as thin as the fill, it won't hold. Flooding icing that passes the knife test in under 8 seconds will either overflow it or thin out near the edge.
Colours bleed into each other when the icing takes a long time to dry. The more water it contains, the longer it stays wet, and the more time the colour has to seep into the colour next to it. It helps to:
Let dark colours (red, black) set on the surface for at least 30–60 minutes before flooding white right next to them.
Decorate in a dry room. In a humid room, icing dries more slowly and bleeds more, so a kitchen with a pot bubbling away on the stove is the worst possible spot.
Finish drying the cookies under a fan or in the oven with just the light left on.
You can fix royal icing's consistency in six steps — always in small amounts, testing between each one.
Stir the icing so any liquid that's settled at the bottom mixes back in.
Run the test: lift the whisk (does the peak stand up, curl over, or run?) or drag a knife across the surface and count the seconds.
Too thin: add 1 tablespoon of sifted icing sugar, stir, and test again.
Too stiff: add 1 teaspoon of water (just a few drops for flooding icing), stir, and test again.
Before piping the icing into a bag, let it sit for 2–3 minutes under a cloth, then stir it slowly with a spoon. This lets any bubbles escape.
Before you start decorating a cookie, pipe a test line on baking paper. If the line spreads out or tears, go back to step 3 or 4.
If this happens to you every year, the most reliable fix is to whip up one big batch of stiff icing and split it into bowls by consistency and colour. Thinning icing is always quicker than thickening it.
Royal icing for christmas cookies: the base for flawless decorating
Royal icing for Christmas cookies — a basic recipe you can thin to any consistency
Only decorate cookies with royal icing once they're completely cool — ideally the day after baking. On a warm cookie, the icing will run and go damp where it touches the surface.
Traditionally, this is used to decorate soft gingerbread cookies or soft honey gingerbread that stays tender and never goes hard. A surface that hasn't puffed up or cracked works best for decorating — more on that in the article why gingerbread cookies spread while baking.
Delicate shortbread is buttery, and over time its fat can seep up into the icing as darker patches. Decorate it as close to serving time as possible, and keep the layer thin.
For a baking schedule that leaves you enough time to decorate, check the Christmas cookie baking calendar by type. Store decorated cookies following the guide on how to store Christmas cookies so the icing doesn't go damp. How long each type keeps is summed up in the cookie shelf-life guide by type. And if you want to bake ahead of time, freeze the undecorated cookies or the raw dough and decorate only after they've thawed, since condensation will melt the icing.
Outlines and fine lines will set on the surface in 1–2 hours, but a flooded area needs 8–24 hours to harden all the way through. The thinner the icing and the more humid the room, the longer it takes. So don't stack decorated cookies on top of each other until the next day.
Dark patches on dried royal icing are usually caused by fat seeping up from a buttery cookie underneath. Pale blotches and uneven shine happen when the icing dries slowly and unevenly. Speeding up the drying (a fan, or the oven with just the light on) helps, and for buttery cookies, decorate as close to serving time as possible.
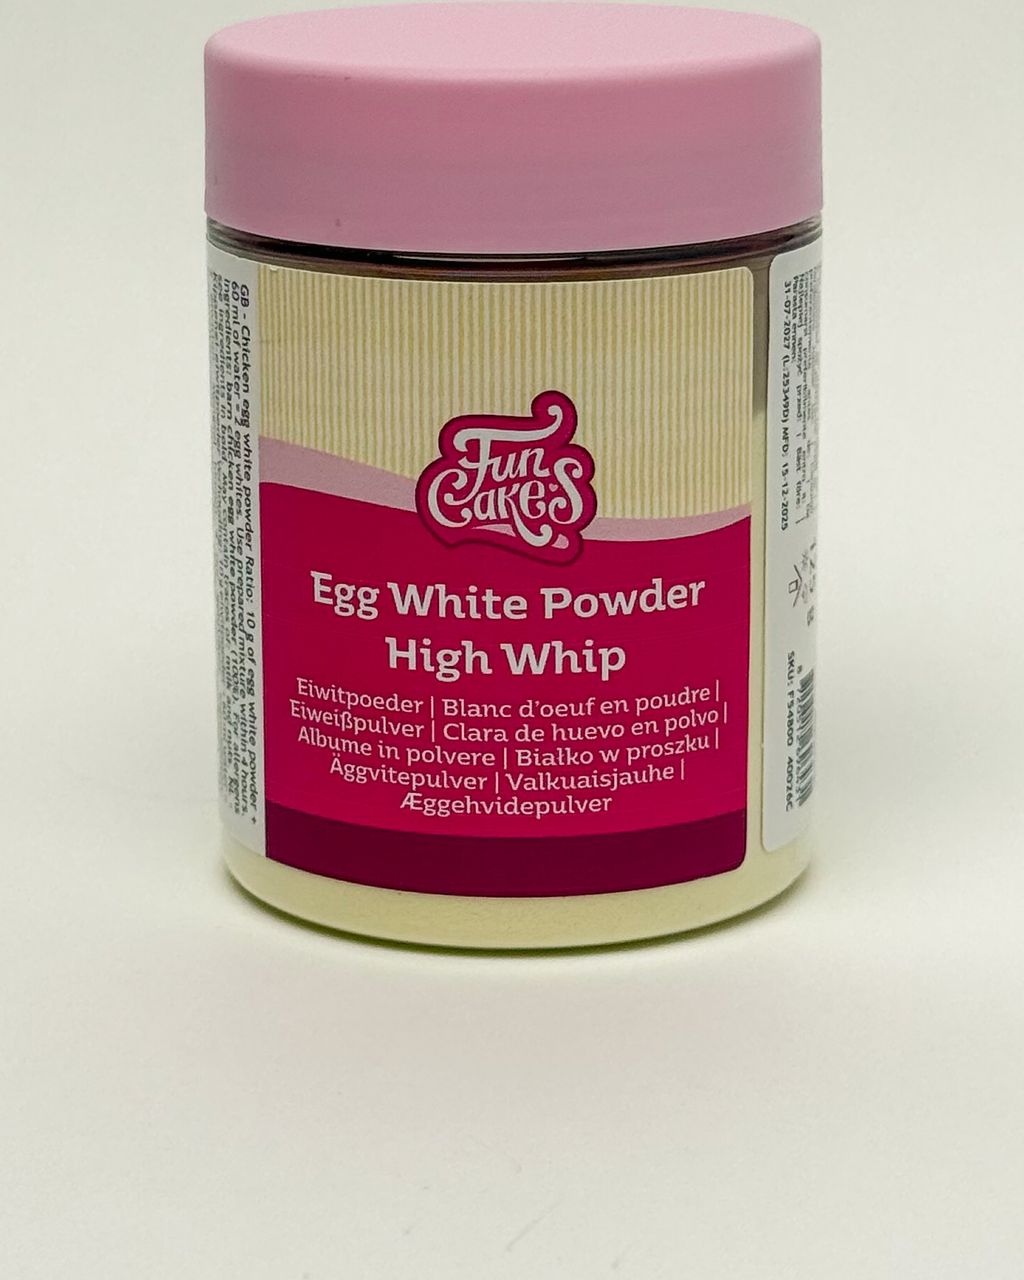
Yes — whip royal icing using dried egg white powder mixed with water according to the package instructions. It behaves very similarly to fresh egg white, is more stable, and since it's usually pasteurised (check the label), you're not working with raw egg. A completely egg-free version can be made with aquafaba (chickpea brine), though icing made with it dries more slowly and is more fragile.
Royal icing made with fresh egg white keeps for 2–3 days in a sealed container in the fridge, with plastic wrap pressed directly onto the surface. It will separate during that time, so give it a thorough stir before using and adjust the consistency spoonful by spoonful. If it smells off or changes colour, throw it out. If young children, pregnant women, or elderly people will be eating it, use pasteurised or dried egg white instead.
One recipe worth heating the oven for, one tip, and one deal from the shop. Nothing else.