Soft gingerbread cookies
Updated Sep 17, 2026
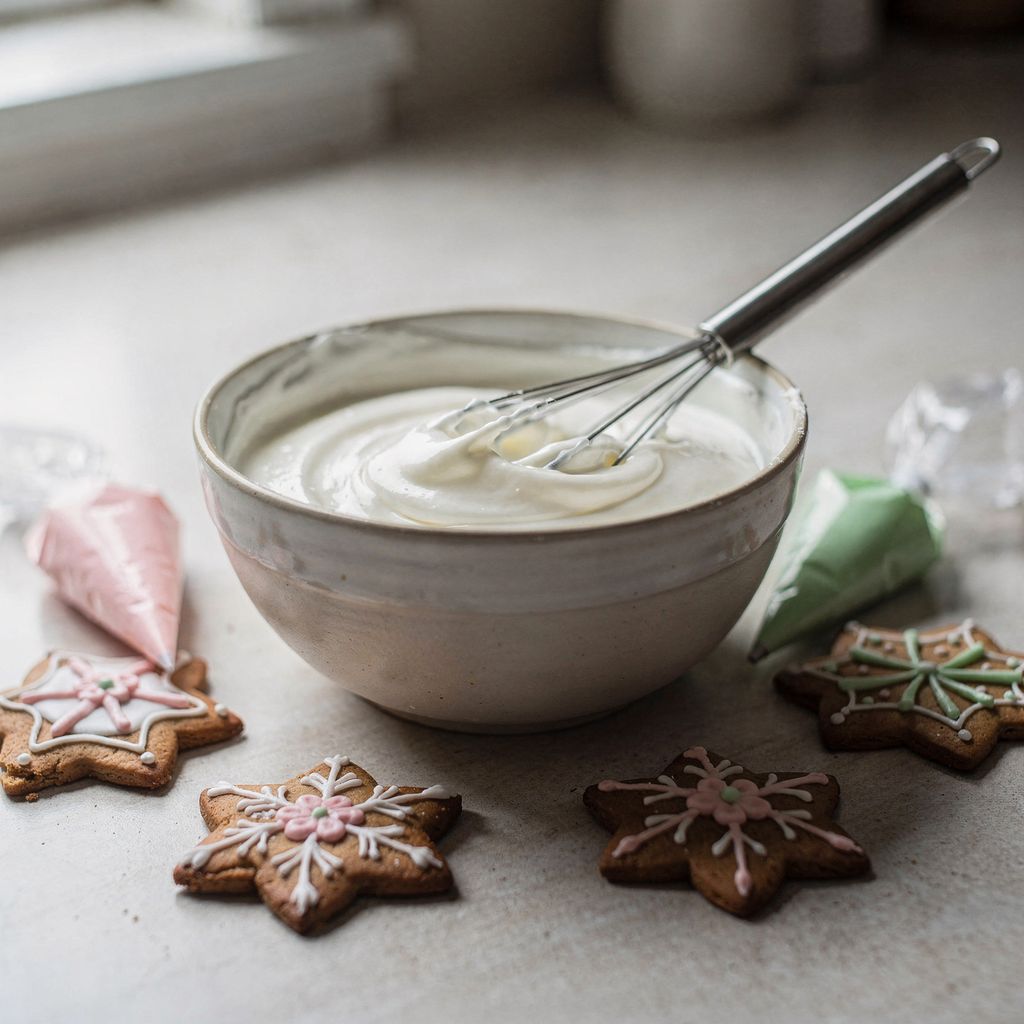
Royal icing is just egg white and icing sugar – one egg white to 200 g of sifted icing sugar plus a few drops of lemon juice, roughly a 1:6 ratio by weight. Everything else you see on decorated biscuits – fine outlines, smooth flooded surfaces, coloured dots – is simply that same one bowl thinned to a different degree. This article is about thinning and colouring it so it holds its shape, dries hard, and doesn't bleed into itself.
For one egg white, use 180–220 g of sifted icing sugar – roughly a 1:6 ratio by weight. A size-M egg white weighs 30–33 g, so one egg white plus 200 g of sugar gives you about 230 g of icing. That's enough for roughly 25–30 biscuits, depending on their size and how thick a layer you apply.
Four things that ratio depends on:
Let the egg white sit on the counter for an hour. A cold egg white bonds with the sugar less readily, and the icing stays needlessly thin even if you've added plenty of sugar.
Sift the icing sugar twice. A single undissolved grain will clog the tip halfway through a line. We go into why caster sugar has no place here at all in the article on icing sugar versus caster sugar in Christmas baking.
½ teaspoon of lemon juice per egg white (or a pinch of cream of tartar). The acid stabilises the protein bonds – so the icing won't separate or weep water after a few hours.
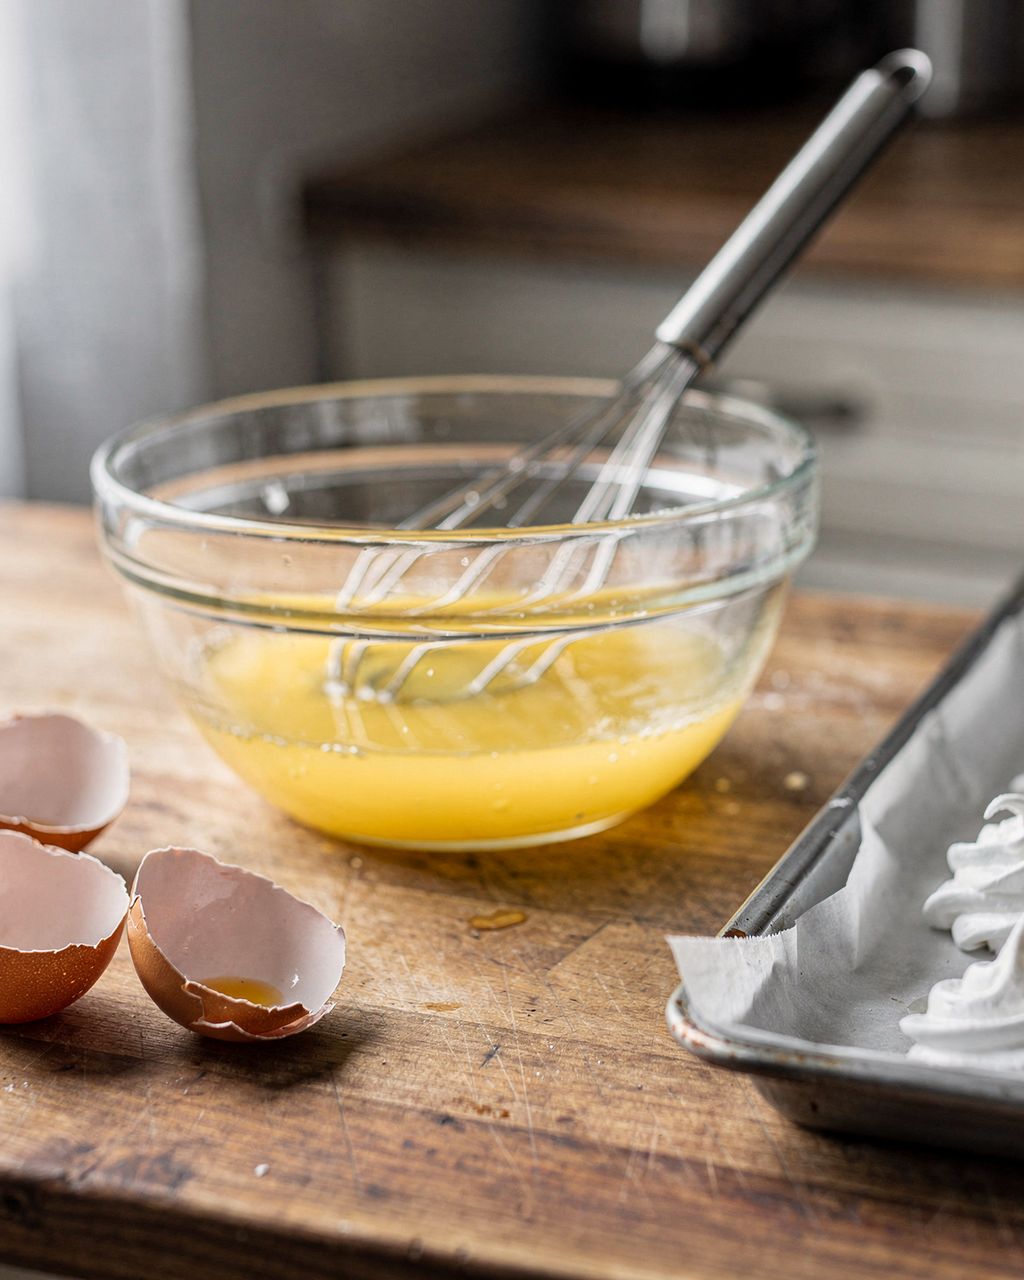
Stir, don't whisk. Whisking on full speed pumps air into the icing, and that air comes back to haunt you as craters in the flooded surface once it dries. Stir by hand or on the lowest mixer setting for 4–5 minutes, until the icing turns glossy and smooth.
Some gingerbread decorators add a teaspoon of potato starch to the egg white. It makes the icing slightly less glossy but firmer, so outlines hold a crisper edge – for flooding large areas, though, leave it out, as starch makes the icing self-level less easily.
The sugar ratio and the whole method are the same whether you use fresh egg white, dried pasteurised egg white, or a ready-made mix – they differ only in the level of risk, convenience, and a small difference in shine. Royal icing is never actually cooked: the egg white inside stays raw and dries that way.
Fresh egg white gives the best shine and the smoothest line, but it's raw egg with everything that implies.
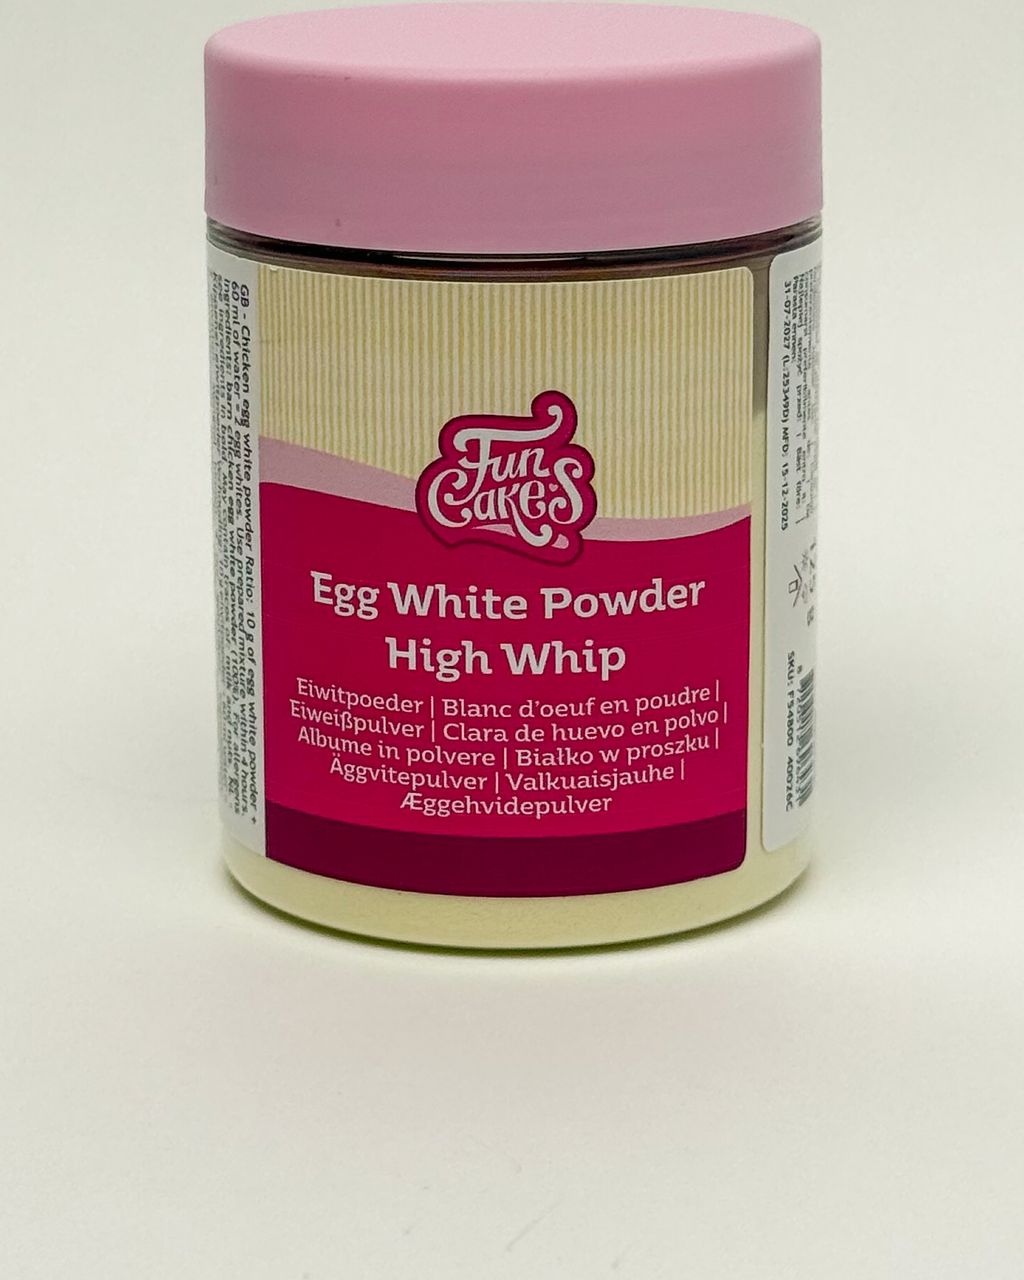
Dried (pasteurised) egg white is the simplest safeguard. Mix it with lukewarm water as directed, let it sit for five minutes to fully rehydrate, then proceed exactly as usual. The sugar ratio stays the same.
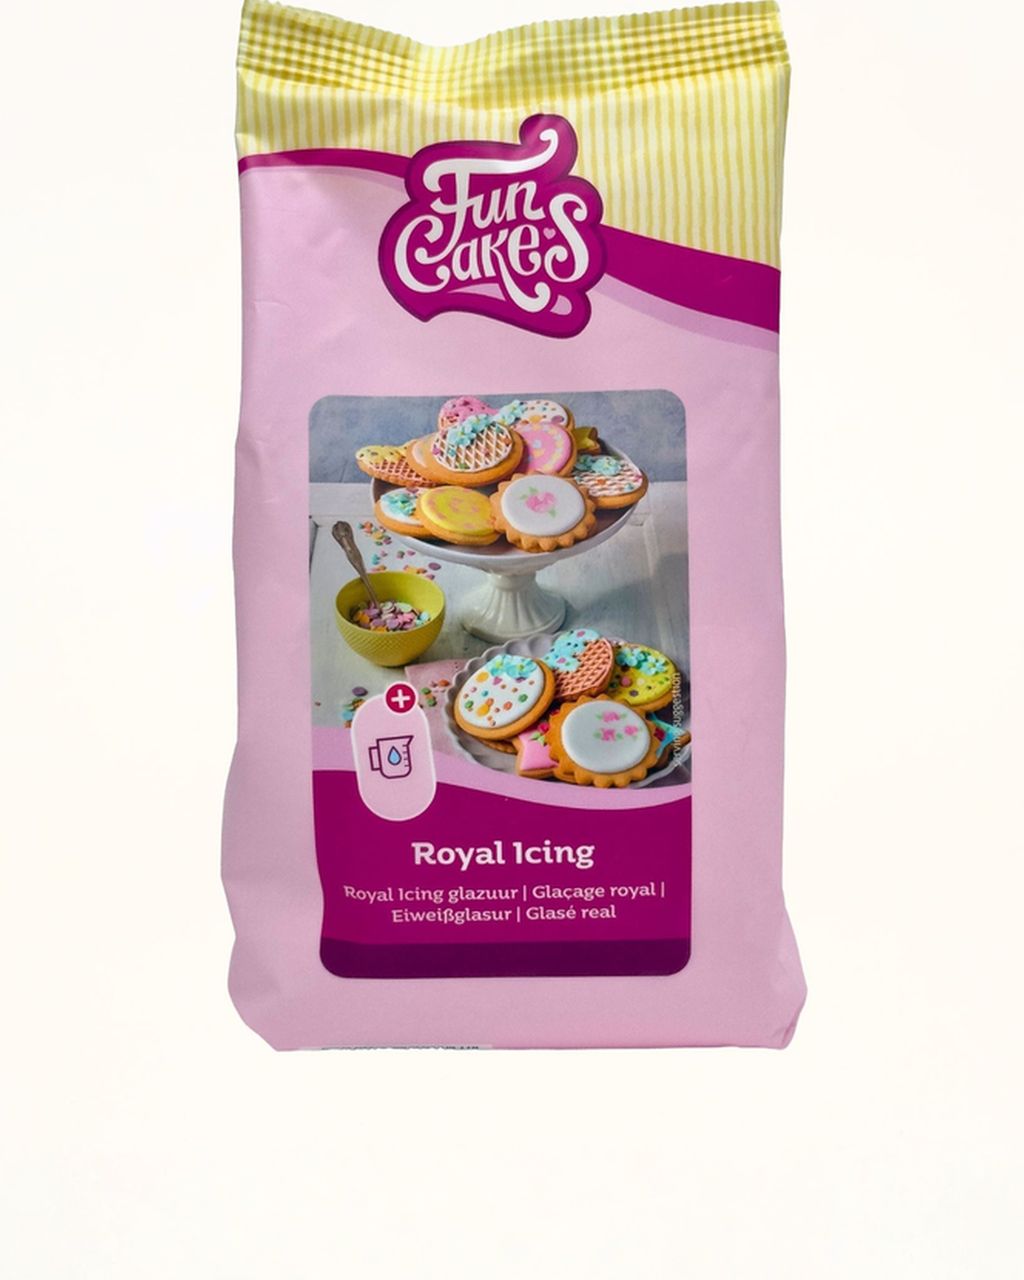
A ready-made royal icing mix saves you the weighing – you just add water. Handy if you only decorate once a year and don't want to fuss over whether your egg is large or small.
And then there's the plain economics of Christmas baking: linzer biscuits use yolks, icing uses whites. Bake both and it more or less balances out. And if you still end up with leftover whites, turn them into meringues or coconut macaroons – both use up whites completely and bake low and slow until dry.
You need three consistencies of icing: stiff, 20–25 seconds for outlines; medium, 15 seconds for detail work; and thin, 10 seconds for flooding. You measure the seconds with the second-count test – scoop up a spoonful of icing, let it drizzle back into the bowl, and count how many seconds it takes for the trail to disappear.
Stiff – 20–25 seconds. For outlines, fine lines, lettering, flowers, and anything meant to sit raised above the surface. It holds its shape, and the tip trails a crisp thread behind it.
Medium – 15 seconds. For detail work, dots, small areas, and small biscuits where one consistency can handle both outline and fill.
Thin, for flooding – 10 seconds. For large areas. It self-levels into a mirror-smooth surface, but without an outline it will run over the edge.
Thin it with water, half a teaspoon at a time, stir it in, and only then test again. Even better is a spray bottle of water – the difference between a ten-second and a twenty-second icing is a matter of a few millilitres, so it's very easy to overshoot.
And a key rule for going the other way: thicken icing back up with more of your own stiff icing, not with sugar. Stirring in more icing sugar will thicken it, sure, but it also makes the icing grainy, dulls the shine, and causes it to crumble as it dries. So keep a few spoonfuls of the stiff base aside in a separate bowl and use that to thicken with.
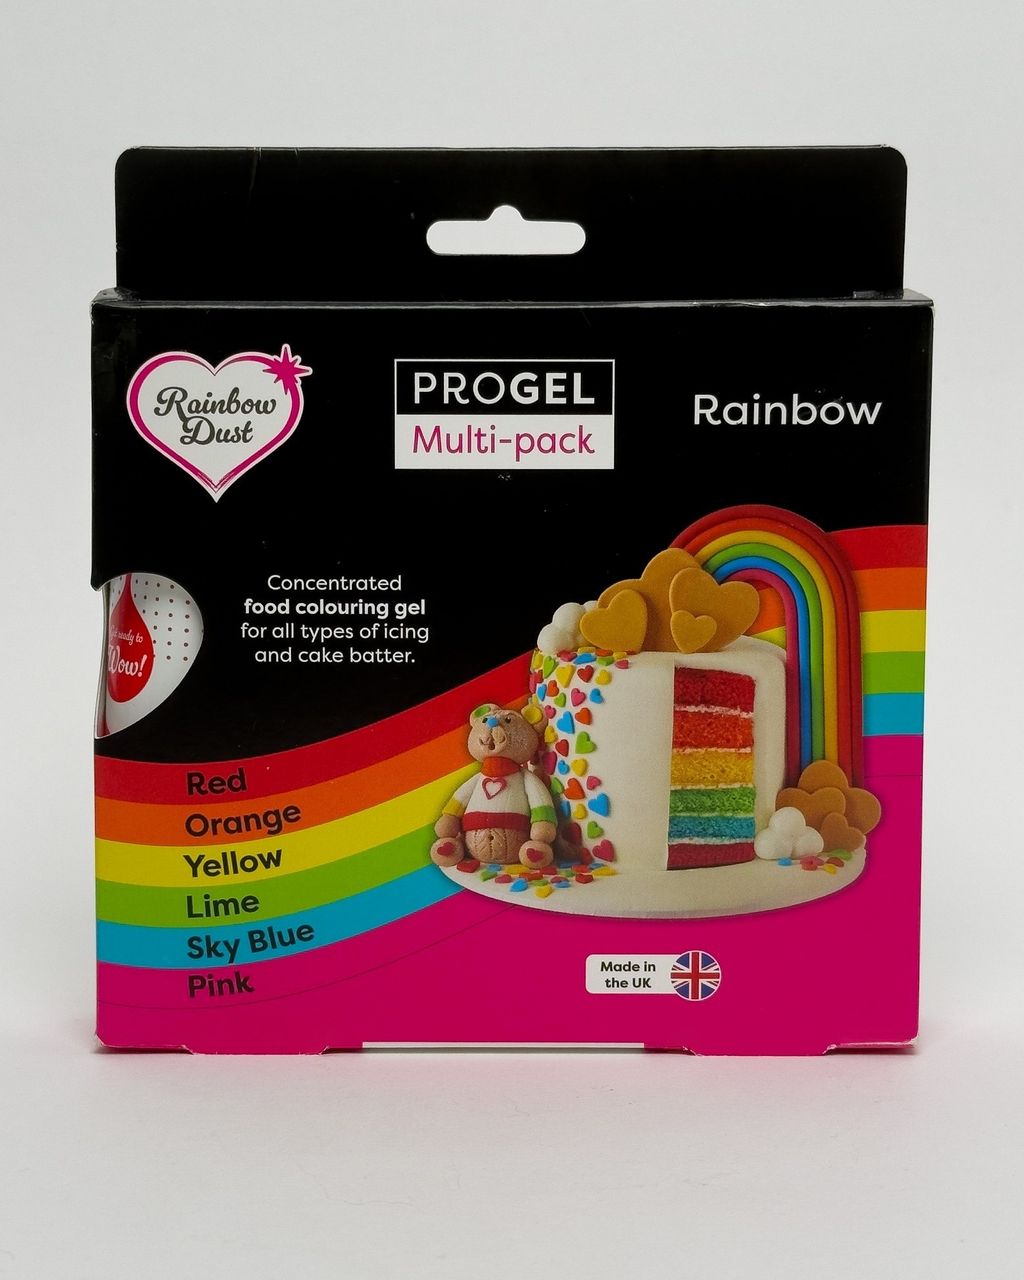
Colour with gel colouring, not liquid. Liquid food colouring is mostly water – by the time you reach a deep shade, you've thinned the icing a couple of consistencies past where you wanted it, and there's no getting it back. Gel carries the pigment in a concentrated base, so a toothpick-tip's worth of gel is enough to colour a whole batch.
What to do next:
Colour one shade lighter than you actually want, then let the icing rest for 30–60 minutes. The pigment develops over that time and the colour deepens – especially red, blue and black. Anyone who tops up the colour right away almost always overshoots.
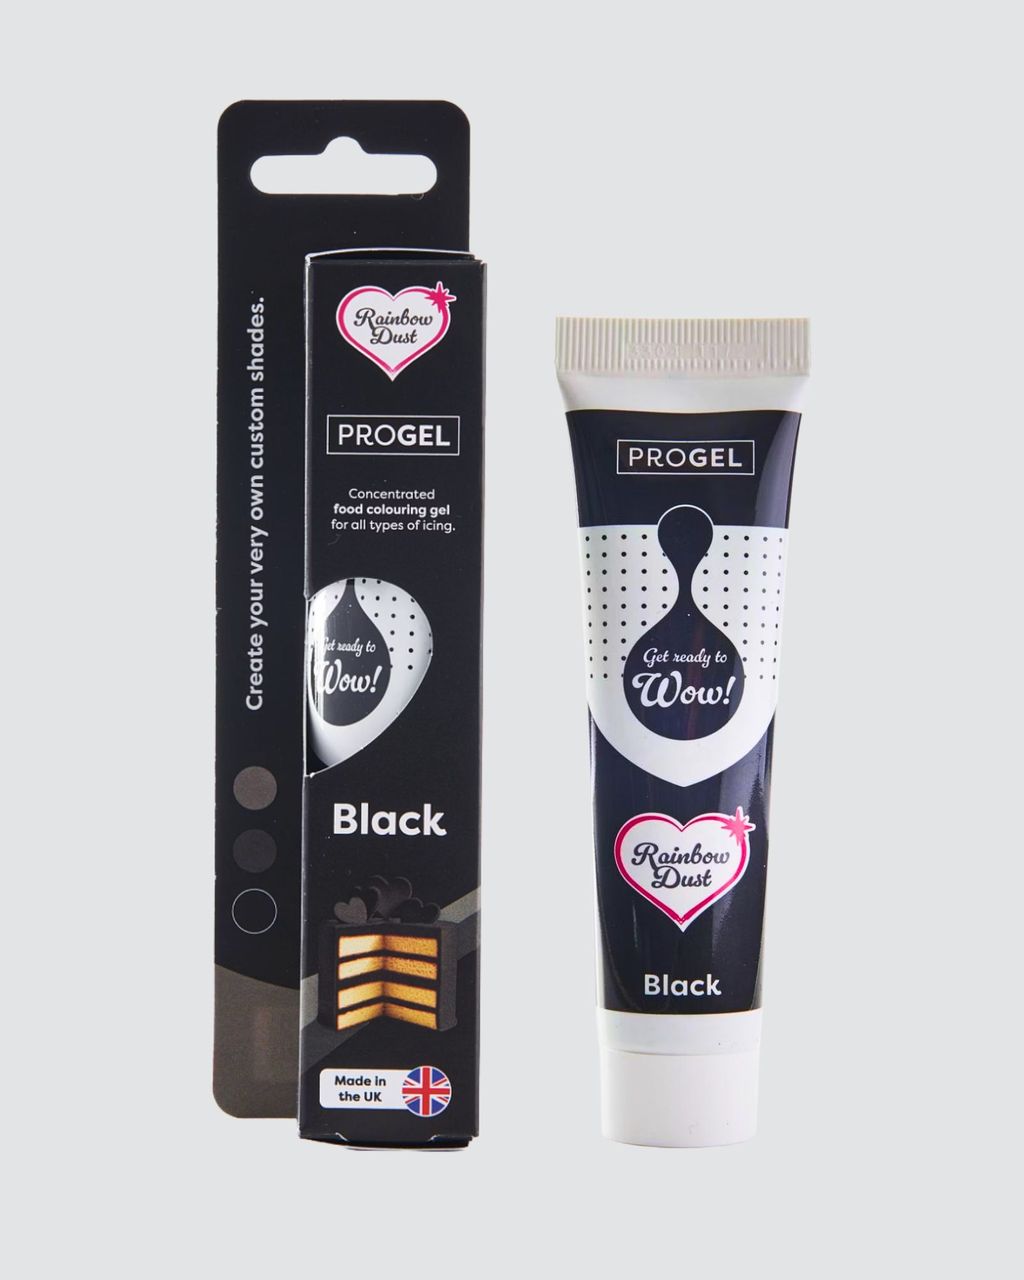
Build dark shades on top of a base colour. For black, start from chocolate brown (a teaspoon of cocoa); for a deep red, start from pink. You'll save on gel – and on trouble, since a large amount of pigment is the main reason colours bleed in the first place.
Side by side only once dry. If two colours need to sit next to each other as separate areas, let the first one set for 20–40 minutes before adding the second. Moisture keeps moving through the icing as it dries, and pigment travels along with it into the neighbouring colour.
Wet-on-wet, on the other hand, needs to happen straight away. Dots and marbling belong on a still-wet surface, within two minutes – there, the blending is the whole point, not a mistake.
Gel is hygroscopic. The propylene glycol and glycerin in it pull moisture straight out of the air, so richly coloured areas take longer to dry and can turn sticky in a humid kitchen. For deep black or dark red, powder colouring is often the more practical choice.
One small habit that saves a lot of washing up: pipe each colour straight into its own bag and cover the rest in the bowl with cling film pressed right onto the surface. Royal icing forms a skin in open air within minutes, and that skin ends up as a lump inside your line.
The order is always the same: outline with stiff icing → let it set 2–3 minutes → flood with thin icing → spread with a scribe tool and tap the biscuit on the counter → add sprinkles within 5 minutes → dry 6–8 hours, ideally overnight. In detail:
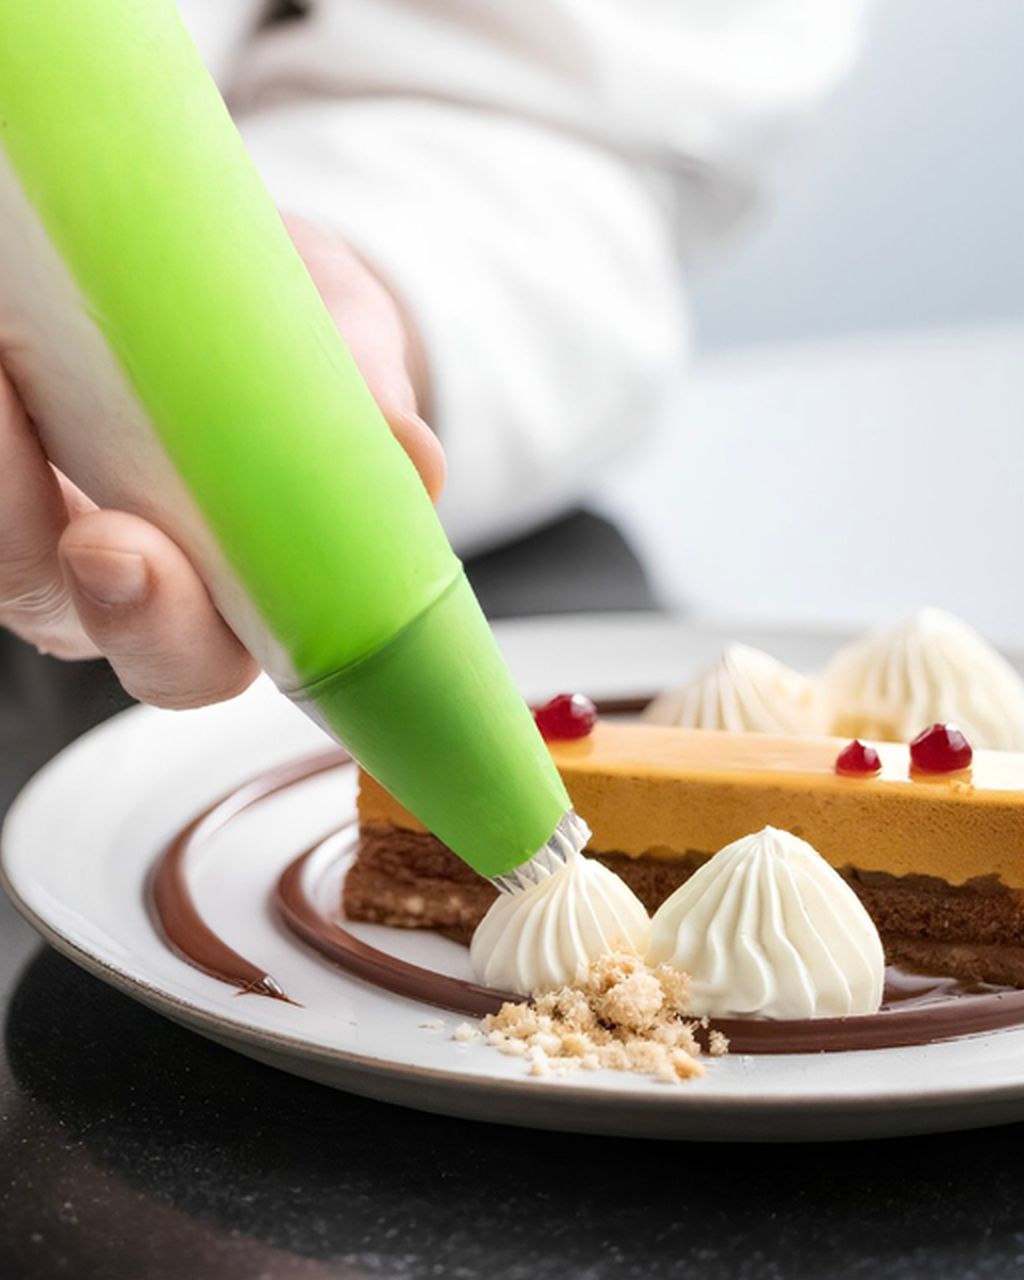
Outline with stiff icing. Snip a disposable piping bag to a 2 mm opening, hold the tip just above the biscuit, and let the icing fall rather than dragging it across the surface – the thread will settle into a straight line on its own.
Wait two to three minutes for the outline to set. Otherwise the flood icing will seep underneath it.
Flood with thin icing into the middle of the area and let it spread out on its own.
Use a scribe tool or a toothpick to nudge the icing into the corners and pop any bubbles that rise to the surface.
Tap the biscuit against the counter. This settles the surface into a mirror-smooth finish.
Add sprinkles and sugar pearls within five minutes, while the surface is still wet. After that, they won't stick.
A skin forms in 15–30 minutes; the icing is fully dry in 6–8 hours – better to give it overnight before layering on detail work or stacking biscuits into a box.
In a kitchen with humidity above 50%, allow noticeably more drying time, and don't leave biscuits sitting next to boiling water – the icing will stay soft even the next morning.
Icing gone wrong almost always comes down to one of five causes: air whipped into the icing, icing that's too thin, too thin a layer, high humidity, and an over-baked, hard biscuit crust. One by one:
Craters and pinholes in the surface. You've whipped air into the icing. Stir slowly, and let the finished icing sit for 10 minutes so bubbles rise to the top; pop any that remain with a toothpick.
Cracked or domed surface. The icing was too thin and dried too fast. Stir in a few spoonfuls of the stiff base and dry it at room temperature, not above a radiator.
White icing looks grey. Almost always the layer is too thin and the biscuit shows through underneath. A thicker icing, or a second coat once the first has dried, fixes it.
Icing turns sticky overnight. High air humidity, often combined with deeply coloured icing. Put a fan on its lowest setting near the biscuits, or decorate on a day when nothing's simmering on the stove.
Icing lifts off the surface. The biscuits were baked too briefly at too high a temperature, giving them a hard, glossy crust. A lower temperature and longer bake gives you a surface icing actually sticks to – you'll find exact figures in our guide to what temperature to bake Christmas biscuits.
It works best on firmer cut-out biscuits with a flat, dry surface – gingerbread, honey cut-out biscuits, and cut-out butter biscuits. It needs something underneath that holds its shape and doesn't crumble, because dried icing is both hard and brittle at the same time.
It's the classic choice for gingerbread, and the softer the dough, the better – a soft biscuit under hard icing is much nicer to bite into. If your gingerbread keeps going hard before you even get to icing it, take a look at why gingerbread biscuits go hard.
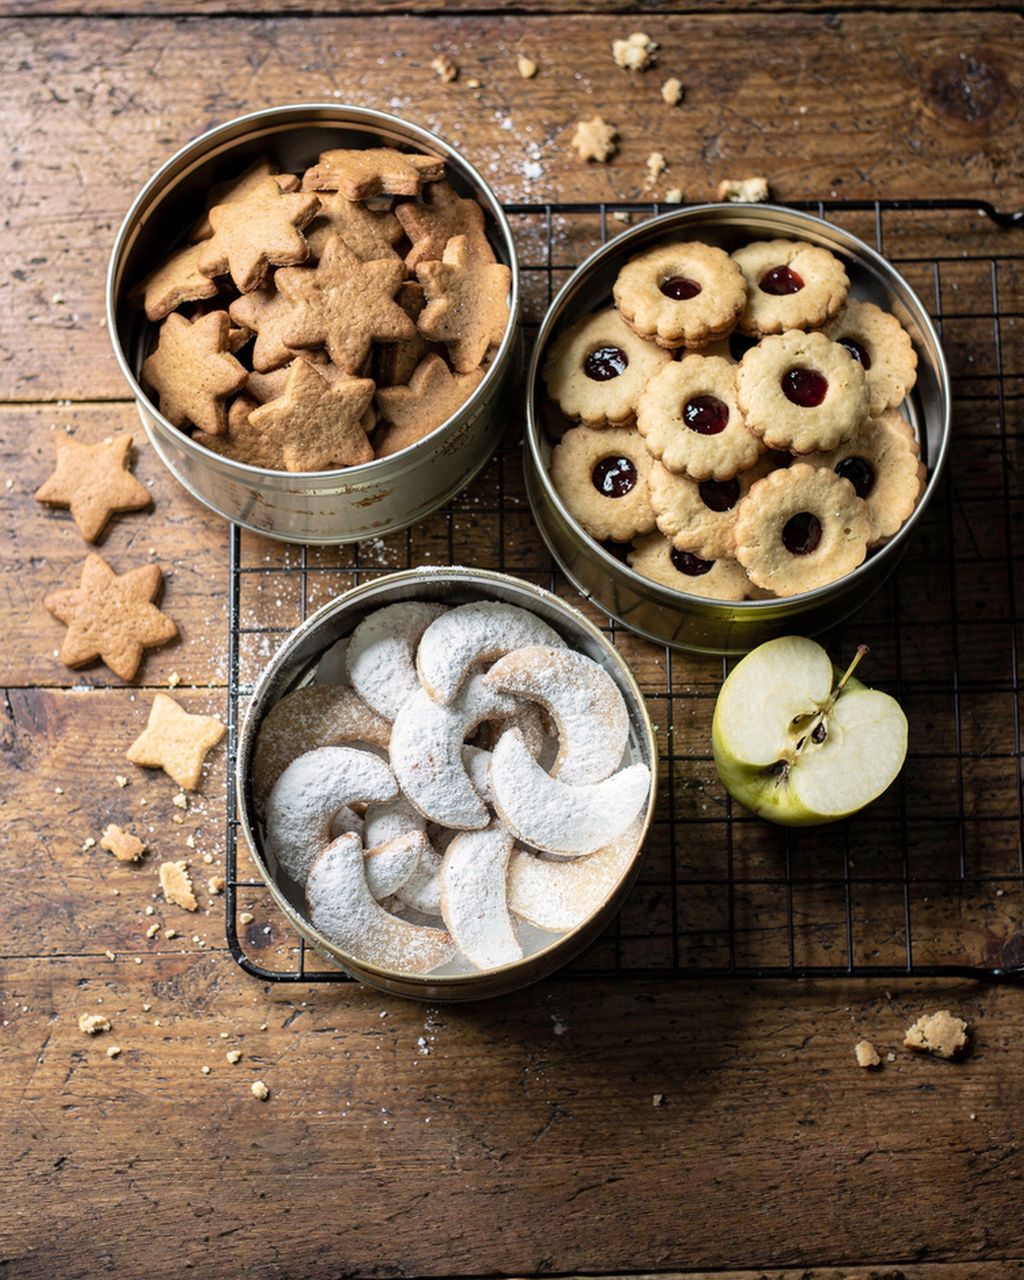
On linzer biscuits royal icing is an unconventional choice: classic linzer biscuits are sandwiched with jam and dusted with icing sugar. But on unfilled cut-out linzer rounds it works beautifully – just remember that delicate butter dough breaks easily, so handle it gently under the piping bag. For keeping it crisp in the first place, see the articles on linzer dough that turns tough and linzer dough that crumbles apart.
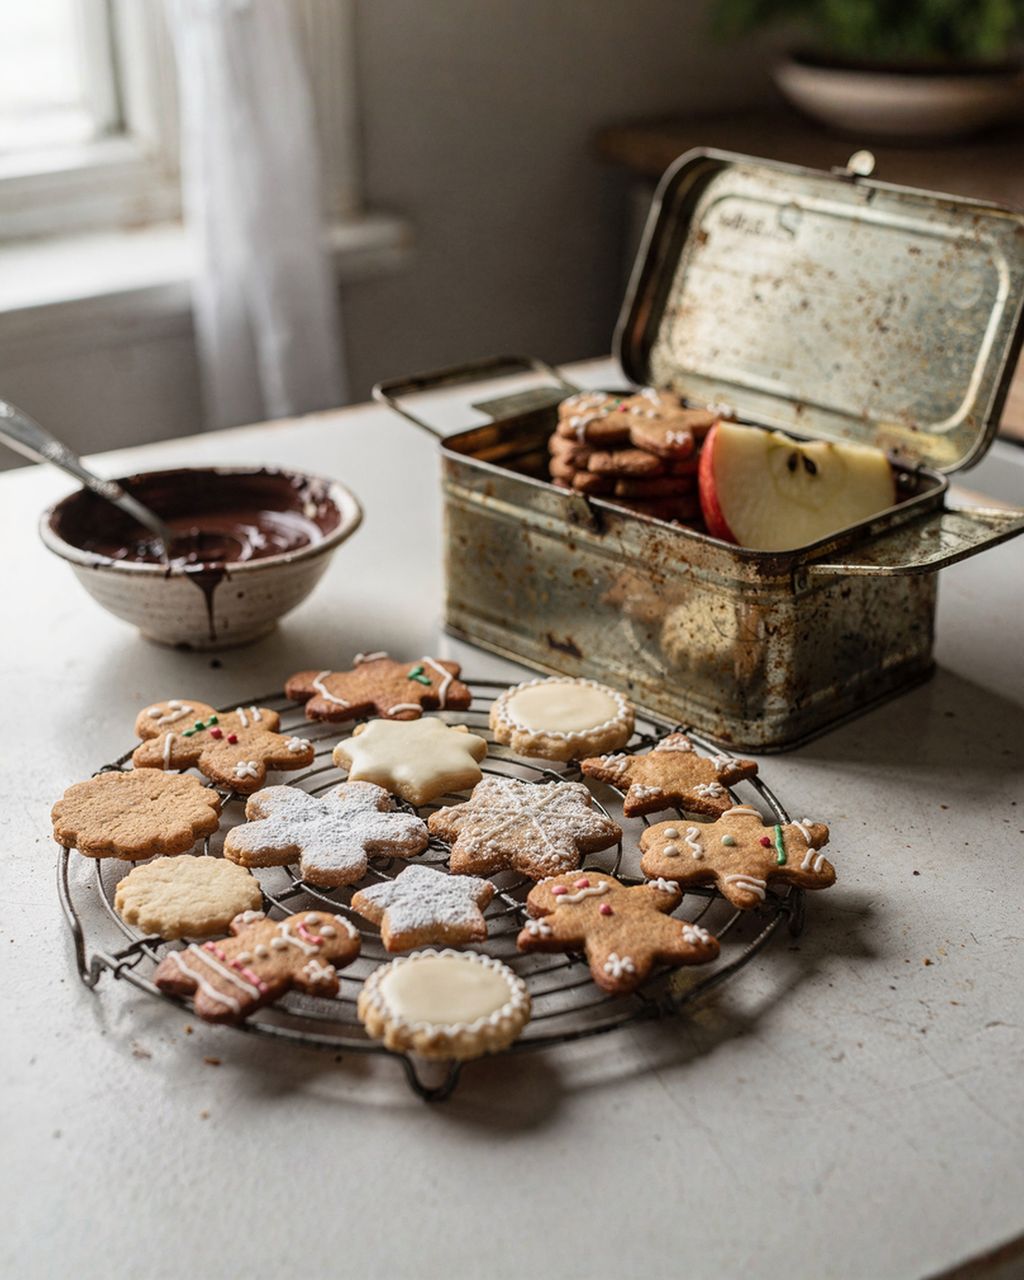
Soft gingerbread cookies
Soft gingerbread biscuits – the ideal base under royal icing

Soft honey gingerbread cookies that never go hard
Soft honey-gingerbread biscuits that don't go hard under icing
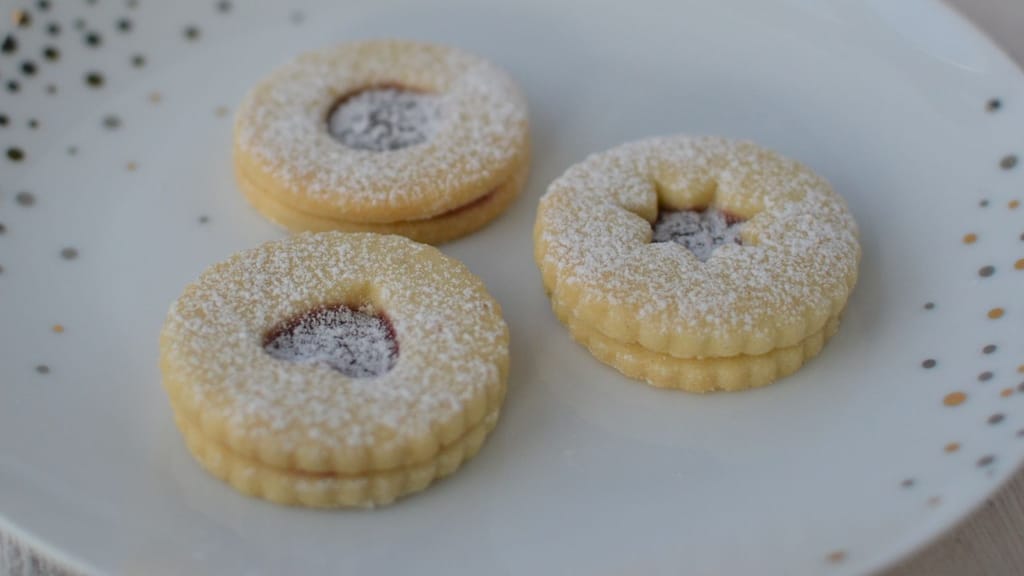
Classic christmas cookies: delicate linzer cookies
Classic crisp linzer dough for cut-out biscuits
Icing made from dried pasteurised egg white keeps in the fridge for about a week in an airtight container with cling film pressed directly onto the surface; icing made from raw egg white should be used within 2–3 days. Let it come back to room temperature before using, and only stir it by hand – running it through a stand mixer again whips in air, and you're straight back to craters.
If a little water separates out over that time, it's nothing to worry about: just stir it back in and, if needed, add a spoonful of sifted icing sugar.
Don't throw away leftover icing. Pipe it onto baking paper as dots, stars, or little eyes, let them harden for 24 hours, and you've got a stash of decorations that will keep for months in a sealed container – use them all season on cakes and cupcakes too.
One extra rule applies once biscuits are decorated: only pack them into a box once the icing is completely dry, otherwise it will print onto the biscuit next to it. Full details are in the article on storing Christmas biscuits; decorated biscuits can also be frozen – see the guide on freezing biscuits and dough.
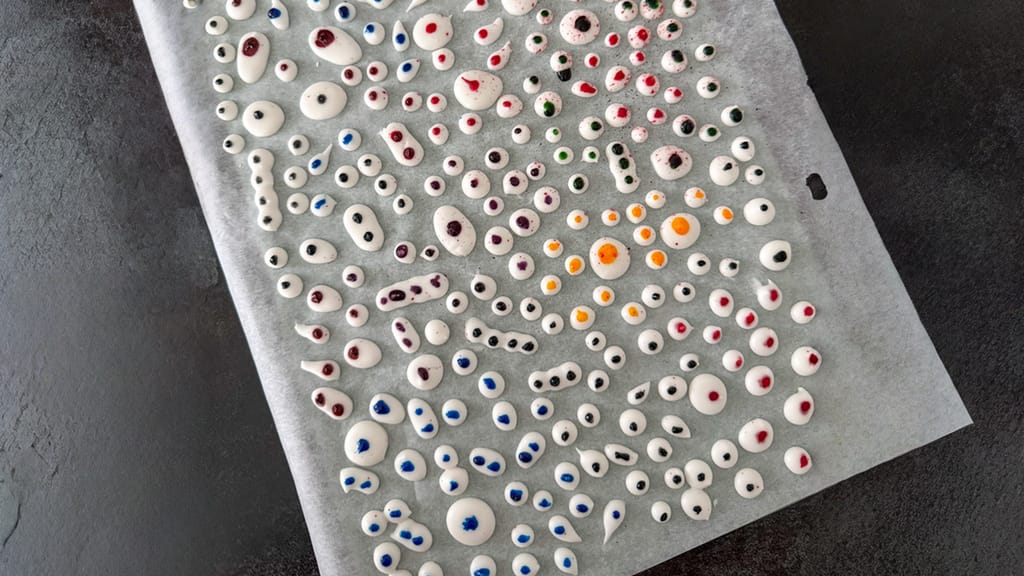
Homemade sugar eyes for decorating desserts
Homemade sugar eyes from leftover royal icing
Yes, you can make egg-free royal icing with aquafaba – 30 ml (2 tablespoons) of chickpea brine instead of one egg white. Add the sugar gradually and go by the second-count test: aquafaba has a different solids content to egg white, so the 1 egg white : 200 g sugar ratio (roughly 1:6 by weight) won't automatically apply. It usually takes longer to dry, so leave it an extra night, and it will have slightly less shine.
For 50 medium gingerbread biscuits with an outline and flood fill, plan on two egg whites and 400 g of icing sugar, so roughly 460 g of icing. For outlines alone, without flooding, half that amount will do. It's better to make a bit extra – matching the exact same shade of colour halfway through decorating almost never works out.
You can colour royal icing naturally with dried powders, but expect softer, pastel shades – juices simply don't work here. Freeze-dried raspberry or strawberry (pink), matcha (green), turmeric (yellow), beetroot powder (burgundy) and cocoa (brown) all work well. Sift them in with the sugar and add a quarter teaspoon at a time – since they're powders, they'll slightly thicken the icing, so you'll need to loosen it with a touch more water.
The closest substitute is cream of tartar – a pinch up to ⅛ teaspoon per egg white. Don't add more than that; in larger amounts it gives the icing a metallic taste. A teaspoon of white vinegar or a pinch of citric acid dissolved in a little water also works. Royal icing can technically do without any acid at all, but it's then more prone to separating and weeping water after a few hours.
Dried icing doesn't harm biscuits – if anything, it protects them a little: gingerbread biscuits decorated with it keep just as long in a sealed box as plain ones, easily several weeks, only softening a bit over time. What they can't handle is moisture: in a loosely closed box or in the fridge, the icing turns damp, loses its shine and starts to feel sticky. A dry pantry beats the fridge every time.
One recipe worth heating the oven for, one tip, and one deal from the shop. Nothing else.