Wonderful cream bundt cake
What to Dust a Bundt Pan With So It Doesn't Stick
Updated Sep 18, 2026
Dust your bundt pan with coarse flour, fine breadcrumbs, semolina, ground nuts, or – for chocolate batter – cocoa. Always over a layer of fat: dusting alone won't stick without grease, and grease alone won't release the cake without dusting. Below you'll find which coating suits which batter, how much to use, how to avoid pale flour patches on the surface, and why most bundt cakes stick not while baking but while cooling.
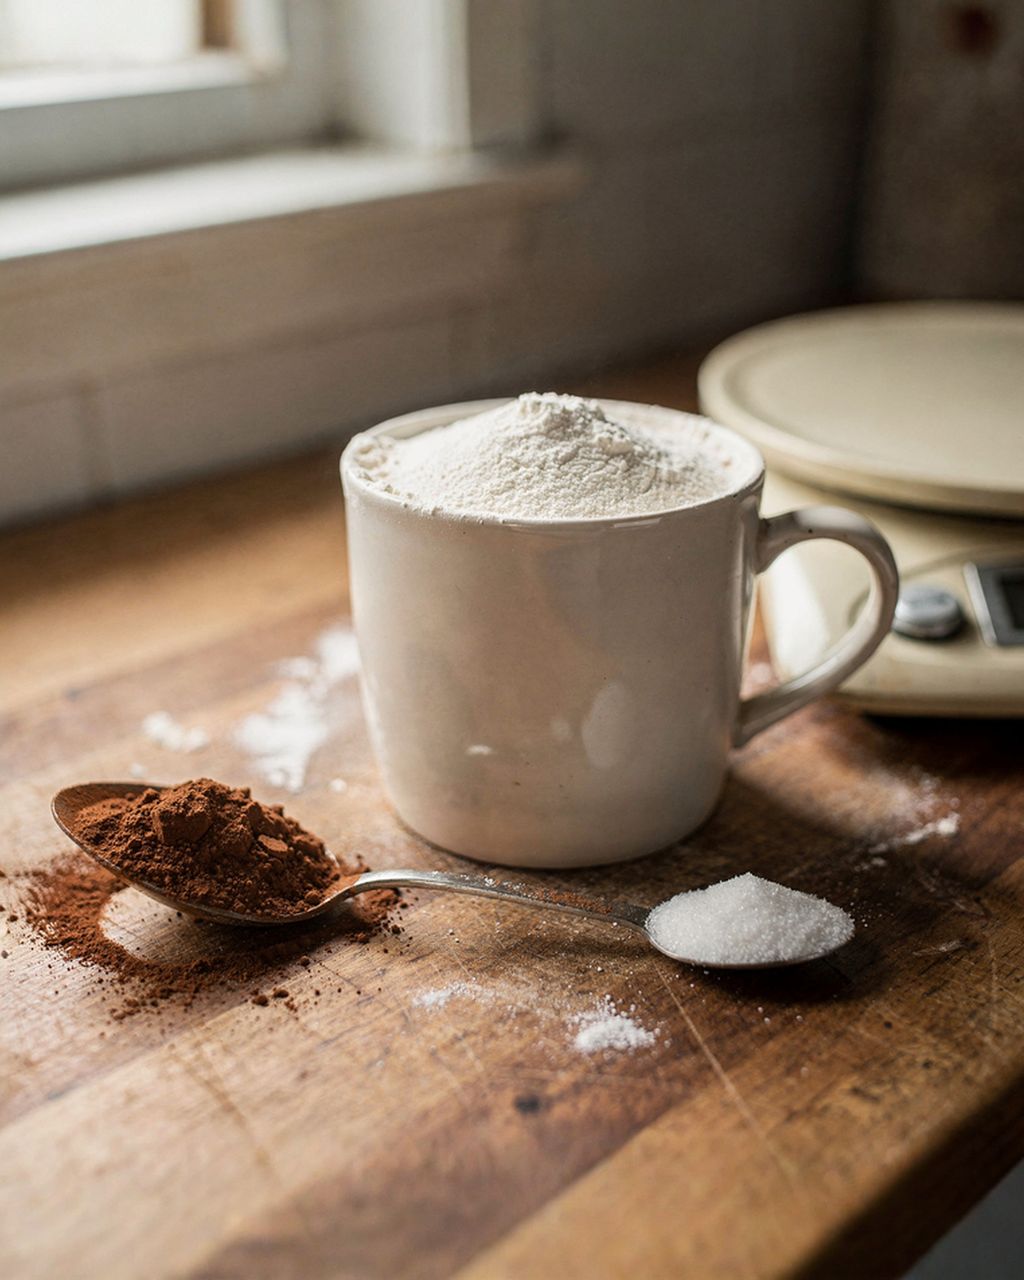
On a greased pan, coarse flour, fine plain flour, fine breadcrumbs, semolina, cocoa, ground nuts, and desiccated coconut or poppy seeds all work. They differ in how well they cling to the fat and what they leave behind on the crust:
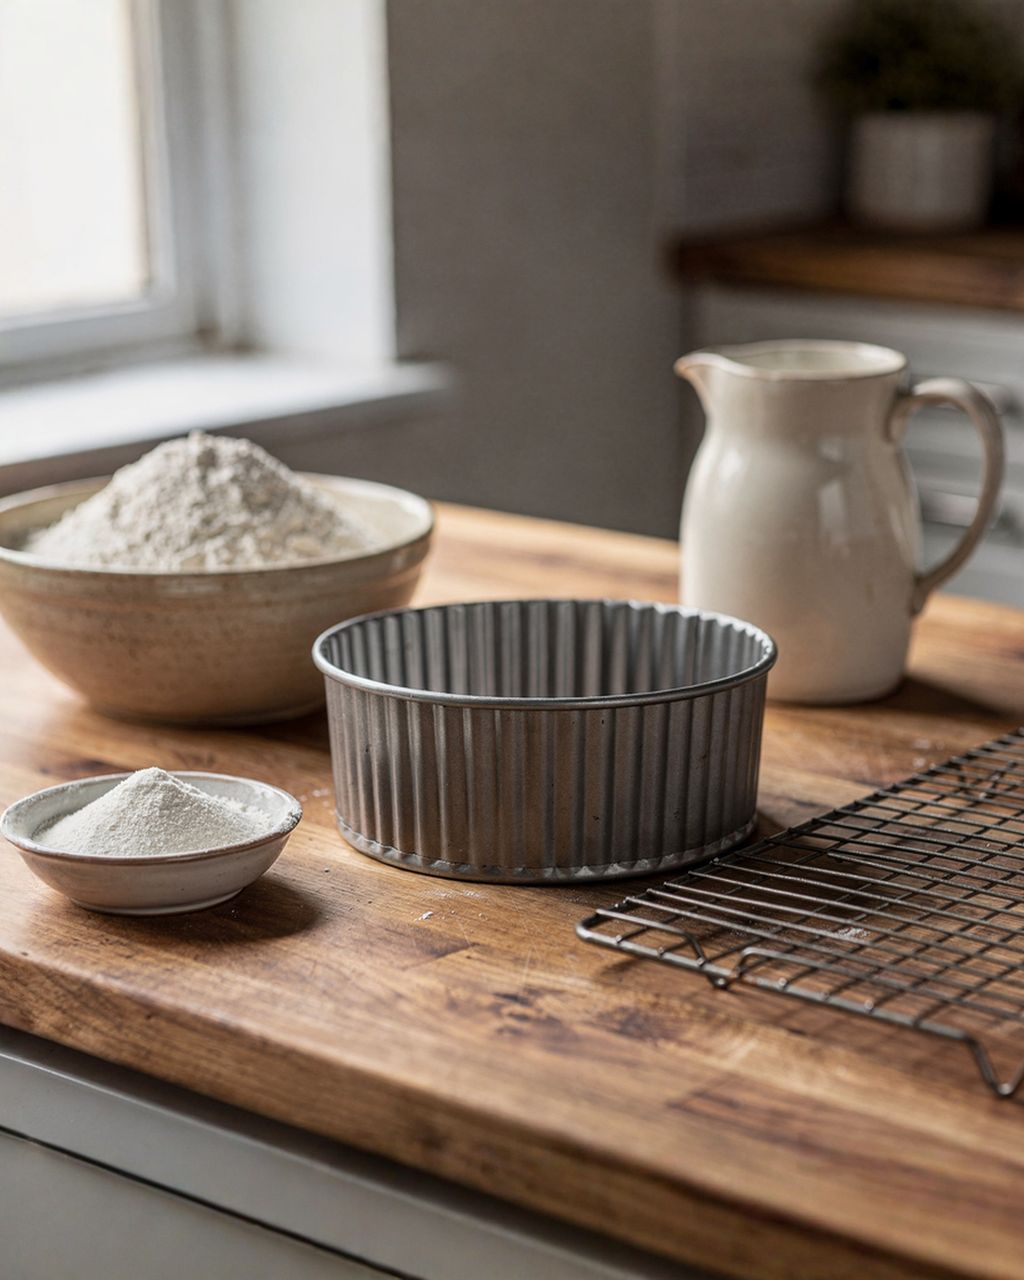
Coarse flour – the all-rounder for pale, buttery batters. It clings well to the fat and disappears completely once baked.
Fine plain flour – gives a thinner layer and less risk of pale flour patches, though it clings slightly less well in deep grooves.
Fine breadcrumbs – give the cake a thin, crisp crust and reliably fill even intricately shaped pans. They must be really fine and sieved.
Semolina – clings excellently, but leaves a noticeably coarser crust once baked. Not ideal for delicate sponge batters, then.
Cocoa – the only sensible choice for cocoa and chocolate batters. Flour would leave a pale film on a dark surface.
Ground nuts or almond flour – add flavour and suit nutty and gluten-free batters. Grind them fine; coarser pieces flake off.
Desiccated coconut or poppy seeds – a traditional Czech option, best with buttery or cocoa batters.
Caster sugar works too, but it creates a sweet, crunchy crust. Treat it as a deliberate choice, not a neutral coating.
A bundt cake usually doesn't stick during baking – it sticks while cooling. Sugar from the batter melts and caramelises against the hot pan wall, and as the pan cools, that sugar hardens and glues the cake to the metal. That's why timing the turnout is just as important as the coating.
Three other common causes:
Gaps in the layer of fat. Wherever the fat doesn't reach, the coating won't stick either – and that's exactly where the cake will grab. In intricately shaped pans this is almost always in the deepest grooves and around the central tube.
Milk solids in butter. Butter is roughly 80% fat, and the rest is water and milk solids, which act like glue during baking. It's not an issue in a simple pan, but it is in a detailed one.
Overbaking. A few extra minutes in the oven dries out the edge and caramelises more sugar against the wall. If your bundt cake regularly toughens at the edges, start testing it with a skewer 8–10 minutes earlier – we cover exactly how long and at what temperature in the article Bundt Cake: What Temperature and How Long to Bake It.
Melted solid fat or lard is the most reliable option, melted butter the tastiest. Bottled oil and cooking spray aren't recommended for vertical sides – they run downward and leave bare patches near the top of the pan.
Solid fat and lard – pure fat with no water or milk solids, so there's nothing to scorch onto the metal. The number one choice for intricate pans (braided, flower-shaped, ridged kuglof moulds).
Melted butter – melt it just until liquid, not until browned. Don't grease the pan with cold butter; it goes on in lumps and leaves bare metal in between.
Flour-based baking spray – works, but spray it right before pouring in the batter. A regular oil-based non-stick spray builds up a sticky film over time, which actually makes sticking worse.
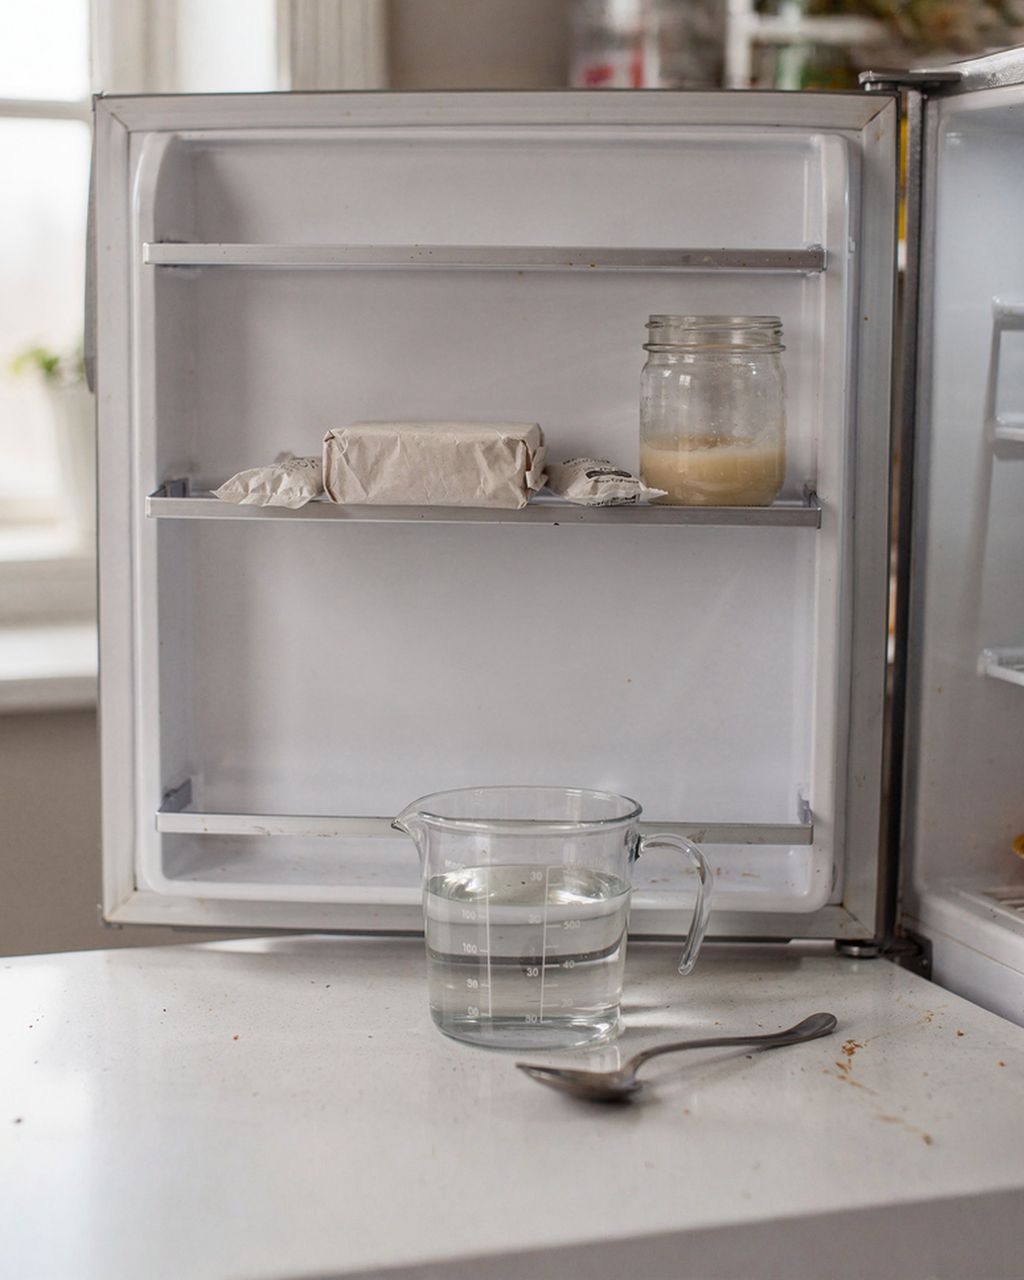
If you bake bundt cakes often, it's worth making a homemade greasing paste: whisk together equal parts (by volume) of solid fat, oil, and plain flour. Kept in a sealed container it lasts about 3 months at room temperature, or six months in the fridge, and it replaces greasing and dusting in a single step.
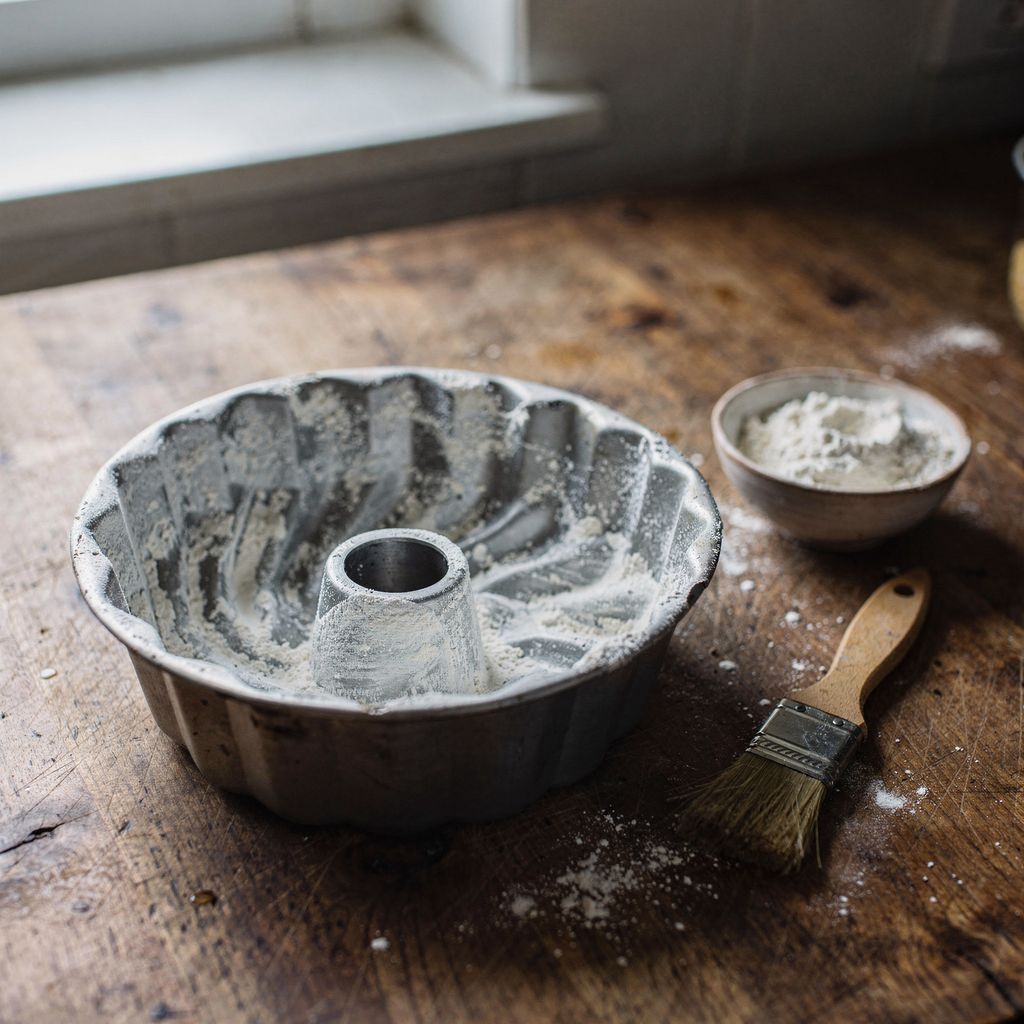
Melt the fat and brush the entire interior, including the central tube, hold the pan up to the light to check, sprinkle in 2–3 tablespoons of coating, tilt and rotate the pan, tap out the excess upside down, and pour in the batter right away. In detail:
Melt the fat and apply it with a silicone brush or a pastry brush – fingers won't reach into the grooves. Work from top to bottom and don't forget the central tube, as that's where the cake sticks most often.
Hold the pan up to the light. The whole interior must have a matte sheen, with no dry spots at all.
Sprinkle in 2–3 tablespoons of coating. More is not better.
Hold the pan with both hands, tilt and rotate it until the coating covers the entire interior, including the central tube.
Turn the pan upside down over the sink and tap it. The excess must come out – a thick layer of flour will leave pale patches on the baked cake and blur the pan's detail.
Fill the pan straight away. Pour in the batter to two-thirds to three-quarters of the pan's volume and tap the pan gently on the counter two or three times to release air bubbles.
Let the batter's colour and flavour guide you: dust pale, buttery batters with coarse flour, cocoa batters with cocoa, nutty batters with ground nuts, gluten-free batters with rice or almond flour, and savoury batters with breadcrumbs.
Classic buttery and whipped-cream batters – coarse or fine plain flour. Neutral, and doesn't affect flavour or colour.
Cocoa and chocolate batters – sieved cocoa, never flour. A pale flour film on a dark cake is obvious at first glance.
Nutty batters – ground walnuts, hazelnuts, or almond flour. The coating ties into the flavour instead of diluting it.
Fruity batters with heavy pieces – fine breadcrumbs. Fruit pieces near the wall release juice that would turn plain flour soggy; breadcrumbs hold up better.
Gluten-free batters – rice flour, almond flour, or gluten-free breadcrumbs. Cornstarch on its own is too fine and turns gummy.
Savoury bundt cakes – breadcrumbs, or grated Parmesan for an extra crust.
For a savoury ham-and-cheese bundt cake go for breadcrumbs, and for an orange bundt cake with almonds go for ground almonds.
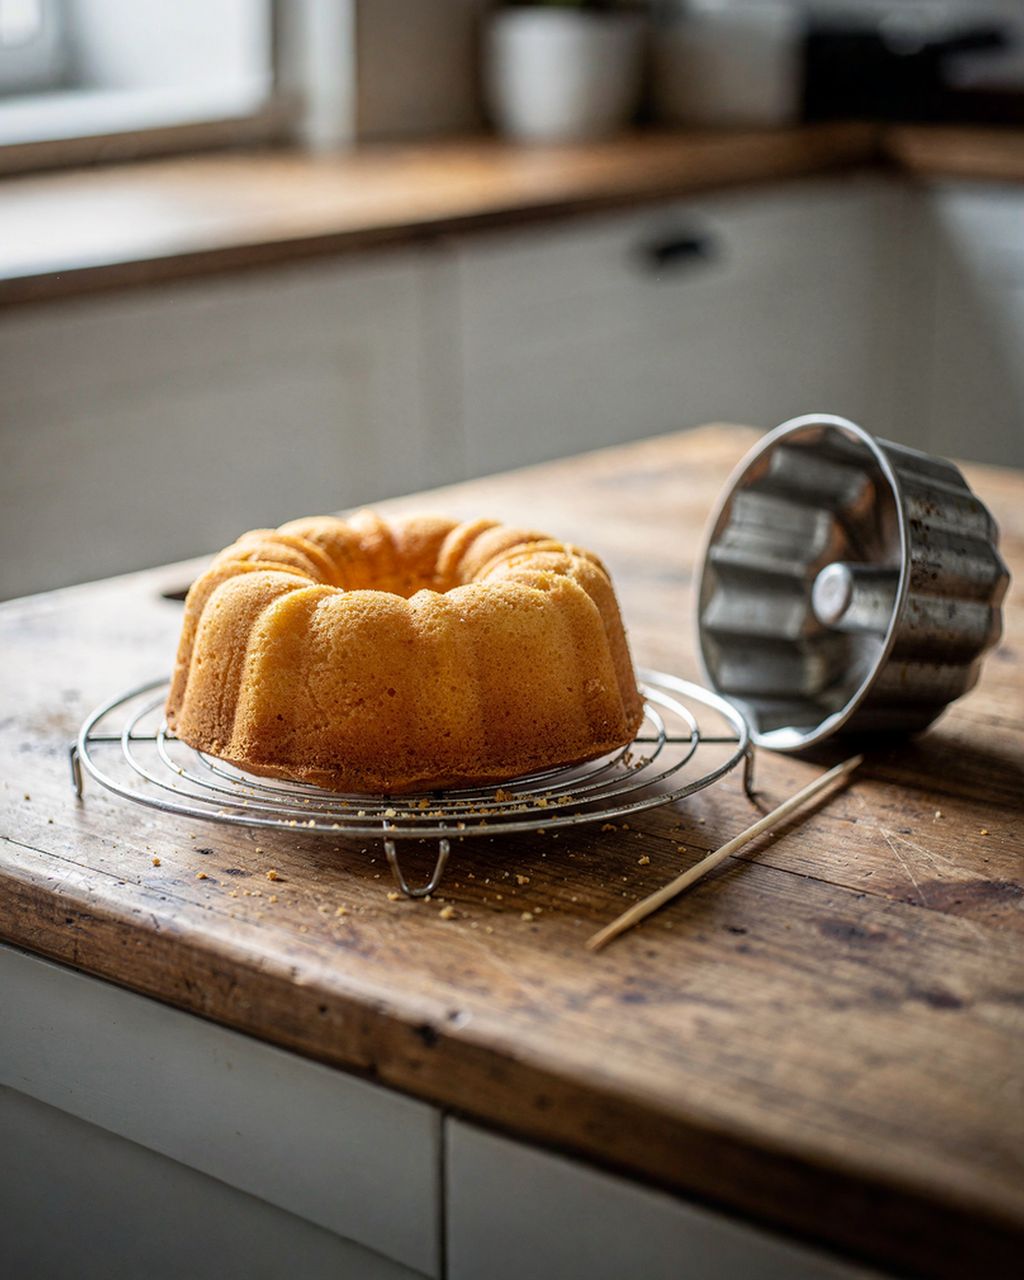
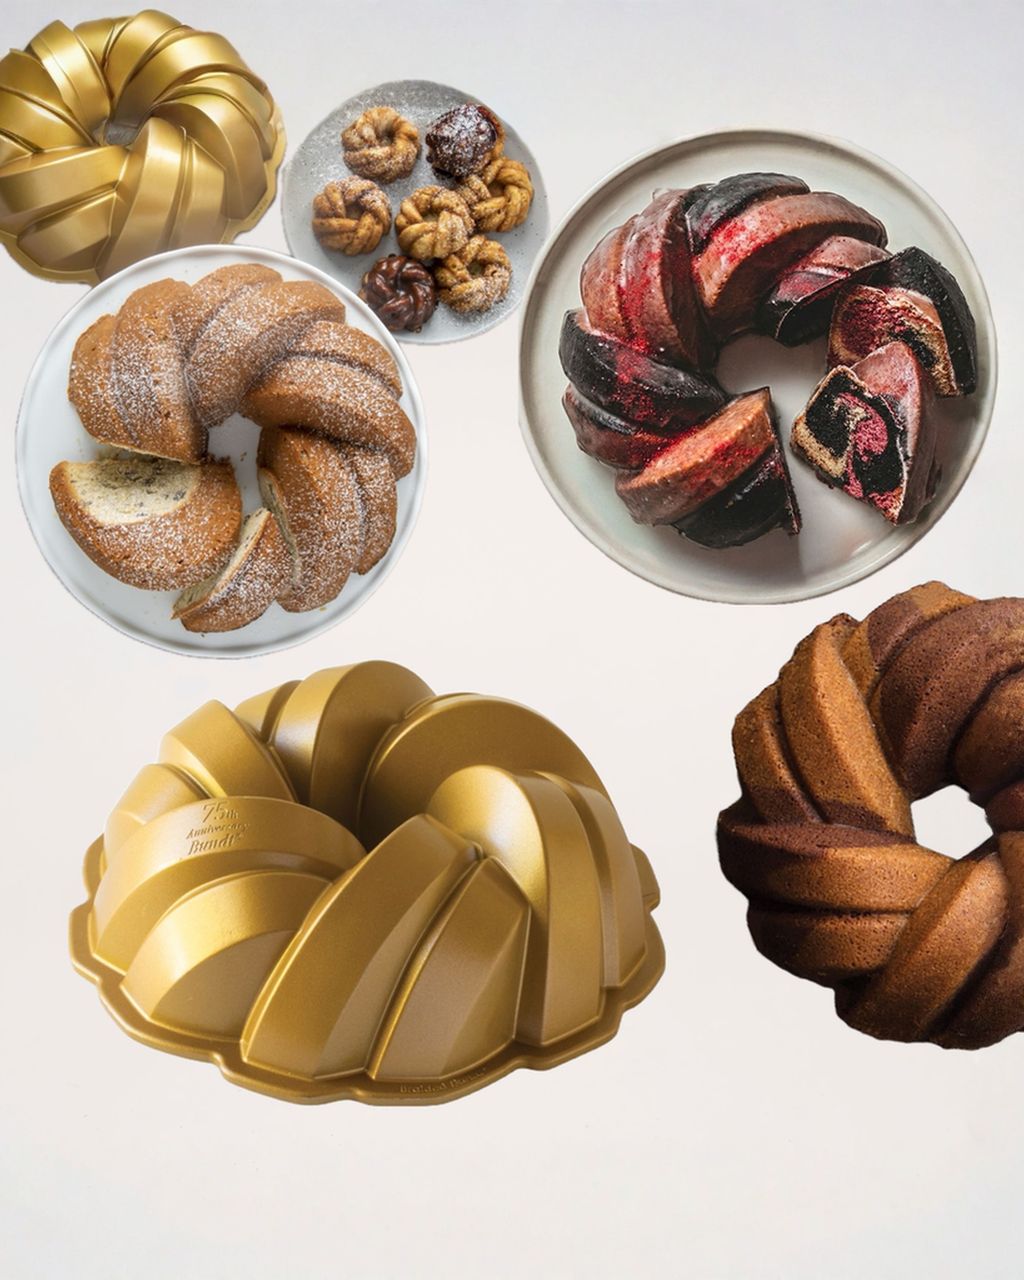
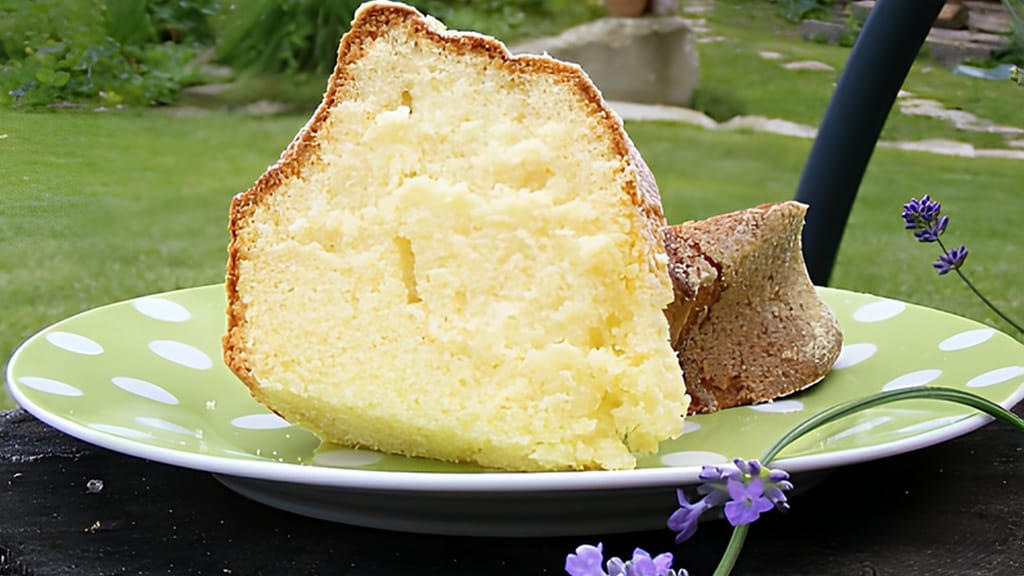
Wonderful cream bundt cake
Whipped-cream bundt cake: a pale, buttery batter that coarse flour suits best
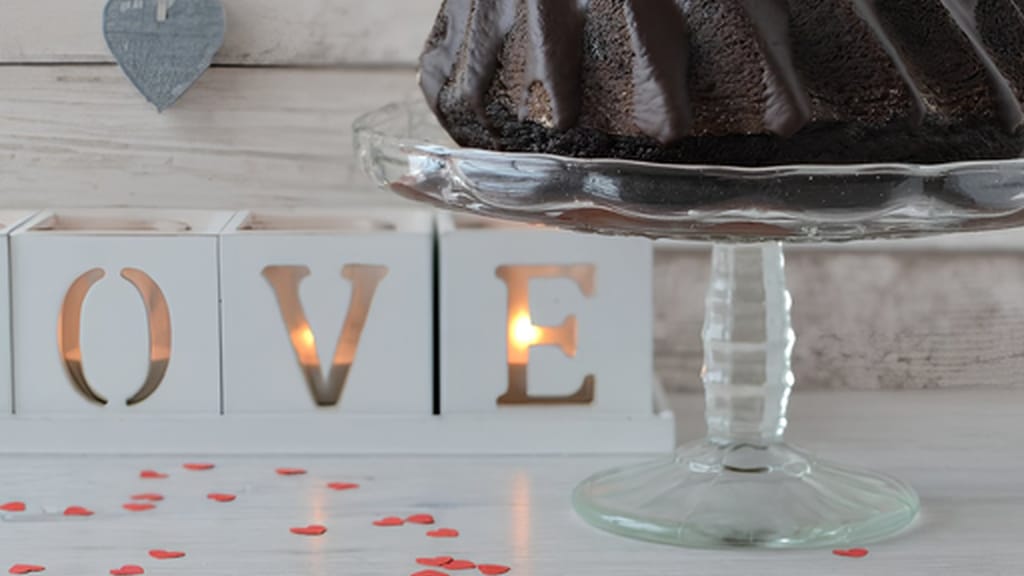
Valentine's chocolate bundt cake with pomegranate seeds
Chocolate bundt cake with pomegranate – dust the pan with cocoa for this one, not flour
Every type of pan needs dusting except silicone. Silicone only needs a thin layer of oil; all other materials need both greasing and dusting.
Silicone – brush on a thin layer of oil; no need to dust. The trade-off is a paler, softer edge and a less crisp shape, since silicone conducts heat poorly.
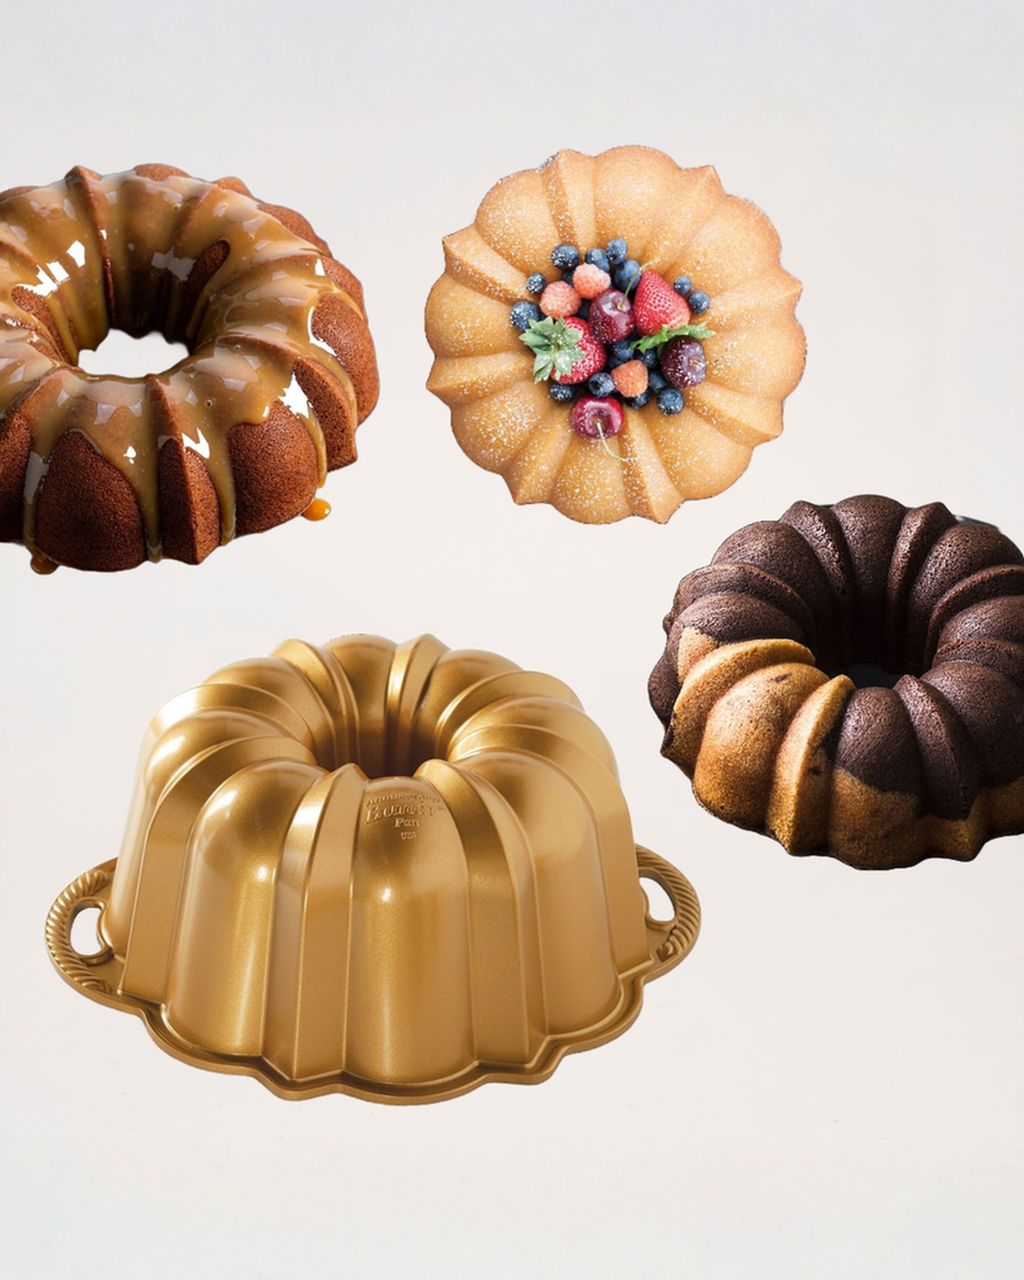
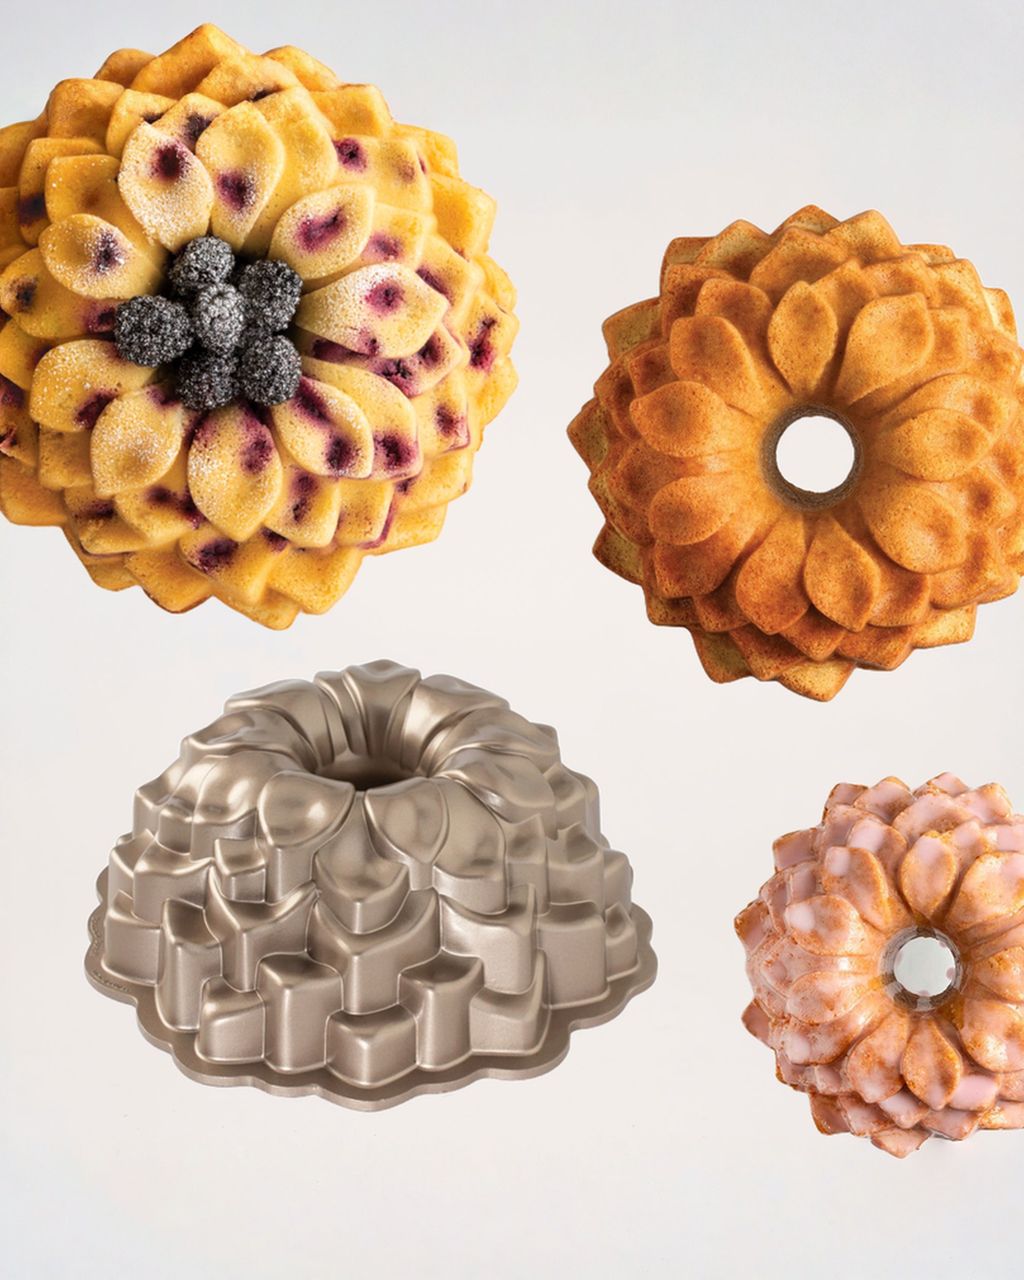
Cast aluminium – gives the sharpest detail, but also has the most grooves where mistakes can happen. Solid fat and a brush are essential here.
Metal with a non-stick coating – grease and dust it anyway. The non-stick layer wears down with use and stops being enough on its own after a few years.
Ceramic and glass – conduct heat less efficiently and bake more slowly, so the cake spends more time against the wall. Grease and dust these really thoroughly.
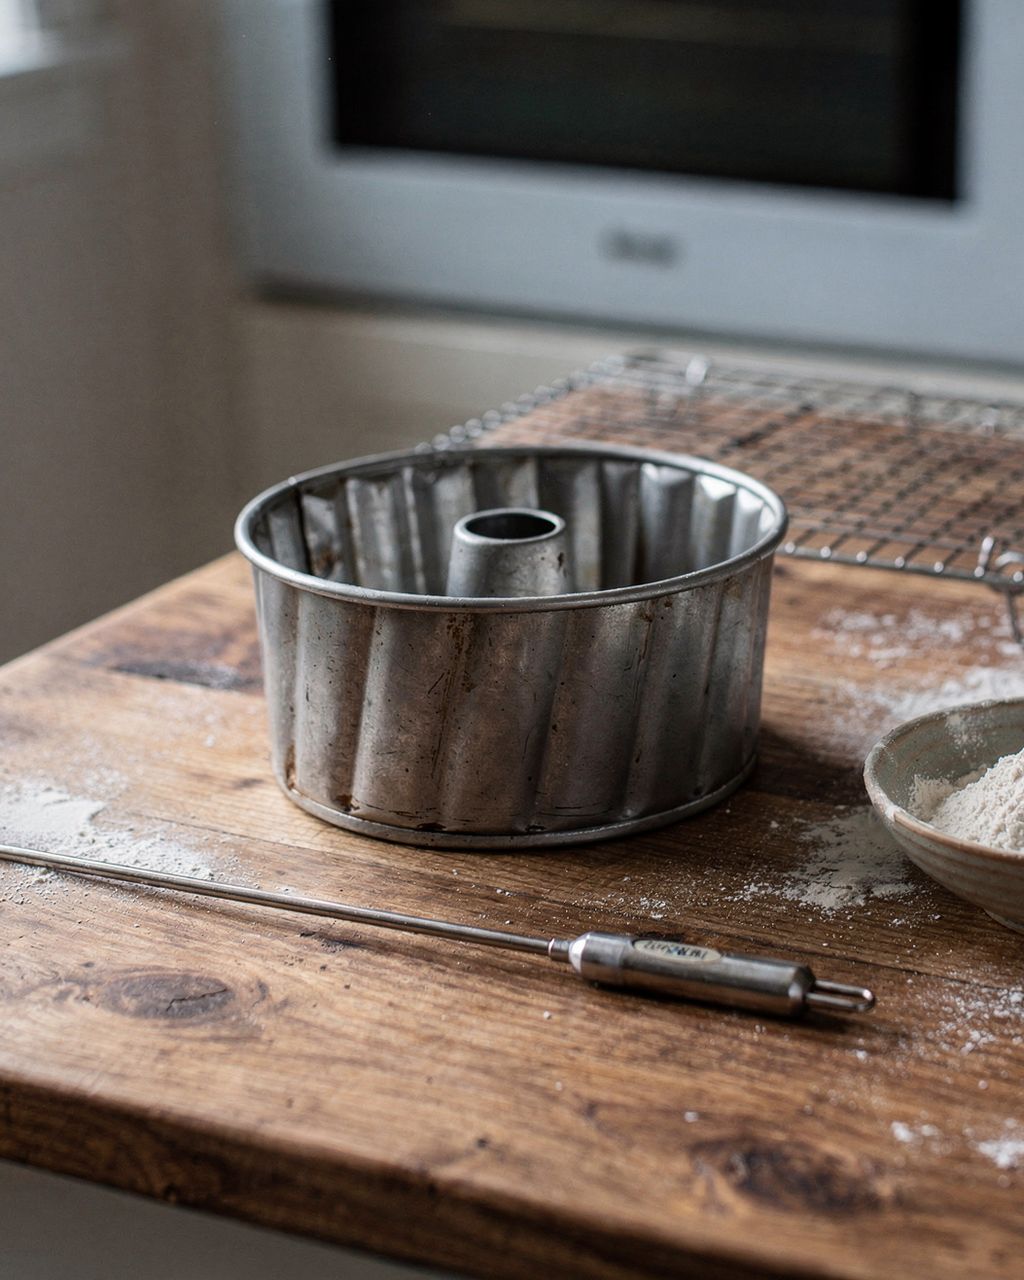
Old, unfinished tin pans – grease, dust, and after washing dry it immediately so it doesn't rust.
Turn it out 10 minutes after taking it from the oven, or after 5–8 minutes for small pans. In that time the batter firms up enough not to tear, but the sugar against the wall hasn't yet had time to harden and stick.
Run a thin silicone spatula around the edge of the pan and around the central tube.
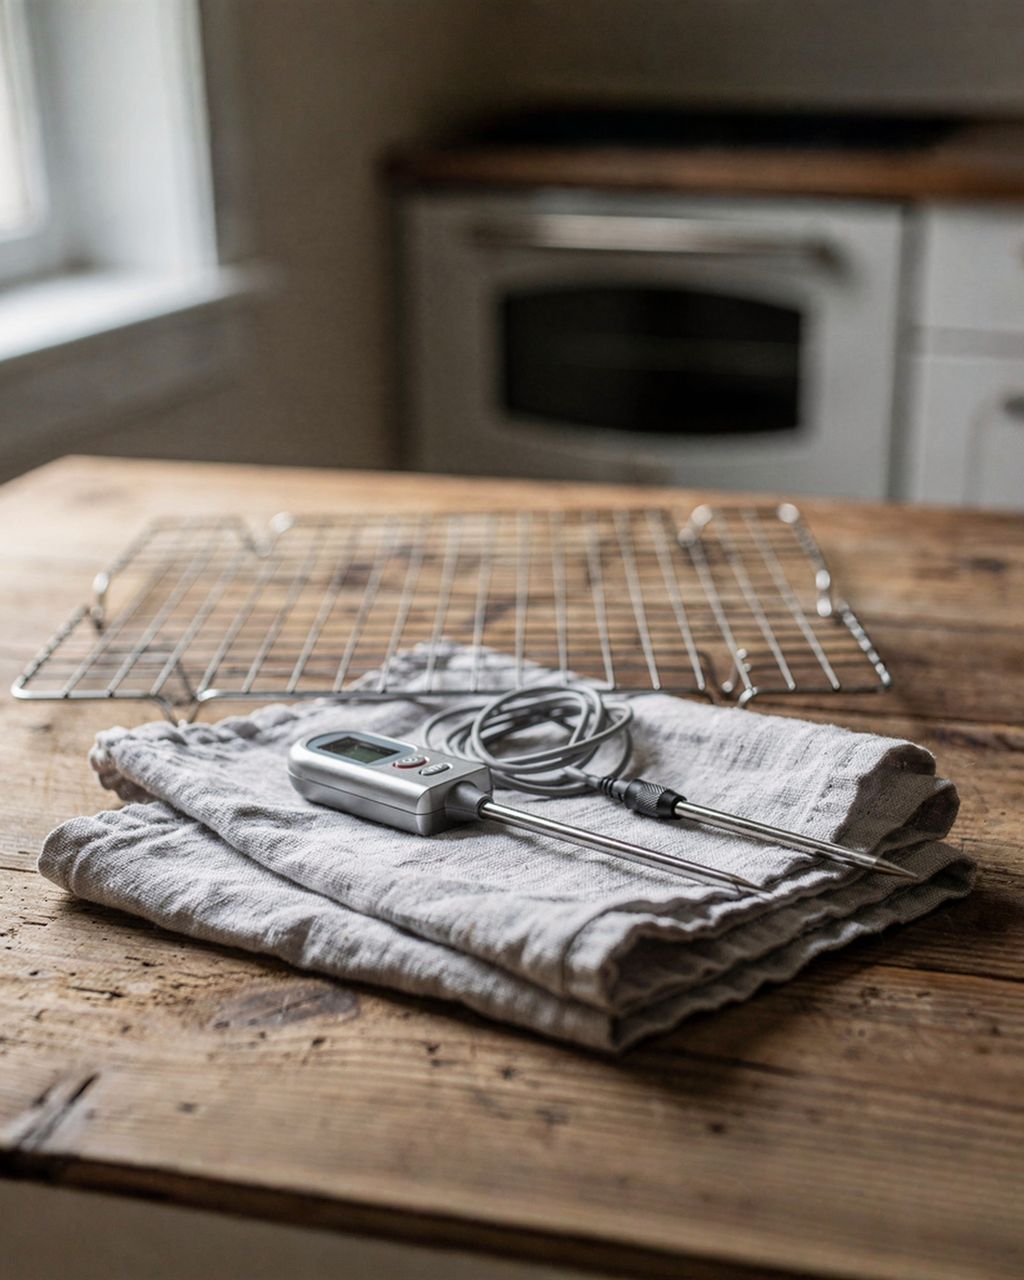
Place a wire rack on top of the pan, grip both together, and flip.
Let the pan sit on the cake for about another 5 minutes. It will usually slide off on its own under its own weight.
Letting the cake cool completely in the pan is the fastest way to make it stick. And don't pull it out sooner than five minutes – hot batter doesn't yet hold together and the central tube will tear off.
Try heat first, and if that doesn't work, try cold. Both work on the fat and sugar against the pan wall, just from opposite directions.
A hot, damp tea towel. Wrap the outside of the pan for 5–10 minutes with a hot, wrung-out towel. The fat against the wall softens and the cake lets go.
Back into the oven. Put the pan back into the still-warm oven for 3–5 minutes and try again.
The freezer. For a completely cooled cake, go the opposite way: put it, pan and all, into the freezer for one to two hours. The batter contracts and pulls away from the wall.
Run a thin silicone spatula around the edge and the central tube. Never a knife on a non-stick pan.
If it still breaks apart, don't worry about it: cut it into cubes, layer them with whipped cream and fruit, and you've got a trifle-style dessert in a glass. The flavour won't suffer one bit.
Not with a classic ridged bundt pan – paper won't mould into the grooves and the cake will lose its shape and sharp edges. Paper only works for pans with smooth sides, like a loaf tin or a log-shaped mould. Always grease and dust a ridged pan.
Plain flour, fine semolina, or finely ground oat flakes. All three cling to the fat less well than coarse flour, so use a spoonful more – 3–4 instead of 2–3 – and be extra thorough about tapping out the excess upside down. Grind the oat flakes as fine as you can; coarser bits flake off the fat.
Yes, for another pan, but not mixed back into the batter or returned to the flour bag. The tapped-out coating is greasy and mixed with crumbs, so it will quickly turn your flour supply rancid. Tap it into a bowl and use it on the next pan right away, or discard it.
Yes, and even more carefully – small mini bundt moulds have far more surface area relative to their volume, so they stick more easily than a large pan. Brush on the fat, tip the coating into the first mould, then pour it from one to the next so the layer stays evenly thin throughout. Turn them out sooner, after 5–8 minutes.
Yes, just like for a creamed batter – grease with fat and dust with coarse flour or breadcrumbs. Yeasted dough is usually less sweet than creamed batter, so it tends to stick less and plain butter will do fine. A yeasted bundt cake can also rest in the pan a bit longer without harm – 15 minutes won't hurt it.
One recipe worth heating the oven for, one tip, and one deal from the shop. Nothing else.