Homemade sugar eyes for decorating desserts
Royal Icing Decorations: Make-Ahead Snowflakes and Stars for Cakes and Cupcakes
Updated Nov 2, 2026
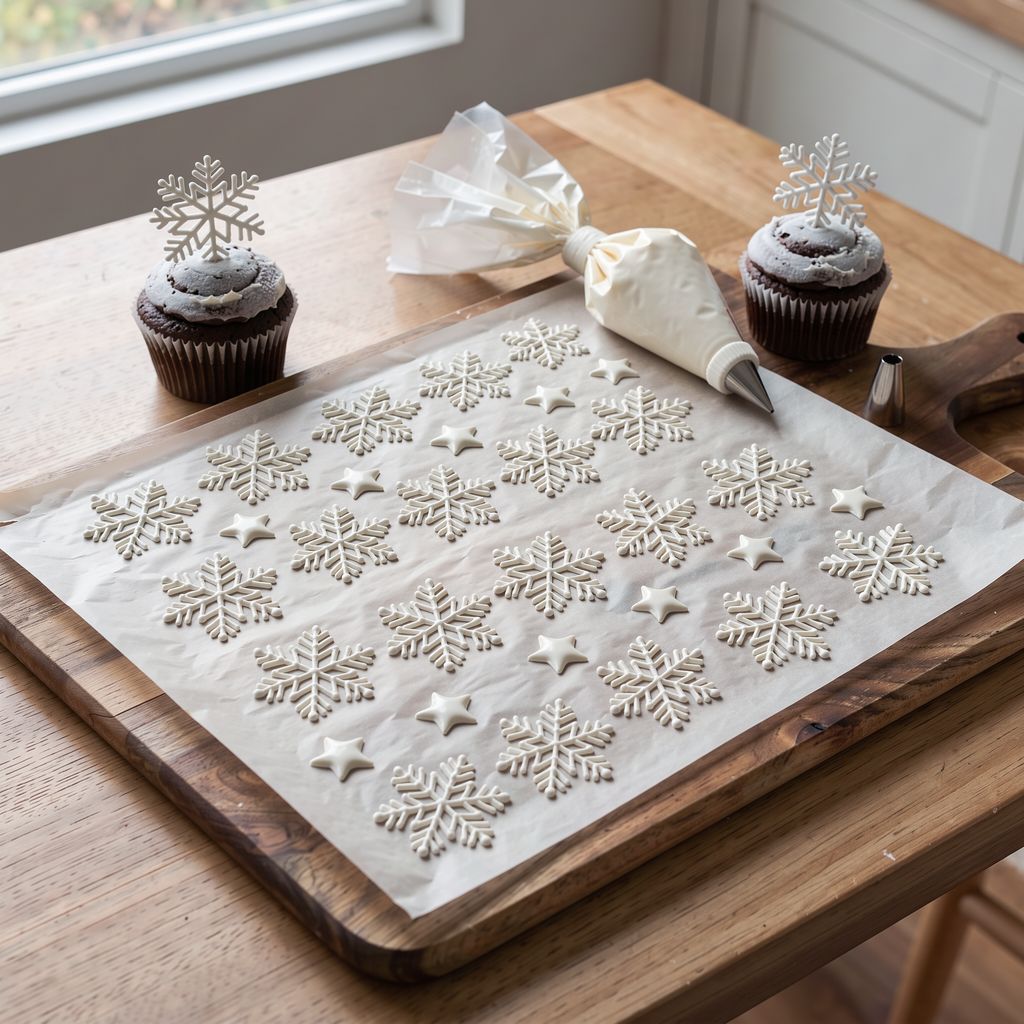
To make royal icing decorations like snowflakes, stars or name tags, pipe stiff icing over a template onto parchment paper or acetate, leave it to dry for at least 24 hours, and then keep the pieces in a dry box for 2–3 weeks ahead of time. Put them on a cake or cupcake only just before serving, because frosting is moist and will soften the decorations within a few hours. Below you'll find how thick the icing should be, how to pipe a snowflake that won't snap, how to get decorations off the paper, and where to place them so they last.
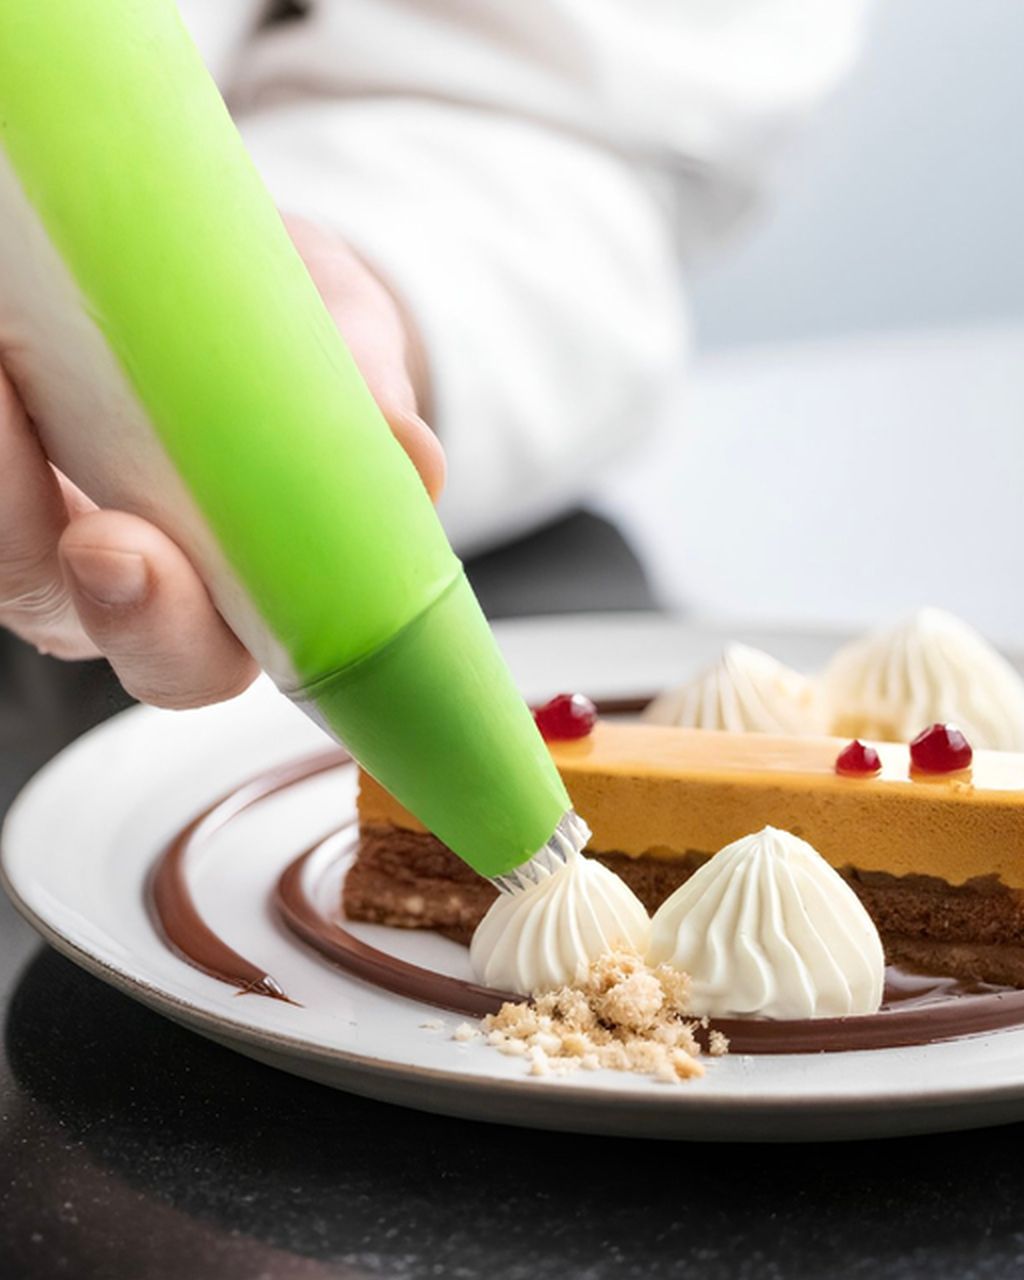
To make royal icing decorations, you need stiff royal icing, a piping bag with a thin round tip, a template, parchment paper or acetate sheet, and a spot where the decorations can dry undisturbed for a day or two.
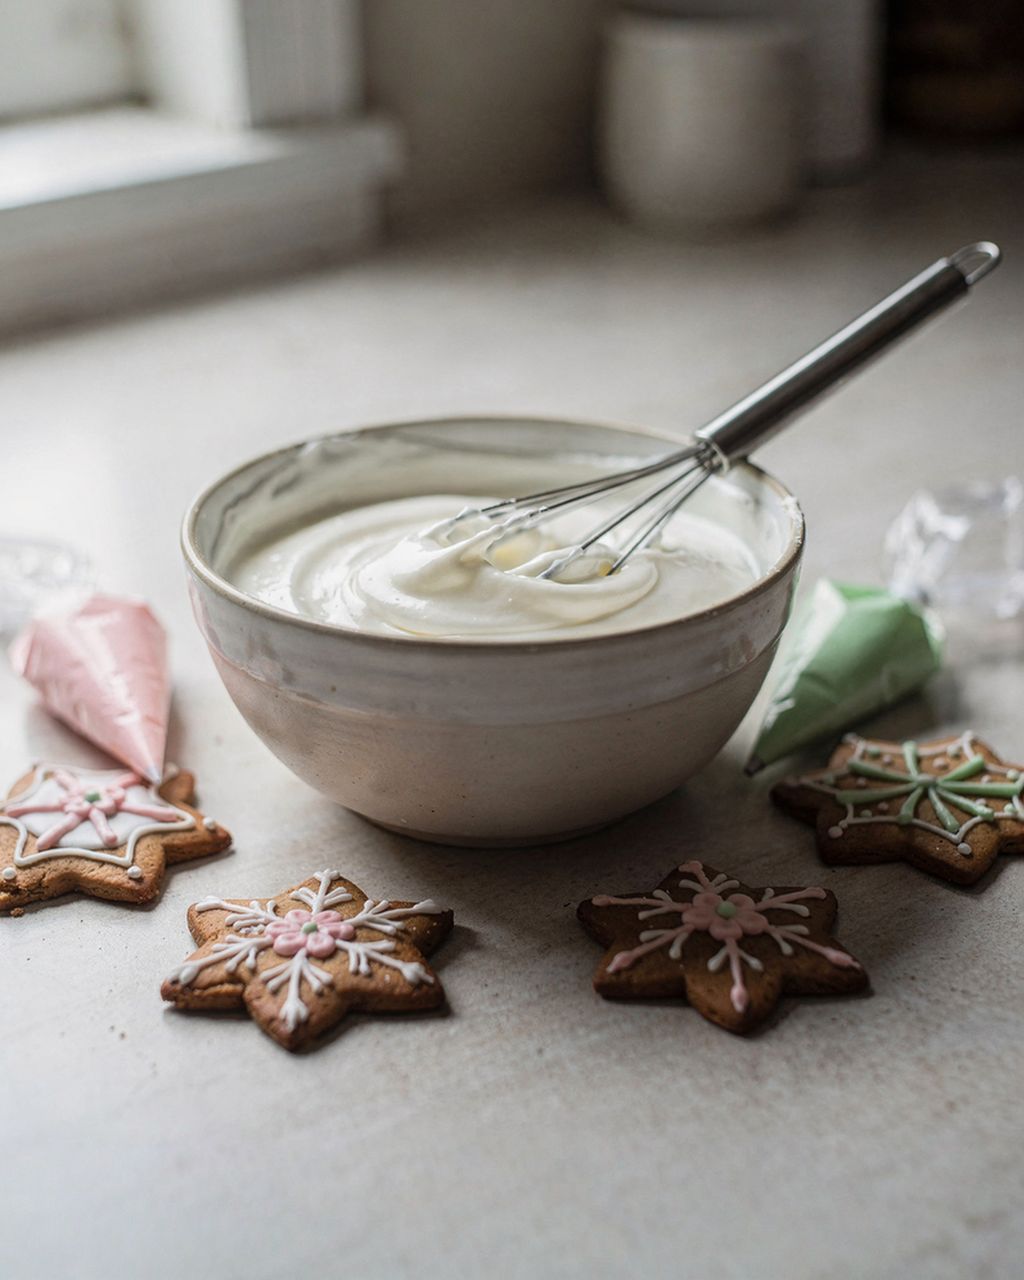
Royal icing – made from egg white and powdered sugar following the royal icing recipe, or from a ready-made mix. Ratios and consistency are covered in Royal Icing: Ratios, Consistency, Coloring and Drying. For decorations, use pasteurized egg white, especially if you're making them to keep in stock (more in the box below).
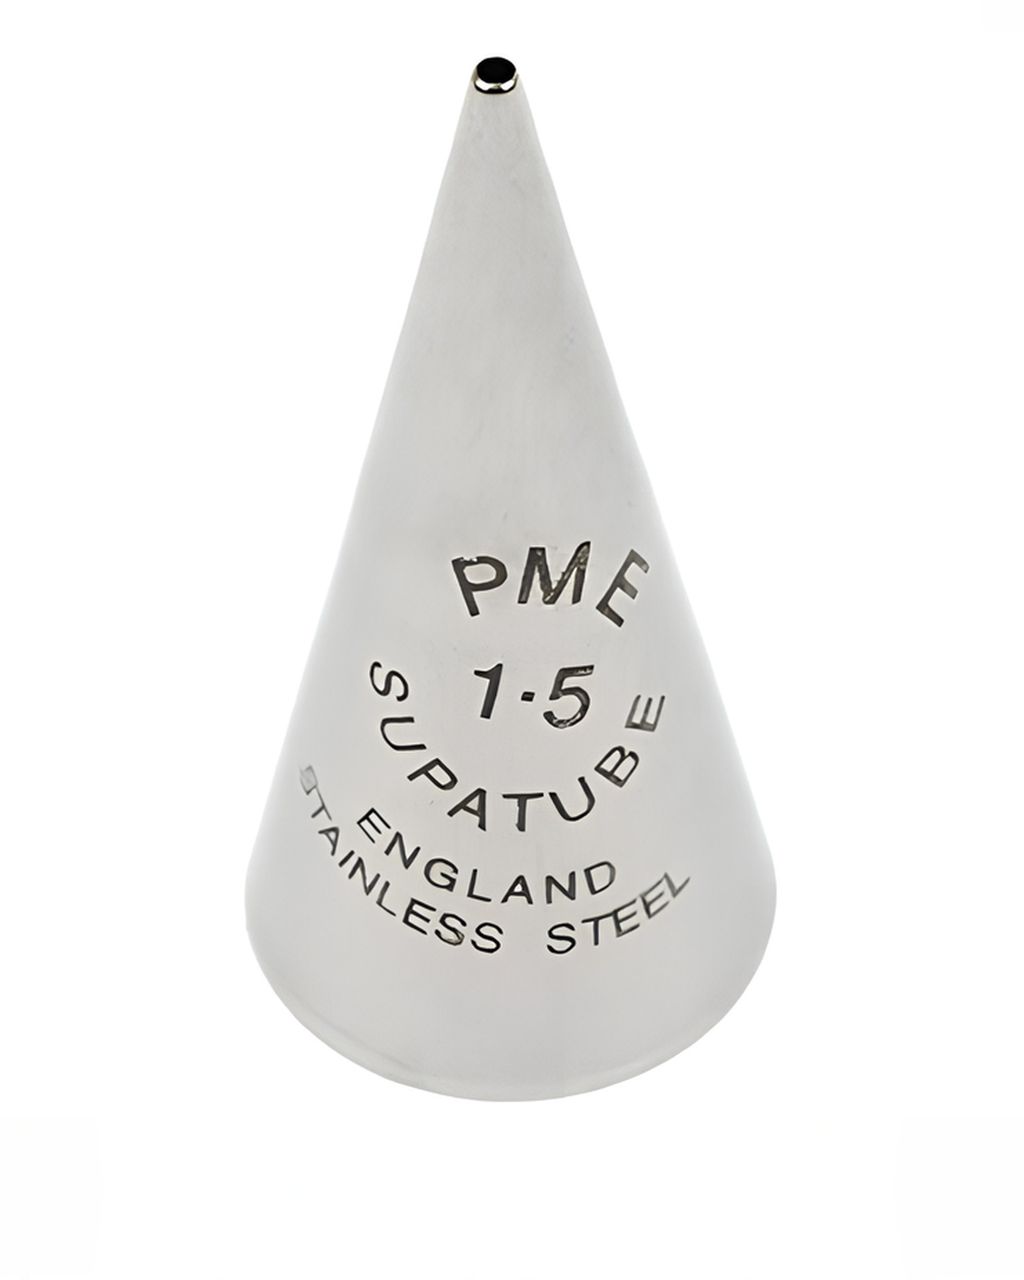
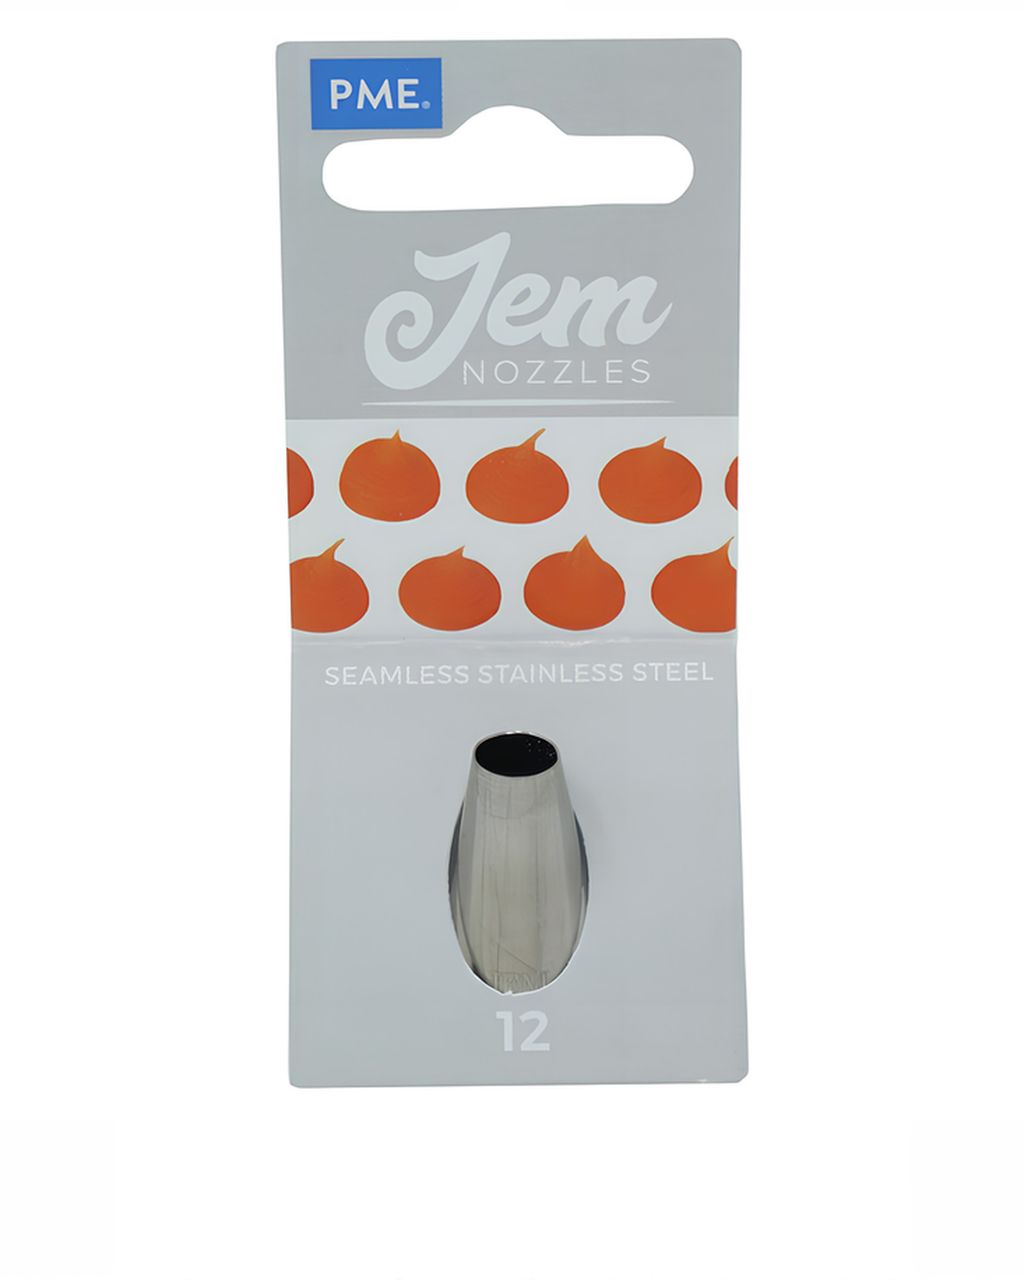
Bag and tip – disposable piping bags and, for snowflake lines, a thin round tip such as the PME Supatube Writing Tip No. 1.5. For dots and pearls, a wider JEM #12 round tip works well.
Template – printed or hand-drawn snowflakes and stars 3–6 cm across.
Surface – parchment paper, or smooth acetate sheet, from which dry decorations come off most easily. For small decorations, strips of masking tape for baking are enough.
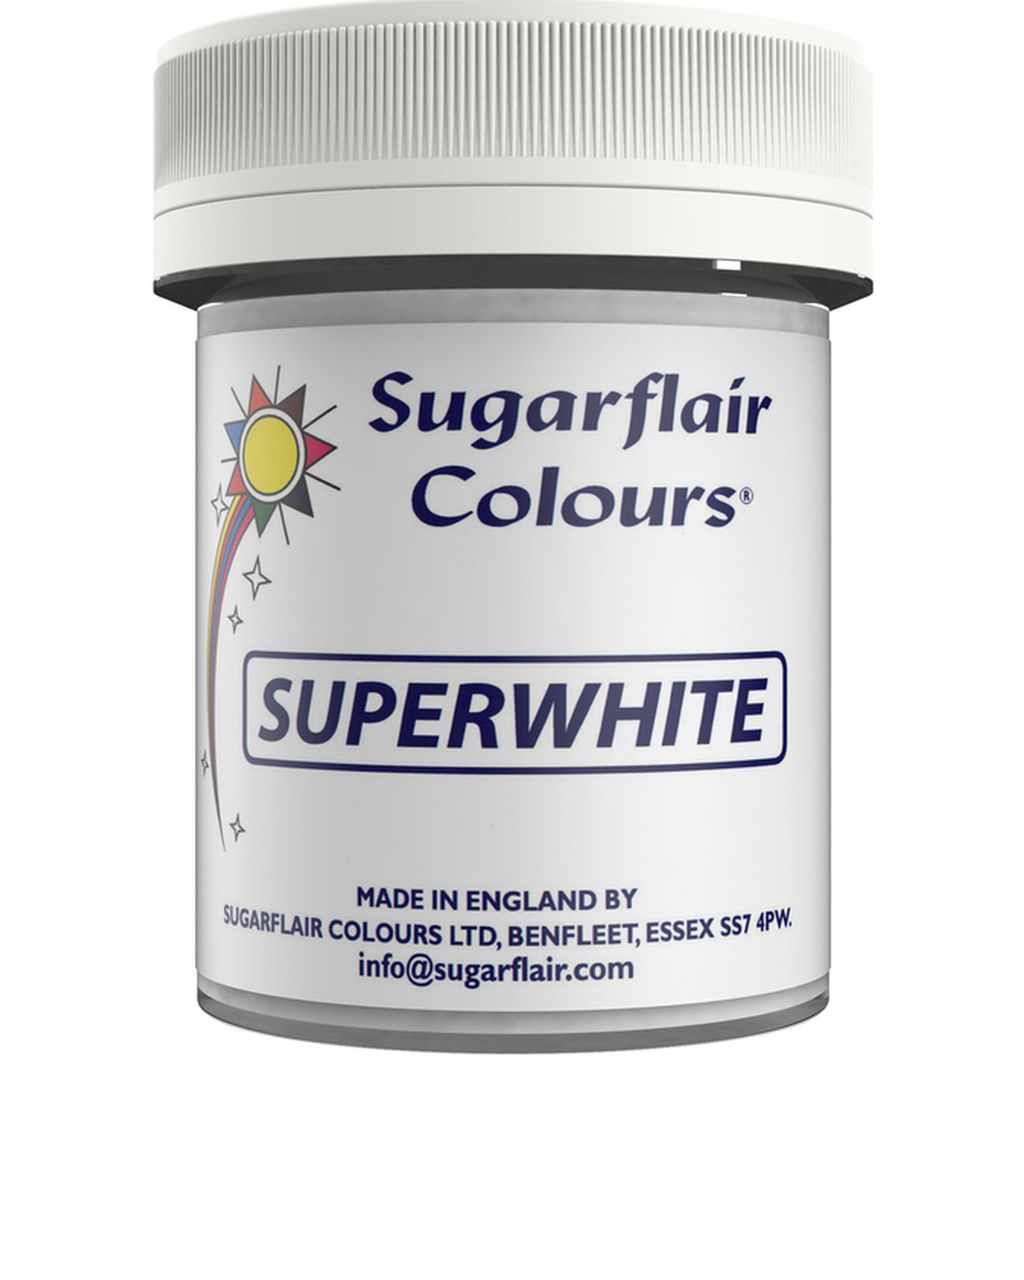
Whitening powder – a few pinches of Sugarflair Super White food color for icings (calcium carbonate, E170) keep snowflakes snow-white.
If you're still choosing a tip, you'll find a comparison in Cake Piping Tips: Which One for What and the whole selection in the piping tips category.
Seasonal baking plans, tested recipes and kitchen tricks that save you time. Unsubscribe in one click.
For decorations you need stiff royal icing, where a trail disappears in 20–25 seconds, and for solid stars you also need a thinner flooding icing, at 10–15 seconds. Stiff icing holds the shape of the line, so the snowflake doesn't slump flat as it dries and the arms don't snap.
Lines, snowflakes, lettering and outlines: stiff, 20–25 seconds.
Flooding the surface of a star or heart: thinner, 10–15 seconds, always inside a finished outline.
Add gel coloring drop by drop. Every drop softens the icing a little and lengthens the drying time; test the consistency again after coloring.
If your icing runs, or on the other hand keeps breaking, read Royal Icing Too Runny or Too Stiff.
Pipe a royal icing snowflake over a template with three lines crossing at the center, a "V" at the end of each arm and a dot at the tips – above all, make sure all the lines connect, because any loose line will snap off once dry.
Prepare your surface. Lay the template on a baking sheet or board, cover it with parchment paper or acetate, and tape down the corners so it doesn't shift.
Pipe three lines across the center to form a six-pointed star. Hold the tip about 1 cm above the surface and lay the line down rather than dragging it along the paper.
Add a "V" to each arm about two-thirds of the way along, opening outward.
Add dots at the ends of the arms. A dot thickens and rounds off the line, so the tip won't snap off.
Don't make the lines too thin. For a decoration you'll be lifting and moving, a width of around 1.5 mm is right; hairline lines hold only where they rest on the surface, and a freestanding snowflake made of them will fall apart.
Make a quarter more pieces than you need. A few will always crack when you lift them off.
Right after piping, sprinkle the snowflakes with coarse sugar if you want a sparkly surface – it sticks to wet icing, but not to dry.
For solid stars, hearts or name tags, outline the shape with stiff icing, let the outline set for a few minutes, and flood the inside with thinner icing. Use a toothpick to spread it into the corners and pop any bubbles right away.
Let the outline set for 2–3 minutes before you start flooding; a fresh outline will give way under the flooding icing.
Keep the layer on the thicker side, around 3–4 mm. A thin flooded star is fragile and breaks easily.
Add details only to a dry surface, after 1–2 hours at the earliest; raised lines and lettering are better left until the next day.
A gold edge comes from a dry brush with edible glitter dust on the dried edge. The package states a maximum dose of 2 g per kilogram, so highlight only the edges, not whole surfaces. It contains E102 (tartrazine): may have an adverse effect on activity and attention in children.
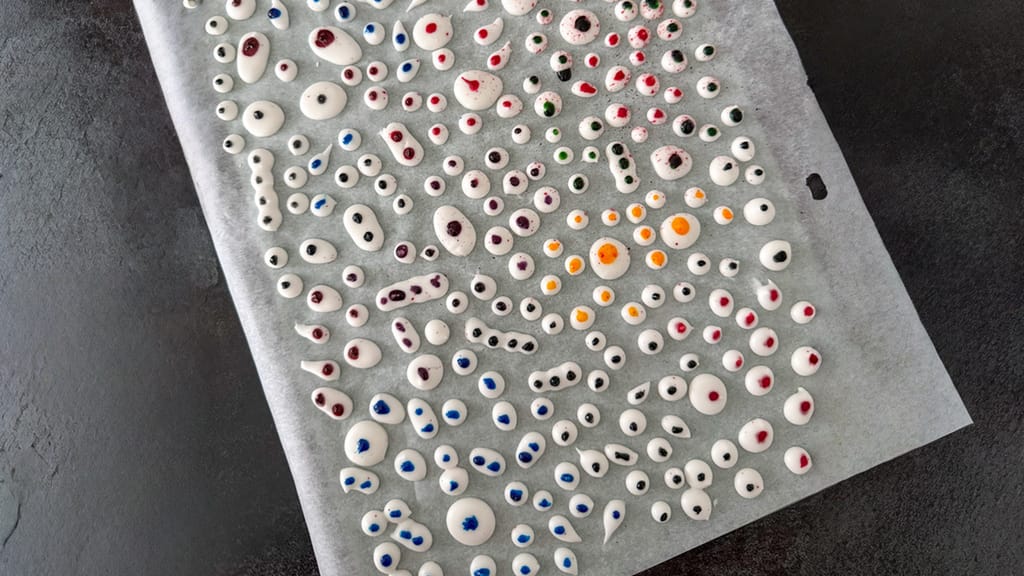
In a similar way, you can make tiny sugar eyes for decorating desserts ahead of time:
Homemade sugar eyes for decorating desserts
Homemade sugar eyes for decorating desserts, which you can make ahead just like icing decorations
Let thin royal icing snowflakes dry for at least 24 hours, and flooded stars and thicker decorations for 24–48 hours, always at room temperature in a dry room. They're done when they're hard on the underside too and don't give when you gently flex the surface.
What slows drying down:
Humidity – cooking, drying laundry or rainy days. Dry the decorations away from the kitchen where you cook.
The fridge – cold slows drying, and moisture condenses on the decorations when you take them out.
A thick layer and deep color – more water, longer drying.
A fan on its lowest setting, aimed around the decorations, speeds up drying. Don't use the oven or a radiator; fast drying tends to cause cracks and spots. Drying is covered in detail in Royal Icing: Ratios, Consistency, Coloring and Drying.
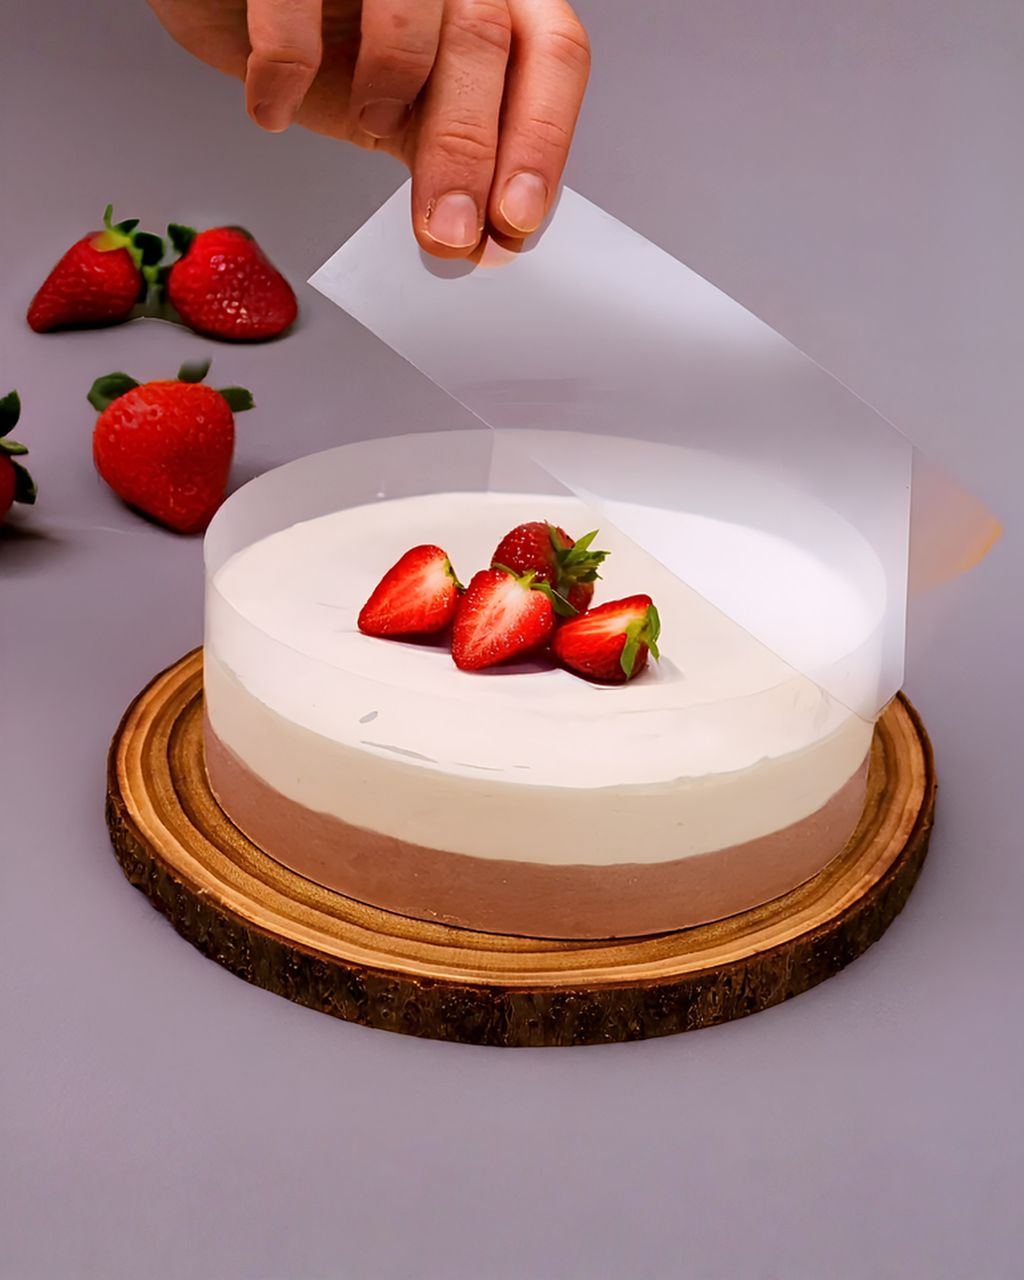
Don't lift the royal icing decoration off the paper; instead, peel the paper away from the decoration: draw it over the edge of a table and slowly pull it downward, so the decoration releases by itself and stays lying on top. With acetate, it's enough to flex the sheet gently.
Start at the sturdiest spot – the center of a snowflake, or the widest point of a star.
Only finished decorations. If the icing is still sticky underneath, let it dry longer.
For a stuck piece, use a thin spatula or knife, slide it flat under the decoration, and don't pry.
Put royal icing decorations on a cake or cupcake only just before serving, because frosting is moist and will soften them within a few hours. They last longest on fondant, ganache and buttercream and soften fastest on whipped cream and mascarpone cream.
On fondant, glue the decoration on with a drop of stiff icing. Fondant is dry, so the decoration lasts longest on it.
On frosting, lay it flat, or stand it upright and support it from behind with a dollop of frosting.
On cupcakes, smaller snowflakes 3–4 cm across work well, stuck into the peak of the frosting. You'll find a frosting that holds its shape in Cupcake Frosting That Holds Its Shape.
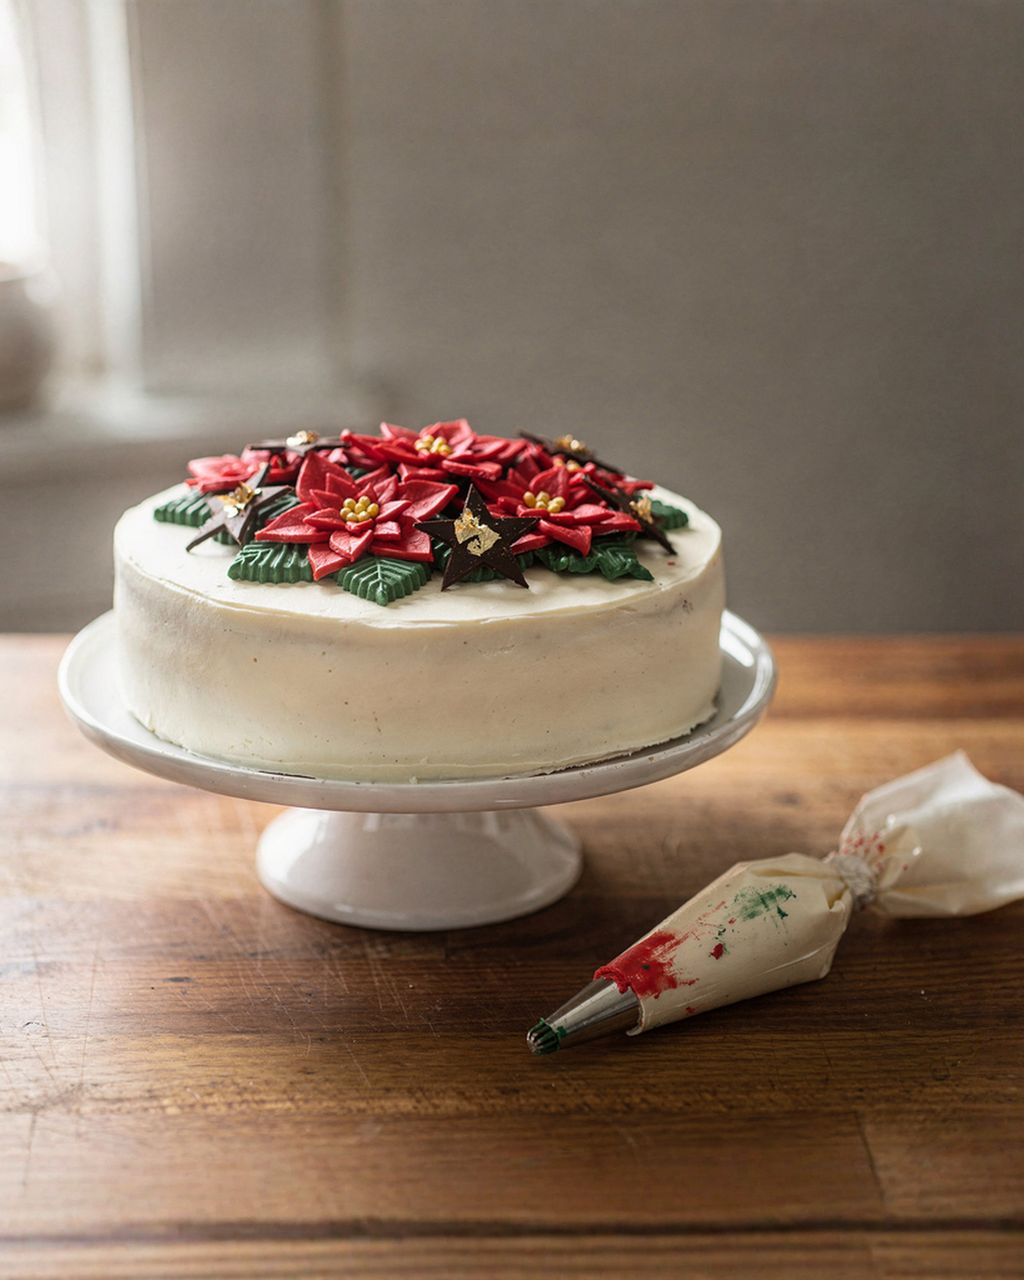
On a Christmas cake, combine icing snowflakes with piped frosting stars and leaves; you'll find the method in How to Decorate a Christmas Cake.
Ideas for what to put the decorations on:

Chocolate cupcakes with salted caramel cream
Chocolate cupcakes that go well with royal icing snowflakes
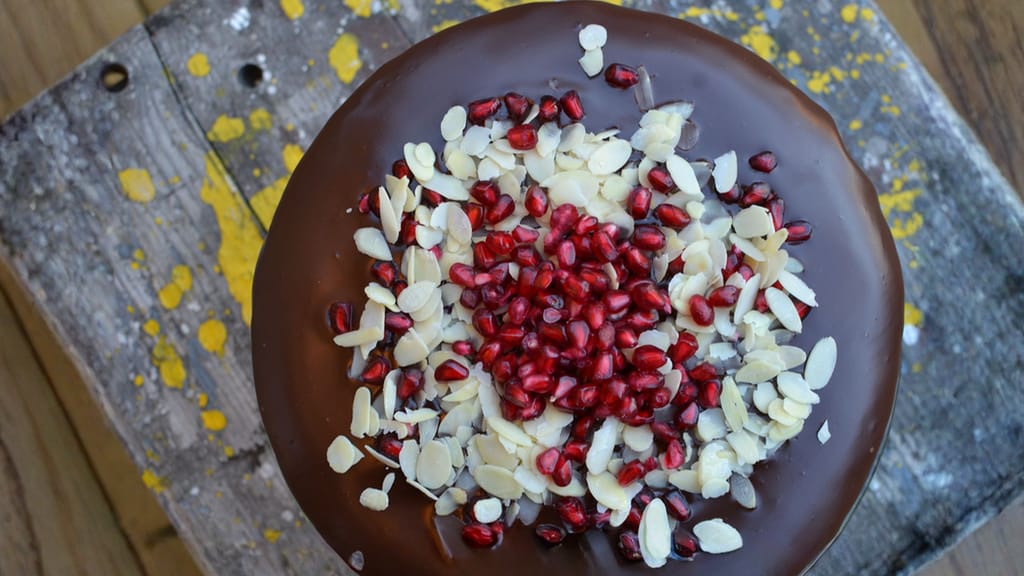
The ultimate chocolate cake with pomegranate
The ultimate chocolate pomegranate cake as the base for a Christmas cake with icing snowflakes
You can make royal icing decorations 2–3 weeks ahead and store them in a sealed box at room temperature, with layers separated by parchment paper. Completely dry icing is a firm sugar crust, so what harms it is mainly humidity and steam, not time.
Keep the box away from the kitchen where you cook, and away from heat sources.
Not in the fridge or freezer. When you take them out, water condenses on the decorations, the colors bleed and the icing turns damp.
Protect colored decorations from light; deeply colored icing fades in the sun.
How to store leftover icing itself is covered in Royal Icing: How to Store It and How Long It Lasts, and you'll find more ideas for leftovers in What to Do with Leftover Royal Icing.
Royal icing decorations most often break because the lines are too thin or don't connect, because they aren't completely dry, or because they're pried off instead of having the paper peeled away. Pipe lines about 1.5 mm thick, join all the lines in the center, let the decorations dry for at least 24 hours, and peel the paper away over the edge of a table.
Yes, you can pipe royal icing decorations without a tip, using a piping bag with the end snipped to a 1–1.5 mm opening. Cut off a little at first and try a few lines on paper; the line will be less even than with a tip, but it's good enough for snowflakes.
On a whipped cream cake, royal icing decorations last only a short time, because the moist cream softens them quickly. Add them to the cake just before serving; if you need to decorate the cake ahead of time, set the decorations on fondant or ganache instead.
Yes, you can make royal icing decorations from a ready-made mix, simply stirred with water to a stiff consistency according to the package directions. Ready-made mixes are usually made with dried egg white; if the package says it's pasteurized, you avoid raw egg. Even so, they contain egg, which is an allergen.
Yes, you can color royal icing decorations with gel food coloring added drop by drop to the finished icing. Liquid coloring would thin the icing and the decorations would spread; after coloring, always test the consistency again and allow for slightly longer drying.
One recipe worth heating the oven for, one tip, and one deal from the shop. Nothing else.