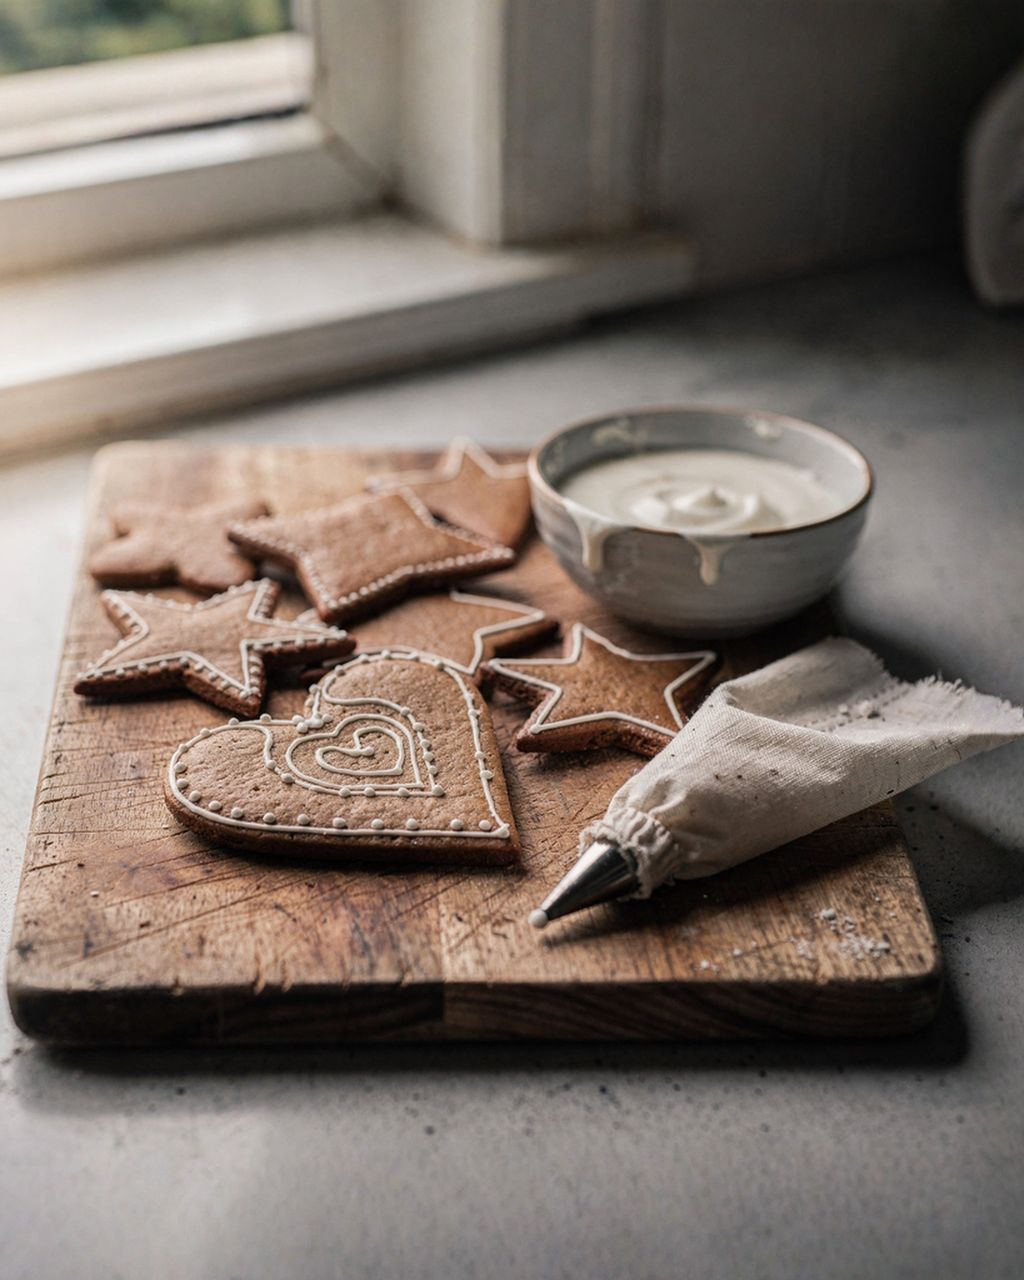
The best honey gingerbread cookies
Gingerbread House Dough and Step-by-Step Build: Template, Assembly and Decorating
Updated Nov 2, 2026
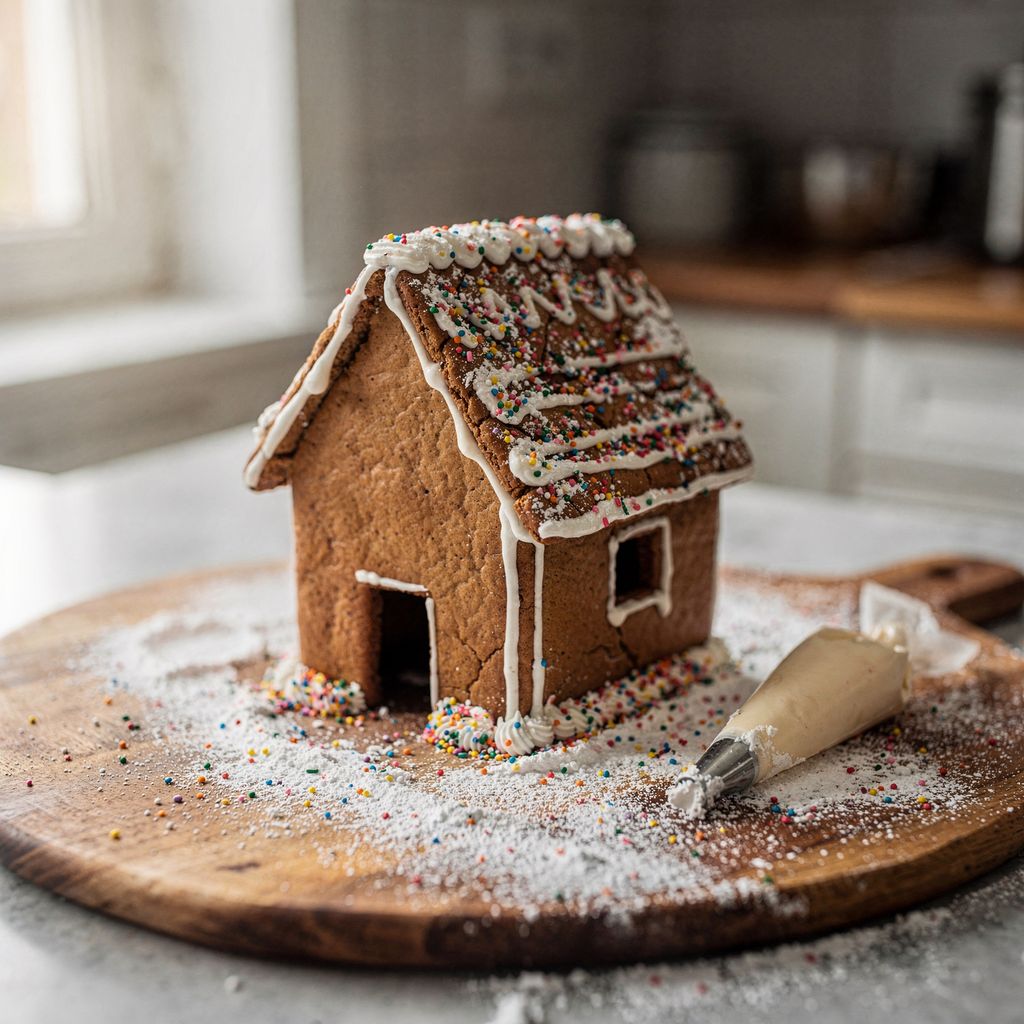
Gingerbread house dough is a firm honey dough made with half the usual baking soda and rolled out to 1/4 inch (5–6 mm). It's thicker and drier than cookie dough, so the walls don't give way under the roof. A small house (about 6 × 5 inches / 15 × 13 cm) takes 800 g–1 kg (1¾–2¼ lb) of dough. The build has six steps: cut out a template, make the dough, bake the pieces, glue the walls together with thick royal icing, set on the roof, and decorate only once the structure has dried. Plan on two days. It's not that much work, but both the icing and the gingerbread need time, and rushing is the most common reason a roof slides off.
A gingerbread house comes together in six steps, spread over two days:
Template. Draw and cut out the pieces from cardboard or heavy paper.
Dough. Roll firm honey gingerbread dough to 1/4 inch (5–6 mm).
Baking. Bake at 160–170 °C (320–340 °F, conventional top/bottom heat). As soon as the pieces come out, trim them against the template and leave them to dry overnight.
Gluing the walls. Join the walls with thick royal icing, prop them up and leave them to set for 1–2 hours.
Roof. Put on the roof and let the whole structure dry for at least 4–6 hours, ideally overnight.
Decorating. Only now come the icing, sprinkles and snow.
Day 1: template, dough, baking, drying the pieces. Day 2: assembly and decorating.
Seasonal baking plans, tested recipes and kitchen tricks that save you time. Unsubscribe in one click.
For a smaller house (about 6 × 5 inches / 15 × 13 cm) you need six pieces. These dimensions fit together when the dough is 1/4 inch (5–6 mm) thick:
Front and back gables (2×): a 15 × 10 cm (6 × 4 in) rectangle with a peaked top, 15 cm (6 in) tall at the peak
Side walls (2×): 12 × 10 cm (4¾ × 4 in)
Roof (2×): 15 × 11 cm (6 × 4⅓ in), including an overhang of about 1 cm (⅜ in) on each side
Optional: chimney, door, shutters from the scraps
The gables stand on the outside and the side walls fit in between them. That's why the side walls are shorter than the gables and the roof is longer than a side wall.
Cut the template from heavy paper or a cereal-box cardboard. Baking parchment curls and your knife won't follow it. Before you start baking, tape the paper pieces together into a model. You'll see right away whether the roof fits, and fixing it doesn't cost you a tray of gingerbread.
These dimensions use roughly 800 g–1 kg (1¾–2¼ lb) of dough, including a reserve for the chimney and decorations.
Gingerbread house dough is a firm, rolled honey dough with half the usual baking soda, rolled to 1/4 inch (5–6 mm). It's the same base as for cut-out gingerbread cookies, only thicker and drier, because you're building walls, not making biscuits. Thin pieces (3 mm, as cookies usually are) bow or crack under the weight of the roof.
Feel free to start from our best honey gingerbread cookie recipe and mix your spices following the homemade gingerbread spice recipe. For building, adjust it in the four ways below.
How house dough differs from cookie dough:
Less leavening. Baking soda makes gingerbread soft and puffy, but for building you want a piece that doesn't puff up or round off its edges. Use about half of what the cookie recipe calls for (roughly 1/2 teaspoon per 500 g / 4 cups flour), or leave it out entirely. We explain why gingerbread uses baking soda in the article Baking soda in gingerbread: why not baking powder.
A thicker sheet. 5–6 mm instead of 3–4 mm. A thicker piece bakes a few minutes longer, but it carries the roof and keeps straight edges.
Drier, not soft. Cookie recipes meant to stay soft (with a lot of honey or invert sugar) are great to eat, but a wall made from them absorbs moisture over time and bends. For a house you want a firmer gingerbread. Why gingerbread softens and what controls it is explained in why gingerbread cookies go hard and how to keep them soft. For a house, apply its advice in reverse.
Resting. After a rest in the fridge (ideally overnight), honey dough rolls out more easily, sticks less and spreads less in the oven.
For a small house made from the template above (about 6 × 5 inches / 15 × 13 cm) you need 800 g–1 kg (1¾–2¼ lb) of dough. About two-thirds goes into the six structural pieces, and the rest is scraps for the chimney, door, shutters and decorations.
Small house (about 15 × 13 cm / 6 × 5 in): 800 g–1 kg of dough, which is a batch made with roughly 500 g (4 cups) of flour.
A house half again as big (about 22 × 20 cm / 8½ × 8 in): roughly double, 1.6–2 kg (3½–4½ lb) of dough. The surface area of the pieces grows faster than the dimensions, so a house that's 50% bigger needs twice as much dough.
Fence, little trees and figures: allow another 200–300 g (7–10 oz).
It's better to make extra dough. If a piece cracks or warps in the oven, you can roll out another from the leftovers right away without mixing a new batch.
Sticky dough is almost always warm, and crumbly dough is usually too cold. Honey dough firms up in the fridge so much that it breaks when you roll it, and when it's warm it sticks to everything.
Sticky: chill it for 30 minutes and roll it out between two sheets of baking parchment. Add flour only at the end, a tablespoon at a time at most, because every extra spoonful makes the pieces more brittle.
Crumbly and cracking at the edges: let it soften at room temperature for 20–30 minutes and knead it briefly in your hands before rolling. The honey softens in the warmth and the dough comes together again.
Puffs up while baking: there was too much baking soda. Prick large pieces with a fork before baking and use less soda in the next batch.
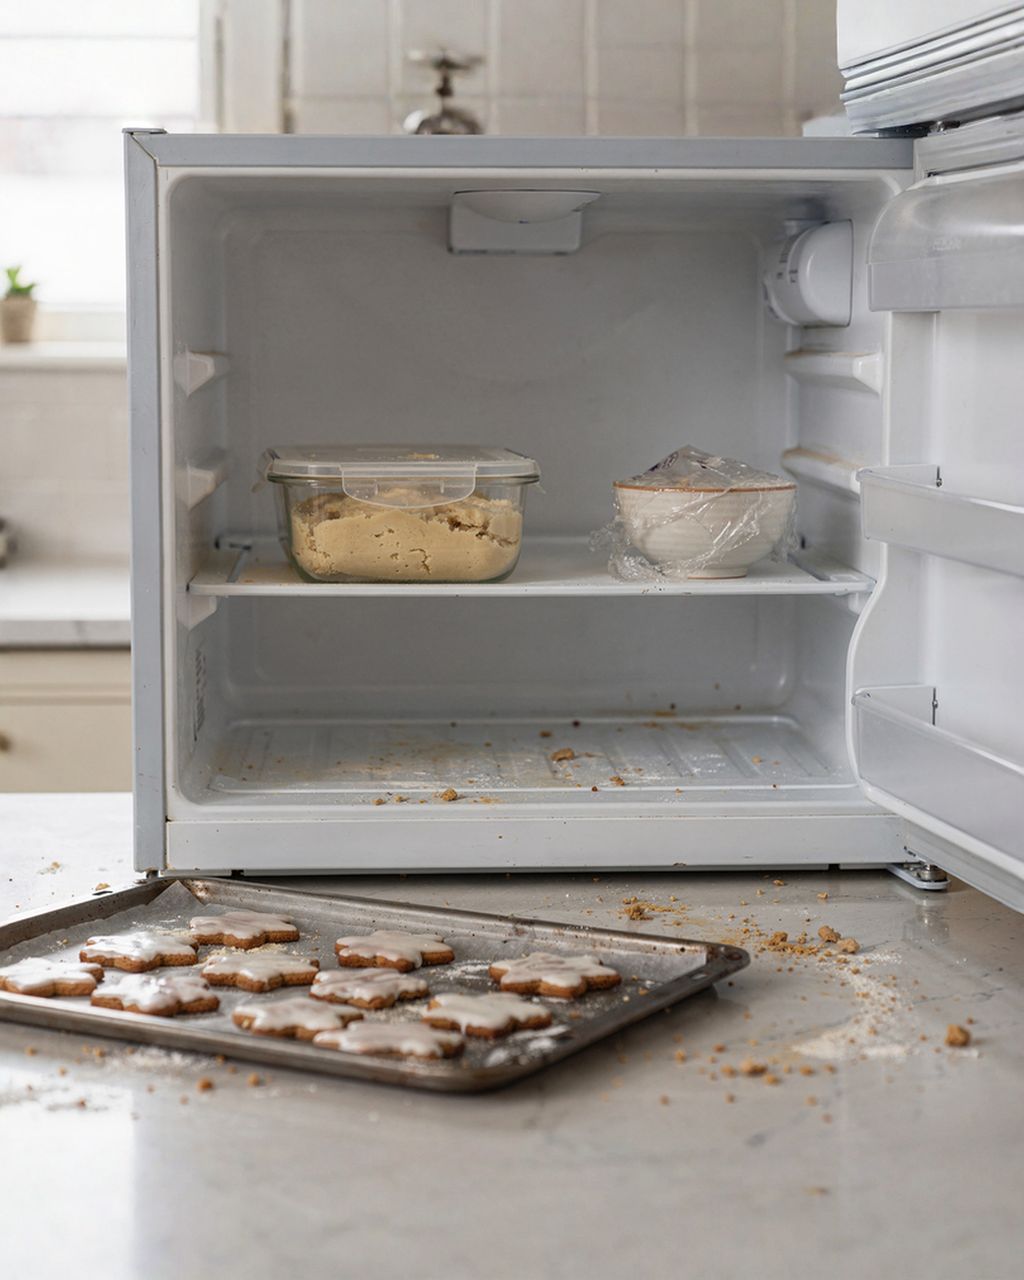
You can make the dough several days ahead. Wrapped in plastic, it keeps in the fridge for a few days, and the rest does it good. In the freezer it keeps up to 3 months; thaw it overnight in the fridge. Baked pieces then keep in a dry box for about a week, so you can spread the baking and assembly over whatever days suit you.
The best honey gingerbread cookies
Best Honey Gingerbread Cookies: A Base Dough for Your Gingerbread House
Homemade gingerbread spice mix
Homemade Gingerbread Spice for Your Gingerbread House Dough
Gingerbread house pieces hold their shape when you roll the dough straight onto baking parchment, chill it before baking and trim the pieces against the template right after they come out of the oven. Gingerbread always spreads a little in the oven. While hot, it cuts like butter; once cool, it snaps.
Roll the dough out on baking parchment to 1/4 inch (5–6 mm). You can lay two strips of the same thickness along the edges so the thickness is even all over.
Lay the template on top and cut out the pieces with a sharp knife. Peel away the scraps and leave the pieces where they are.
Put the tray in the fridge for 15 minutes. Cold dough spreads less.
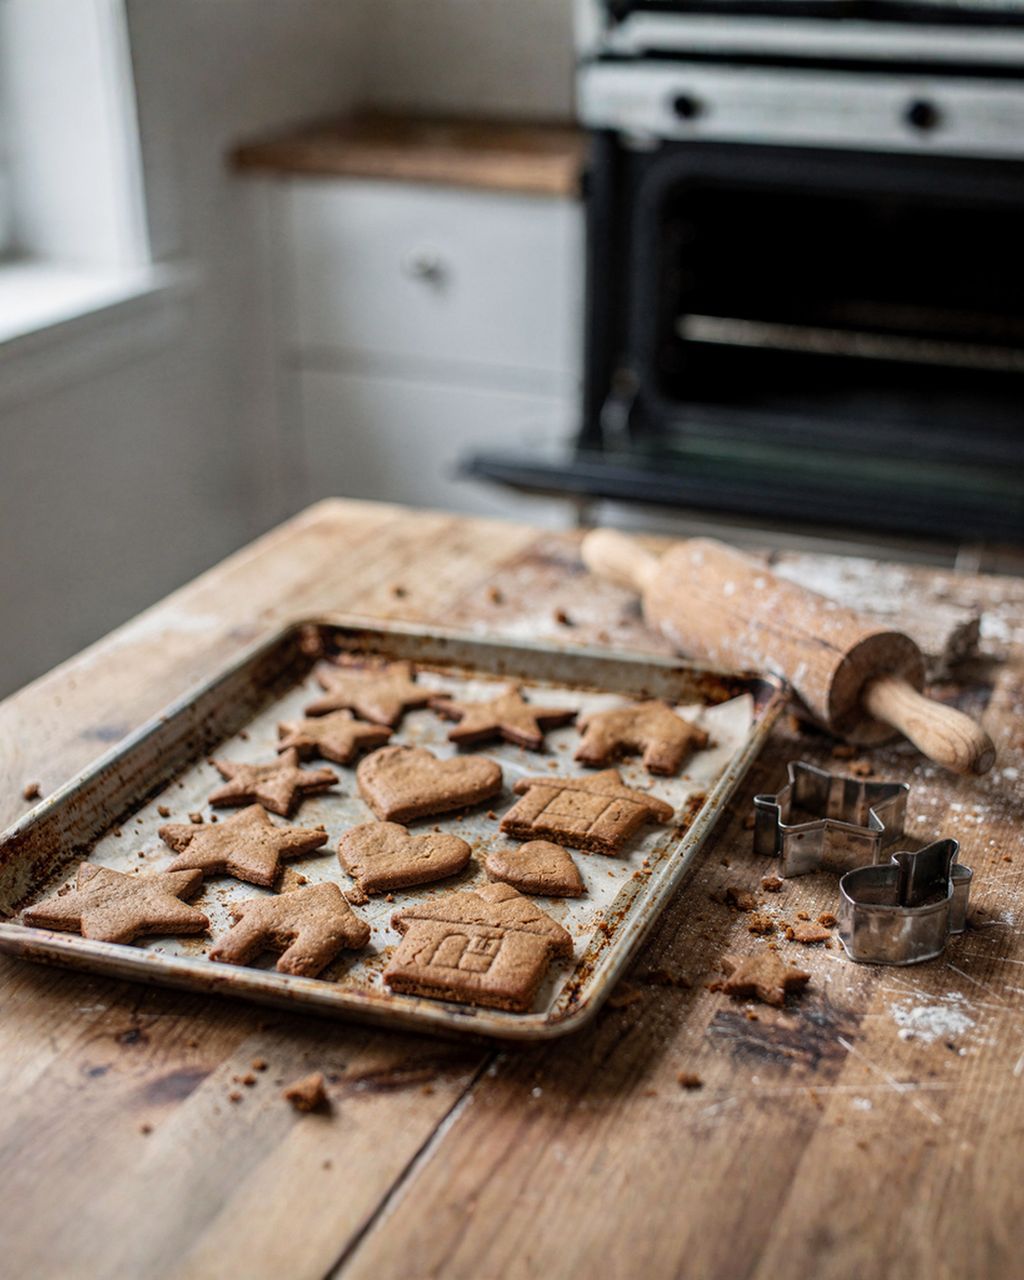
Bake at 160–170 °C (320–340 °F) conventional top/bottom heat (150–160 °C / 300–320 °F fan) for about 12–18 minutes, depending on thickness. A finished piece has firm, slightly darker edges and doesn't spring back in the middle.
Right after taking it out, lay the template on again and trim off whatever spread.
Let the pieces cool on the tray, then leave them out in the open air overnight to dry. Damp gingerbread won't hold icing.
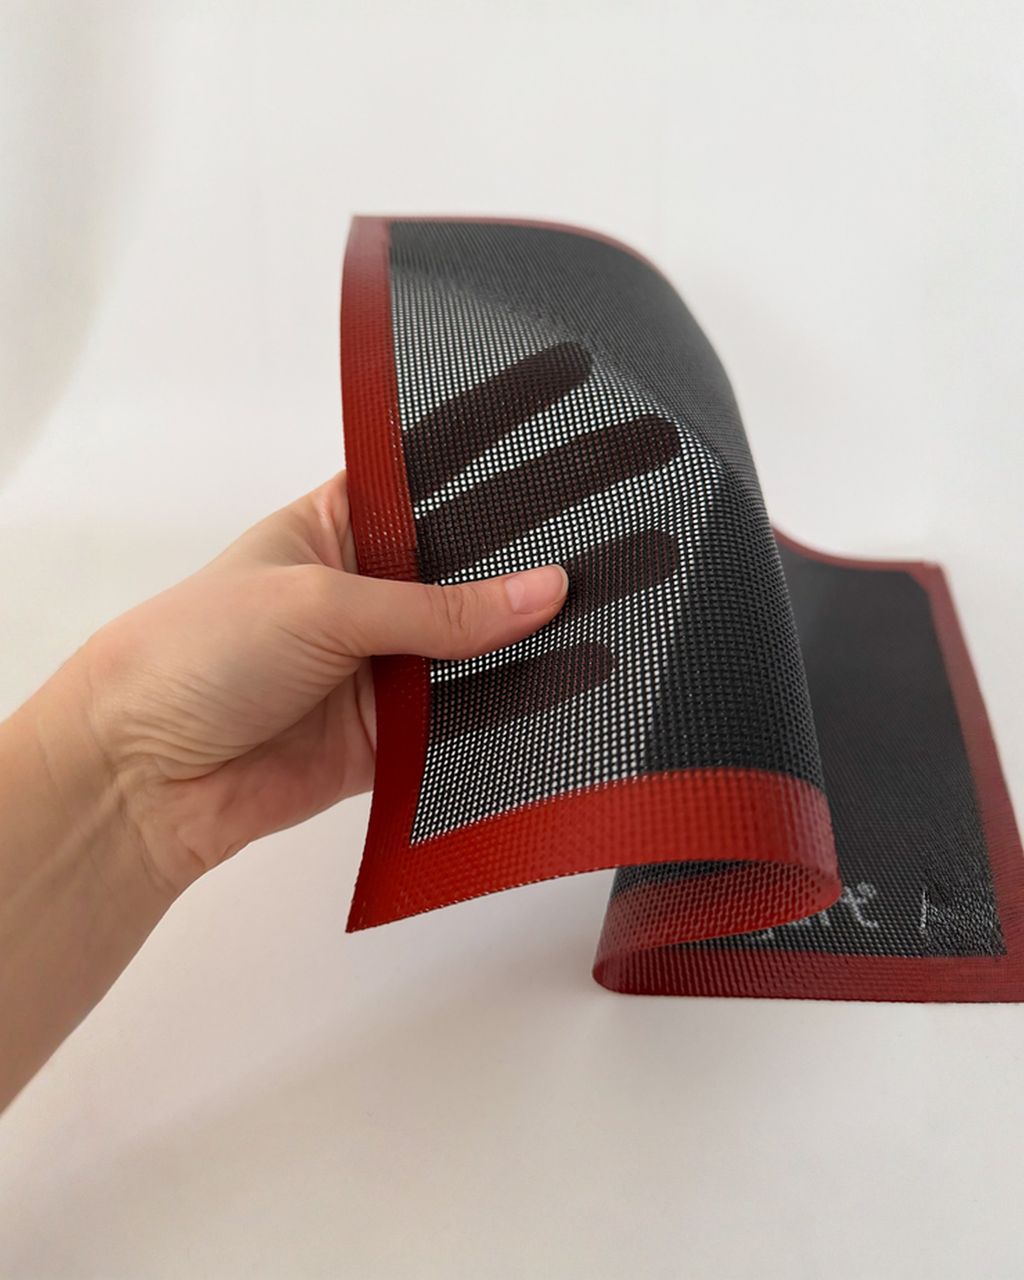
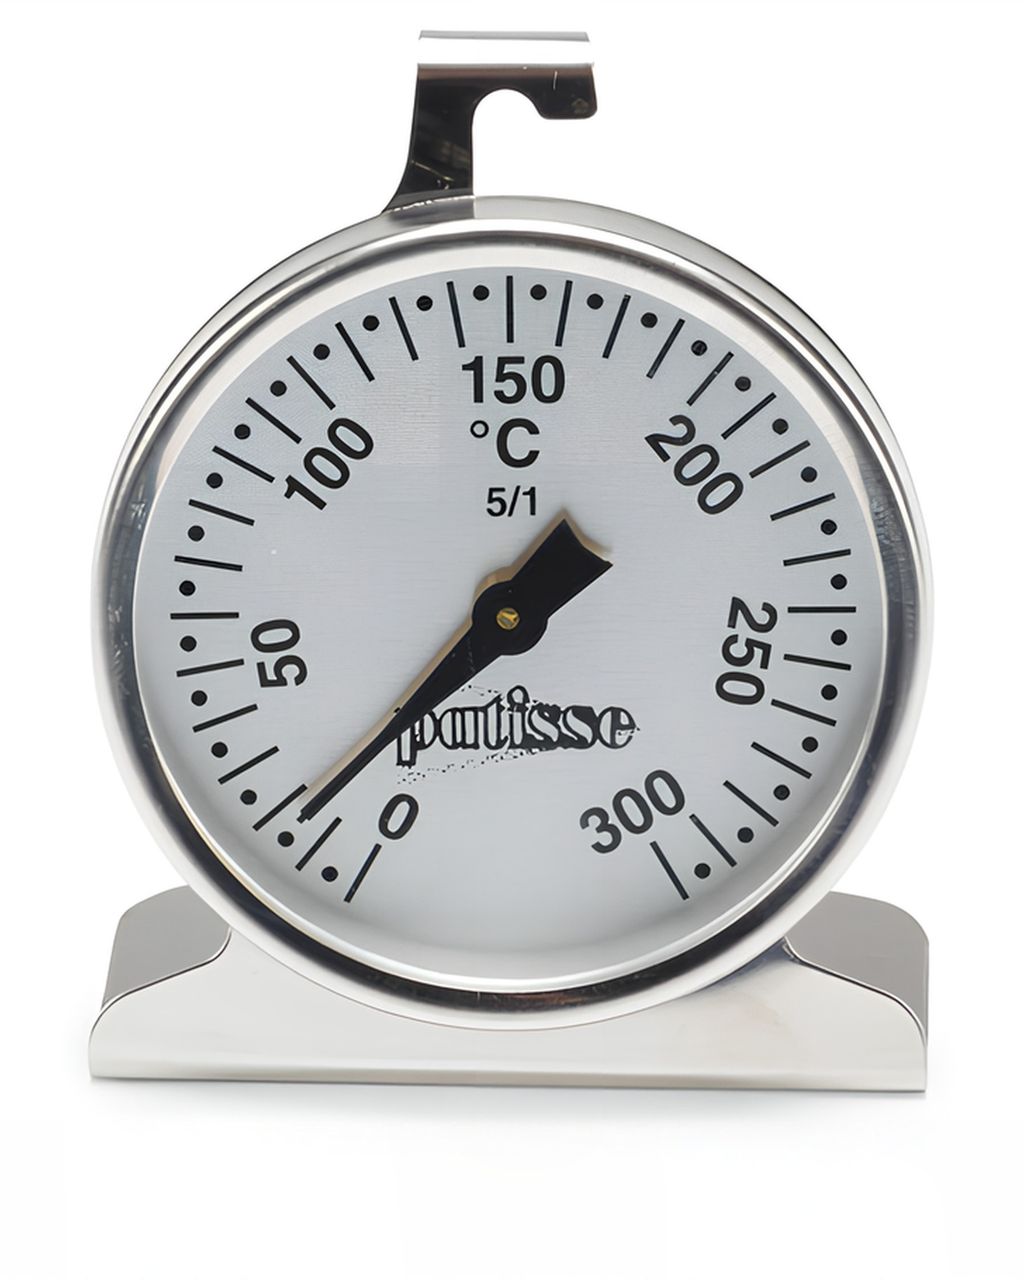
Your oven and tray decide whether a piece stays flat. Many ovens run differently than the dial says, and one that's 10–20 °C (20–35 °F) hotter will burn the edges before the middle is baked through. An Patisse oven thermometer will show you the real temperature, and we write more about it in oven thermometer: why your oven doesn't show the real temperature. If you want to bake without parchment, a perforated silicone baking mat comes in handy: the holes help the undersides of the pieces bake more evenly. Don't cut on it with a knife. Cut the pieces out on paper and, once chilled (step 3), move them onto the mat with a spatula; cold pieces no longer warp. You'll find more pans and baking accessories in the bakeware and baking accessories category.
Tip for windows: cut out the openings, pre-bake the pieces, then bake for the last 5–8 minutes with crushed hard candies sprinkled into the openings. They melt into translucent "glass". Let them cool completely on the tray; while warm they're liquid and sticky.
The best way to glue a gingerbread house is with thick royal icing. It sets hard, holds for weeks and is white, so the joins look like snow right away. The other options have their uses and their pitfalls:
Homemade royal icing (1 egg white, about 30 g, to 200–250 g / 1¾–2 cups powdered sugar and a few drops of lemon juice). Cheap and it works. You have to fine-tune the thickness yourself. If the house will be eaten, use pasteurized egg white (see the note below). The ratios and consistency are covered in detail in Royal icing: ratios, consistency and coloring.
Ready-made royal icing mix. You just mix it with water, and it turns out the same every time. It costs more than sugar and egg white. It does contain dried egg white, though, so it isn't suitable for people with an egg allergy, and check the packaging to see whether the egg white in it is pasteurized.
Caramel from melted sugar. It sticks instantly and you don't need to prop anything up. But it's over 150 °C (300 °F), dangerous to fingers, out of the question with kids, and softens over time in a humid room.
Melted chocolate. It tastes best, but it gives way in a warm living room. Use it for small decorations, not for load-bearing joins.
Thickness test: icing for gluing should hold a sharp peak that doesn't droop, and a spoon should stand in it for a moment. If it runs, add sugar a spoonful at a time. For decorating, thin it afterward with drops of water. How to keep icing overnight and how long it lasts is covered in Royal icing: how to store it and how long it keeps.
A gingerbread house is glued from the walls up to the roof, and in between the icing has to set. The walls need at least 1–2 hours, and the whole structure at least 4–6 hours, ideally overnight.
Base. A sturdy board, tray or cake board. You won't be moving the house again, so build it right where it will stand.
Put the icing in a piping bag and cut an opening of about 5 mm (¼ in). Spreading icing on an edge with a knife is uneven and the join is weaker.
First corner. Pipe a line of icing along the bottom edge of a gable and along the side edge where a side wall will go. Stand the two walls at a right angle and hold them for a moment.
Prop them up. Place a can or mug against each wall, outside and inside. Without supports, the walls slide apart within minutes.
Add the remaining walls the same way. Run icing along each join on the inside as well; it's reinforcement nobody will see.
Leave to set for 1–2 hours, then carefully remove the supports.
Roof. Pipe a thick line of icing along the sloping edges of the gables and the top edges of the side walls, set on the first half of the roof, then the second, and join the ridge with icing. Hold the roof for 2–3 minutes, or prop it from underneath with a jar.
Leave the whole thing to dry for at least 4–6 hours, ideally overnight. Only then decorate. Sprinkles and decorations add weight and press on soft joins.
You decorate a gingerbread house in five steps: icing lines and outlines, icicles, sprinkles stuck into wet icing, colorful details and finally snow. Work on the dried structure and add one step at a time.
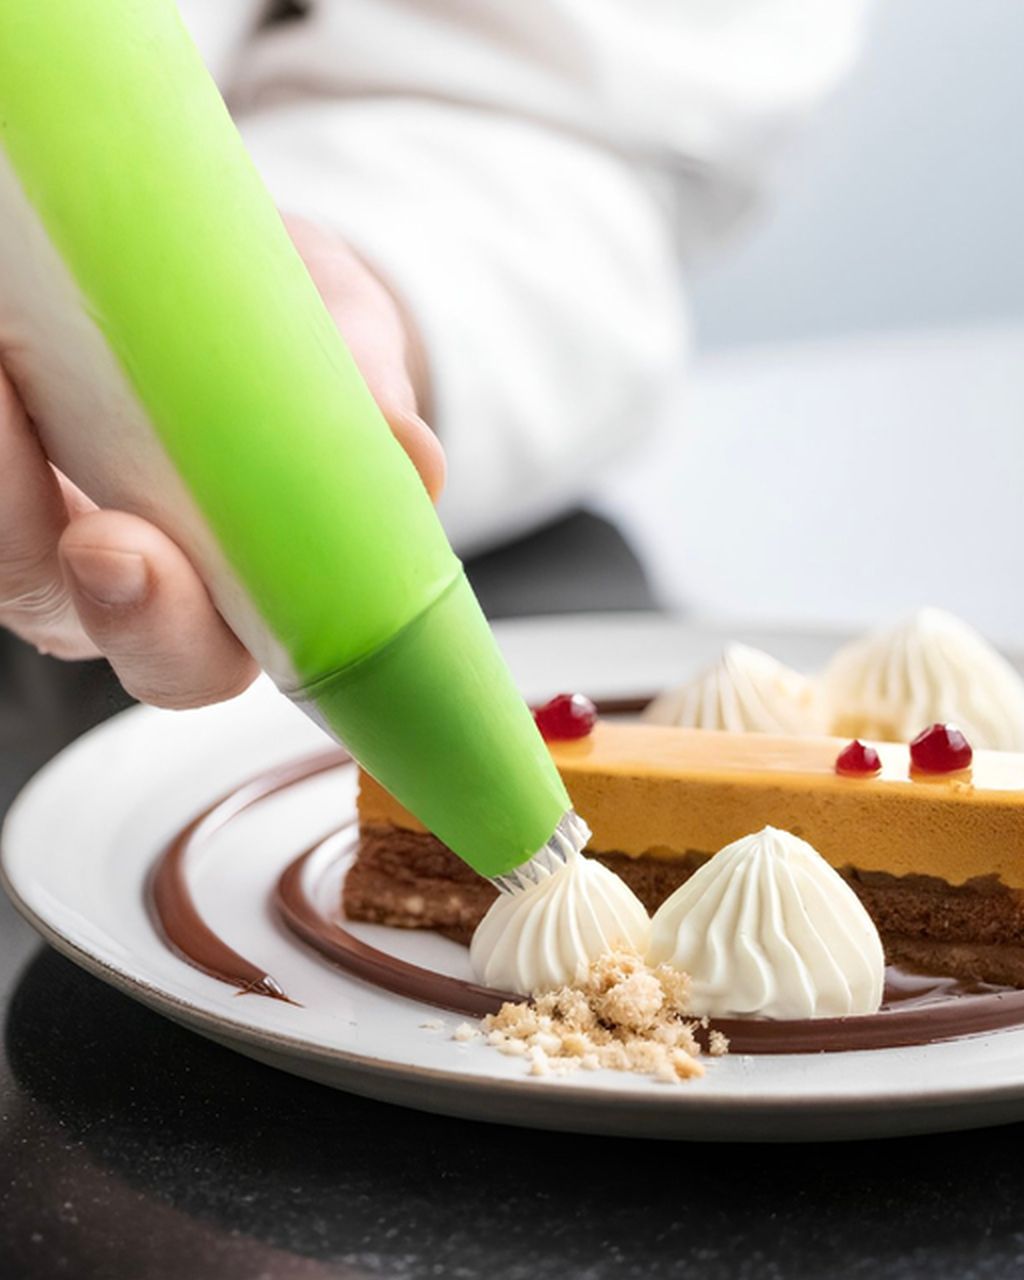
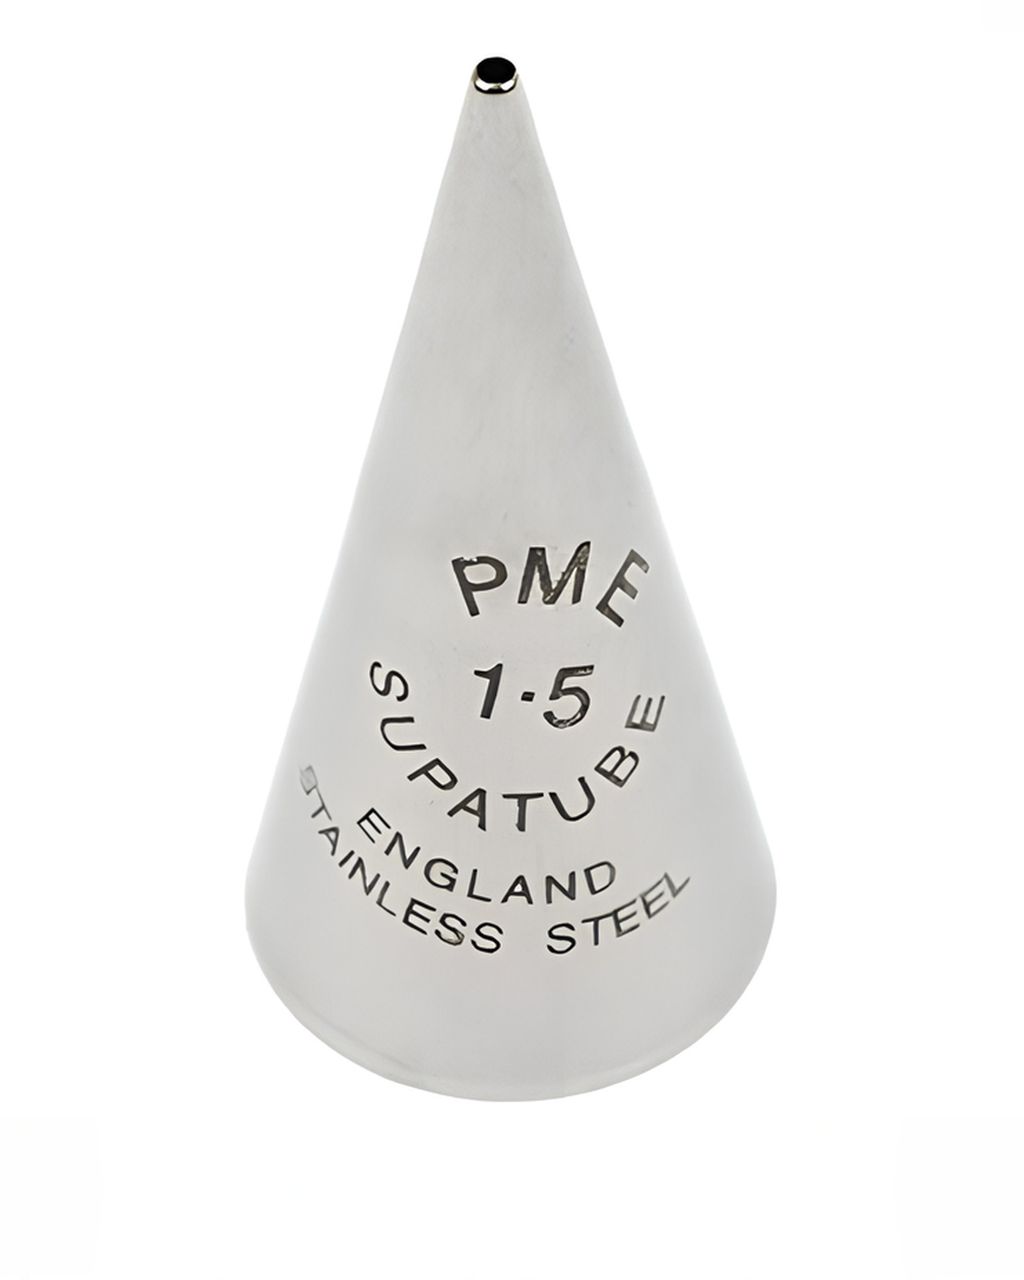
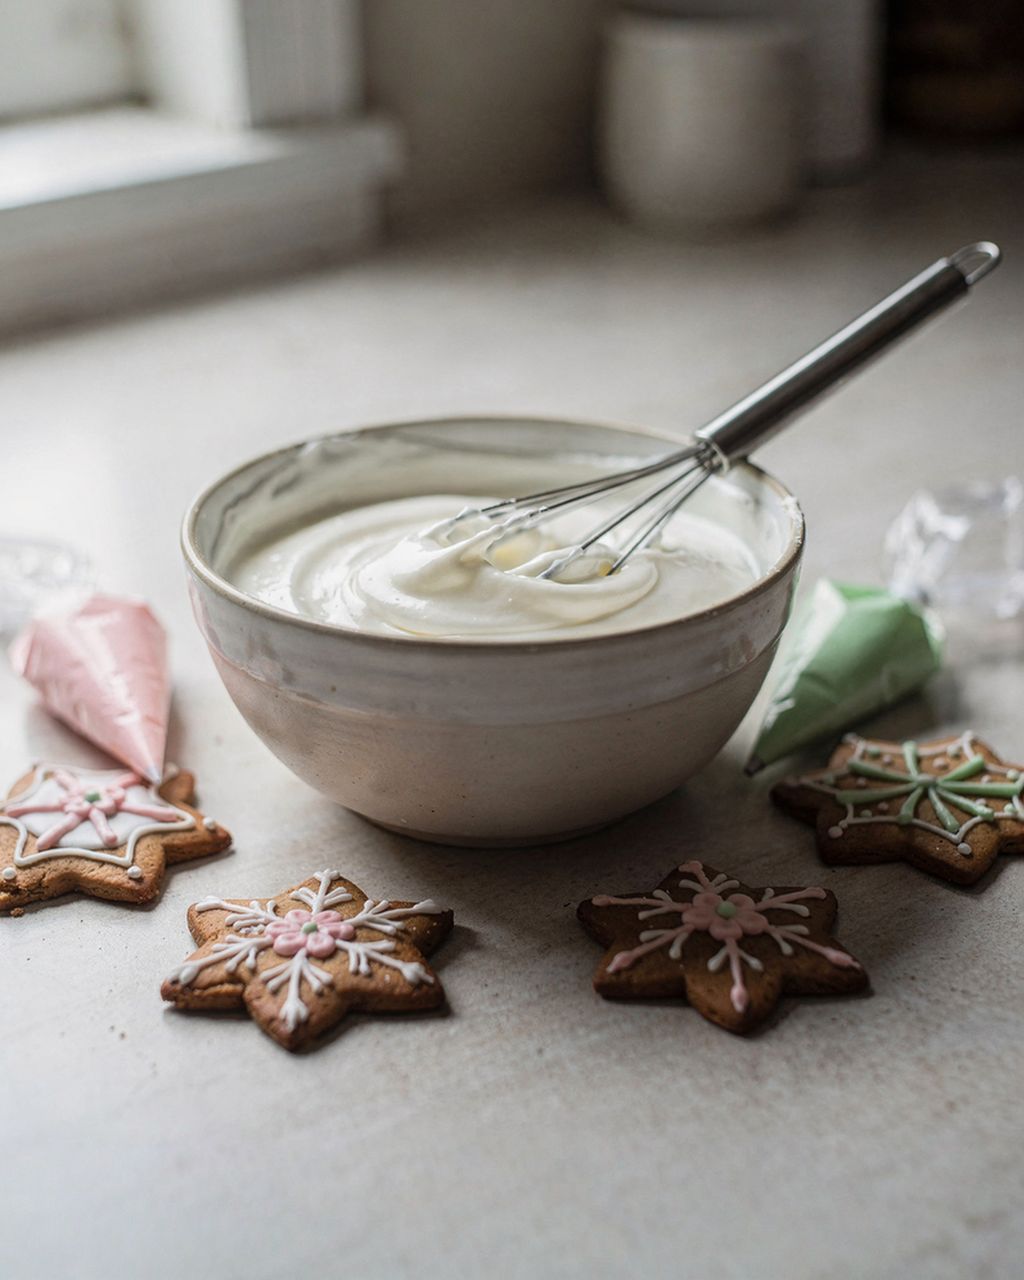
Lines and outlines. Thin the icing with a drop of water to the consistency of toothpaste and put it in a piping bag with a fine round tip (1.5–2 mm). It makes a straighter line than a snipped-off bag tip. Pipe along the roof edges, tiles, and the frames of windows and doors. A disposable bag is the most practical for icing, because icing dries in the bag and is hard to wash out of a cloth one. A cone rolled from baking parchment is also fine for a few lines, though it quickly goes soggy. You'll find more about bags, tips and patterns in Decorating gingerbread cookies step by step: icing, bags, colors and patterns.
Icicles. Pull icing straight down from the roof edge and flick the bag away sharply.
Sprinkles. Sugar sprinkles only stick into fresh icing. Pipe a small area and sprinkle right away, or place pieces one at a time with tweezers, because the icing crusts over within minutes. Large sugar pearls work as balls on the chimney or as buttons; fine sprinkles suit the roof and garden. Cheaper alternatives: almonds instead of tiles, coconut as snow, candies for the path. They work well, though coconut and nuts go soft over time sooner than sugar does.
Colorful details. Add gel coloring to part of the icing. Liquid colorings thin the icing and slow down drying.
Snow. Finally, dust the roof and base with powdered sugar through a sieve.
More Christmas cookie recipes that suit the plate next to your house are gathered together under one tag.
A gingerbread house collapses because of runny icing, a roof put on too early or uneven gables, pieces that weren't trimmed, cracks and damp. Most of it can be rescued.
Walls slide apart. The icing is too thin. Thicken it with sugar, prop the walls again and give them 2 hours. What to do about icing that won't hold is covered in Royal icing is too runny or too stiff.
The roof slides. The roof went on too early, or the gables aren't symmetrical. Take it off, let the walls finish setting and even out the gable edges with a cheese grater or a fine file.
Pieces don't touch. The gingerbread spread in the oven and the pieces weren't trimmed while hot. Fill the gaps with icing and cover them with a decoration; nobody will know.
Cracked piece. Glue it from the back with icing, leave it lying flat for 1–2 hours, then stand it up. Cover the crack on the front with a line of icing or icicles.
The house goes soft after a few days. It's standing in a humid spot, say near the stovetop or on a windowsill above a radiator with laundry drying. Move it to a dry room.
As a decoration, a gingerbread house will happily last 4–6 weeks in a dry room. For eating, it's best in the first 1–2 weeks, after which the gingerbread hardens and picks up smells from the room. If you plan to eat it, don't put it in the kitchen next to the stove: damp makes it soft and it spoils faster.
Yes. A gingerbread house is entirely edible as long as you don't use non-edible decorations and you glue it with icing made from pasteurized egg white. After several weeks on display it's more hard and dusty than pleasant, so eat it while it's fresh or treat it as a decoration.
You can, but walls made from soft cookie dough will gradually absorb moisture and bow. If you don't have another recipe, roll the dough to 1/4 inch (6 mm), use only half the baking soda, and let the pieces dry thoroughly overnight before assembling.
Yes. Baked gingerbread house pieces keep in a dry box for about a week, so you can put off the assembly and decorating. Store the pieces flat with paper between them so they don't warp. Don't put a finished, decorated house in the fridge or freezer, because the damp would dissolve the icing and the candy windows.
Put a small battery-powered LED tea light inside the house. A real candle dries out the gingerbread, can scorch the icing and is a fire risk. The glow looks best with candy windows. Place the light inside before you put on the roof, or leave an opening in the back wall.
Build a no-bake gingerbread house from rectangular butter biscuits or wafers, glued with royal icing around an empty milk carton that serves as the frame. The assembly and decorating work the same way, but you don't need to bake or trim any pieces, and the frame holds the house together much better, so it's ideal for making with kids.
One recipe worth heating the oven for, one tip, and one deal from the shop. Nothing else.