No-bake fruit cake
Raspberry White Chocolate Cheesecake: No-Bake and Baked
Updated Aug 23, 2026
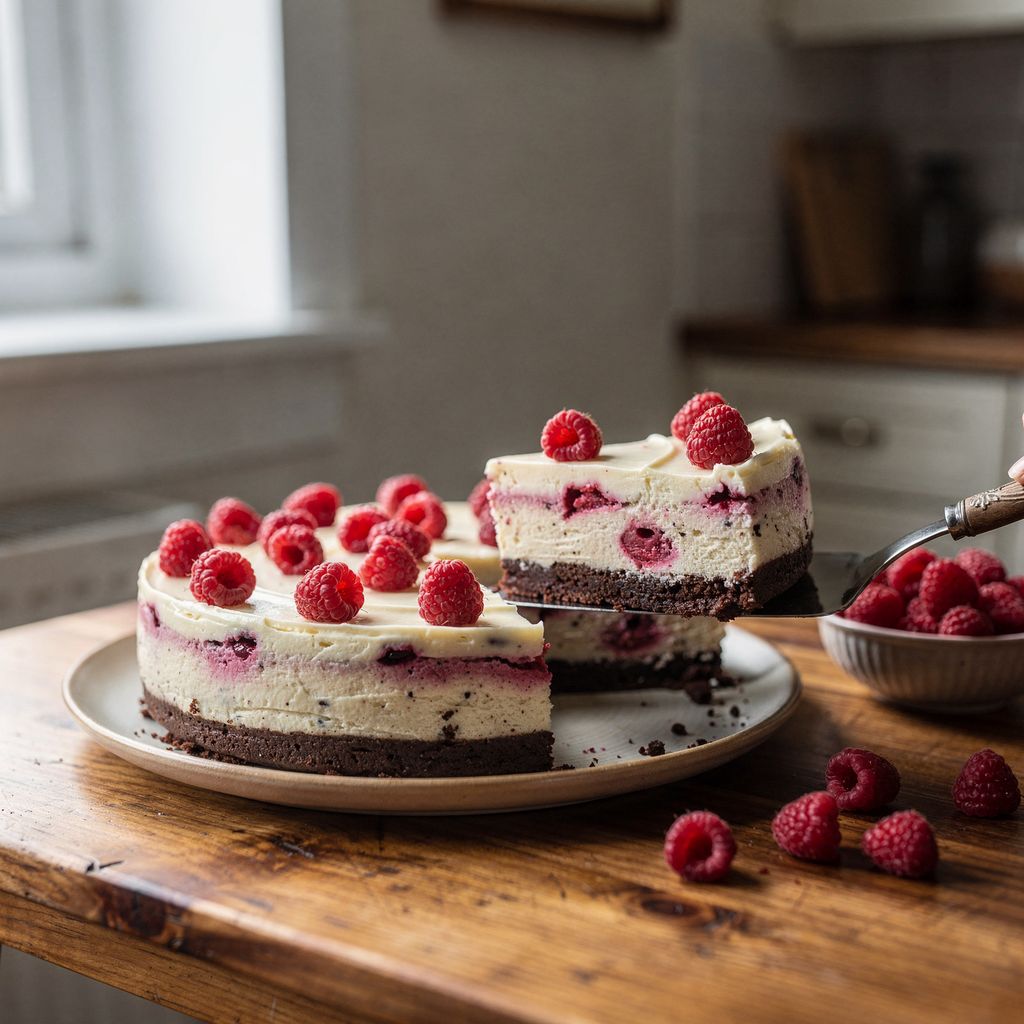
You can make raspberry white chocolate cheesecake two ways: no-bake, where gelatine holds the filling together and it just needs 6 hours in the fridge, or baked, where eggs set the filling in a water bath at 150°C/300°F. Both rely on the same three things — a biscuit base in a 2:1 ratio, full-fat cheese at room temperature, and good-quality white chocolate with at least 28% cocoa butter. Everything else comes down to temperature and patience, and that's exactly what you'll find spelled out in numbers here.
The no-bake version is set with gelatine and takes about 20 minutes of hands-on work plus 6 hours in the fridge; the baked version is set by eggs in the oven and needs 60–75 minutes of baking at 150°C/300°F plus an overnight chill. Choose based on how much time you have and what texture you're after.
No-bake: creamy, almost mousse-like, with a punchier raspberry and white chocolate flavour since nothing is heated for long. 20–30 minutes of work, at least 6 hours to set.
Baked: denser and velvety, with a baked aroma and a faint tang. 30 minutes of work, 60–75 minutes baking at 150°C/300°F, overnight chilling.
For hot summer days: go no-bake — no need to heat up the kitchen with the oven for over an hour.
For transporting or clean slices: go baked — it holds its shape far better than any gelatine-set cream.
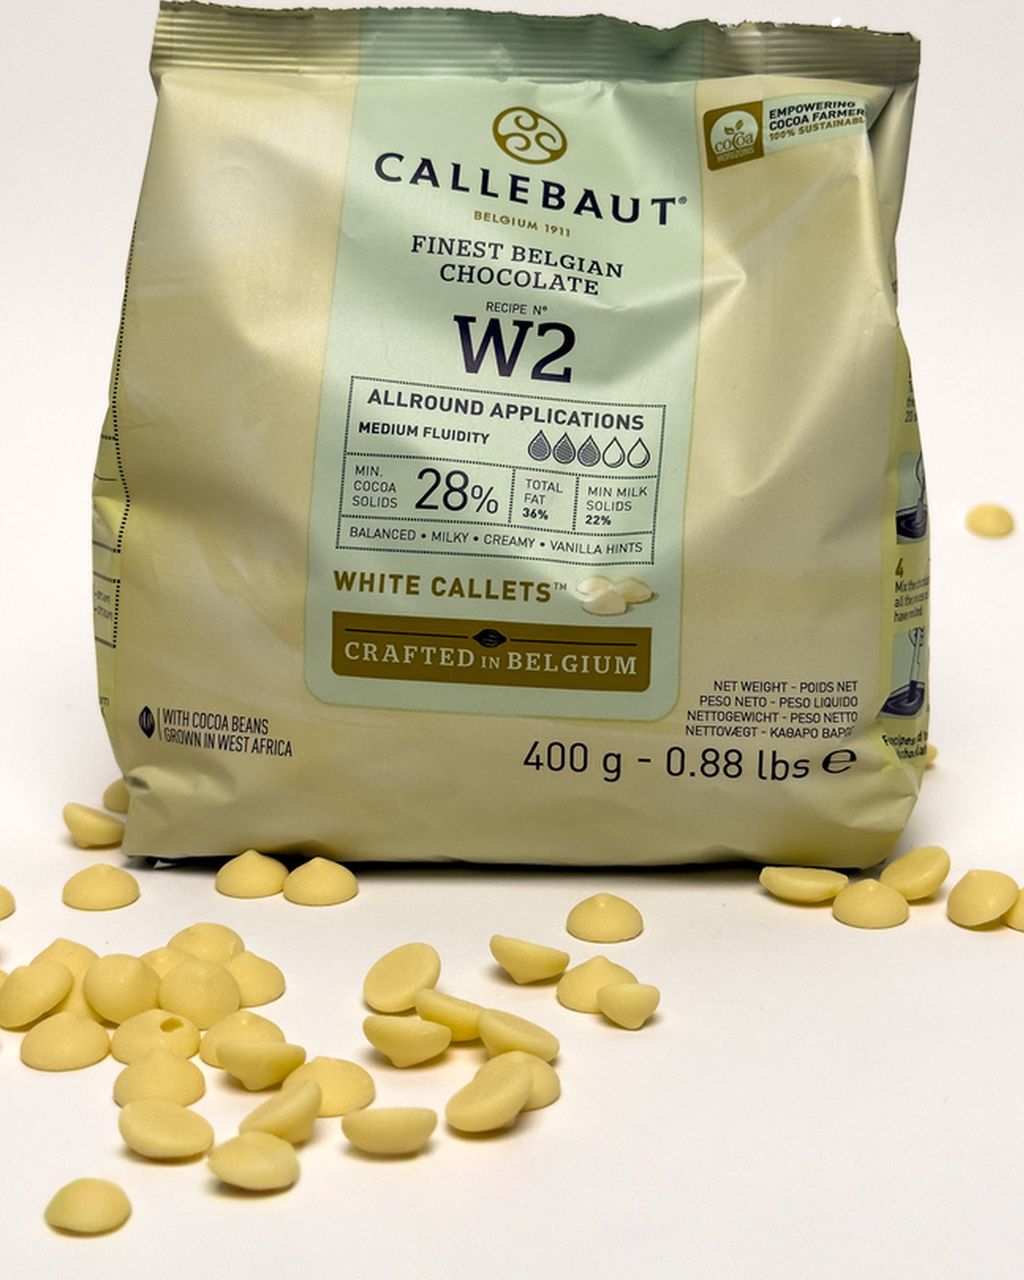
Both versions share the same foundation: a biscuit base, full-fat cheese (mascarpone or cream cheese), and white chocolate with at least 28% cocoa butter. Cheap white "chocolate" coating made with vegetable fat behaves differently — it sets waxy and won't melt properly in your mouth.
No-bake raspberry cheesecake is built from three layers, made in this order: the biscuit base goes into the freezer first, then the mascarpone and white chocolate cream set with gelatine, and finally the raspberry element. The hands-on work takes about half an hour; the fridge does the rest.
For a 24 cm/9.5-inch tin, you'll need 200 g biscuits and 90–100 g melted butter — roughly a 2:1 ratio. Digestives, graham crackers or ginger biscuits all work equally well; chocolate biscuits give a nicer contrast against the pink layer.
Properly mixed crumb holds its shape when pressed in your palm and doesn't leave your fingers greasy. If it's falling apart, add more butter, 10 g at a time. If it looks shiny and sticky, add a bit more crushed biscuit.
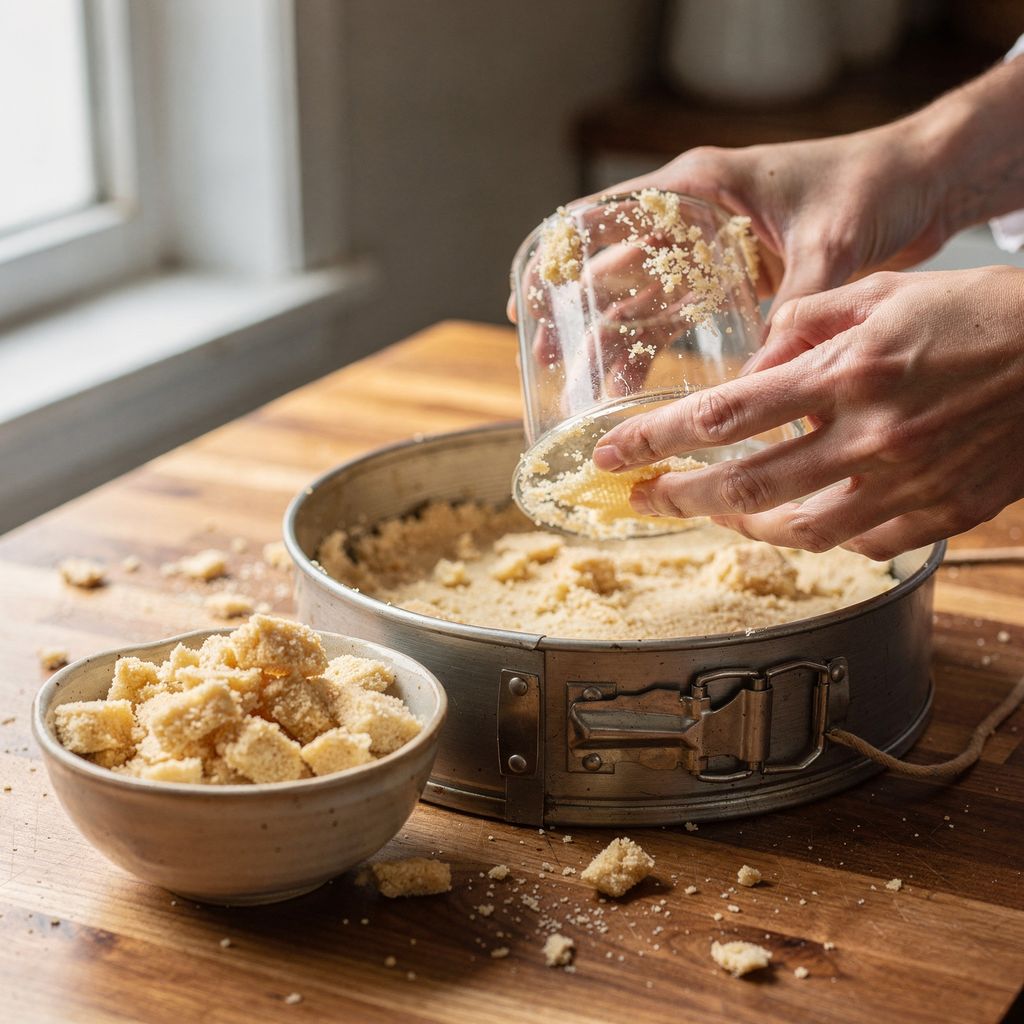
Press the crumb into the tin using the bottom of a glass rather than your fingers — you'll get an even thickness right up to the edges, which is where the base most often crumbles. Then freeze the tin for 20 minutes so the butter firms up and the base won't float up when you pour in the cream.
For 500 g of cheese, you'll need 200 g white chocolate, 200 ml whipping cream and 6 g powdered gelatine. Instead of using all mascarpone, you can go half mascarpone and half plain cream cheese for a result that's a bit lighter and fresher.
Gelatine is measured against the liquid, not the cheese. A reliable range is 0.8–1% of the weight of the liquid components (cream, purée, melted chocolate): below that the cream won't hold a clean slice, above it it turns rubbery. At the quantities used here, that works out as follows — 200 ml cream, 200 g melted chocolate and 250 g raspberry purée add up to roughly 650 g of liquid, which gives you 5–6.5 g of gelatine. Six grams is a safe middle ground to stick with.
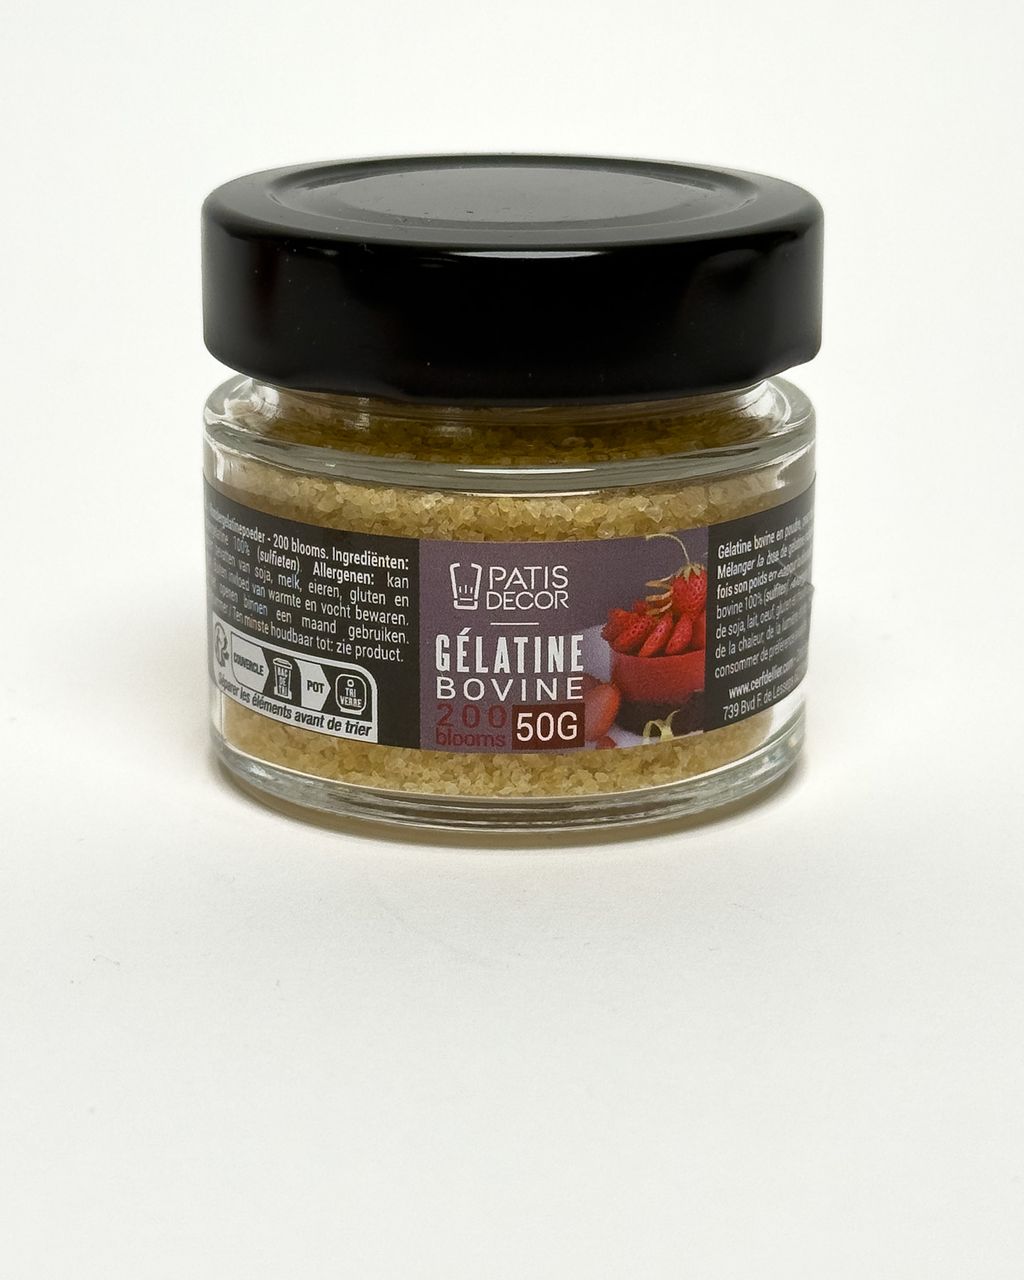
Soak powdered gelatine (200 bloom) in cold water for 5–10 minutes to bloom. If using sheet gelatine, soak it in a large bowl of cold water and squeeze out the excess before melting.
The order of steps matters here:
Melt the chocolate over a bain-marie and let it cool to around 35°C/95°F, so it's just warm.
Briefly beat the room-temperature mascarpone with the sugar on the lowest speed — on high speed the mascarpone will split and there's no fixing it.
Fold in the warm chocolate, then the melted gelatine.
Whip the cream separately and fold it in last with a spatula, so the cream stays light and airy.
Pour the finished cream over the chilled base, tap the tin against the counter to knock out air bubbles, and refrigerate for 6 hours, ideally overnight.
Strained purée goes into the cream; whole berries go on top. A whole berry inside the cream will burst when sliced and release juice that soaks into the cut.
For a bold raspberry layer, blend 250 g raspberries, strain through a sieve (otherwise you'll get seeds in every bite), and reduce the purée on the stove by about a third. This matters even more with frozen raspberries, which release noticeably more water than fresh ones — and excess water is exactly what will leave your cream too soft to hold a slice.
Raspberries are acidic, and acidity slightly weakens gelatine's setting power, so dose gelatine at the upper end of the range for the purée, closer to 1% of the liquid's weight. To create a marbled effect, dot the purée over the finished cream and drag a skewer through it in two or three figure-eight motions — any more and it turns into one uniformly pink mush.
Frozen raspberries aren't a compromise here, either. Frozen raspberries are picked and frozen at peak ripeness, so they work in purée all year round and, once blended, give a deeper colour than imported fresh berries. The only real difference you'll notice in the recipe is the extra water — so reduce the purée properly.
No-bake fruit cake
No-bake fruit cheesecake: the same gelatine-cream technique, just with different fruit
Baked cheesecake doesn't crack because of the recipe — it cracks because of temperature. Cracks form when the egg proteins set too fast or unevenly. There are four safeguards: a pre-baked base, a filling with no whipped-in air, a low-temperature water bath, and slow cooling.
Pre-bake the base for 10 minutes at 180°C/350°F and let it cool before pouring in the filling. An unbaked crumb base will soak up moisture from the cream and turn into a soggy layer instead of a crisp bottom once sliced. Wrap the outside of a springform tin in two layers of heavy-duty foil — water from the bath will find its way in through the smallest gap.
Bring all your ingredients to room temperature and mix on the lowest speed. Cold cheese won't blend smoothly, and you'll whip air into it that expands and rises in the oven, then leaves a crater as it cools.
For 600 g cream cheese, you'll need 3 eggs, 150 g sugar, 150 g sour cream and 150 g melted white chocolate. Add the eggs one at a time, mixing just until combined. White chocolate also does a technical job here: the cocoa butter firms up on chilling and gives the slice structure, so you can get away with fewer eggs.
Bake at 150°C/300°F in a water bath for 60–75 minutes. The bath keeps moist heat around the tin and caps the temperature at around 100°C/212°F, so the edges don't cook faster than the centre.
How to tell it's done: the edges are set and matte, while the centre — about 5–7 cm/2-3 inches across — still wobbles as one cohesive mass, like a thick pudding, when you gently tap the tin. A thermometer is the surest way to check — the core should read 63–66°C/145–150°F when it comes out of the oven, since residual heat will finish cooking it through. Above 71°C/160°F, the egg proteins tighten up so much that the surface almost always cracks.
And don't open the oven while it's baking. Every time you open it, cold air rushes in and destabilises the temperature — and egg-based fillings are extremely sensitive to that.
Turn off the oven, prop the door open, and let the cheesecake cool inside for an hour. A sudden move from a hot oven into a cold kitchen is the most common cause of cracking — the surface shrinks faster than the centre and tears.
After that, let it come down to room temperature before refrigerating it for at least 6 hours, ideally overnight. The flavour rounds out noticeably overnight and the slices come out cleaner. Run a thin knife around the edge while it's still warm and the cream is pliable — once it cools, it contracts, and an edge stuck to the tin would tear.
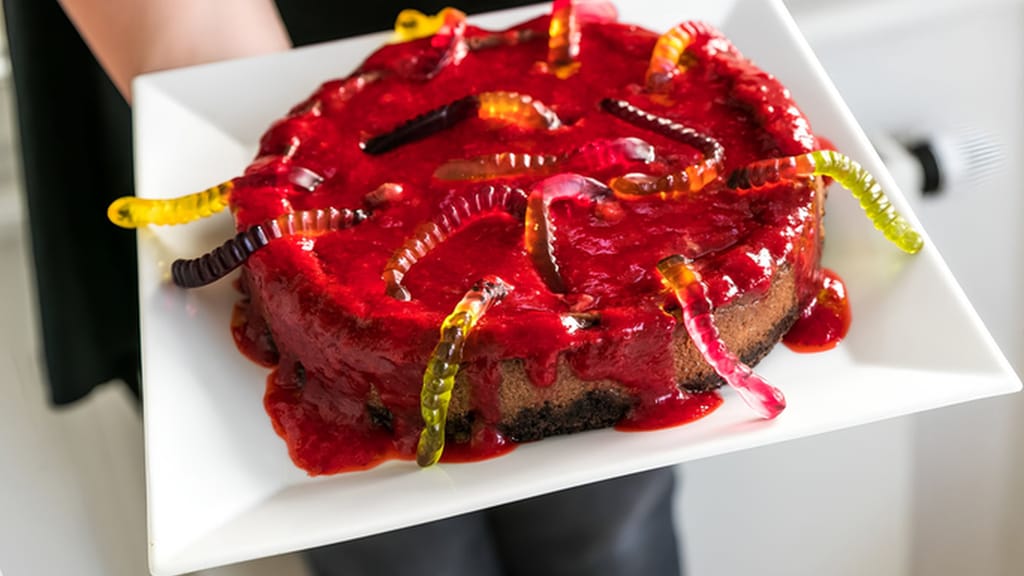
Halloween cheesecake
Halloween cheesecake: a baked cheesecake that's a great way to practise the water bath and slow-cooling technique
Melt white chocolate over a bain-marie, keeping it below 45°C/113°F, and make sure not a single drop of water gets in. White chocolate contains no cocoa solids — just cocoa butter, sugar and milk solids — and it's the milk proteins and sugar that scorch before you'd even notice. Overheated white chocolate turns yellow and grainy.
Two rules will save most attempts:
Water and steam are the enemy. Just a few drops of condensed steam are enough to make the chocolate seize into a grainy mass. The bowl needs to be completely dry and shouldn't touch the water below.
Big temperature gaps don't mix well. Cold purée poured into warm chocolate will make it seize instantly. Warm the purée up first and add it gradually.
You can sometimes rescue a seized batch by stirring in a spoonful of hot cream, but don't use it in a delicate cream filling after that. We go into the differences between chocolate types in more depth in our article on pairing chocolate with fruit and nuts, and you can practise handling white chocolate with our white chocolate mousse.
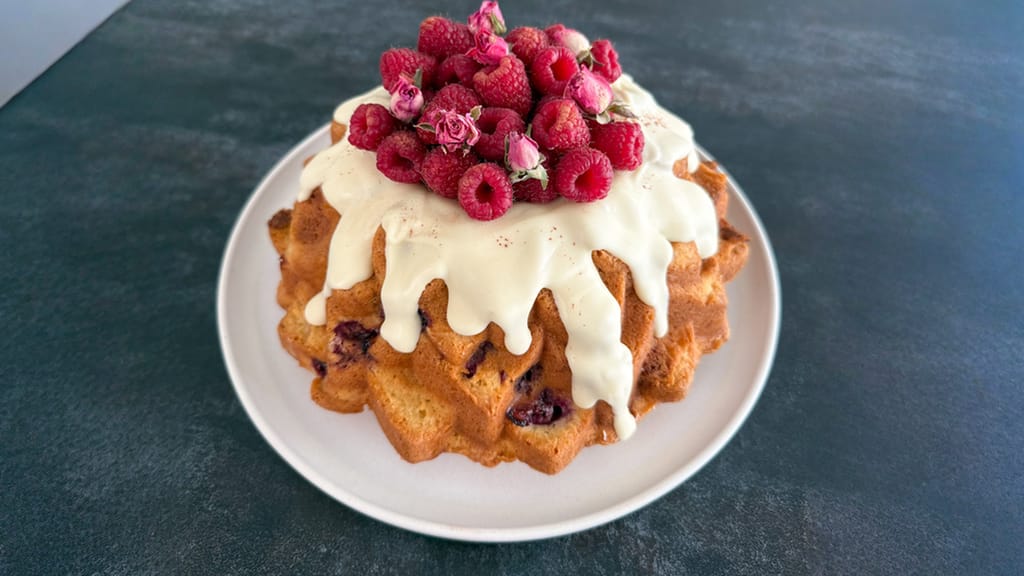
Raspberry bundt cake with white chocolate and sour cream
Raspberry and white chocolate bundt cake with sour cream: the same flavour pairing, baked in a different form
Swapping curd cheese (tvaroh) for mascarpone lowers the fat content and boosts protein, but it also changes the technique — curd cheese is wetter and more acidic, so you can't treat it the same way. Plan for three adjustments:
Drain it. Let semi-fat curd cheese sit in a cheesecloth-lined sieve for at least an hour, or whey will leak out of the cream once you slice it.
Add more gelatine. Without the fat that firms up on chilling, the cream holds together less well — aim for the top of the range, closer to 1% of the liquid's weight.
Season more boldly. Curd cheese is tangy and will overpower the white chocolate flavour. A spoonful of sour cream and some vanilla seeds help; a half-and-half mix of curd cheese and mascarpone is a good compromise between the two.
One thing worth knowing, though: honey or syrup aren't meaningfully "better" than sugar in terms of sugar content — they just taste different. Honey also contains around 17% water, so the cream tends to end up softer.
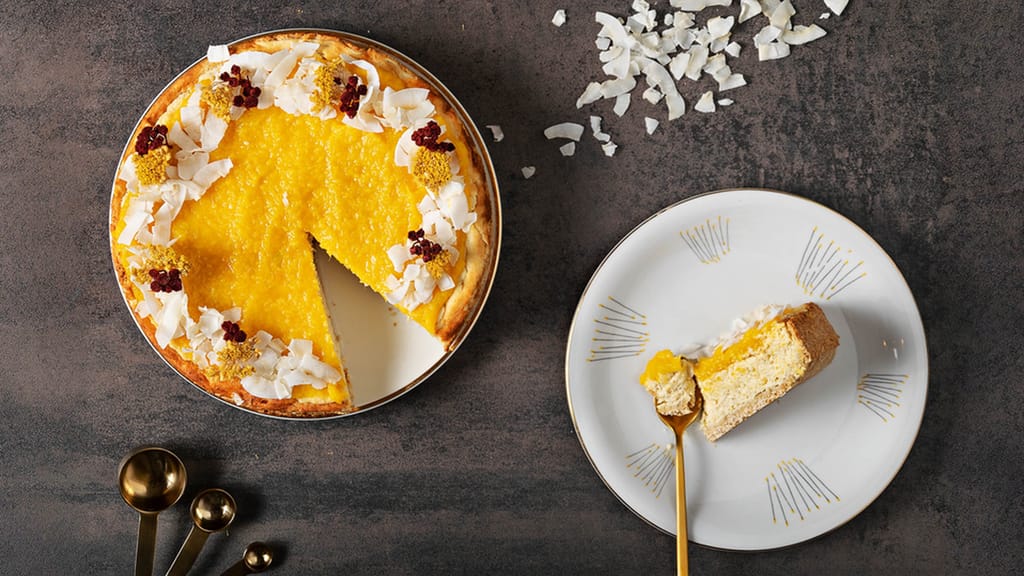
Mango cheesecake
Mango curd cheesecake: a lighter curd-based cream that shows how it behaves without mascarpone
Arrange fresh raspberries on the cheesecake no more than two hours before serving — any earlier and they'll release juice that soaks into the surface. Until then, keep it bare in the fridge, covered but not wrapped tightly in cling film.
What works well:
Raspberries hollow-side up, arranged from the edge inward. They hold their shape and don't absorb moisture from the cream.
A thin glaze of warmed, strained raspberry jam brushed on top. It makes the fruit glossy and keeps it from drying out.
White chocolate curls, shaved off the edge of a bar with a vegetable peeler — ideally straight from a cold bar.
Mint leaves added at the very last moment. They wilt and blacken at the cut edge within half an hour.
Steer clear of water-based decorations like fondant or sugar icing — they'll dissolve on the moist cream. We cover more detailed techniques in our article on decorating French desserts.
The five most common raspberry cheesecake mistakes are: cream that won't set, a cracked surface, lumps in the cream, a crumbly base, and leaking raspberry juice. Three of these can still be fixed.
The cream hasn't set after six hours. Too little gelatine, overheated gelatine, or raspberry purée that's too runny. The only fix is to scrape off the cream, warm it with extra gelatine, and pour it back on — or turn it into a trifle-style pot with crumbled biscuit.
The surface has cracked. The oven was too hot, the core overcooked, or it cooled too quickly. A layer of sour cream or raspberries will hide the crack; the flavour is unaffected.
There are lumps in the cream. Cold cheese, split mascarpone from mixing on high speed, or hot gelatine added to a cold mixture. There's no fixing this once it's happened — next time, mix lukewarm with lukewarm.
The base is crumbly. Not enough butter, or the crumb wasn't pressed down firmly enough. For the no-bake version, an extra 20 minutes in the freezer before slicing helps.
Pink juice is leaking from the slice. Whole raspberries in the cream, or unreduced purée made from frozen fruit. Strain and reduce the purée properly next time.
Baked raspberry cheesecake keeps in the fridge for 4–5 days, while the no-bake gelatine version lasts 3 days. Store it covered, but not wrapped tightly in cling film, or condensation will form on the surface. Add fresh raspberries as decoration only on the day you're serving it — raspberries left sitting on the cream start releasing juice after just a few hours.
Baked cheesecake freezes brilliantly, but the no-bake gelatine version really doesn't. Cut the baked version into slices, wrap each one separately, and freeze for up to 2 months; thaw overnight in the fridge, never on the counter. The gelatine-set cream weeps water once thawed and turns grainy, so it's best made fresh instead.
The most reliable plant-based swap is agar, used at roughly 2 g per 250 ml of liquid. Unlike gelatine, it needs to be simmered for 2–5 minutes to activate, and it sets much faster — so stir it into the lukewarm mixture briskly. The result is firmer and less creamy, so use slightly less than the packet recommends.
A metal springform tin with a removable base, 24 cm/9.5 inches across, works best — the tall sides hold the layers together and the removable base lets you release it without flipping the cake. Silicone tins sag under the weight of the filling and conduct heat poorly in the oven, while a solid tin with no removable base means you can't get the cheesecake out in one piece. If you're baking in a water bath, wrap the outside of the tin in two layers of heavy-duty foil; alternatively, set a cake ring on a baking-paper-lined tray.
Use a long, thin knife dipped in hot water and wiped dry after every cut. Push the blade straight down and pull it out forwards rather than upwards, so you don't drag the cream over the edge. The cheesecake needs to be completely chilled — a lukewarm one will smear no matter how careful your technique.
Fresh raspberries are in season roughly from late June through September, with the main harvest in July and August; ever-bearing varieties keep fruiting until the first frosts. Outside that window, frozen raspberries are a better choice than imported fresh ones — they're frozen right after picking, and they're also cheaper, which makes them a smart choice for the filling. Frozen raspberries work fine in purée all year round, but only fresh ones should go on top as decoration.
One recipe worth heating the oven for, one tip, and one deal from the shop. Nothing else.