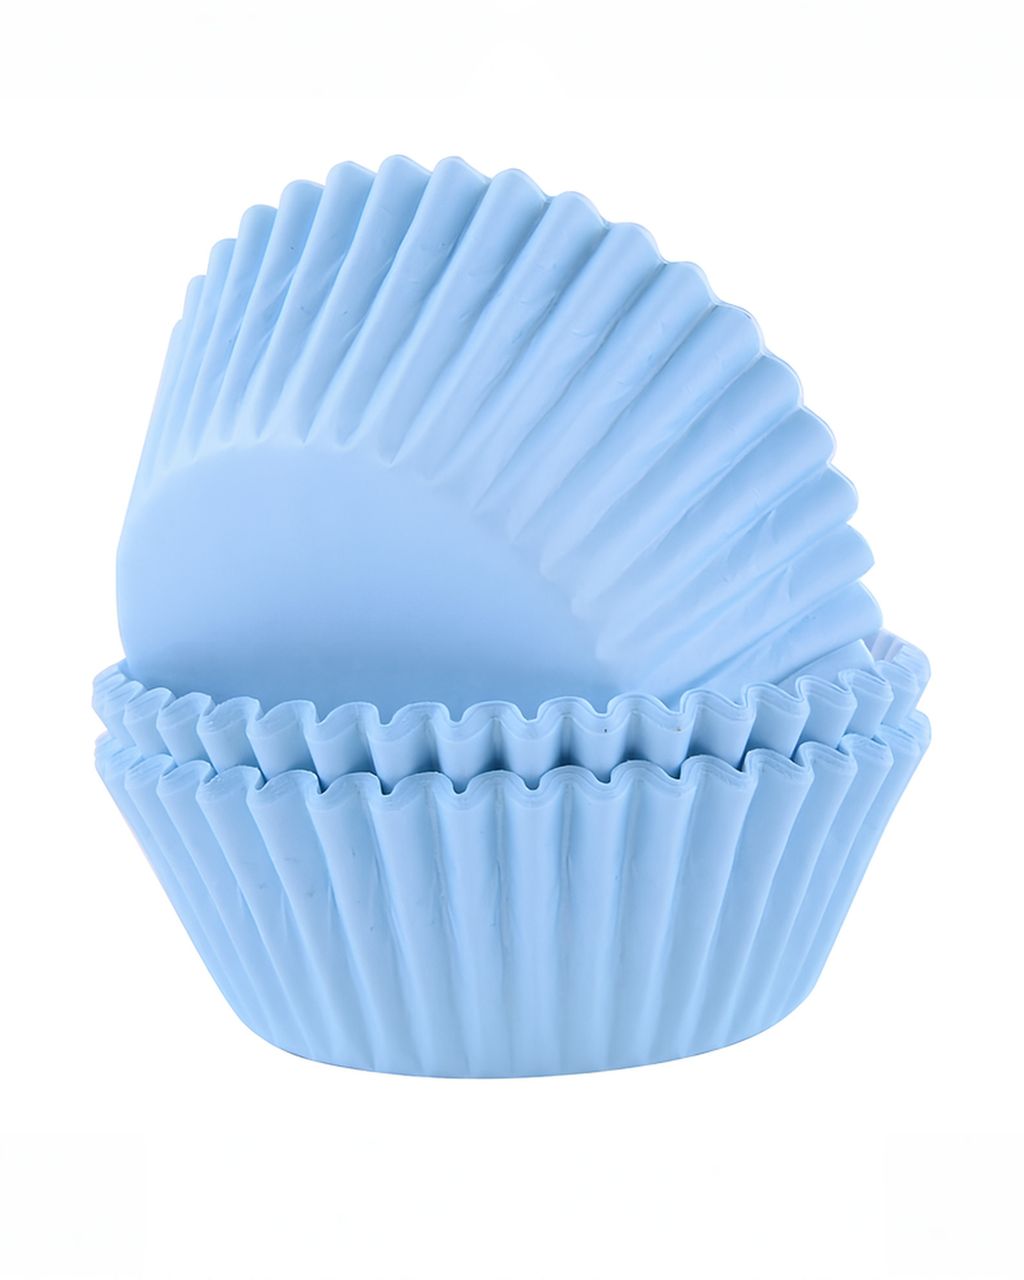
PME Paper Cupcake Cases – Light Blue (60 pcs)
Pull-Apart Cupcake Cake: How to Shape a Number, Heart or Letter
Updated Oct 15, 2026
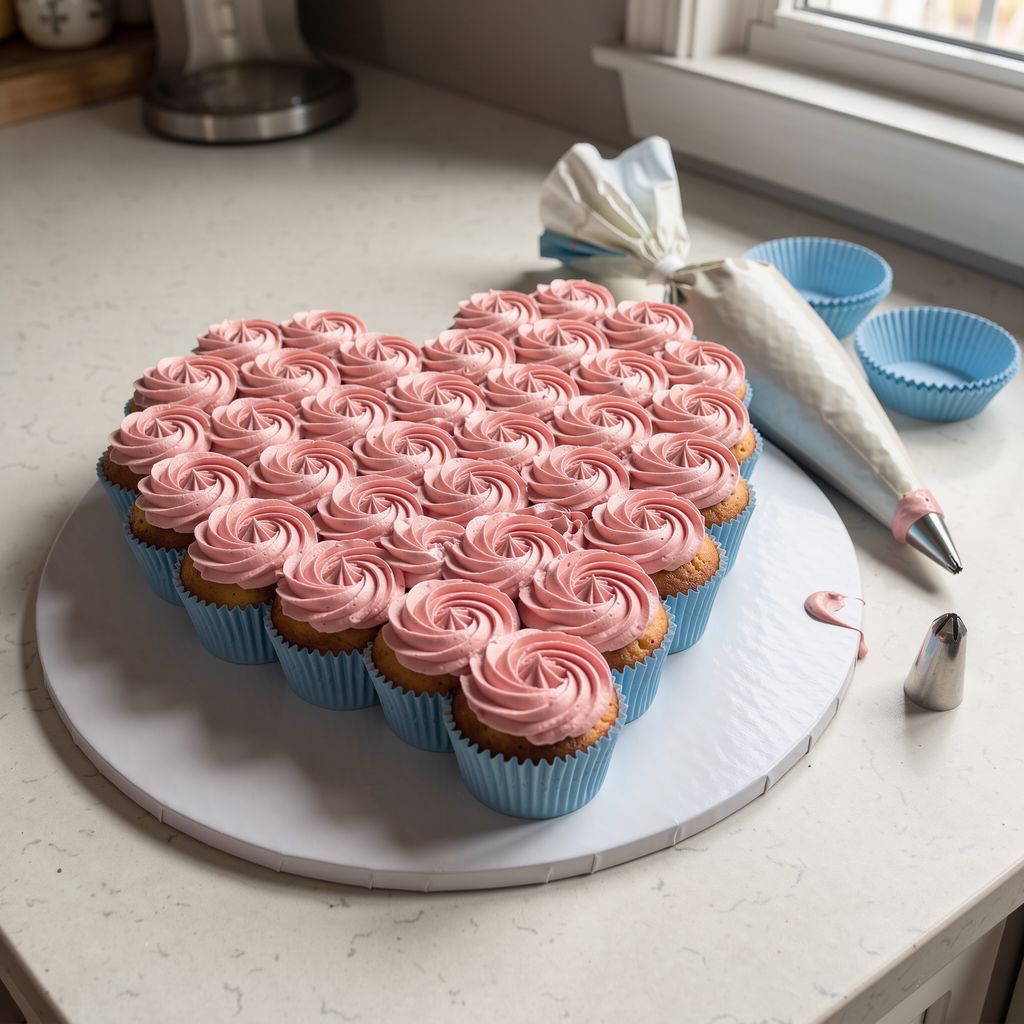
A pull-apart cupcake cake is a set of 8–28 cupcakes arranged snugly together in the shape of a number, heart or letter and frosted as one surface. It looks like a cake, but you don't slice it: each guest pulls off their own cupcake along with a piece of the decoration. Three things make it work: a layout planned out with empty liners, a frosting that won't sink into the gaps between cupcakes, and the right piping tip.
A pull-apart cupcake cake is a design made of cupcakes that sit snugly side by side on a board, with frosting joining them into one surface. At the party there's no slicing: you don't need plates or a knife, and the servings are counted in advance, with one portion per cupcake.
Compared with a number cake carved from a sheet cake, it has three advantages:
You don't cut the cake into shape, so there are no offcuts and no crumbs in the frosting.
You can change the shape at the last minute. Just arrange the same cupcakes differently.
You bake it in one muffin pan, with no need for a number-shaped pan.
There's just one downside: the frosting makes up a bigger share of each portion than on a classic cake. That's why it should taste good but not be heavy or overly sweet.
For a single-digit pull-apart cake you need 8–15 cupcakes, for a heart 16–20, and for a two-digit number 20–28. These counts are for standard cupcakes with a top about 7 cm (almost 3 in) across:
Number 1: 8–10 cupcakes in two rows side by side
Numbers 2, 3, 5, 7: 10–13 cupcakes
Numbers 0, 6, 8, 9: 12–15 cupcakes
Heart: 16–20 cupcakes
Letter: 9–14 cupcakes (fewer for I and L, more for M and W)
Two-digit number: 20–28 cupcakes
These are rough numbers, and only a dry run (see the next step) will give you the exact count. Always bake 3–4 more than you think you need. One won't turn out, one will be taller than the rest, and one is handy for the kids who can't wait.
A single-row 1 (7–9 cupcakes in a line) is hard to read and from a distance looks like a line of cupcakes. For a first birthday, build it in two rows or add a little heart next to it.
First, lay out the shape with empty paper liners right on the board you'll serve the cake on. You'll see how many cupcakes you need, whether the design fits on the board and whether it's readable.
Draw the outline on paper at full size. A number should be at least 4 cupcakes tall, so around 28–30 cm (11–12 in), or the shape gets lost.
Set the empty liners inside the outline and shift them around until they fill the shape without big holes.
Offset the rows by half a cupcake, like bricks in a wall. Each cupcake nestles into the gap between two circles, and the gaps are smaller, so the frosting doesn't have to bridge big holes. Use straight rows, as on a grid, only where you need a sharp corner (the letters L, E, T).
Take a photo of the layout with your phone. When you arrange the baked cupcakes, you won't have to work out the shape again.
The board should extend 4–5 cm (about 1½–2 in) beyond the design on every side. One number needs a board of about 30 × 40 cm (12 × 16 in); for a heart made of 20 cupcakes (roughly 35–40 cm wide) plan on a 45 × 50 cm board. A sturdy cake board or a board covered in foil works best, because thin cardboard bends when you carry it and the frosting in the gaps cracks.
Cupcakes for a pull-apart cake should be the same height with flat tops. Domed tops would make a surface full of bumps. Fill the liners two-thirds full and bake at a slightly lower temperature, around 160–170 °C (320–340 °F) with a fan. The batter then rises more evenly and cracks less. If one still rises above the rest, level its top with a serrated bread knife. You'll find more on temperature and filling the liners in our article on flat-topped cupcakes for decorating.
The liners are visible from every side, so they matter more than you might think:
Sturdy paper liners (such as PME paper cupcake liners) are made of thicker paper, hold their shape and pull away from the cake less after baking. The color stays rich and the fat from the batter doesn't soak through. Pick one or two colors that go with the frosting, because they show between the rosettes.
Cheap, thin supermarket liners work, but fat from the batter often seeps through them and leaves greasy rings on the board.
Aluminum and foil liners hold their shape best and don't go greasy, but they're hard to peel and the shiny edges in the gaps between the frosting are distracting.
Silicone molds don't suit this cake: you'd have to turn the cupcake out of them, and a bare cake without a liner falls apart on the board.
You'll find a comparison of paper, aluminum and tulip liners in our article on muffin and cupcake liners.
Any moist cake that doesn't crumble too much will do. The most versatile base is a simple flat-topped vanilla cupcake: its flavor doesn't overpower the frosting and it bakes to an even height. If you want a stronger flavor, tried-and-tested options from our collection are chocolate cupcakes with caramel frosting, coffee cupcakes with a smooth frosting or yogurt banana cupcakes.
For a pull-apart cake you need a frosting that is firm yet spreadable: Swiss or Italian meringue buttercream, classic American buttercream (butter and powdered sugar), or mascarpone frosting stabilized with white chocolate. Here the frosting does more than decorate. It bridges the gaps between cupcakes, and that's exactly where a soft frosting sinks.
Buttercreams are the surest choice. At room temperature the rosettes hold for hours, and once chilled they firm up enough that you can move the whole design.
Mascarpone and white chocolate frosting is less sweet, but it must be well chilled or it will sink into the gaps.
Plain whipped cream doesn't work. It sinks into the gaps and runs after an hour in a warm room. If you want a lighter frosting, stabilize it as we describe in our article on whipped cream stabilizer.
We cover which frostings hold a rosette and how to make them in our article on cupcake frosting that holds its shape.
How much frosting: for full coverage with rosettes, count on 50–70 g per cupcake; for a smooth surface spread with a spatula, 40–50 g. For a number made of 13 cupcakes, that means about 800–900 g of frosting, plus a small reserve for gluing and touch-ups.
Stick the cupcakes to the board, let them set, and only then decorate. The frosting that joins neighboring cupcakes then holds the whole design together.
Let the cupcakes cool completely, ideally baking them the day before. A warm cake melts the frosting.
Put a dab of frosting the size of a hazelnut on each spot on the board and press a cupcake onto it. Follow the photo from your dry run.
Set the cupcakes as tightly together as you can. The liners should touch, because gaps wider than 1 cm (⅜ in) can't be bridged with frosting.
Put the arrangement in the fridge for 15–20 minutes. The glue frosting firms up and the cupcakes won't shift while you decorate.
Decorate from the edge toward the middle. First pipe around the outline of the shape so it's clean, then fill in the inside.
Chill the finished cake for another 30 minutes before you move it or push in the candles.
When you decorate with rosettes, pipe them so that each one lies across a gap, not just on a single cupcake. The seams then disappear and the shape reads as one cake. When you pull the cupcakes apart, the frosting splits along the gap, so there's no need to worry about it.
Two styles suit a pull-apart cake. You spread a smooth surface with a spatula, so no tip is needed. You pipe rosettes with a large star tip, and they hide all the gaps and uneven spots, which makes them the safer choice for beginners.
Smooth surface: spread the frosting over all the cupcakes at once with a spatula and smooth it out. It looks like a classic cake and you can write on it or lay fruit on top. But you have to fill the gaps carefully, or the surface will sink above them.
Rosettes and stars: pipe each one in a single motion, and they cover up any unevenness too. A number or heart looks full and "flowery".
Rosette tips worth knowing:
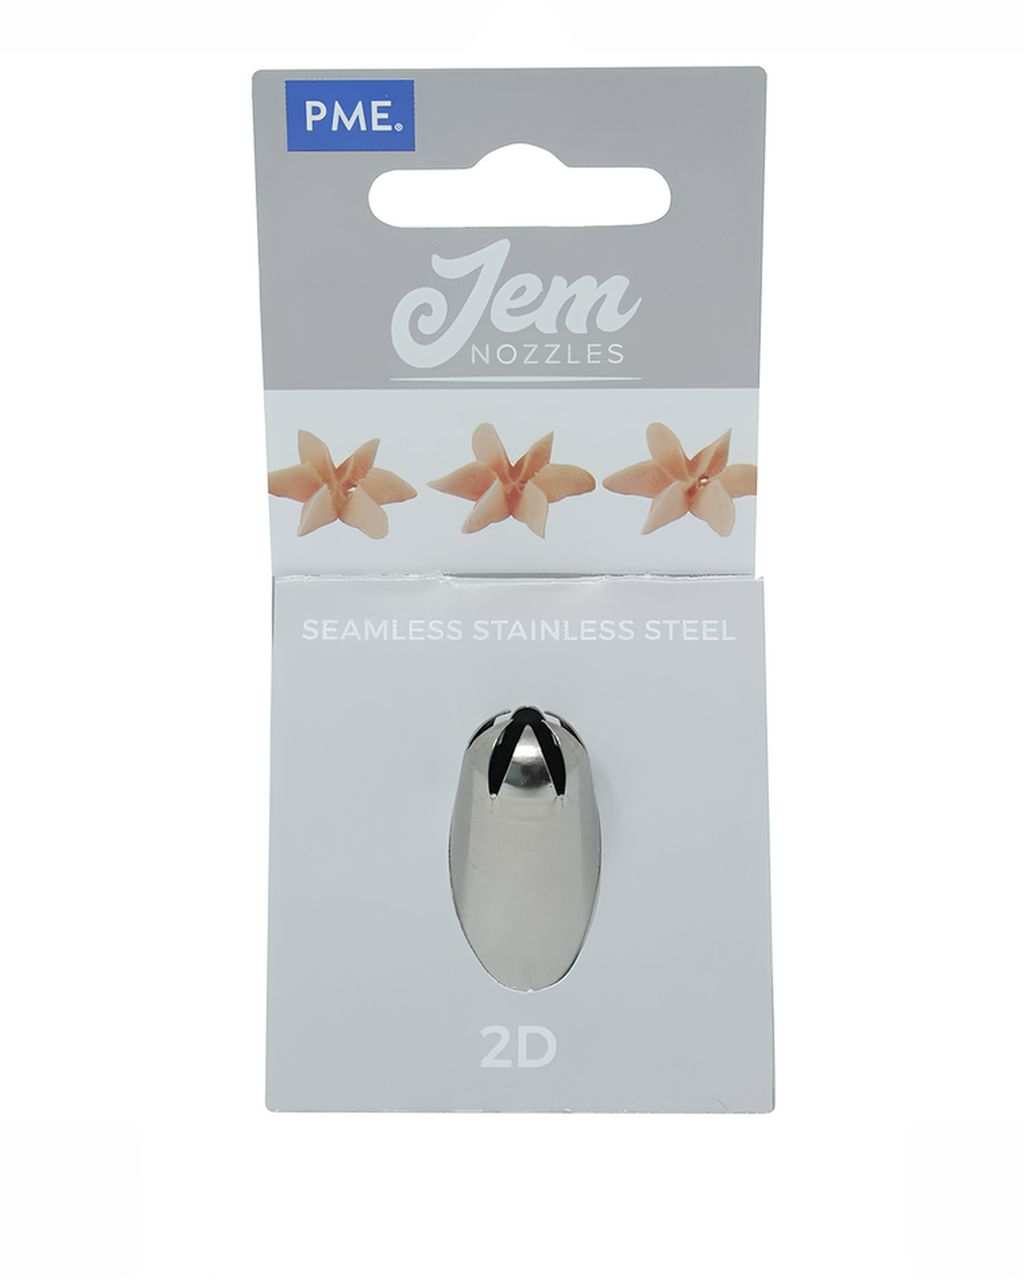
JEM 2D (Drop Flower, closed star) makes densely ruffled rosettes and hydrangea-like blooms. The rosettes are about 4–5 cm (1½–2 in) across, so one covers the gap between two cupcakes.
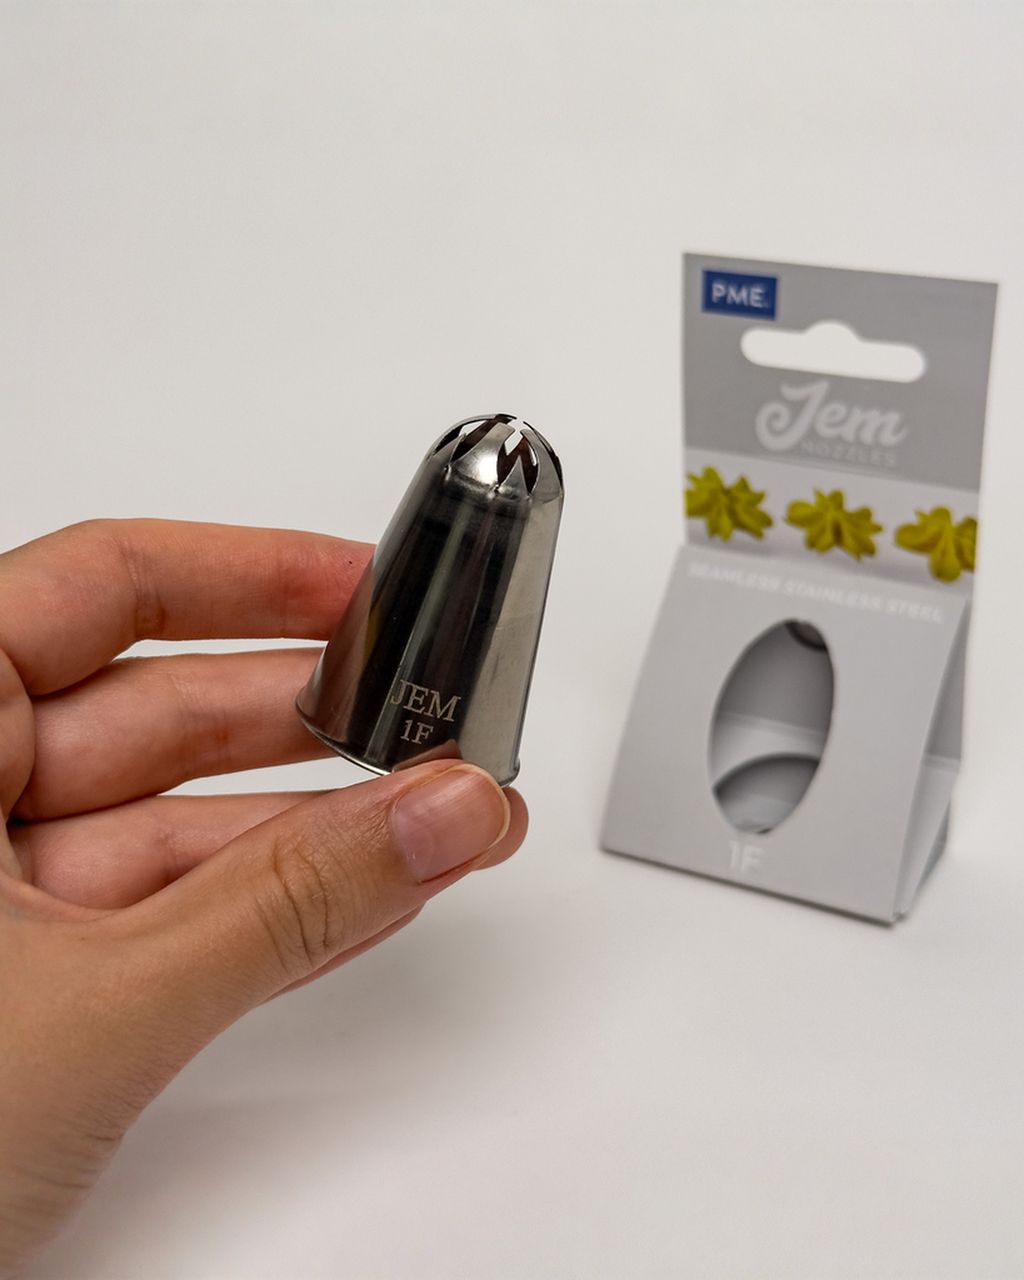
JEM 1F (large drop flower, 5-point) gives a larger bloom with five distinct petals. It suits big surfaces, such as a heart made of 20 cupcakes, where smaller rosettes look tiny.
Wilton 1M (open star) is probably the best-known cupcake tip. We don't carry it, but it's a good choice if you already have one at home. Its rosettes are sharper and less ruffled than those from the 2D.
For the outline and small dots between the rosettes, a smaller round tip works well. For an overview of which tip makes which shape, see our article on cake decorating tips.
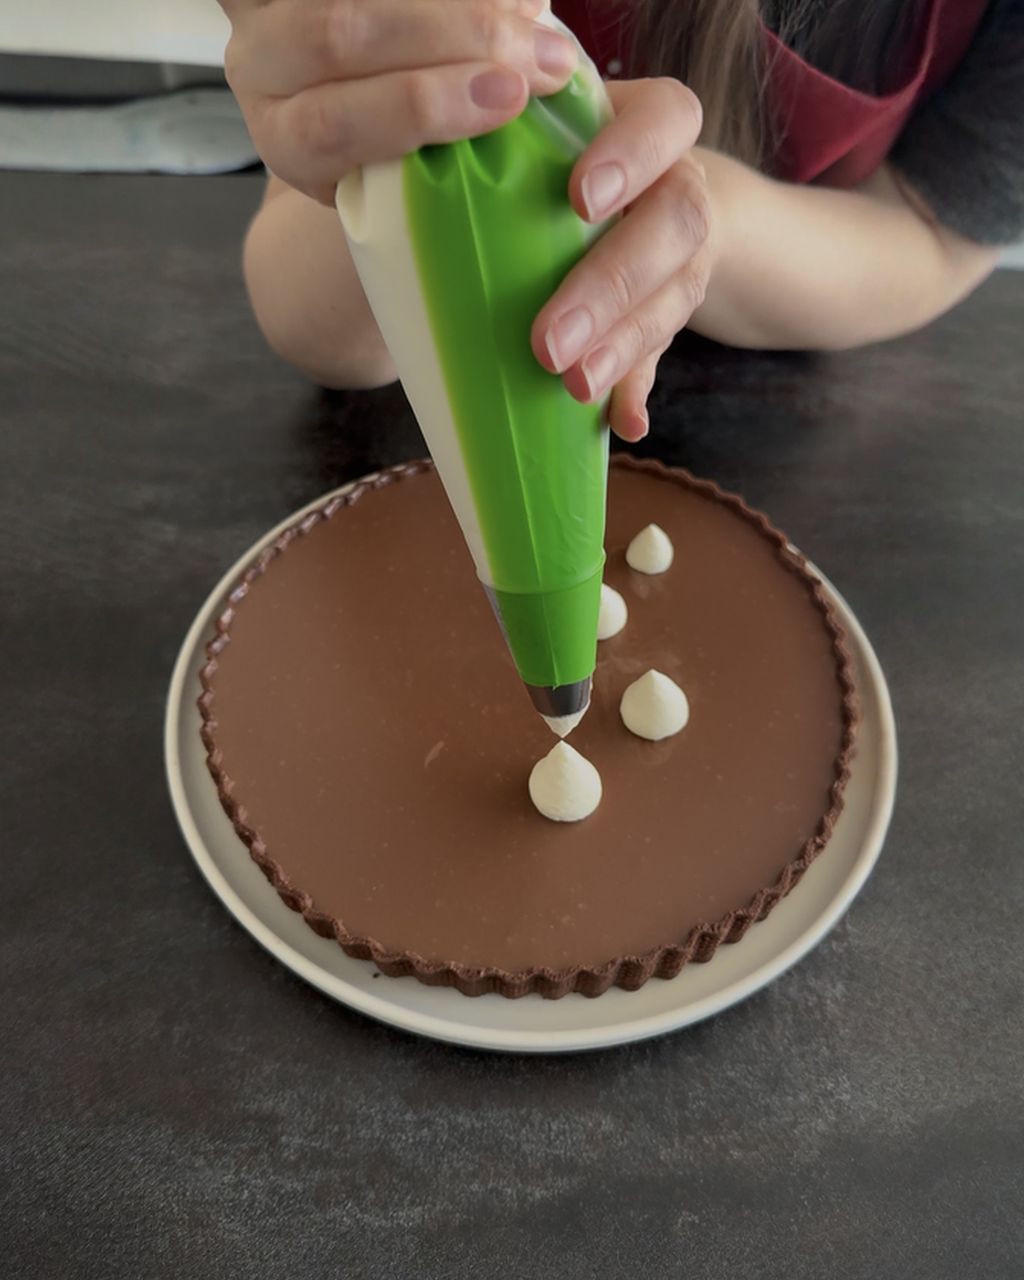
Disposable piping bags at least 35 cm (14 in) long suit a pull-apart cake. A large bag holds 400–500 g of frosting, so you don't have to refill it after every three rosettes, and if you're working in two colors, each gets its own clean bag. Piping bags 36 × 20 cm have proved their worth.
A fabric or silicone bag lasts for years and is more eco-friendly, but it's hard to wash after buttercream and its stiffened walls are harder to hold. For one cake a year a disposable bag is more convenient; if you decorate every week, a reusable one pays off.
Color buttercream with gel food coloring. It's highly concentrated, so a few drops are enough and the frosting stays just as thick. Liquid supermarket colors thin the frosting, can break it at deep shades, and the rosettes then lose their edge. Powdered colors are strong but dissolve poorly in buttercream and leave specks.
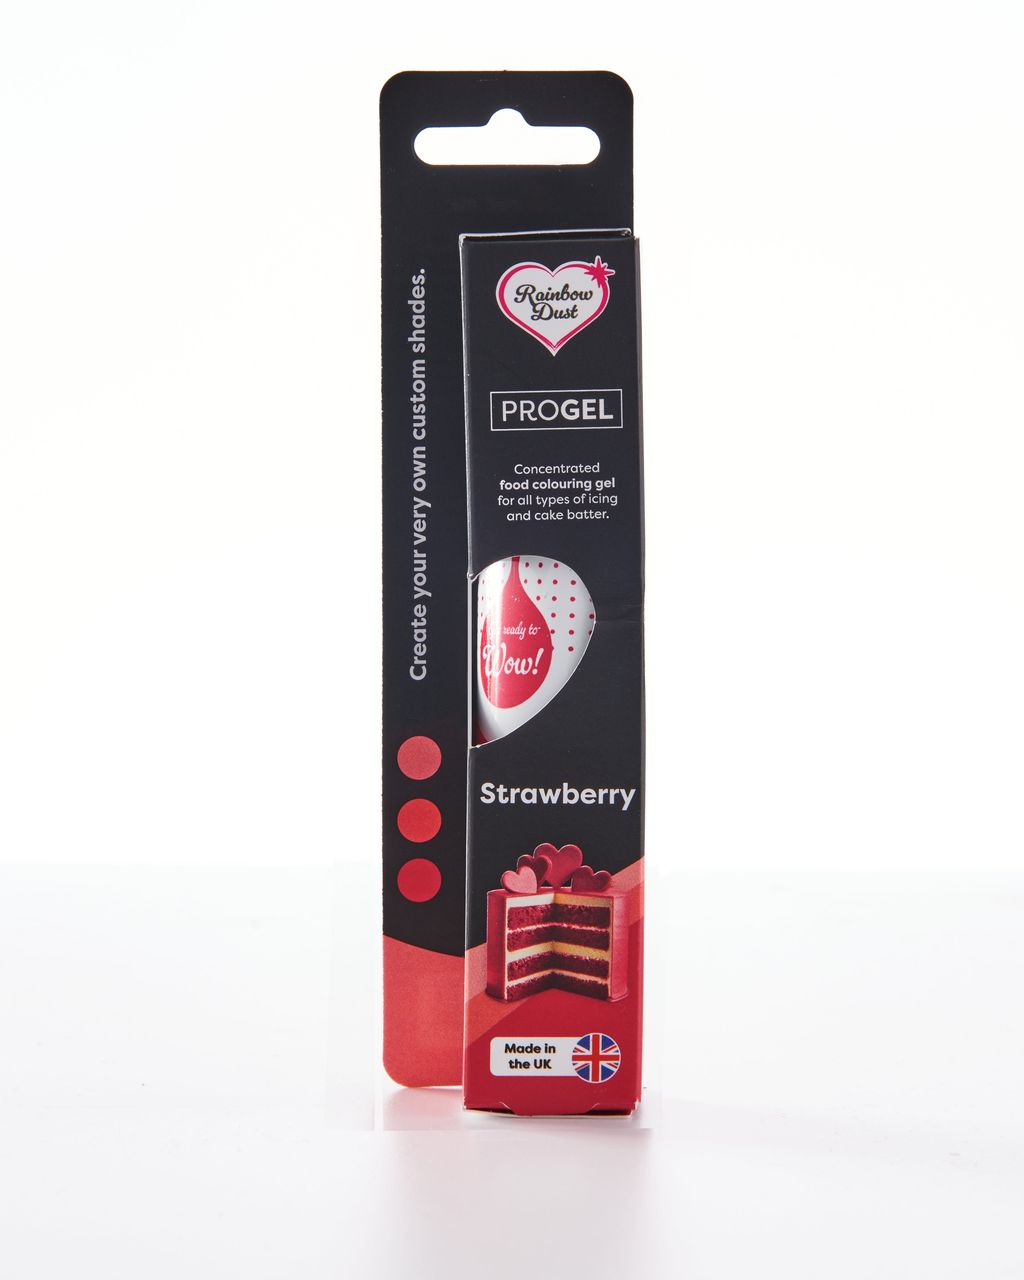
Gel colors such as ProGel strawberry, yellow or mint green are dosed with the tip of a toothpick or by the drop:
Pastel: 1–3 drops are enough for 500 g of frosting.
Deep shade: add gradually and let the frosting rest for 30–60 minutes. Gel colors darken over time in fat, so what starts out a shade lighter will be exactly right in an hour.
Buttercream is yellowish. Blue can turn green in it. For clean shades, first whip it for a long time until pale, or add a drop of white coloring. We describe this in detail in our article on snow-white buttercream.
You make two-tone rosettes by putting two colors of frosting side by side in one bag. We show how to fill the bag so the colors alternate evenly in our article on two-color frosting in a piping bag.
Bake the cupcakes the day before and decorate them no later than the morning of the party. Undecorated cupcakes keep for 1–2 days in a sealed container at room temperature. A cake with buttercream will sit in the fridge until the evening without trouble, but in the damp the liners may soften and peel away. Before serving, let it sit at room temperature for 30–60 minutes so the frosting isn't hard.
Transport it chilled, on a sturdy base, lying flat. Put it in the fridge for at least an hour before you set off, so the frosting in the gaps firms up and holds the cupcakes in place. Set the base on a level spot in the car, such as the floor behind the front seat, not on the seat itself. For longer trips, use a box or a lid that doesn't touch the frosting.
Yes, undecorated cupcakes in their liners can be frozen for up to a month. Wrap them individually in plastic wrap or put them in a sealed container, and thaw them still wrapped at room temperature so no condensation forms on them. Don't freeze the decorated cake: the frosting cracks as it thaws and the liners turn damp.
Push candles into the center of the rosettes, not into the gaps, where there's no cake to hold them. Pipe a message with a round tip onto a smooth surface, or make it separately from chocolate and place it on top. Lettering can't be piped legibly onto rosettes, and the shape of the number or letter usually says enough on its own.
Take cupcakes from the edge of the design inward, and first cut through the frosting in the gap with a knife. Dip the knife in hot water and wipe it dry, and it will cut through the frosting cleanly, leaving half a rosette on each cupcake. Lift each cupcake straight up by its liner, not sideways, or you'll tear off the frosting on its neighbors. For photos, keep the shape whole and start pulling only after the candles are blown out.
One recipe worth heating the oven for, one tip, and one deal from the shop. Nothing else.