Simple chocolate cake

Updated Jul 19, 2026
Mirror glaze is a glossy coating you pour over a cake while it's still warm, which sets into a smooth, mirror-like surface as it cools. The secret isn't fancy equipment — it comes down to two numbers and one habit: the right pouring temperature (around 30–35°C / 86–95°F), a smooth, bubble-free emulsion, and a well-frozen cake underneath. In this guide, I'll walk you through the ingredients and what each one does, the step-by-step recipe, how to apply the glaze, coloring it, and fixing the most common issues like bubbles or a dull finish. Whether you're a complete beginner or you glaze cakes all the time, you'll come away with a method that works every time.
Mirror glaze is a pourable coating made from sugar, water, condensed milk, gelatine and chocolate. You pour it over a cake while it's warm, and as it sets, it reflects light like a mirror — hence the name. The shine doesn't come from polishing; it comes from the glaze setting into a perfectly flat, even layer.
It belongs to the world of French entremets, layered mousse-based desserts, and it's been a fixture of modern pastry making for roughly forty years. Social media brought it a fresh wave of popularity, with Russian pastry chef Olga Noskova's photos of mirror-shine cakes going viral around the world. If you're curious where this look actually came from, take a look at how Paris changed the world of French desserts.
The shine comes down to three things: a perfectly smooth cake surface underneath, a fat emulsion that reflects light, and gelatine that keeps the glaze in a thin, even layer. Leave out any one of the three, and the shine disappears.
Gelatine forms a flexible gel that lets the glaze cling to vertical surfaces without sliding off.
White chocolate and condensed milk bring fat and solids to the mix — it's the tiny droplets of fat suspended in the syrup that actually make the surface gleam.
Sugar syrup gives the glaze body and shine, and stops the sugar from crystallising.
That's why the glaze is poured onto a frozen cake: the icy surface stops it in its tracks as a thin layer, so it sets quickly and stays glassy-smooth. On a cake that's merely cool, the glaze would simply run off and leave bare patches.
A classic mirror glaze relies on five ingredients, and each one has its own job — once you understand them, it's easy to spot what to tweak when something goes wrong.
Gelatine — gives the glaze structure and elasticity, holding it in a thin layer on the cake.
Water — hydrates the gelatine and forms the base of the sugar syrup.
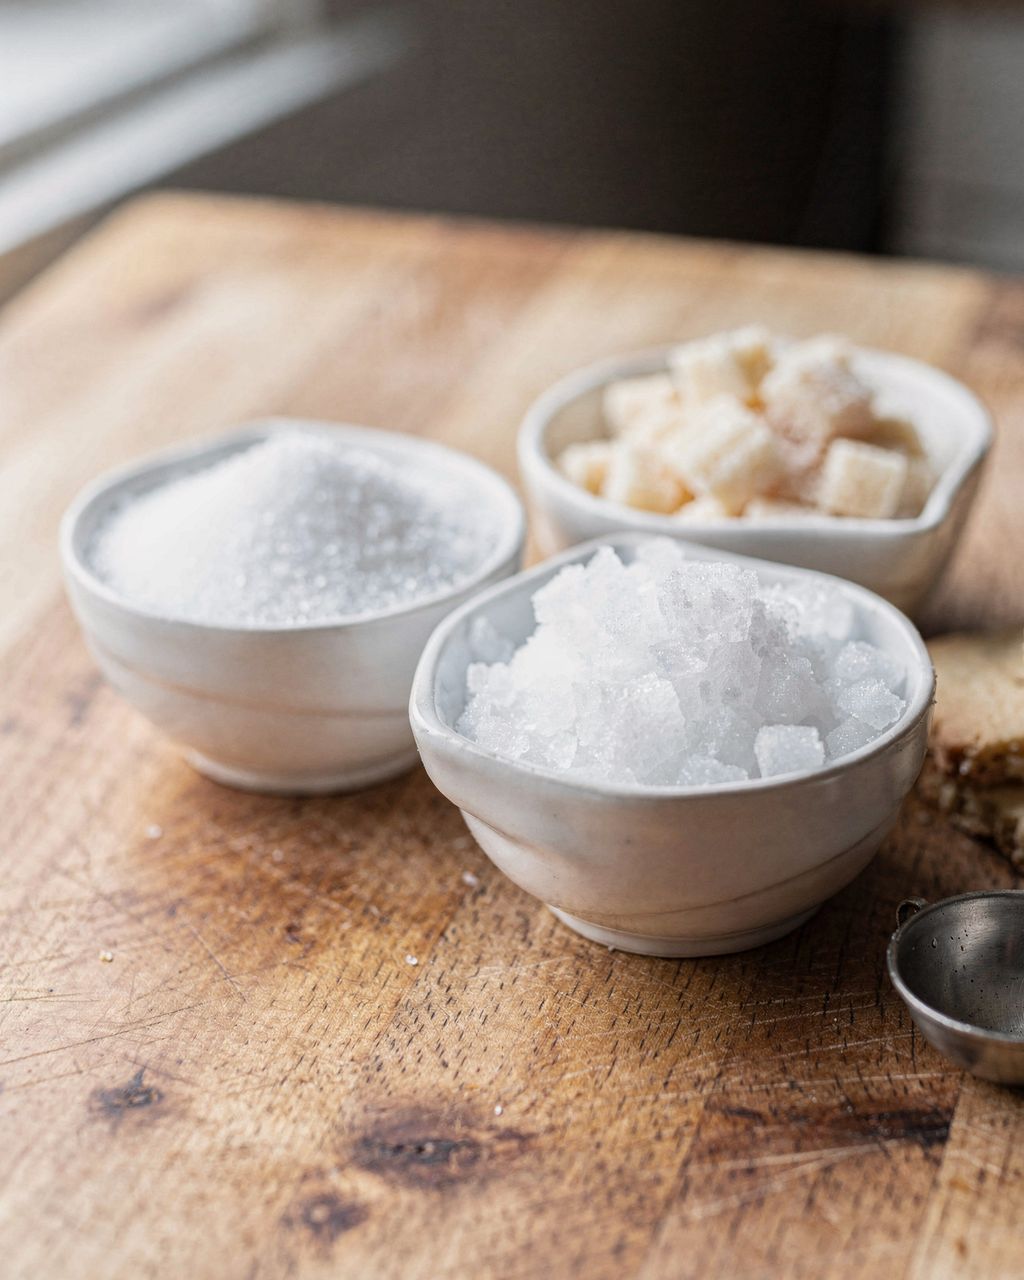
Sugar — adds shine and body; when heated, it forms a syrup that gives the glaze its smoothness.
Condensed milk — brings creaminess and solids, softening the sharp sweetness of the sugar.
White chocolate — carries the flavour and firms up the glaze once it cools; use a good-quality one with a higher cocoa butter content for both shine and taste.
Food colouring (optional) — for colour; for a pure white glaze, titanium dioxide is added to give it opaque, bright white coverage.
There are three easy swaps you can make to mirror glaze: agar instead of gelatine for a vegan version, coconut milk instead of condensed milk for a dairy-free version, and dark chocolate instead of white for a darker, less sweet glaze. Each one behaves a little differently, though.
Agar instead of gelatine — for a vegetarian or vegan version. Agar behaves differently: it needs to be boiled and sets firmer and faster, so work quickly and expect a slightly less flexible finish.
Coconut milk instead of condensed milk — a dairy-free option; the glaze will be a touch less opaque and will give the cake a subtle hint of coconut.
Dark chocolate instead of white — for a less sweet, darker glaze. Note that it can't be coloured, so you'll end up with a natural chocolate-brown shade.
This is a basic recipe for white mirror glaze, which you can then colour however you like. It makes enough for one cake around 18–20 cm (7–8 inches) in diameter. Get a thermometer ready — it's really the only tool that matters here (for more must-haves, check out our guide to essential kitchen tools).
Ingredients:
100 ml water for the syrup + 120 ml cold water for the gelatine
200 g sugar
150 g sweetened condensed milk
20 g powdered gelatine (or 12 sheets)
200 g good-quality white chocolate, chopped
food colouring of your choice (optional)
Method:
Soak the gelatine. Sprinkle the powder over 120 ml cold water (roughly a 1:6 ratio) and leave it to bloom for 10 minutes. If using sheets, soak them in plenty of cold water, then squeeze out the excess.
Make the syrup. Dissolve the sugar in 100 ml water and bring to the boil; heat to around 103°C (217°F), or simmer briefly until the syrup thickens slightly.
Melt the chocolate and milk. Put the chopped white chocolate and condensed milk in a bowl and pour over the hot syrup. Let it sit for a moment so the chocolate warms through, then stir until smooth.
Stir in the gelatine. Add the bloomed (or squeezed-out) gelatine and stir until fully dissolved. The syrup mustn't be boiling, or the gelatine will lose its setting power.
Colour and blend. Add the colouring and blitz everything with a stick blender held at a slight angle so it doesn't pull in air. Then strain the glaze through a fine sieve.
Cool to working temperature.Cover the glaze with cling film pressed directly onto the surface and let it rest, ideally overnight; before using, gently warm it back up to 30–35°C (86–95°F).
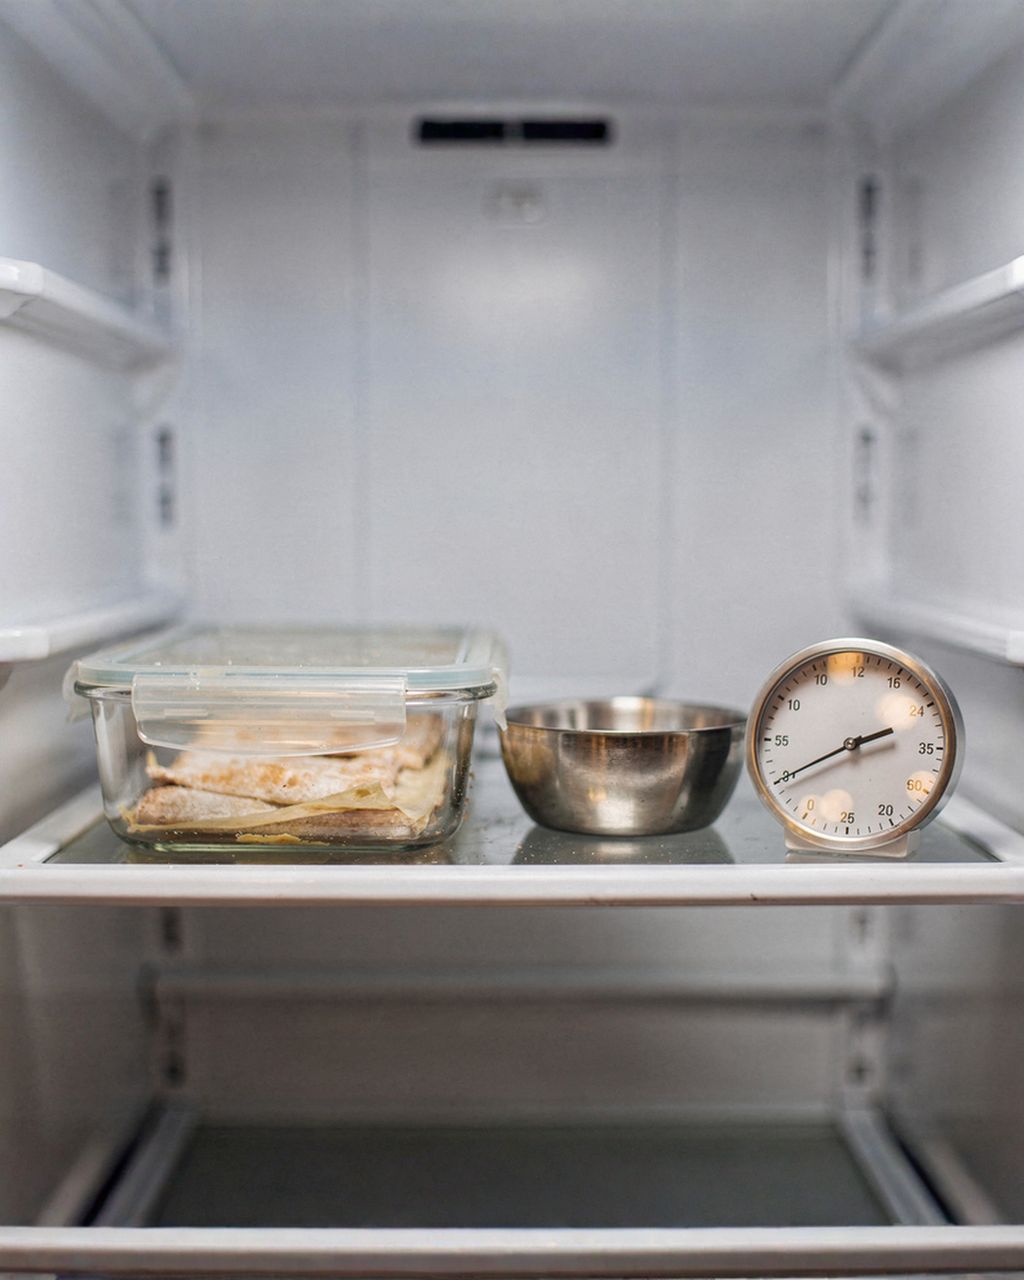
Want a truly flawless finish? Let the blended glaze rest in the fridge overnight — the bubbles will rise to the top, and the next day you can simply skim them off.
Set the frozen cake on a turntable or an upturned glass on a wire rack over a tray, then pour the glaze in one smooth, continuous motion from the centre outwards until the whole cake disappears under the glossy layer. The excess will drip onto the tray below and can be collected and reused.
Pouring is the main method. It only works if the glaze is at 30–35°C (86–95°F) and the cake is frozen solid — one pass, no going back over it, or you'll get streaks.
A palette knife or scraper is for levelling, not spreading: use one smooth stroke with a large palette to remove the excess from the top surface and let the sides drip clean. The less you interfere with the glaze, the smoother it stays.
After a few minutes, once the glaze stops dripping, trim the trailing drips at the bottom edge with a knife and move the cake onto a serving plate. Then let it thaw in the fridge — the glaze will already look shiny, but the cake inside still needs time to defrost.

Simple chocolate cake
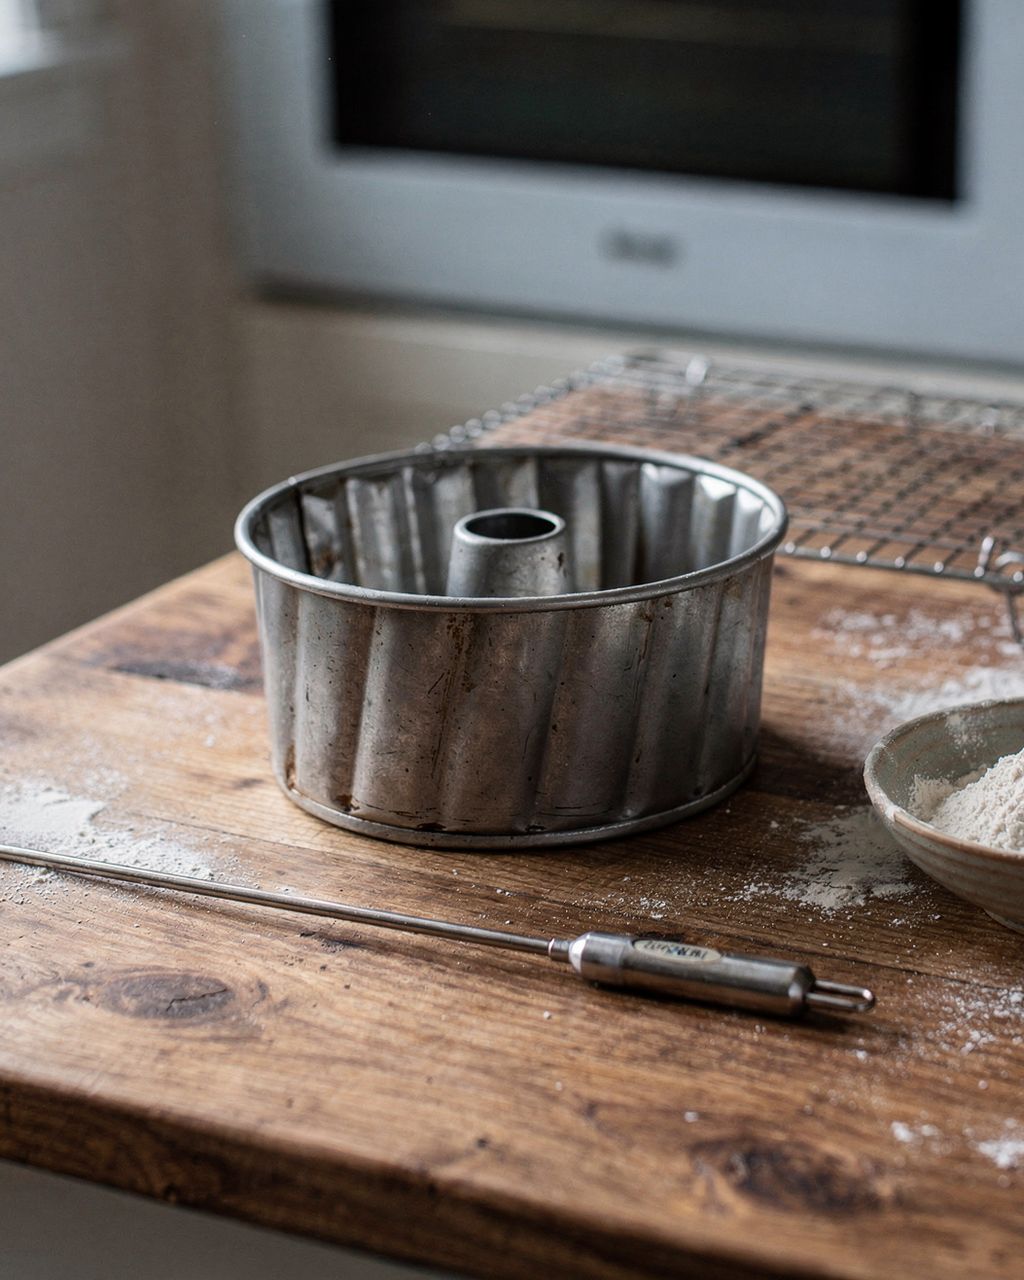
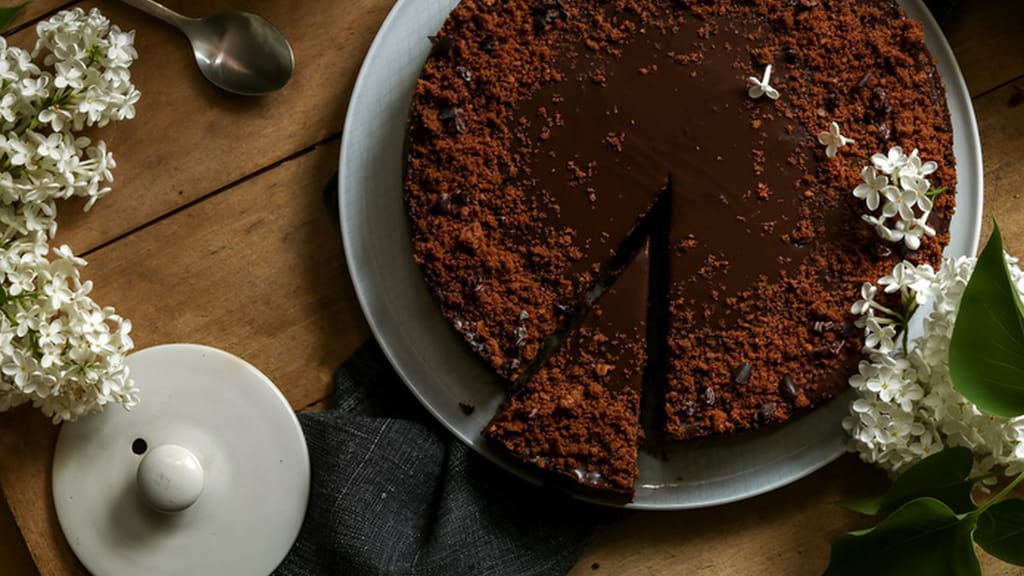
A simple chocolate cake base ready for mirror glaze — just coat it in ganache and freeze.
You can tailor the glaze's colour and flavour to the occasion without changing the base method. Add colouring to the warm glaze before blending, and adjust the flavour with a pinch of salt or an extract.
Gel colours are concentrated and won't dilute the glaze — ideal for bold, saturated shades.
Liquid colours work well for soft pastels, but can slightly affect the texture.
Powdered and pearl colours create metallic, shimmery effects; they can even be dusted on with a dry brush once the glaze has set.
Boost the flavour with vanilla extract, a pinch of salt (it beautifully balances the sweetness), citrus zest, or fruit essences. Think red and raspberry tones for Valentine's Day, pastels for Easter, and pure white or pearl for a wedding. Marbling two colours poured side by side is one of the most striking — and easiest — tricks in the book.

Most mishaps come down to one of two causes — the wrong temperature, or air trapped in the glaze. Here's a quick troubleshooting guide.
Bubbles on the surface — air got whipped in while blending. Blend with the blender head submerged and slightly tilted, then strain through a sieve and let the glaze rest so bubbles can rise and be removed.
Dull, cloudy surface — the glaze was either too hot, or had already started to set. Stick to 30–35°C (86–95°F) and check with a thermometer regularly.
Glaze slides off and won't stick — it was too warm, or the cake wasn't cold enough or wasn't smooth enough underneath. The cake needs to be frozen solid and pre-coated with a smooth layer of ganache.
Streaks and uneven coverage — you went back over it instead of pouring in one pass, or there wasn't enough glaze. Pour generously and all at once.
Cracking — the cake cooled down too fast. Let it thaw in the fridge and protect it from sudden temperature changes.
A mirror shine is striking on its own, but it also takes decoration well. A popular approach is to leave part of the cake purely glossy and decorate the rest, so the contrast really stands out.
Marbling with two or three colours poured side by side.
Gold or pearl accents dusted on with a dry brush once the glaze has set.
Chocolate decorations, fresh fruit, or nuts along the bottom edge, where the glaze meets the plate — they frame the cake nicely and hide any small imperfections.
Always match the style to the occasion: bold colours for a kids' party, an understated single-colour shine for a wedding.
A mirror glaze cake generally keeps for 2–3 days in the fridge and should be stored uncovered, or only very loosely covered, so condensation doesn't ruin the shine. Thanks to the gelatine and sugar, the glaze is fairly stable, but sudden temperature swings will damage it, so avoid taking the cake in and out of the fridge repeatedly.
Yes — strain the leftover glaze, transfer it to an airtight container, and store it in the fridge for up to a few weeks, or longer in the freezer. Before reusing it, gently warm it back up to 30–35°C (86–95°F) — a few seconds in the microwave or a warm water bath both work — then, if needed, give it a quick blitz with a stick blender and strain it again.
For a cake around 18–20 cm (7–8 inches) in diameter, plan on roughly 600–800 g of glaze. It's worth making a bit extra, since it needs to be poured generously and all at once — any excess that drips onto the tray underneath can simply be collected and reused.
Swap gelatine for agar to make a vegan version, but keep in mind it behaves differently. Agar needs to be boiled, and it sets faster and firmer, so the glaze will be less flexible and you'll need to work quickly with it. You'll usually need less agar than gelatine, so follow the quantities on the packaging.
It works best on mousse-based entremets with a smooth, freezer-friendly surface, since the glaze needs a perfectly flat, fully frozen base to set properly. A classic sponge cake can also be glazed, but coat it first in a smooth layer of ganache or buttercream and freeze it solid before pouring.
One recipe worth heating the oven for, one tip, and one deal from the shop. Nothing else.