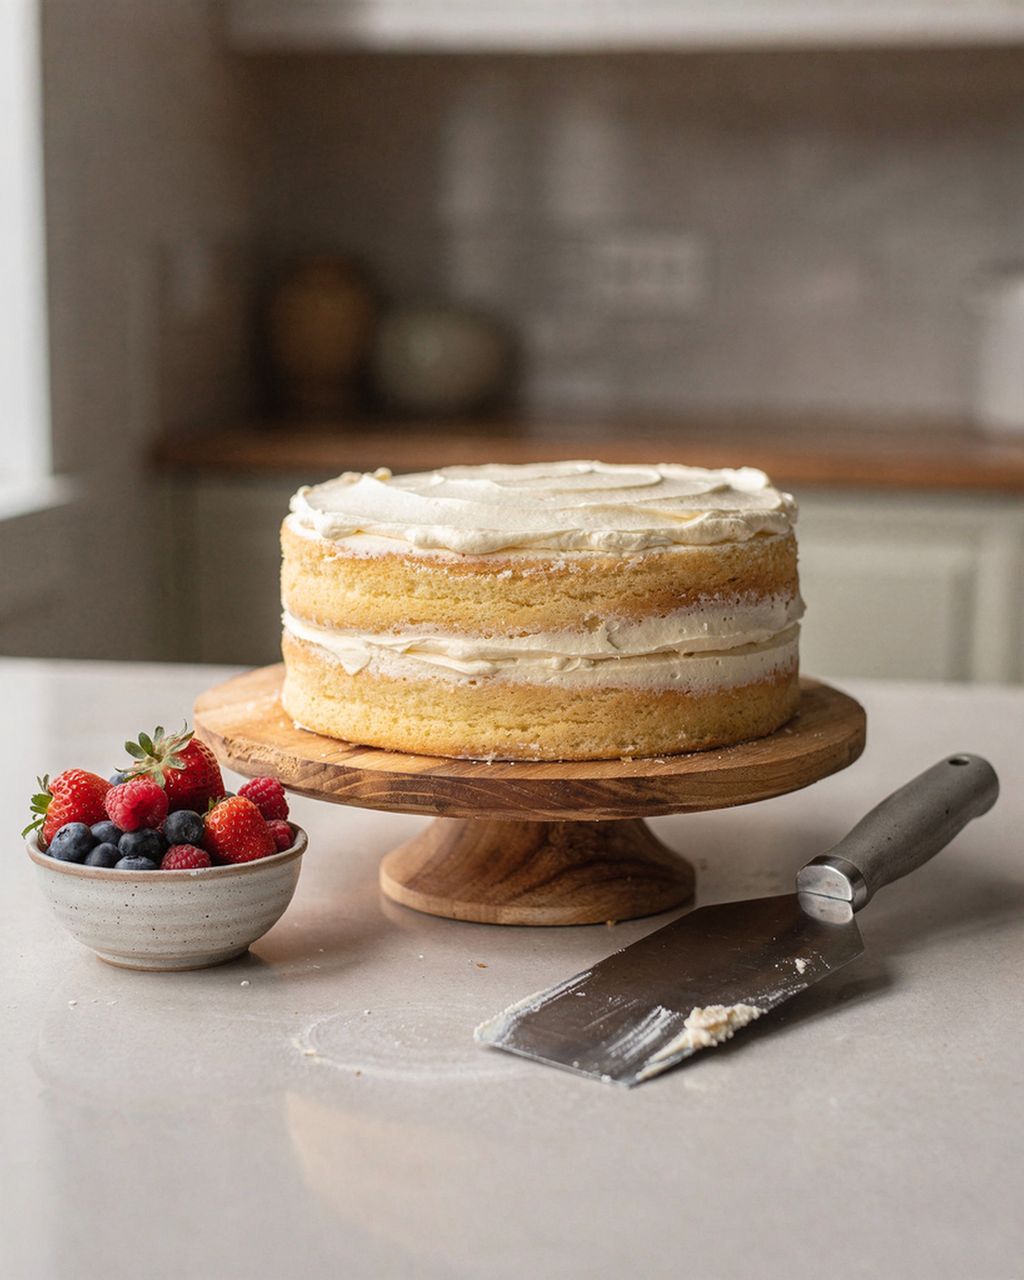
Simple chocolate cake
Watercolor Cake: How to Blend Frosting Colors into Soft Gradients
Updated Oct 15, 2026
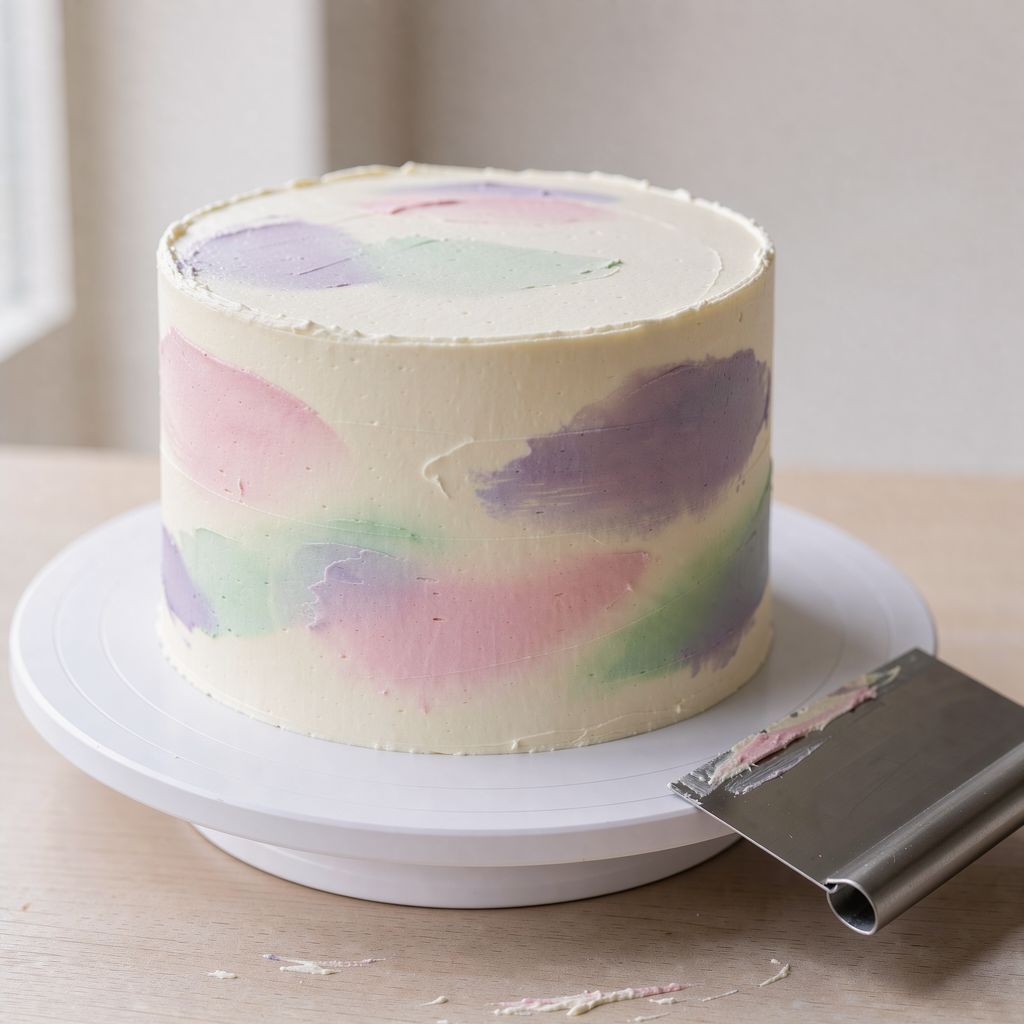
A watercolor cake is a cake coated in white frosting, with a few dabs of colored frosting added on top and swept into soft, bleeding gradients with one or two passes of a scraper, just like a watercolor painting. The whole effect rests on three things: a well-chilled white base, pastel colors that sit close together on the color wheel, and knowing when to stop. Here you'll find which frosting to use, how much color you need, how to work step by step, and what to do when your colors turn muddy.
A watercolor cake has colors placed randomly: the patches overlap, blend into each other, and white frosting shows through between them. Ombré, by contrast, is a regular gradient of a single color from dark to light in even bands, from the bottom up.
In practice, that means:
Watercolor: 2–4 colors, applied loosely with an offset spatula and spread with 1–2 turns of the scraper. It forgives imprecision, and a mistake looks intentional.
Ombré: one color in 3–5 shades, applied in even bands. It takes precise shade mixing and regularity.
If you'd rather go for a regular gradient, you'll find the method in our article Modern Cake Decorating: Naked, Drip and Ombré.
Seasonal baking plans, tested recipes and kitchen tricks that save you time. Unsubscribe in one click.
The best choice is Swiss or Italian meringue buttercream. It's smooth, silky at room temperature, and firms up in the fridge, so you can spread the colors and then set them with chilling.
Swiss / Italian meringue buttercream: ideal. It spreads like butter, doesn't crack, and holds sharp edges.
American buttercream (butter + powdered sugar): it works, but it quickly dries to a crust in the air. Spread the colors right after applying them, not five minutes later.
Mascarpone and cream frosting: works if it's firm and well chilled. Soft frosting tears under the scraper and the colors smear into streaks.
Ganache: better not. It takes color poorly (especially dark shades) and sets quickly.
Plain whipped cream: not suitable. It's too soft and starts to weep after a few hours. If you want a whipped cream cake, stabilize the cream first. See firm whipped cream frosting with gelatin for how.
Buttercream has one flaw: because of the butter it's yellowish, and a yellow base pushes pastel pink toward salmon and blue toward green. That's why you whiten the white base (see the next section).
Reach for gel colors. They're concentrated, so a drop gives you a pastel and the frosting doesn't thin out. Liquid colors add water, which can make buttercream split, and you need a lot of them for a bold shade.
A straightforward comparison:
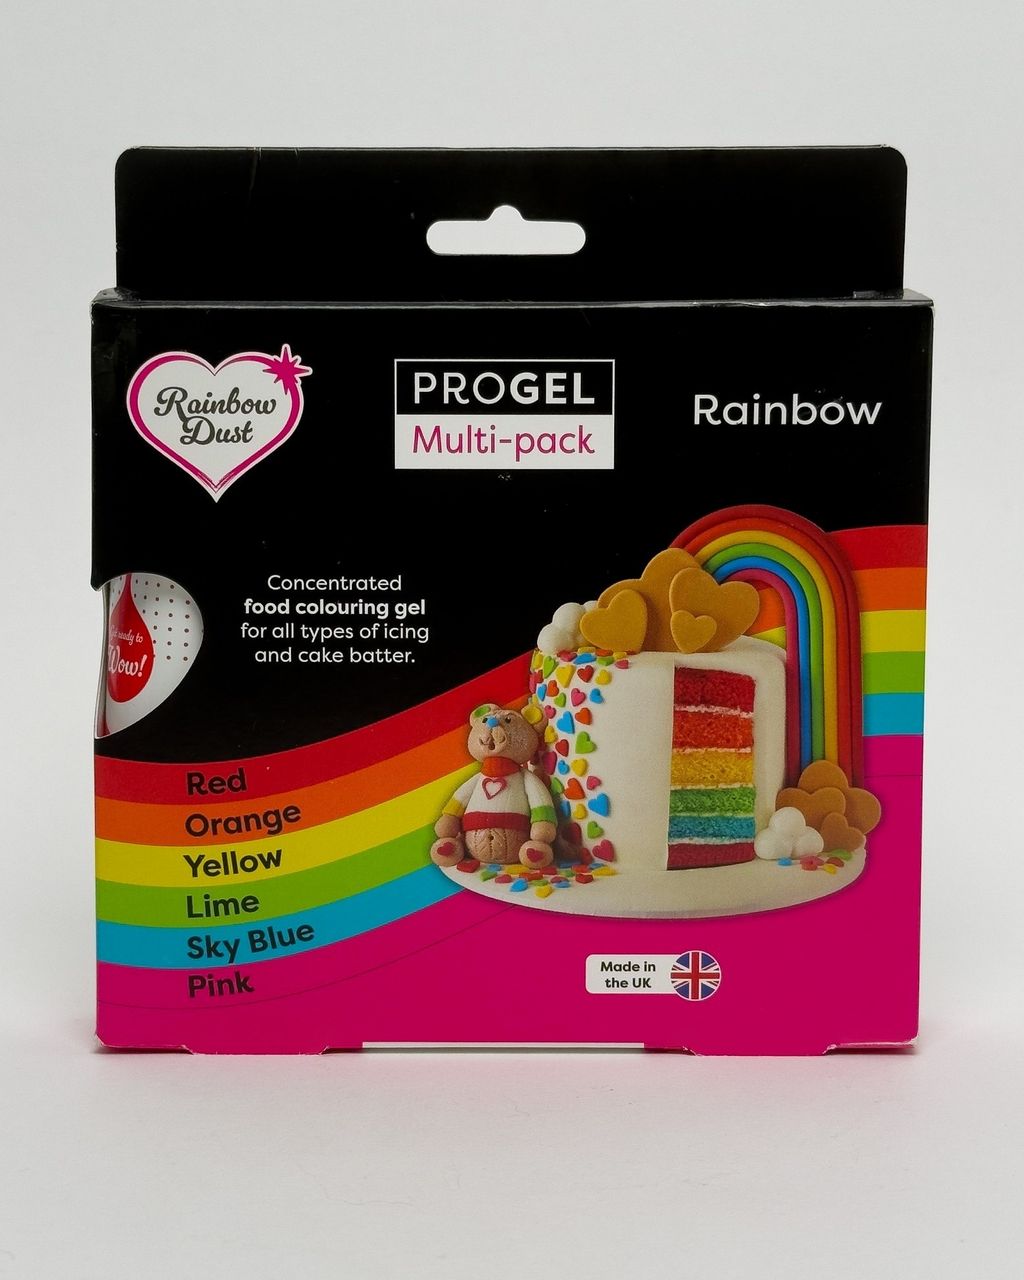
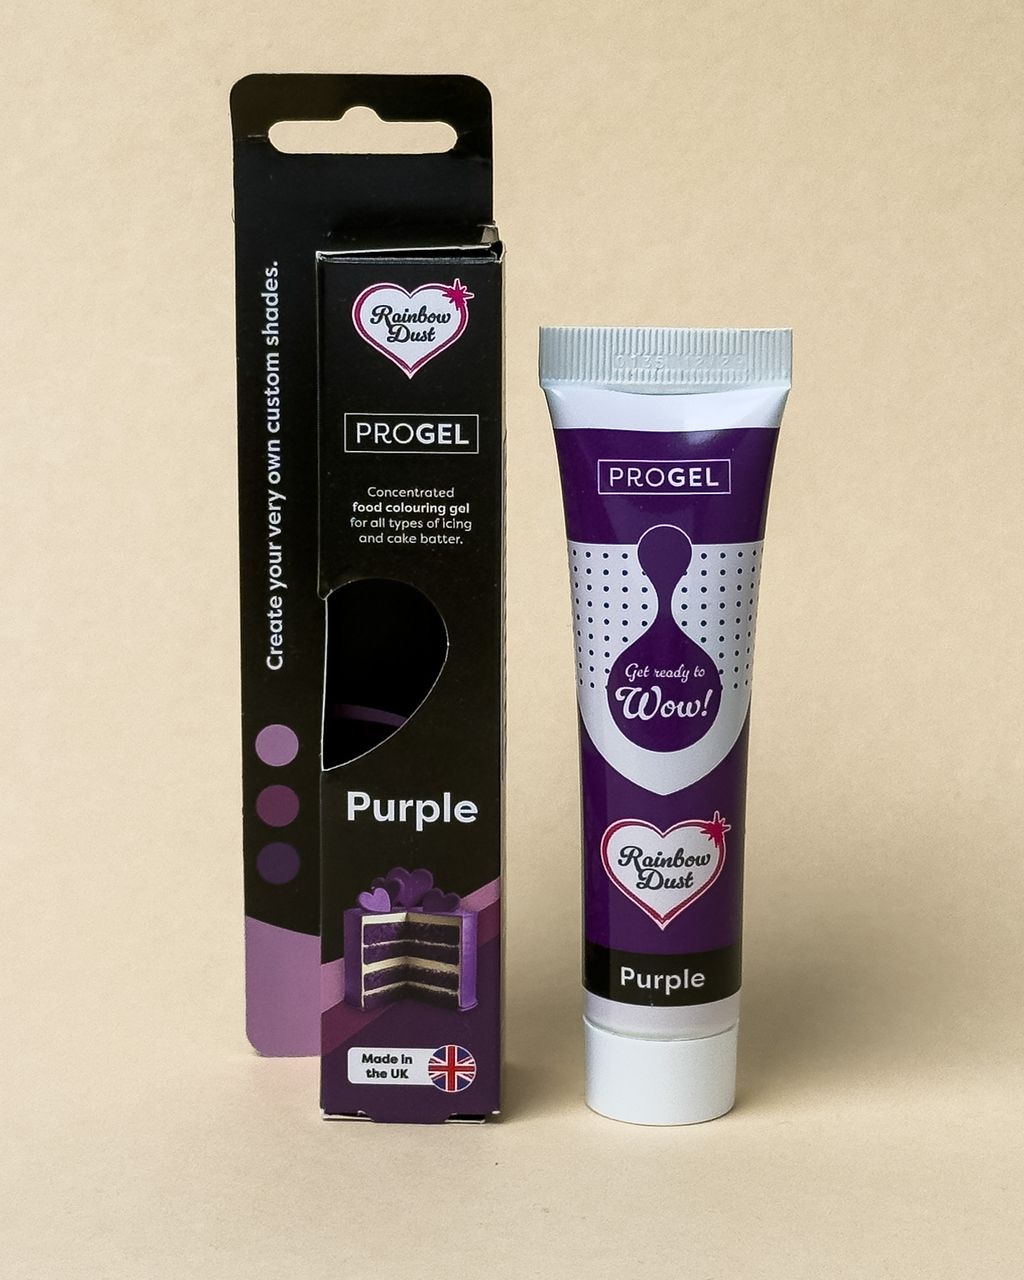
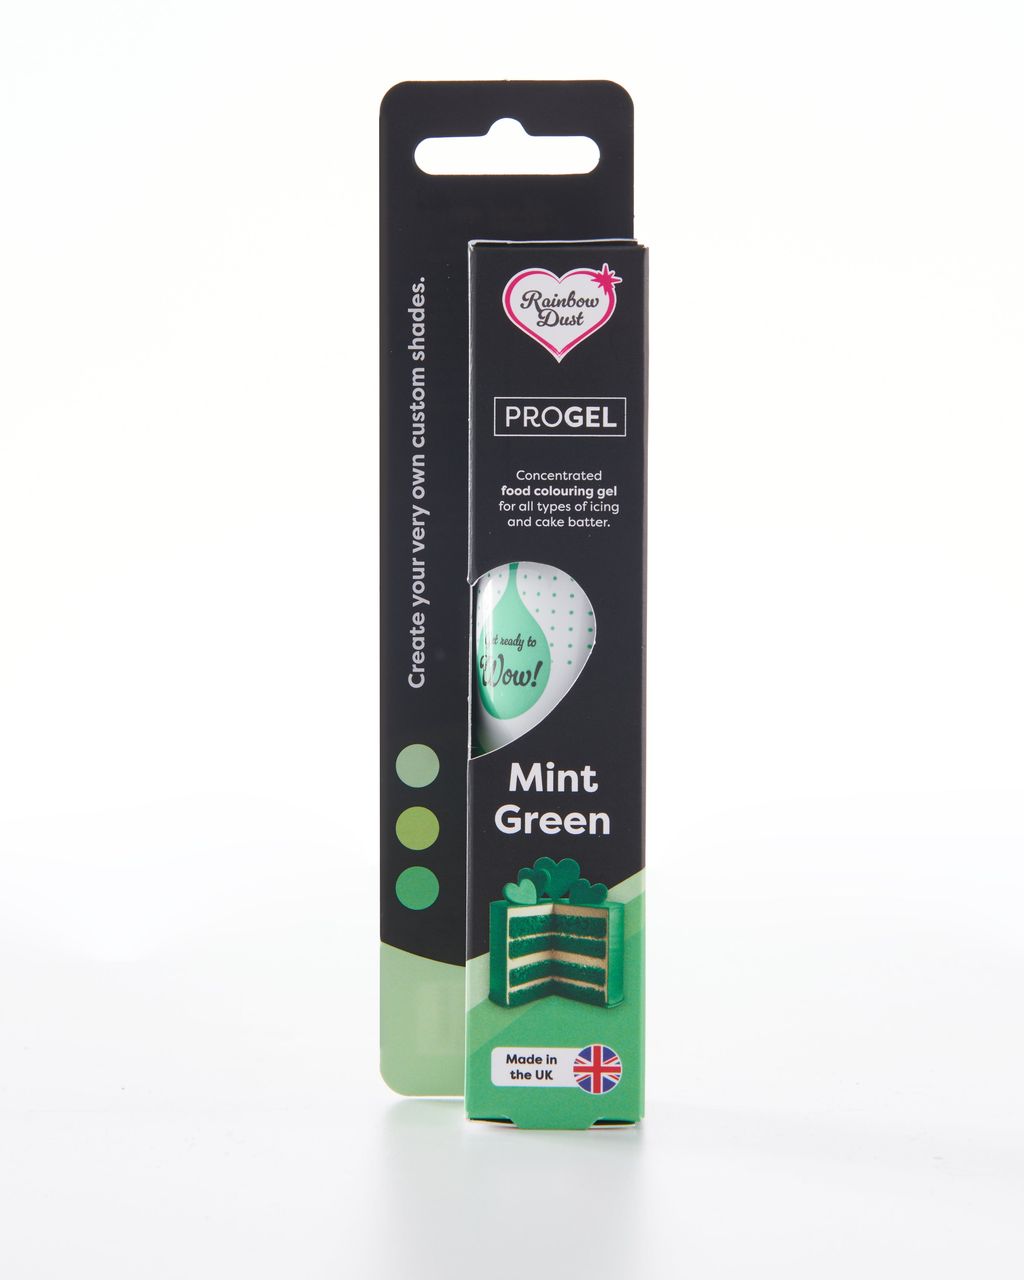
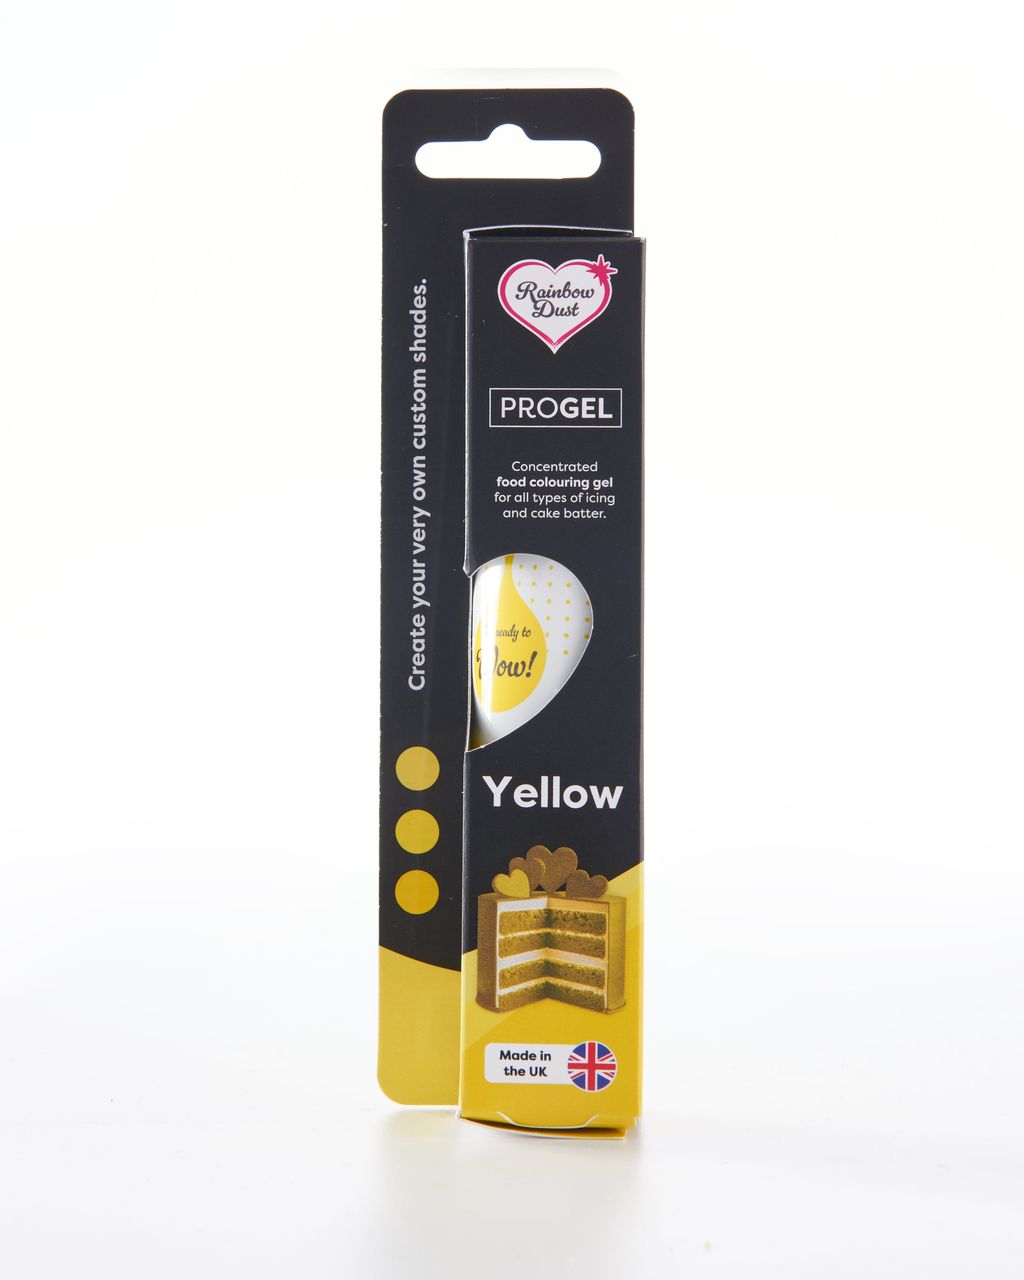
Gel colors (e.g. Rainbow Dust ProGel, Wilton, Sugarflair pastes): 1–3 drops per 100 g of frosting make a pastel. The best choice for watercolor. You'll find our full selection among food colorings for frosting and batter.
Supermarket liquid colors: fine for a pastel, but not for a deeper shade. They thin the frosting and it may split.
Powdered colors: strong, but you first need to dissolve them in a drop of water or alcohol, or colored specks will stay in the frosting.
Oil-based chocolate colors: they also work in buttercream, but buying them just for frosting makes no sense. They're mainly meant for chocolate and cocoa butter.
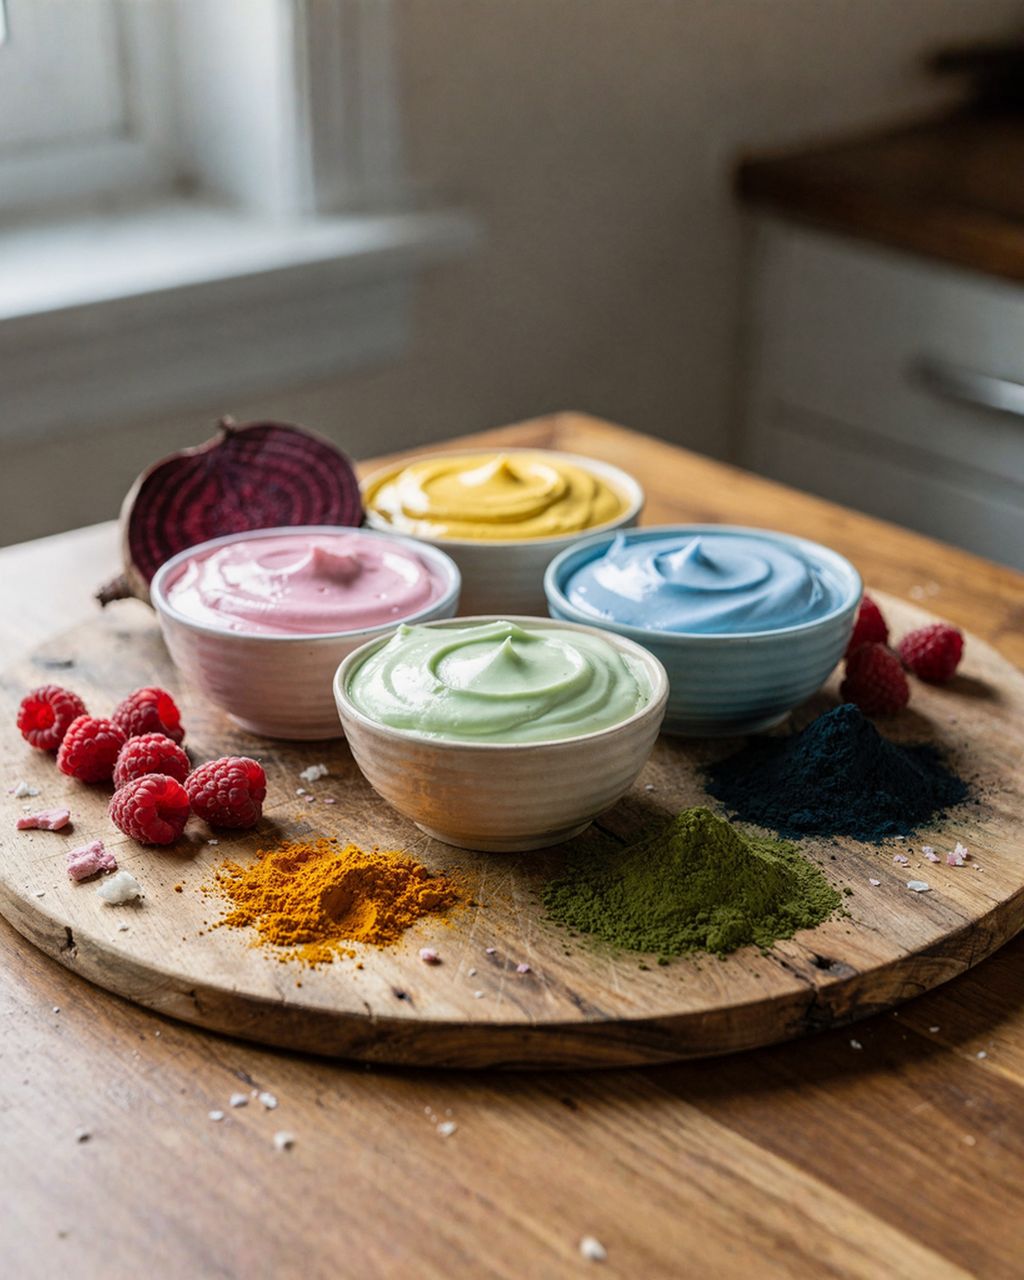
Natural colors (freeze-dried fruit, spirulina, turmeric): they give soft, slightly muted shades and add flavor. The frosting tends to be slightly grainy, and the colors fade faster in light.
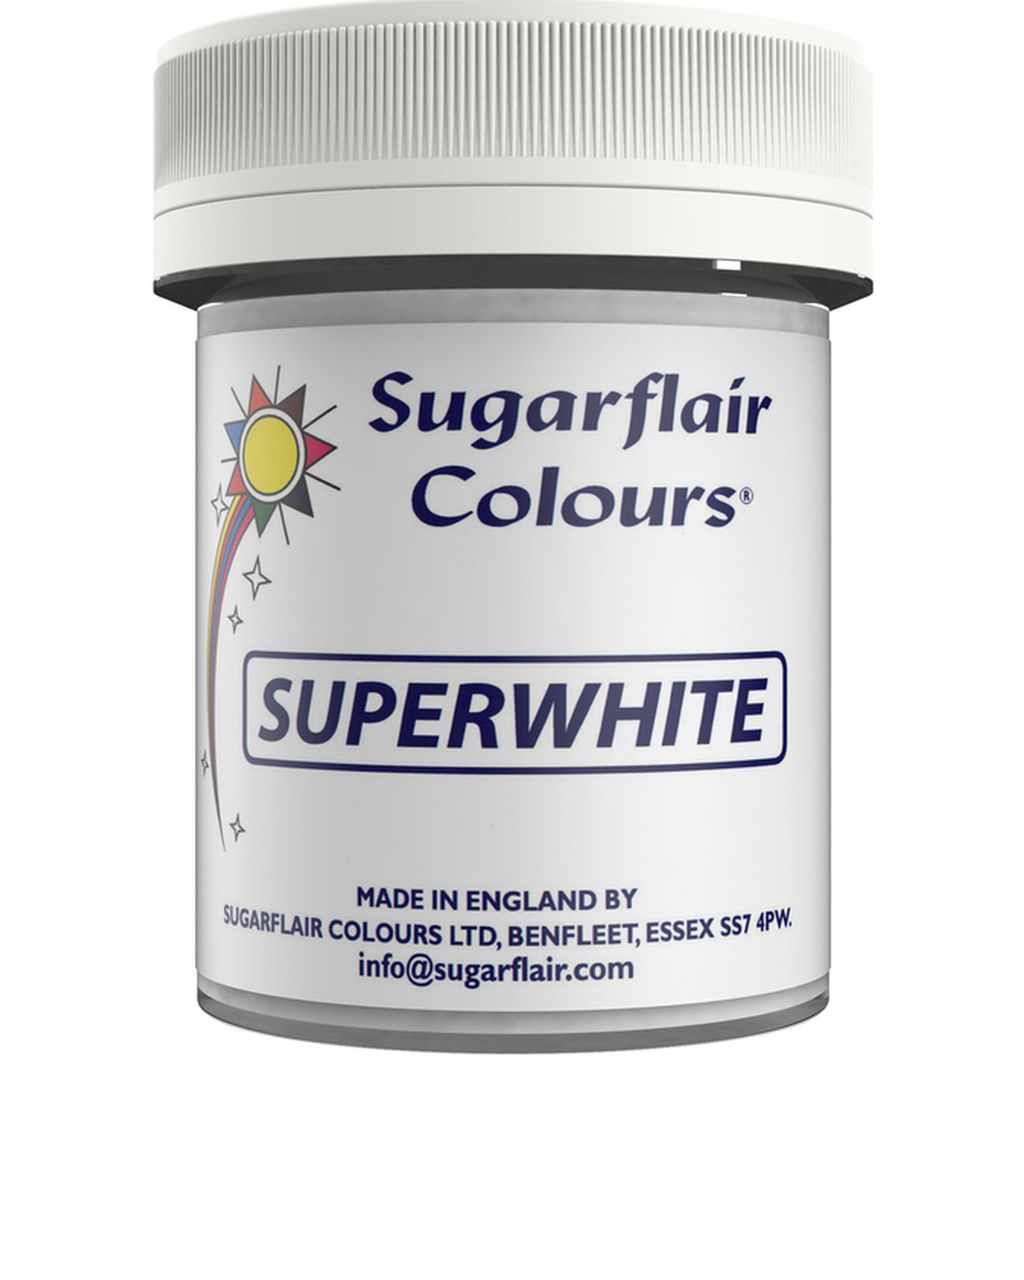
To whiten the base, use a whitening color such as Sugarflair Super White. The version sold in the EU is free of titanium dioxide (E171) and whitens with calcium carbonate. Add it in pinches until the frosting is no longer yellowish. A cheaper trick is the tip of a toothpick of purple gel color per 500 g of frosting: purple optically neutralizes yellow. Too much purple turns the frosting gray, though, so really just the tip.
Pick 2–3 colors that sit next to each other on the color wheel, plus the white base. Neighboring colors blend in the gradient into a clean in-between shade, while opposite colors blend into brown or gray.
Combinations that work:
Pink – purple – light blue (the classic "sunset over the sea")
Yellow – peach – pink (warm, spring-like)
Mint – light blue – white (cool, fresh)
One color in three intensities (e.g. three shades of purple): the safest choice for a first attempt
Combinations that turn muddy:
Red + green → brown
Purple + yellow → grayish brown
Orange + blue → gray
Keep the colors pastel. Dark patches next to light ones overpower the gradient, and instead of a delicate watercolor you get marble. To see how to mix a specific shade, check the chart of frosting shades from pastel to dark.
For a watercolor cake 18 cm (7 in) in diameter and about 10 cm (4 in) tall, plan on roughly 900 g of frosting: about 600 g of white for filling, the base coat and the final coating, and about 300 g for the colors (3 × 100 g).
White base: 600 g, whitened with Super White or a tip of purple.
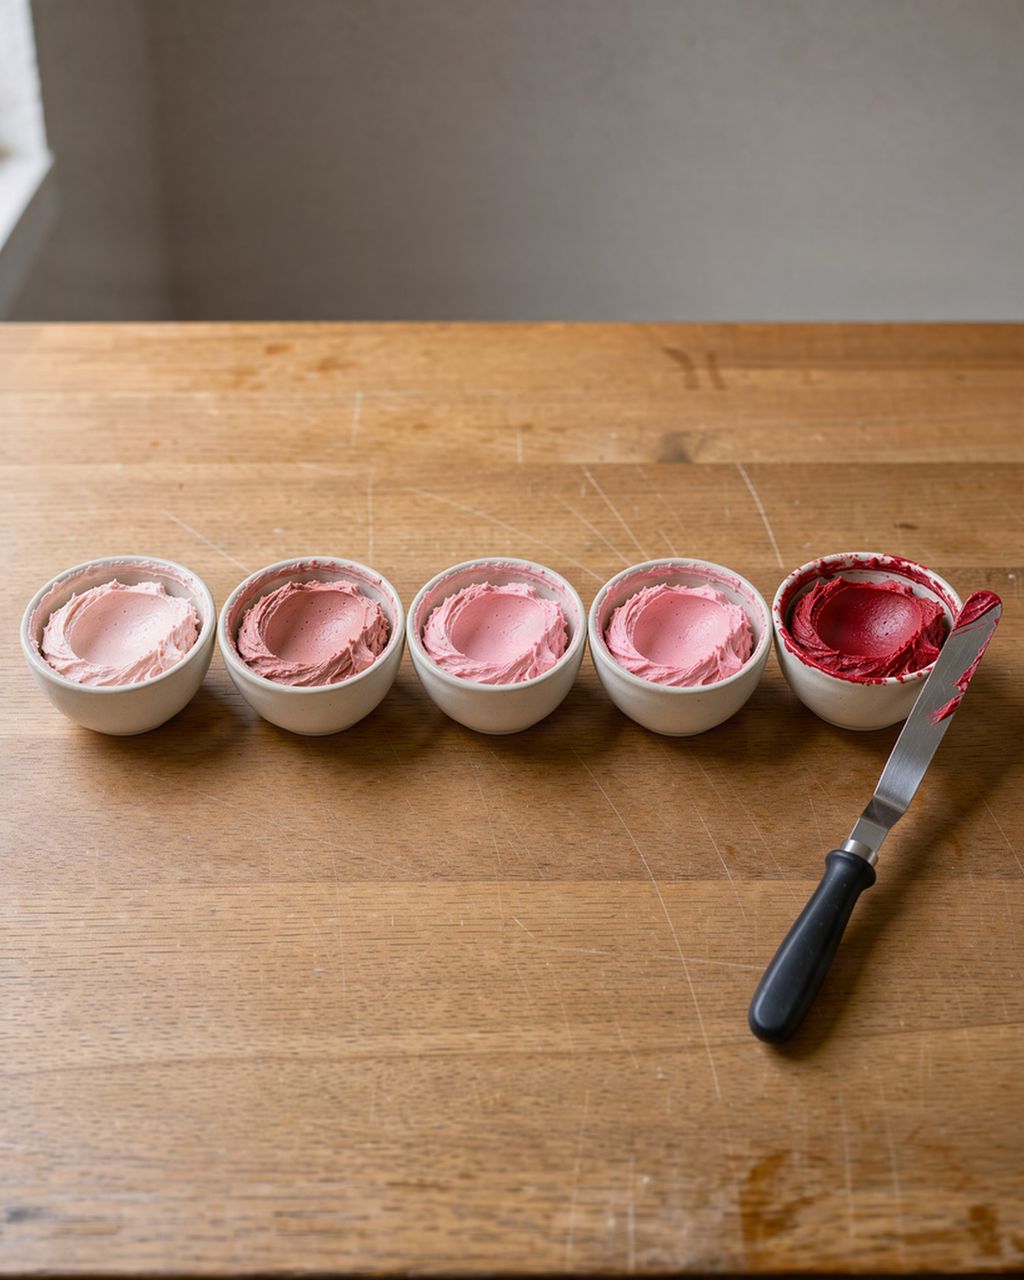
Each color: 80–100 g of frosting + 1–3 drops of gel color. Mix drop by drop. You can easily deepen a pastel with another drop, but you can't go back.
For a 15 cm cake: about 650 g in total, of which 3 × 70 g for the colors.
For a 22 cm cake: about 1.3 kg in total, of which 3 × 130 g for the colors.
Let the colored frosting rest for 30–60 minutes. Gel colors keep deepening in fat, especially pink, red and purple. What looks right now will be a notch more intense in an hour. So mix a bit lighter than you want.
The method has six steps and takes about an hour and a half in all, most of it chilling time. What matters is the temperature contrast: a cold, firm base and soft colored frosting at room temperature (about 20–22 °C / 68–72 °F).
Fill the cake and coat it with a thin base layer (crumb coat) of white frosting to trap the crumbs. Put it in the fridge for 20–30 minutes, or in the freezer for 10–15 minutes.
Apply a second, thicker white layer (about 3–5 mm) and smooth it with a scraper on a turntable. Straight sides and a sharp edge are half the result. For how to do it, see how to frost a cake with straight sides and sharp edges. Then chill again for 20–30 minutes, until the frosting feels firm to the touch.
Apply the colored patches. With a small angled spatula, or from a piping bag with the tip snipped off, place patches about 2–4 cm across on the sides. Space them irregularly and at different heights so the colors overlap in places. Leave white gaps between them, because those are what make a watercolor. Start with the lightest color and use the least of the darkest.
Spread with the scraper. Rest a smooth metal scraper against the side of the cake at an angle of about 30–45° and turn the stand once in a smooth motion. Wipe the frosting off the scraper into a bowl and make a second turn. That's usually enough. A third turn is typically the one that muddies the colors.
Fill in and fix. Where there's a hole or too much white, add a small patch and drag it over in one stroke. Fix only those spots, and don't go over the whole cake again.
Clean up the top edge with the scraper or a spatula, pulling from the edge toward the center, and chill the cake for at least 30 minutes so the colors set.
Tip for a smooth surface: dip the scraper in hot water, wipe it dry, and only then pull. Warm metal slightly melts the frosting and smooths out the pores, but a wet scraper would leave streaks.
Muddy colors on a watercolor cake almost always come down to one of three causes: overworking with the scraper, opposite colors, or a warm base where the colored frosting mixes with the white. A quick diagnosis:
The colors are gray or brown: too many turns, or you put colors from opposite sides of the color wheel next to each other. Next time, use 1–2 turns and neighboring colors.
The colors smear into the white like streaks: the base was warm. It has to feel firm to the touch, otherwise the scraper drags it along.
The colored frosting tears and leaves holes: it's too cold or too stiff. Let it come to room temperature and stir until smooth.
There are bubbles and pores on the surface: the frosting is over-whipped. Before applying it, stir it with a spatula in the bowl for 1–2 minutes to push out the bubbles.
The shade is darker after a few hours than you wanted: the gel color developed. Next time mix lighter and let the frosting rest beforehand.
The white is yellowish and the pink looks salmon: the base wasn't whitened. Use Super White or a tip of purple.
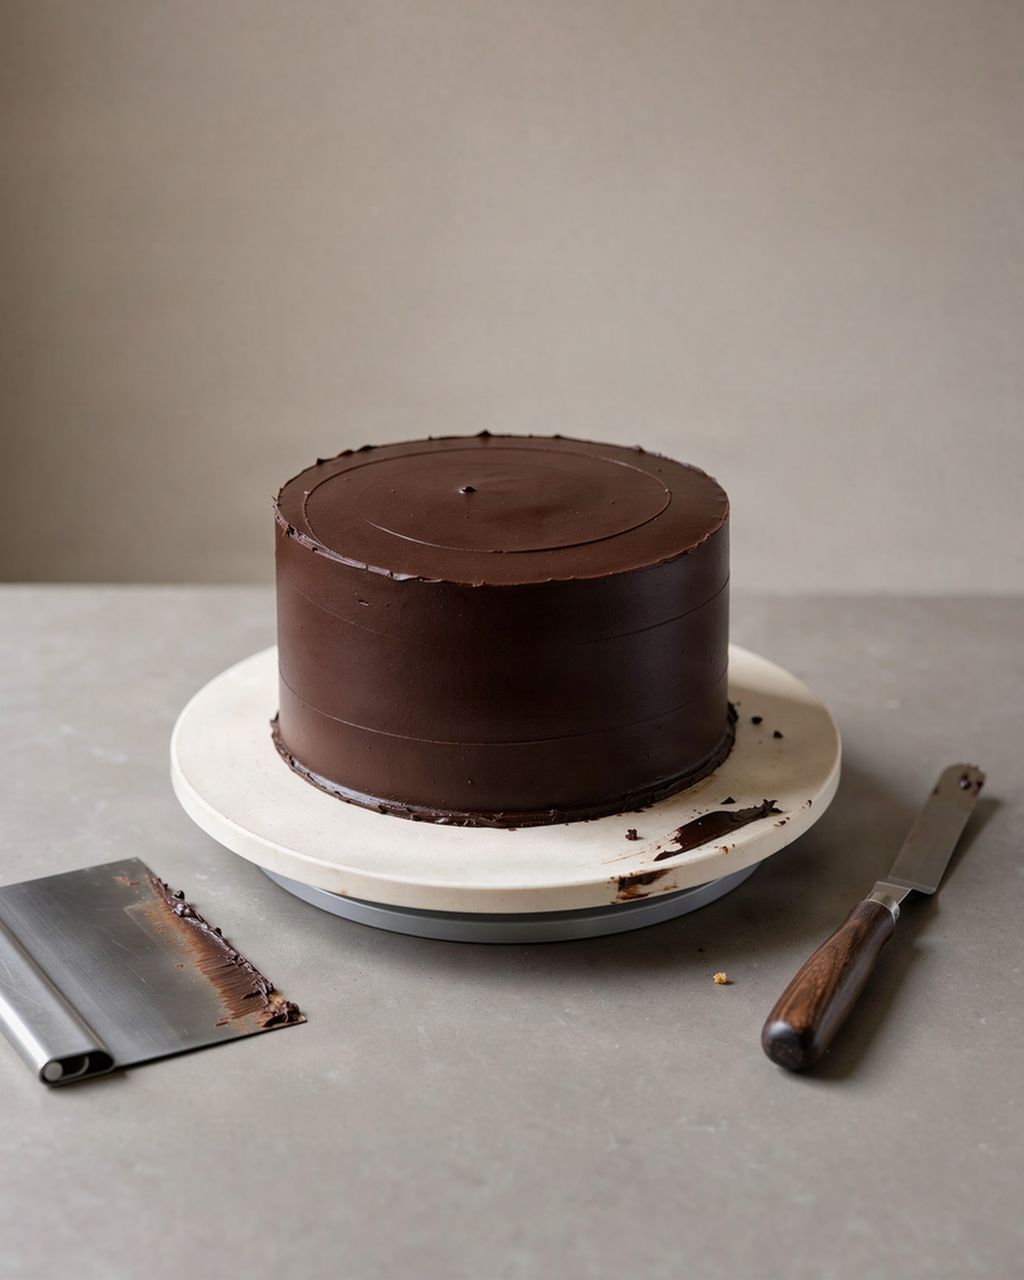
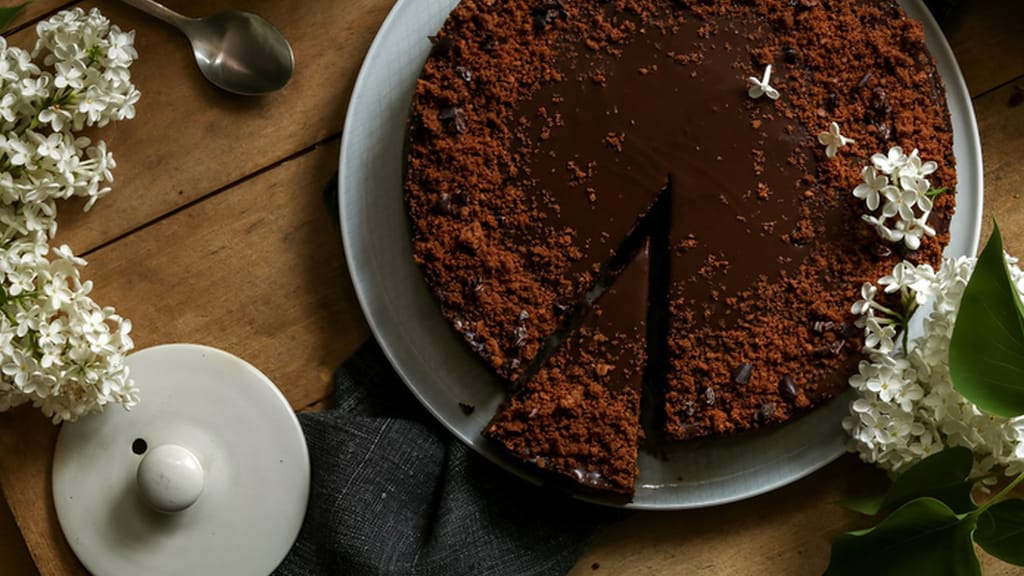
Any cake with a flat top that can carry buttercream suits a watercolor finish: vanilla, lemon, even chocolate. The frosting covers it completely, so the color of the cake doesn't matter. A good base is, for example, a simple chocolate cake. Bake it in an 18 cm (7 in) pan and level the tops before filling.
The watercolor is the main decoration, so keep any extra decoration restrained:
A few fresh or dried edible flowers in watercolor shades on top, in one corner.
Edible gold leaf torn into tiny pieces and pressed with a brush onto a few spots in the gradient.
A row of small white frosting rosettes along the top edge.
Meringues or macarons in the same pastel colors, leaning against the top. For a purple-pink palette, lilac meringues fit well (the meringues alone, without cream or fruit).
With any colored frosting left over, pipe rosettes on a few cupcakes, for example yogurt banana cupcakes. Mixed together, the leftovers make a dull grayish pink, so don't combine them.
Simple chocolate cake
A simple chocolate cake as the base under watercolor frosting
You can decorate a watercolor cake with buttercream 1–2 days ahead and keep it in the fridge. Ideally, cover it with a cake dome so the frosting doesn't absorb fridge odors. Take it out 30–60 minutes before serving so the frosting softens and turns silky. The colors won't bleed in the fridge; they only darken slightly.
In direct sun or under strong light, a watercolor cake fades within a few hours, especially the pink, purple and blue. Keep it in the shade or in the fridge. For outdoor photos, bring it out at the very last moment.
Yes, you can color a watercolor cake with natural colors only, but the shades will be more muted and the frosting slightly grainy. Use finely ground freeze-dried raspberry or strawberry powder for pink, blue spirulina for blue, and a pinch of turmeric for yellow. Stir the powders into a teaspoon of frosting first so no specks are left in the coating.
Slice a chilled watercolor cake with a knife warmed in hot water and wiped dry. Reheat and wipe the knife after every cut. Cold frosting then cuts cleanly, and the colors won't drag into the white.
One recipe worth heating the oven for, one tip, and one deal from the shop. Nothing else.