Simple chocolate cake
Mirror Glaze: How to Get a Perfect Shine on Cakes

Updated Oct 25, 2026
Mirror glaze is a glossy glaze made from sugar, glucose syrup, sweetened condensed milk, gelatin and white chocolate. You pour it at 30–35 °C (86–95 °F) over a frozen cake, and once set it reflects light like a mirror. A cake 18–20 cm (7–8 in) across needs about 700 g. The secret isn't fancy equipment but three things: the right pouring temperature, a smooth, bubble-free emulsion and a rock-solid frozen cake. In this guide you'll find exact weights (including a conversion for a 24 cm cake), a timeline from cooking to slicing, a chocolate version made with cocoa, coloring without titanium dioxide, how to store leftovers and fixes for the most common problems.
Mirror glaze is a liquid glaze made from sugar syrup, glucose syrup, sweetened condensed milk, gelatin and chocolate. You pour it warm over a cake, and once set it reflects light like a mirror, hence the name. The shine doesn't come from polishing: the glaze sets on an icy surface into a perfectly smooth, thin layer. If you don't want to cook it from scratch, reach for a ready-made mirror glaze.
It belongs to the world of French entremets, layered mousse desserts. Social media and the Russian pastry chef Olga Noskova, whose photos of mirror-like cakes went around the world, brought it a new wave of popularity. If you're curious where this look came from, read how Paris changed the world of French desserts. And if you're wondering whether a different glaze might suit your cake better, this overview of types of glazes for cakes and cookies and when to use each will help.
Seasonal baking plans, tested recipes and kitchen tricks that save you time. Unsubscribe in one click.
Mirror glaze gets its shine from three groups of ingredients: gelatin, white chocolate with condensed milk, and sugar with glucose syrup. The fourth condition is a smooth, rock-solid frozen cake. If any one of them is missing, the shine disappears.
Gelatin forms a springy gel that helps the glaze cling to vertical sides instead of sliding off.
White chocolate and condensed milk add fat and milk solids; it's the fine droplets of fat dispersed in the syrup that make the surface glow.
Sugar and glucose syrup give the glaze body and shine; glucose syrup also prevents the sugar from crystallizing, so the surface stays glassy rather than grainy.
That's why the glaze is poured over a frozen cake: the icy surface stops it instantly in a thin layer, which sets quickly and stays glassy and smooth. On a lukewarm cake, the glaze would run off and leave bare patches.
A classic white mirror glaze rests on six ingredients: gelatin, water, sugar, glucose syrup, sweetened condensed milk and white chocolate. Food coloring is an optional extra. Each ingredient has a job, and once you understand them, you'll know what to adjust when something goes wrong.
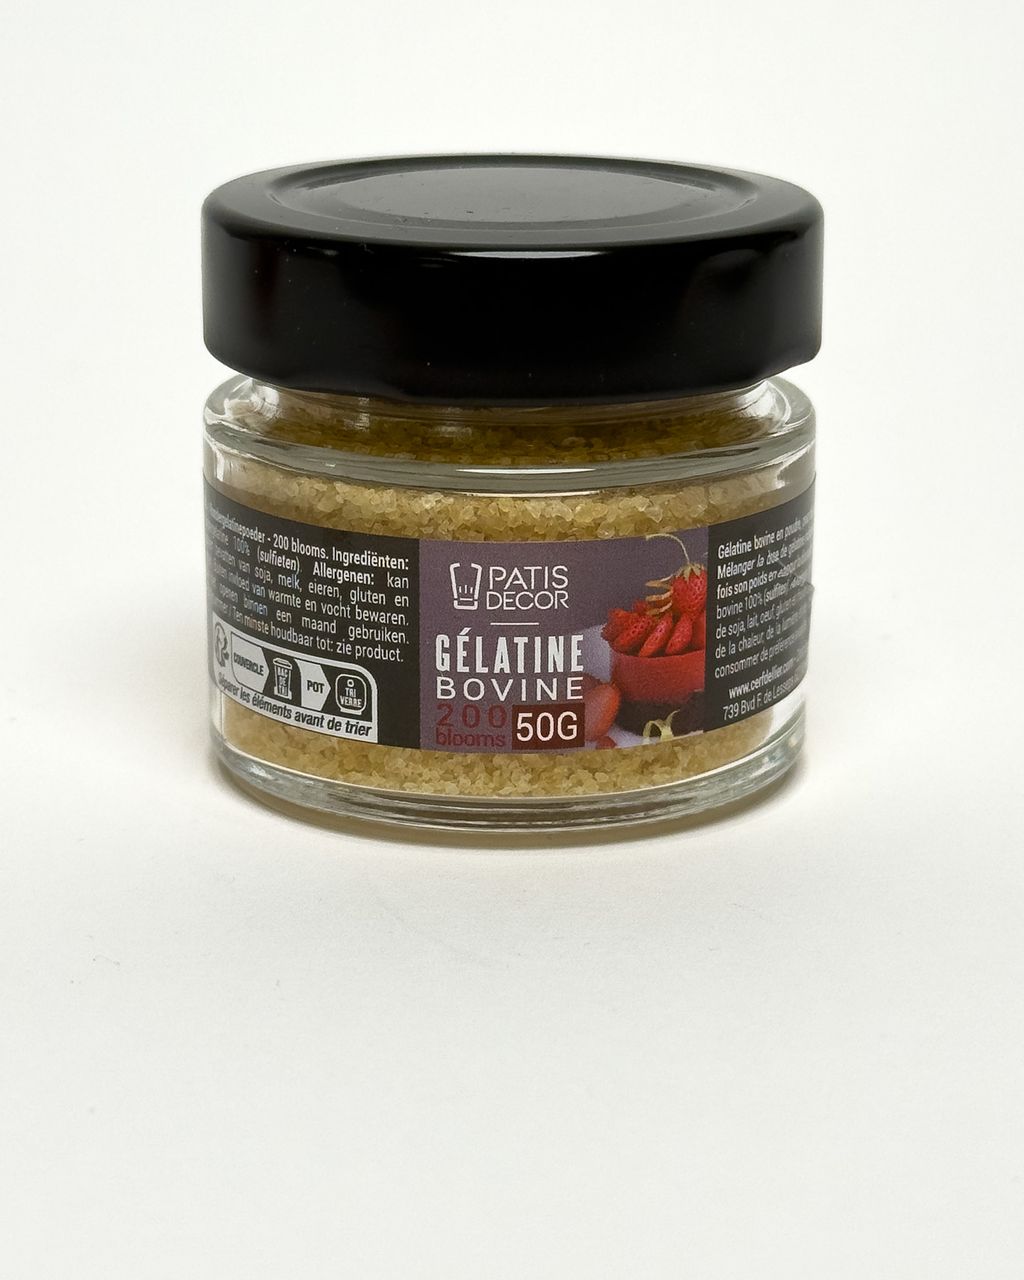
Gelatin gives the glaze structure and elasticity and holds it on the cake in a thin layer. The weights in this guide are for 200 Bloom gelatin; for what the number means and how to convert another strength, see Bloom gelatin: what the Bloom number means.
Water hydrates the gelatin and forms the base of the sugar syrup.
Sugar adds sweetness, body and shine; cooked with water, it makes the syrup.
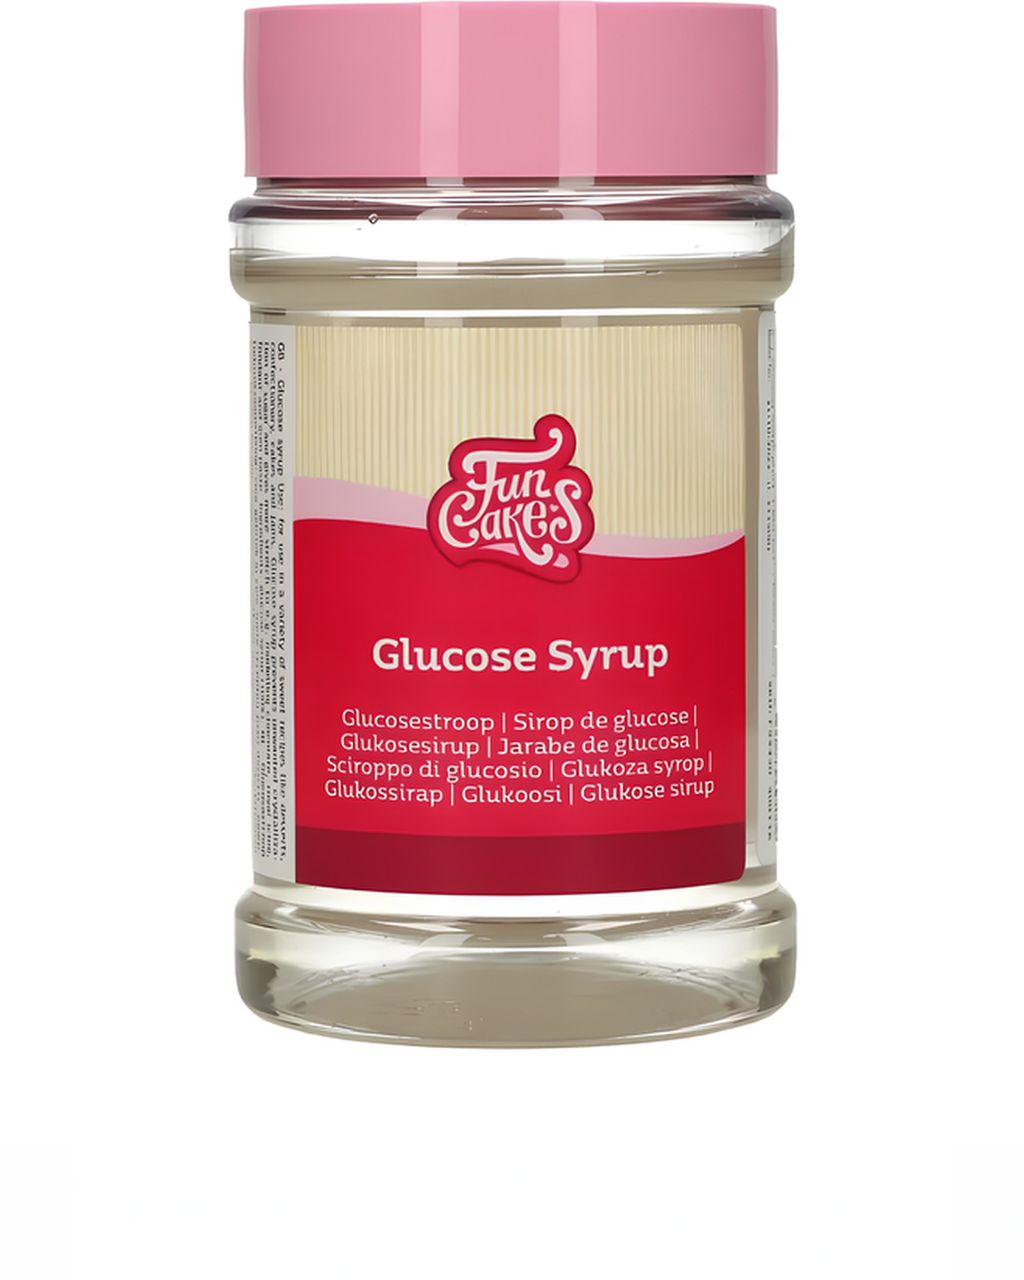
Glucose syrup is the key to shine and elasticity; it prevents the sugar from crystallizing and keeps the glaze supple.
Sweetened condensed milk brings creaminess, milk solids and opacity.
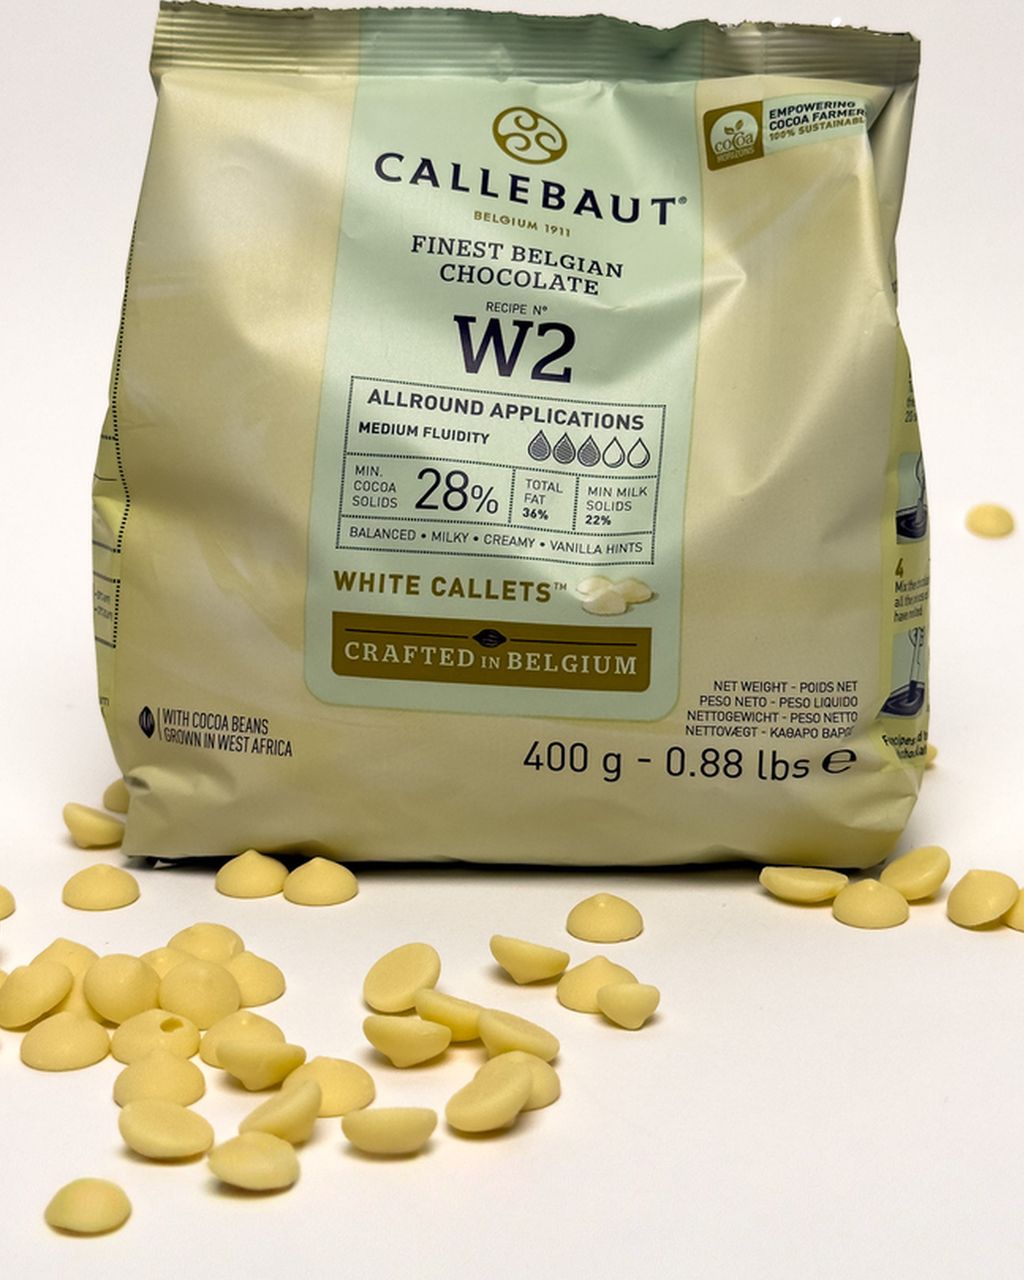
White chocolate carries flavor and firms up the glaze as it cools; choose a good one with a higher cocoa butter content, for both shine and taste.
Optionally, you can add food coloring, preferably gel. Titanium dioxide (E171) doesn't belong in the glaze: in the EU it is no longer an authorized food additive (more in the coloring section).
You can adapt mirror glaze with three swaps: agar instead of gelatin for a vegetarian version, coconut milk instead of condensed milk for a less dairy-heavy option, and dark chocolate instead of white for a dark, less sweet glaze. A vegan glaze only works if you combine agar with a substitute for condensed milk and chocolate without dairy ingredients. Each swap also behaves a little differently.
Agar instead of gelatin — for a vegetarian version; it becomes vegan only when combined with a milk substitute and a dairy-free chocolate (see below). Agar has to be boiled and sets firmer and faster, so work briskly and expect a less springy surface; dose it according to the package instructions. With agar, pour the glaze warmer, at about 40–45 °C (104–113 °F), right after it cools down. Agar starts to set at around 35–40 °C (95–104 °F), and once set it can't be melted again at 35 °C, so skip the overnight rest in the fridge and the microwave reheating for the agar version.
Coconut milk instead of condensed milk — the glaze will be slightly less opaque and will lightly scent the cake with coconut. Note: white chocolate itself contains milk, which under EU Regulation No. 1169/2011 is an allergen that must be declared on the label. For a completely dairy-free glaze, you need dairy-free chocolate too.
Dark chocolate instead of white — for a less sweet, dark glaze. It can't be colored, though, so expect a naturally chocolatey shade. The cocoa version below gives an even darker, glossier result.
One 18–20 cm (7–8 in) cake needs about 700 g of white mirror glaze, which you can then color any shade you like. The batch is deliberately generous: the glaze has to be poured all at once, and the excess that runs off the sides can be reused. Have a digital thermometer ready — it's the only tool that really matters here (you'll find more tips in the article on kitchen tools you shouldn't be without) — plus a tall, narrow container for blending.
For an 18–20 cm (7–8 in) cake, prepare about 695 g of ingredients:
10 g powdered gelatin, 200 Bloom, plus 60 g cold water for soaking (1:6 ratio)
75 g water for the syrup
150 g granulated sugar
150 g glucose syrup
100 g sweetened condensed milk
150 g good-quality white chocolate, chopped or in chips
gel food coloring of your choice (optional)
Check: 10 + 60 + 75 + 150 + 150 + 100 + 150 = 695 g. Some of the water evaporates during cooking, so you'll end up with roughly 650–680 g in the container.
You make mirror glaze in six steps: soak the gelatin, cook the syrup, combine it with the chocolate, blend without bubbles, strain, and let it cool to 30–35 °C (86–95 °F).
Soak the gelatin. Sprinkle the powder into 60 g cold water and let it bloom for 10 minutes. If you're using sheet gelatin, use the same weight and Bloom strength, soak it in a larger amount of cold water, squeeze it out, and add the 60 g of water to the syrup water.
Cook the syrup. In a saucepan, combine 75 g water, the sugar and the glucose syrup, bring to a boil and cook to 103–105 °C (217–221 °F); Callebaut gives 105 °C in its recipe. This takes about 5 minutes.
Combine with the chocolate. Put the white chocolate, condensed milk and bloomed gelatin into a tall container and pour the hot syrup over them. Let it stand for 1–2 minutes so the chocolate warms through and the gelatin dissolves.
Blend without bubbles. Submerge the immersion blender right to the bottom, hold it slightly tilted and blend for 1–2 minutes without lifting the head toward the surface, or it will pull in air. Add the coloring now.
Strain. Push the glaze through a fine sieve to catch leftover bubbles and bits of chocolate.
Let it cool to 30–35 °C (86–95 °F). Cover with plastic wrap pressed directly onto the surface. Either let it cool at room temperature and keep checking the temperature (about 1 hour, depending on the amount), or, as Callebaut also recommends, rest it in the fridge for 24 hours, then reheat it in the microwave in 10–15 second bursts to 35 °C (95 °F) and stir before using.
Resting overnight has a bonus: the bubbles float to the top and the next day you simply skim them off, leaving a flawless surface.
For a cake 24 cm (9½ in) across, multiply all the ingredients by 1.5. The top surface is roughly 44% larger than on a 20 cm cake and the sides are longer, so you need approximately 1 kg of glaze.
15 g powdered gelatin, 200 Bloom, plus 90 g cold water
112 g water for the syrup (75 × 1.5 = 112.5 g)
225 g sugar
225 g glucose syrup
150 g sweetened condensed milk
225 g white chocolate
Check: 15 + 90 + 112 + 225 + 225 + 150 + 225 = 1,042 g. The method, temperatures and times stay the same; the syrup just cooks a few minutes longer.
Mirror glaze is best made over two days: on day one you cook the glaze and freeze the cake, and on day two you pour. Here's the full schedule:
The day before — freeze the cake: assemble the cake, smooth it, and freeze it at −18 °C (0 °F), the temperature Callebaut gives, ideally overnight and for at least 12 hours so it freezes through.
The day before — cooking: soak the gelatin for 10 min, cook the syrup to 103–105 °C (217–221 °F) for about 5 min.
Blending without bubbles and straining: 3–5 min.
Resting / cooling: 24 h in the fridge (smoothest result), or about 1 h at room temperature until it drops to 30–35 °C (86–95 °F).
Reheating to working temperature: from the fridge, in the microwave in 10–15 s bursts, usually 2–4 min in total, until it reaches 35 °C (95 °F); stir with a spatula, not a whisk.
Cake from the freezer: take it out only once the glaze is at temperature; remove the wrap and ring and set it on the rack right away, within 2–3 minutes, before the surface starts to sweat.
Pouring: in one smooth motion, 20–40 seconds.
Dripping: 5–10 min, until the glaze stops dripping; then trim the drips along the bottom edge.
Chilling: move the cake to a serving board and put it in the fridge (4 °C / 39 °F). Callebaut gives at least 2 hours so that condensation doesn't form on the shine; for a whole 18–20 cm mousse cake, count on 4–6 hours before it's sliceable inside.
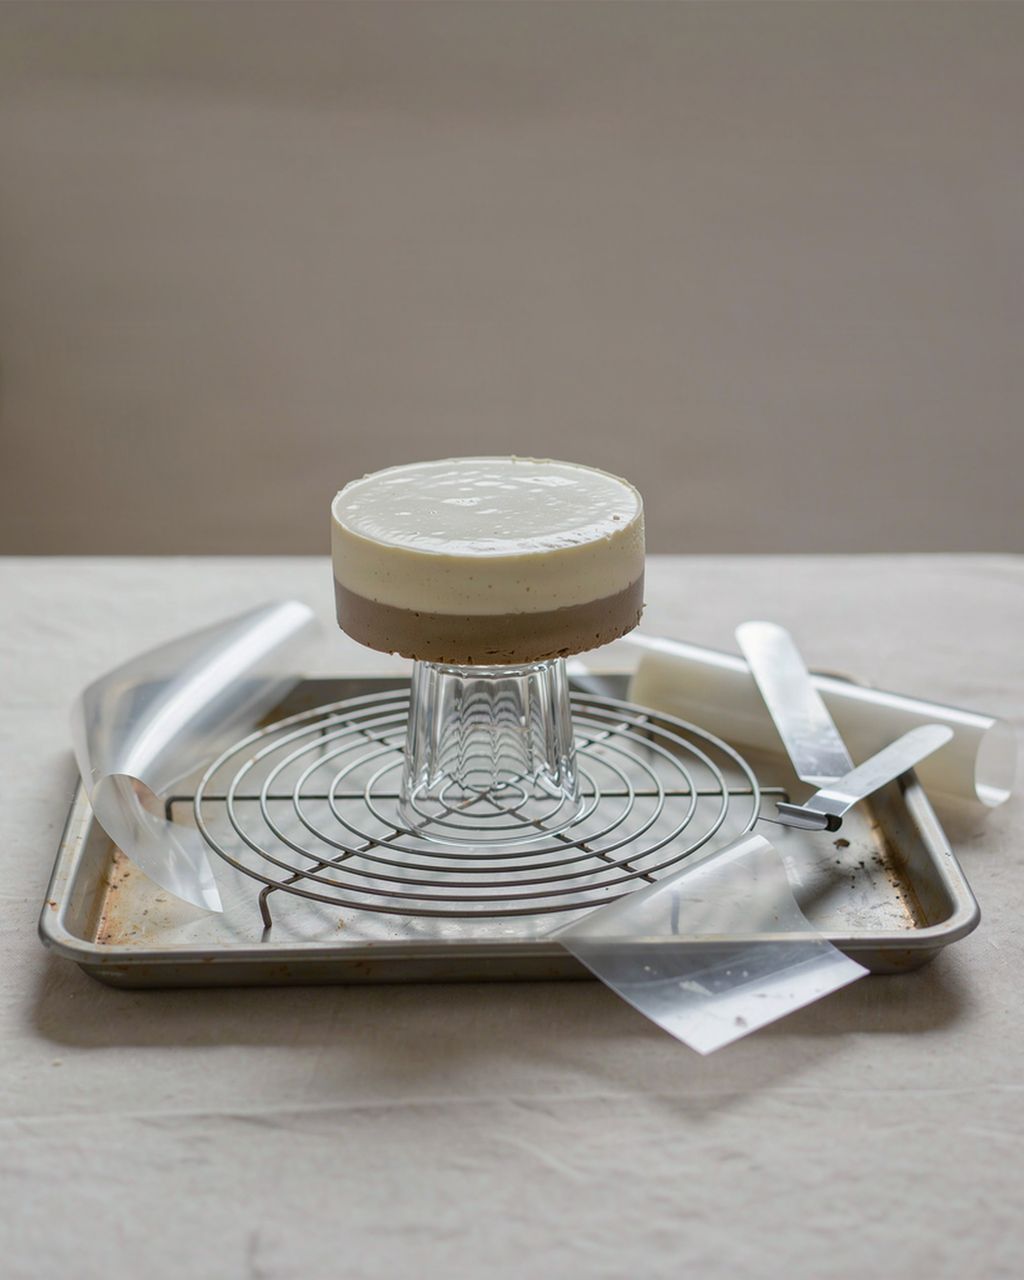
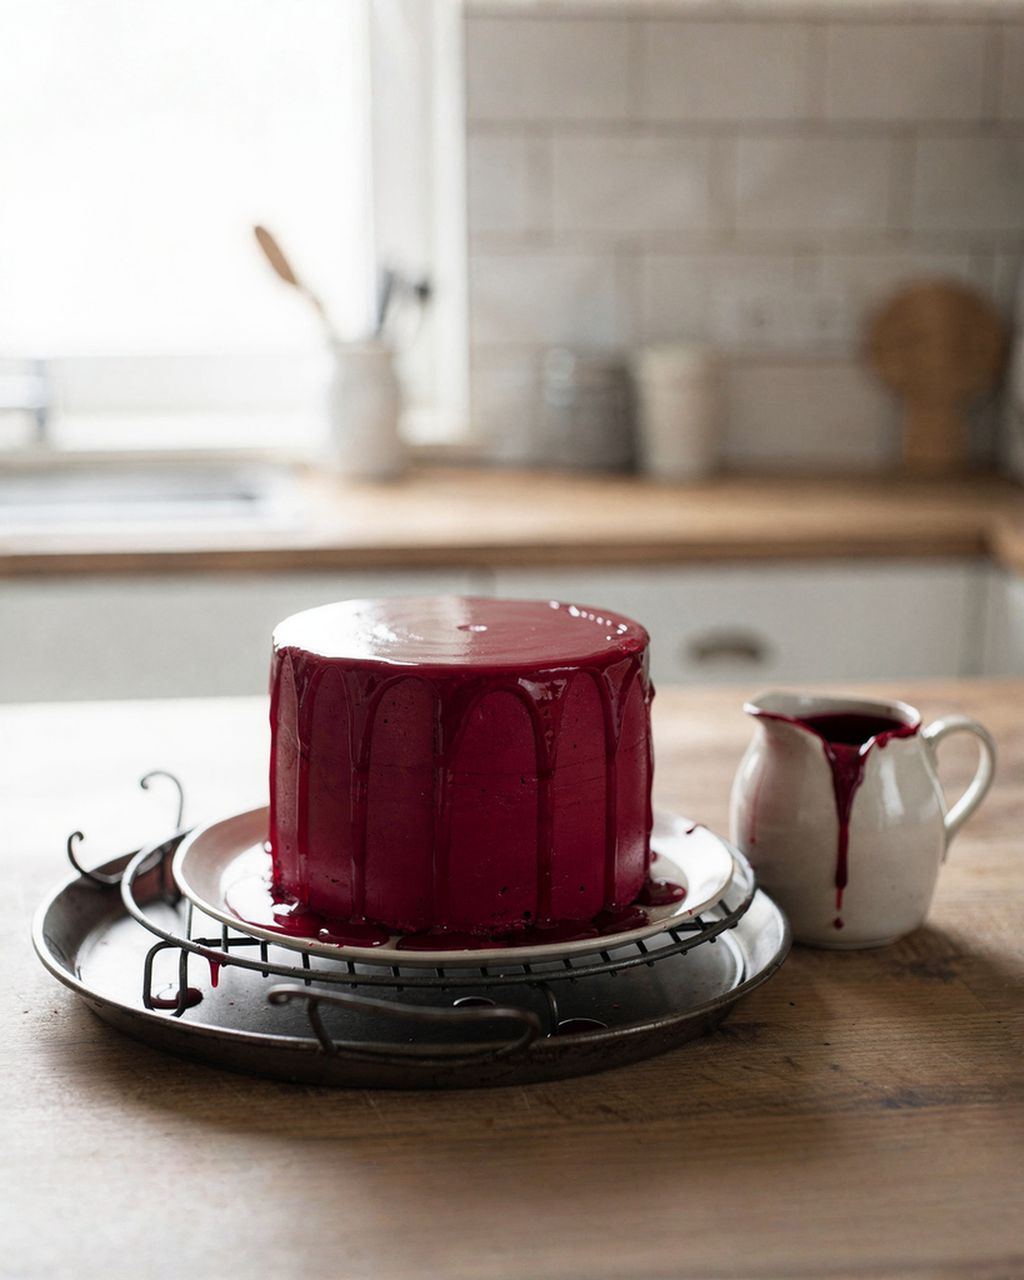
Set the frozen cake on an upturned glass or a smaller mold on a rack over a baking tray, and pour the 30–35 °C (86–95 °F) glaze in one smooth motion — first around the edge to cover the sides, then into the center — until the whole cake disappears under a glossy layer. The excess runs onto the tray and can be collected and reused.
Pouring is the main method. It works only when the glaze is at 30–35 °C (86–95 °F) and the cake is frozen — one layer, no second pour, or you'll get streaks.
A spatula is for leveling, not spreading: one stroke with a large offset spatula wipes the excess off the top and lets the sides run. The less you touch the glaze, the smoother it stays.
After 5–10 minutes, when the glaze stops dripping, trim the drips along the bottom edge with a knife and move the cake to a serving board. Then let it thaw in the fridge — the glaze shines straight away, but the cake inside needs time.

Simple chocolate cake
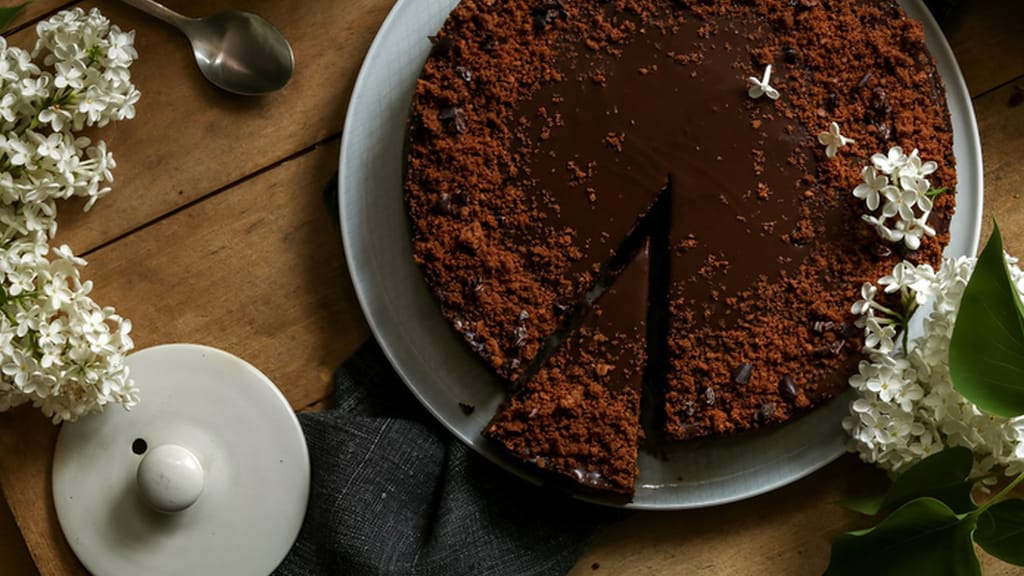
A simple chocolate cake as the base for mirror glaze — just coat it with ganache and freeze it.
Chocolate mirror glaze is made with cocoa and cream instead of white chocolate and condensed milk; for an 18–20 cm (7–8 in) cake you need about 650 g, and you pour it the same way at 30–35 °C (86–95 °F). The result is a deep brown, very glossy glaze that's less sweet than the white version. Cocoa powder is low in fat, so you need a little more gelatin here.
For an 18–20 cm (7–8 in) cake (about 650 g), prepare:
12 g powdered gelatin, 200 Bloom, plus 72 g cold water (1:6 ratio)
120 g water
240 g sugar
120 g heavy cream, 33% fat
85 g good-quality Dutch-process (alkalized) cocoa, sifted
Check: 12 + 72 + 120 + 240 + 120 + 85 = 649 g. For a 24 cm cake, multiply everything by 1.5 (18 g gelatin + 108 g water, 180 g water, 360 g sugar, 180 g cream, 128 g cocoa = 974 g).
The method is shorter than for the white version:
Sprinkle the gelatin into 72 g cold water and let it bloom for 10 minutes.
Bring the water, sugar and cream to a boil.
Whisk in the sifted cocoa and, stirring constantly, simmer for 1–2 minutes, until the mixture thickens and turns smooth.
Take it off the heat, let it stop bubbling for 1–2 minutes, and stir in the gelatin.
Blend with an immersion blender submerged at the bottom, strain through a fine sieve and cover with plastic wrap pressed directly onto the surface.
Let it cool to 30–35 °C (86–95 °F), or rest it overnight in the fridge and reheat it the same way as the white glaze.
If you want even more shine and elasticity, replace 60 g of the sugar with the same weight of glucose syrup.
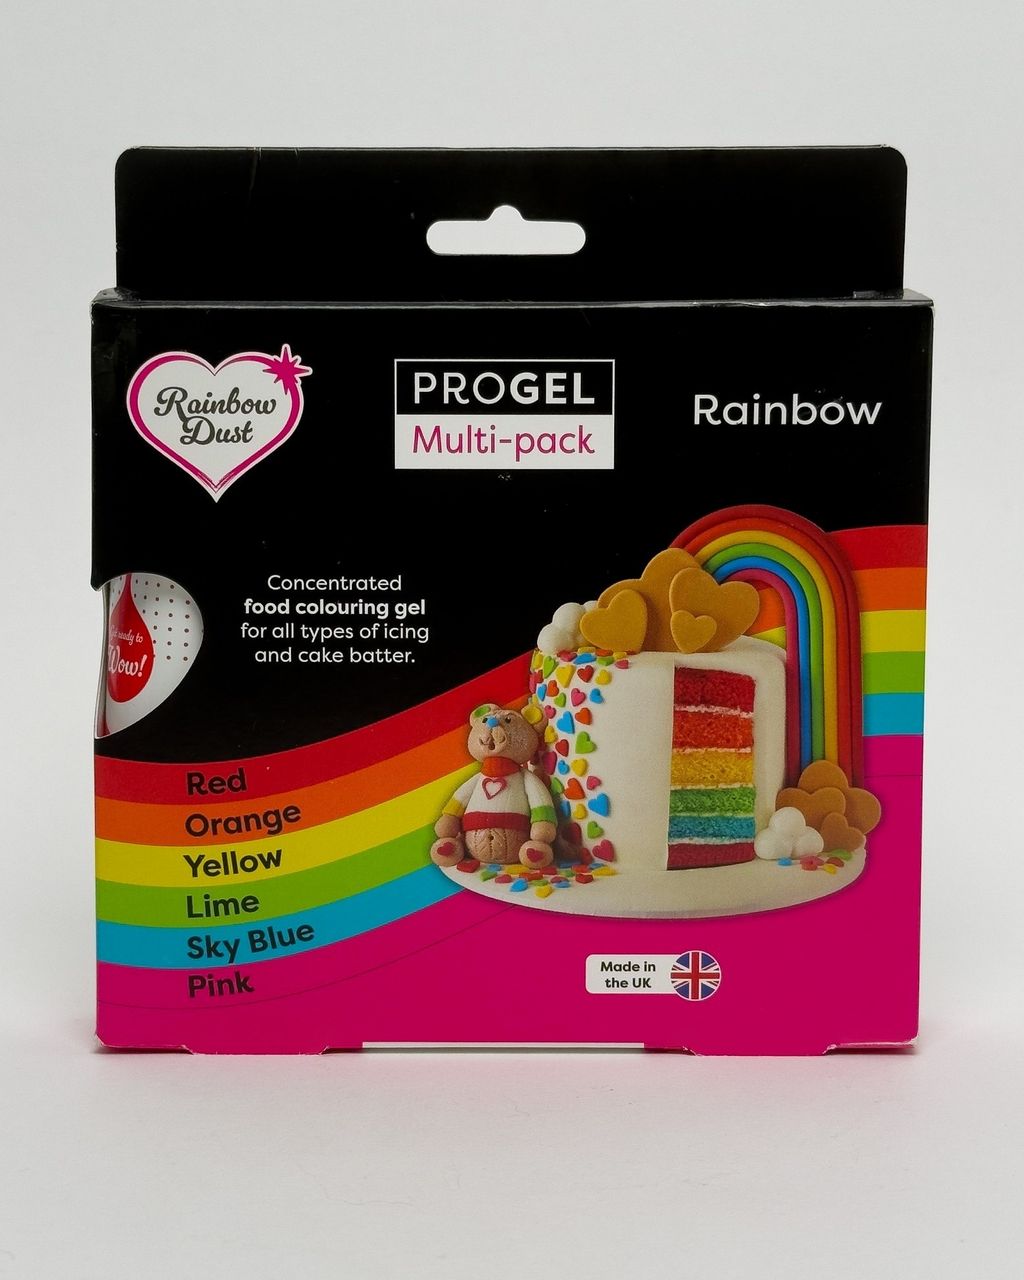
Color mirror glaze with gel colors: add them to the warm glaze just before blending. For the full batch of about 700 g, start with 2–3 drops for a pastel shade and add more gradually; a rich color usually needs 1–2 g of gel. The glaze darkens slightly as it sets, so mix it a shade lighter than you want. Why colors darken and how much to use is covered in how to color icing with gel colors.
Gel colors are concentrated and won't thin the glaze — ideal for rich shades.
Liquid colors suit delicate pastels, but in larger amounts they change the consistency.
Powder and pearl colors give metallic and shimmery effects; you can also brush them on with a dry brush over the finished shine.
Pure white glaze without E171. Titanium dioxide (E171) used to be added to white glaze. But since 7 August 2022 it has been banned in the EU as a food additive — Commission Regulation (EU) 2022/63 followed the EFSA opinion of May 2021, according to which it can no longer be considered safe. White chocolate on its own gives the glaze a creamy white color; if you want a whiter, more opaque shade, buy a white food coloring and check the label to make sure E171 isn't listed (E171-free whites are often based on calcium carbonate E170 or rice starch). Keep in mind that they cover slightly less than the old titanium white.
You can liven up the flavor with vanilla extract, a pinch of salt (great for balancing the sweetness), citrus zest or fruit essences. Red tones with raspberry suit Valentine's Day, pastels suit Easter, and pure white or pearl suit a wedding. Marbling two colors poured side by side is one of the most striking yet simplest tricks: divide the glaze, color each part separately and pour them next to each other into one container without stirring.

Leftover mirror glaze keeps in the fridge for about a week, covered with plastic wrap pressed directly onto the surface — that's what Callebaut says in its Chocolate Academy. So don't throw away the excess from the tray:
Collect and strain the glaze that ran off onto the rack to remove any cake crumbs.
Transfer it to a bowl or container with plastic wrap pressed onto the surface to prevent a skin, and put it in the fridge (4 °C / 39 °F).
Use it within a week. The manufacturer gives no longer storage time, nor does it mention freezing leftover glaze, so don't count on it.
Reheat to 35 °C (95 °F). In the microwave in 10–15 second bursts, stirring with a spatula in between; never boil it, as the gelatin would lose its strength. Check with a thermometer before pouring and, if needed, blend briefly with the blender head below the surface and strain again.
According to Callebaut, you can store a whole mirror-glazed cake frozen at −18 °C (0 °F). Before serving, move it to the fridge (4 °C / 39 °F) for at least 2 hours so that condensation doesn't form on the shine.
Most mirror glaze failures come down to one of two causes: the wrong temperature or air in the glaze. Here's a quick diagnosis; for a detailed breakdown, see mirror glaze won't pour smoothly: why it happens and how to get rid of bubbles.
Bubbles on the surface — air pulled in while blending. Blend with the head submerged at the bottom and slightly tilted, then strain through a sieve and let it rest so the bubbles float up. Prick any last bubbles on the cake with a pin right after pouring.
Dull, matte surface — the glaze was either too hot or already starting to set. Stay within 30–35 °C (86–95 °F) and keep checking with a thermometer.
Glaze runs off and won't hold, cake shows through — it was too warm (above 35 °C / 95 °F), or the cake wasn't cold enough or had an uneven surface. The cake must be frozen and smoothed beforehand with a layer of ganache or cream.
Glaze is thick and forms lumps — it cooled below 30 °C (86 °F). Reheat it in the microwave in 10 s bursts back to 32–35 °C (90–95 °F) and stir.
Rubbery, too firm a layer — too much gelatin, or a stronger gelatin than the recipe assumes. Stick to the weights for 200 Bloom and convert any other strength.
Streaks and uneven coverage — you went over it more than once instead of a single pour, or there wasn't enough glaze. Pour generously and all at once.
Cracks and water droplets on the shine — the temperature changed too abruptly. Thaw the cake in the fridge and protect it from sudden temperature changes.
You decorate a mirror glaze cake in three stages: create the marbling as you pour, add fruit, nuts and chocolate decorations within 10–15 minutes of pouring while the surface is still slightly tacky, and apply gold or pearl accents with a dry brush once the glaze has set. It works well to leave part of the cake purely glossy and decorate the rest, so the contrast stands out.
While pouring: marbling from two or three colors poured side by side — it can't be added to finished glaze afterward.
Within 10–15 minutes of pouring: chocolate decorations, fresh fruit or nuts along the bottom edge, where the glaze meets the board — the tacky surface holds them in place, they frame the cake nicely and hide any imperfections.
Once set: gold and pearl accents applied with a dry brush.
Always match the style to the occasion: bold colors for a children's party, a subtle single-color shine for a wedding.
Yes, you can make mirror glaze without glucose syrup, ideally using the same weight of invert sugar, but it will be slightly less glossy. Invert sugar prevents crystallization much as glucose syrup does; if you swap in plain sugar instead, the surface may turn dull and grainy over time.
Slice a mirror glaze cake straight from the fridge, once it has thawed inside, using a knife warmed in hot water and wiped dry. Wipe the knife and reheat it after every cut. A warm blade glides through the glaze cleanly, without tearing it or smudging the shine. Don't slice a frozen cake, as both the glaze and the filling would crack.
You can pour mirror glaze over a cake that has only been chilled in the fridge, but the result is usually worse: it sets more slowly on a warmer surface, runs off more and the cake can show through at the sides. If you don't have time to freeze it overnight, coat the cake with a smooth layer of ganache, freeze it for a few hours and pour the glaze at the lower end of the 30–35 °C (86–95 °F) range. Never pour it over a room-temperature cake.
Mirror glaze suits mousse cakes (entremets) best, as they have a smooth surface that freezes well. You can also glaze a classic sponge cake, but first coat it with a smooth layer of ganache or buttercream and freeze it at −18 °C (0 °F). Don't pour the glaze over whipped cream.
A mirror glaze cake keeps in the fridge for as long as its most perishable filling. Shelf life depends on the cream, custard or fruit inside, not on the glaze. So go by the shortest shelf life of all the components in the cake.
One recipe worth heating the oven for, one tip, and one deal from the shop. Nothing else.