FunCakes
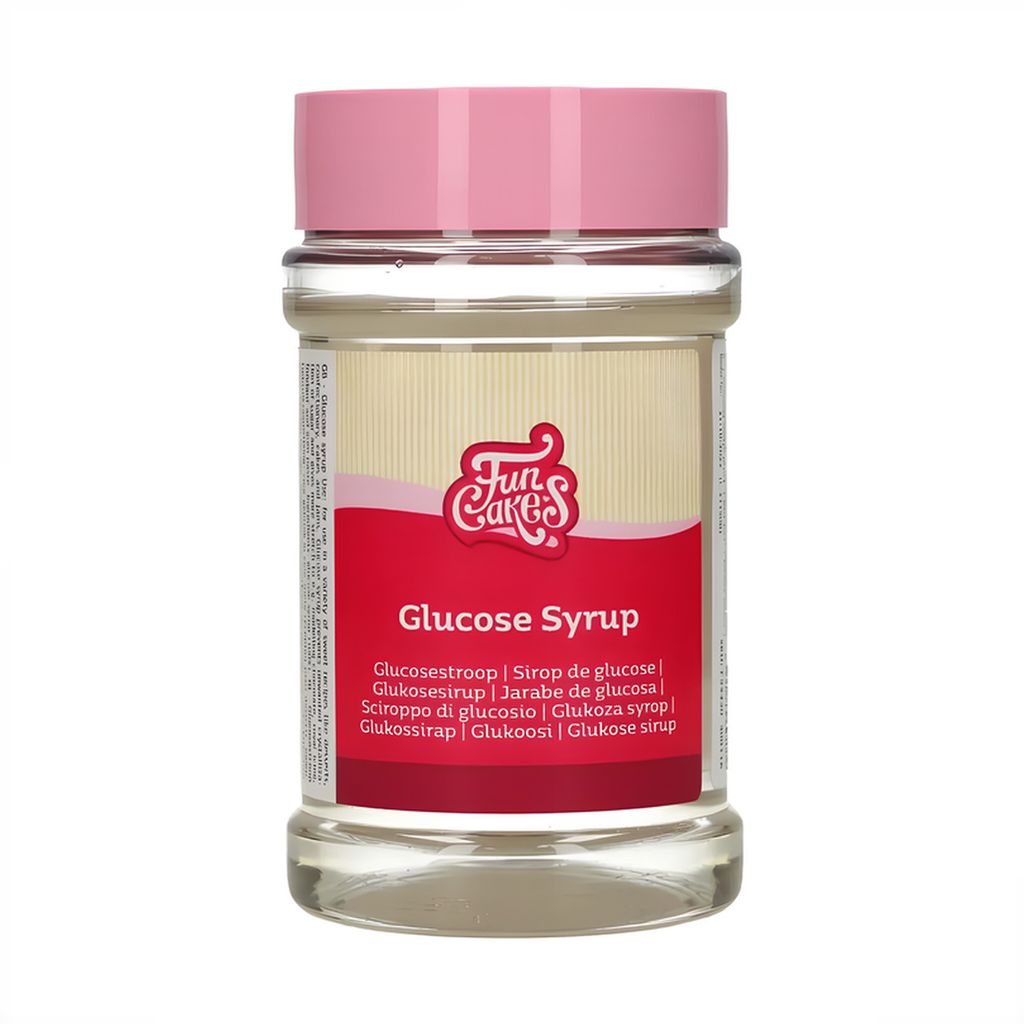
FunCakes Glucose Syrup (375 g)Kč 149.00
Modeling Chocolate: How to Make It with Chocolate and Glucose Syrup, and What to Shape With It
Updated Oct 17, 2026
Modeling chocolate is made from just two ingredients, melted chocolate and glucose syrup, and after a rest you knead and shape it like modeling clay. Use roughly half the chocolate's weight in glucose for dark chocolate (2:1), and only a third to a quarter for white (3–4:1). Let it set for a few hours, knead it smooth, and you can make roses, figurines, bows and even a cake covering. It tastes like chocolate, it doesn't dry out in the air the way fondant does, and seams and cracks can be smoothed away with a fingertip.
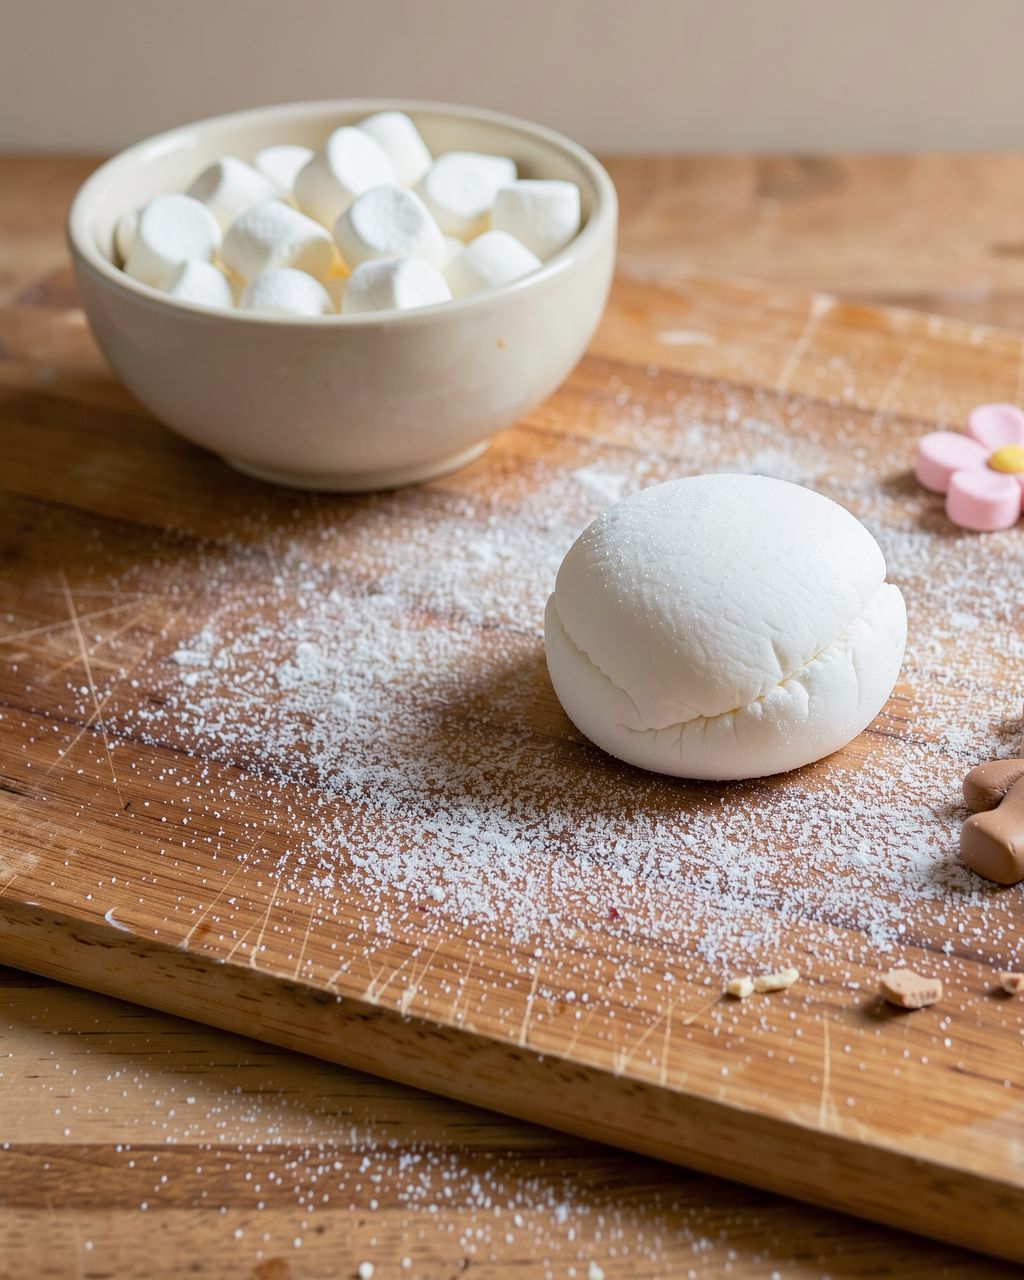
Modeling chocolate (also called candy clay) is chocolate "bound" by sugar syrup: the glucose syrup combines with the sugar and cocoa solids in the chocolate, so instead of a brittle bar you get a pliable, dense dough. No extra fat, no cream, no water, just chocolate and syrup.
Compared with the other pastes you probably know, it behaves like this:
Fondant (rolled icing) – sugar, water and fat. It dries out and hardens in the air, and cracks are hard to repair. The flavor is mostly just sweet.
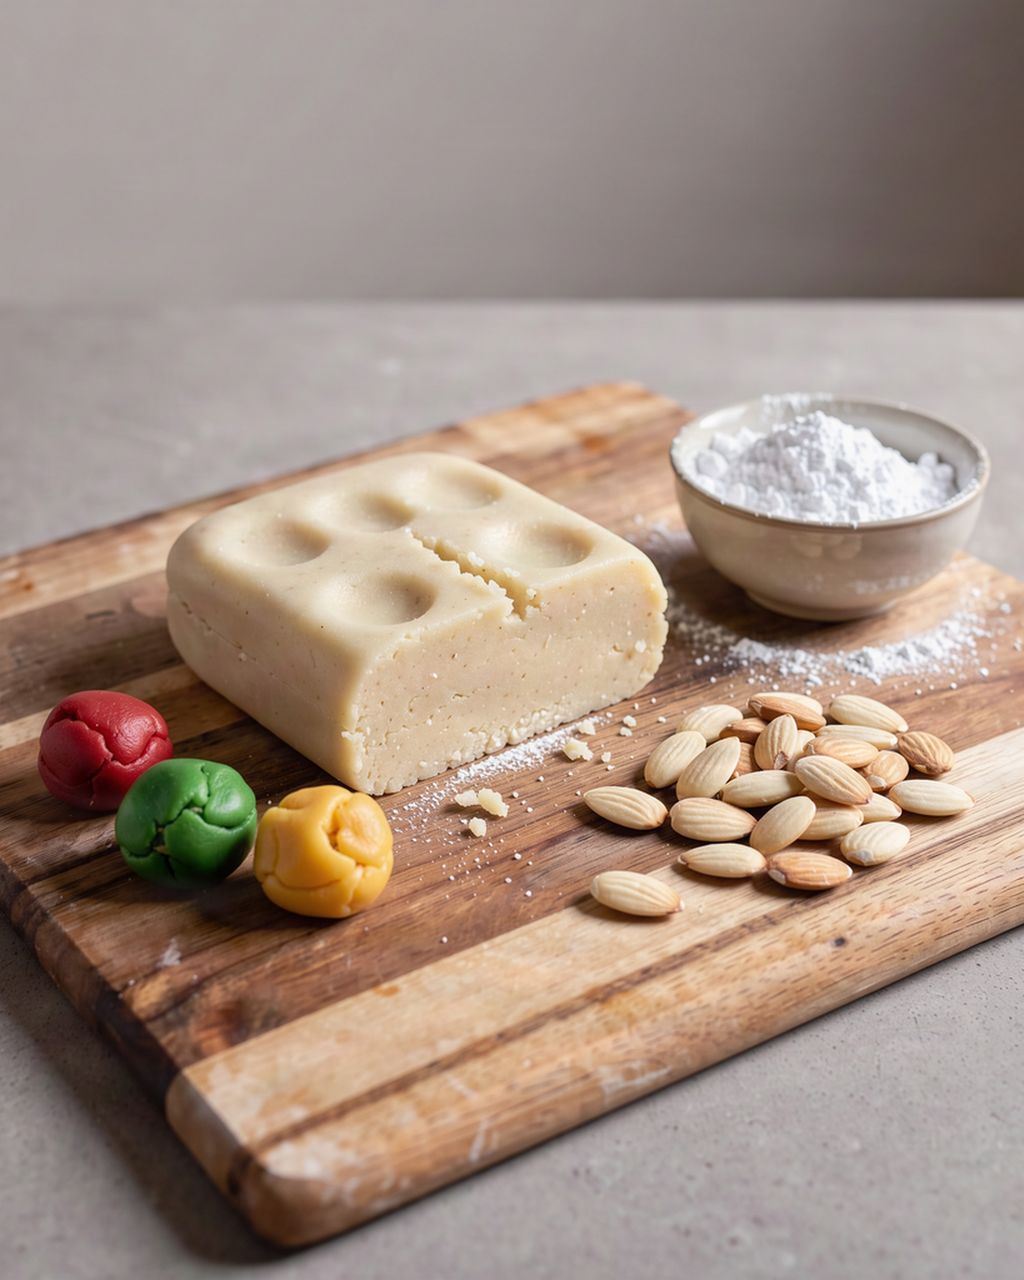
Marzipan – almonds and sugar. It models beautifully and smells wonderful, but not everyone wants almonds.
Modeling chocolate – it doesn't dry out in the air, seams and joins vanish when you run a finger over them, and it tastes of the chocolate it's made from. Its weak spot is heat: above 25 °C (77 °F) and in hot hands it softens and turns greasy.
In practice: for sharp edges, thin petals and figurines with fine detail, modeling chocolate is often nicer to work with than fondant. For a large, smooth cake covering in summer, fondant is more reliable.
Recipe of the week, one tip that saves you time and one deal from the shop. Unsubscribe in one click.
The next issue goes out on Thursday, November 26.
The basic rule is 2 parts dark chocolate to 1 part glucose syrup and 3–4 parts white chocolate to 1 part glucose, always by weight. White chocolate needs less syrup because it contains more milk fat and sugar and is softer to begin with.
Tried-and-tested amounts for a 400 g pack of chocolate:
Dark (e.g. Callebaut 811, 54.5% cocoa): 400 g chocolate + 160–200 g glucose. Less syrup gives a firmer dough for figurines, more syrup a softer one for covering a cake.
Milk: 400 g chocolate + 130–160 g glucose (roughly 2.5–3:1).
White (e.g. Callebaut W2): 400 g chocolate + 100–130 g glucose. White is the easiest to color.
The ratio isn't set in stone, because different chocolates contain different amounts of cocoa butter. Pastry chefs abroad typically work in a range from about 5:1 (very firm) to 2:1 (soft). If you're not sure, start on the firmer side: a soft dough is harder to rescue than a stiff one.
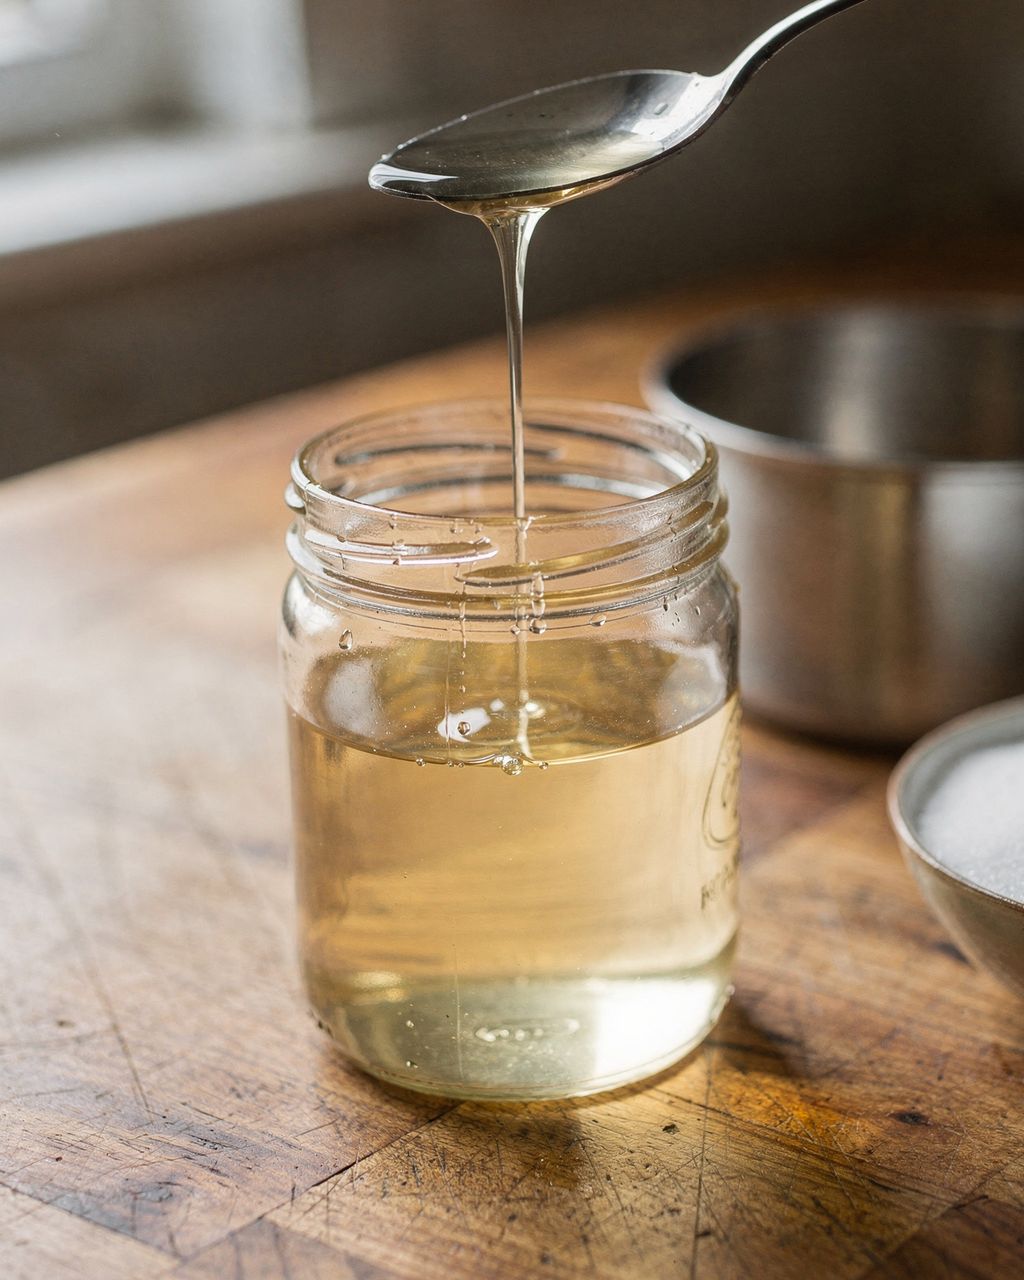
Glucose syrup works here because it's neutral, thick and doesn't crystallize, and that's exactly what holds the dough together. We stock FunCakes glucose syrup (375 g); you'll find more syrups and sugars for confectionery in the baking sugars and syrups section. For what glucose syrup actually is and what else it's good for, see the article Glucose syrup: what it is and what to use it for. Loose dextrose (grape sugar) doesn't belong here: you need a thick syrup.
You can use cocoa-flavored (fat-based) coating in modeling dough and it gets less greasy, but for flavor it doesn't come close to real chocolate. Coatings made with vegetable fat instead of cocoa butter are sold as "cocoa", "fat" or "confectionery" coating; real couverture is labeled "chocolate coating" and must contain at least 35% cocoa solids and 31% cocoa butter. For figurines that will be eaten, check the ingredients: it must contain cocoa butter, not vegetable fat.
You melt the chocolate, stir in warm syrup just until combined, wrap it up and let it rest. It takes 10 minutes of work and a few hours of waiting.
Melt the chocolate in a double boiler or in the microwave in 20–30 second bursts, stirring between each. You don't need to temper it.
Let it cool to 32–35 °C (90–95 °F) for dark chocolate, closer to 30 °C (86 °F) for white. If the chocolate is too hot, it releases cocoa butter once the syrup goes in.
Warm the glucose to 35–40 °C (95–104 °F), just enough to make it runny and lukewarm. Cold syrup makes the chocolate set quickly in spots, and you end up with lumps.
Pour in the syrup all at once and fold with a spatula for 15–20 strokes, until the mixture thickens and looks like thick soft-serve ice cream pulling away from the sides. Stop right there. Every extra stir pushes fat out.
Turn it out onto plastic wrap, spread it into a slab 1–2 cm thick, wrap it tightly and let it rest at room temperature (18–22 °C / 64–72 °F) for 2 hours up to overnight. Not in the fridge: it hardens needlessly and sweats.
After resting, the dough is as hard as a brick. That's good. It means the cocoa butter has crystallized and the chocolate has "set".
Break off a piece the size of a walnut, squeeze it in your palm for a moment, then knead until it's smooth and pliable like modeling clay. Work in pieces, never the whole slab at once.
Too hard? Microwave the piece for 5–10 seconds and keep kneading. Never longer, or the edges will melt.
Work with cool hands on a cool surface – marble, granite, a metal tray. Warm hands pull fat out of the dough. If it starts to get sticky and shiny, set it aside for 10 minutes and wash your hands under cold water.
Don't dust with powdered sugar the way you would with fondant. If it sticks to the rolling pin, roll it out between two sheets of parchment paper or plastic wrap; for very thin sheets, dust lightly with cornstarch.
Rolling it to 2–3 mm is enough for bows and strips; petals are pressed down to 1 mm.
Almost every problem comes down to one of three causes: temperature, overmixing or the wrong ratio. And almost every one can be fixed.
Greasy, with fat seeping out – it was overmixed, or the chocolate was too hot. Don't throw it away: let it cool completely and press the fat back in, kneading small pieces with cool hands. You can also blot off excess fat with a paper towel.
Crumbly, breaking and cracking – too little syrup, or it's simply cold. First warm it for 5–10 seconds and knead. If that doesn't help, work a few drops of lukewarm glucose into a piece.
Soft and sticky, won't hold its shape – too much syrup, or you're too warm. Let it rest longer, or work in a little melted, cooled chocolate of the same kind.
Lumps – cold syrup, or chocolate that had started to set. Lumps usually disappear when you knead after the rest; if not, warm a piece and knead again.
Color white modeling chocolate, ideally with oil-based chocolate coloring, which you stir straight into the melted chocolate before the syrup. Oil-based color blends with the cocoa butter, so the chocolate doesn't thicken and the color is even.
You have two options:
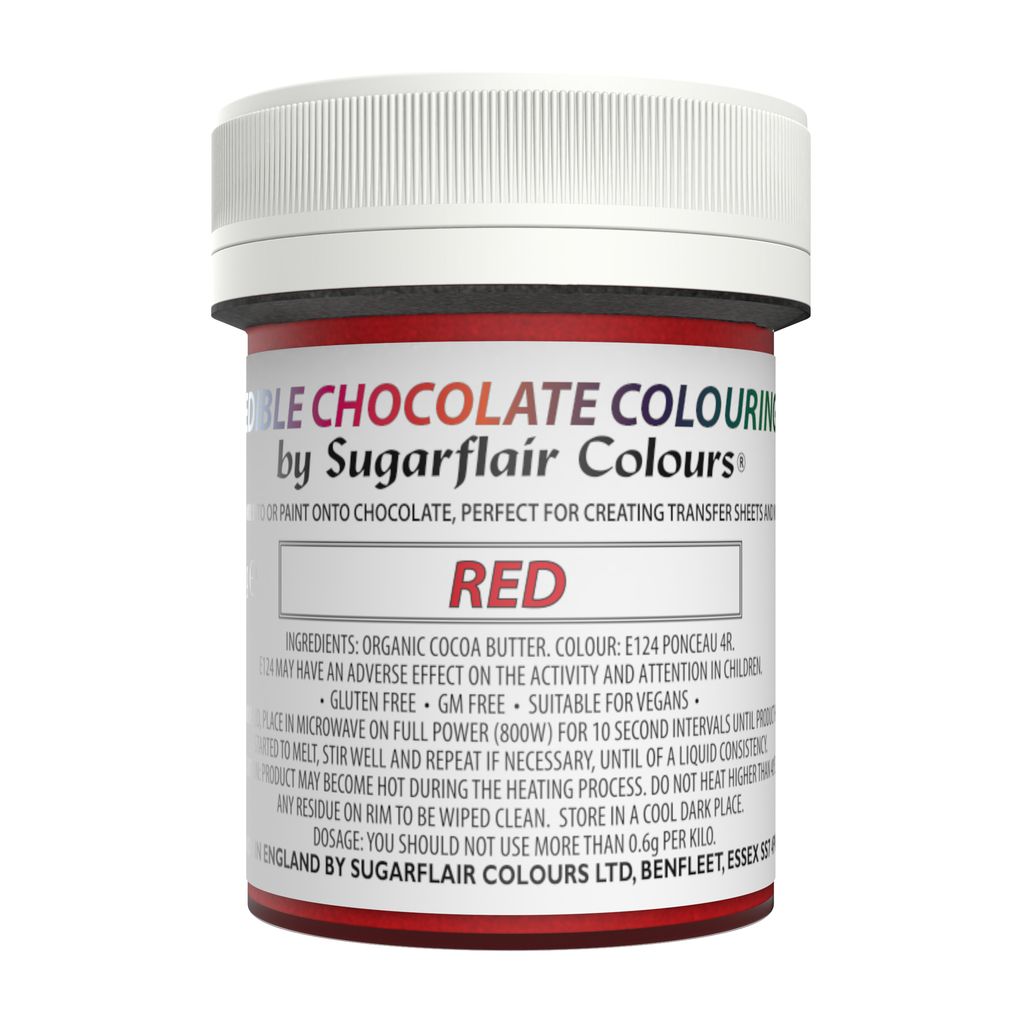
Coloring the whole batch (best): stir oil-based color into the melted white chocolate, for example Sugarflair oil-based chocolate color – Red, and only then add the glucose. For 400 g of chocolate, use 1–3 teaspoons of color depending on the shade.
Coloring finished dough: knead the color (oil-based or even gel) into dough that has already rested. It suits small pieces in different colors. Gel color contains water, so in larger amounts it softens the dough and makes it sticky. Add it only drop by drop.
What to watch out for:
Red in white starts out pink. You only get a deep red with a larger amount of color, and the color darkens by about a shade as it sits. Color a day ahead and judge the shade only after the rest.
White W2 is creamy yellowish, not snow white. Pastel shades therefore lean toward warmer tones, and blue can drift toward green. A drop of white oil-based color helps for a cleaner white base.
Dark colors (burgundy, brown, black) are easier to make from dark or milk chocolate than from white.
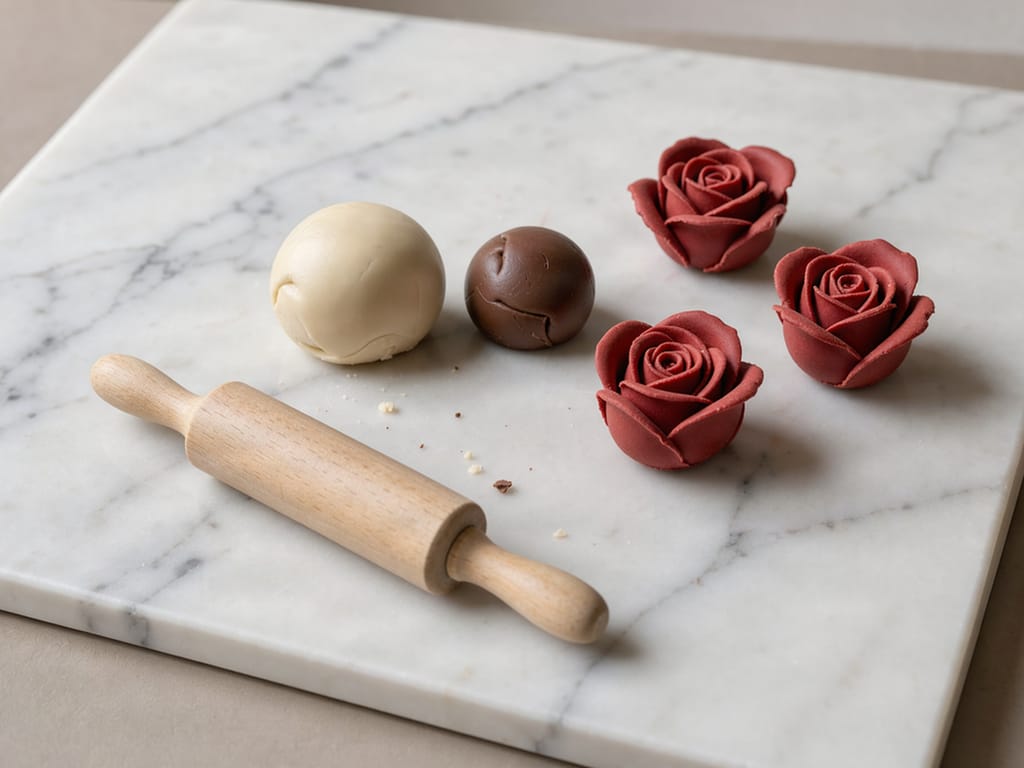
A rose is a cone for the center with 11–12 petals around it in three rows that get progressively bigger: 3 small, 5 medium and 3–4 large. One rose 4–5 cm across uses about 20–25 g of dough.
Center: shape a cone about 2.5 cm tall and let it set for 10 minutes.
Petals: pinch off balls for 3 small, 5 medium and 3–4 largest petals (the smallest about the size of a pea, the largest like a hazelnut). Place them between two sheets of plastic (a cut-open freezer bag works) and press each with your thumb into a thin round – edge thin to almost see-through, base thicker, which is what holds the petal on the cone.
Wrap the first small petal all the way around the tip of the cone so the center isn't visible.
Set the next two small petals against each other with an overlap, leaving the upper edge slightly higher than the previous one. That completes the bud.
Add the five medium petals all the way around, each overlapping half of the previous one, and curl the edges lightly outward.
Add the 3–4 largest outer petals more loosely and fold their edges outward with your fingers so the rose opens up.
Cut off the base with a knife so the rose stands. A finished rose needs 1–2 hours at room temperature to set.
The petals hold on their own because modeling chocolate bonds with the warmth of your finger. If the petals stick to the plastic, the dough is too warm, so give it a break.
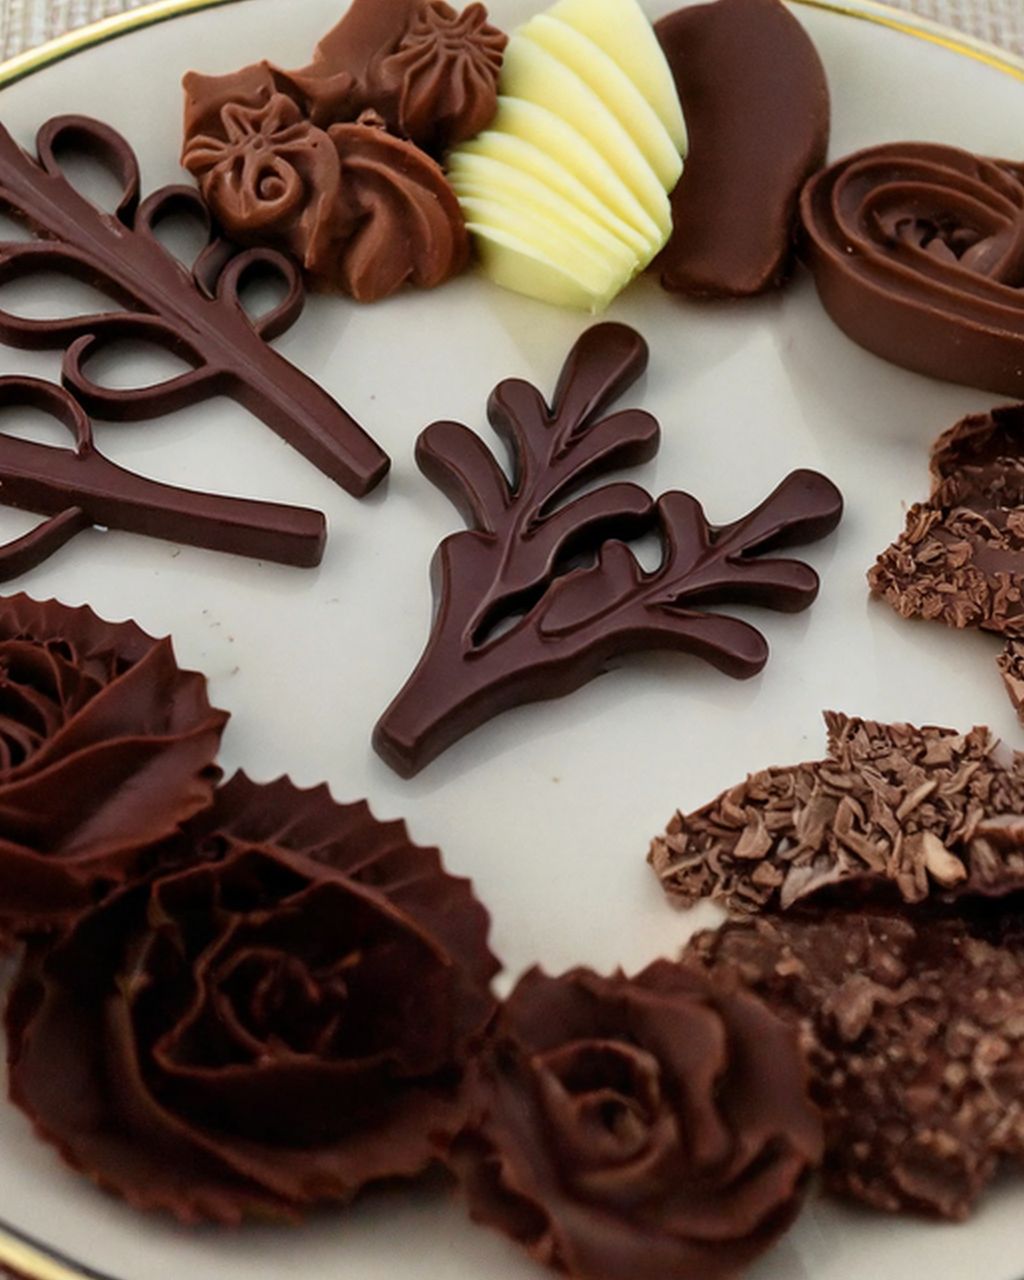
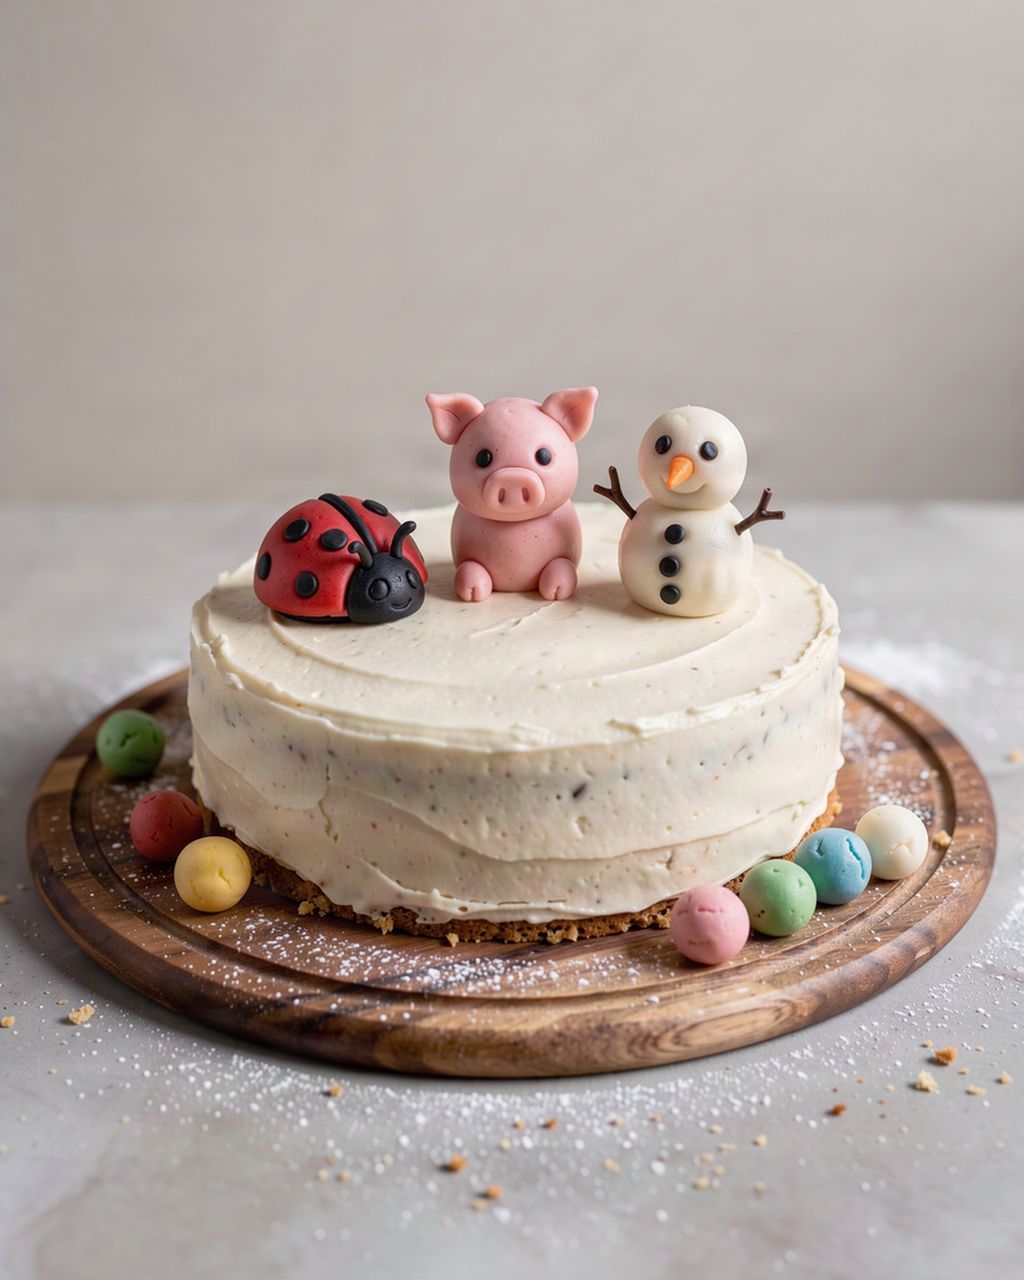
You can make almost anything from modeling chocolate that you can from fondant or marzipan: animal figurines, letters and numbers cut out with cutters, bows, bands around a cake, leaves, and lace and textured sheets (pressed into silicone molds).
Build figurines from simple shapes – balls, rolls, teardrops. Join the pieces by pressing them together and smoothing the seam with a finger; for heavier parts (head on body), put a piece of skewer or uncooked spaghetti inside.
Cut and press in details with modeling tools or a toothpick. Sharp edges come out better on dough that has rested for a while.
For molds: press the dough into a silicone mold, let it set for 10–15 minutes (or 5 minutes in the freezer) and pop it out.
On a cake place decorations on ganache or buttercream. On whipped cream and wet fruit fillings, add them only just before serving, as moisture softens them.
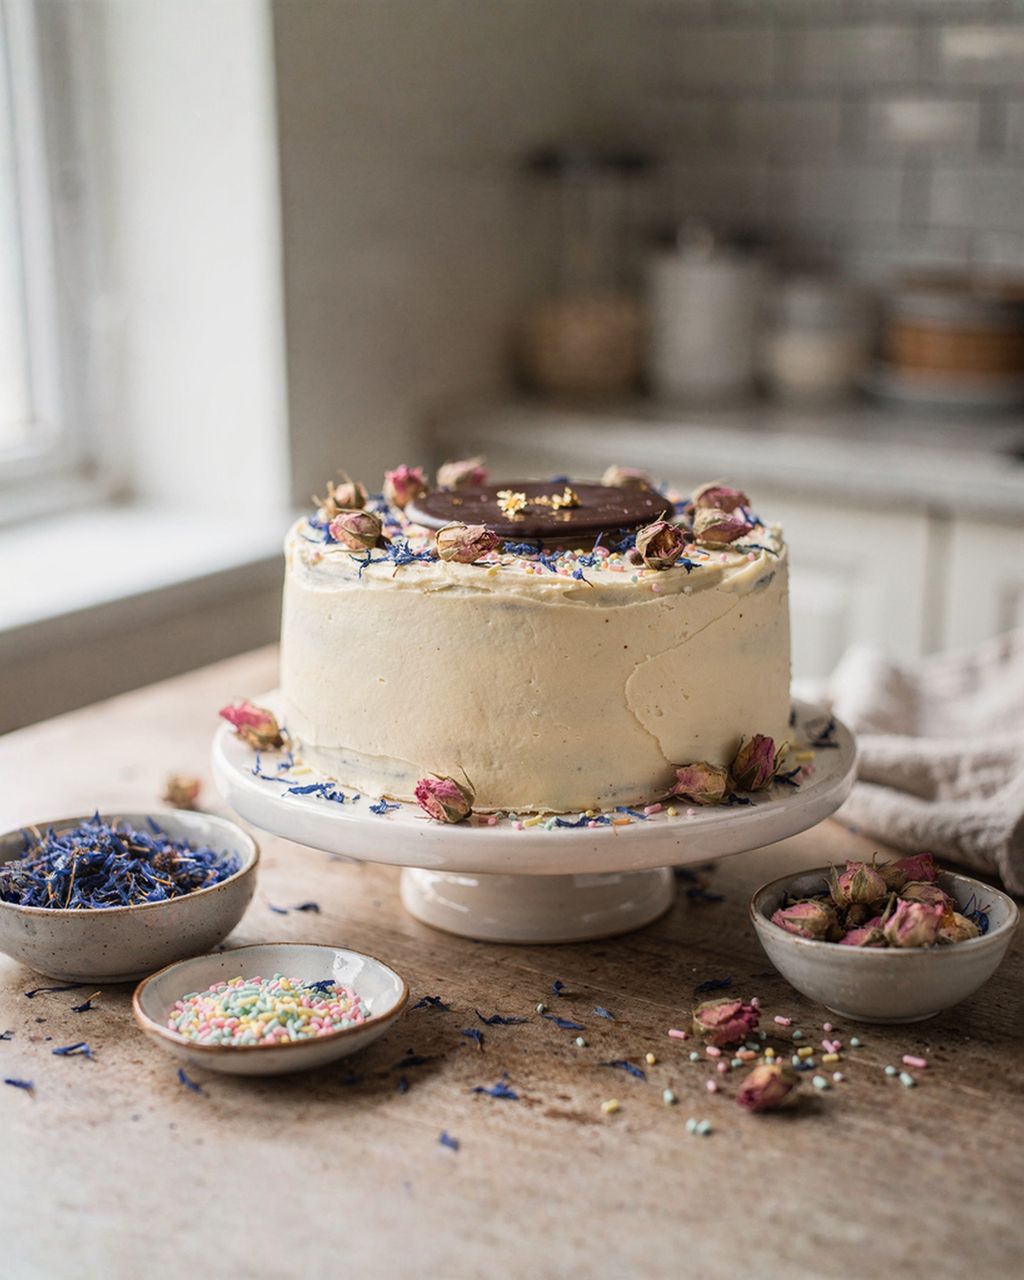
A cake that practically begs for chocolate roses is the most chocolatey chocolate cake. For more ways to decorate a cake with chocolate, and what's currently trending, see the article Chocolate decorations: techniques, trends and how to master them at home.
FunCakes
FunCakes Glucose Syrup (375 g)
Callebaut
Callebaut White Chocolate Callets (W2) 400gWrapped tightly in plastic wrap and stored in an airtight container at room temperature, modeling chocolate keeps for several weeks. Go mainly by the shelf life of the chocolate you used. Store finished figurines somewhere dry at a steady 15–20 °C (59–68 °F), for example in a box in the pantry.
Don't put modeling chocolate in the fridge: it turns hard and condensation forms on it when you take it out. You can freeze it if it's well wrapped in two layers of plastic wrap. Thaw it still wrapped, at room temperature, so it doesn't sweat.
The grayish-white film is called bloom. It's either fat bloom (cocoa butter rises to the surface after temperature swings) or sugar bloom (moisture, for example from the fridge, dissolves the sugar on the surface, and it recrystallizes as it dries). It isn't mold and it's safe to eat, it just doesn't look nice. Prevent it by keeping the temperature steady and storing the chocolate outside the fridge. On unused modeling chocolate, the film disappears when you knead it.
The only full substitute is light corn syrup, which is used in American recipes. We don't recommend honey, maple syrup or invert sugar: they differ in thickness and water content, taste strongly, and the result tends to be sticky or won't come together.
For a cake 20 cm in diameter and about 10 cm tall, plan on 800 g to 1 kg of modeling chocolate rolled to 3–4 mm, which is two batches made with 400 g of chocolate each. A 15 cm cake needs about 600 g, and for a 25 cm cake prepare 1.2–1.4 kg. Always leave some extra for trimmings. In a warm room or at a summer party, reach for fondant instead, because modeling chocolate softens above 25 °C (77 °F).
One recipe worth heating the oven for, one tip, and one deal from the shop. Nothing else.