Chocolate peanut butter truffles

Updated Jul 19, 2026
Chocolate decorations turn an everyday dessert into a little work of art — and you can master most of the techniques at home without any professional equipment. In this guide you'll find the essentials: how to temper chocolate for shine and snap, how to work with moulds, transfer sheets and 3D printing, how to colour it with natural dyes, and how to create interactive elements that will genuinely surprise your guests. For every technique we've included the temperatures, ratios and tips that actually make or break the result.
Five techniques cover almost everything you need: tempering for shine and snap, silicone and polycarbonate moulds for shapes, transfer sheets for printed patterns, 3D printing with edible chocolate for intricate designs, and natural colourings for colour effects. None of them require a professional pastry kitchen — just good chocolate, a thermometer and a bit of patience.
The foundation is always the same: good chocolate at the right temperature. Everything else is just tools that make the job easier.
Moulds are the fastest route to professional-looking shapes. Silicone moulds are inexpensive and flexible, so you can easily pop out even intricate shapes — great for figures, flowers and reliefs. Polycarbonate moulds cost more and are rigid, but they give chocolate the highest shine and the sharpest edges, which is why professionals love them for pralines and hollow shells.
The key to a smooth finish: the mould must be clean and completely dry (water is chocolate's enemy) and the chocolate must be properly tempered — otherwise your decoration won't shine, and it won't release cleanly from the mould.
Tempering is a controlled process of heating and cooling chocolate that forms stable Form V crystals in the cocoa butter — these are exactly what give chocolate its shine, its snap and its resistance to bloom. Without tempering, decorations turn dull, feel sticky, and melt in your hand.
Tried-and-tested temperatures (melt → cool → rework), as recommended by pastry sources:
Dark chocolate: 45–50°C → 28–29°C → 31–32°C
Milk chocolate: 45–48°C → 27°C → 30–31°C
White chocolate: 40–45°C → 26°C → 28–29°C
White and milk chocolate have a lower working temperature because of their higher milk solids and sugar content. For the full method plus fixes for the most common mistakes, check our complete guide to tempering chocolate.
Transfer sheets are clear plastic sheets coated with cocoa butter and food-safe colouring. Press one onto chocolate just before it sets, and once you peel it away the pattern stays right on the surface — a finished decoration in seconds, no painting required. They work best on pralines, chocolate plaques for cakes, and dessert garnishes.
A few rules: work with properly tempered chocolate, lay the sheet with the printed side facing the chocolate, and only peel it off once fully set, or the pattern will smear.
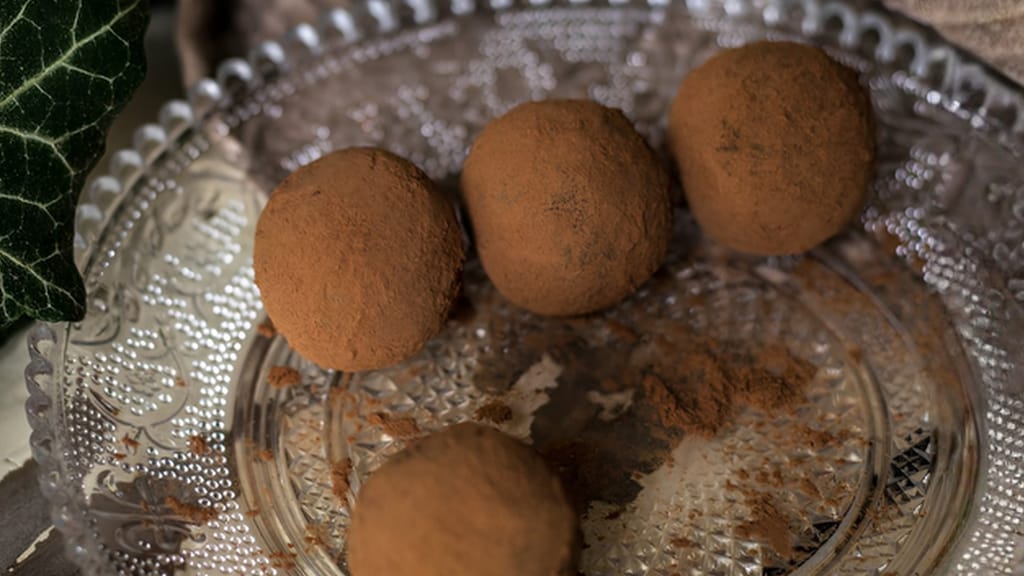
Chocolate peanut butter truffles
Peanut butter chocolate truffles: ideal candidates for decorating with transfer sheets
Chocolate 3D printers build shapes layer by layer from melted chocolate, following a digital model — they can produce ornaments, monograms and delicate structures that are nearly impossible to make by hand. For now this is mostly the domain of enthusiasts and professional patisseries, given the cost and the need to keep chocolate within a narrow temperature window, but the technology is getting cheaper fast.
If you don't own a printer, you can get a similar effect by hand: pour melted chocolate into a paper piping cone and draw patterns onto baking paper. Once set, carefully peel them off and use as decoration.

Natural colourings tint chocolate without artificial additives and can achieve a surprisingly vivid range of shades. They work best in white chocolate, which is colour-neutral to start with:
Beetroot powder — pink to red
Matcha — fresh green
Turmeric — vivid yellow
Spirulina — blue-green
Activated charcoal — black
Only add these as dry powders, and in small amounts — damp or watery colourings will make the chocolate seize. Keep in mind that strongly flavoured ones (turmeric, matcha) will affect the taste slightly too.
Right now the strongest colour trends are built around soft gradients and seasonal palettes — ombré effects and season-matched colours lead the way. You can achieve both with white chocolate and one or two natural colourings.
Ombré is a smooth gradient from the palest shade to the most intense. At home, all you need is white chocolate and one natural colouring:
Divide tempered white chocolate into 3–4 bowls.
Leave the first one white, and add progressively more colouring to each of the others.
Apply the shades side by side, then gently blend the edges together with a skewer or brush.
Let it set at room temperature, not in the fridge — rapid cooling ruins the shine.
Match your colours to the season, and the decoration will feel perfectly in tune with the whole dessert:
Spring: pastel pink and mint green
Summer: vivid yellow and orange
Autumn: warm brown and gold
Winter: elegant blue and silver
Citrus flavours pair beautifully with the summer palette too — think fresh orange cupcakes, which match yellow and orange both in colour and taste.

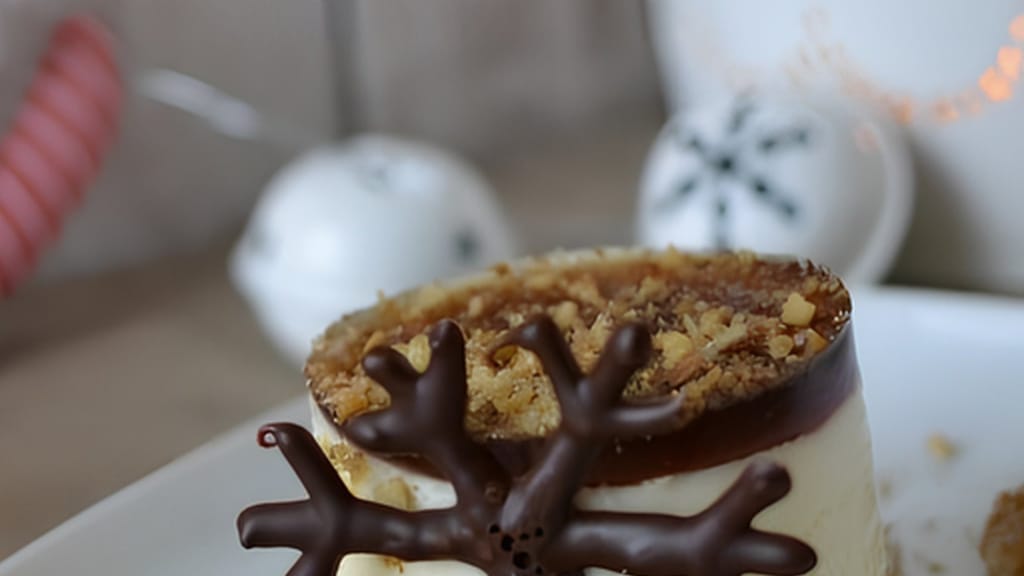
Orange mini cakes
Orange cupcakes: a fresh citrus base for summer colour decorations
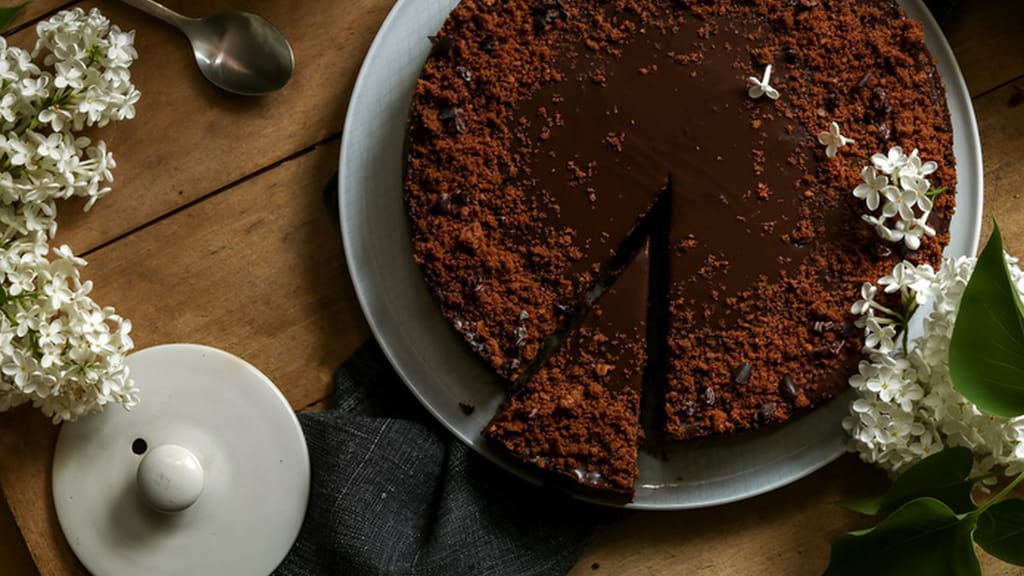
Simple chocolate cake
Simple chocolate cake: the perfect canvas for colourful chocolate decorations
Interactive elements add a moment of surprise to a decoration — a liquid centre that spills out when cut into, popping candy fizzing in your mouth, or dry-ice smoke at the table. The visual and audible payoff turns the dessert into the main talking point of the meal.
A delicate chocolate dome with a liquid centre is a classic showstopper. Brush tempered chocolate into a dome mould, let it set, fill with caramel, ganache or a fruit coulis, then seal the second dome half using a warmed baking sheet. To serve, crack the shell open with a warm knife or pour hot sauce over it so it 'opens up'.
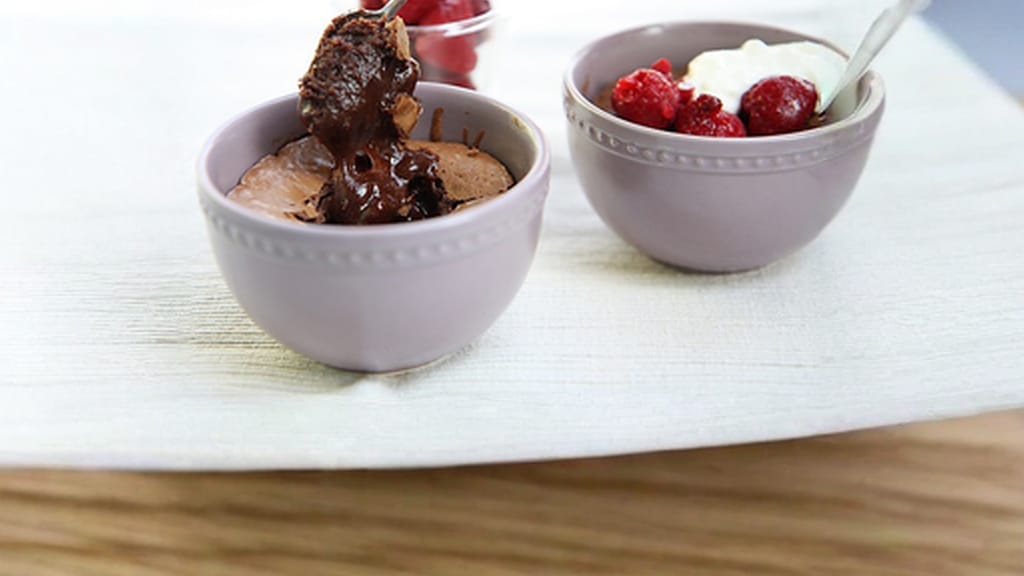
Chocolate fondant – sinfully gooey chocolate cups
Chocolate fondant with a liquid centre: the easiest way to get that molten-chocolate effect
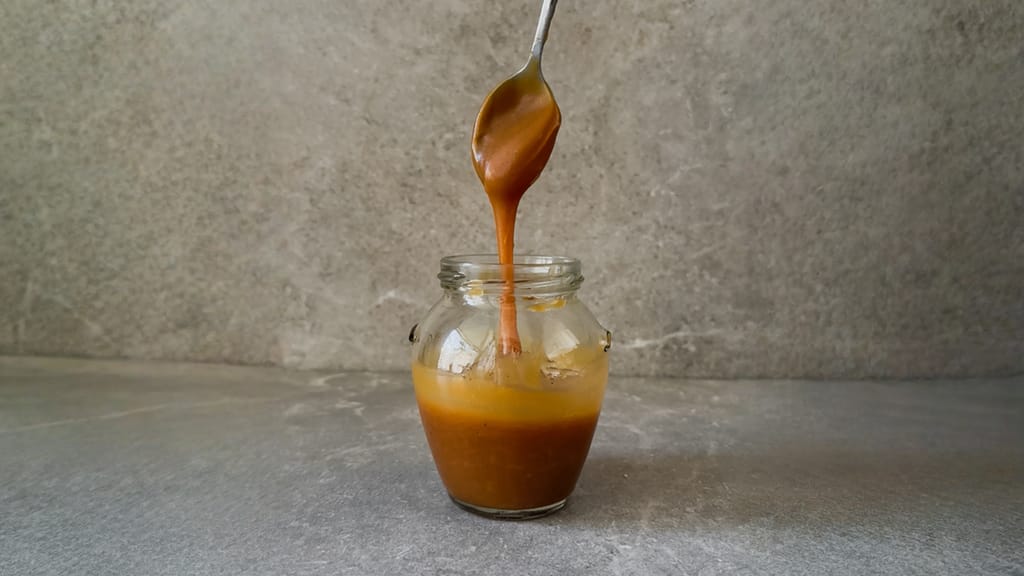
Homemade caramel sauce with just 4 ingredients
Homemade 4-ingredient caramel sauce: the perfect filling for chocolate shells
Popping candy adds a sound effect to dessert — it crackles on contact with saliva. Sprinkle it onto cream or chocolate coating right before serving, since moisture softens it quickly and it loses its pop. For visual contrast, try edible foams or a crumb of crushed biscuits.
Dry ice creates a dramatic mist at serving time — tuck a piece into a bowl of warm water, hidden under the plate or beside the dessert. The effect only lasts a couple of minutes, so set it up right at the table.
Great decorations start with good chocolate — and choosing sustainably ticks both boxes. When shopping, look for three things:
Certification (Fair Trade, Rainforest Alliance) — fairer conditions for cocoa farmers, whose work is demanding and poorly paid.
Quality and origin — good couverture with a higher cocoa butter content tempers better and shines more, so the decoration simply looks better.
Packaging — recyclable or compostable packaging instead of layered plastic.
Cocoa is among the crops with a notably high carbon and water footprint, according to environmental reports, so choosing carefully makes sense environmentally too — not just for flavour.
When you're just starting out with decorations, stick to a simple plan: first, get properly comfortable with tempering, then add one mould or transfer sheet plus one natural colouring. Once you've got the basics down, move on to ombré and interactive elements. The fastest way to learn is to pick one dessert and keep decorating it, a little better each time.
Properly tempered chocolate decorations will keep for several weeks to a few months if stored somewhere dry at 15–18°C, away from the fridge. In the fridge, chocolate absorbs moisture and odours and develops a white sugary film on the surface. Keep decorations in an airtight container, away from direct light and heat sources.
That white film is called bloom, and it happens in two ways: fat bloom from incorrect tempering or temperature swings, and sugar bloom from moisture. The chocolate is still perfectly edible — it just loses its shine and smooth finish. You can prevent it with careful tempering and by storing chocolate somewhere dry at a stable temperature.
No — standard water-based liquid colouring will make chocolate seize into a stiff, lumpy mess, because chocolate and water don't mix. Use oil-based (fat-soluble) colours or dry powder colourings instead, which dissolve into chocolate without causing it to seize. Add them gradually, a little at a time.
For professional-level shine and snap, reach for couverture, which has a higher cocoa butter content and can be properly tempered. Compound coating chocolate uses vegetable fat instead of cocoa butter, doesn't need tempering, and sets quickly, but the finish is duller and softer. For eye-catching decorations, couverture is worth the extra effort.
Yes — the seeding method works well: melt two-thirds of the chocolate, take it off the heat, then stir in the remaining third as finely chopped, already-tempered chocolate, which 'seeds' the correct crystal structure. That said, a thermometer is far more reliable, and we'd strongly recommend one for white chocolate, which has a very narrow working range.
One recipe worth heating the oven for, one tip, and one deal from the shop. Nothing else.